Restoring Family Heirloom Cast Iron Pans: A Gentle Rust Removal Guide
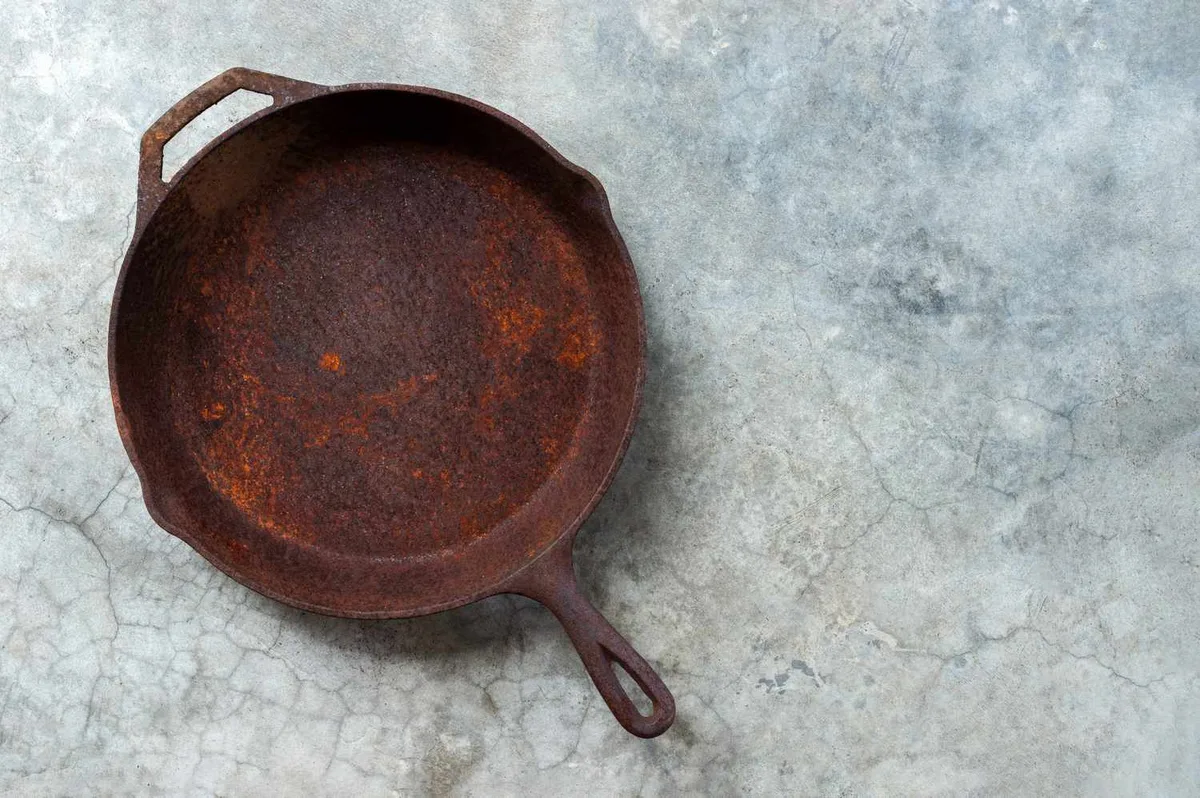
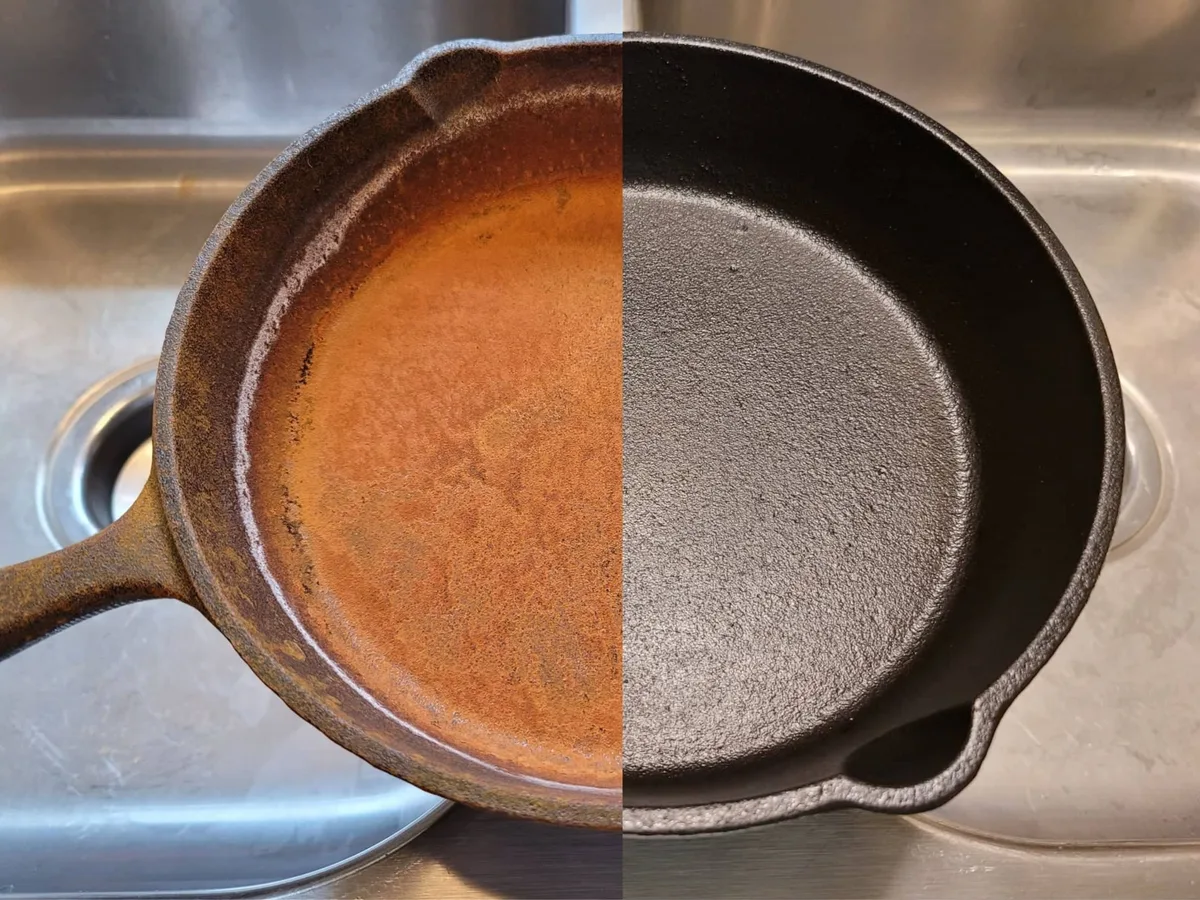
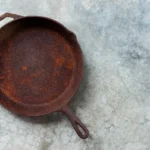
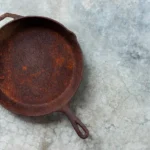
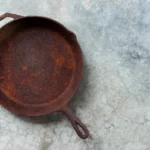
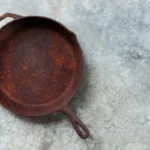
That rusted cast iron pan sitting in your cupboard isn't ruined. In fact, knowing how to fix a rusted cast iron pan is a simple skill you can master in one afternoon. Rust looks scary, but it's just surface oxidation.
The iron underneath is usually still perfectly good.
The repair process boils down to three moves: remove the rust, dry the pan completely, and build a fresh seasoning layer. As of 2026, the go-to method remains a vinegar soak for heavy rust and a quick scrub for flash rust. In our research, most repairs take under two hours, not counting the oven-cure time.
Once you know which branch fits your pan, the steps are straightforward.
Image source: Bing (Web (fair-use with source credit))
Quick Answer: Can This Pan Be Saved?
To fix a rusted cast iron pan: scrub, wash, dry, and re-season.
Match the method to the rust level.
Light rust needs a vinegar wipe.
Heavy rust needs a longer soak.
Then bake on oil to restore the surface.
Step 1: Check Your Pan Type and Rust Severity
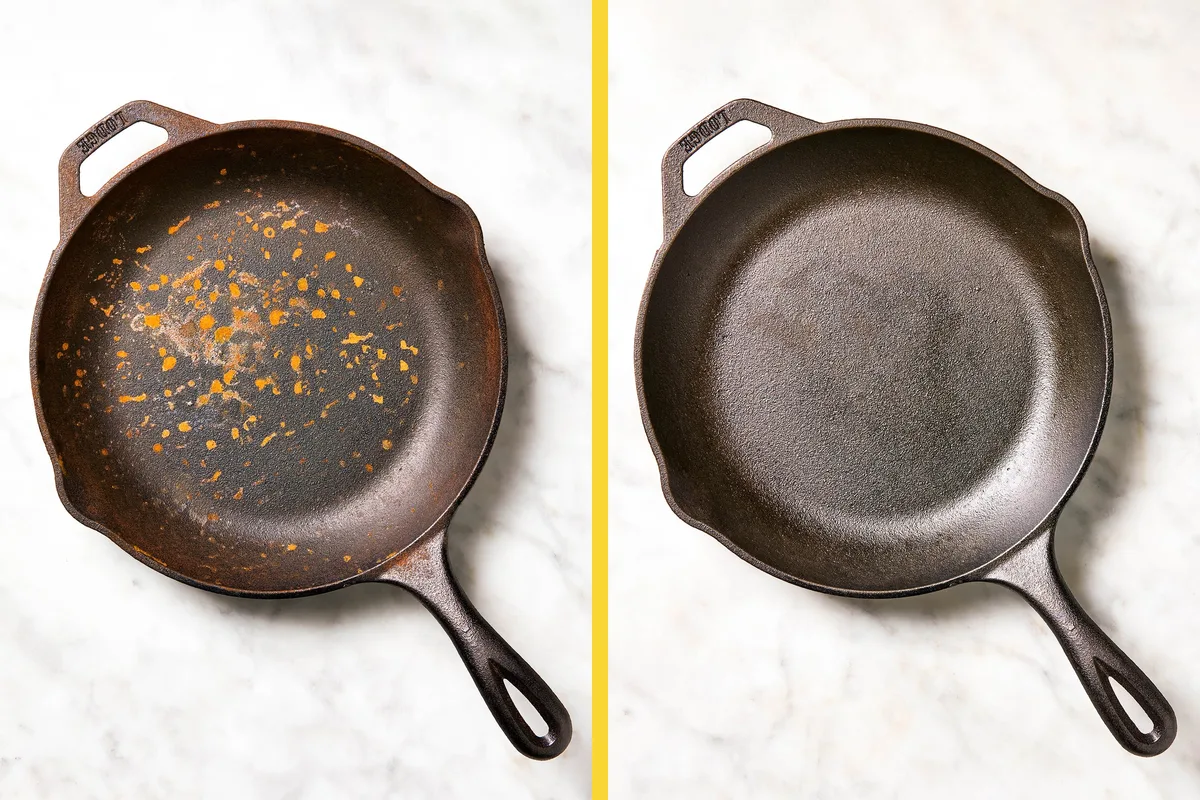
Before grabbing steel wool, look at the pan. This first call decides the whole repair path. Lots of folks wreck a good pan because they treat an enameled Dutch oven like bare iron.
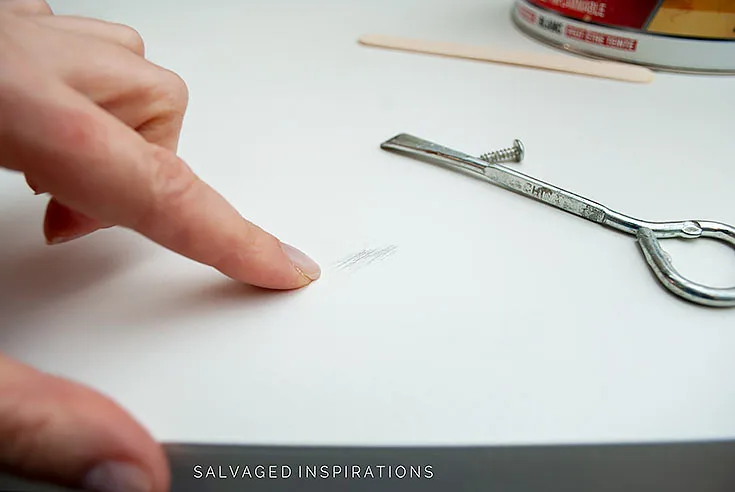
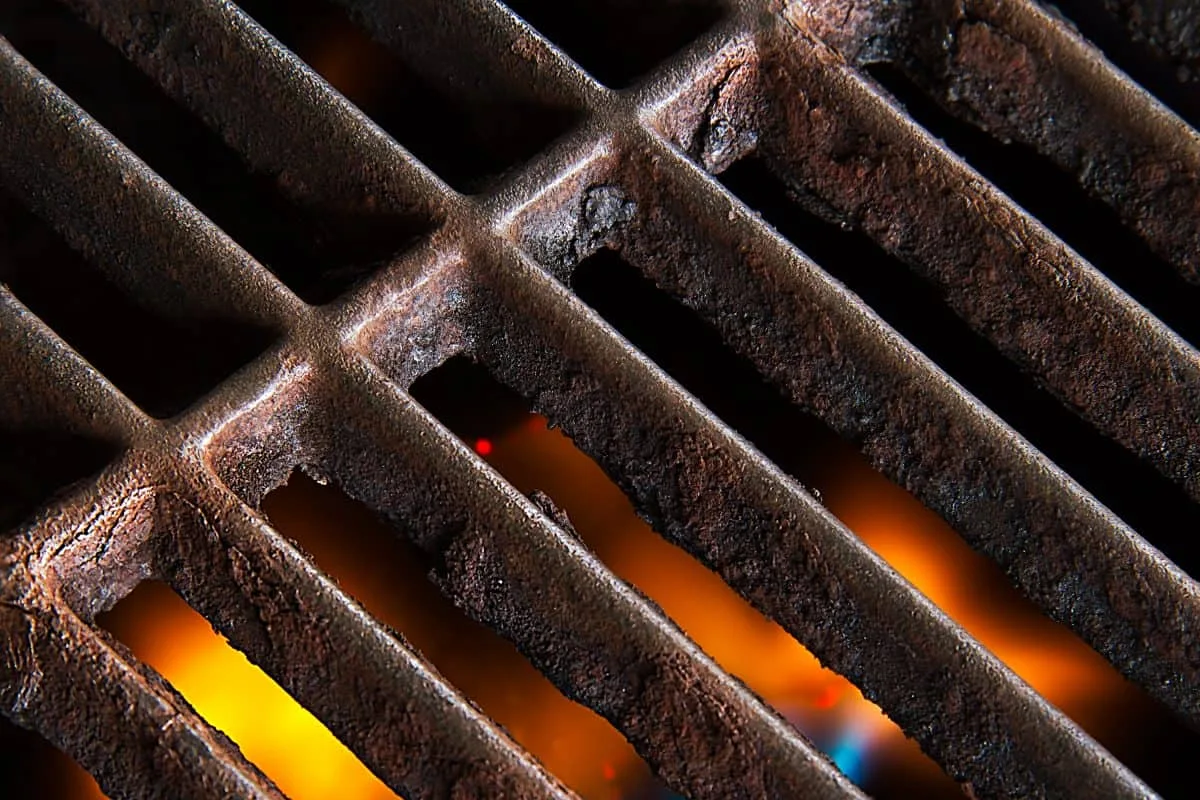
Image source: Web (Bing) / qaqooking.wiki (Web image (fair-use with source credit))
Bare Iron vs. Enameled: The Repair Rules Are Different
If your pan has a glassy, smooth coating in black, white, or cream, it's enameled cast iron. Steel wool will scratch that coating. Vinegar can dull it too.
Only remove rust from exposed iron on chipped rims, and even then use a gentle scrubber.
If the cooking surface is bare gray-black iron, you're in the right place. Bare iron can take steel wool, vinegar soaks, and oven heat. It's incredibly forgiving.
The Scratch Test and How Deep the Rust Goes
Run a fingernail across the rust. Does it catch? Is the surface rough?
That means active rust with texture. If your nail slides and you only see an orange-brown haze, that's flash rust, the easiest kind to fix.
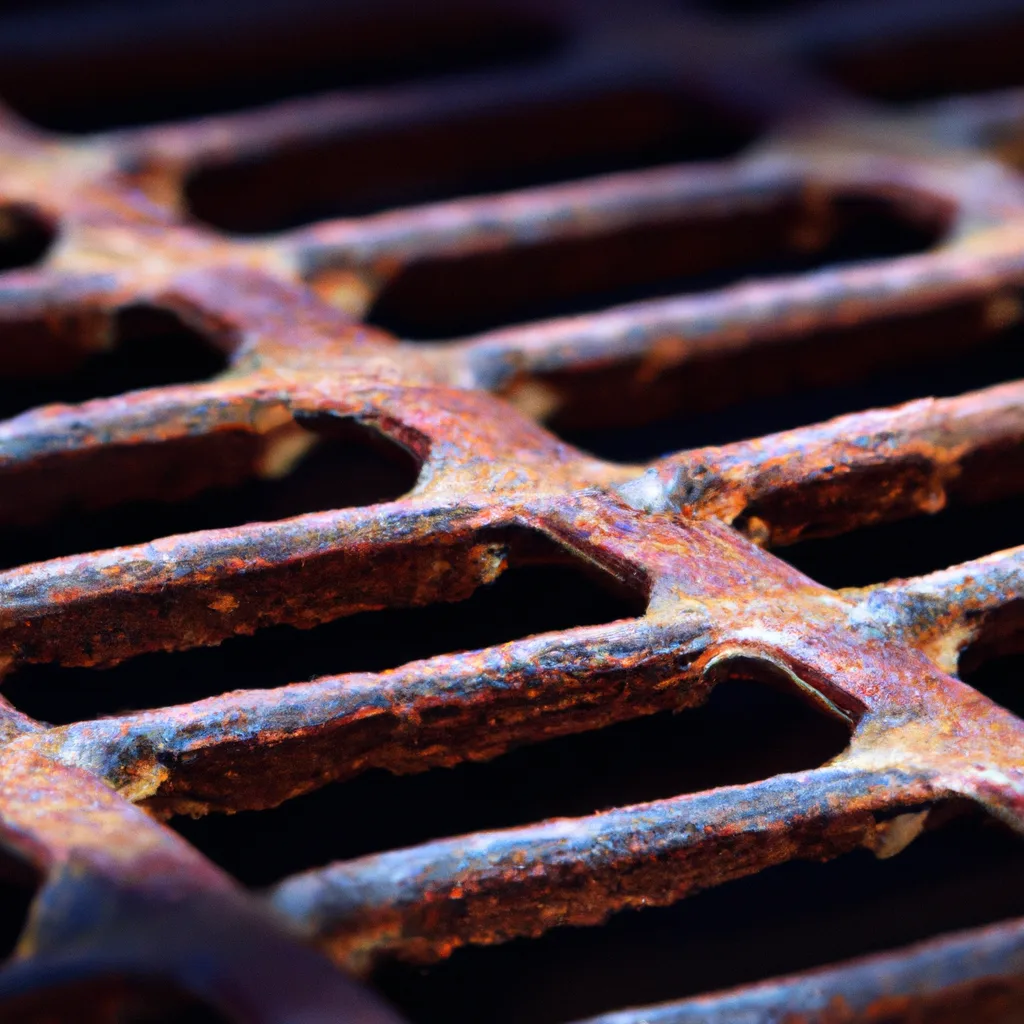
Then look for pitting. Small dark holes in the iron mean corrosion has eaten below the surface. Pitted pans still work, but they need a stronger treatment than a simple wipe.
Step 2: Match the Rust Removal Method to the Damage
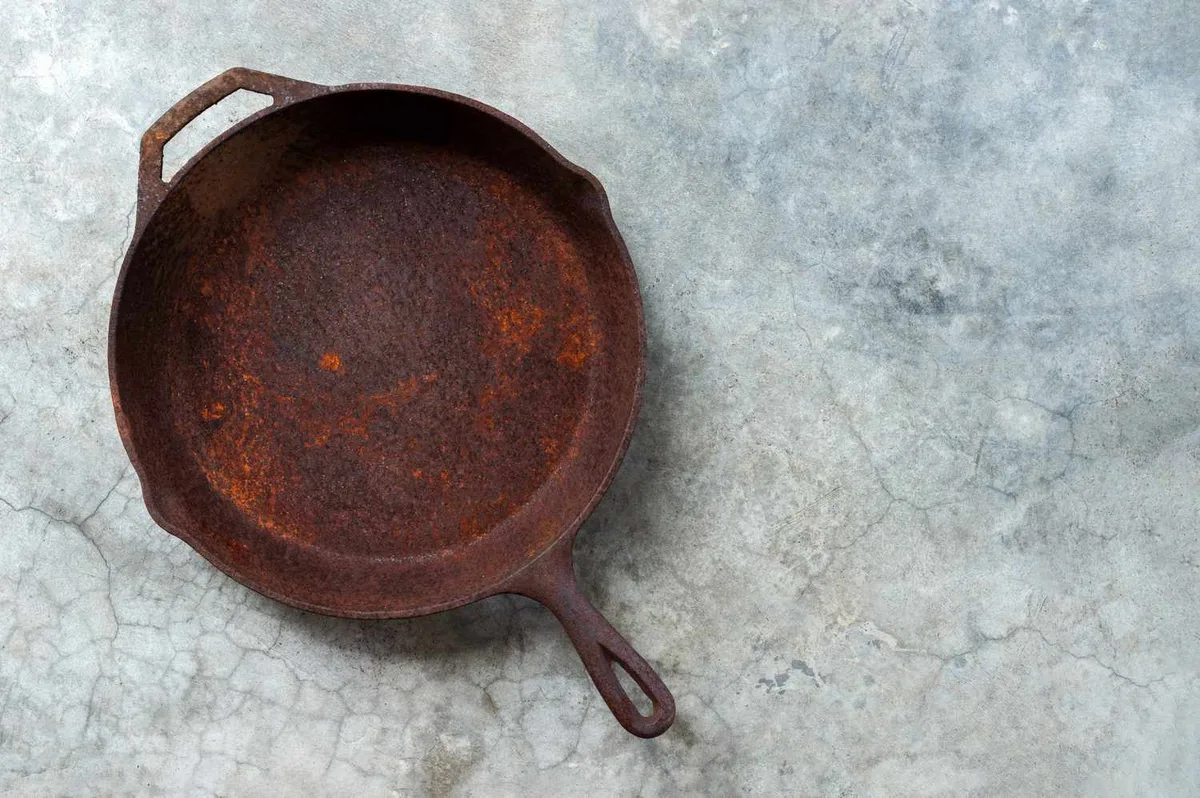
The right method depends on the rust level. Choose from three branches: light, heavy, or pitted with old seasoning. Here's the quick map:
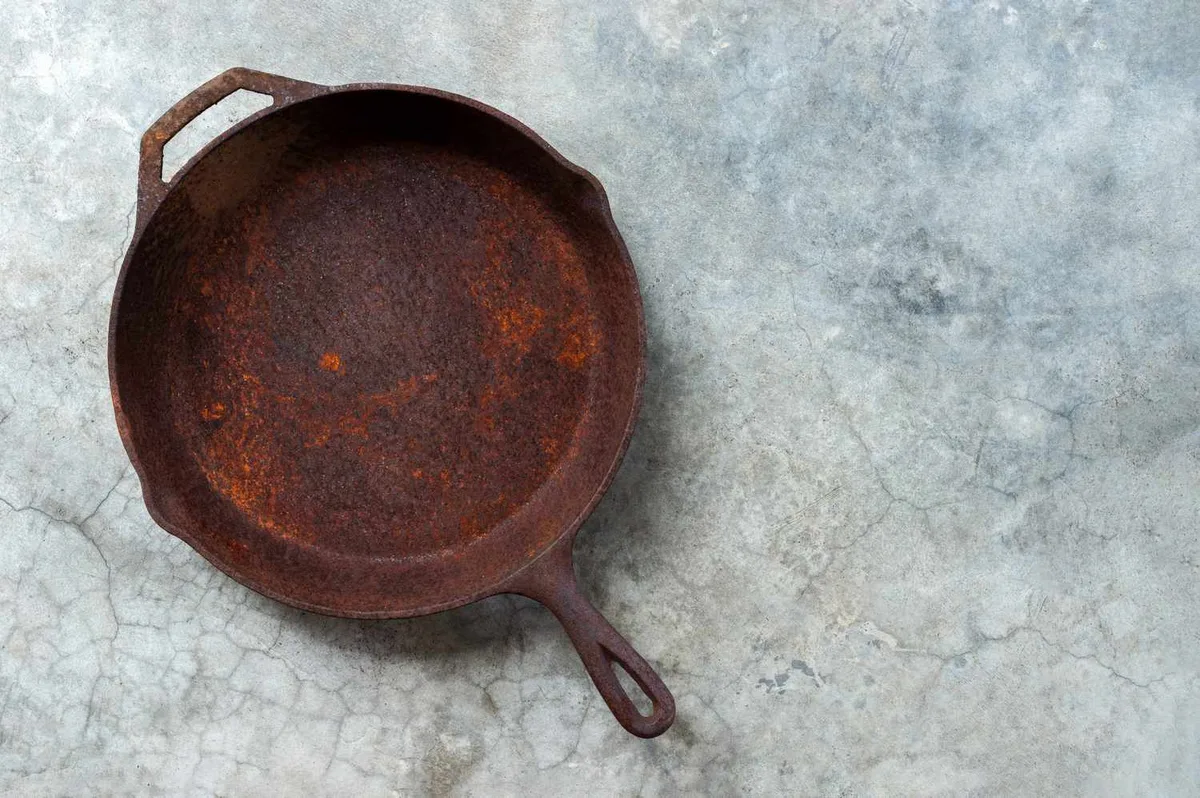
Image source: Web (Bing) / homewisereview.com (Web image (fair-use with source credit))
| Rust level | What it looks like | Best fix | | Light rust | Orange haze, smooth to the touch | Vinegar wipe and scrub | | Heavy rust | Flaky, rough, thick red-brown crust | 10 to 30 minute vinegar soak | | Pits or old seasoning | Dark holes, black gunky layers | Lye bath or electrolysis |
Light Rust: Vinegar Wipe, Scrub, and Immediate Drying
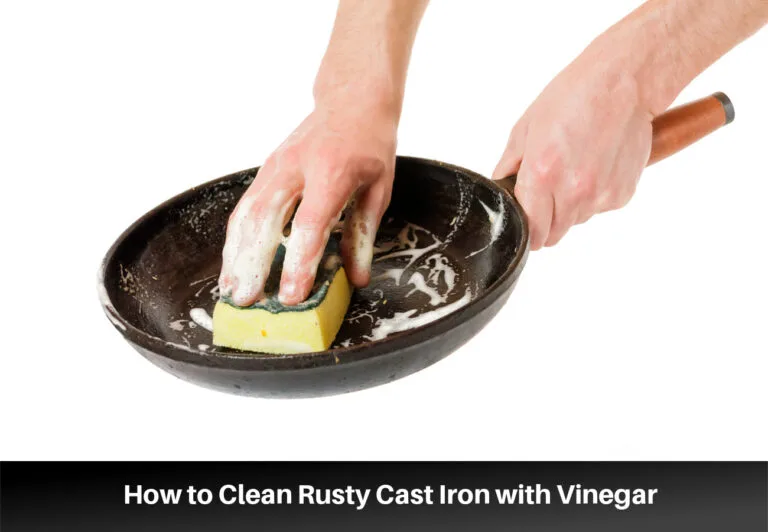
Mix equal parts white vinegar and water. Dip a cloth or scrubbing pad in it and wipe the rusted area. You should see the orange haze lift within a minute.
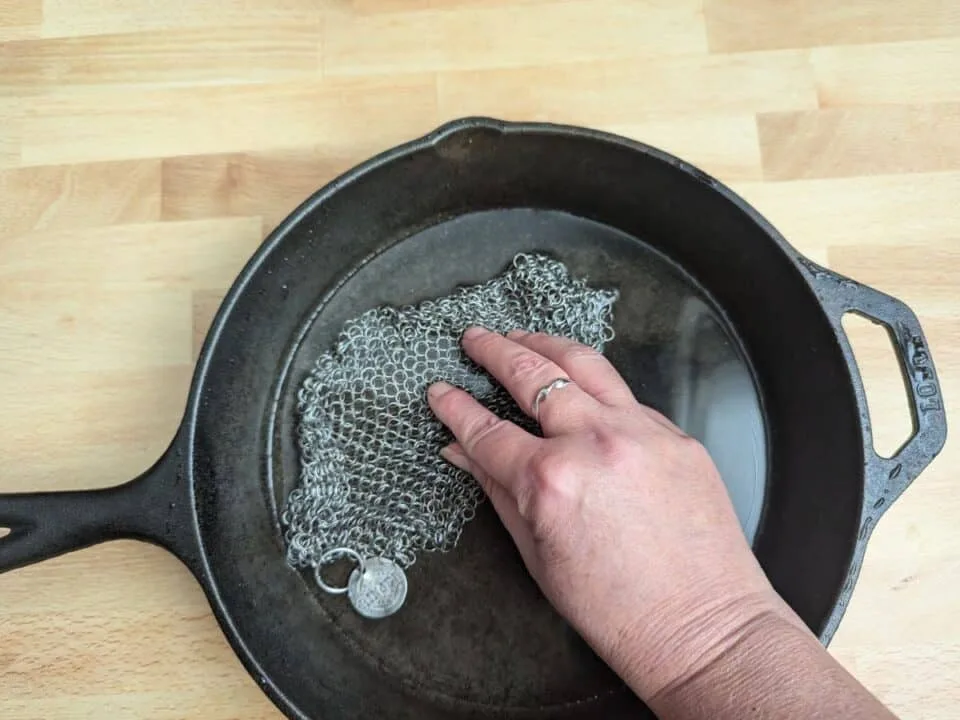
Scrub with fine steel wool or a chainmail scrubber. Rinse under warm water. Dry with a towel and set the pan on a low burner for two minutes to drive off moisture.
Heavy Rust: The 10 to 30 Minute Vinegar Soak
Submerge the pan in a 1:1 white vinegar and water solution. Check every 10 minutes. Heavy rust usually lifts within 30 minutes.
Never soak past two hours. Vinegar is an acid, and it will eat into the iron, leaving pits that are worse than rust. After the soak, scrub away any lifted rust with steel wool.
You may need one more soak for thick spots.
Pitted Iron or Stuck Seasoning: Electrolysis or Lye Bath
This branch is for vintage pans, heavily pitted skillets, or pans with layers of old burned-on seasoning. Electrolysis uses a battery charger, a bucket of water, and a piece of steel to pull rust off. Lye baths remove old seasoning without touching bare iron.
Neither is hard, but both need more setup. If you just want to cook again, skip these and use the heavy-rust soak. Use electrolysis or lye only when normal scrubbing won't cut it.
Step 3: Wash, Neutralize, and Dry the Bare Iron
After rust removal, the pan is bare and vulnerable. Wash it with warm water and a few drops of mild dish soap. Yes, soap is fine on bare iron.
It won't hurt the pan as long as you follow up with seasoning.
Neutralize any lingering acid. Mix one tablespoon of baking soda into a cup of water and wipe the whole pan down. This stops the vinegar from eating the iron while you work.
Dry the pan completely. Towel it off, then set it on a stove burner on low for three to five minutes. You'll see any leftover water evaporate.
If rust forms before your eyes, your drying step missed a spot.
Step 4: Re-Season in the Oven Like a Pro
Preheat the oven to 450°F. While it heats, rub a very thin layer of cooking oil over the entire pan. Good choices: grapeseed, canola, vegetable, or shortening.
Flaxseed oil works, but it can flake over time.
Now the critical part: wipe the oil off like you made a mistake. A thin, even layer is what you want. Aggregate reviews from home cooks show that too much oil leaves sticky spots.
If that happens, you'll need another scrub.
Place the pan upside down on the middle oven rack. Put a foil-lined baking sheet on the rack below to catch drips. Bake for one hour.
Then turn the oven off and let the pan cool inside without opening the door.
Repeat this oil-and-bake cycle three to four times. Each coat builds the polymerized seasoning layer that makes cast iron non-stick. General manufacturer guidance suggests one hour at 450°F per coat.
For a benchmark, check Lodge Cast Iron's official care guide for a manufacturer-run walkthrough of the same process.
Mistakes That Ruin a Rusty Cast Iron Rescue (and What to Do Instead)
Even seasoned home cooks make errors here. The good news is that most mistakes are reversible. The bad news is that a few can permanently damage your pan.
Using steel wool on enameled pans. Steel wool scratches the glassy enamel surface. Those scratches trap food and rust later. If your enameled pan has rust only on the rim, use a non-abrasive scrubber with baking soda paste.
For rust on the cooking surface, the enamel is likely chipped. That pan is unsafe for cooking.
Soaking too long in vinegar. White vinegar dissolves rust, but it also eats bare iron. A soak longer than two hours creates pits. Those pits collect food, resist seasoning, and rust again faster.
Set a timer. Check the pan every 10 minutes.
Skipping the drying step. Bare iron rusts within minutes if left wet. One reader shared that they scrubbed a pan, set it in the dish rack, and came back to orange streaks. Dry with a towel first.
Then heat the pan on the stove for three minutes.
Applying too much oil during seasoning. Thick oil pools and turns sticky. That sticky layer peels off during cooking. You then have to scrub it down and start over.
The trick is to wipe the oil on and then wipe it off like you changed your mind.
Using flaxseed oil exclusively. Flaxseed oil creates a beautiful hard finish. The problem is brittleness. Multiple home cook forums report that flax seasoning flakes off within months.
Our research suggests grapeseed or canola oil for a tougher, longer-lasting seasoning.
Restoring a warped pan. A wobbling pan on a flat stovetop cannot be fixed at home. The metal has expanded unevenly from overheating. No amount of seasoning fixes a heat warp.
If your pan rocks on a flat surface, consider recycling it.
Rust Prevention After the Fix: Drying, Oiling, and Storage
You fixed the rust. Now keep it gone. Prevention takes less than one minute after each use.
Dry the pan immediately after washing. Never let a cast iron pan air dry. Water beads evaporate, but dissolved minerals stay behind. Those minerals attract moisture and kickstart rust.
Towel dry completely. Then place the pan on a low burner for two minutes to drive off trapped moisture.
Apply a thin maintenance oil. After drying, add a drop of oil. Rub it over the entire cooking surface with a paper towel. The goal is a sheen, not a pool.
This thin layer seals the iron from oxygen.
Store in a dry place. Avoid cabinets above dishwashers or stoves. Steam from cooking and dishwasher cycles creates high humidity. That humidity condenses on cold iron and causes flash rust.
If you must store in a humid area, add a silica gel pack inside the pan.
Never stack pans without protection. Bare iron stacked directly on another iron pan scratches the seasoning. Use a paper towel or a felt pan separator between layers. This protects both the bottom pan and the seasoning on the one above.
Use the pan regularly. Aggregated user feedback shows that regularly used pans rarely rust. The cooking oil and heat from each meal reinforce the seasoning. A pan used once a month is more likely to develop rust than a daily driver.
Frequently Asked Questions
Can I use soap on cast iron?
Yes. Modern dish soap is mild and won't strip seasoning. Use a few drops on a sponge.
Rinse thoroughly. The old rule against soap comes from the era of lye-based soap, which damaged seasoning. That rule doesn't apply today.
How do I fix rust on an enameled cast iron pan?
For rust on the enamel surface, scrub with a paste of baking soda and water. If the enamel is chipped and the rust is on exposed iron, use the same vinegar method as bare iron. Stop if the pan shows deep chips.
Cooking on chipped enamel can release glass fragments.
Why does my pan rust after I seasoned it?
Three common causes. The pan was not completely dry before seasoning. The oil layer was too thick, creating weak spots.
Or the seasoning temperature was too low to polymerize the oil fully. Bake at 450°F for a full hour per coat.
Is it safe to cook in a rusted cast iron pan?
Light surface rust is not toxic. Iron oxide is the same compound found in fortified cereals. The real problem is texture.
Rust flakes into your food. Scrub the rust off before cooking. Heavy pitting or flaking enamel is unsafe.
How many times should I season a restored pan?
Three to four thin coats is standard for a restored pan. Each coat needs one hour at 450°F. Test the surface after four coats.
If it feels smooth and looks shiny black, you are done. If it looks patchy, add one more coat.
Can I strip seasoning and start over?
Yes. Oven cleaner with lye works well for bare iron. Spray it on, seal the pan in a plastic bag for 24 hours, and scrub off the old seasoning.
Electrolysis is another option for vintage pans with thick, stubborn seasoning.

Similar Posts