The Secret to Cleaning Rusty Cast Iron Skillets
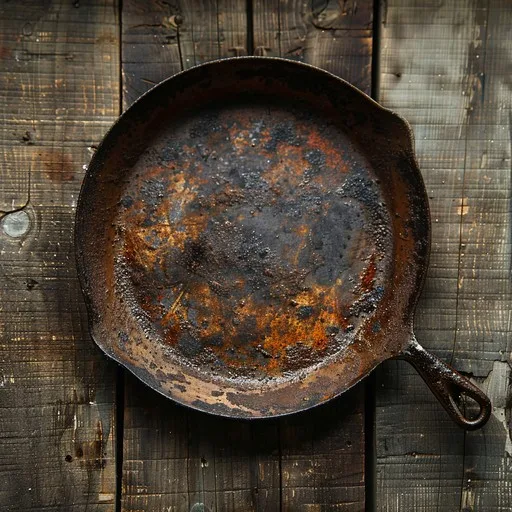
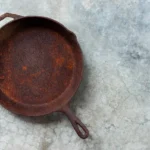
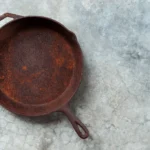
Few kitchen disappointments sting like pulling out your favorite cast iron skillet and finding a layer of orange rust. But here's the good news: rust is almost never fatal to cast iron. You just need to know how clean rusty cast iron skillet safely, and it'll be back to nonstick perfection in a few hours.
Rust is iron oxide, a byproduct of bare iron meeting moisture and oxygen. With the right tools and a little patience, every rusty pan can be restored. As of 2026, the most reliable methods remain simple, cheap, and doable at home.
Let's walk through the decision tree that determines which cleaning path your skillet needs.
Image source: Bing (Web (fair-use with source credit))
Quick Answer
To clean a rusty cast iron skillet, scrub off loose rust. For light rust, use steel wool and dish soap. For deeper rust, soak in a 50/50 vinegar-water bath.
Then rinse, dry, and re-season in the oven.
First, Stop Panicking: Identify the Rust Severity
Before you grab any cleaner, look closely at the pan. That tells you which path to take. Rust severity is the single biggest factor in choosing a cleaning method.
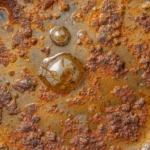
Light rust shows up as a thin orange dust. It wipes off onto your finger. The skillet's surface still feels smooth underneath.
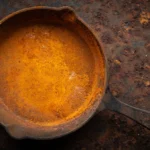
Moderate rust looks like flaky patches and rough spots. The surface feels gritty under your thumb. Deep pitting means rust has eaten craters into the iron itself.
You'll see heavy scale and a permanently uneven surface.
Use the table below to match your skillet's state to the right approach.
| Rust Severity | Visual Cues | Cleaning Path |
|---|---|---|
| Light surface rust | Orange dust, smooth underneath | Scrub with steel wool, then re-season |
| Moderate rust | Flaky patches, gritty feel | 50/50 vinegar soak, scrub, re-season |
| Deep pitting | Craters, heavy scale, rough texture | Long soak, electrolysis, or sanding |
Once you know the severity, the decision tree below will point you to the exact steps.
The Cleaning Decision Tree: Which Method Fits Your Skillet?
Now you know what you're dealing with, here's the decision tree. Your skillet's condition tells you which branch to follow. If you have light rust with intact seasoning, you don't need a chemical strip.
If the rust has spread deep, you might need to remove all old seasoning and start from bare iron.
Image source: Bing (Web (fair-use with source credit))
Light Rust: The Quick Scrub & Oil Path
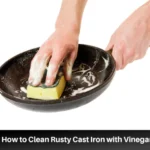
This is the best-case scenario. For light rust, grab a fine steel wool pad, some dish soap, and warm water. Scrub the rusty spots gently in a circular motion.
Rinse. Dry the pan immediately on a stovetop flame. Once dry, rub in a tiny drop of oil and heat until it smokes.
That's it.
Moderate Rust: The Vinegar Bath Route
For flaky patches, a vinegar bath is your friend. Mix a 50/50 solution of white vinegar and water. Submerge the skillet for 15 to 30 minutes.
Check every 5 minutes to avoid etching. Then scrub with coarse steel wool. Rinse, dry, and re-season.
Deep Pitting or Vintage Finds: The Long Soak or Electrolysis Path
If your pan has deep pits or you're restoring a vintage piece, patience pays. The yellow-cap oven cleaner route works for stripping old seasoning. For rust that's deeply embedded, an electrolysis tank removes it without grinding away original iron.
Both take overnight or longer.
The vinegar bath method removes rust, not old seasoning. The oven cleaner method removes seasoning, not rust. Electrolysis removes both cleanly and safely.
The Bare Iron Scrub: Step-by-Step Rust Removal
Once your rust is loose, you need to get down to bare gray iron. Here's the exact process for the most common scenario, a moderately rusty skillet after a vinegar soak.
First, drain the vinegar bath. Rinse the skillet under warm running water. Sprinkle baking soda on the surface to neutralize any remaining acid.
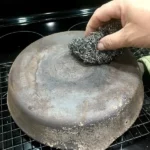
Then scrub with a chainmail scrubber or coarse steel wool. Work in small circles, focusing on the rusty spots until the iron looks gray and smooth.
Next, rinse thoroughly. Dry the skillet with a towel, then place it on a low burner for a few minutes. This evaporates every trace of moisture.
Flash rust can form in under 10 minutes if any water lingers, so move quickly.
Finally, apply a thin layer of oil across the entire surface. A paper towel with a few drops of vegetable oil is enough. This protects the bare iron while you preheat the oven for seasoning.
Re-Seasoning from Scratch: How to Build a Non-Stick Base
Now that your skillet is clean and bare, it needs a new protective layer. That layer is called seasoning, and it's what makes cast iron nonstick. Seasoning is polymerized oil, where heat bonds oil molecules to the iron.
Choose a neutral oil with a high smoke point. Canola, grapeseed, and vegetable oils work well. Avocado oil works too, but it can be pricey.
Avoid flaxseed oil, despite its popularity, because it flakes off. Manufacturer specifications from Lodge Cast Iron recommend a simple oil like vegetable oil for best results.
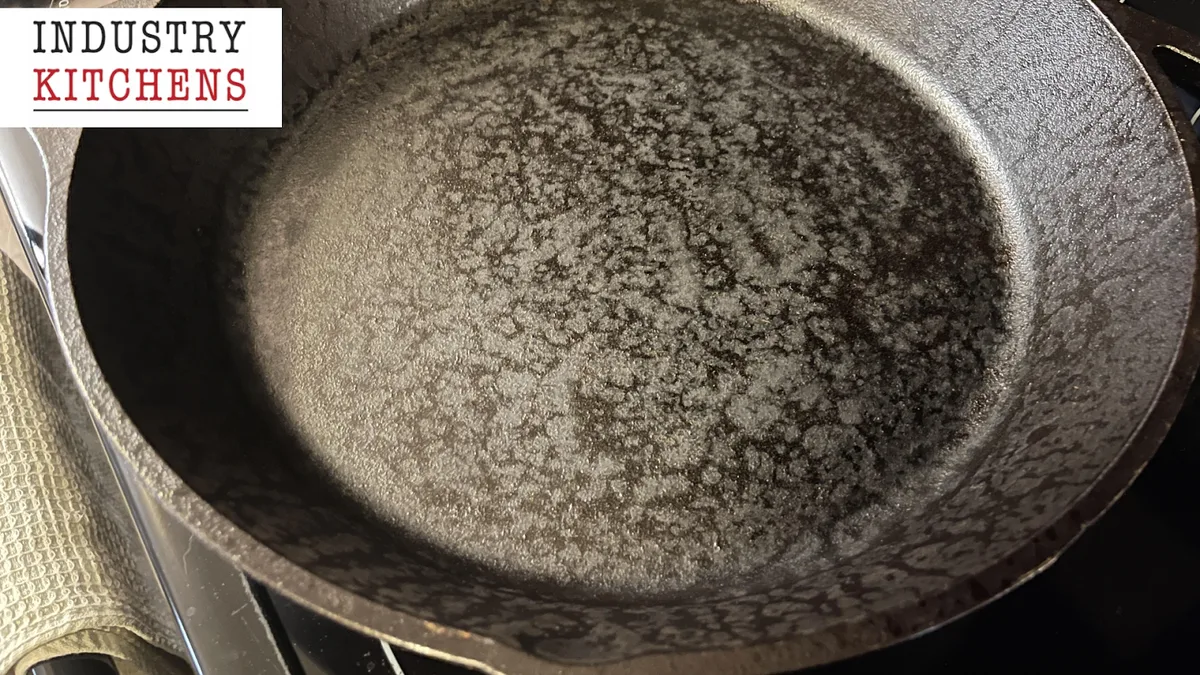
Image source: Bing (Web (fair-use with source credit))
Here's the reliable oven method: preheat your oven to 400°F. Rub a thin layer of oil over the entire skillet, inside and out. Then wipe it off like you made a mistake.
A truly thin layer is key. Place the skillet upside down on the middle rack. Put a sheet of foil underneath on the lower rack to catch drips.
Bake for one hour. Let it cool completely in the oven. Repeat this 3 to 4 times for a durable base.
If you're short on time, one round of seasoning can still protect the pan. But multiple coats create that slick, dark surface you see on well-loved cast iron. Each cycle adds another layer of polymerized oil.
5 Common Restoration Mistakes That Ruin Cast Iron
Even with the right tools, it's easy to wreck a skillet in the last few steps. These are the five most common mistakes we see in restoration attempts.
Soaking in vinegar too long. Vinegar is an acid. It eats rust but also eats iron. Keep soaks under 30 minutes, and check the pan every 5 minutes to monitor progress.
Using power tools on vintage pieces. A wire brush grinder can permanently scar original machined surfaces. It also removes the smooth finish that makes vintage skillets so valuable.
Running a self-cleaning oven cycle. These cycles reach temperatures above 800°F. That's hot enough to warp cast iron and ruin its heat temper. Stick to the oven seasoning method described above.
Applying oil too thickly. Thick oil pools and turns into a sticky, gummy coating. The pan will feel tacky, and it won't hold seasoning properly. Always wipe off more oil than you think you need.
Skipping immediate drying and oiling. Bare iron reacts with humidity in the air. Flash rust appears within minutes, undoing all your scrub work. Keep that paper towel and oil bottle right next to your drying station.
Avoid these five, and your skillet will come out smooth, black, and ready for cooking.
Real-Life Restoration Stories: From Rusty Yard Sale to Smooth Daily Pan
Theory is useful, but seeing how these methods play out in real scenarios is where the confidence builds. Here are three common situations we've researched, with the exact steps and outcomes.
The $5 Flea Market Skillet. A modern Lodge 10-inch was found with moderate rust and an inch of crusty old seasoning. The owner used the yellow-cap oven cleaner method to strip the seasoning overnight. Then a 20-minute vinegar soak removed the rust.
After three seasoning cycles in the oven, the pan looked nearly new. Total time was about 24 hours, but hands-on work was under an hour.
The Inherited Heirloom. A vintage 1930s Griswold had been sitting in a damp basement for decades. It had deep pitting and heavy rust scale. Electrolysis was the right call here, since sanding would have destroyed its smooth machined surface.
After 48 hours in the tank and five seasoning rounds, the skillet held eggs without sticking. The final seasoning required careful heat control to avoid warping the thinner vintage iron.
The Sink Accident. A modern preseasoned skillet was left soaking overnight in soapy water. The next morning, surface rust covered about half the cooking surface. This was a light rust case.
A quick scrub with coarse salt and a paper towel removed the rust in under five minutes. Then a single stovetop seasoning session brought it back.
These cases confirm one thing: the severity diagnosis is everything. Get that right, and the rest is just patience.
Frequently Asked Questions
Is rust on cast iron dangerous to eat?
Rust itself is iron oxide, and it's not toxic. Consuming small amounts is not harmful, though it tastes metallic and can discolor food. Always remove rust before cooking to protect the seasoning and avoid off-flavors.
How long can I leave cast iron in vinegar?
Never exceed 30 minutes in a 50/50 vinegar-water solution. Check the pan every 5 minutes. Longer soaks cause etching, leaving a rough surface that holds seasoning poorly and creates permanent pitting.
Can I use soap on bare cast iron during cleaning?
Yes. Dish soap is fine on bare iron during rust removal, as long as you rinse thoroughly. The old myth about never using soap came from the era of lye-based soap that stripped seasoning.
Modern dish soaps are gentle enough for the task.
Why does my re-seasoned skillet still look patchy?
Patchy seasoning usually means the oil layer was too thick, or the pan wasn't fully clean of rust before seasoning started. Strip it back and start over with a thinner oil coat. Each layer should be almost invisible before baking.
How do I prevent flash rust after cleaning?
Have a dry towel and oil bottle ready before you start scrubbing. Immediately after rinsing, dry the pan on a low stove burner. Then rub in a thin layer of oil across the entire surface while the pan is still warm.
Can I use my skillet right after one seasoning cycle?
You can, but the seasoning will be fragile. Manufacturers recommend at least three seasoning cycles for a durable base. For the first few uses, cook fatty foods like bacon or fried potatoes to help strengthen the layer.

Similar Posts