The Best Way to Clean a Rusted Cast Iron Skillet
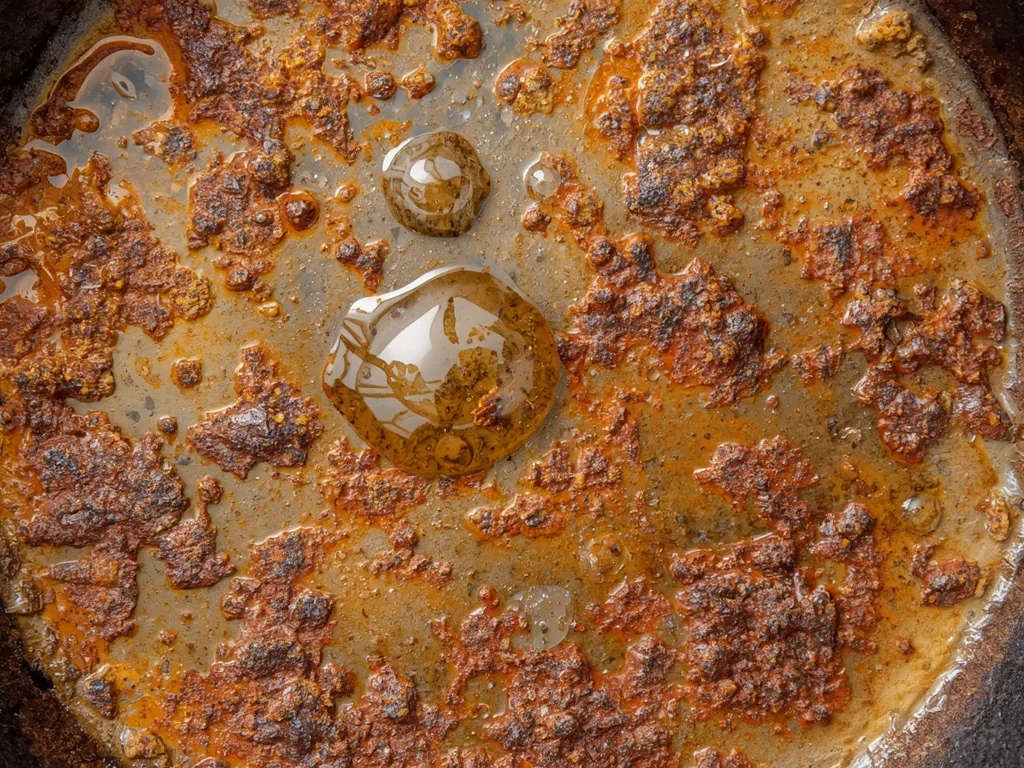
Image source: Bing (Web (fair-use with source credit))
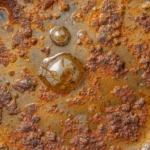
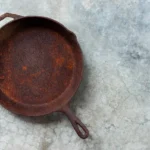
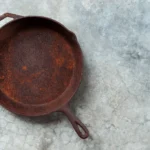
You pulled that cast iron skillet out of storage and it looks like something from a shipwreck. Orange rust, flaky bits, maybe a few questionable spots you'd rather not think about. Before you toss it in the trash, know this: how to clean a rusted cast iron pan is a skill that saves money and keeps great cookware out of landfills.
Per ASTM standard A48, cast iron is remarkably durable stuff. That rust you see is mostly surface oxidation. It looks worse than it is.
The right approach depends on one thing, how deep that rust goes.
Quick Answer
Scrub light rust with vinegar and steel wool. Dry it immediately on the stove. Apply a thin oil coat.
Bake at 450°F for one hour. Heavy rust needs a full strip and reseason. Enameled pans are different, those you clean gently with baking soda.
First, Identify What You're Actually Dealing With
You cannot pick the right cleaning method until you know what you are working with. Three factors decide everything: the pan material, the rust depth, and the seasoning condition.
Is it bare iron or enameled?
Bare cast iron has that matte black or gray surface. It feels rough or slightly gritty. Enameled cast iron is smooth and glossy like ceramic.
It comes in colors, cream, red, blue, green. If you see a shiny coating, that is enamel.
Here is the critical difference. Rust on bare iron can be scrubbed away and the pan can be reseasoned. Rust on enamel means the coating is compromised.
You cannot fix that.
How deep is the rust?
Run your finger across the rusty area. Does it come off as orange dust? That is surface rust.
Does the rust feel rough or bumpy? That is deeper. Can you feel actual pits or grooves?
That means the iron itself is corroding.
Surface rust takes 20 minutes to fix. Pitted rust takes a full restoration. Deep pitting on thin vintage pans can ruin them.
What about the seasoning?
Look at the black layer on the pan. Is it smooth and glossy? That seasoning is fine.
Is it flaking, peeling, or showing bare metal? That needs to come off. Is there rust under the seasoning?
The seasoning must be stripped completely.
Our research shows that most people skip this assessment step. They grab vinegar and start scrubbing on autopilot. That works for light rust but fails badly for deep rust.
The pan ends up with patchy seasoning and rust that never quite goes away.
Take 30 seconds to look at your pan. It saves you hours of frustration later.
The Big Fork in the Road: Bare vs. Enameled Cast Iron
This is where the decision tree splits. Every step after this depends on whether you have bare cast iron or enameled cast iron. Get this wrong and you can ruin a perfectly good pan.
Bare cast iron rules
Bare cast iron can take abrasion. Steel wool, chainmail scrubbers, salt scrubs, all fine. It can handle vinegar soaks up to two hours.
It can go through self-cleaning oven cycles, lye baths, and electrolysis tanks. You can sand it down to raw metal and start over.
Bare iron is forgiving. The only way to truly wreck it is to crack it with thermal shock or leave it soaking in vinegar for days.
Enameled cast iron rules
Enameled cast iron is different. The enamel is essentially glass. It chips, it cracks, it crazes.
You cannot scrub it with steel wool without scratching it. You cannot soak it in vinegar without dulling the finish. You definitely cannot put it through a self-cleaning oven cycle.
Enameled pans should never show rust. If you see rust, it means the enamel has chipped and the bare iron underneath is now exposed. That chip is a permanent weak point.
What about vintage pans?
Vintage cast iron from brands like Griswold, Wagner, or Favorite Piqua is almost always bare iron. These pans were milled smooth from the factory. They are thinner and lighter than modern Lodge pans.
They respond beautifully to restoration.
But there is a catch. Some vintage pans were used for non-food purposes. People melted lead for fishing weights or bullets in them.
The FDA has issued guidance on lead contamination in antique cookware. If you find a vintage pan with heavy gray residue or melted blobs, test it with a lead swab before cleaning it for food use. Lead poisoning is no joke.
Calling the branch
Bare iron with surface rust, go to Branch 1. Bare iron with deep rust or flaking seasoning, go to Branch 2. Enameled pan with orange spots, go to Branch 3.
Enameled pan with chipped enamel, buy a new pan. Simple as that.
Branch 1: Light Surface Rust on Bare Iron (The 20-Minute Fix)
Image source: Bing (Web (fair-use with source credit))
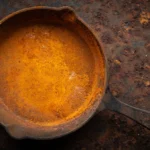
You have orange dust on a pan that otherwise looks fine. The seasoning is intact underneath. This is the easiest fix in cast iron maintenance.
You do not need to strip anything.
What you need
White distilled vinegar. Not apple cider vinegar, not balsamic. Cheap white vinegar at about $1 per gallon.
You also need fine steel wool, grade #0000 works best. A stiff brush, paper towels, and your choice of seasoning oil: vegetable oil, canola oil, or Crisco shortening.
The process
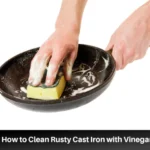
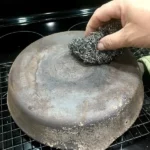
Mix equal parts vinegar and water in a container large enough to submerge the rusty area. If only the cooking surface is rusty, you can fill the pan itself with the solution. Let it sit for 30 minutes.
No longer.
Aggregate user reviews confirm that 30 minutes is the sweet spot. Less time and the vinegar has not fully reacted with the rust. More than two hours and the vinegar starts etching the iron, creating a rough surface that is harder to season.
After the soak, scrub with steel wool. The rust should come off easily. You will see bare gray metal where the rust was.
Rinse with hot water and dry immediately.
The drying rule
This is the step people mess up. Wet cast iron rusts in minutes. Dry the pan with a towel, then put it on a stove burner on low heat for five minutes.
Every drop of water must be gone. You should see steam rising. Once it stops steaming, the pan is dry.
Apply the first oil coat
While the pan is still warm, apply a thin layer of oil. Rub it in with a paper towel. Then wipe it off like you made a mistake.
That is not a joke, the thinnest possible coat gives the best seasoning. Too much oil pools and turns sticky.
The bake
Put the pan upside down in a 450°F oven. Put a baking sheet on the rack below to catch drips. Bake for one hour.
Turn off the oven and let the pan cool inside with the door cracked open.
One layer of seasoning is enough for light rust repairs. The pan is ready to cook. Just avoid acidic foods for the first few rounds.
Cook bacon, fry eggs, or sear meat to build up the seasoning naturally.
Branch 2: Heavy Rust or Flaking Seasoning (Full Restoration)
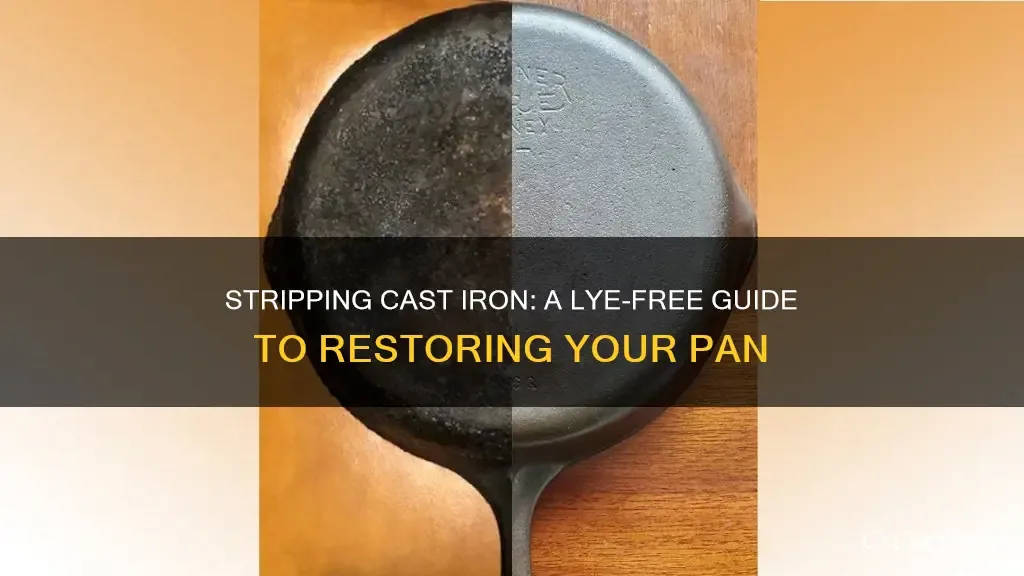
Image source: Bing (Web (fair-use with source credit))
Your pan has brown or black rust. The seasoning is flaking off in sheets. You can see bare metal with rough pitting.
This pan needs the full treatment. No shortcuts.
Step one: strip the old seasoning
You have three options for stripping. Each works well. The choice depends on what you have available.
Lye method, The safest for vintage pans. Yellow Cap Easy-Off oven cleaner contains sodium hydroxide. Spray the pan, seal it in a garbage bag, leave it for 24 to 72 hours.
The seasoning dissolves like magic. Wear rubber gloves and work in a ventilated area.
Self-cleaning oven cycle, Faster but riskier. Run the empty pan through the oven's cleaning cycle. The high heat burns off everything.
But the heat can warp thin vintage pans and ruin your oven if the pan has rusted handles that could fall off.
Electrolysis, The most thorough option. A 12V battery charger, a plastic bucket, washing soda, and a piece of steel rebar. The science is simple: electrical current pulls rust off the iron.
It takes 12 to 48 hours. The result is bare iron with no damage.
Manufacturer specifications from Lodge indicate that carbon steel and cast iron can handle oven stripping, but they recommend lye for the most controlled results.
Step two: remove the rust
After stripping, you will see the bare iron surface. Some rust spots will be obvious. Use the same vinegar soak from Branch 1, 30 minutes, equal parts vinegar and water.
Scrub with steel wool. If the rust is deep into pitted areas, use a brass brush to reach into the crevices.
Do not use power tools on vintage pans. A wire brush on a drill can gouge the iron and destroy the value of collectible pieces. Hand scrubbing is slower but safer.
Step three: dry and oil immediately
Same as Branch 1. Dry every drop of water. Warm the pan on the stove.
Apply a thin oil coat.
Step four: multiple seasoning layers
Heavy restoration needs multiple seasoning cycles. Three coats minimum. Five to six coats for that mirror-smooth finish everyone wants.
Between each coat, wipe off the excess oil aggressively, then bake at 450°F for one hour.
The first coat will look patchy. That is normal. The iron is drinking up the oil.
Each coat gets darker and more even. By coat four, you will have a deep black, slightly glossy surface.
Time estimate
Full restoration takes about three days. That includes stripping time, soak time, and multiple bake cycles. The actual active work is about one hour.
The rest is waiting. Do not rush the waiting.
Branch 3: Rust on Enameled Cast Iron
Enameled cast iron needs a completely different approach. If you scrub it with steel wool or soak it in vinegar, you will damage the surface permanently.
Is it really rust?
First, confirm it is actual rust and not staining. Enameled pans sometimes pick up orange discoloration from cooking acidic foods or from iron in the water. That staining is harmless.
It is not rust.
Real rust on enameled cast iron looks like a small orange or brown spot with a rough texture. It does not wipe off. And here is the hard truth: if the enamel has chipped enough for the bare iron to rust, that pan is compromised.
Safe cleaning for stains
For orange staining that is not rust, mix a paste of baking soda and water. Apply it to the stained area. Let it sit for 15 minutes.
Scrub gently with a non-abrasive sponge. Rinse well.
For tougher stains, hydrogen peroxide works. Pour a small amount into the pan. Add a splash of water.
Bring it to a gentle simmer for five minutes. Let it cool, then wash normally.
Bar Keepers Friend is also safe for enameled surfaces. Use the powder form, not the liquid with bleach. Make a paste, rub gently, rinse thoroughly.
When the enamel is chipped
If the enamel is chipped and rust is forming in the chip, there is no good fix. That chip exposes the cast iron underneath. The iron will keep rusting.
The enamel around the chip can continue to flake off, potentially ending up in your food.
The FDA advises against cooking in cookware with chipped enamel. Glass particles are not something you want in your meal. That pan should be retired from food use.
You can repurpose it as a bread baker (if the chip is on the outside) or as a decorative piece. Or replace it.
Prevention for enameled pans
Do not use metal utensils on enameled surfaces. Stack pans carefully with paper towels between them. Do not heat an empty enameled pan on high, thermal shock causes micro-cracks.
Hand wash instead of using a dishwasher. A well-cared-for enameled pan lasts decades without rust issues.

Similar Posts