Instant Pot Rice Recipes: Fast & Fluffy Every Time
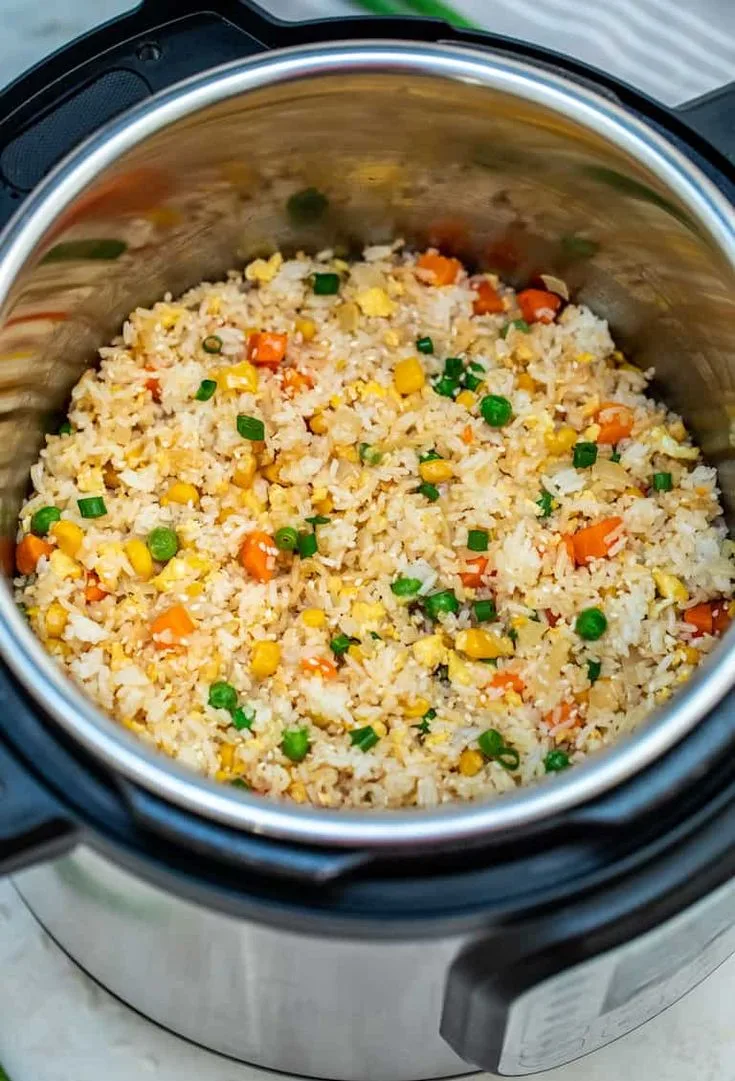
If you’ve ever opened your Instant Pot expecting fluffy rice and found a gummy, stuck mess instead, you’re not alone. The truth is, most complaints about instant pot rice recipes come down to one simple thing: treating all rice the same. White long-grain, brown, jasmine, and basmati each need different timing and water.
Get those two numbers right and you’re most of the way there.
Per the Instant Pot manufacturer’s guidelines, the standard water-to-rice ratio for white rice is 1:1, not the 2:1 many people assume from stovetop cooking. That one change alone fixes more burnt and mushy results than any other adjustment. Let’s walk through what actually works, rice by rice.
Image source: Bing (Web (fair-use with source credit))
Why Your Instant Pot Rice Keeps Coming Out Wrong
It’s not your Instant Pot. It’s almost always the recipe.
Most people grab any “rice” setting or a generic recipe from a search and expect it to work for every grain. But the Instant Pot cooks with pressure, not simmering water, so the rules change. Stovetop calls for a 2:1 water ratio.
Pressure cooking uses much less, often a 1:1 ratio, because hardly any steam escapes.
The other big factor is the rice itself. Fresh rice absorbs less water. Old rice absorbs more.
Brown rice has an intact bran layer that takes almost five times longer to soften. Basmati and jasmine are delicate and turn to paste if you overcook them by even a minute. Short-grain sushi rice needs extra moisture and a full natural release to stay sticky.
There’s also the altitude factor. If you live above 2,000 feet, you need to increase pressure time by about five percent per thousand feet. The Instant Pot’s preset button doesn’t adjust for elevation, so manual time entry becomes essential at high altitudes.
And then there’s the “burn” warning. That dreaded message pops up when the inner pot gets too hot, usually because the ratio is off or you skipped rinsing the rice. Starch settling on the bottom scorches before the rest of the rice cooks.
That’s why the three levers we’re about to cover matter so much.
Get the ratio right. Get the time right. Pick the correct release method.
That’s the whole formula. Ignore one and you’re playing roulette.
The Three Levers: Water Ratio, Pressure Time, and Release Method
Think of these three settings as dials you adjust for every bag of rice. Once you understand each one, you’ll never need another recipe.
Water Ratio
Pressure cookers trap steam, so most of the water stays inside. White rice needs a 1:1 ratio by volume. Brown rice needs a 1:1.25 ratio because the bran absorbs more moisture and takes longer to hydrate.
Jasmine and basmati do well at 1:1 to 1:1.25 depending on how old the grain is. Fresh crop rice needs the lower end; last year’s bag might need the higher end.
Use broth instead of water for flavor, but keep the volume the same. Adding oil or butter doesn’t change the ratio, though a tablespoon can help reduce foaming.
Pressure Time
This is where rice type really matters.
- White long-grain: 3-4 minutes on high pressure
- Medium-grain or short-grain: 4 minutes
- Brown rice (long-grain): 22 minutes
- Brown rice (short-grain): 25 minutes
- Jasmine: 4 minutes
- Basmati: 4-6 minutes (rinsed)
- Sushi rice: 4 minutes
- Arborio (risotto): 5-7 minutes
Times assume high pressure. Low pressure isn’t typically used for rice, it won’t gelatinize the starch properly.
Release Method
Natural release (NPR) lets the pressure drop slowly on its own. This continues cooking the rice gently for about 10-15 minutes. White rice, jasmine, and basmati need NPR to finish steaming without turning gummy.
Quick release (QR) blasts steam out immediately and should only be used for varieties that overcook fast, like arborio or very delicate grains.
A mistake here ruins the texture. Quick-releasing white rice gives you crunchy centers and a watery exterior. Letting brown rice NPR too long can turn it mushy.
Follow the recommended release for your specific grain.
The Quick Guide: Rice Type, Water, Time, and Release
Here’s your decision tree. Find your rice type in the left column, then match the row.
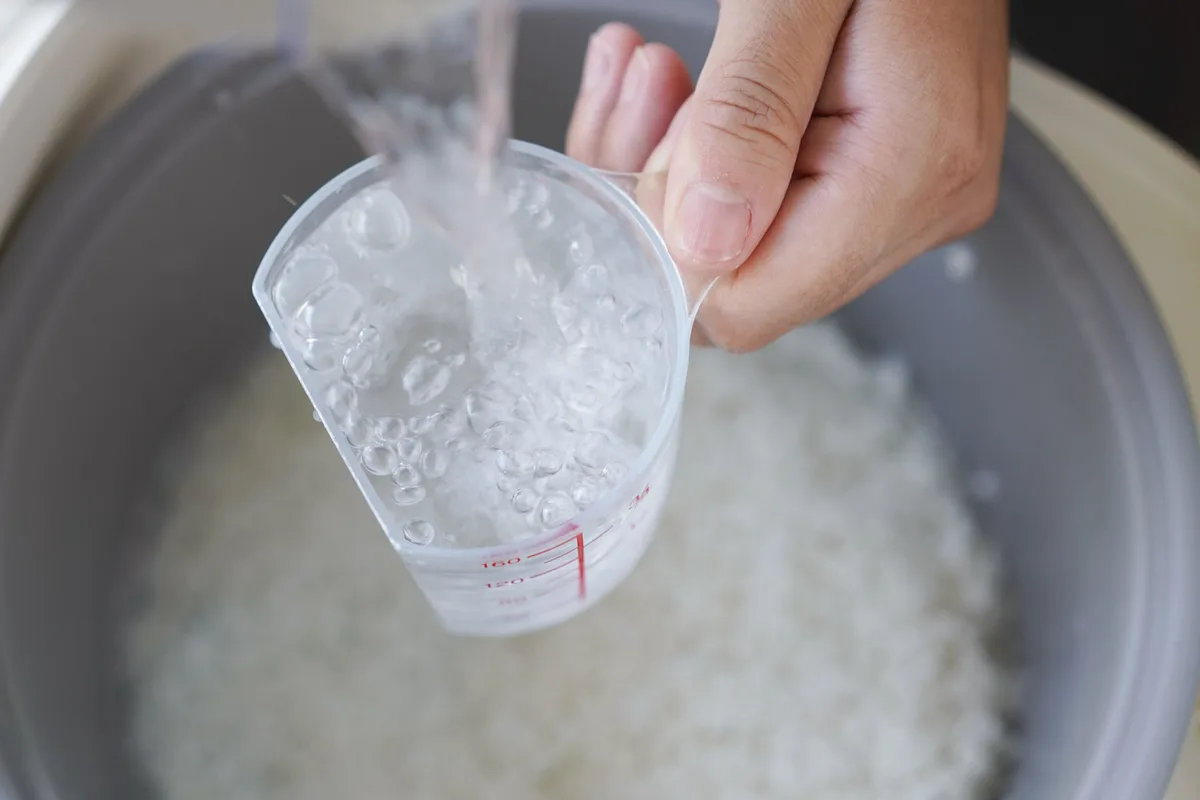
Image source: Bing (Web (fair-use with source credit))
| Rice Type | Water (per 1 cup dry) | High Pressure Time | Release Method |
|---|---|---|---|
| White long-grain | 1 cup | 3-4 minutes | NPR 10 min |
| White medium-grain | 1 cup | 4 minutes | NPR 10 min |
| White short-grain (sushi) | 1 cup | 4 minutes | NPR 10 min |
| Brown long-grain | 1.25 cups | 22 minutes | NPR 10 min |
| Brown short-grain | 1.25 cups | 25 minutes | NPR 10 min |
| Jasmine | 1-1.25 cups | 4 minutes | NPR 10 min |
| Basmati (rinsed) | 1-1.25 cups | 4-6 minutes | NPR 10 min |
| Arborio (risotto) | 1.25 cups | 5-7 minutes | Quick release |
Natural release means wait until the pin drops on its own, don’t force it. That usually takes 10-12 minutes. If you’re in a rush, you can quick release after NPR, but never skip the NPR entirely for white, jasmine, basmati, or sushi rice.
One more note: the water measurement is for standard US measuring cups. Use the same cup for rice and water to keep the ratio precise. Don’t use the Instant Pot’s inner pot markings for water, they’re not calibrated for rice ratios.
If you’re cooking more than one cup of rice, scale both rice and water equally. The pressure time stays the same regardless of quantity, as long as you don’t fill the pot past the halfway mark.
How to Cook Each Rice Type, Step by Step
Let’s get specific. Here’s what you actually do for the most common varieties.
White Long-Grain (Standard White Rice)
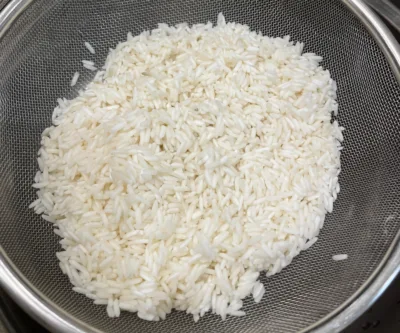
Rinse the rice in a fine-mesh strainer until the water runs clear. That takes about 30 seconds. Add it to the inner pot with equal parts water.
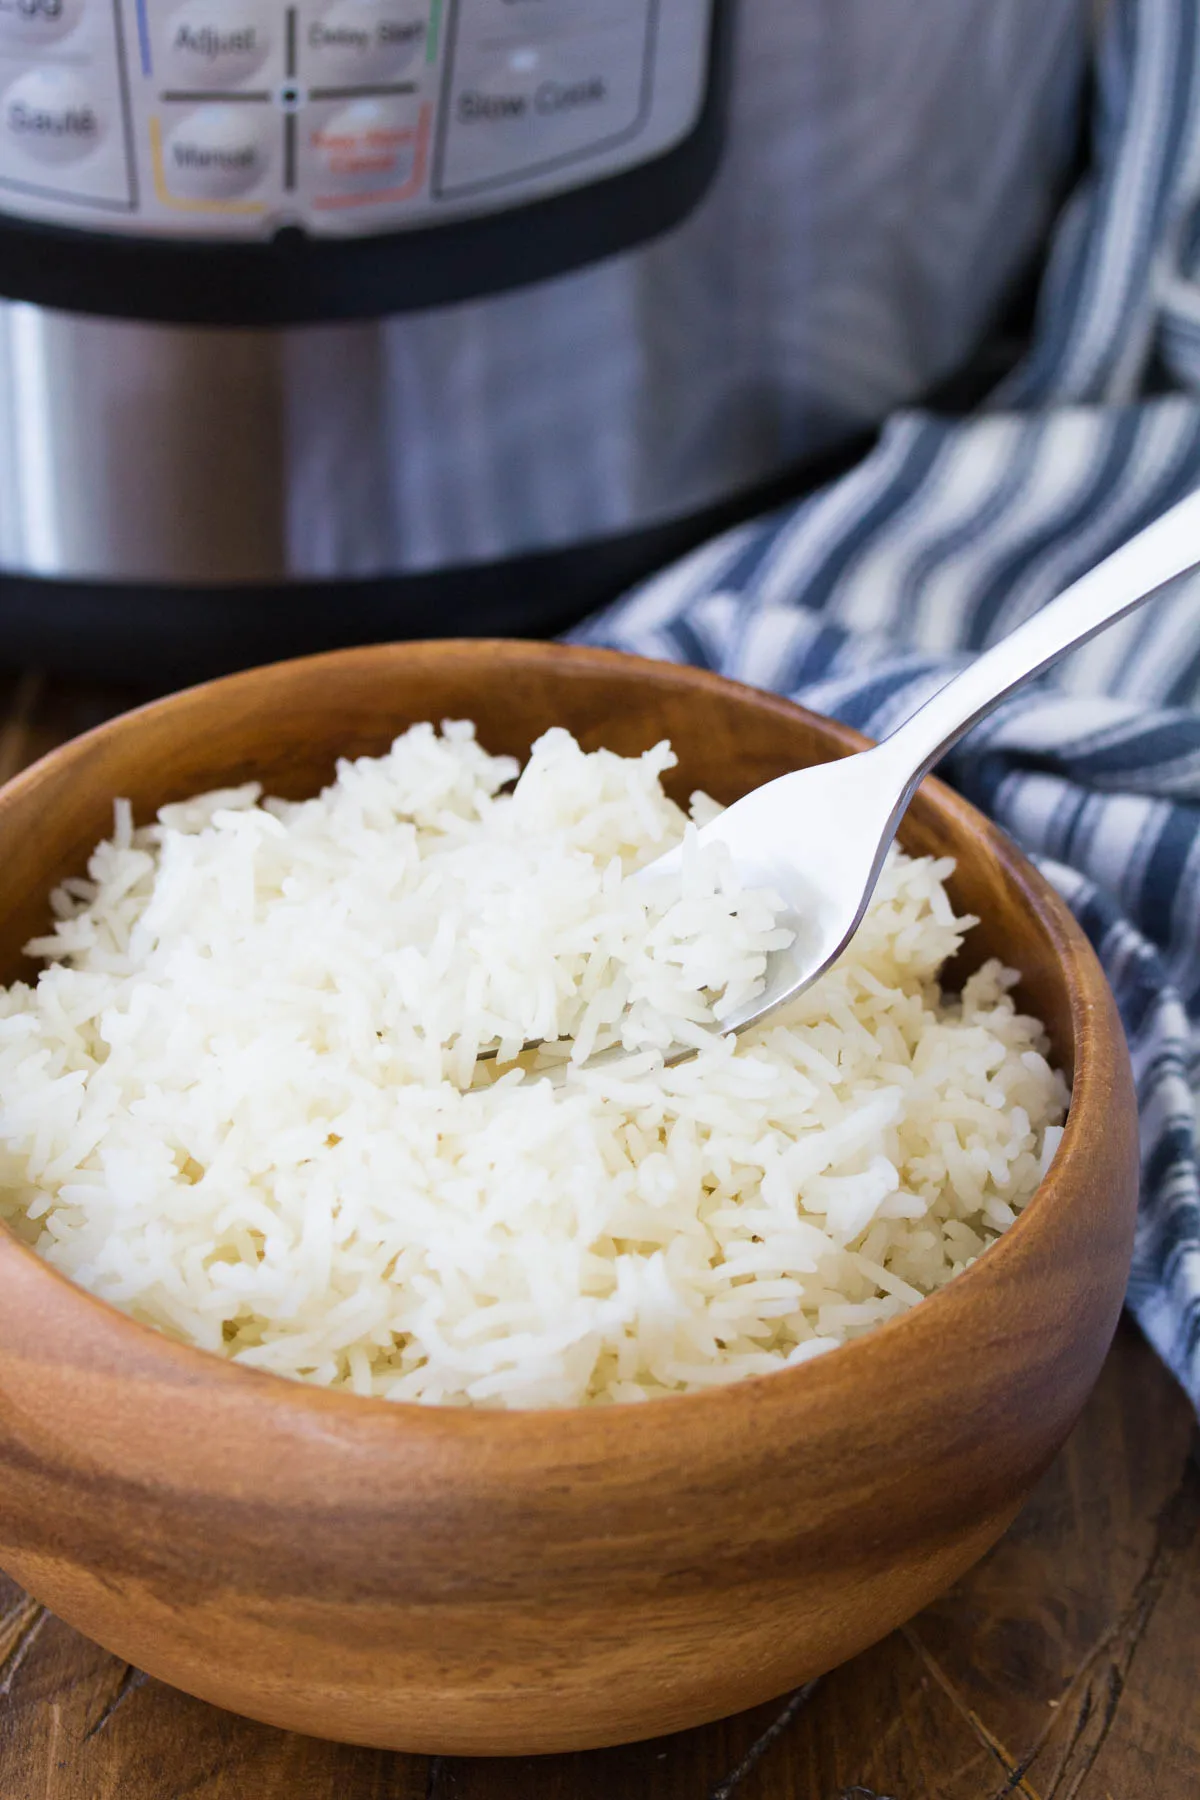
Close the lid, set the valve to Sealing, press Manual or Pressure Cook on High, and set the timer to 3 minutes for fluffy rice or 4 minutes for slightly softer. When the timer ends, leave it alone for 10 minutes. Then release any remaining steam, open the lid, and fluff with a fork.
Jasmine Rice
Rinse well. Jasmine releases more starch than standard white rice, so skipping the rinse gives you a sticky, clumpy mess. Use 1 cup water per cup of rice.
Pressure cook on high for 4 minutes. Natural release 10 minutes. The grains should be separate and tender.
If they’re still firm, add 1-2 tablespoons of water and let them sit covered for 5 minutes.
Basmati Rice
Rinse until the water runs clear, then soak for 15-30 minutes if you have time. Drain well. Use 1 to 1.25 cups water per cup of dry rice.
Pressure cook on high for 4 minutes for fluffy, separate grains, or 6 minutes for slightly softer. Natural release 10 minutes. Fluff gently with a fork.
Over-stirring breaks the long grains.
Brown Rice (Long-Grain)
Rinsing is optional but recommended to remove surface dust. Use 1.25 cups water per cup of dry brown rice. Pressure cook on high for 22 minutes.
Natural release 10 minutes. Brown rice has a chewy, nutty texture. If you want it softer, add 2-3 minutes to the pressure time.
Don’t skip the rinsing if you’re sensitive to arsenic levels, the USDA recommends rinsing brown rice thoroughly.
Sushi Rice (Short-Grain)
Rinse twice to remove excess starch. Use 1 cup water per cup of sushi rice. Pressure cook on high for 4 minutes.
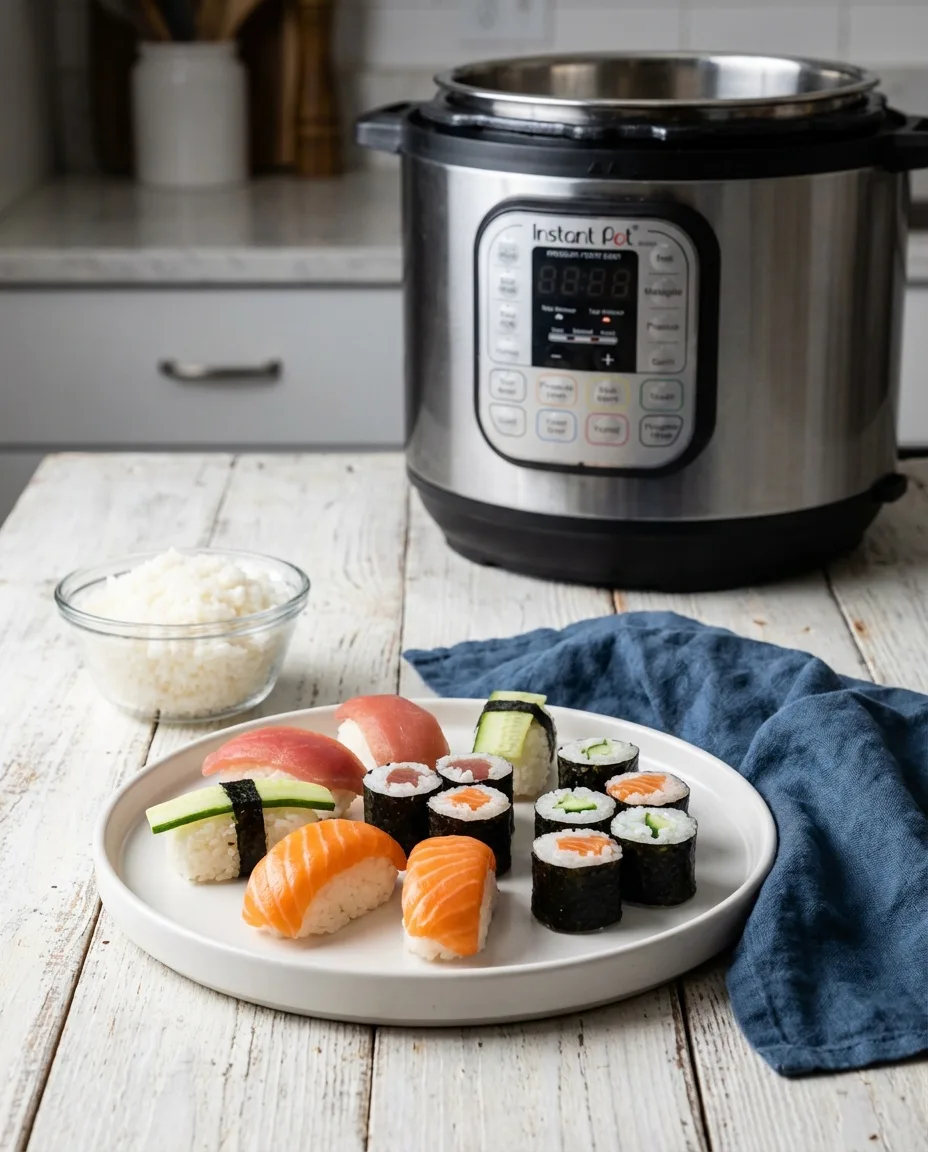
Natural release 10 minutes. The rice should be sticky enough to hold together but not mushy. Mix in seasoned rice vinegar while it’s still warm for sushi or rice balls.
The Common Mistakes That Ruin Instant Pot Rice
Even experienced cooks trip on these. Here are the biggest ones.
Not rinsing the rice. Starch dust on dry rice gels during pressure cooking and turns the water into a gluey slurry. That’s what causes the dreaded “burn” warning and the gloopy texture. A quick rinse under cold water fixes it.
Using the 2:1 stovetop ratio. That’s the number one reason for mushy, watery rice. Pressure cooking needs half that water. Stick to 1:1 for white rice.
Quick-releasing everything. We’ve said it before, but it’s worth repeating. Quick release for white rice forces steam out so fast that the interior grains stay undercooked. Always give white rice at least 10 minutes of natural release.
Overfilling the pot. The Instant Pot manual says not to fill past the halfway mark when cooking foods that foam or expand, like rice. Starch bubbles can clog the steam valve. Stick to 2 cups dry rice max for a 6-quart pot.
Ignoring the burn warning. If you see “Burn” on the display, don’t ignore it. Turn off the pot, release the pressure manually, and check the bottom. Scraped-off burnt rice won’t fix itself.
If the bottom is scorched, transfer the unburnt rice to a new pot or serve around the darkened layer.
Using the rice preset button. The built-in rice program on most Instant Pot models works okay for some white rice, but it’s inconsistent for basmati, jasmine, or brown rice. Manual pressure time gives you full control. Skip the preset.

Similar Posts