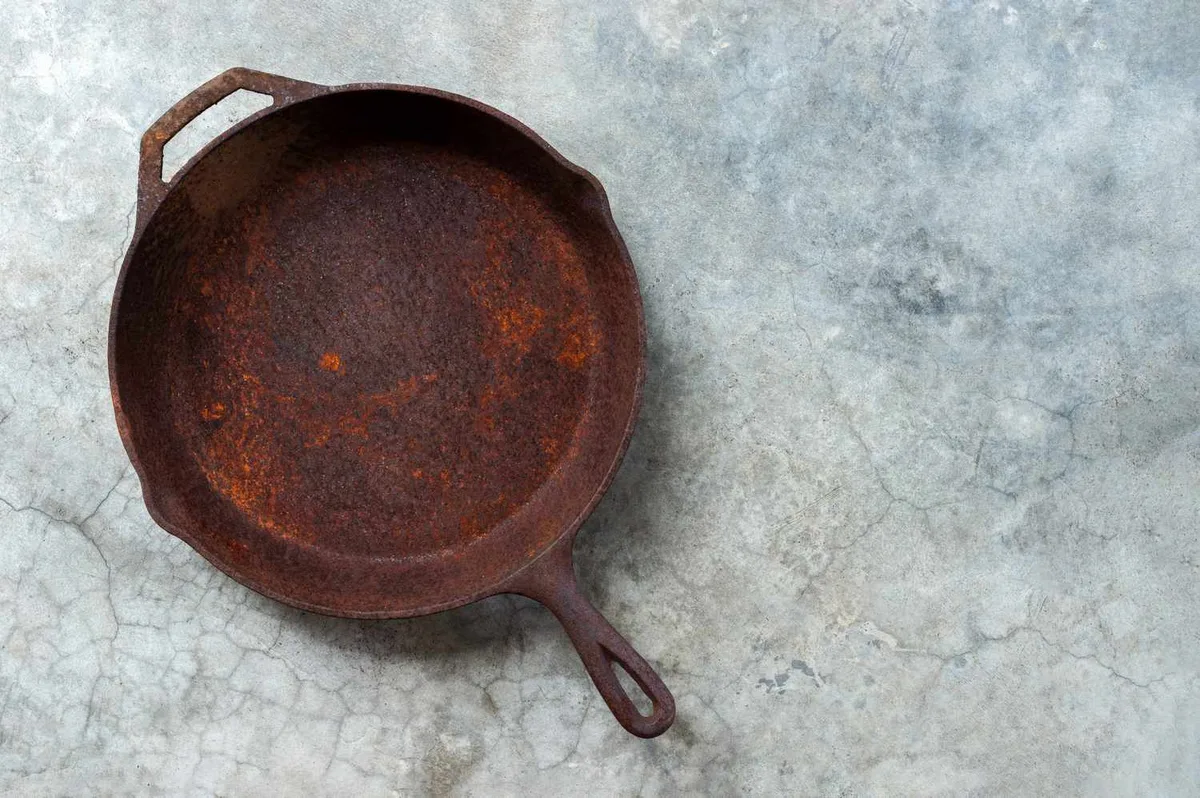
How to Restore Vintage Wagner and Griswold Cast Iron to Collector Quality
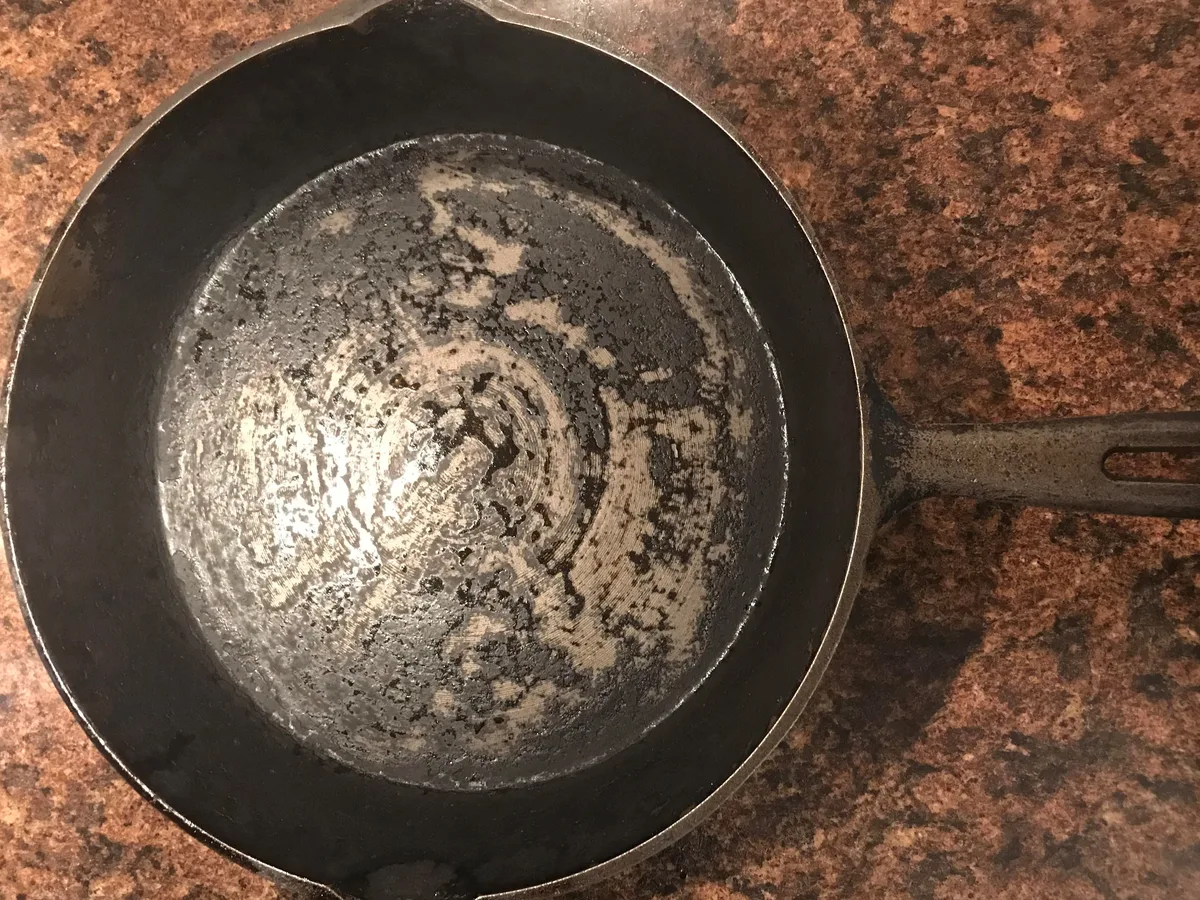
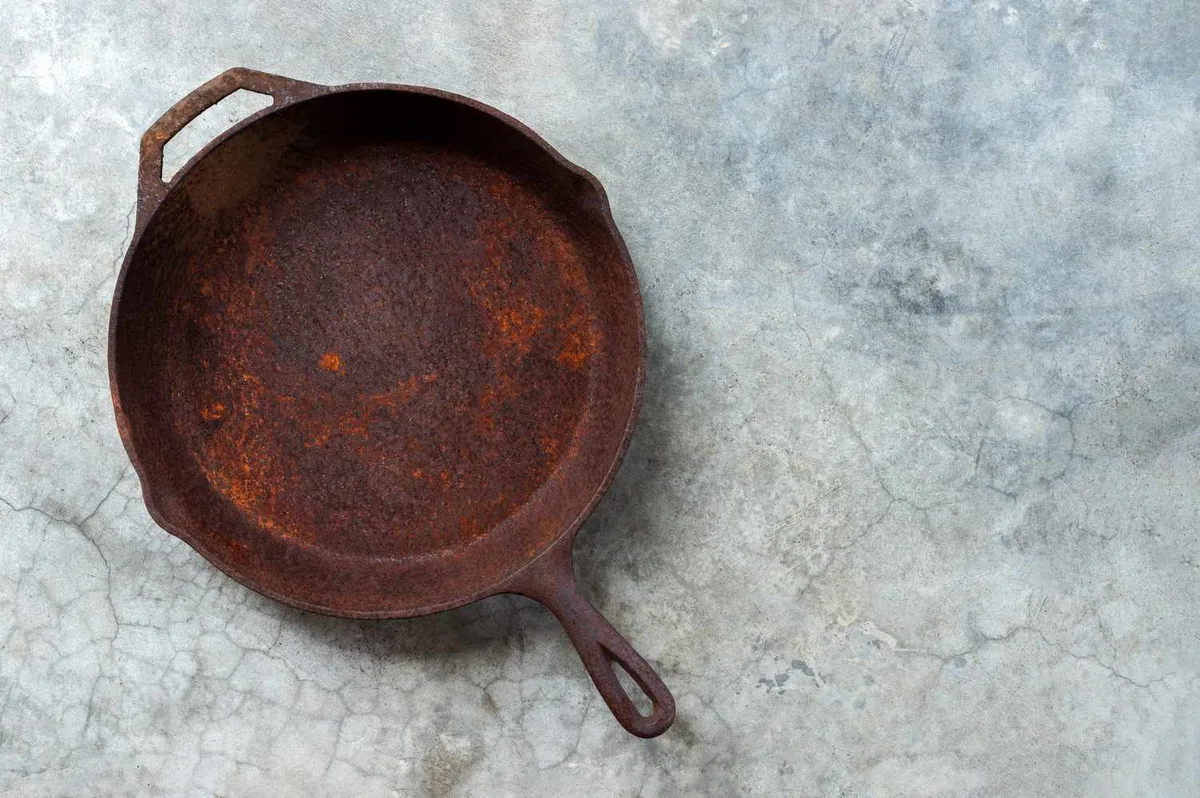
Restoring a cast iron pan doesn't have to be a mystery. If you've pulled a rusted skillet from a thrift store or your grandma's basement, learning how to restore a cast iron pan is more about diagnosis than brute force. Pick the wrong method and you can pit the iron, warp the metal, or ruin a collectible.
Pick the right one and you'll get decades more use out of it.
The good news is that most pans are salvageable. Per NIST materials data, cast iron is dense and highly heat-tolerant, so almost anything except cracks, deep pitting, or lead contamination can be fixed. As of 2026, the standard restoration workflow comes down to four paths: quick scrub, vinegar soak, lye strip, and electrolysis.
Which one you need depends entirely on what's in front of you. Let's start with the five-minute assessment.
Image source: Bing (Web (fair-use with source credit))
Before You Scrub: What to Check First
Before anything touches the pan, get it under bright light and spend five minutes inspecting. This is where restorers skip ahead and pay for it later. The condition of the iron decides every step that follows.
- Cracks. Run a finger along the bottom and sides. A hairline crack can hide until the pan heats. If you find one, stop. Cast iron can't be repaired, and cooking in a cracked pan risks splitting it mid-use.
- Warping. Set the pan on a flat counter and press a corner. If it rocks, it's warped. Warped pans still cook, but poorly on electric stovetops.
- Enamel coating. Check for a glossy black or colored coating inside. Enameled pans need a completely different process. Never use bare-iron treatments on them.
- Lead risk. If the pan is vintage or unknown, test it for lead before any cleaning. Some old pans were used as lead melting pots.
Then look at the rust up close. A light orange dust is surface rust. That's easy.
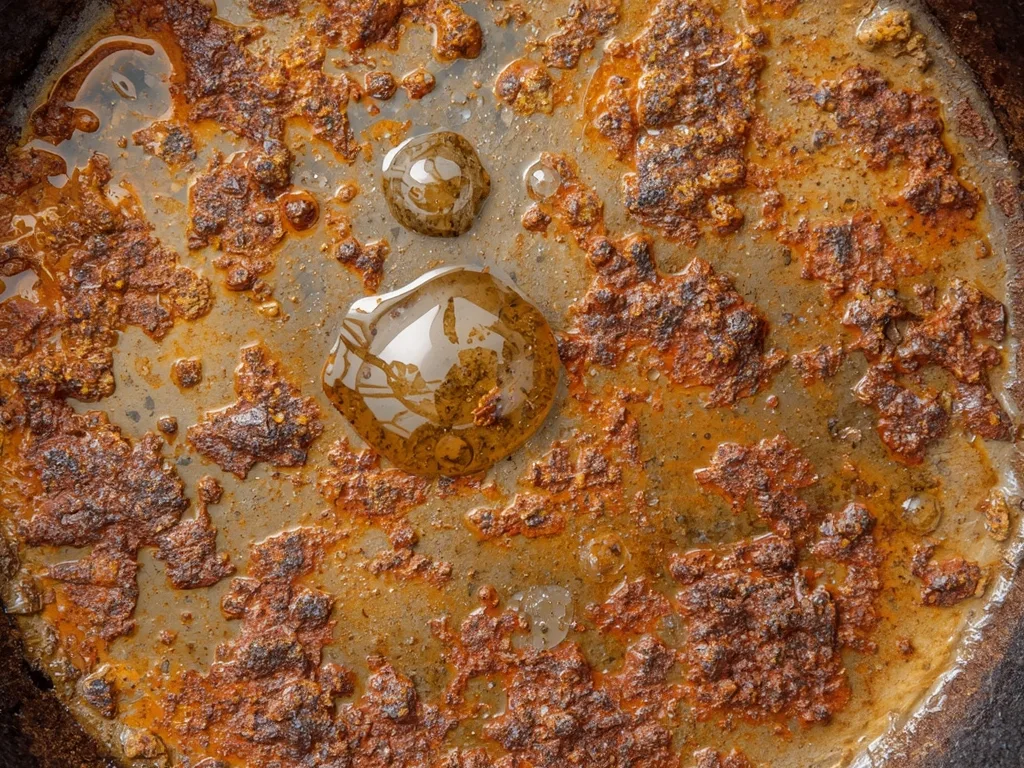
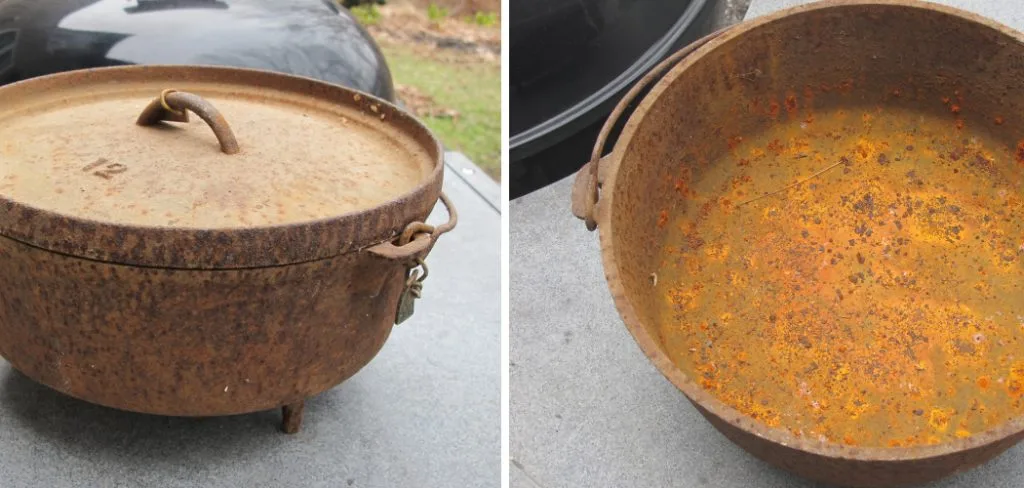
Flaky or scaly red-brown rust means deeper corrosion. Pitting, visible as tiny dark craters, means the iron itself is deteriorating. The method you choose depends on which of these you're seeing.
The Right Method for the Right Mess
This is where the workflow branches. Match the pan's condition and you avoid ninety percent of the common damage. If you treat a lightly rusted pan like a heavily crusted one, you waste days.
If you treat a crusted one like a lightly rusted one, you'll be disappointed.
Light Rust + Grime → Quick Scrub & Season
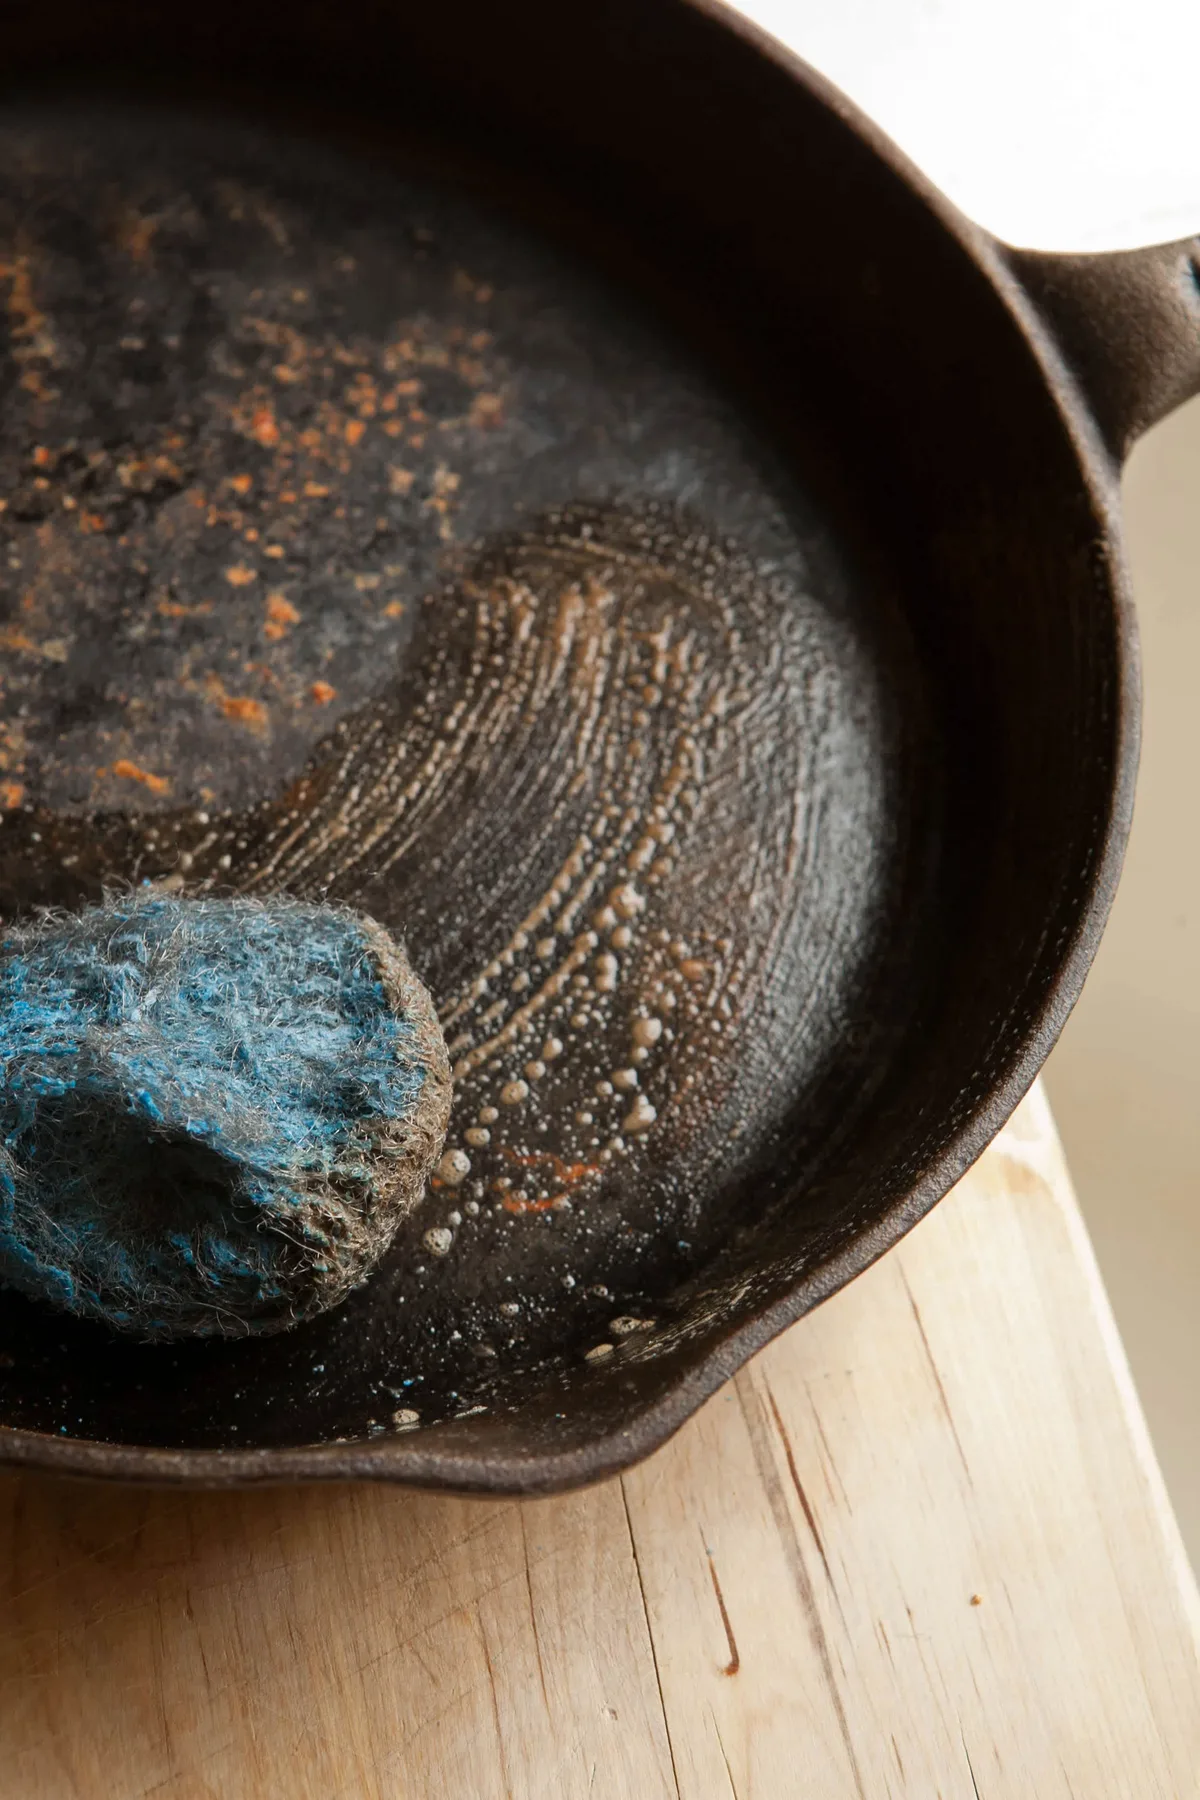
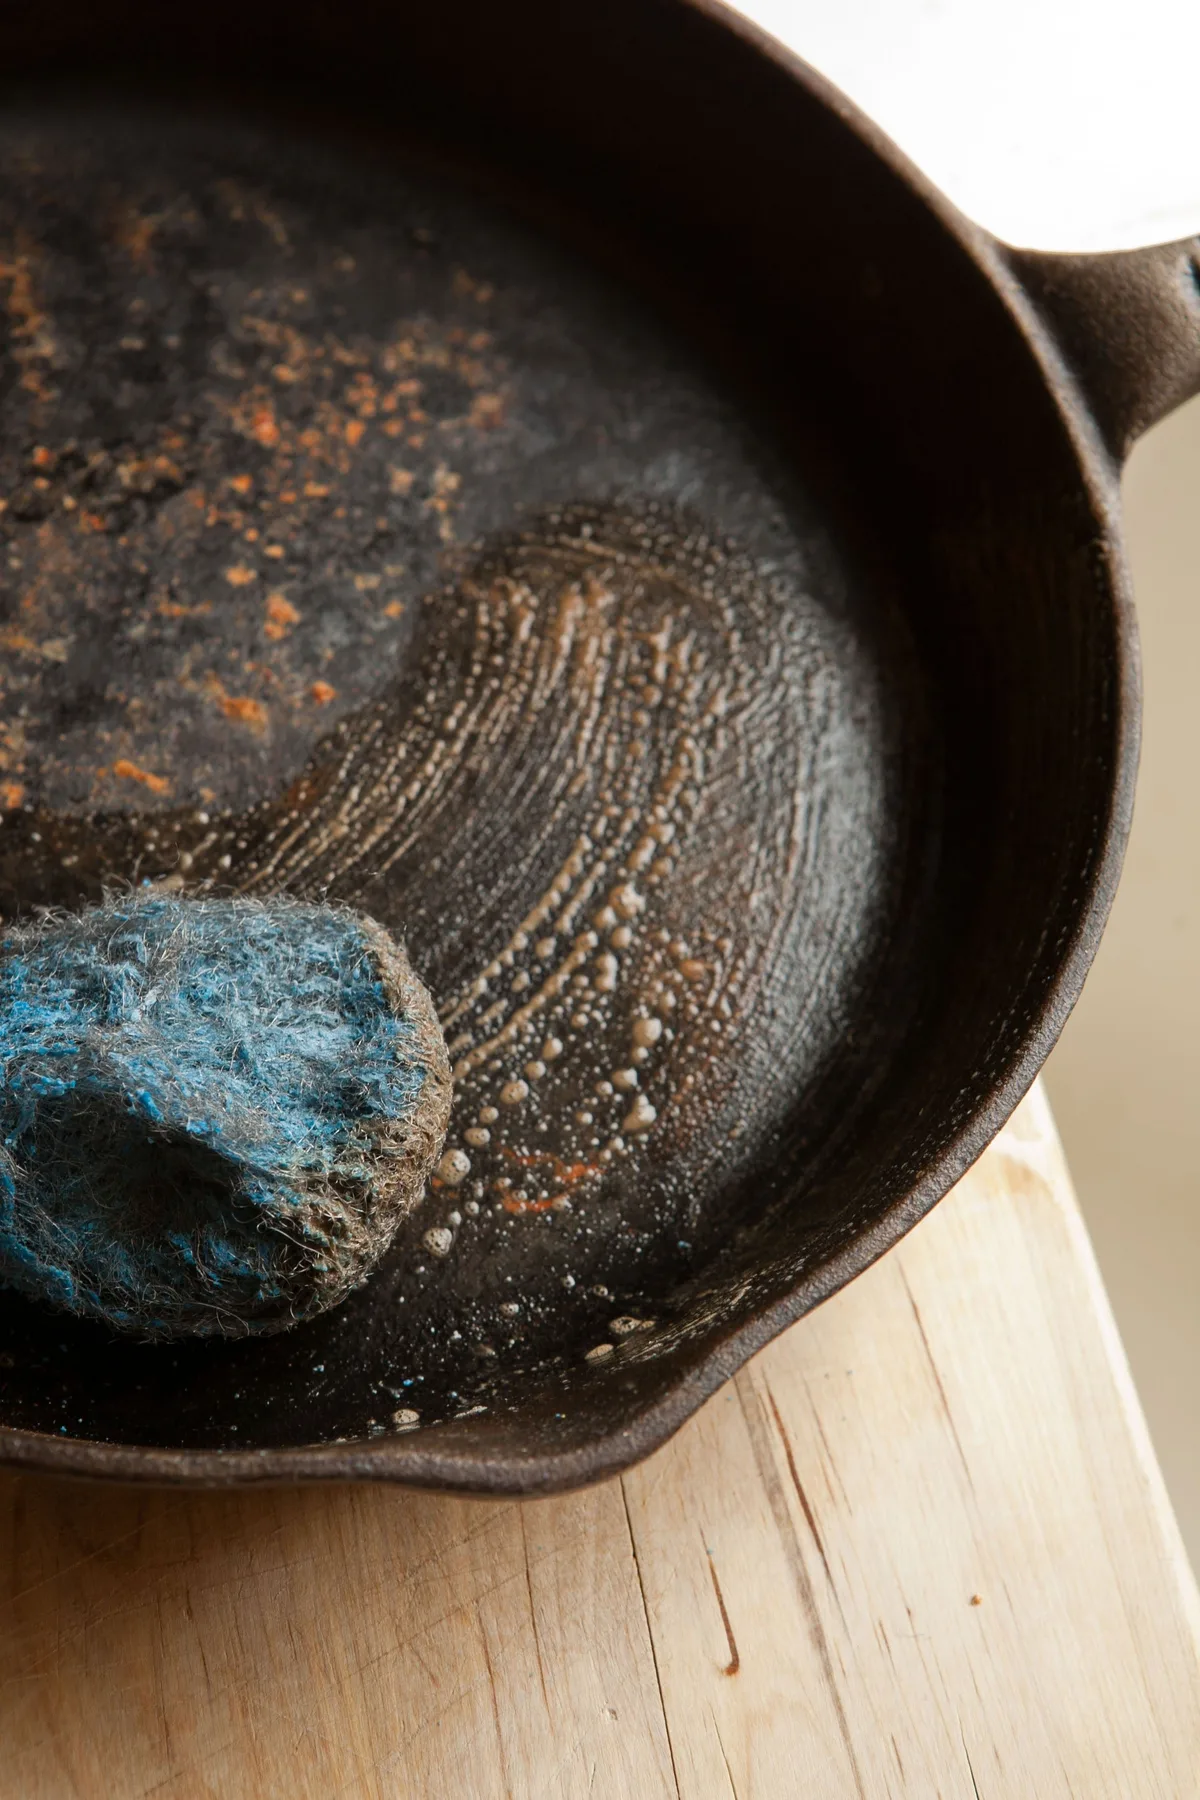
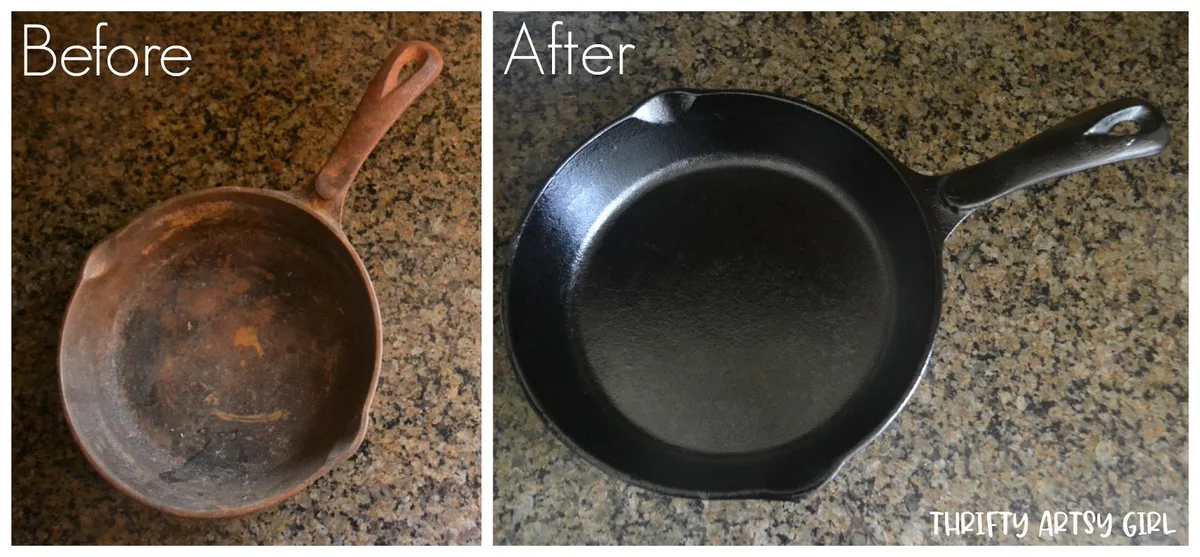
If the pan has a thin orange dust and some burned food, you don't need harsh chemicals. Wash it with warm water and a stainless steel scrubber or chainmail. Dry it over low heat, then apply a thin layer of oil and heat until it smokes.
That's one seasoning cycle. Repeat once or twice and you're cooking.
Heavy Rust + Bare Iron → Vinegar Soak & Rebuild
When the rust turns flaky and the black seasoning is gone, use a vinegar soak. Mix one part white vinegar with three parts water and submerge the pan. Check it every 30 minutes.
Cast iron is porous, so a soak longer than two hours can create pitting. Once the rust lifts, scrub with 0000 steel wool under running water.
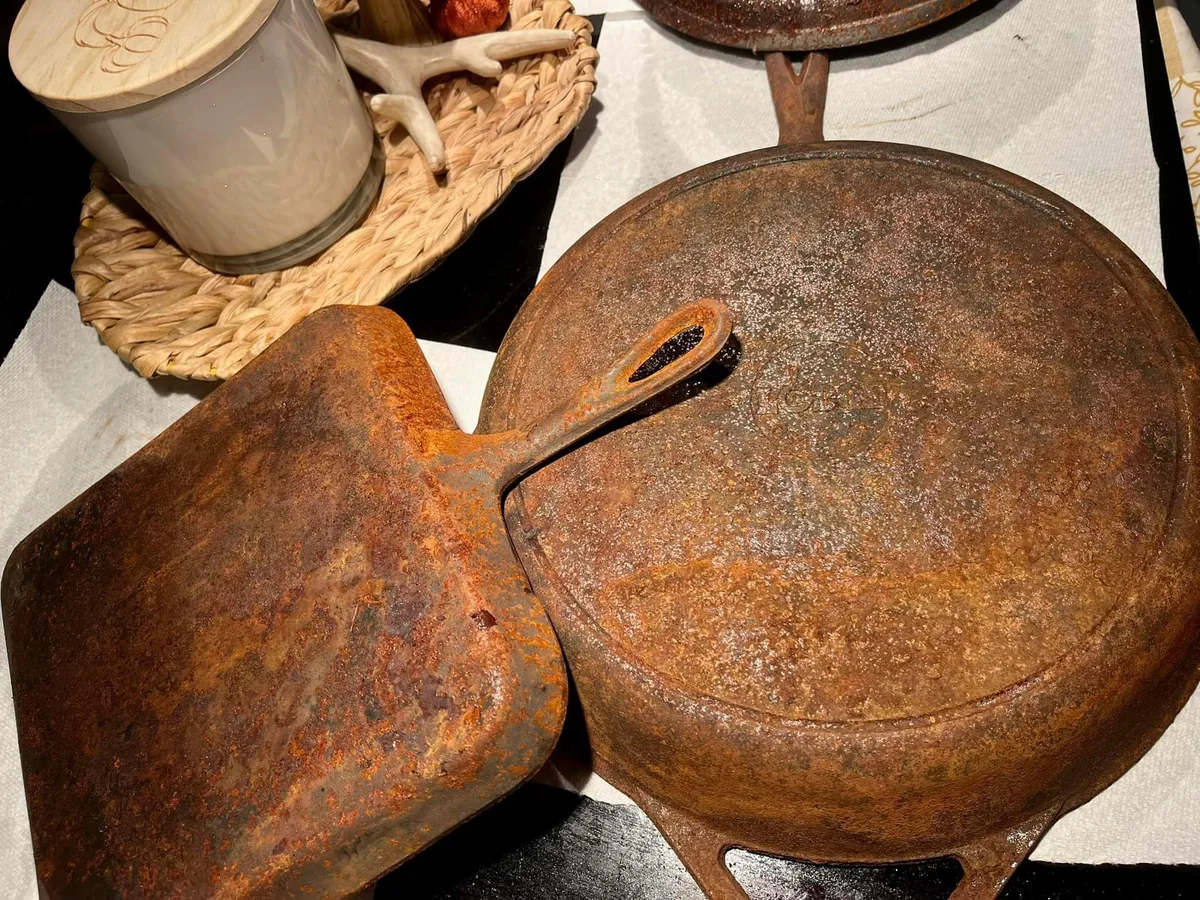
Image source: Bing (Web (fair-use with source credit))
Rinse thoroughly, dry it immediately, and move on to seasoning.
Old Seasoning + Carbon Crust → Lye Bath or Oven Cleaner
If the pan is black but sticky, flaky, or covered in burnt carbon, the seasoning needs to go. Lye dissolves polymerized oil without harming the iron. Build a lye bath with sodium hydroxide and water, or use a lye-based oven spray for small jobs.
Spray the pan, seal it in a plastic bag, and let it sit for 24 hours to a week. Wear gloves and work in a ventilated area. This method doesn't remove rust, but it strips carbon cleanly.
Deep Rust + Pitting or Collector Pans → Electrolysis
Electrolysis is the most thorough method and the safest for vintage iron. It uses low-voltage current to pull rust and seasoning off without losing metal. You'll need a plastic tub, a sacrificial steel anode, a battery charger, and washing soda.
The process takes 12 to 48 hours.
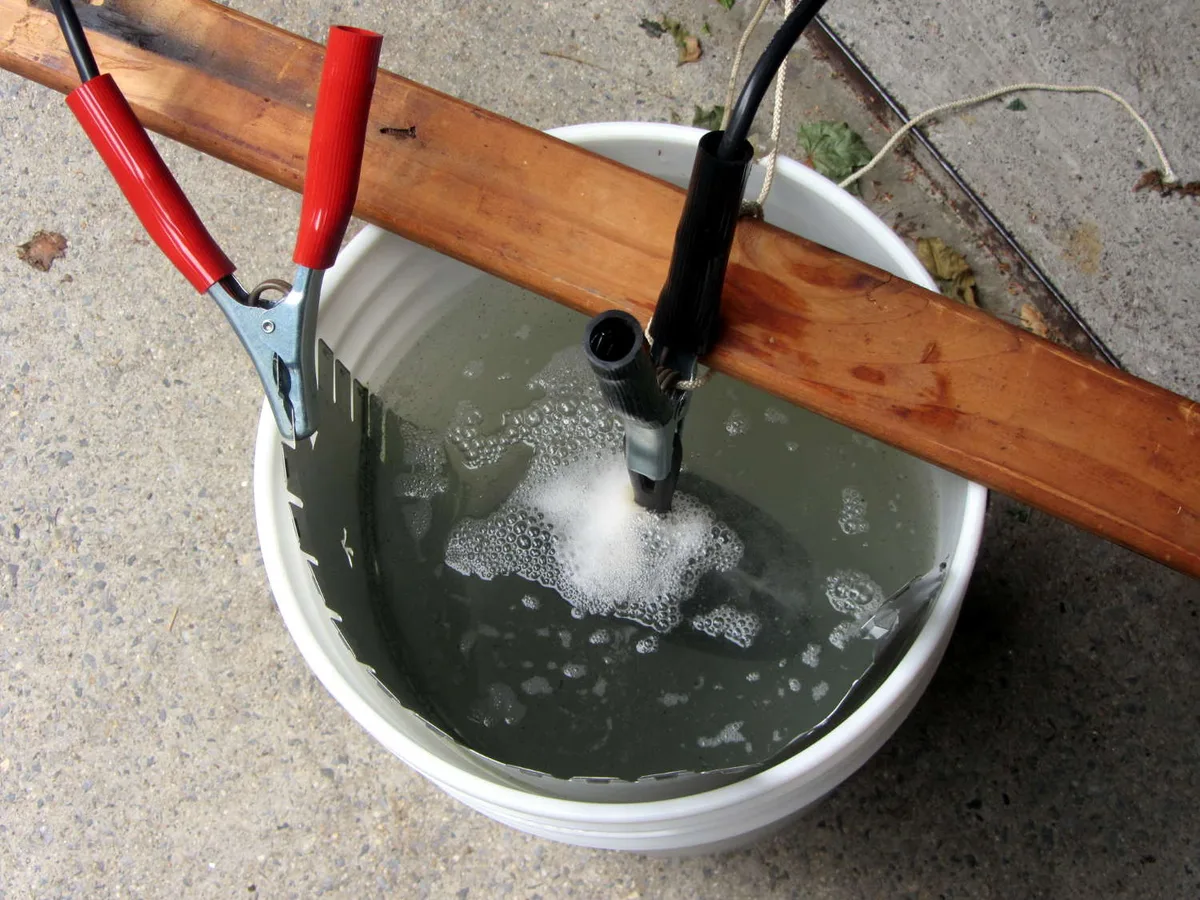
Image source: Bing (Web (fair-use with source credit))
A picture helps here. The photo above shows the typical setup: the pan is suspended in water, connected to the negative lead, and the sacrificial steel is connected to the positive lead. When it finishes, the rust turns into black sludge that hoses right off.
| Condition | Best method | Time needed | Skill level |
|---|---|---|---|
| Light rust and grime | Scrub and oil | 30 minutes | Beginner |
| Flaky rust, no seasoning | Vinegar soak | 1 to 2 hours | Beginner |
| Sticky carbon, old seasoning | Lye or oven spray | 1 to 7 days | Intermediate |
| Heavy rust, pitting, collectible | Electrolysis | 1 to 2 days | Advanced |
Step-by-Step: The Full Restoration Workflow
Once you've picked a method, the workflow runs in the same order every time: strip, remove rust, dry, season. Skipping any step shows up later as patchy seasoning or flash rust.
Stripping the Old Layers
If you're using lye, oven cleaner, or electrolysis, this is the first step. The goal is bare iron. For a lye bath, mix one pound of sodium hydroxide with five gallons of water in a plastic tub.
For oven cleaner, coat the pan and bag it. Leave it until the carbon softens. Scrape with a plastic scraper or nylon brush, then rinse well.
Removing the Rust Without Pitting
After stripping, active rust needs to go. Vinegar is the most common home method. A 30-minute soak handles light rust.
Stubborn scale might need the full two hours. Check every half hour, because acid keeps eating after the rust is gone. For electrolysis users, this step is usually handled already, since the rig removes rust as it runs.
Drying and Flash Rust Prevention
Rinse the pan in cool water, then dry it with a towel and heat it on agas burner or in a 200°F oven for 15 minutes. This drives out every drop of moisture. Bare iron will flash rust within minutes if you leave it damp, so keep the heat source ready.
Applying the First Seasoning Coats
Once the pan is dry and warm, rub in a very thin layer of oil. Canola, vegetable, or grapeseed all work well. Flaxseed is popular but tends to flake down the road.
Use a paper towel to coat everything, then grab a clean towel and wipe it off like you made a mistake. The pan should look dry, not glossy.
Set it upside down on a foil-lined tray in a 450°F oven. Bake for one hour, then turn the heat off and let it cool inside. That's one coat.
For a full restore, repeat three to five times. Each layer polymerizes into that dark, non-stick surface you're after.
Mistakes That Ruin Cast Iron (and How to Avoid Them)
Most restoration failures don't come from bad technique. They come from impatience. The good news is that nearly every mistake is avoidable once you know what to watch for.
Over-Soaking in Vinegar
Vinegar is the top culprit. Leave a pan in too long and the acid eats into the iron itself, leaving permanent pitting. Set a timer and check every 30 minutes.
The moment the rust lifts, pull it out.
Skipping the Lead Test
Vintage pans may have been used as melting pots for lead. The EPA warns that lead is toxic even in small amounts. A simple lead swab test costs a few dollars and takes minutes.
Run it on any unknown pan before you invest hours in restoration. If it tests positive, don't cook with it. Hang it on the wall instead.
Using the Oven Self-Clean Cycle
Yes, it burns off seasoning. It also heats the pan past 800°F, which can warp the iron and ruin its temper. You'll trade a working pan for a wobbly one.
Sanding Down Vintage Iron
An angle grinder or sandpaper strips off rust, but it also removes the original machined surface. That smooth finish is what makes vintage pans desireable. Electrolysis does the job without destroying the metal.
Keep abrasives away from collectible iron.
After the Restore: Daily Care That Keeps It Non-Stick
Your newly seasoned pan will look beautiful. Maintaining that finish takes less effort than most people think. Skip the heavy routine and stick to the basics.
Washing, Drying, and Oiling
Hand wash with warm water and a stiff brush. A little dish soap is fine if you need it, but don't let the pan soak. Dry it over low heat on the stovetop.
Once warm, rub in a tiny drop of oil and wipe it out completely. That's the whole routine.
How to Fix a Sticky or Peeling Seasoning
Sticky seasoning means you used too much oil. It hasn't polymerized fully. Heat the pan to its smoke point and let it bake.
Peeling means the layer was too thick or the surface wasn't clean before oiling. If it flakes, strip the pan with lye and start over. A thin, clean seasoning always beats a thick, gloppy one.
Quick-Reference Restoration Guide
Not every pan needs the full treatment. Use this table to match your pan's symptoms to the right process. It saves time and prevents damage.
| Pan condition | Method | Active time | Total time | Tools needed |
|---|---|---|---|---|
| Light surface rust, still black | Scrub with steel wool, reseason | 15 minutes | 1.5 hours | Steel wool, oil, oven |
| Flaky red rust, no seasoning | Vinegar soak, scrub, reseason | 15 minutes | 3 hours | Vinegar, water, steel wool |
| Sticky black buildup | Lye bath or oven cleaner spray | 20 minutes | 24 hours to 7 days | Sodium hydroxide, gloves, bag |
| Heavy pitting or collector pan | Electrolysis | 30 minutes | 24 to 48 hours | Battery charger, washing soda, anode |
| Enameled pan with stains | Baking soda paste or Bar Keepers Friend | 10 minutes | 1 hour | Soft sponge, gentle cleaner |
For cost, a vinegar soak runs about a dollar. Lye costs five to ten dollars and lasts for years. Electrolysis requires a battery charger you might already own.
The cheapest restoration path is a scrub and oil. The most expensive is buying a new charger for electrolysis at around forty dollars.
One more thing. If your pan has a crack or is badly warped, none of these methods will fix it. Cast iron cannot be welded for cookware use.
A cracked pan is a plant pot or a wall decoration, not a skillet. Don't invest time in a lost cause.
Frequently Asked Questions
Can I use my oven's self-clean cycle to strip a pan?
No. The self-clean cycle heats past 800°F, which can warp the iron and ruin its heat retention. It also creates immense smoke.
Stick to lye, electrolysis, or oven cleaner spray for stripping seasoning.
How long can I leave a pan in a vinegar bath?
Check it every 30 minutes and never exceed two hours. Vinegar is acidic and will start pitting the iron once the rust lifts. As soon as the rust rinses off, pull the pan out.
Is it safe to cook after restoring a vintage cast iron pan?
Yes, as long as you tested for lead first. Use a lead swab test on any unknown vintage pan. If the test is negative, strip and reseason normally.
If positive, do not cook with it.
How many times should I reseason before cooking?
Three to five thin coats is the standard recommendation. Each coat bakes at 450°F for one hour. After that, cook fatty foods like bacon or fried potatoes for the first few uses.
Eggs can wait until the seasoning builds up.
What oil is best for seasoning?
Canola, vegetable, and grapeseed oils all work reliably. They have smoke points around 400°F to 420°F, which matches the polymerization window. Avoid flaxseed oil.
It creates a hard layer that tends to flake off after a few months of use.
Why is my restored pan sticky after seasoning?
You used too much oil. The oil must be wiped off until the pan looks almost dry. A thick layer stays soft instead of polymerizing.
Heat the pan to its smoke point and let it burn off, or strip and start over with a thinner coat.

Similar Posts