Perfect Instant Pot Rice Dish Recipe
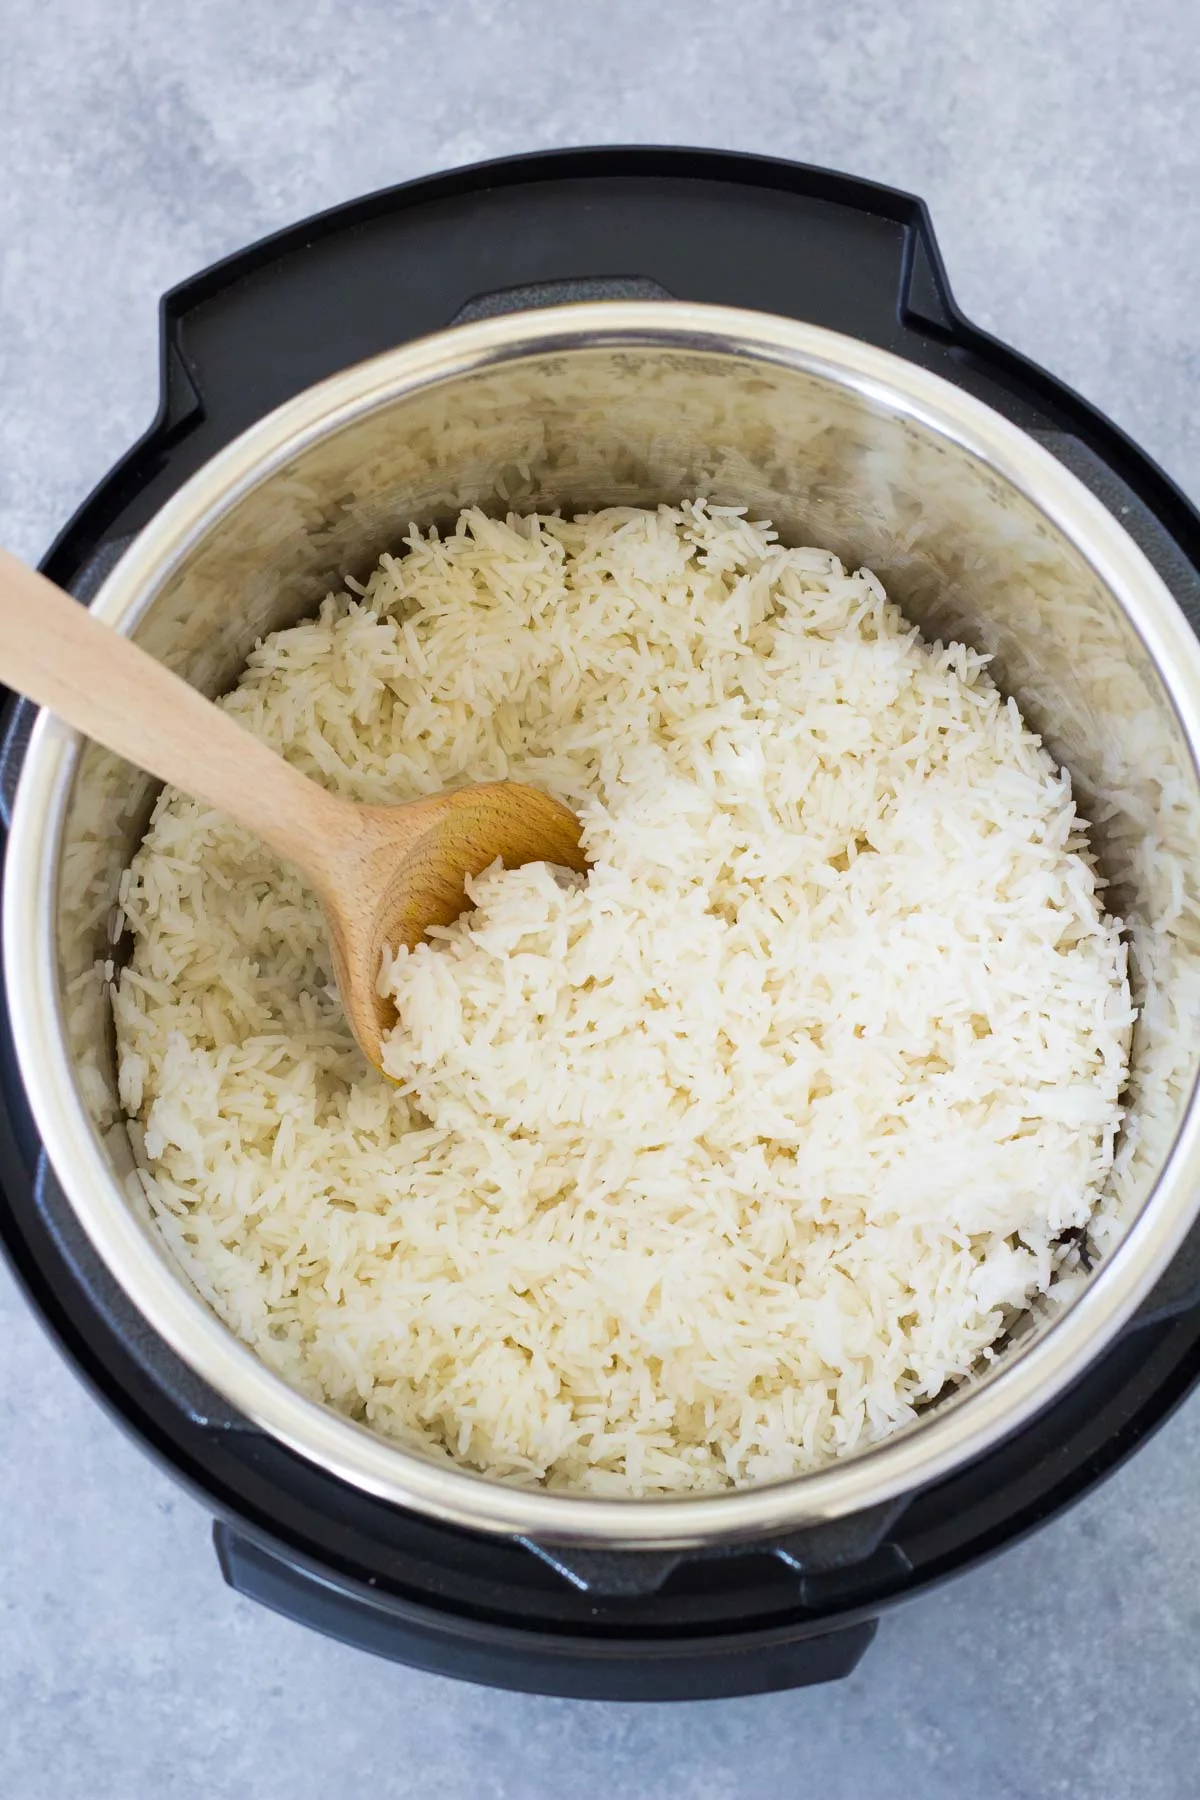
If you've ever stared at a pot of crunchy, stuck, or soupy rice and wondered where it all went wrong, you're not alone. Getting an instant pot rice dish recipe right is less about luck and more about understanding how the sealed environment changes the game. Manufacturer specifications indicate that most Instant Pot models require a minimum of one cup of liquid to build pressure, which completely alters the water-to-rice ratios you grew up using on the stove.
Let's fix your rice for good, starting with the biggest mistake most home cooks make.
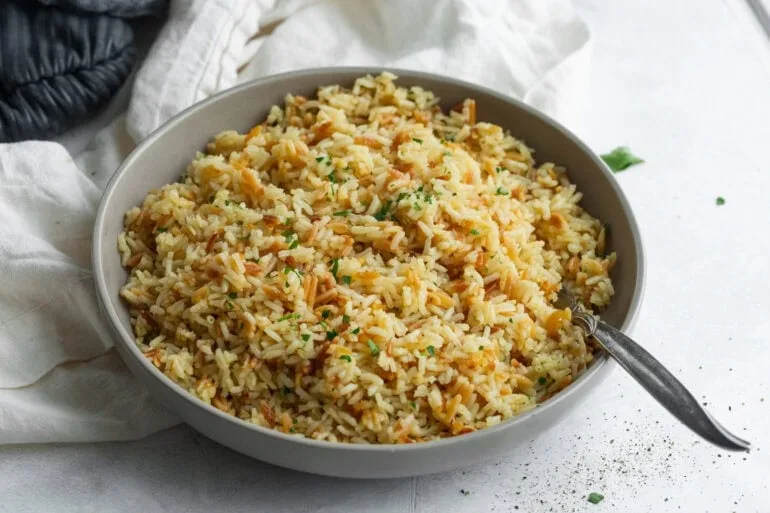
Image source: Bing (Web (fair-use with source credit))
The Real Problem with Instant Pot Rice: Why Guessing the Ratio Backfires
The biggest myth in pressure cooking is that you should treat rice like pasta. Boil it in excess water, drain, and serve. In an Instant Pot, that logic guarantees a starchy, sticky mess at the bottom of the pot.
Aggregate user feedback across cooking forums points to the same common failure: using the standard two-to-one water-to-rice ratio. In a sealed environment, there is zero evaporation. That extra water has nowhere to go, so it soaks into the rice, breaking down the grains until they turn into paste.
The result is a gummy texture that clings to the spoon. The infamous "Burn" notice is the second most reported issue. This happens when starch settles at the bottom and scorches before the pot reaches pressure.
It's not a defect in your machine. It's a workflow flaw. Here's what's really going on: different grains have different starch structures.
Long-grain rice has less surface starch, so it holds its shape. Short-grain rice is starchier and naturally creamier. The perfect instant pot rice dish recipe isn't about memorizing a single rule.
It's about matching the liquid ratio and cook time to the specific grain you're using.
How the Instant Pot Cooks Rice Differently (and Why Your Stovetop Tricks Won't Work)
To fix your rice, you have to respect the machine. A standard pot sits on the stove at a rolling boil. The liquid evaporates freely into the air, thickening the sauce or cooking off the water.
An Instant Pot locks that steam inside. The trapped vapor increases the atmospheric pressure inside the pot, which forces the boiling point of the liquid well past 212°F. Instant Pot manufacturer specifications confirm the pot operates at about 10 to 12 psi.
At that pressure, water reaches roughly 240°F to 250°F before boiling.
This higher heat penetrates the rice kernel faster than a standard boil ever could. It also changes your workflow completely. On a stovetop, you can lift the lid, check the liquid, and adjust on the fly.
With a sealed pressure cooker, you commit to the settings you choose at the start. That's why preparation matters more than the actual cooking. The rice absorbs water much more quickly and aggressively, so the margin for error shrinks.
A five-minute difference in cook time doesn't just change the texture. It changes the structure of the grain itself.
That's why the manual "Rice" button is often a trap. It runs a generic, high-pressure cycle that doesn't distinguish between delicate jasmine rice and hearty brown rice. You need to work with the science instead of relying on a single presets.
Knowing how the heat and pressure interact lets you match the exact ratio to the grain you have in your pantry.
The Decision Tree: Choose Your Rice Dish Based on Grain Type and Final Texture
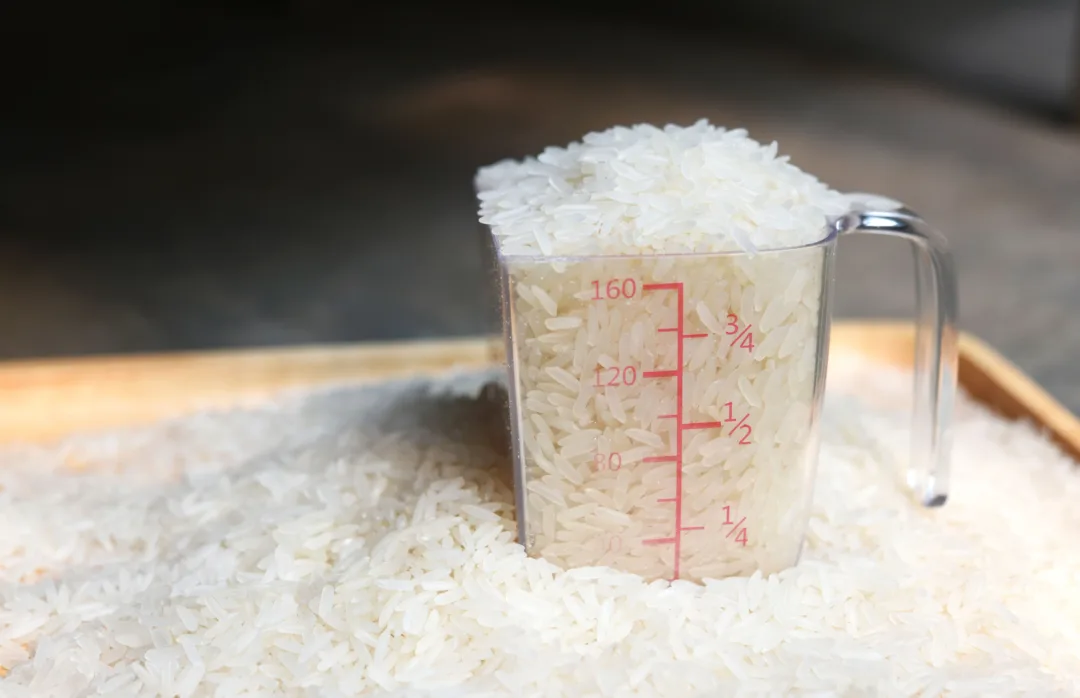
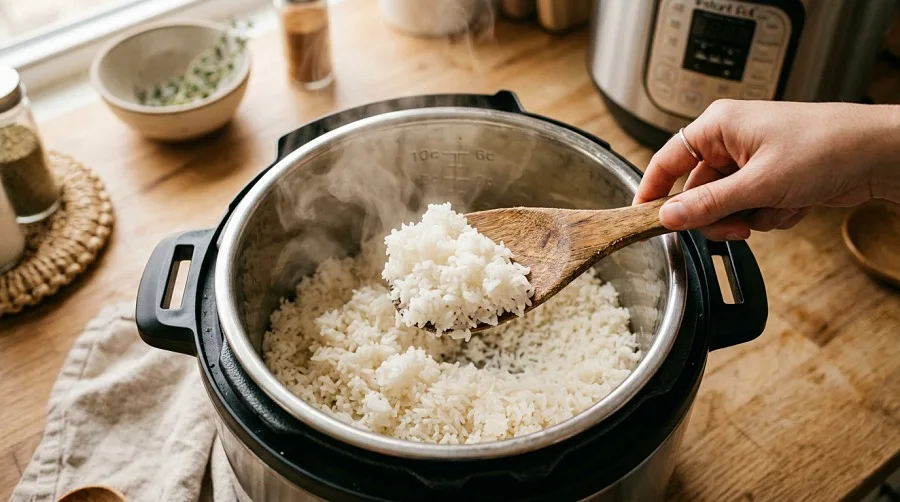
Image source: Bing (Web (fair-use with source credit))
Stop googling random ratios. You need to match the grain to the right branch. Think of this as a choose-your-own-adventure.
Look at the rice you have on hand, then follow that specific path. The wrong branch gives you the wrong texture, no matter how long you cook it.
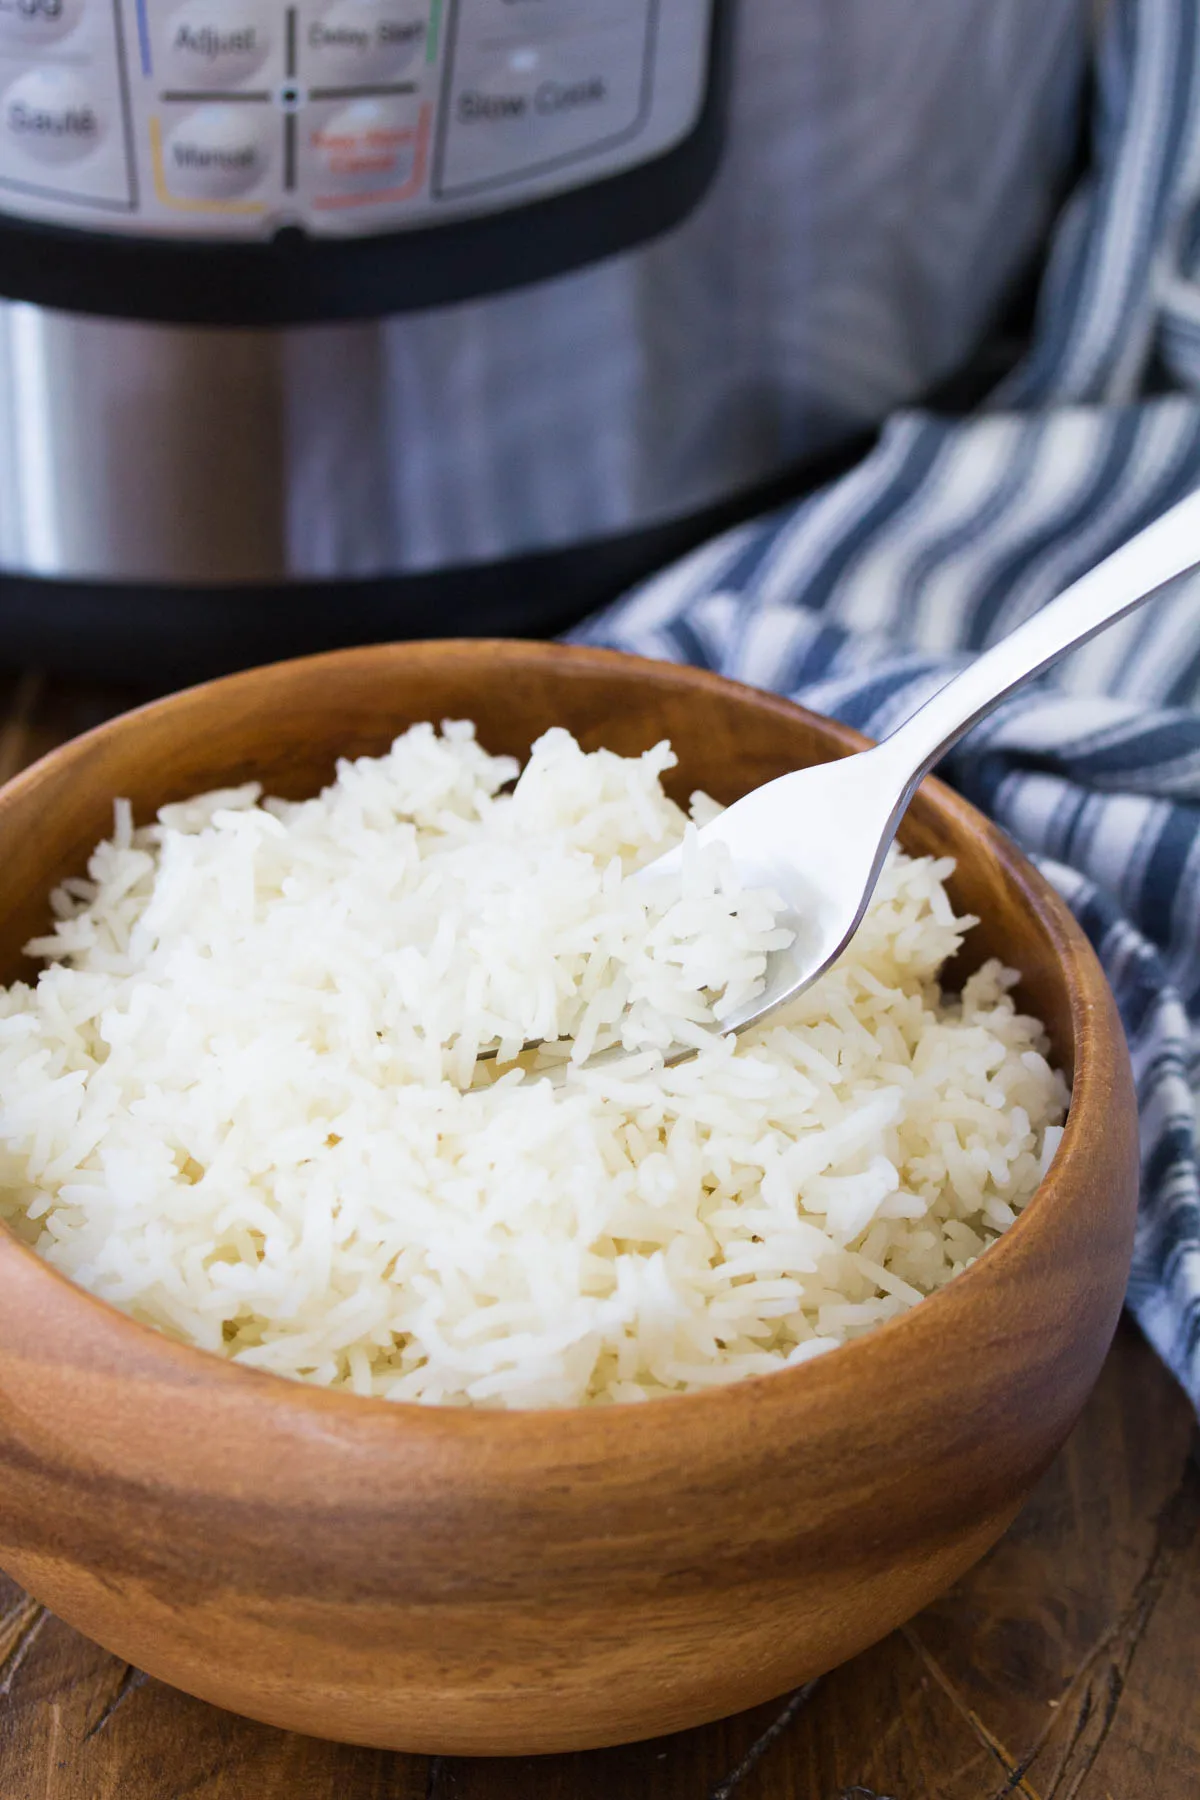
Branch 1: Fluffy White Rice (Jasmine, Basmati, Long-Grain)
Best for: side dishes, pilafs, burrito bowls, or anything where distinct, separate grains matter.
- Ratio: 1 cup rice to 1.5 cups water or broth.
- Cook time: 3 minutes at high pressure.
- Release: 10 minutes natural release, then quick release for the remaining steam.
- Why it works: Low surface starch means the grains stay separate and distinct. The slight reduction in water stops them from clumping together.
Branch 2: Chewy Brown or Wild Rice
Best for: hearty grain bowls, salads, or meal prep that needs to last a few days in the fridge.
- Ratio: 1 cup rice to 1.25 cups water for brown rice. If using wild rice, use 1 cup rice to 3 cups water.
- Cook time: 22 to 24 minutes at high pressure.
- Release: 10 minutes natural release, then quick release.
- Why it works: The tough outer bran layer needs double the cooking time and a slightly drier ratio to stay chewy instead of turning mushy.
Branch 3: Sticky, Creamy, or Mixed-Dish Rice
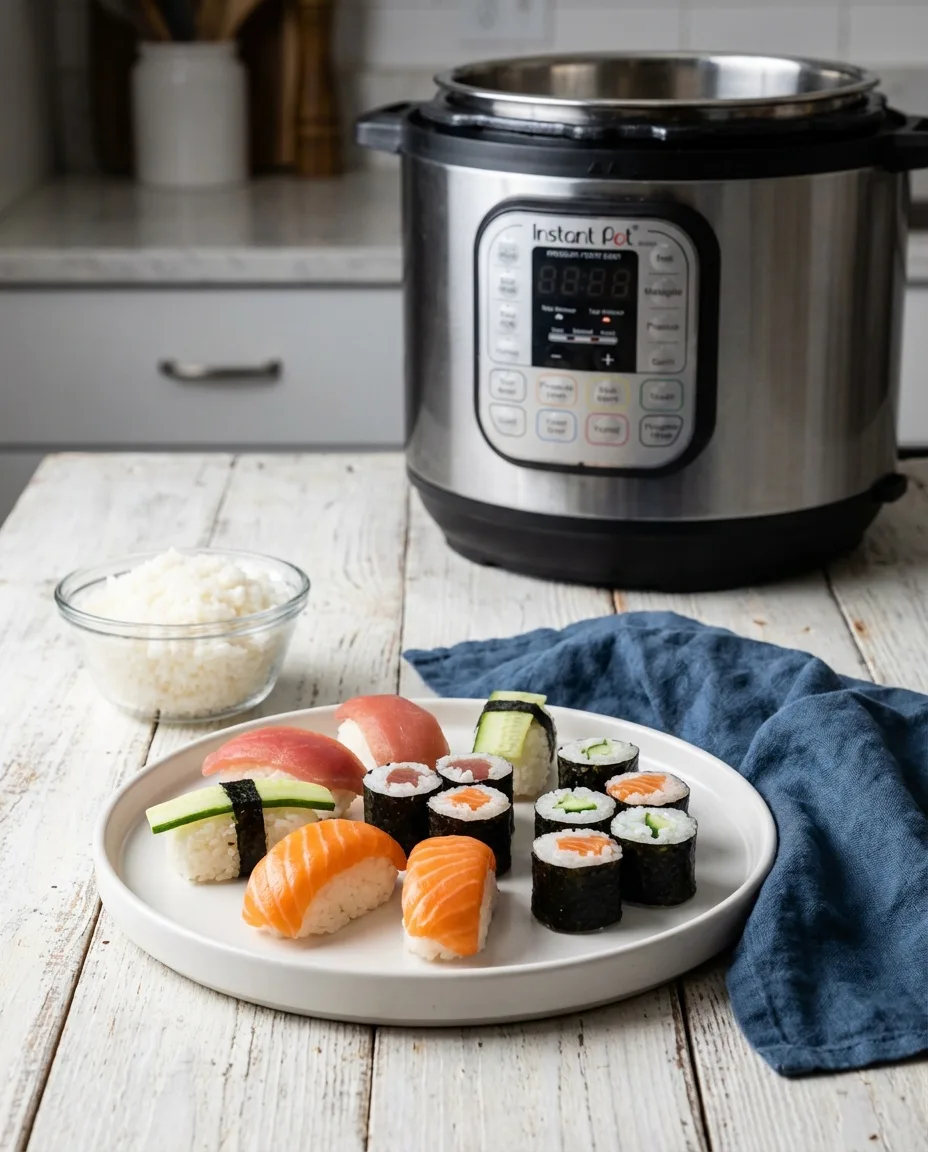
Best for: sushi rolls, risotto, or one-pot chicken and rice dinners.
- Ratio: 1 cup short-grain rice to 1.25 cups water. For one-pot meals, use 1 cup long-grain rice to 1.25 cups broth plus aromatics.
- Cook time: 5 to 6 minutes for short-grain. Give mixed dishes 6 to 8 minutes.
- Release: Full natural release, then fluff with a fork.
- Why it works: Higher starch content binds the grains together. It also means a higher risk of the burn notice, so deglazing the pan thoroughly is non-negotiable.
The Step-by-Step Workflow That Works for Any Branch
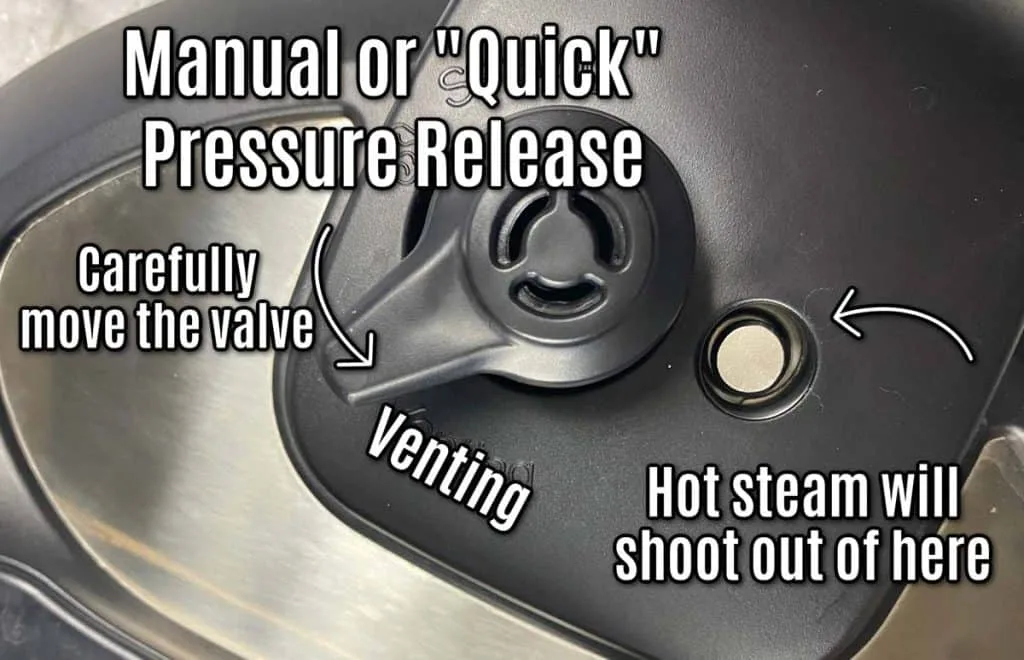
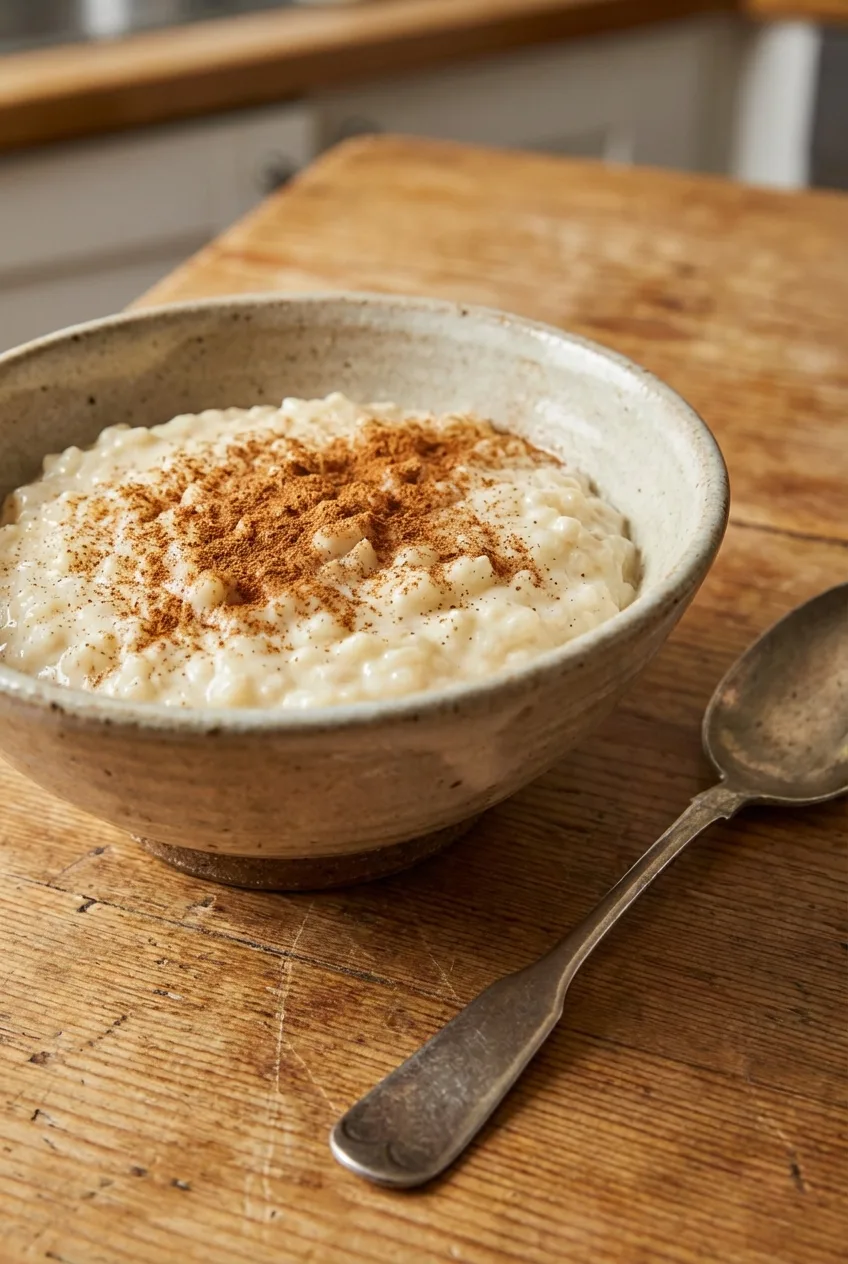
Image source: Bing (Web (fair-use with source credit))
Now let's lock in the exact workflow that works for every branch. This is the mechanical part, and it's identical whether you're making white rice or wild rice. Follow it in order.
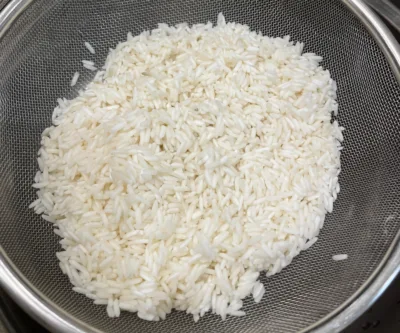
First, rinse the rice. Place it in a fine-mesh strainer and run cold water over it until the water runs completely clear. This clears excess surface starch, which is the main cause of the burn notice and gummy textures.
Second, drain it well. Shake the strainer to remove excess water. Wet rice dilutes your carefully measured ratio and throws off the timing.
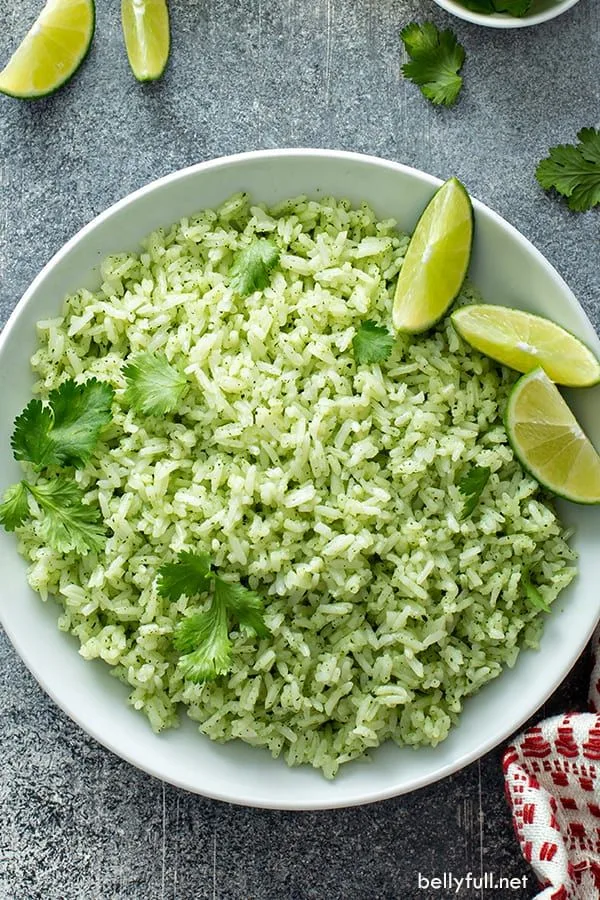
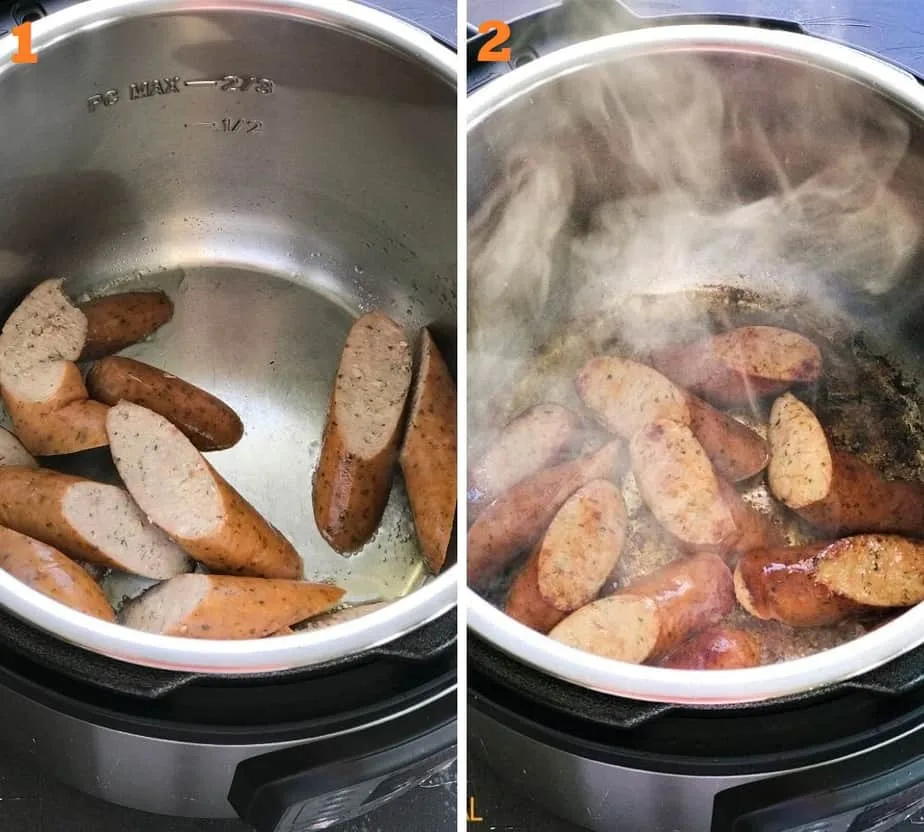
Third, add your liquid and rice to the pot. If you're making a savory dish like Mexican rice or a pilaf, melt a tablespoon of butter or oil in the pot first. Use the Sauté function for two to three minutes, tossing the rice so it coats evenly.
This toasting step adds a nutty flavor and helps keep the grains separate.
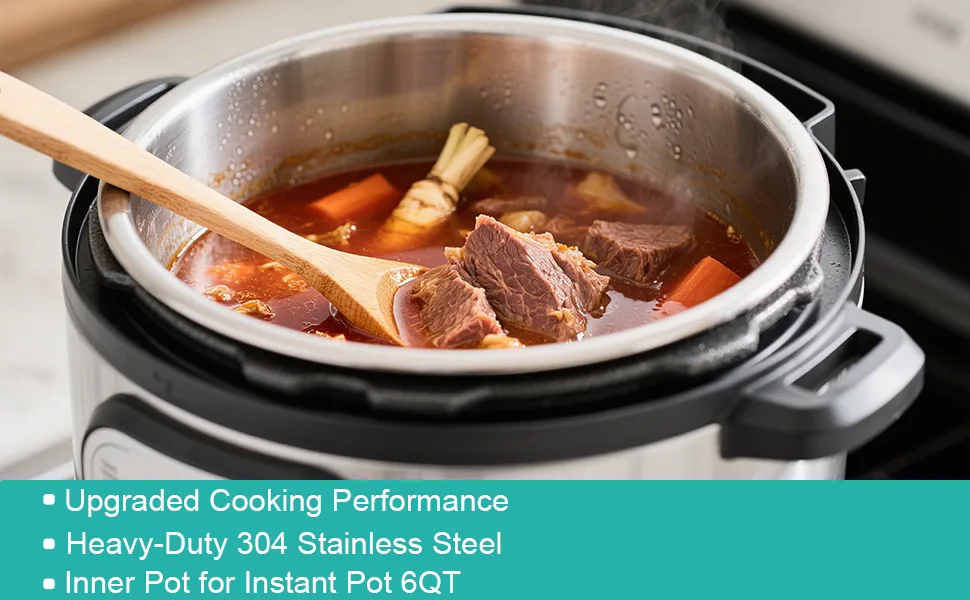
Fourth, deglaze thoroughly. Pour in your broth and use a wooden spoon or silicone spatula to scrape the bottom of the pot. Those browned bits from sautéing will scorch if left alone, and the burn sensor will trip before the pot reaches pressure.
Fifth, lock the lid, set the valve to the sealing position, and hit manual high pressure for the time listed in your chosen branch. When the cycle finishes, follow the release instructions specifically. For fluffy white rice, let it rest for 10 minutes.
For sticky rice, rest it for 15 minutes. Then carefully turn the steam release handle to venting. Stand back, because the steam blast is powerful.
Finally, fluff the rice with a wide fork or a rice paddle. Let it rest for two to three minutes before serving. This allows the moisture to redistribute evenly through the grains, so you don't end up with a soggy top layer and dry bottom layer.
3 Instant Pot Rice Mistakes That Will Ruin Your Dish (and How to Fix Them)
Even with the perfect ratio, small workflow mistakes can ruin a batch. Here are the three biggest offenders, according to aggregate user reports and Instant Pot manufacturer troubleshooting guides. Fix these, and your rice game is already ninety percent there.
Mistake #1: Skipping the Rinse
We get it. Rinsing is an extra step. But skipping it means the rice is coated in dusty starch.
That starch cooks into a sticky paste and often settles at the bottom of the pot, triggering the burn sensor. Always rinse until the water runs clear. It takes twenty seconds and saves you from scraping a scorched pot.
Mistake #2: Quick Releasing Everything
Quick release forces steam out rapidly. That's great for stopping the cooking of delicate vegetables or fish. For rice, it's a disaster.
The sudden pressure drop causes the water inside the grain to surge outward, splitting the kernel and turning the surface mushy. That's why this guide insists on the 10-minute natural release window. Set a timer.
Walk away. Let the pressure drop gradually on its own.
Mistake #3: Leaving It on Keep Warm Too Long
The keep-warm function holds your rice at a safe serving temperature, but it's also a drying oven. After about 30 minutes, the bottom layer starts to dry out and stick to the pot. As of 2026, most newer Instant Pot models have a more gentle keep-warm cycle, but it's still best to fluff the rice and unplug the machine if you're not serving right away.
Proper storage matters too. The USDA recommends refrigerating leftover rice within one hour to prevent bacterial growth, so don't let it sit in the pot all afternoon.
FAQs: Instant Pot Rice Fixes in Under a Minute
Why does my Instant Pot say "Burn" when cooking rice?
You have too much starch on the bottom. The burn sensor trips when the pot floor exceeds 275°F, and starched liquid scorches quickly. Fix it by rinsing the rice until the water runs clear and scraping the pot well after sautéing.
Can I use the Rice button instead of manual pressure?
It depends on the rice type. In our research, the Rice button works fine for long-grain white rice but overcooks jasmine rice consistently. Use manual pressure with the exact times from this guide for the best results.
Do I have to rinse my rice before pressure cooking?
Yes, unless you're making risotto or sticky rice. Rinsing removes excess surface starch, which prevents gummy textures and protects the burn sensor. Skipping it is the number one cause of the burn notice.
How much time does natural release add?
It adds 10 to 15 minutes, but you can't skip it. Cutting the natural release short leaves the rice sticky and undercooked in the center. The extra time also lets the grains absorb residual steam evenly.
Your Quick Decision Guide: Which Rice Method to Use Tonight
Here's the whole system in one view. Match your rice to the correct branch. Follow the ratio and use the exact release method listed.
| Rice Type | Ratio (Rice to Liquid) | Cook Time | Release Method | Best For |
|---|---|---|---|---|
| Long-grain white | 1:1.5 | 3 min | 10 min natural, then quick | Fluffy sides and pilafs |
| Jasmine or Basmati | 1:1.5 | 4 min | 10 min natural, then quick | Aromatic, separate grains |
| Brown rice | 1:1.25 | 22 min | 10 min natural, then quick | Chewy grains and meal prep |
| Wild rice | 1:3 | 28 min | Full natural release | Nutty, hearty salads |
| Short-grain sushi | 1:1.25 | 5 min | 15 min natural release | Sticky rice for rolls |
Your Instant Pot takes care of the pressure cycle. You just supply the ratio and the patience. Aggregate user reviews confirm that note, release method, and a calm 10-minute wait fix ninety percent of rice failures.
If you remember only one thing, remember this. Rinse the rice, and let the pot rest. Do that, and you'll get the texture you want every single time.

Similar Posts