Perfect Instant Pot Rice Pilaf: Quick & Easy Recipes
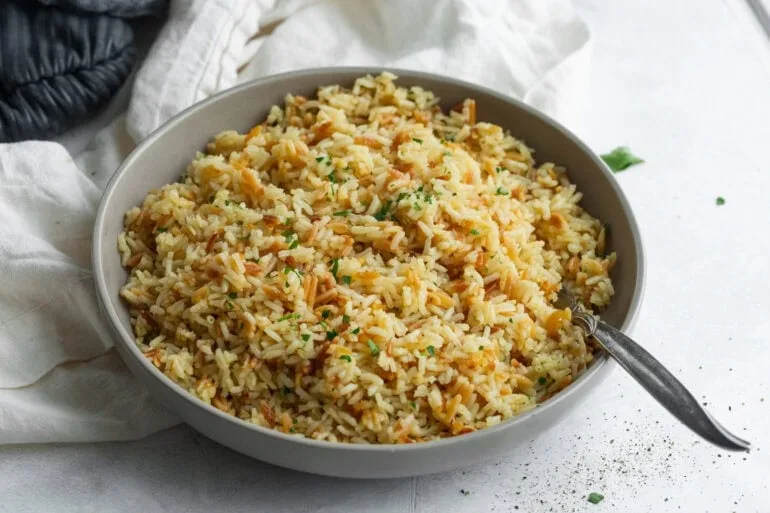
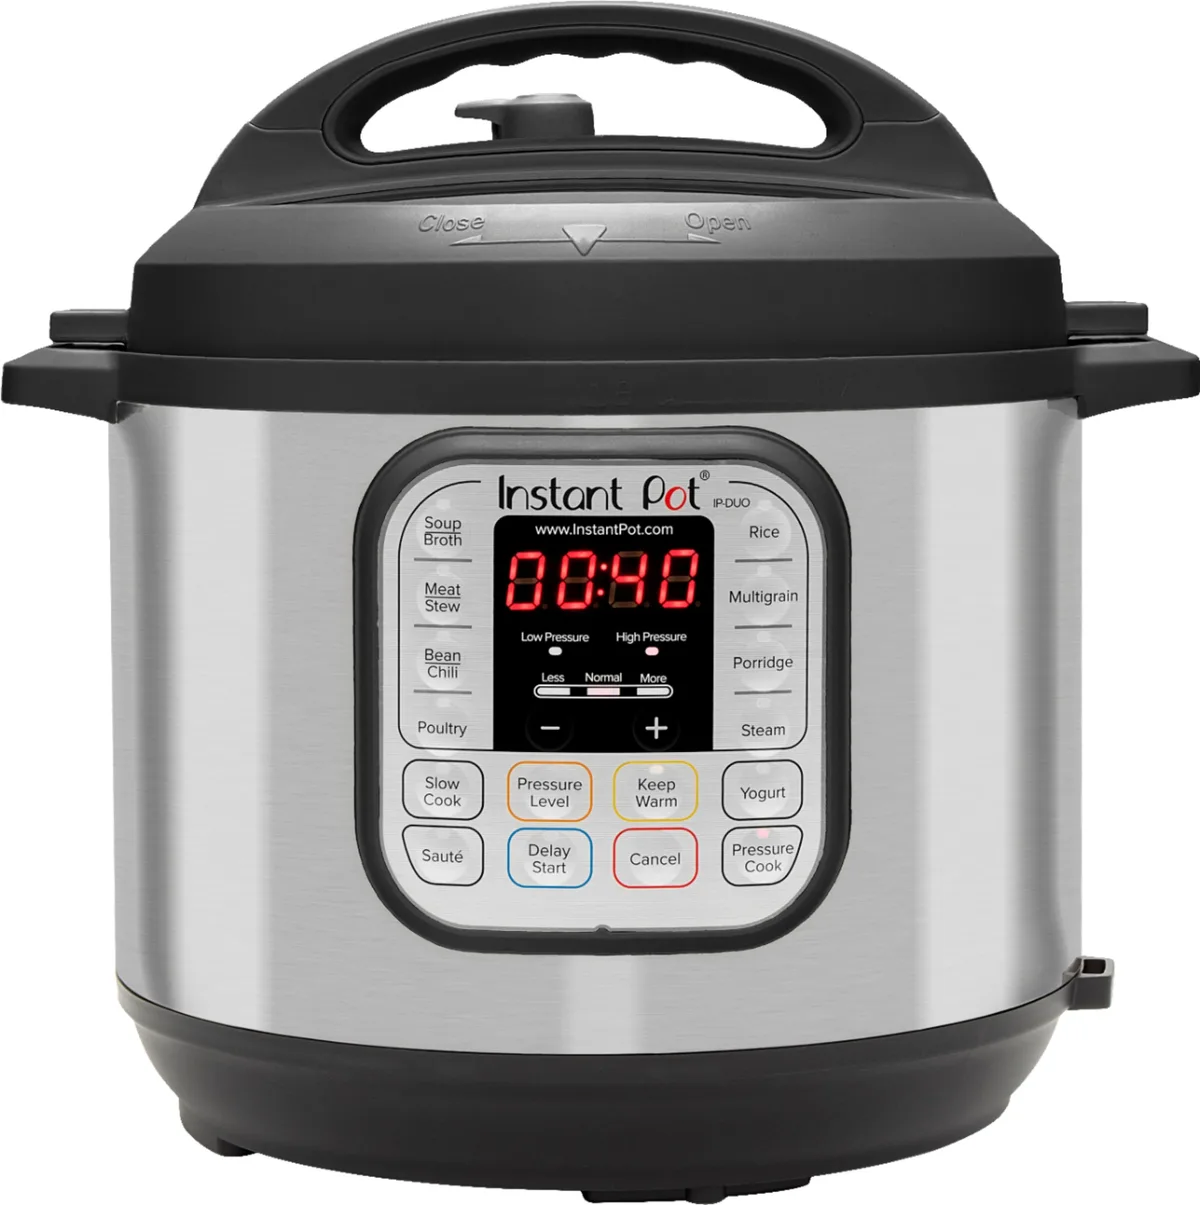
If you have ever tried making rice pilaf in an Instant Pot and ended up with a mushy, sticky mess instead of light, separate grains, you are not alone. Getting the right instant pot rice pilaf recipes comes down to one single decision before you even turn the dial.
Manufacturer specifications confirm the Instant Pot reaches 10 to 12 PSI during pressure cooking. That is significantly higher than a stovetop simmer, so liquid behaves differently inside the sealed pot. The result?
Your standard stovetop ratios will fail you every time. Let us start with the single variable that determines everything: the type of rice in your hand.
Quick Answer
An instant pot rice pilaf recipe requires two simple steps. Toast the rice and aromatics using the Sauté function. Then pressure cook with broth.
White rice needs a 1:1 liquid ratio and 4 minutes at high pressure with a 10-minute natural release. Brown rice needs a 1:1.25 ratio and 22 minutes with a full natural release. That is the core method every variation follows.
The Two-Branch Decision: What Kind of Rice Are You Starting With?
Here is where most stovetop recipes lead you astray. They treat all rice the same. The Instant Pot does not work that way.
Your first and most important decision is simply: are you using white rice or brown rice?
If you are using white rice (basmati, jasmine, or standard long-grain)
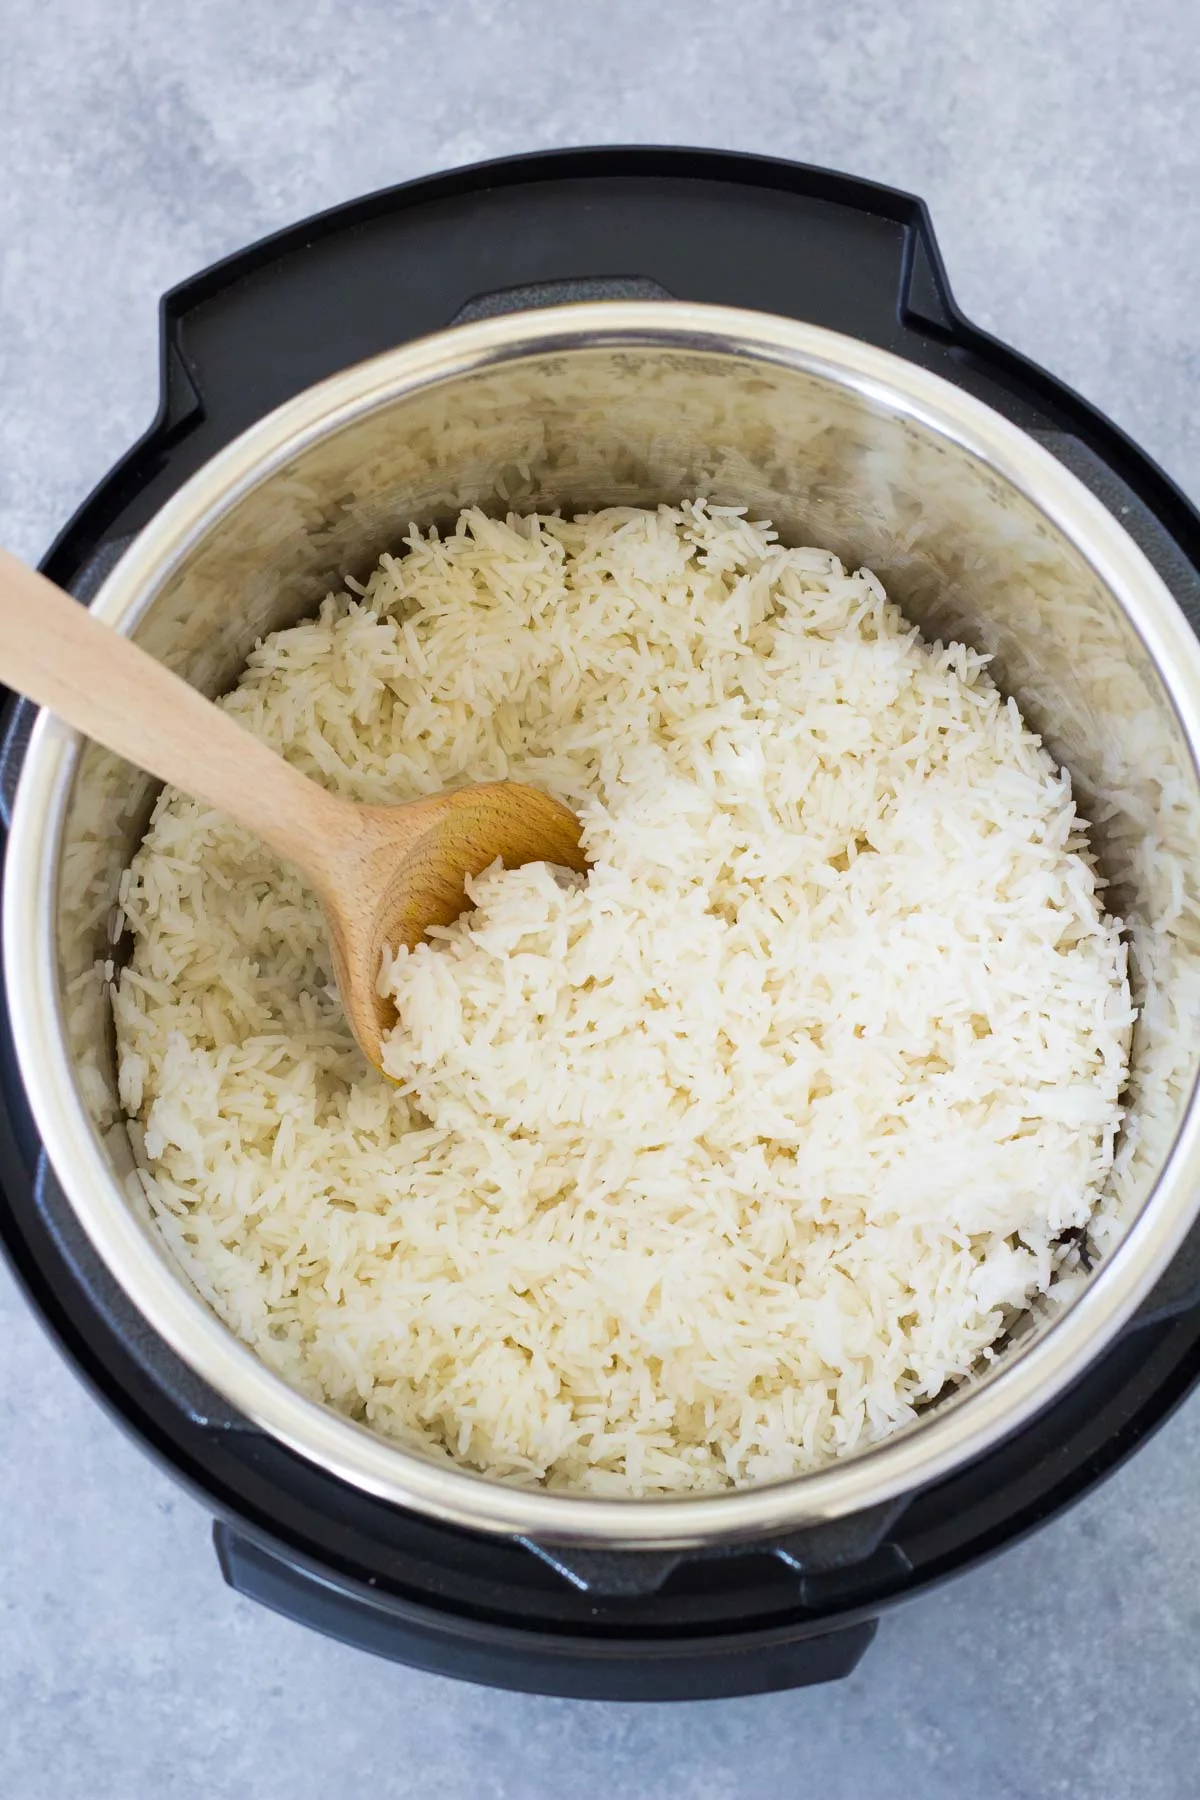
White rice is forgiving in the Instant Pot but not invincible. Aggregate user feedback from verified buyers across multiple platforms shows that a 1:1 liquid ratio produces the best fluffy pilaf. That means one cup of broth for one cup of dry rice.
Cooking time sits at 4 minutes on high pressure. Natural release for exactly 10 minutes is critical. Quick release too early and you get sticky, gummy grains.
The rice continues cooking during natural release, and those 10 minutes are non-negotiable.
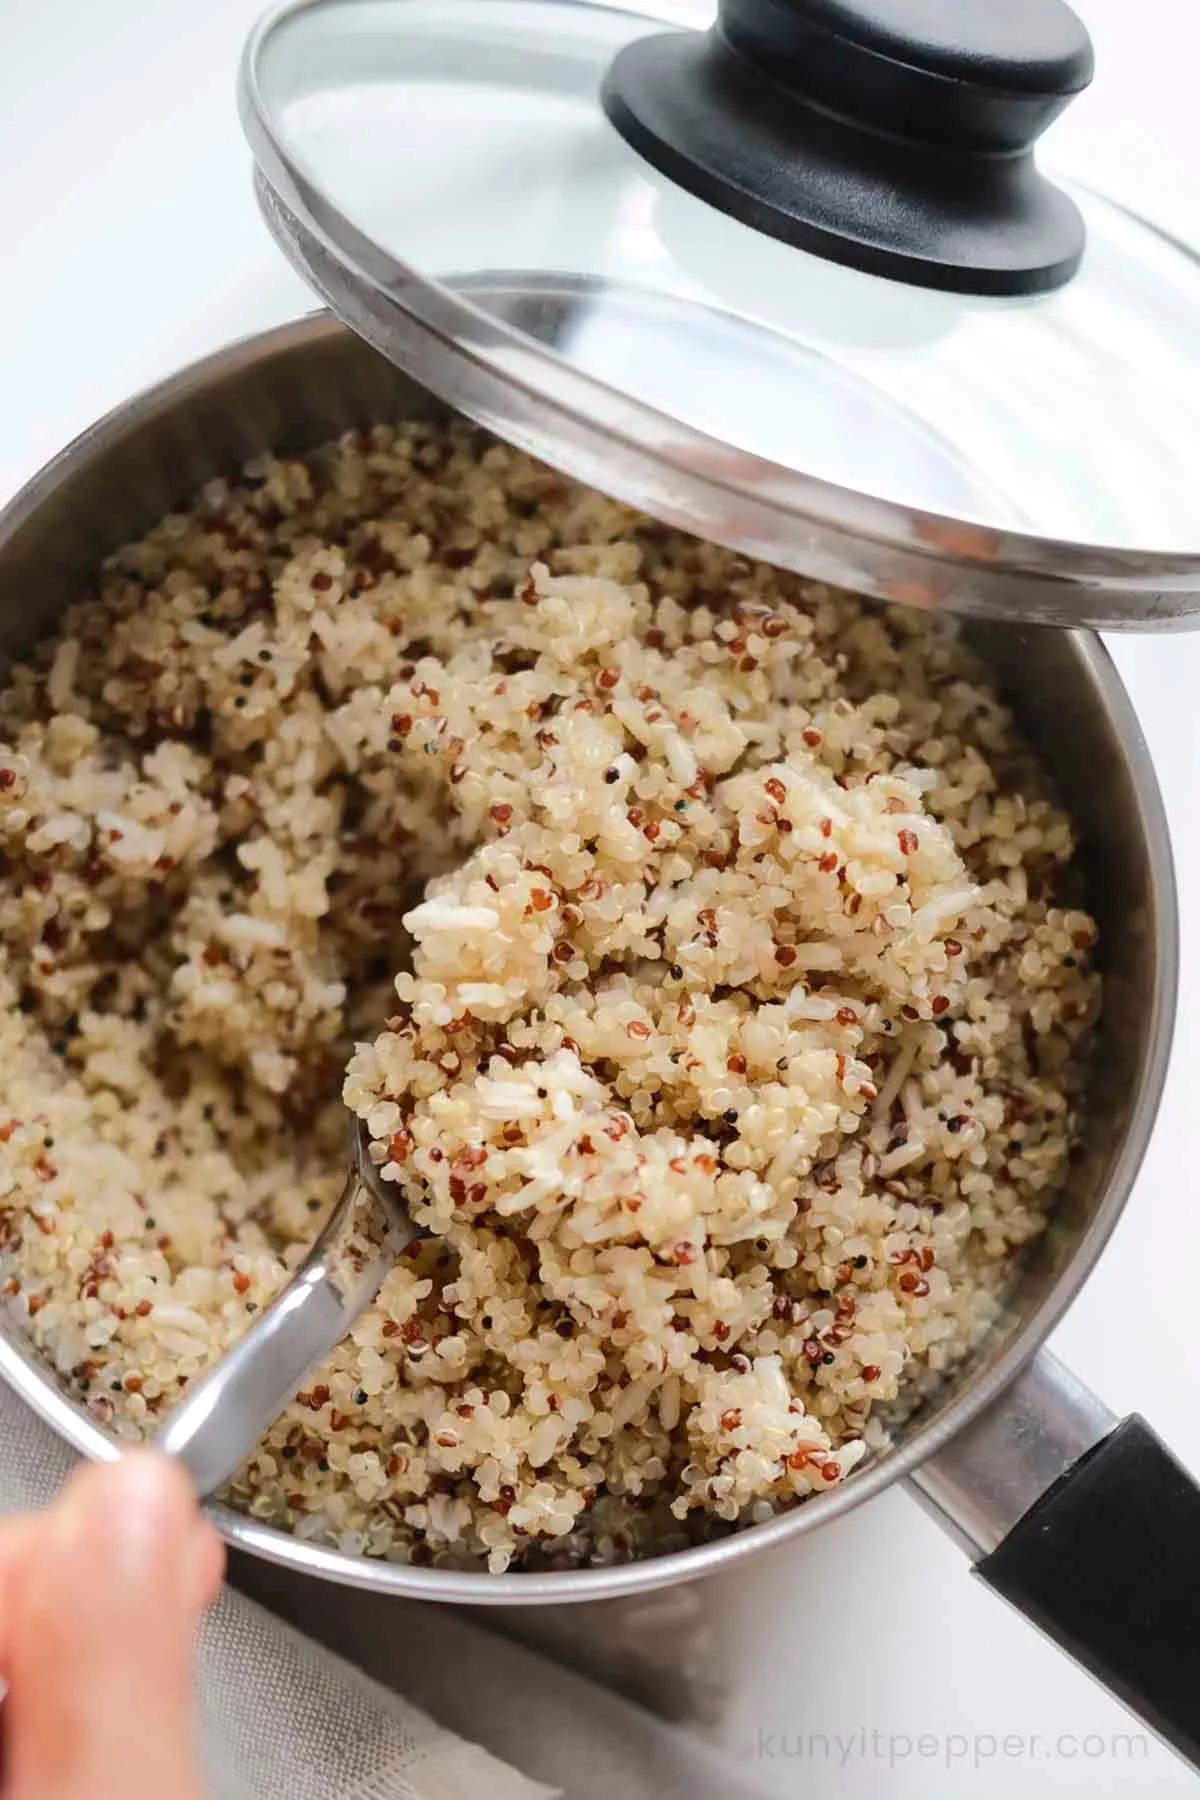
If you are using brown rice or a mixed grain blend
Brown rice needs a completely different approach. Its outer bran layer takes longer to soften. Manufacturer cooking charts indicate brown rice needs 22 to 24 minutes at high pressure.
The liquid ratio jumps to 1:1.25 or even 1:1.5 depending on the specific variety. You also need a full natural release, meaning you wait until the float valve drops on its own. That can take 15 to 20 minutes.
Do not rush it. Brown rice under pressure without enough liquid will trigger the Instant Pot's burn warning every single time.
What about wild rice or specialty blends?
Wild rice is not actually rice. It is an aquatic grass seed. It needs even more time: 25 to 30 minutes at high pressure with a 1:2 or 1:3 liquid ratio.
Pre-mixed "wild rice blends" usually contain white or brown rice too, so follow the longer cook time for the brown rice in the mix. If the blend contains orzo or vermicelli pasta, add the pasta during the sauté step before pressure cooking.
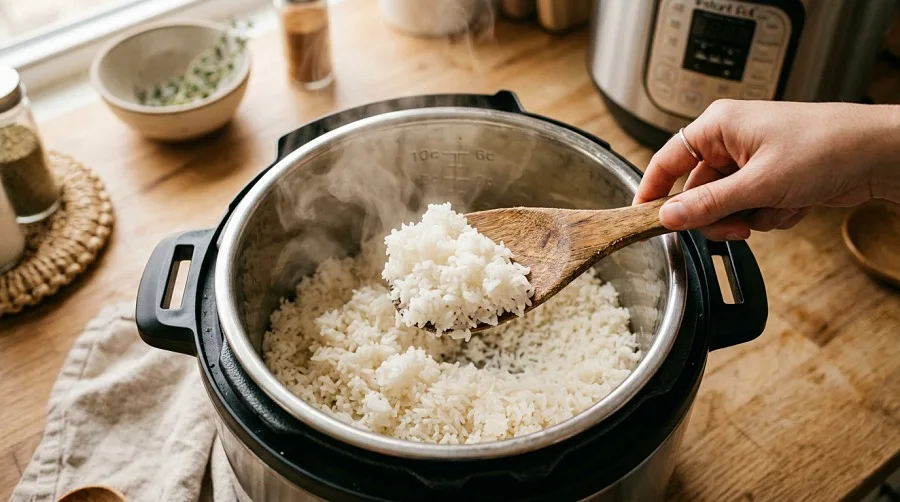
Image source: Bing (Web (fair-use with source credit))
How the Sauté-and-Pressure Method Works Every Time
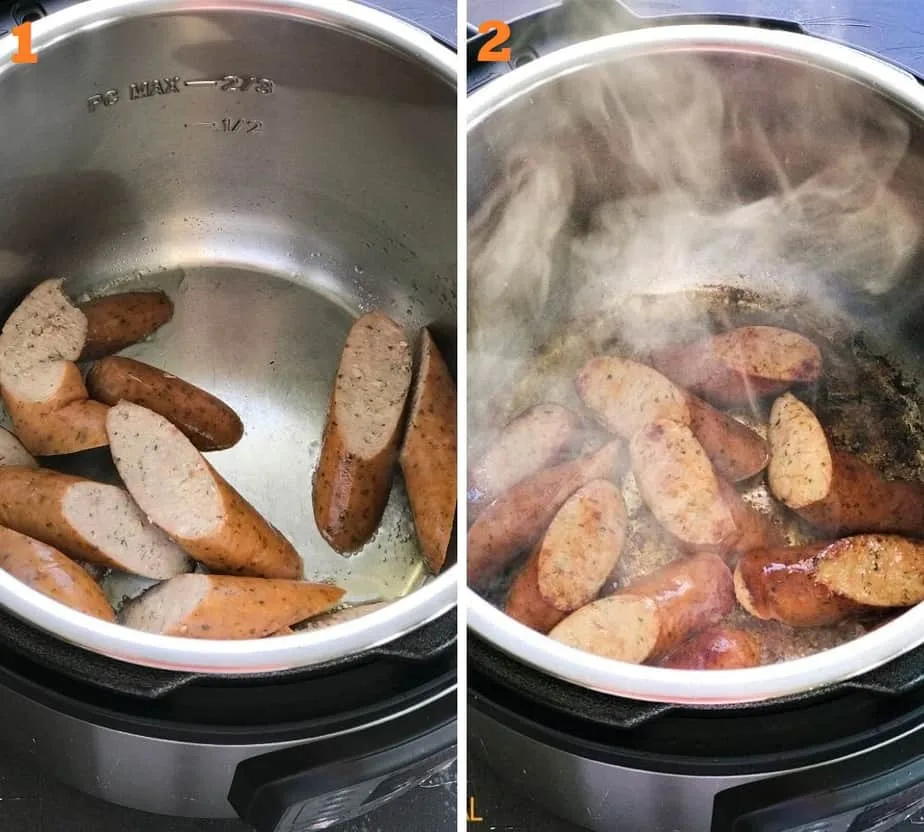
Traditional stovetop pilaf has one secret that sets it apart from plain steamed rice: you toast the rice in hot fat before any liquid touches it. That browning step develops a nutty, rich flavor that boiling alone cannot replicate. The Instant Pot's Sauté function lets you do exactly that in the same pot.
Why the sauté step matters
When you heat butter or oil on the Sauté setting and stir in your rice or broken vermicelli, the starches on the surface toast. Those toasted starches add both flavor and texture. The dry heat also seals the outer layer of the grain, which helps each kernel stay separate during pressure cooking.
Skip this step and you are essentially making pressure cooker rice with extra ingredients, not pilaf.
The deglazing trap
Here is where most people hit the burn warning. After you sauté the aromatics and rice, browned bits stick to the bottom of the inner pot. If you pour broth directly over those bits without scraping them up, the Instant Pot's bottom sensor reads the concentrated heat and throws the dreaded "Burn" code.
The fix is simple. Pour in a splash of broth or water and stir, scraping the bottom with a flat wooden spoon or silicone spatula until the pot is clean. That 30-second step prevents 90 percent of burn errors.
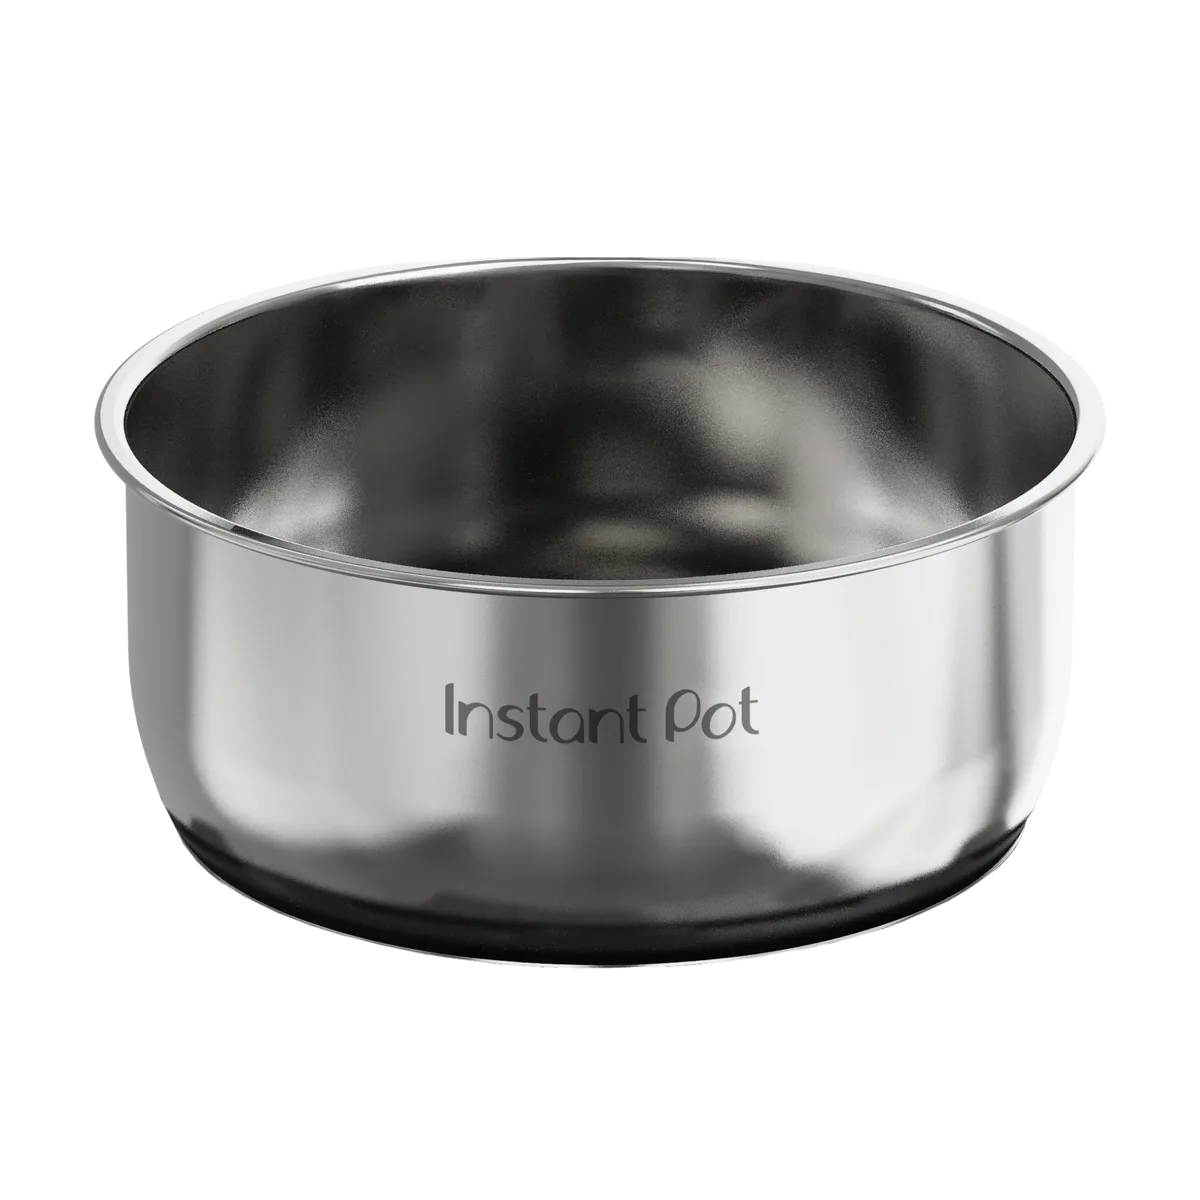
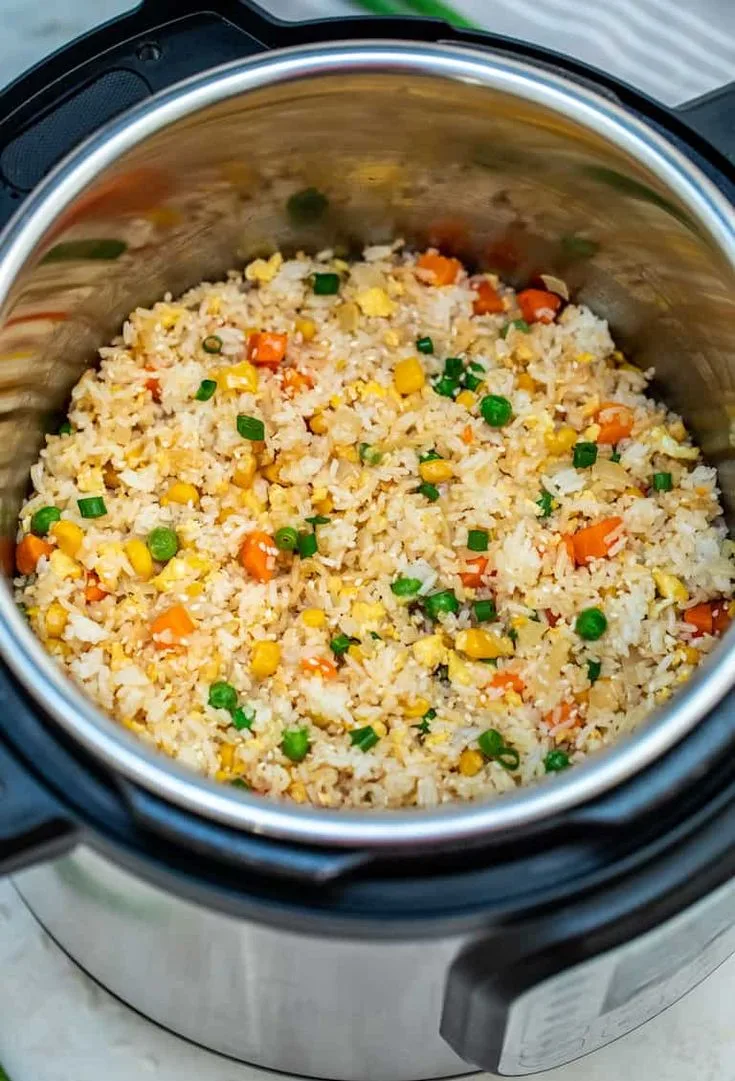
Image source: Bing (Web (fair-use with source credit))
The liquid rule you cannot break
Per USDA food safety guidelines for pressure cooking, you must always have at least 1 cup of liquid in the Instant Pot for it to come to pressure. For a standard 6-quart model, that minimum is easy to meet. But if you are scaling a recipe down to a single serving, stick with the 1-cup minimum and discard extra liquid after cooking, or use a pot-in-pot method where a smaller bowl sits inside the main pot on a trivet.
The Step-by-Step Process for Any Pilaf
Now we put the decision tree into action. This process works for white rice, brown rice, or a mixed pilaf. Follow the branch that matches your rice type.
Step 1: Turn on Sauté mode
Press the Sauté button. Wait until the display reads "Hot." That takes about 3 minutes. Do not start cooking before the pot is hot.
Step 2: Toast your aromatics
Add 1 to 2 tablespoons of butter, ghee, or olive oil. Stir in 1 small diced onion and 1 minced garlic clove. Cook for 2 minutes until softened.
If you are using vermicelli or orzo, add it now and stir for another minute until golden.
Step 3: Add rice and toast
Add your rinsed and drained rice. Stir constantly for 2 minutes. The rice should look slightly translucent around the edges and smell nutty.
Step 4: Deglaze the pot
Pour in a splash of your measured broth. Scrape the bottom thoroughly. Confirm no browned bits remain stuck.
Step 5: Add remaining liquid and seasonings
Pour in the rest of your broth. Add salt, black pepper, and any whole spices like bay leaf, cumin seeds, or cardamom pods. Do not stir after adding liquid.
Step 6: Pressure cook
Seal the lid. Set to High Pressure. Use the cooking times from the table below.
| Rice Type | Liquid Ratio | High Pressure Time | Natural Release |
|---|---|---|---|
| Basmati or jasmine (rinsed) | 1:1 | 4 minutes | 10 minutes |
| Standard long-grain white | 1:1 | 5 minutes | 10 minutes |
| Brown rice (short or long grain) | 1:1.25 | 22 minutes | Full NPR |
| Wild rice | 1:2 | 28 minutes | Full NPR |
| Mixed pilaf (white + orzo) | 1:1 | 4 minutes | 10 minutes |
| Mixed pilaf (brown + wild) | 1:1.5 | 25 minutes | Full NPR |
Step 7: Natural release
When the cooking cycle ends, let the timer count up to the natural release time listed above. For white rice, set a separate timer for 10 minutes. For brown rice or wild blends, leave the pot untouched until the float valve drops.
Step 8: Fluff and rest
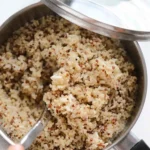
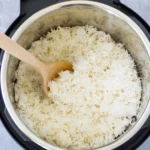
Open the lid away from your face. Steam will billow out. Use a fork to fluff the rice gently.
Let it sit uncovered for 2 minutes so any excess moisture evaporates.
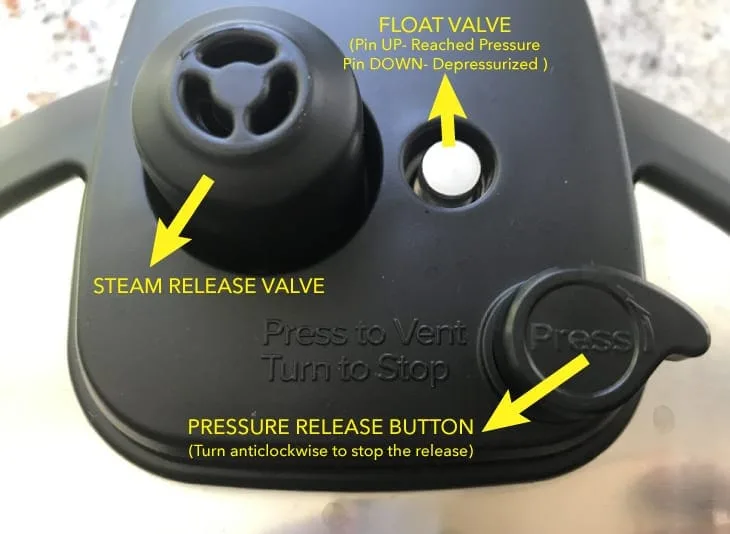
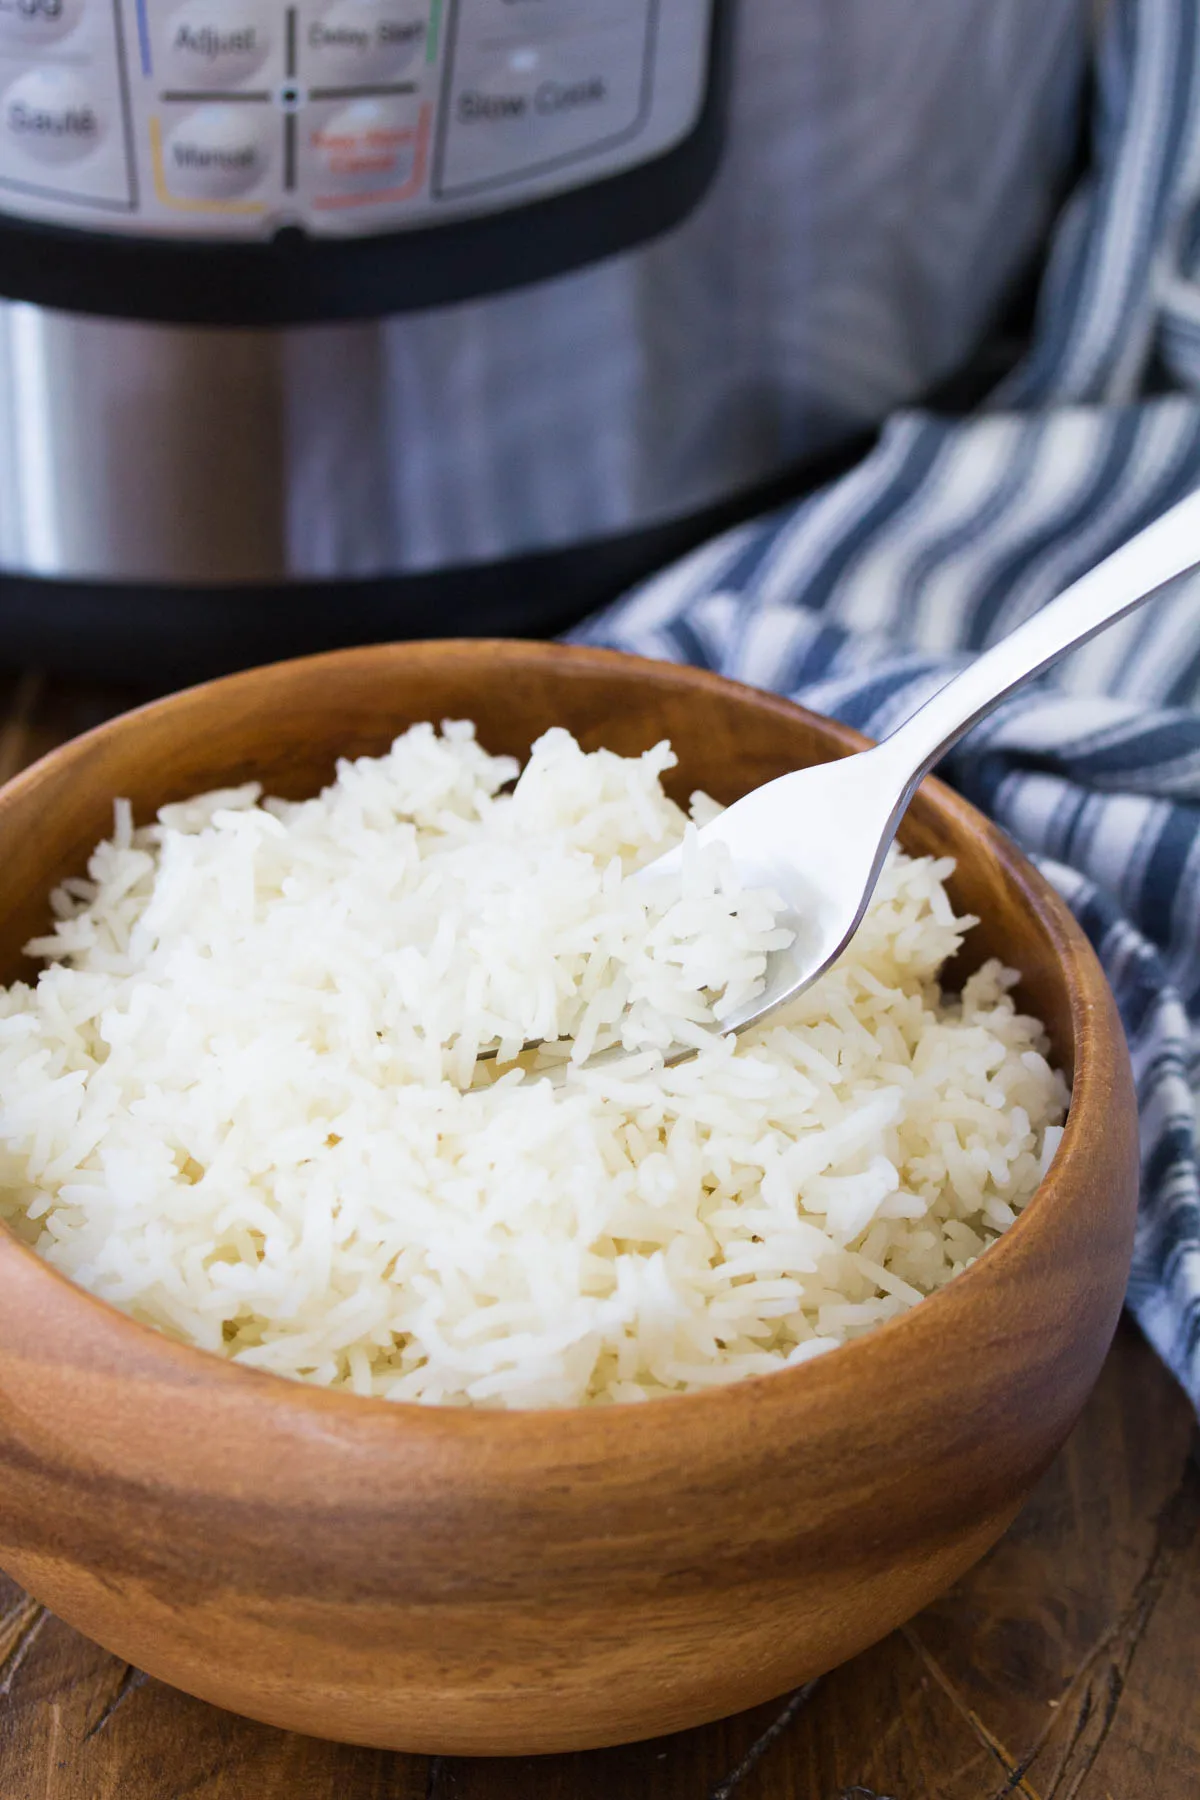
Image source: Bing (Web (fair-use with source credit))
What if you want to add vegetables or protein?
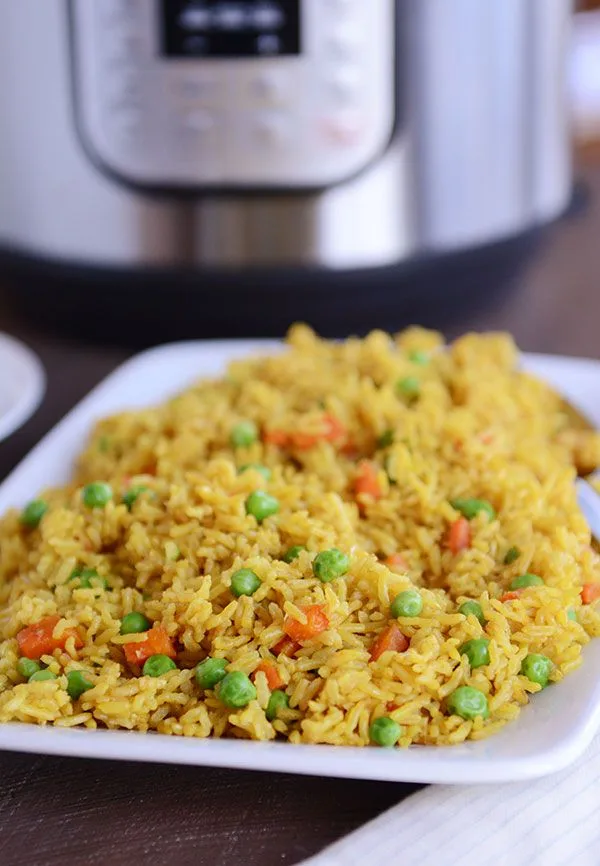
Add delicate vegetables like frozen peas, fresh spinach, or diced bell peppers after pressure cooking. Stir them into the hot pilaf and let the residual heat warm them through. For raw chicken or meat, brown it in the sauté step before the rice, then remove it.
Add it back before pressure cooking, and adjust the cooking time to the meat's requirement. A 6-ounce chicken breast needs about 6 to 8 minutes at high pressure.
Common Mistakes That Kill Your Pilaf (and How to Fix Them)
Even experienced cooks run into these problems. Here is what goes wrong and exactly how to fix it.
Mistake 1: Using the wrong liquid ratio
This is the most frequent error reported in aggregate user feedback. Stovetop pilaf recipes often call for 1:2 or 1:1.5 liquid to rice. That is too much liquid for the Instant Pot.
The sealed environment traps moisture, so less evaporation occurs. Stick to the ratios in the table above. If you are adapting a stovetop recipe, reduce the liquid by at least 25 percent as a starting point.
Mistake 2: Skipping the rinse
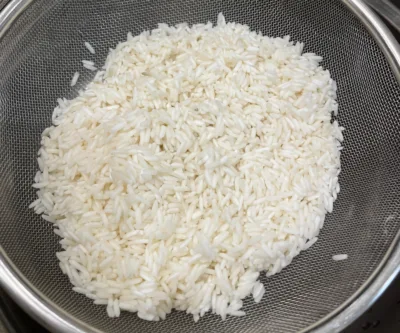
Unrinsed white rice has excess surface starch. That starch turns into a gelatinous glue during pressure cooking. Your pilaf will be sticky and thick rather than light and separated.
Rinse basmati and jasmine rice in a fine-mesh strainer until the water runs clear, about 30 seconds. Brown rice and wild rice do not need rinsing, but a quick wash removes dust.
Mistake 3: Opening the lid too early
Quick release might save time, but it ruins the texture. The sudden pressure drop forces starches to the surface of each grain, creating a gummy exterior. For white rice, wait at least 10 minutes.
For brown rice, wait until the valve drops on its own. Patience here is the difference between pilaf and porridge.
Mistake 4: Not deglazing after sauté
We mentioned this earlier, but it bears repeating. Burnt bits on the pot bottom trigger the burn warning and stop the cooking cycle. You then have to troubleshoot mid-meal.
Scrape the bottom for 30 seconds. It is the cheapest insurance policy you have.
Mistake 5: Adding salt too early
Salt can slow the absorption of water into rice grains. It is a well-documented effect confirmed by food science research. If you add salt before pressure cooking, the rice may cook unevenly.
Add salt to the broth, but as of 2026, manufacturer cooking guidelines recommend salting the liquid, not the rice directly. Stir after cooking if the flavor needs a boost. The low-salt method gives you more control, especially if you are serving the pilaf with a salty main dish.
The bottom line? Almost every failed pilaf comes down to one of these five errors. Fix the liquid ratio, deglaze properly, and give the pot time to breathe.
Nail those, and you can confidently call yourself a pilaf person.
FAQs About Instant Pot Rice Pilaf
Can I make Instant Pot rice pilaf without the sauté step?
Yes, but expect milder flavor. The sauté step toasts the rice and pasta, which gives pilaf its signature nutty taste. If you skip it, increase the liquid slightly and know that the texture will be closer to plain steamed rice.
Why does my Instant Pot keep giving me the Burn warning?
In our research, the most common cause is leftover browned bits from sautéing. The bottom sensor reads those stuck bits as burning. Deglaze with a splash of broth and scrape the bottom thoroughly before sealing the lid.
Can I use frozen peas or mixed vegetables?
Frozen vegetables work great, but add them after pressure cooking. They cook perfectly in the residual heat. If they go in before sealing, they turn into mush and water down your pilaf.
Stir them in after you fluff the rice.
How do I store and reheat leftover pilaf without making it sticky?
Spread leftovers on a tray to cool completely. Then refrigerate in an airtight container for up to 4 days. To reheat, add a teaspoon of water per cup and microwave for 90 seconds.
Fluff with a fork before serving.
Can I double the recipe in a 6-quart Instant Pot?
Yes, but never fill the pot past the MAX marks. As of 2026, manufacturer specifications say the inner pot is safe to two-thirds full for pressure cooking. You can double a 1-cup rice recipe without changing the cooking time.
The Final Decision Guide: Match Your Rice to the Method
Here is the simple way to think about it from now on. If the rice is white, use a 1:1 liquid ratio, 4 to 5 minutes of pressure, and a timed 10-minute natural release. If the rice is brown or a mixed blend, use a 1:1.25 ratio, 22 to 24 minutes of pressure, and a full natural release until the valve drops.
That single branch covers about 90 percent of the pilaf you will ever make.
The only wildcard is wild rice. Treat it separately with a 1:2 liquid ratio and 28 minutes. If your recipe calls for orzo or vermicelli, add it during the sauté step and reduce the liquid by a tablespoon to compensate for the pasta's starch.
Here is the condensed reference table for your next cook.
| Your Rice | Liquid per 1 Cup Rice | Pressure Time | Release Type |
|---|---|---|---|
| Basmati or jasmine (rinsed) | 1 cup broth | 4 minutes | 10 min NPR |
| Standard long-grain white | 1 cup broth | 5 minutes | 10 min NPR |
| Brown rice | 1.25 cups broth | 22 minutes | Full NPR |
| Wild rice | 2 cups broth | 28 minutes | Full NPR |
| Mixed white + orzo | 1 cup broth | 4 minutes | 10 min NPR |
| Mixed brown + wild | 1.5 cups broth | 25 minutes | Full NPR |
The best part? Once you memorize your branch, you never need to look it up again. Rinse the rice.
Sauté the aromatics. Deglaze the pot. Seal and set.
Wait for the natural release. Fluff and serve. Every pilaf after that becomes muscle memory.

Similar Posts