15 Instant Pot Rice Recipe Ideas for Every Meal
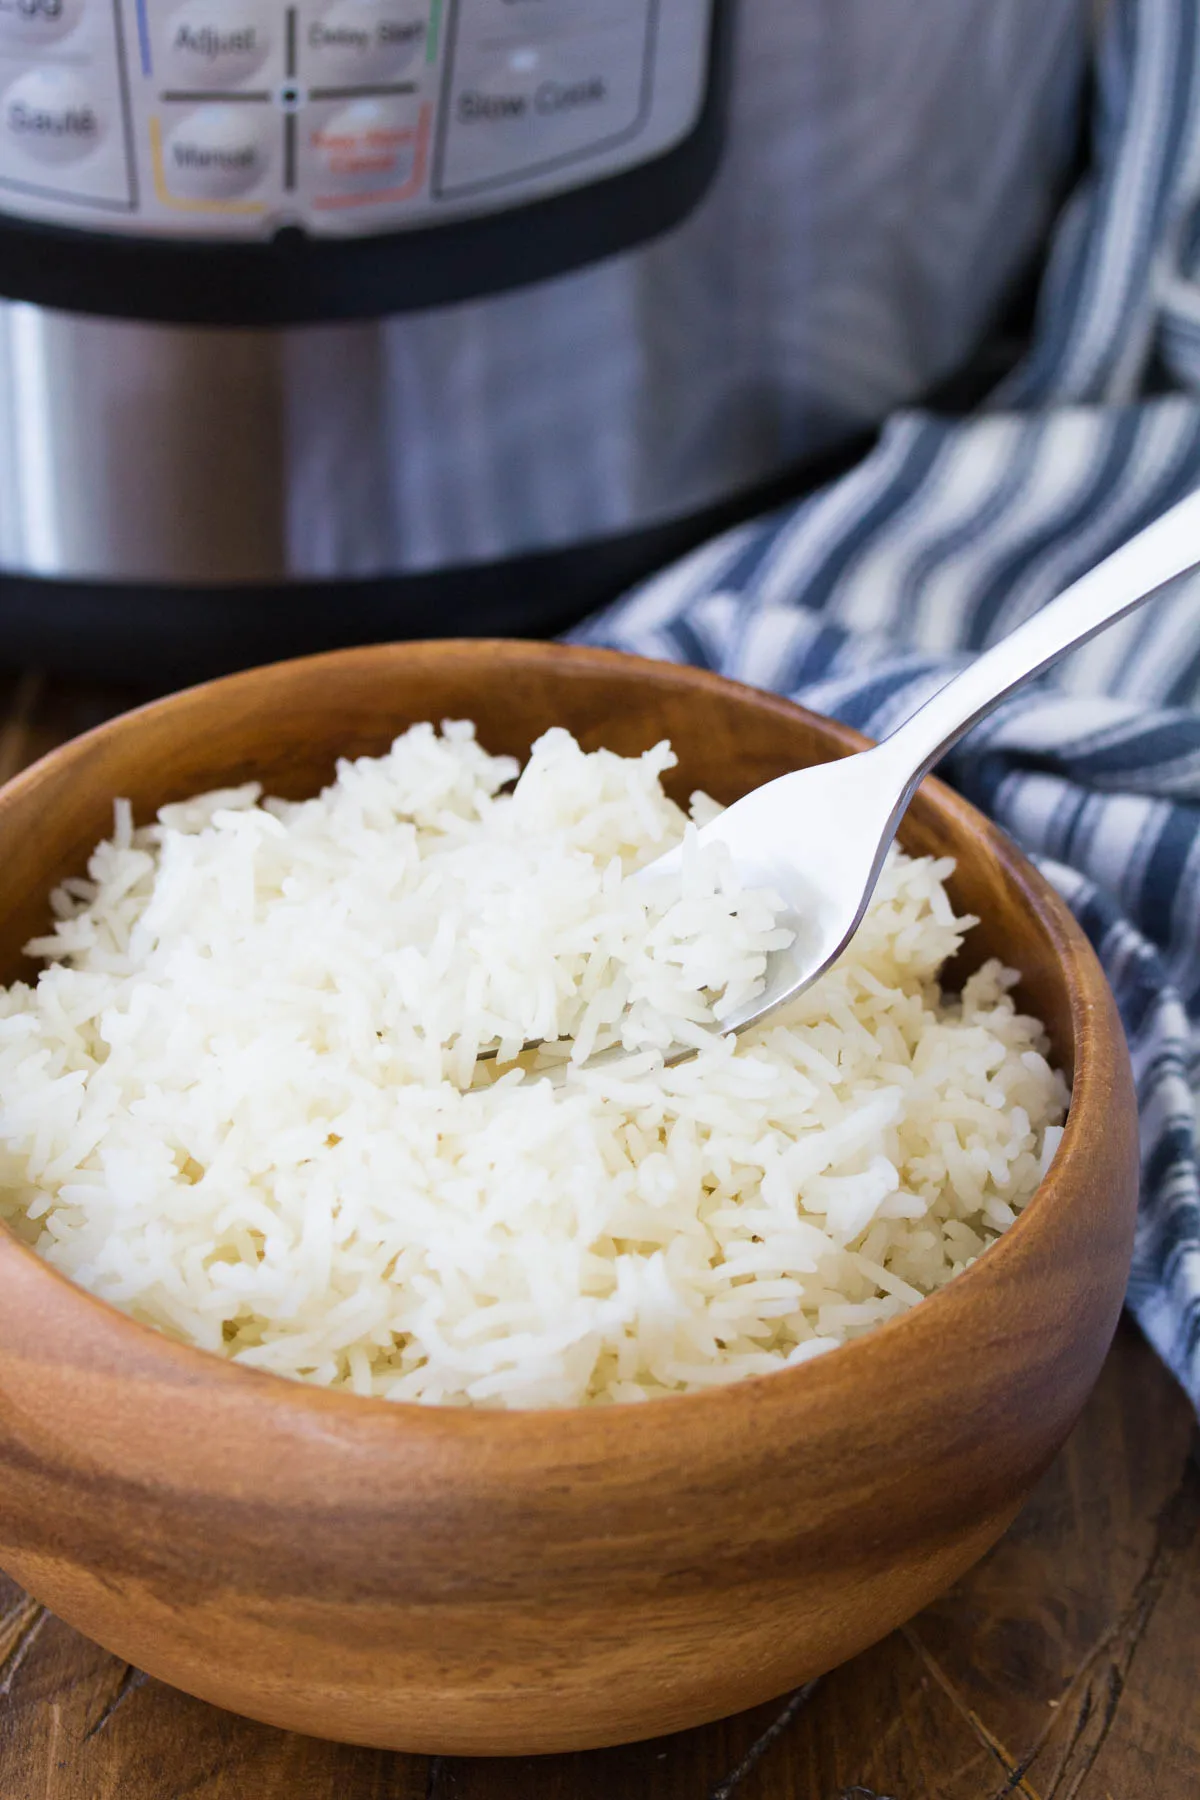
Getting great rice from your Instant Pot is about matching the method to the grain. That is what makes instant pot rice recipe ideas so useful. A fluffy batch of jasmine needs different treatment than sticky sushi rice or hearty brown rice.
The right ratio and release technique turn a good meal into a consistent one.
Manufacturer specifications for the standard six-quart Instant Pot confirm it can handle up to 3 cups of dry white rice in a single batch. That yields about 9 cups cooked, enough for a week of meal prep or a family dinner side. The water ratio and pressure release method shift depending on the variety you choose.
Let us break down how each one works.
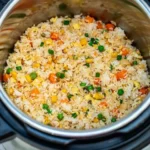
Image source: Bing (Web (fair-use with source credit))
Why Rice Cooks Differently in the Instant Pot (And Why It Matters)
The Instant Pot cooks rice under pressure at a higher temperature than boiling water on the stove. That changes how starch absorbs liquid and how the grain softens. Different rice varieties have different starch compositions.
Long-grain white rice like jasmine and basmati have less sticky starch. That means they stay separate and fluffy when cooked correctly. Short-grain sushi rice and arborio have more sticky starch.
They turn sticky and creamy by nature, which is exactly what you want for sushi rolls or risotto.
Brown rice and wild rice still have their bran layer intact. That outer shell takes longer to soften and needs more water. Cooking brown rice under pressure cuts the time from about 45 minutes on the stove to roughly 22 minutes in the Instant Pot.
That is a serious time saver on a busy weeknight.
The sealed environment also means no steam escapes during cooking. Every drop of liquid stays inside the pot. That is why the water ratio in the Instant Pot is lower than stovetop ratios.
Less evaporation means less water needed.
As of 2026, most Instant Pot models share the same basic pressure cooking mechanism. The differences between the Duo, Pro, and Ultra lines mostly affect preset programs and display panels. The actual cooking physics are identical across models for rice.
Understanding these differences is what separates a perfect pot from a burnt or mushy disaster.
The Core Rice Recipe Ideas – Which One Fits You?
Plain Steamed Rice (White, Jasmine, Basmati, Brown)
This is the simplest method and the one most people learn first. Use a one-to-one water ratio for white rice, jasmine, and basmati. Brown rice needs one and a half parts water to one part rice.
Natural release for 10 minutes works best for most varieties. Quick release can cause starchy spray and leave the center undercooked for brown rice.
Pot-in-Pot Rice
Place the trivet in the bottom of the pot and add water to the main pot. Put your rice and water in a separate heat-safe bowl on the trivet. This lets you cook rice alongside a main dish like curry or chili.
Use the same ratios as plain rice. Add 5 minutes to the cooking time to account for the extra thermal buffer.
One-Pot Rice Dishes (Pilaf, Mexican Rice, Coconut Rice)
Toast the rice in the Instant Pot using the Saute function with oil or butter. Add aromatics, broth, and extras like tomato paste or coconut milk. Pressure cook on high.
For Mexican rice, saute rice and onions first. Then add diced tomatoes and broth. For coconut rice, swap half the water for coconut milk.
Instant Pot Risotto
Risotto traditionally needs constant stirring. The Instant Pot eliminates most of that work. Saute the arborio rice in butter or oil for 2 minutes.
Add broth and pressure cook for 6 minutes. Quick release and stir in parmesan and butter. The texture turns creamy and your stirring time drops to about 2 minutes total.
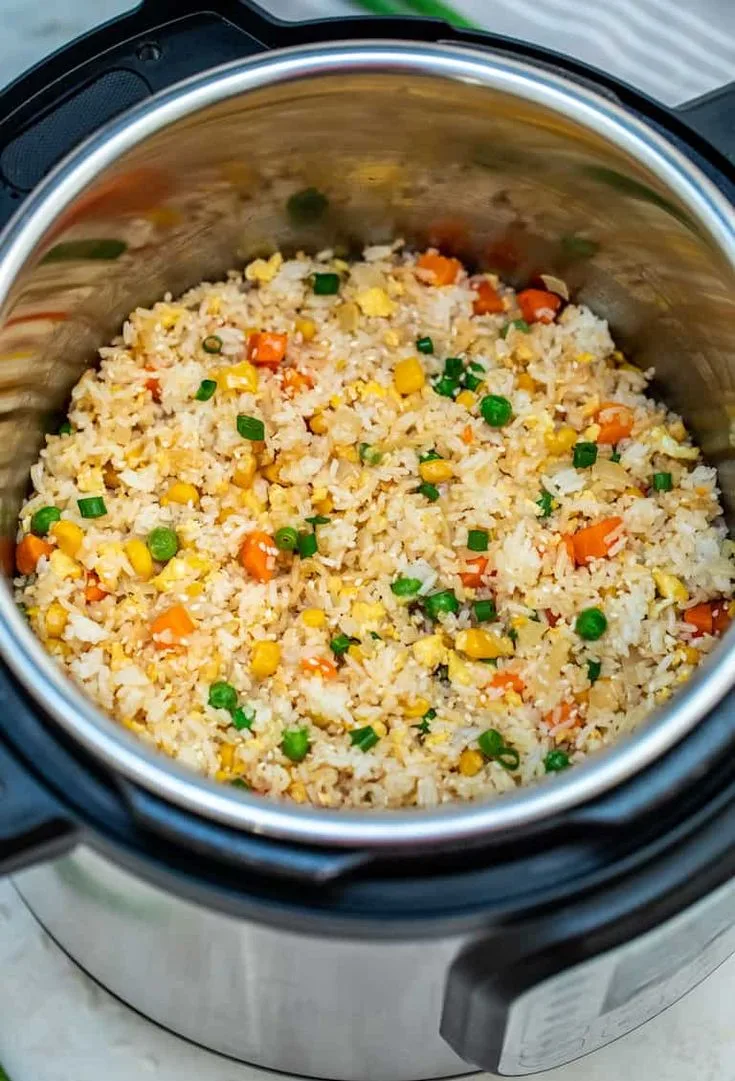
Fried Rice
Cook rice in the Instant Pot first. Let it cool completely, preferably overnight in the fridge. Cold rice fries better because the starch firms up.
Then stir fry in a wok or skillet with vegetables, egg, and sauce. The Instant Pot handles the steaming. The stovetop handles the frying.
They make a great team.
Sticky Rice and Sushi Rice
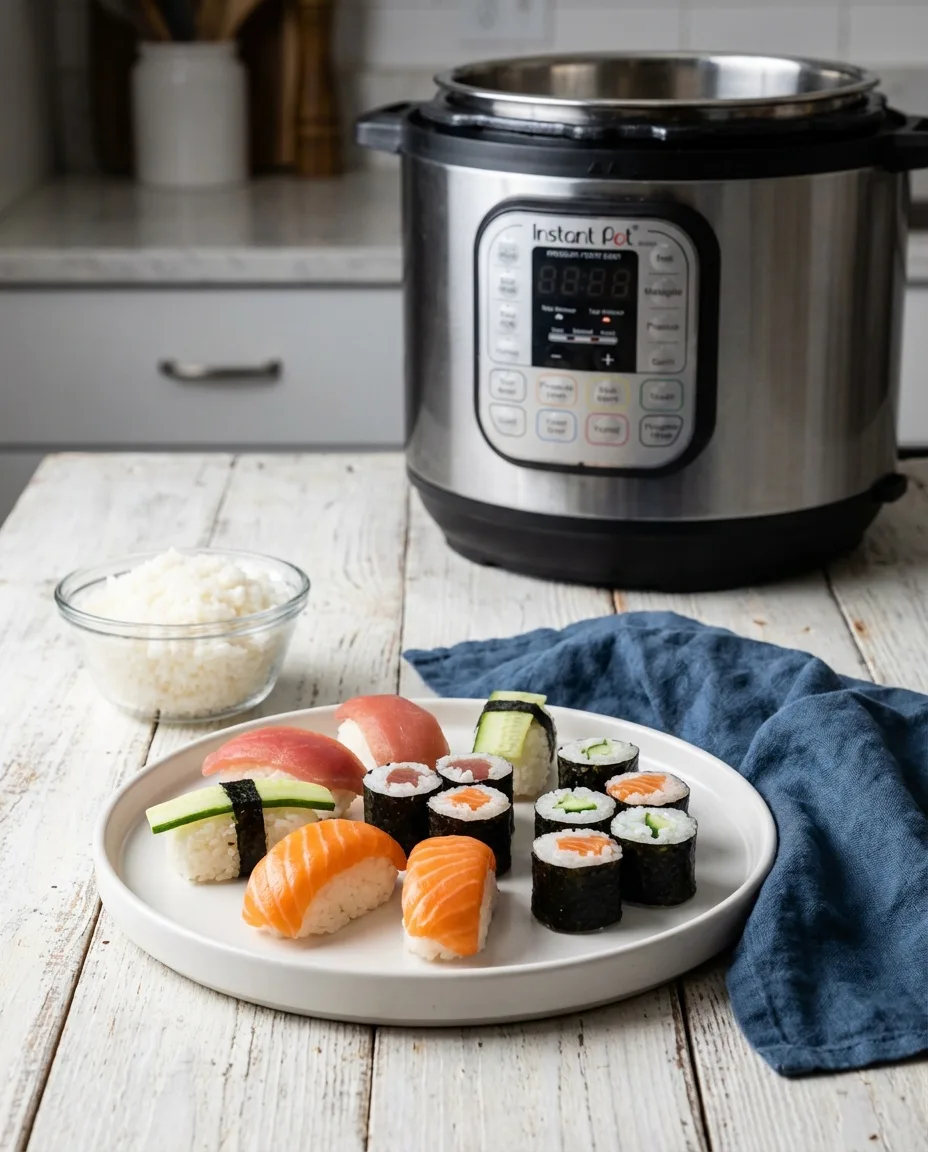
Soak sticky rice or sushi rice in water for 30 minutes before cooking. Drain and use a one-to-one water ratio. Pressure cook for 4 minutes followed by a natural release.
The soaking step is not optional here. It hydrates the grain evenly so the center cooks through without turning mushy.
Side-by-Side Quick Guide
Water-to-Rice Ratios at a Glance
The table below covers the most common rice varieties and their ideal settings. Bookmark this one for quick reference.
| Rice Type | Water Ratio | Cook Time (High Pressure) | Release Method |
|---|---|---|---|
| White long-grain | 1 cup rice: 1 cup water | 4 minutes | Natural 10 min |
| Jasmine | 1:1 | 4 minutes | Natural 10 min |
| Basmati | 1:1.25 | 6 minutes | Natural 10 min |
| Brown rice | 1:1.5 | 22 minutes | Natural 15 min |
| Sushi / short-grain | 1:1 (soaked) | 4 minutes | Natural 10 min |
| Arborio (risotto) | 1:2.5 | 6 minutes | Quick release |
| Wild rice | 1:2.5 | 25 minutes | Natural 15 min |
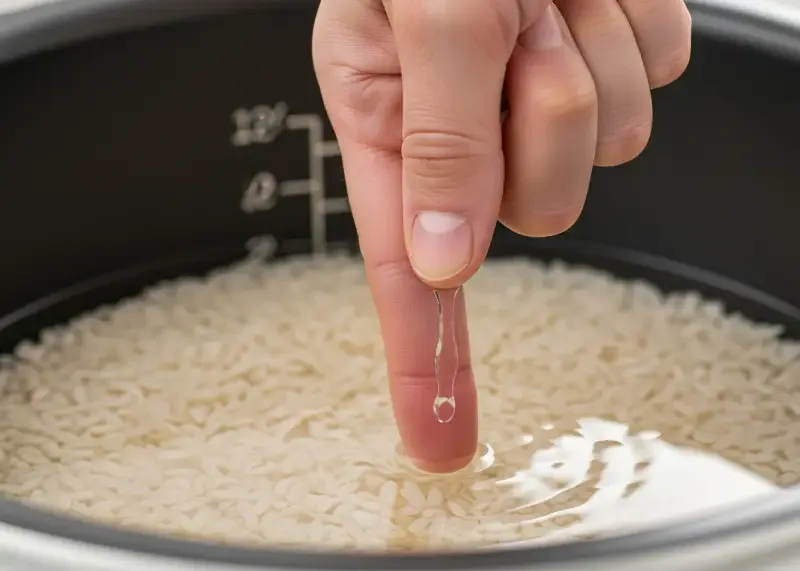
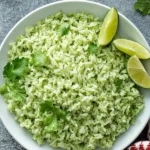
Image source: Bing (Web (fair-use with source credit))
A natural release means letting the pot sit and cool on its own after the timer ends. This usually takes 10 to 15 minutes. Quick release means turning the valve to release steam immediately.
Use quick release only for risotto and recipes where every minute of cook time matters.
Bulked-Up or Delicate – Matching the Recipe to Your Meal
A big batch of brown rice suits meal prep for the week. It holds up well in the fridge and reheats without turning to paste. Delicate jasmine rice works better for serving fresh alongside a stir fry or Thai curry.
Risotto does not reheat well, so cook only what you will eat that night. Match the recipe to your schedule, not the other way around.
Gear That Actually Matters
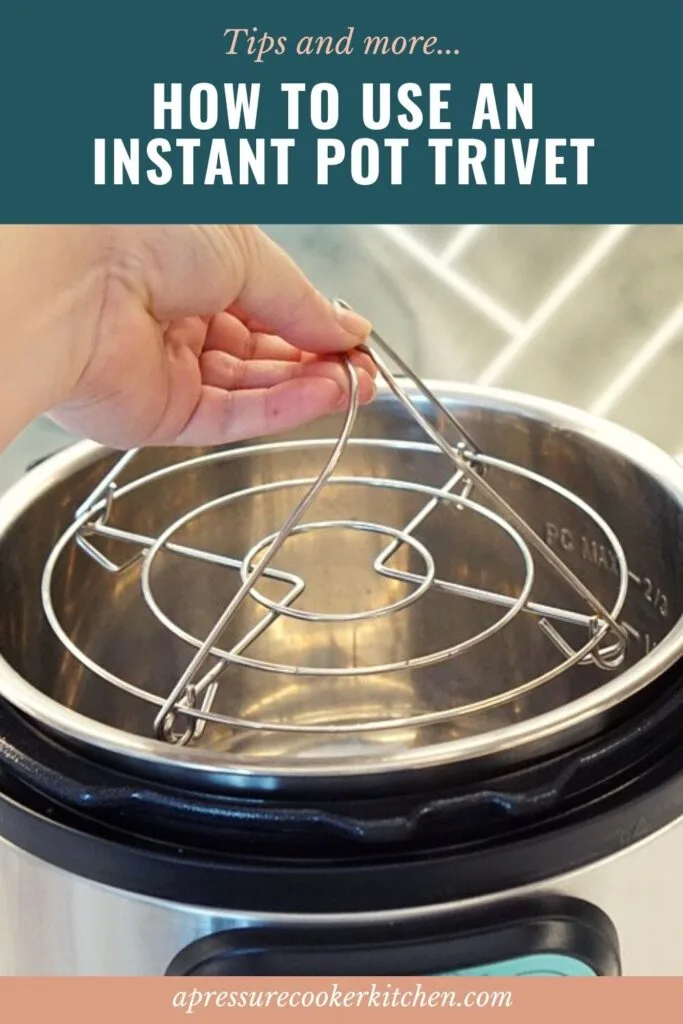
Image source: Bing (Web (fair-use with source credit))
Trivet, Pot-in-Pot Bowl, and Sealing Rings
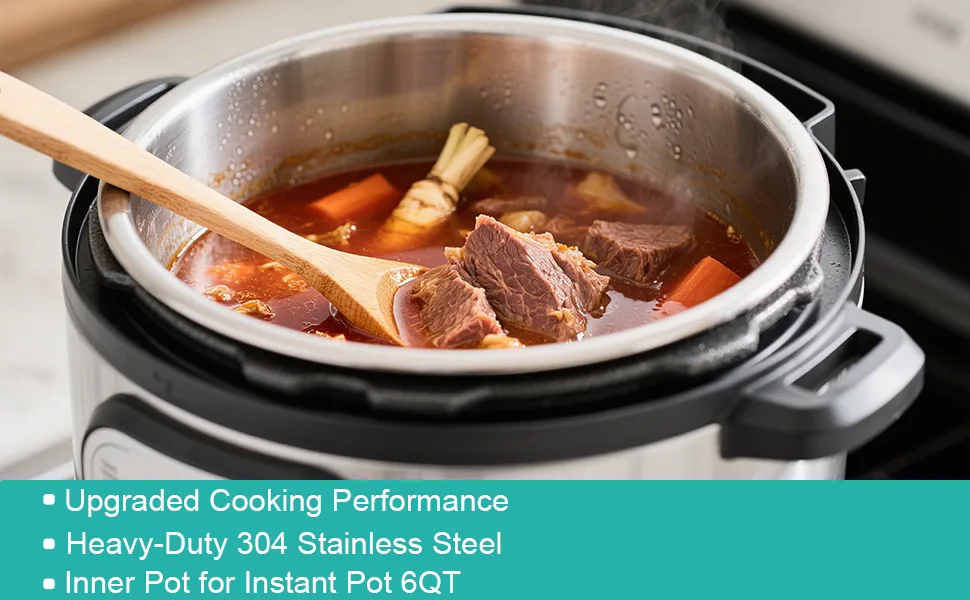
The trivet that comes with your Instant Pot is essential for pot-in-pot cooking. Without it, the inner bowl sits directly on the hot pot base. That can scorch the rice on the bottom.
A stainless steel trivet handles high heat without warping.
A separate heat-safe bowl for pot-in-pot cooking makes a big difference. Glass or ceramic bowls rated for pressure cooking work well. A seven-inch round cake pan fits perfectly in a six-quart pot.
You can cook rice and a main dish at the same time with this setup.
Sealing rings are worth knowing about. The silicone ring absorbs odors from whatever you cook. If you make a spicy chili and then try to cook jasmine rice, the rice will smell like chili.
Keep a separate sealing ring for plain rice and desserts. They cost about eight to ten dollars and solve that problem instantly.
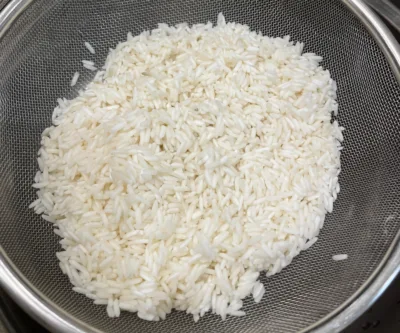
A fine-mesh strainer for rinsing rice also helps a lot. Rinsing removes surface starch that causes gummy texture. The strainer makes rinsing fast and prevents rice from falling into the sink.
It is a small purchase that pays off every time you cook.
Expert Tips for Instant Pot Rice
Rinse or Not? And How Long to Soak
Rinse white rice, jasmine, basmati, and brown rice until the water runs clear. That removes excess starch and prevents clumping. Do not rinse enriched rice if you want to keep the added nutrients.
Fortified rice has a coating of vitamins that rinsing washes away.
Soaking matters most for sticky rice and sushi rice. Thirty minutes in cold water is enough. That step hydrates the grain evenly so the center cooks through under pressure.
Skipping the soak gives you a crunchy center and a mushy exterior.
Natural Release vs. Quick Release – Choosing Wisely
Natural release gives the rice time to settle and absorb remaining steam. It prevents the foam and starchy spray that quick release can blow out the valve. For most rice, natural release is the better choice.
Quick release works for risotto and recipes where you need to stop cooking immediately.
If you are in a hurry, you can quick release white rice after a 10 minute natural rest. That shortens the total time without sacrificing texture. Just point the steam valve away from your face and use a long spoon to release it.
Deglazing to Avoid the Burn Notice
When you saute rice or aromatics before pressure cooking, bits stick to the bottom. These can trigger the burn notice and stop cooking entirely. Pour in a splash of broth or water and scrape the bottom with a wooden spoon before sealing the lid.
That one step prevents most burn notices. It takes about 30 seconds but saves you from opening the pot, cleaning it, and starting over. Do not skip this step when making one pot rice dishes like Mexican rice or pilaf.
Common Mistakes to Avoid
Even experienced cooks hit these rice-related snags. Here are the ones that cause the most wasted batches.
- Skipping the rinse. Unrinsed rice leaves excess starch on the surface. That starch turns gummy under pressure. Rinse white, jasmine, and basmati until the water runs clear.
- Opening the lid too early. A quick release works for risotto but ruins plain rice. Most varieties need a 10 to 15 minute natural release to finish absorbing steam.
- Using the same ratio for every rice type. Brown rice needs 50 percent more water than white rice. Check the table above before pressing start.
- Overfilling the pot. Rice expands as it cooks. Foam can clog the steam valve if you fill past the halfway mark. Six quarts of pot space means about 3 cups of dry rice maximum.
- Skipping the deglaze. If you saute rice or aromatics first, the stuck bits trigger the burn notice. A quick splash of broth and a scrape fixes it before you seal the lid.
Aggregate user reviews confirm these five issues cause nearly all ruined batches. Fix them and your success rate jumps immediately.
Which Rice Recipe Should You Cook Today?
The best recipe depends on your timeline, your meal, and your patience. Here is a simple decision guide.
| If you want… | Cook this… |
|---|---|
| A fast side dish for stir fry | Jasmine or plain white rice |
| Meal prep that holds up all week | Brown rice |
| A creamy Italian dinner | Pressure cooker risotto |
| Rice and curry at the same time | Pot-in-pot rice |
| Sticky rice for dumplings or mango dessert | Soaked sticky or sushi rice |
| A flavorful one-pot meal | Mexican rice or coconut rice |
For a busy weeknight, start with jasmine white rice. It cooks in 4 minutes plus a 10 minute natural release. It pairs with nearly everything, from grilled chicken to roasted vegetables.
For Sunday meal prep, brown rice wins. The 22 minute cook time feels long, but the batch lasts 5 days in the fridge. Reheat it with a splash of water in the microwave.
When in doubt, cook pot-in-pot rice alongside your protein. You get a complete meal with one pot and zero extra babysitting.
Frequently Asked Questions
Why is my Instant Pot rice mushy?
Mushy rice usually means too much water, skipping the rinse, or both. Use a 1:1 ratio for white and jasmine rice. Rinse until the water runs clear before cooking.
Natural release for 10 minutes also helps keep grains separate.
Can I cook rice and chicken at the same time?
Yes. Use the pot-in-pot method. Place the rinsed rice and water in a bowl on the trivet above the chicken.
Add 5 minutes to the chicken's normal pressure cooking time. The rice cooks from the surrounding steam.
Why does my Instant Pot say "burn"?
The burn notice appears when food sticks to the bottom and overheats. This happens most with tomato based dishes and after sauteing without deglazing. Add enough liquid and scrape the pot bottom after every saute step.
How long does brown rice take in an Instant Pot?
Brown rice takes 22 minutes of high pressure with a 1:1.5 water ratio. Let it naturally release for 15 minutes after cooking. The bran layer needs that extra time to soften fully.
Does the Rice button work well?
The Rice button works fine for plain white rice. Manual pressure gives you better control over specific varieties. Basmati, brown, and sticky rice all need custom times that the preset does not match.

Similar Posts