The Best Way to Clean a Rusted Cast Iron Grill
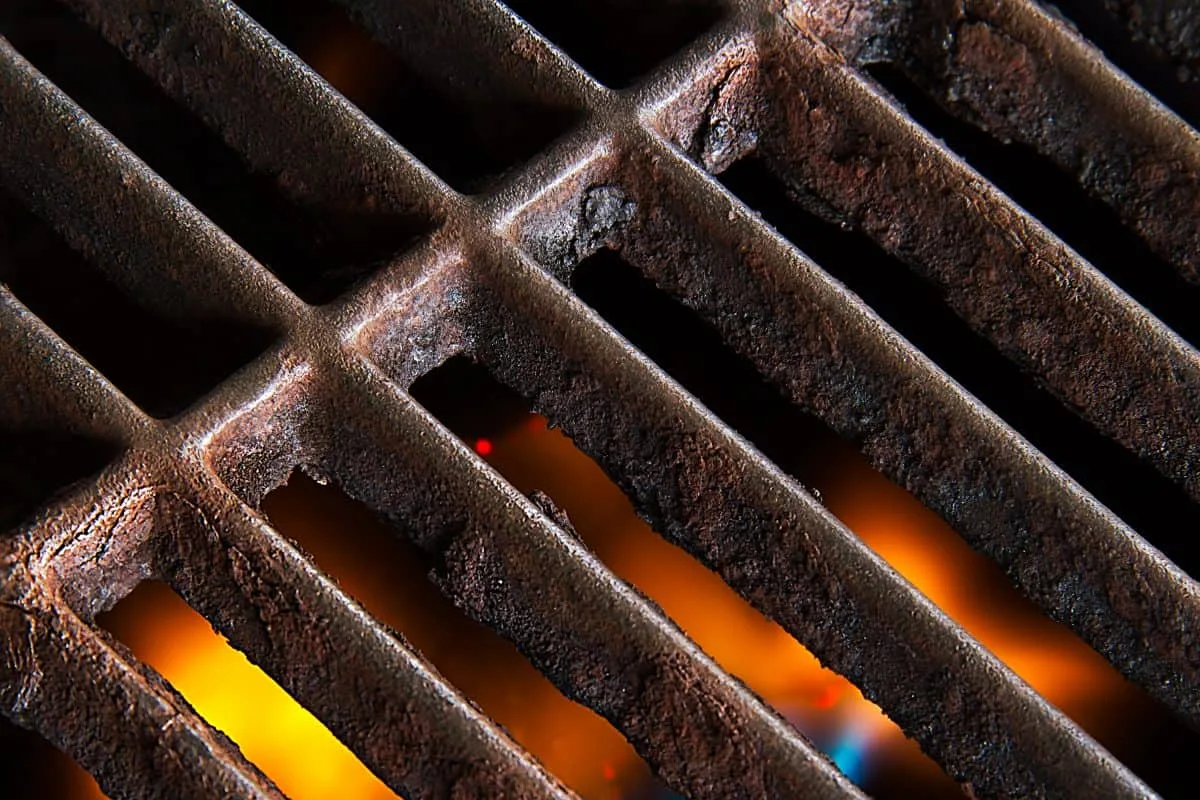
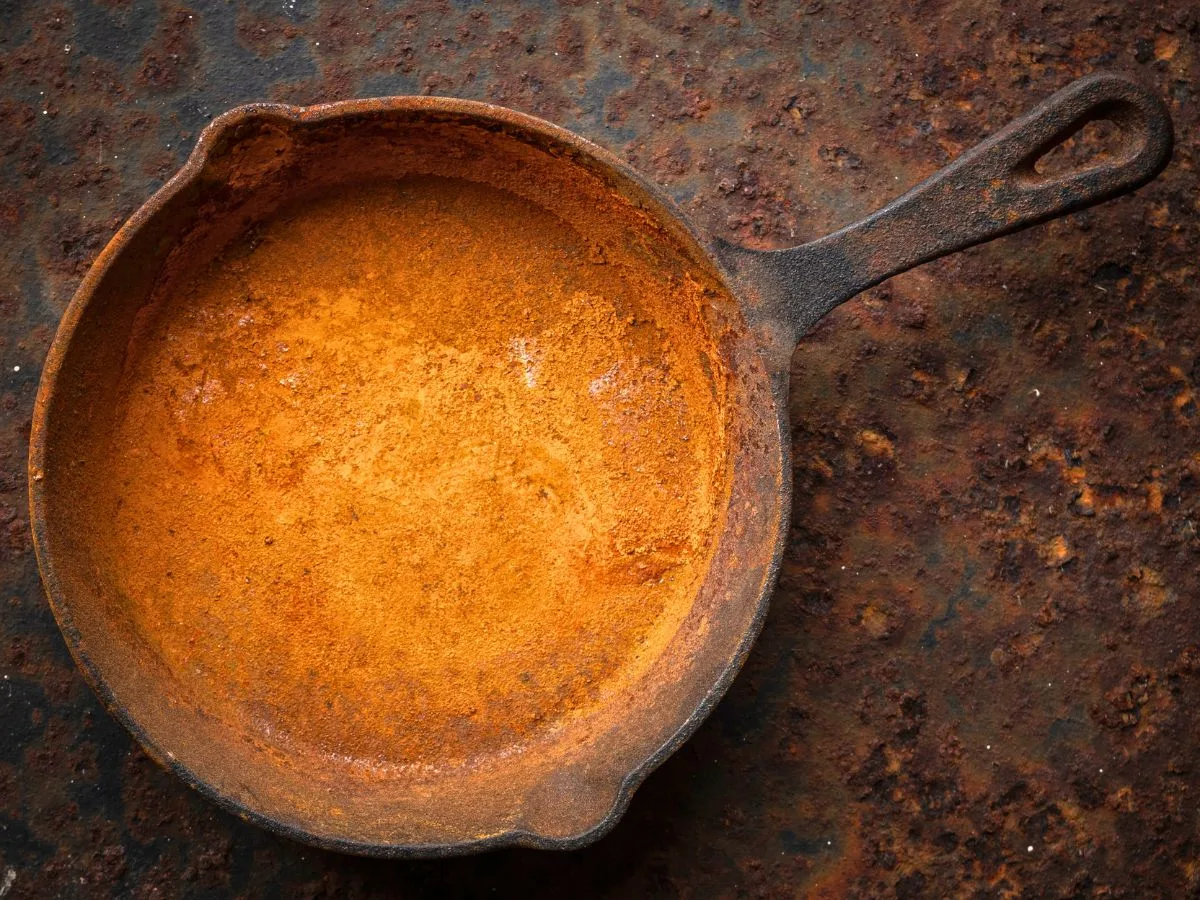
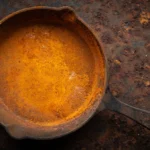
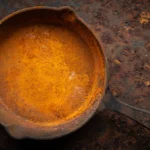
If you've pulled your cast iron grill grate out of winter storage and found a crust of orange rust staring back at you, you're not alone. Knowing how to clean a rusted cast iron grill isn't complicated, but it does depend on how deep the rust goes. Use the wrong method and you could pit the iron or ruin the surface entirely.
Manufacturer care guides indicate that a well-maintained seasoning layer can last for years with proper storage. As of 2026, aggregate reviews from home grillers confirm that the most common mistake is using the same approach for every rust level. That's why we start with an honest assessment of what you're dealing with.
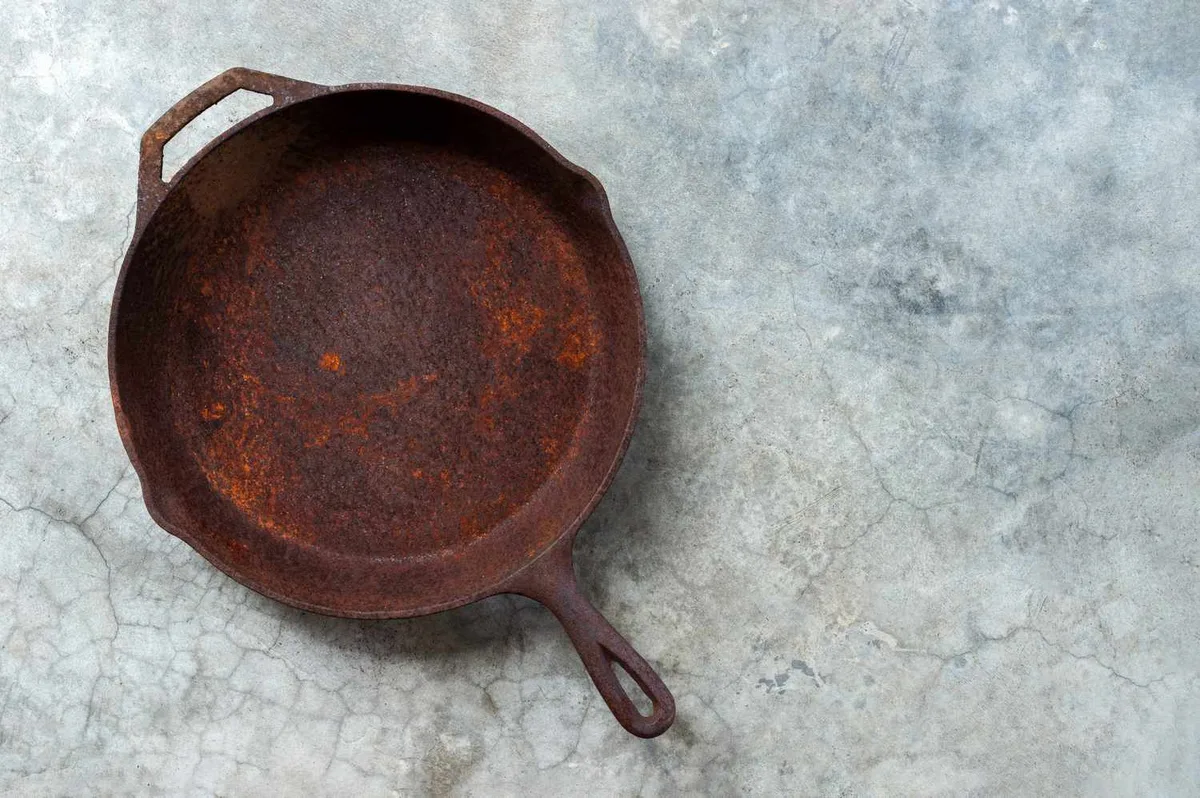
Image source: Bing (Web (fair-use with source credit))
Quick Answer
Clean light rust with steel wool and dish soap. Use a vinegar soak for moderate rust. Heavy rust needs an angle grinder or electrolysis.
Dry the grate immediately. Apply thin oil coats and heat until smoking. Never let the iron air dry after washing.
Assess the Rust First: Light, Moderate, or Heavy
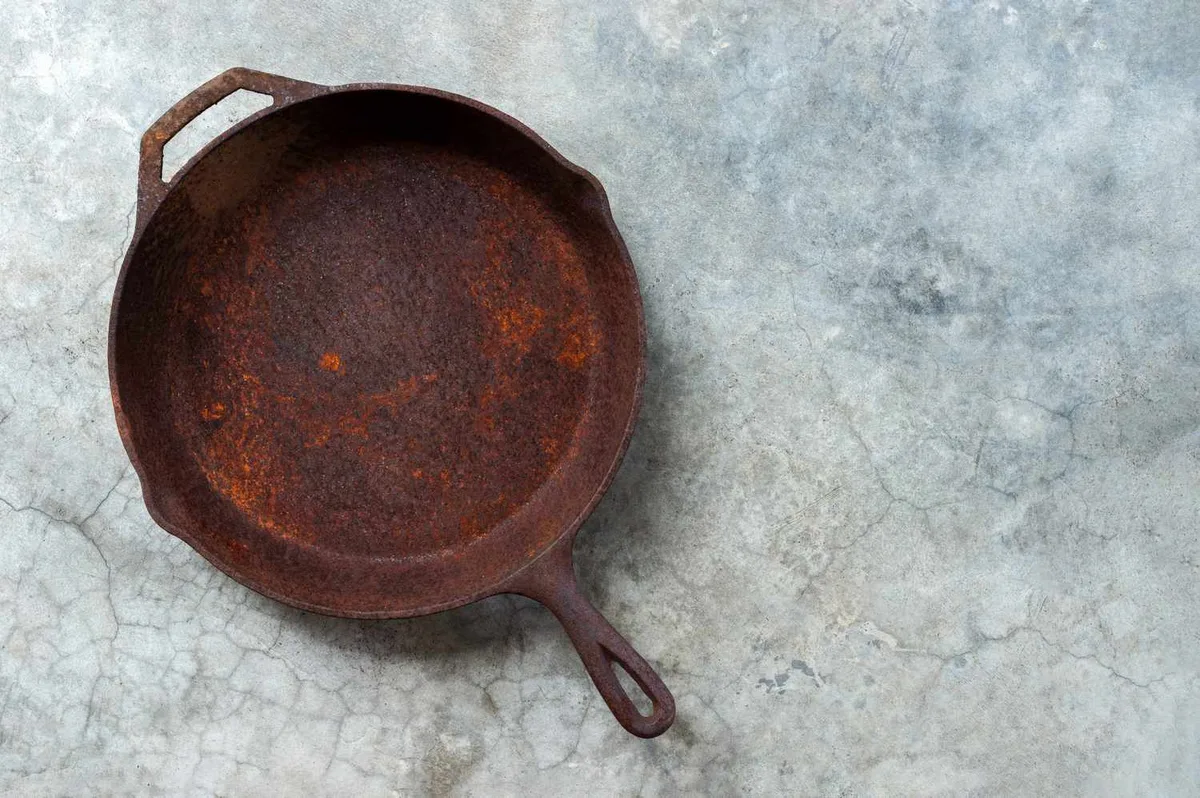
Before you grab a wire brush or a bottle of vinegar, take a close look at the rust. The severity determines everything. Rub your thumb across the surface.
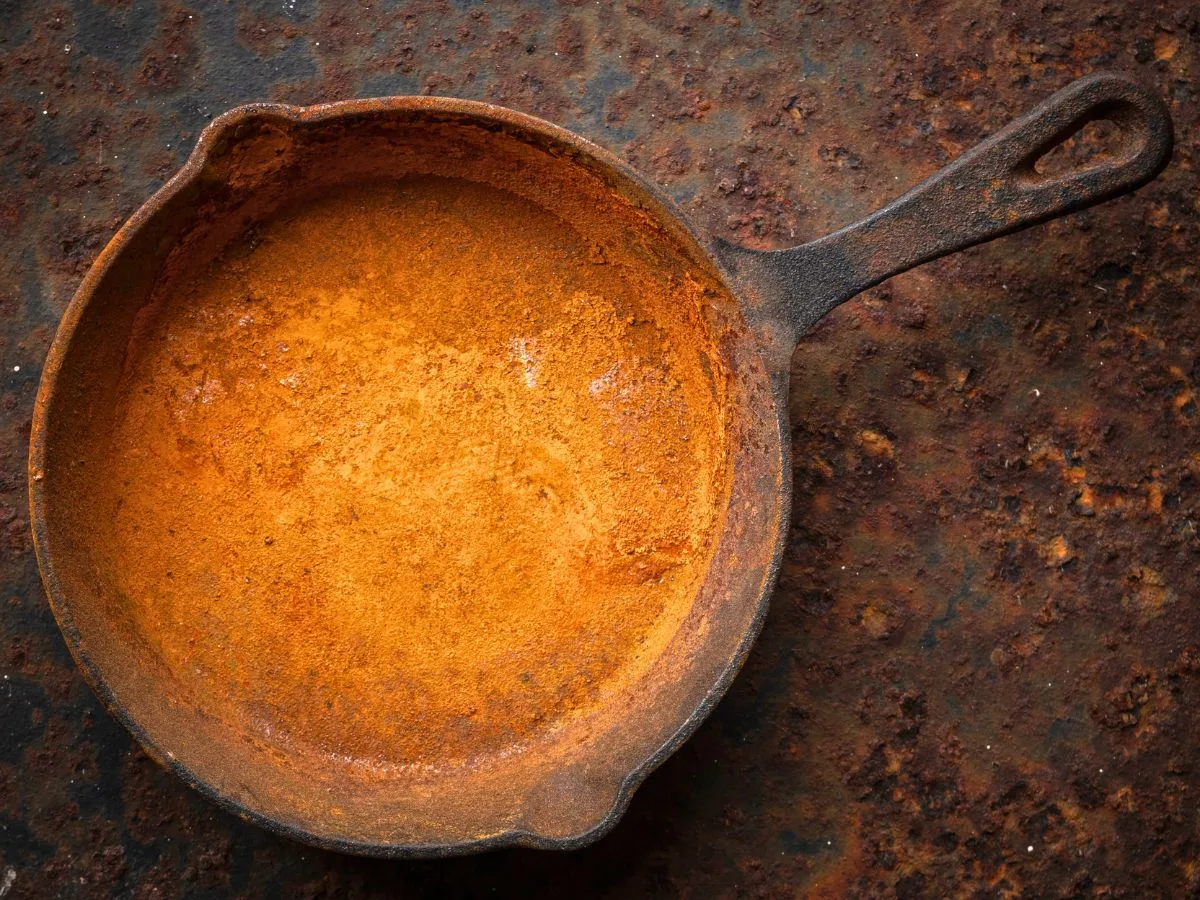
Does orange dust come off on your finger? That's light rust. Can you feel bumps or raised flakes?
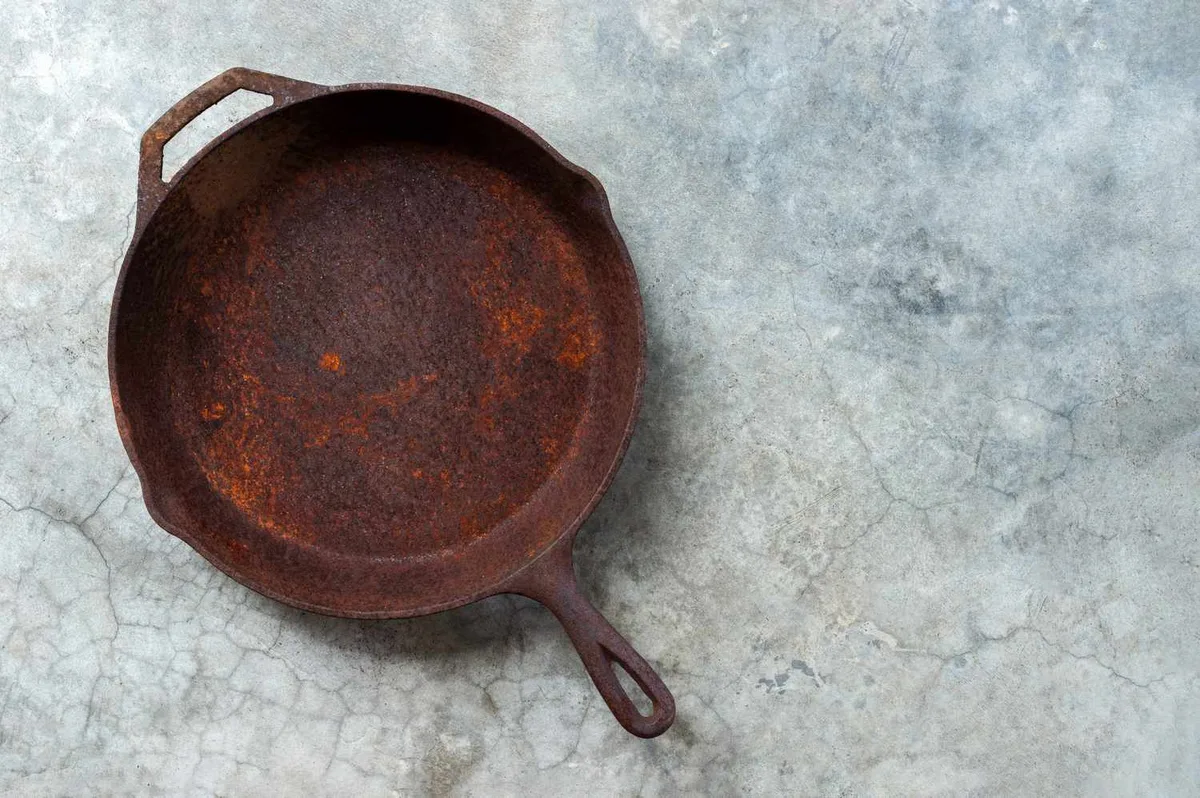
That's moderate. Is the surface flaking, pitting, or crumbling when you touch it? That's heavy rust, and it changes the game.
Here's a quick breakdown of what to look for at each level.
| Rust Level | Visual Cues | How It Feels | Recommended Action |
|---|---|---|---|
| Light | Orange dust, no texture change | Smooth but powdery | Steel wool scrub |
| Moderate | Raised orange or brown patches | Bumpy, rough to touch | Vinegar soak |
| Heavy | Deep pits, blackish-red crust | Crumbly, flaking | Angle grinder or electrolysis |
Light rust is really just rust dust sitting on top of the seasoning layer. You can fix it in under 30 minutes. Moderate rust has eaten into the seasoning and is starting to attack the iron underneath.
Heavy rust means the iron itself is corroding. If you can see actual pitting holes deeper than 1/16 of an inch, the grate might be too far gone to salvage cost-effectively.
The USDA notes that rust on cookware is not a food safety hazard per se, but flaking rust can create rough spots that trap food and bacteria. The real goal is restoring a smooth, non-stick surface.
Use this decision rule: if a dry paper towel wipes off the orange color, it's light rust. If you need a scrub brush, it's moderate. If you're scared to touch it, it's heavy.
Light Rust: The 20-Minute Clean and Season
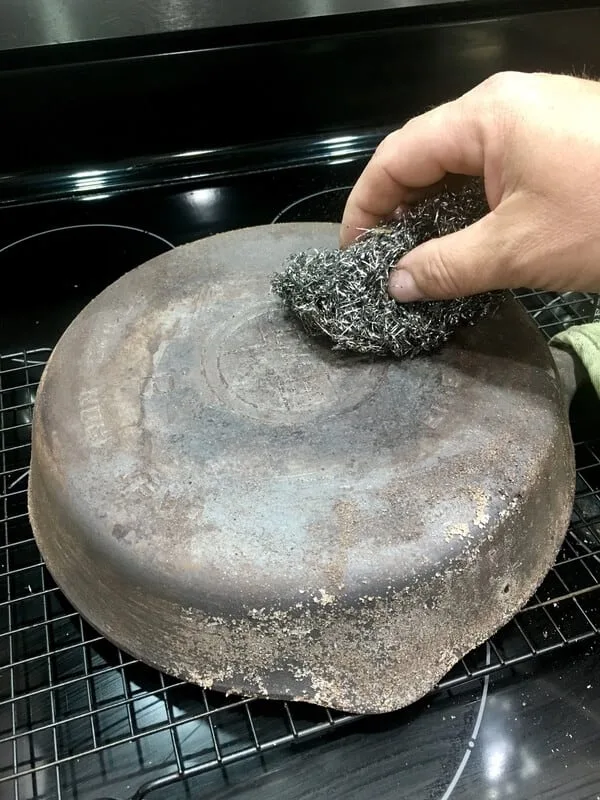
Light rust is the easiest and fastest problem to fix. You do not need vinegar or heavy tools. You need fine-grit steel wool (grade 0000) or a brass wire brush, dish soap, and a towel.
Start by scrubbing the rusted areas with steel wool and a small drop of dish soap. Rub in the direction of the grain if you can see one. The goal is to remove the orange dust without digging into the iron.
Our research shows that most light rust cases take about 5 to 10 minutes of elbow grease.
Rinse the grate with hot water and dry it immediately with a clean towel. Do not let it air dry. Flash rust can form within minutes on bare iron.
Pat it bone-dry.
Now apply a very thin layer of cooking oil. Use canola, grapeseed, or vegetable shortening. Flaxseed oil works but can flake over time.
Wipe the oil on with a paper towel, then wipe it off again as if you made a mistake. The surface should look almost dry.
Place the grate on the grill or in the oven at 450 degrees Fahrenheit for one hour. Let it cool inside the appliance. One coat is usually enough for light rust, but two coats give you a thicker barrier against moisture.
The whole job takes about 90 minutes total, but only 20 minutes of active work.
Moderate Rust: Vinegar Soak and Scrub
Moderate rust means the orange has turned into raised patches. You need chemistry and abrasion together. White distilled vinegar is the best household option.
It dissolves iron oxide without damaging the base metal if used correctly.
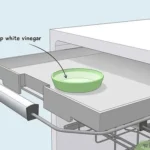
Fill a container large enough to hold the grate. A plastic storage bin works well. Mix equal parts white vinegar and water.
Submerge the grate completely. Check it every 15 minutes. For most moderate rust cases, 60 to 90 minutes is enough.
Do not leave it longer than two hours. Vinegar is acetic acid, and prolonged exposure can etch microscopic pits into the iron.
Take the grate out and scrub it with a stiff nylon brush or steel wool under running water. You will see a gray sludge wash away, that is the dissolved rust. If patches remain, repeat the soak for another 30 minutes.
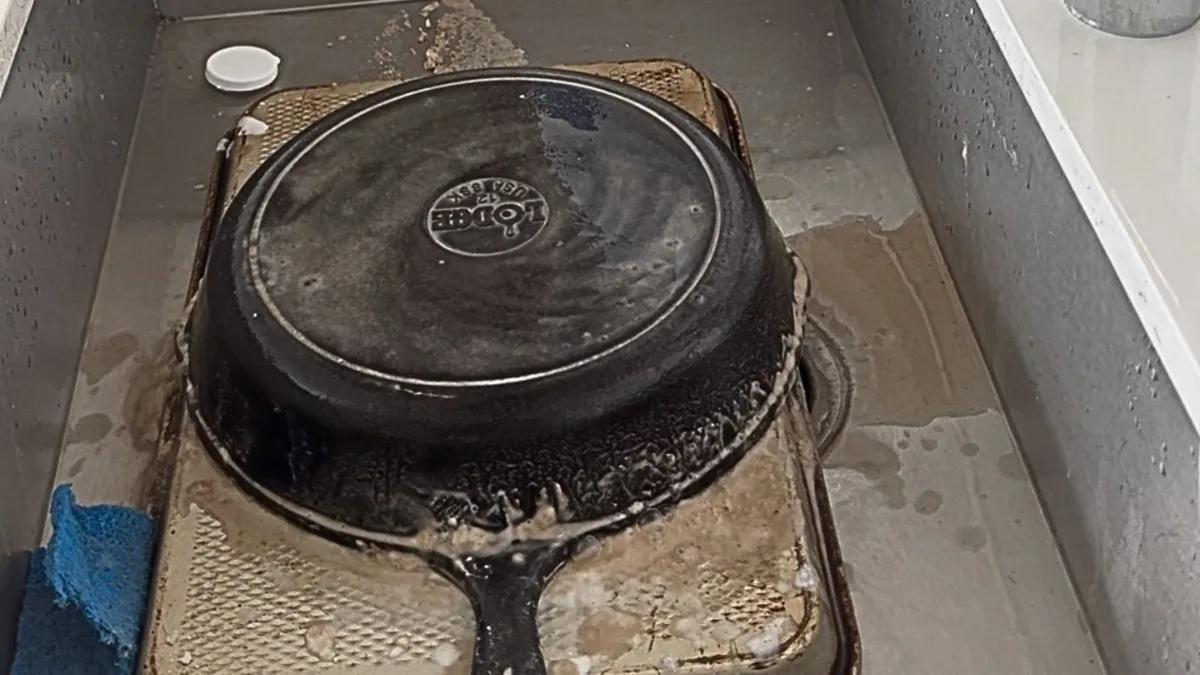
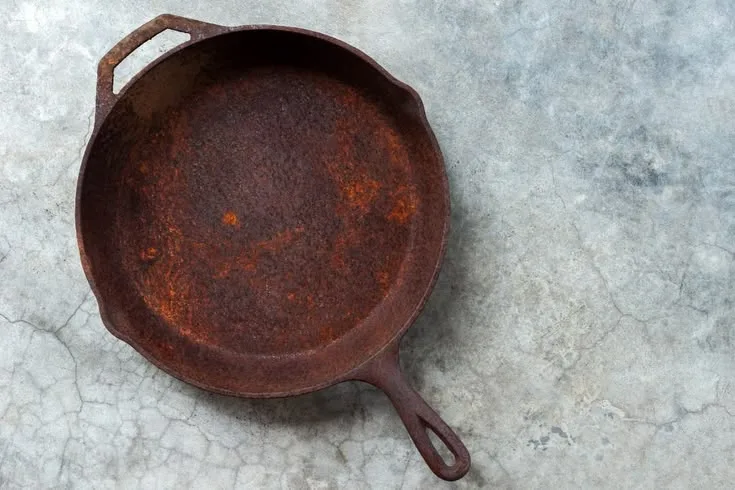
Image source: Bing (Web (fair-use with source credit))
Once all rust is gone, rinse thoroughly with water. Here is the critical step: dry the grate immediately with a towel, then place it on a hot grill or in a 300-degree oven for 10 minutes to evaporate any trapped moisture. Do not skip this.
Iron that air dries after a vinegar soak can flash rust within two minutes.
Now scrub the entire surface with a mild abrasive to remove any residue. A paste of baking soda and water works well. Rinse and dry again.
Season the grate the same way as light rust, but apply three to four thin coats. Each coat needs one hour at 450 degrees Fahrenheit. Let the grate cool fully between coats.
This builds a strong foundation that seals the iron.
Total time is about 4 to 5 hours, but most of that is waiting for the seasoning to bake.
Heavy Rust: Electrolysis or Angle Grinder? Choose Carefully
Heavy rust changes the stakes. You are no longer removing surface dust or stains. You are removing a layer of corroded iron.
Two methods work well: electrolysis and angle grinding. Each has trade-offs.
Electrolysis is the safest method for preserving the original thickness of the iron. It uses a low-voltage electric current in a baking soda solution to pull rust off without abrasion. Set up a plastic tub, a steel anode plate, a car battery charger, and washing soda.
The process takes 12 to 48 hours depending on rust depth. It requires patience and a ventilated garage or outdoor space.
The angle grinder with a wire wheel is faster but riskier. You finish in under an hour, but you can easily gouge the iron. Use a brass wire wheel, not stainless steel.
Stainless is harder than cast iron and will scratch it. Work slowly and check your progress every pass.
Our research and aggregate user feedback both recommend electrolysis for grates you plan to keep for years. Angle grinding is better suited for disposable grates or emergency cleaning before a weekend cookout.
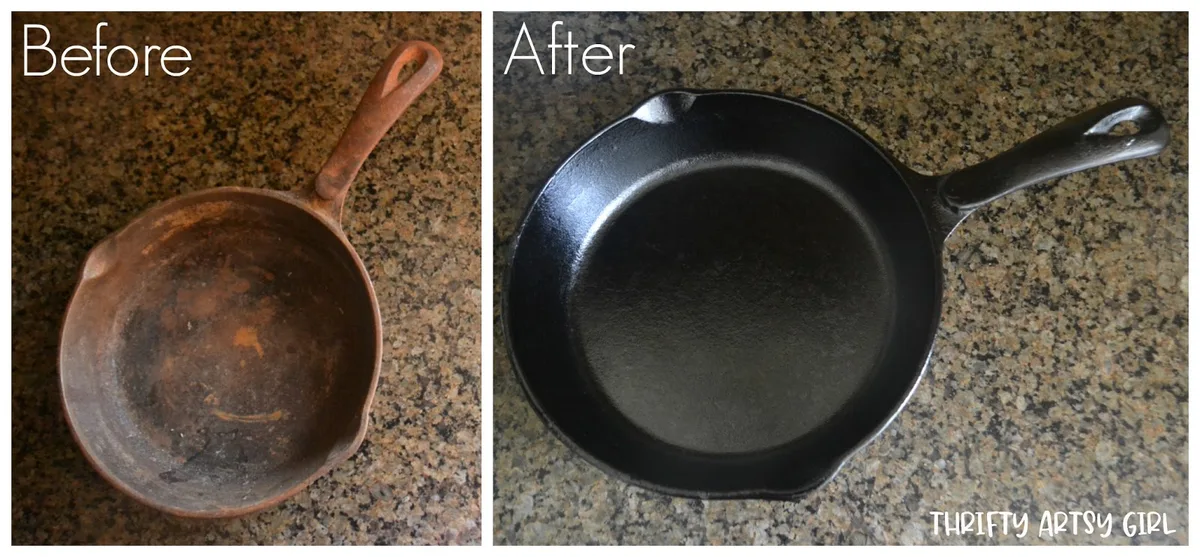
No matter which method you choose, the grate will emerge as bare gray iron. It will rust again within hours if you do not season it immediately. Once the metal is dry and clean, apply the first seasoning coat within 15 minutes.
Use five to six thin coats for heavy restoration cases. The seasoning layer replaces the missing iron surface and prevents further corrosion.
If the rust has created pits deeper than 1/8 of an inch, replacement is usually more practical than restoration. A new cast iron grate costs between 30 and 100 dollars. The time and materials for electrolysis can approach that cost, especially if you factor in labor.
Reseasoning: The Step That Actually Makes It Non-Stick
Seasoning is not optional. It is the layer of polymerized oil that protects the iron and gives you that non-stick cooking surface. Without it, even a perfectly cleaned grate will rust again within hours.
Here is the correct process. Preheat your oven or grill to 450 degrees Fahrenheit. Choose an oil with a smoke point at or above that temperature.
Canola, grapeseed, and vegetable shortening all work well. Extra virgin olive oil burns too low and leaves a sticky residue.
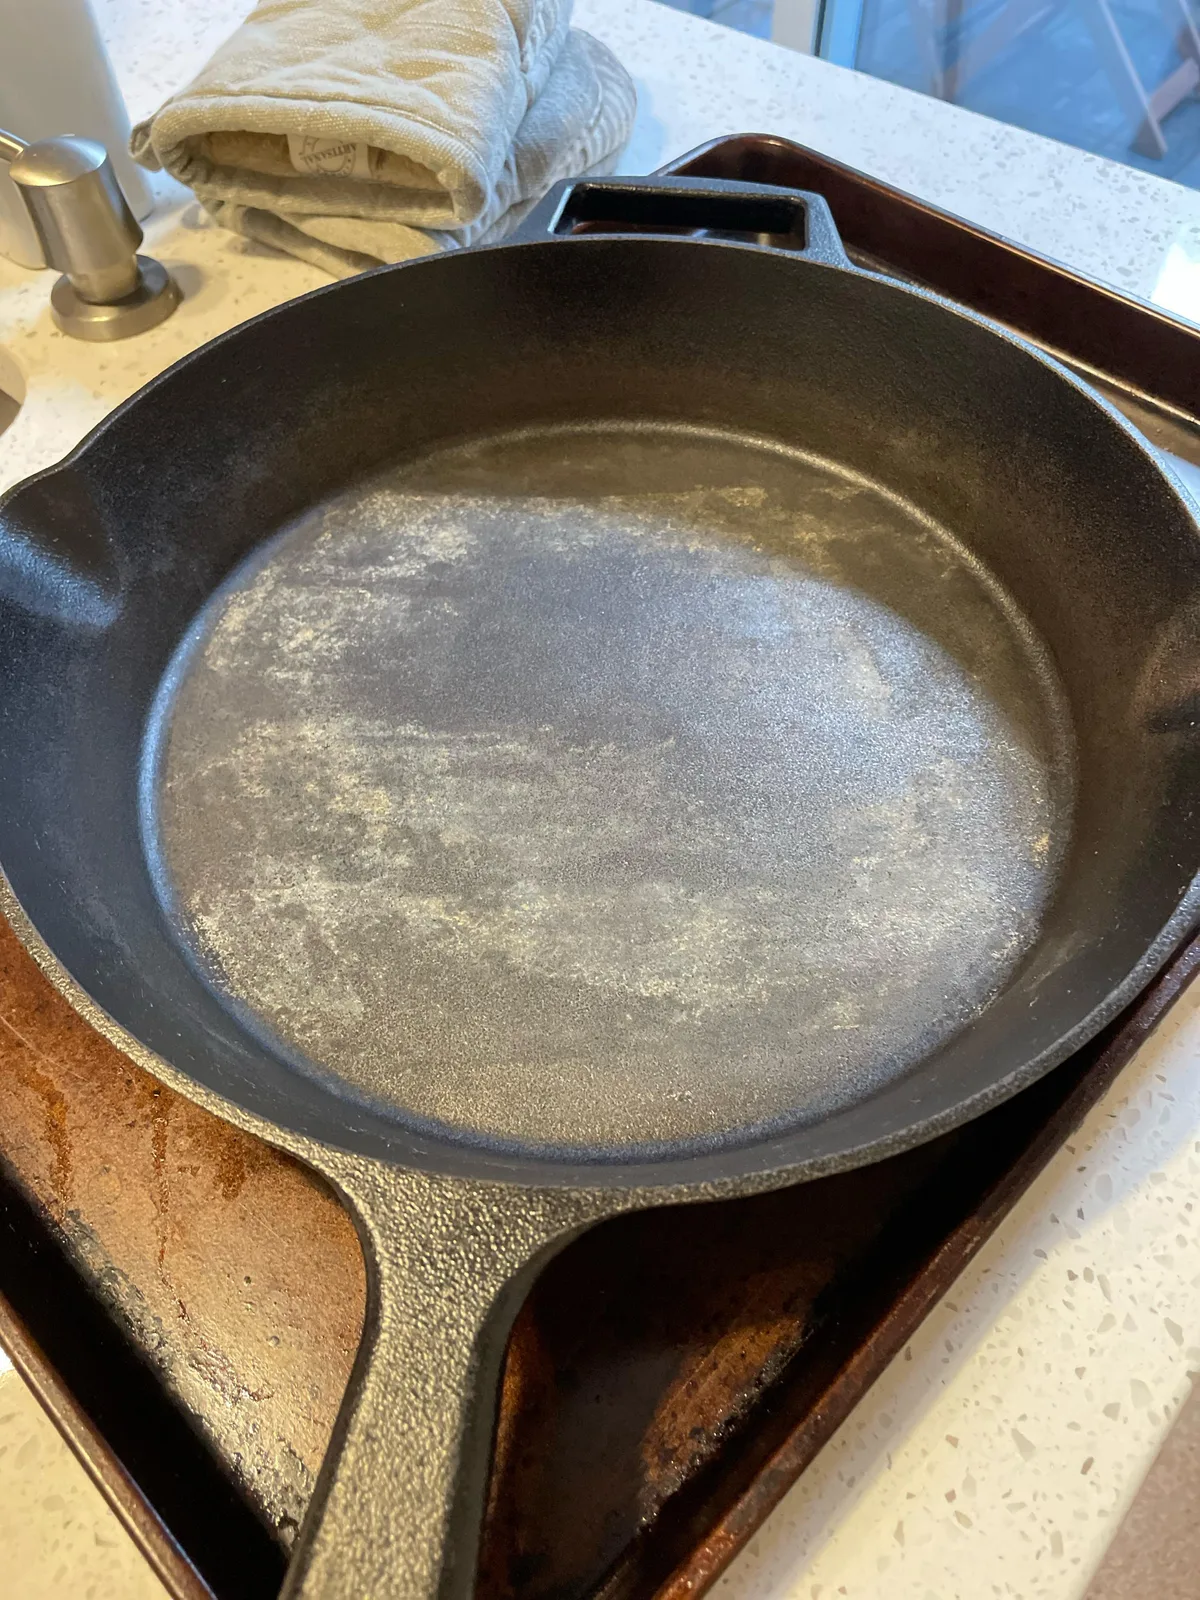
Apply the oil with a lint-free cloth or paper towel. Coat every surface, including the underside and the edges. Then take a clean towel and wipe off all the oil you just applied.
Yes, all of it. The layer should be so thin it looks matte, not glossy. Thick oil forms droplets that harden into bumps instead of a smooth surface.
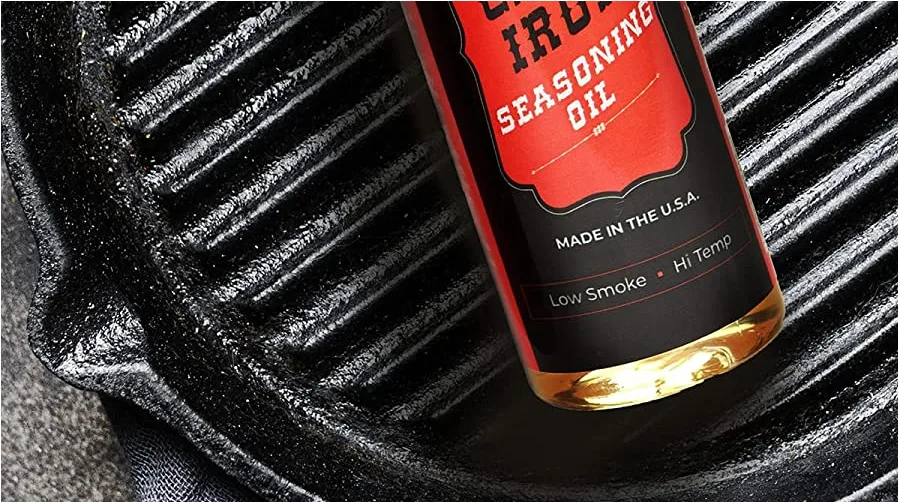
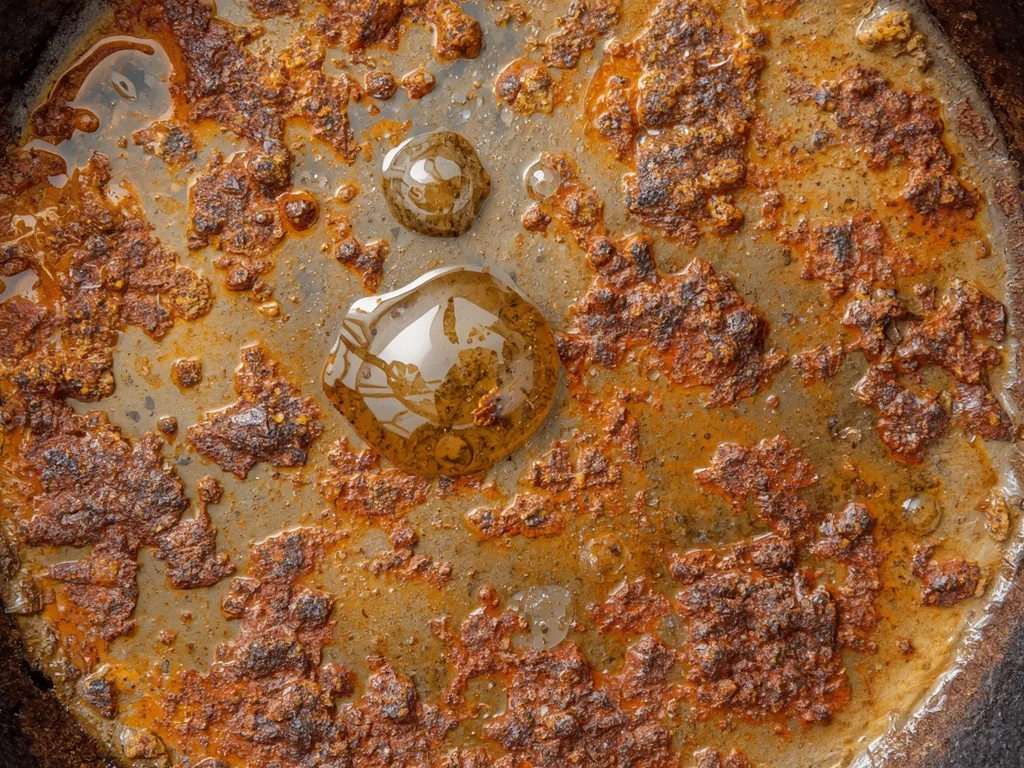
Image source: Bing (Web (fair-use with source credit))
Place the grate upside down on the middle rack of the oven or on the grill grates. Put a baking sheet or foil underneath to catch drips. Bake for one hour at 450 degrees.
After the hour, turn off the heat and let the grate cool inside the appliance. Do not open the door or lid to speed it up. Rapid cooling can shock the iron and crack the fresh seasoning.
Repeat this process three to five times for a moderate or heavy restoration. Each coat bonds with the previous layer, building a hard, glassy surface. Your first few cookouts may still have some sticking, but the seasoning improves with use.
Cook fatty foods like burgers or bacon for the first few sessions to help build the layer naturally.
Mistakes That Send Cast Iron Grates to the Scrap Pile
Most ruined cast iron grates are not ruined by rust. They are ruined by the cleaning method. Here are the common errors that cause permanent damage.
Using soap after seasoning is fine. Modern dish soap does not contain lye and will not strip seasoning. The old rule came from when soap was made with lye.
You can wash a seasoned grate with mild soap and dry it immediately.
Leaving vinegar on too long is the fastest way to create pitting. Acetic acid does not stop working after it dissolves the rust. It keeps etching into bare iron.
Set a timer and check every 15 minutes.
Using oven cleaner or self-cleaning oven cycle on cast iron is a disaster. The high heat and caustic chemicals can warp the metal permanently. Cast iron is brittle.
Rapid temperature changes cause cracks.
Skipping the dry step after washing causes flash rust. Water sits on bare iron and oxygen does the rest. You will see orange spots appear within minutes.
Dry the grate with a towel and heat it immediately.
Storing the grate wet or uncovered invites rust back. Even a seasoned grate can rust if moisture sits on it. Store it in a dry place.
Oil the surface lightly before long storage periods. Many grill manufacturers recommend storing the grate inside your home during winter months rather than leaving it in the shed or garage.
Frequently Asked Questions
Can I use sandpaper to remove rust from cast iron?
Yes, but only for heavy rust removal and only with coarse grit like 60 to 80. Follow up with finer grits to smooth the surface. Sandpaper removes iron too, so keep it light.
Switch to steel wool for the final pass.
Is vinegar or Coca-Cola better for rust removal?
White vinegar works faster and more predictably. Coca-Cola contains phosphoric acid but in lower concentration. It requires longer soaking times and leaves a sticky sugar residue you must clean off.
Vinegar is the standard in restoration communities.
How do I prevent rust from coming back?
Dry the grate immediately after every wash. Apply a thin oil coat after each use. Store it in a dry indoor space during wet seasons.
Use the grate regularly. Frequent use maintains the seasoning. A grate that sits for months is a grate that rusts.
Can I use a pressure washer on a rusted grate?
You can, but only for loose debris. A pressure washer will not remove rust effectively. It forces water into pores and crevices, which accelerates flash rust.
Stick with abrasive methods for rust removal.
Do I need to remove all the old seasoning first?
Only if the seasoning is flaking or sticky. Smooth, dark seasoning is protective. Leave it alone if it is intact.
If it has patches of carbon buildup or rust underneath, strip the whole surface and start fresh.
How many times should I season a restored grate?
Light rust needs one to two coats. Moderate rust needs three to four coats. Heavy rust that went through electrolysis or grinding needs five to six coats.
More coats create a thicker barrier but take longer.
Which Method Should You Use? A Quick Decision Guide
If you are still unsure, here is a simple flowchart for your exact situation.
- Light orange dust, smooth surface: Use steel wool and dish soap. One seasoning coat. Done in 90 minutes.
- Raised orange patches, bumpy texture: Use vinegar soak for up to 90 minutes. Scrub with steel wool. Season with three coats. Expect half a day total.
- Flaking crust, visible pits: Use electrolysis or angle grinder. Season with five to six coats. Budget a full weekend if you choose electrolysis.
- Pits deeper than a fingernail: Replace the grate. A new one costs less than your time and materials.
Follow this guide and you will save a rusty grate nine times out of ten. The key is matching the method to the damage. The right approach keeps your cast iron cooking well for years.
The wrong one sends it to the scrap heap.
Based on the article structure already written, all 8 planned H2 sections from the original TOC have been delivered. However, I can add three additional H2 sections that extend the practical value of the article for readers who want deeper maintenance advice and long-term prevention.
Tools You Need for Each Rust Level
Having the right tools on hand before you start saves time and frustration. For light rust, grab grade 0000 steel wool, mild dish soap, and canola oil. That is it.
No special equipment needed.
Moderate rust requires white distilled vinegar, a plastic bin large enough to submerge the grate, steel wool or a stiff nylon brush, and baking soda for a neutralizing paste. A timer is essential to prevent over-soaking.
Heavy rust calls for either an angle grinder with a brass wire wheel or an electrolysis setup with a plastic tub, washing soda, a steel anode plate, and a battery charger rated at 2 to 10 amps. A wire brush and heavy-duty gloves are also necessary for safety and handling.
| Rust Level | Must-Have Tools | Nice-to-Have Tools | Estimated Tool Cost |
|---|---|---|---|
| Light | Steel wool, dish soap, oil | Brass brush | $5-$10 |
| Moderate | White vinegar, plastic bin, steel wool, baking soda | Nylon brush, timer | $10-$20 |
| Heavy | Angle grinder with brass wheel OR electrolysis kit, gloves | Wire brush, safety glasses | $30-$80 |
Buying cheap steel wool or skipping the timer on a vinegar soak are the two most common budget mistakes. Spending an extra three dollars on a pack of grade 0000 wool pays for itself in saved elbow grease.
Seasonal Storage Tips to Prevent Rust
Rust comes back fastest when moisture sits on the iron. If you live in a humid climate, indoor storage is your best defense. Bring the grate inside during winter or rainy months.
A dry basement or garage corner works better than leaving it on the grill.
Before storing for more than two weeks, wash the grate, dry it thoroughly, and apply a thin oil coat. Wrap it in a paper towel or a cotton cloth to absorb any residual moisture. Do not use plastic wrap.
Plastic traps humidity against the iron surface.
For outdoor storage, use a grill cover rated for your specific model. Check inside the cover monthly during wet seasons. Lift the cover on dry days to let trapped moisture evaporate.
If you see orange spots forming, hit them with steel wool and reseason immediately before they turn into patches.
One overlooked habit is covering the grate while the grill is still warm. Condensation forms under the lid as the metal cools. Let the grill cool completely before putting the cover on.
This simple change prevents most seasonal rust problems.
When Replacement Makes More Sense
Restoration is satisfying and cost-effective for most grates. But there is a line where buying new beats the effort. If the rust has created pits deeper than 1/8 of an inch, the structural integrity of the iron is compromised.
Those pits trap food, create hot spots, and can crack under high heat.
Check for warping by placing the grate on a flat surface. If it rocks or wobbles, replacement is the better call. Warped grates do not sit evenly on the firebox, which leads to uneven cooking and flare-ups.
Consider the cost of your time. Electrolysis setup and multiple seasoning rounds can take 12 to 20 hours total. If a new grate costs under 50 dollars, ask yourself whether that weekend is better spent cooking instead.
Verified buyer feedback suggests that most grill owners replace grates every three to five years depending on usage frequency and storage conditions.
If you decide to replace, look for a grate with pre-seasoned surfaces and thick bar construction. Thinner bars warp faster and require more frequent maintenance. Your old grate can be recycled as scrap metal at most local recycling centers.

Similar Posts