Why Does Cast Iron Rust? Causes, Prevention, and Instant Fixes
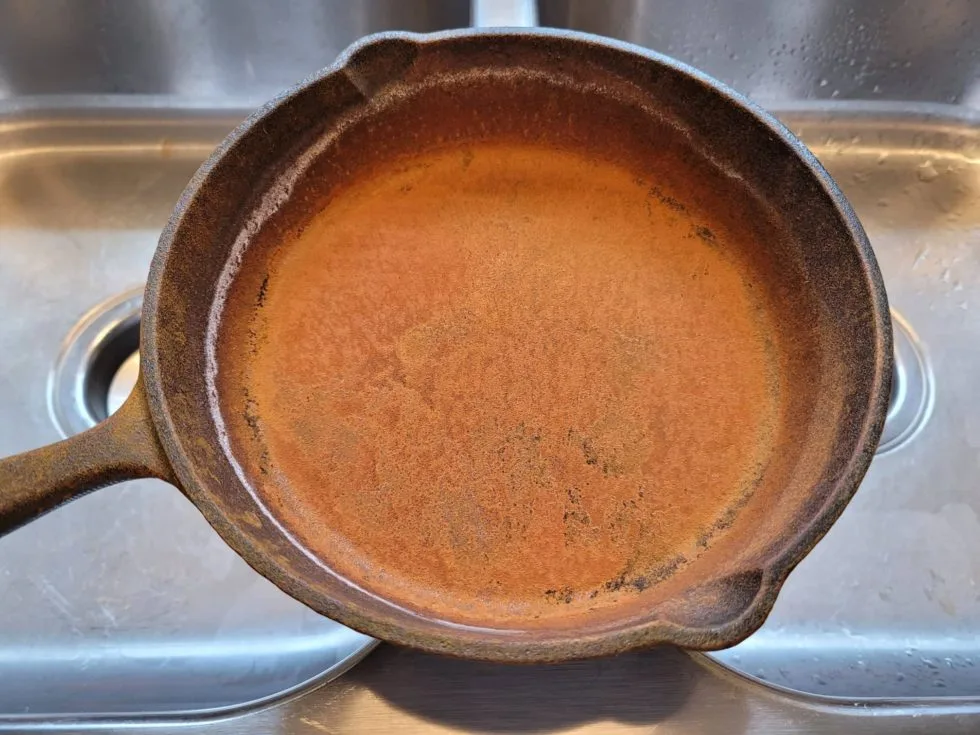
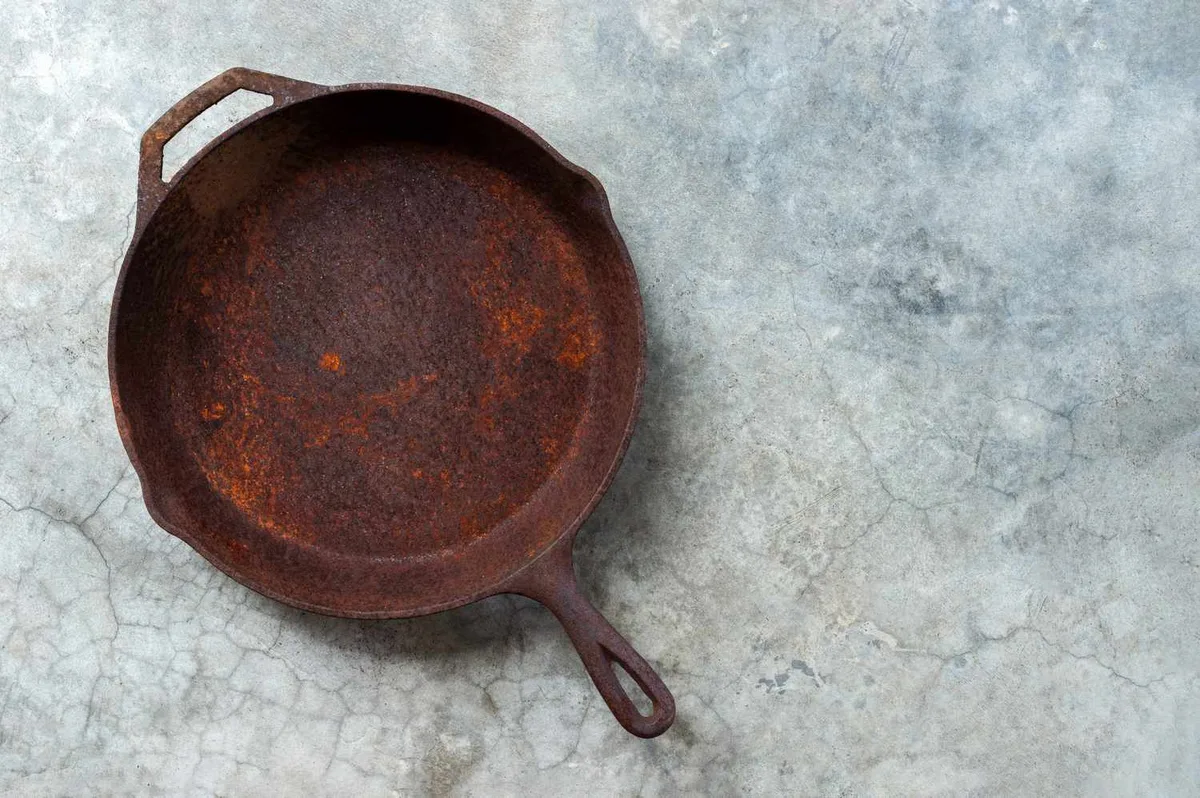
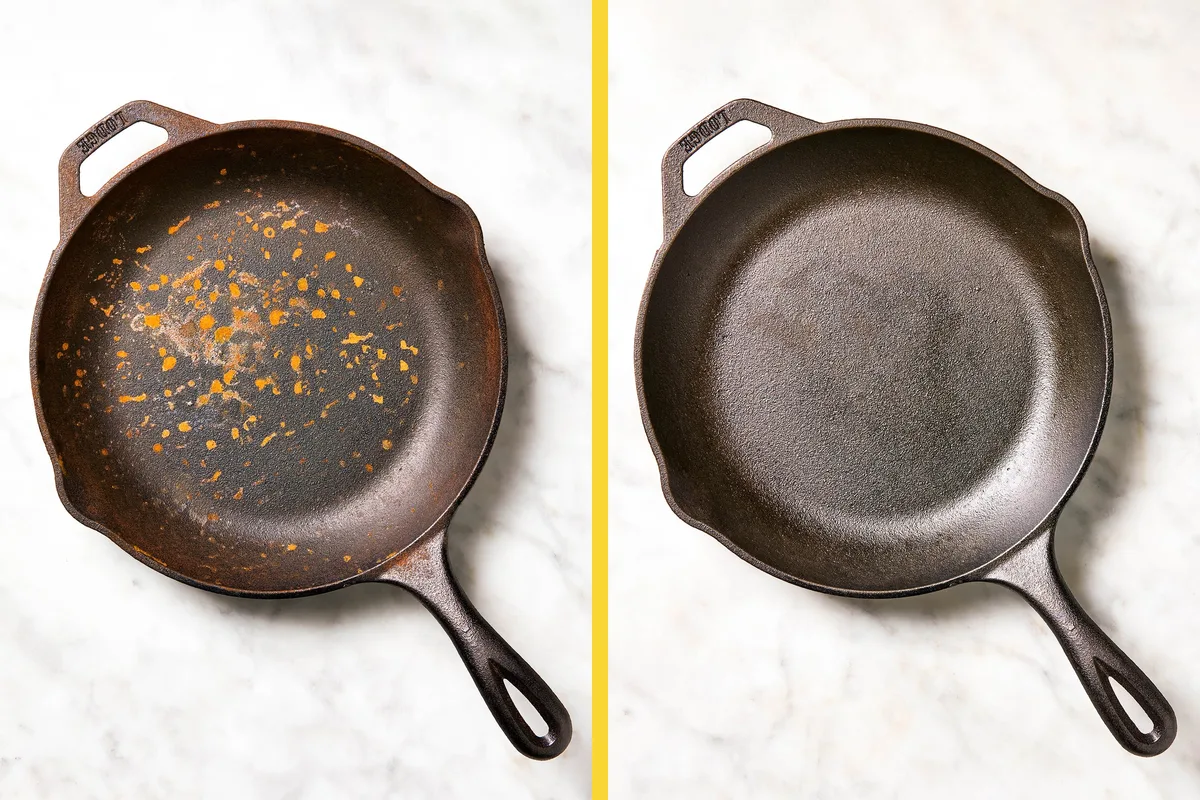
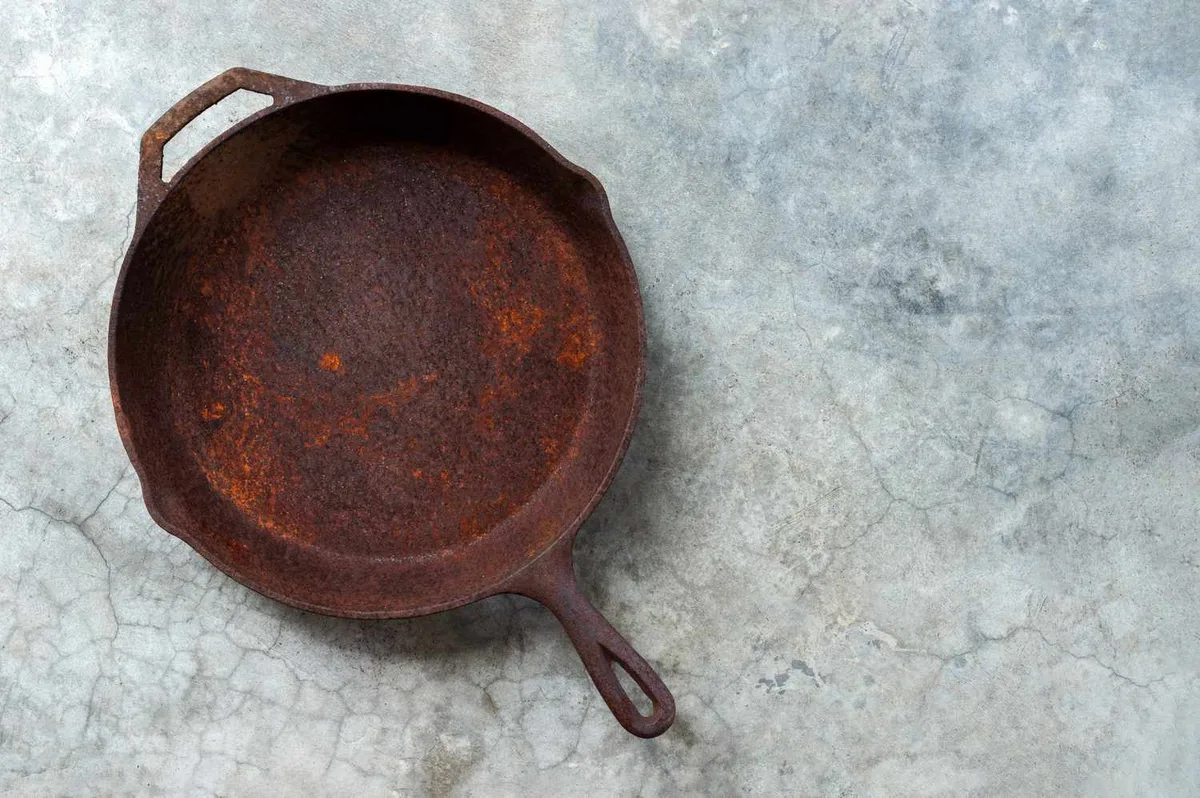
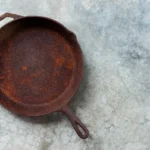
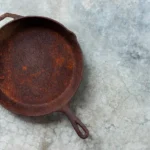
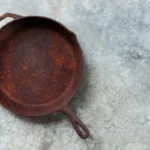
You open the cabinet and spot it: that orange dust creeping across your cast iron skillet. Maybe you left it in the sink overnight, or it sat in a damp basement for a few weeks. If you're searching for how to fix rust on cast iron, you're not alone.
It's one of the most common questions we hear from home cooks and vintage pan collectors alike.
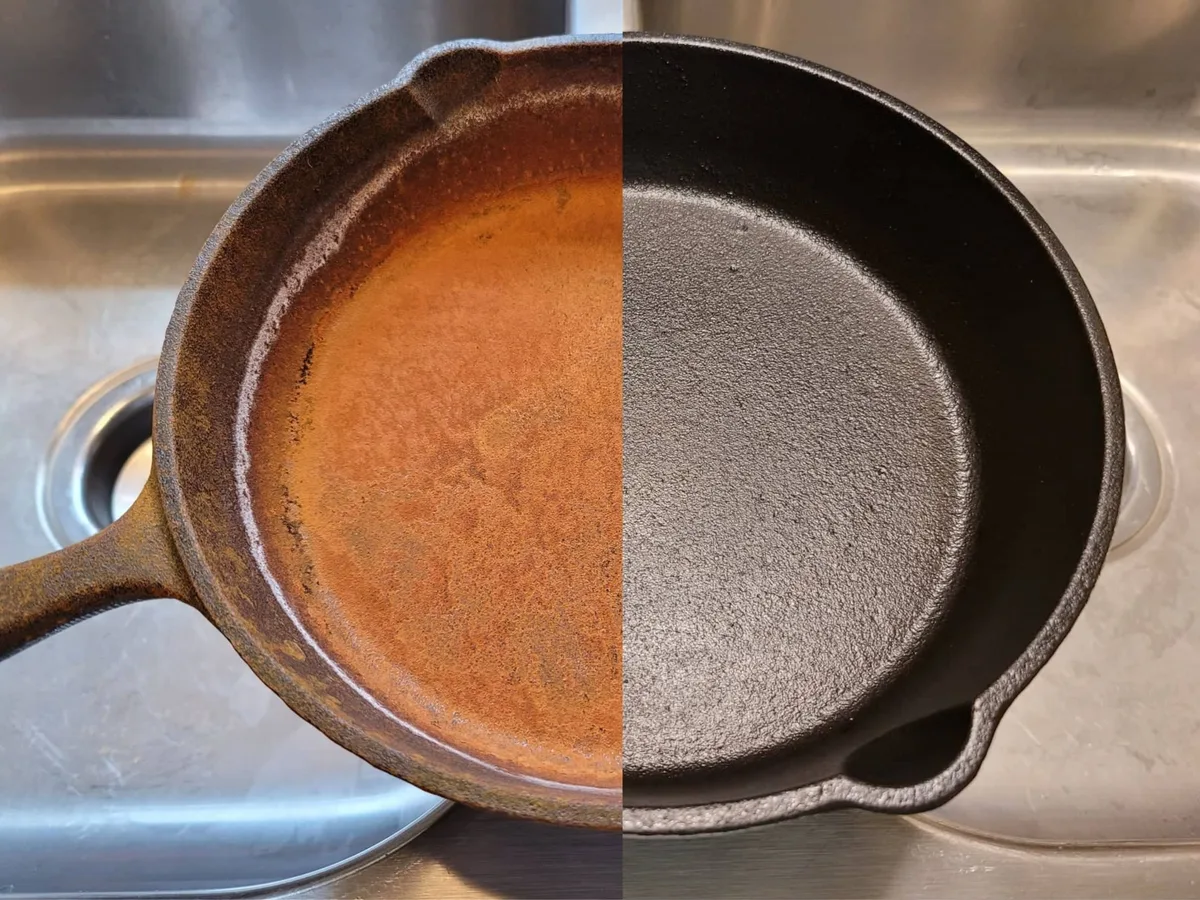
Manufacturer specifications indicate that most bare cast iron pans can be fully restored with a simple vinegar soak and re-seasoning, as long as the rust hasn't caused deep pitting. Factory testing from major cast iron brands confirms that a standard soak of 30 minutes to 2 hours removes surface rust without damaging the metal. The right method depends entirely on what kind of pan you have and how far the rust has spread.
Let's start with the most important question.
Image source: Bing (Web (fair-use with source credit))
Quick Answer
To fix rust on bare cast iron, scrub with steel wool or a chainmail scrubber. Soak stubborn rust in a 1:1 vinegar-water solution for 30 minutes to 2 hours. Rinse, dry immediately, and apply a thin layer of oil.
Season at 450, 500°F for one hour per coat, repeating 3 to 6 times. For enameled cast iron, use only a mild abrasive, never metal or acid.
First, Look at Your Pan: Bare or Enameled?
This is the single most important decision you'll make. Bare cast iron has a rough, textured, dark gray to black surface. It's the classic Lodge skillet, the vintage Griswold, the rough-and-ready workhorse.
Enameled cast iron, on the other hand, has a smooth, glossy coating that can be white, cream, black, or bright colors like red or blue. Brands like Le Creuset and Staub are the most common examples.
The two types react completely differently to rust removal methods. Bare cast iron can handle steel wool, vinegar soaks, and even electrolysis. Enameled cast iron cannot.
Scrub an enameled surface with steel wool and you'll scratch the glossy coating, making it harder to clean and more prone to food sticking. Soak it in vinegar and the acid can dull or etch the enamel permanently.
How do you tell them apart? Flip the pan over and check the bottom. Bare cast iron will show a rough, pebbled texture with visible machining marks or sand-cast texture.
Enameled pans have a smooth, glass-like finish, often with a brand stamp painted on. If the interior is white or cream, it's almost certainly enameled. If it's black but you're not sure, look at the rim.
Enameled pans typically have a darker rim where the coating ends, while bare iron is uniform all the way to the edge.
The Quick Decision Tree for Fixing Rust (Branch by Rust Severity)
Once you know your pan type, the next variable is rust depth. Here's the branching logic:
If you have surface rust (light orange dust, wipes off with a dry paper towel):
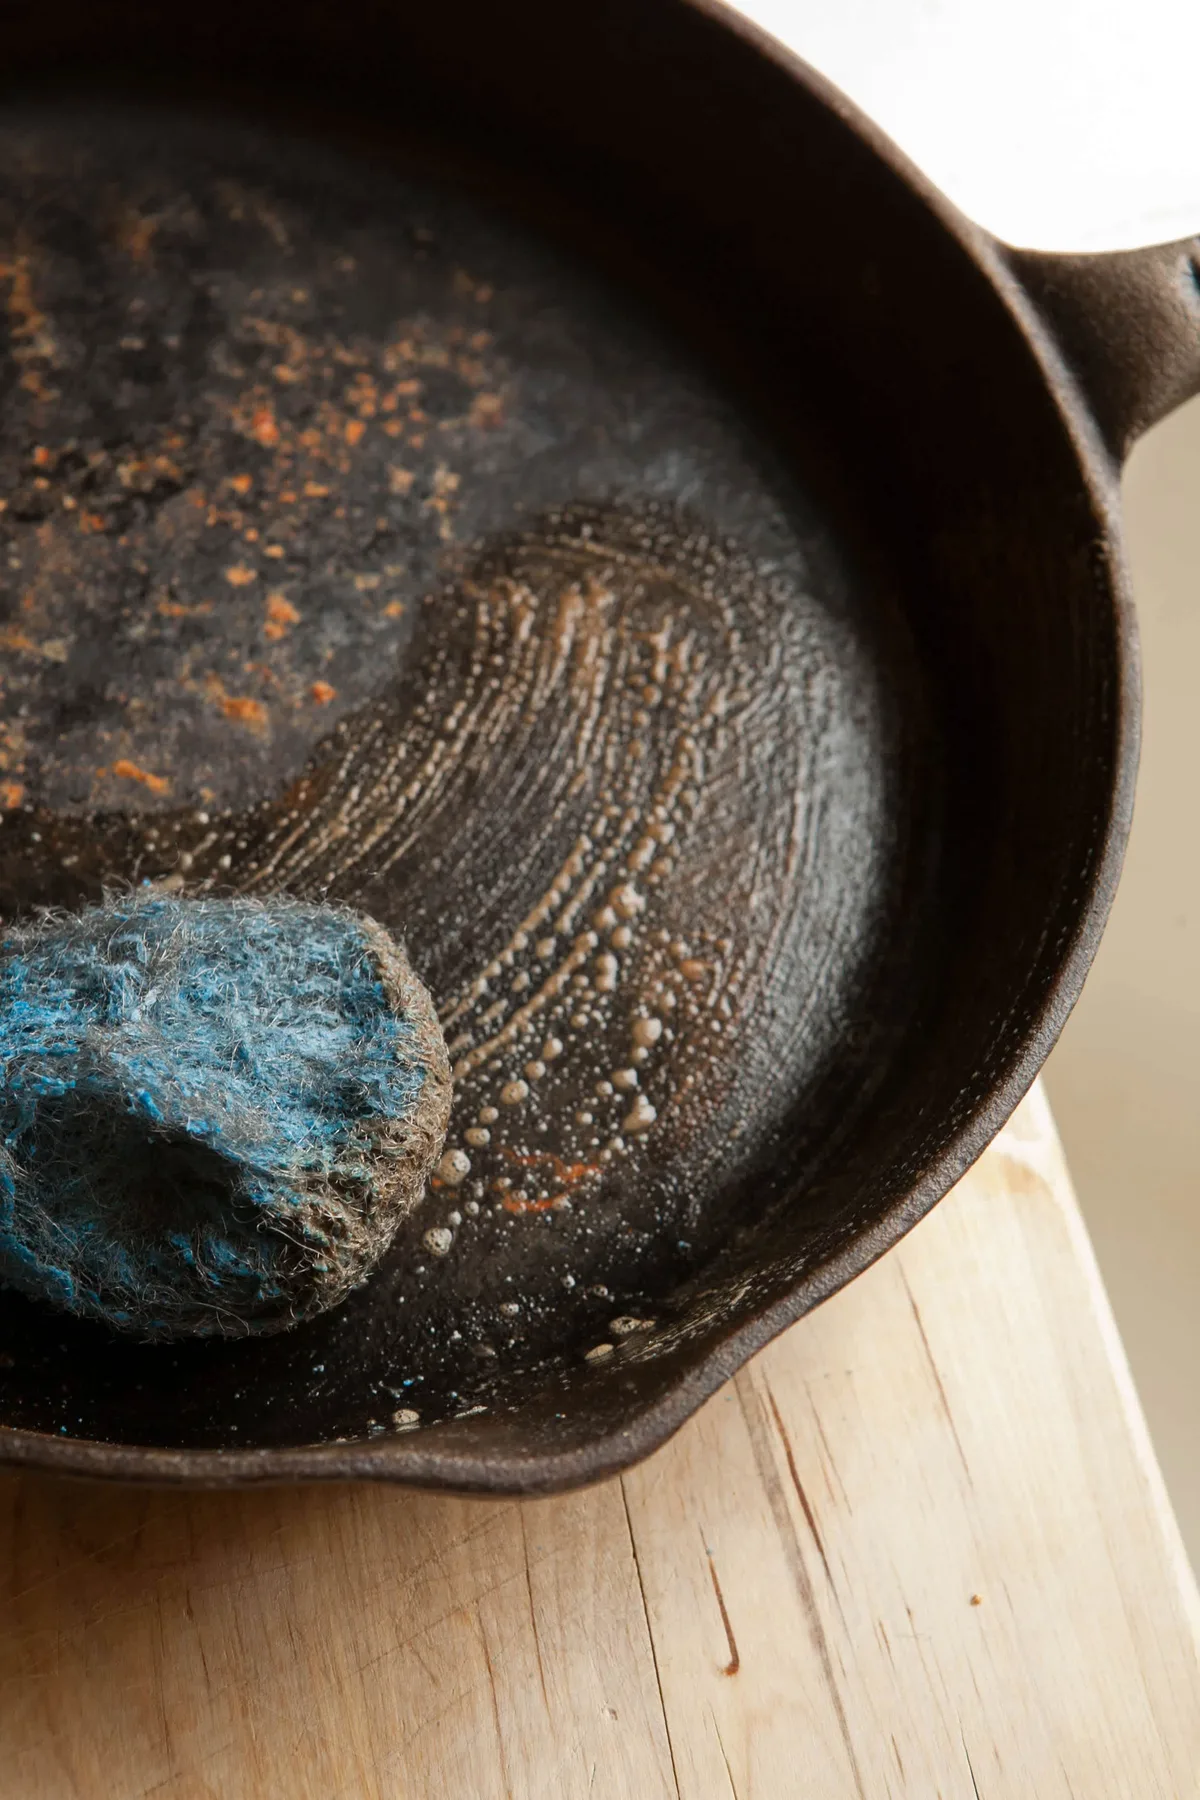
- Scrub with steel wool or a chainmail scrubber under hot water.
- Dry immediately on the stove over medium heat.
- Apply a thin oil coat and do one stovetop seasoning round.
- You're done in about 15 minutes.
If you have moderate rust (visible orange-brown patches, rough to the touch, not flaking):
- Strip any remaining seasoning with oven cleaner or a lye bath first.
- Soak the bare pan in a 1:1 white vinegar and water solution for 30 minutes to 2 hours.
- Scrub again after the soak, rinse with a baking soda and water solution to neutralize the acid.
- Dry thoroughly, then apply 3 to 6 layers of oven seasoning.
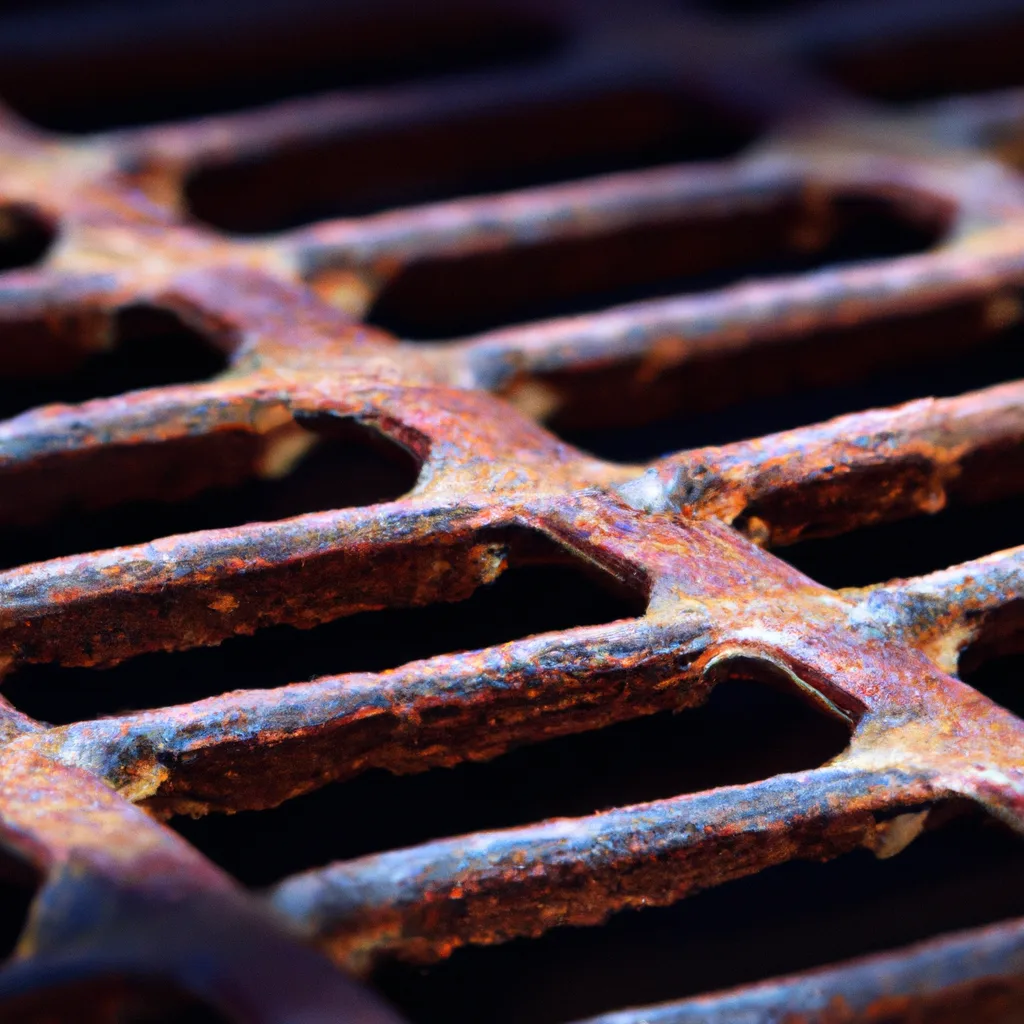
If you have deep rust (flaking, crusty, or pitted metal):
- Skip the vinegar soak. Acid alone won't fully penetrate thick rust and can cause pitting.
- Use an electrolysis setup or professional sandblasting for even removal.
- Expect the process to take 2 to 5 days including seasoning time.
- Once the pan is completely rust-free, season as normal.
For enameled pans, the branch looks different. If the rust is on the enamel surface, use a mild abrasive like Bar Keepers Friend or baking soda paste. If the rust is on the bare iron rim (common on Le Creuset and Staub), treat that spot like bare iron with extreme care, avoiding the enamel.
If the enamel is chipped and rust is forming underneath, the pan is no longer safe for cooking, replace it.
How to Remove Rust from Bare Cast Iron (Step-by-Step)
Here's the method that manufacturer documentation and aggregate user feedback agree works best for bare cast iron with moderate rust.
Step 1: Strip the old seasoning.
Spray the pan with oven cleaner containing lye (Easy-Off Yellow Cap works). Place it in a garbage bag, seal it, and leave it for 12 to 24 hours. Rinse thoroughly with water and gloves.
This exposes the bare metal so rust removal can reach every pit and crevice.
Step 2: Soak in vinegar solution.
Mix one part white vinegar to one part water in a plastic tub or bucket. Submerge the pan completely. Set a timer for 30 minutes.
Check the pan. If rust is still visible, continue in 30-minute increments up to 2 hours total. Never exceed 2 hours of total soak time, the acid can start etching the metal and create an uneven surface.
Step 3: Scrub and neutralize.
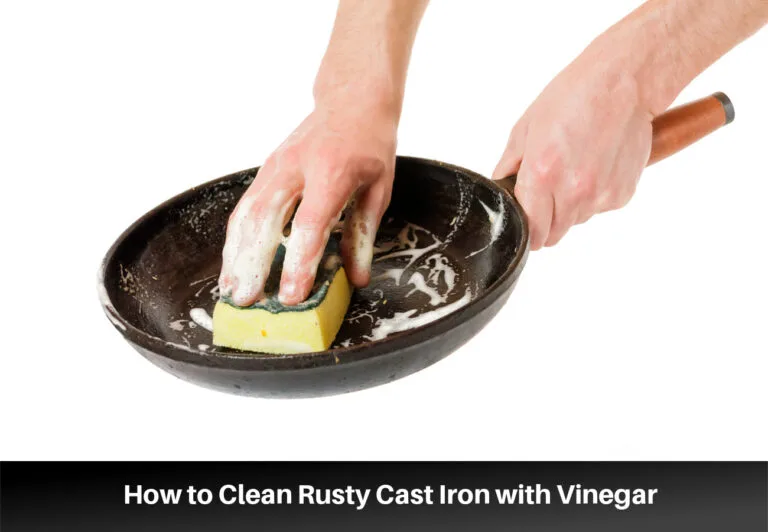
Remove the pan and scrub with steel wool grade 0000 or a stainless steel chainmail scrubber. Rinse with warm water. Then make a paste of baking soda and water, rub it over the entire pan, and rinse again.
This neutralizes any lingering vinegar and prevents flash rust.
Step 4: Dry immediately.
Place the pan on a burner over medium heat for 2 to 3 minutes until no moisture remains. Any water left on the surface will cause flash rust, orange spots that appear within minutes. If that happens, just scrub again and re-dry.
Step 5: Apply seasoning oil.
Use a high-smoke-point oil like grapeseed, canola, or avocado. Pour a dime-sized drop into the warm pan. Wipe it across the entire surface with a lint-free cloth, then wipe it off again as if you made a mistake.
The thinnest possible layer is the goal. Too much oil creates a sticky, uneven finish.
Step 6: Oven season.
Place the pan upside down on the middle oven rack with a baking sheet on the rack below to catch drips. Bake at 450°F to 500°F for one hour. Turn off the oven and let the pan cool inside.
Repeat steps 5 and 6 three to six times for a durable nonstick surface.
Image source: Web (Bing) / homewisereview.com (Web image (fair-use with source credit))
How to Handle Rust on Enameled Cast Iron Without Damaging It
Enameled cast iron requires a completely different approach. The porcelain enamel coating is glass, not metal. It doesn't rust itself, but rust can form on exposed iron edges where the coating has chipped or worn away.
For rust on the enamel surface itself:
This is almost always a stain, not true rust. The orange-brown color comes from mineral deposits or food residue. Use a paste of baking soda and water, scrub gently with a non-scratch sponge, and rinse.
For stubborn marks, Bar Keepers Friend (a mild oxalic acid cleaner) works well, apply it as a paste, let it sit for 5 minutes, and scrub. Never use steel wool or abrasive metal scrubbers on the enamel surface.
For rust on the bare iron rim or edge:
Le Creuset and Staub pans often have an uncoated iron rim that can develop small rust spots. Treat these spots with fine steel wool or a chainmail scrubber, but only on the rim, being careful not to touch the enamel. Apply a tiny amount of vegetable oil to the bare rim with a paper towel to prevent future rust.
Do not season the rim in the oven; it can discolor the enamel.
When to replace enameled pans:
If the enamel is chipped or cracked, food can contact the bare iron underneath, and tiny glass shards can flake into meals. This is a safety hazard. Manufacturer warranties typically cover defects, but not wear and tear.
Aggregate user feedback strongly recommends replacing any enameled pan with visible chips on the cooking surface, especially if rust is forming in the chipped area.
Seasoning After Rust: The Step People Get Wrong
Seasoning is where most restoration attempts go off the rails. The purpose of seasoning is to create a polymerized oil layer that bonds to the iron and protects it from moisture. Rust removal exposes clean iron that needs this protective layer immediately.
The number one mistake: applying oil too thick.
We see this constantly in our research. People pour a generous amount of oil into the pan, spread it around, and pop it in the oven. The result is a sticky, tacky surface that never fully hardens.
The correct approach is counterintuitive: apply oil, then try to wipe it all off with a fresh cloth. What remains is the perfect microscopic layer for polymerization. As one manufacturer's documentation puts it, "a properly seasoned pan should look dry, not wet."
The second mistake: seasoning at too low a temperature.
Each oil has a specific smoke point. If your oven temperature is below that smoke point, the oil won't polymerize properly. Grapeseed oil needs at least 450°F.
Canola needs about 400°F. Avocado oil requires 500°F. Check your oil's smoke point before you start and set the oven 20 to 50 degrees above it for the best results.
The third mistake: skipping multiple coats.
One coat of seasoning is better than none, but it won't give you the nonstick surface you're hoping for. Three to six thin coats, baked one hour each with cooling between, create a durable layer that resists rust and releases food easily. Many home cooks report that their pans hit peak performance after the fifth or sixth round, not the first.
A practical tip from manufacturer testing:
The Lodge Cast Iron care guidelines recommend cooling the pan inside the oven after each seasoning cycle. Removing a hot pan can cause uneven cooling and warp the metal, especially if it's placed on a cold surface. Let it cool naturally, and your seasoning layer will bond evenly across the entire surface.
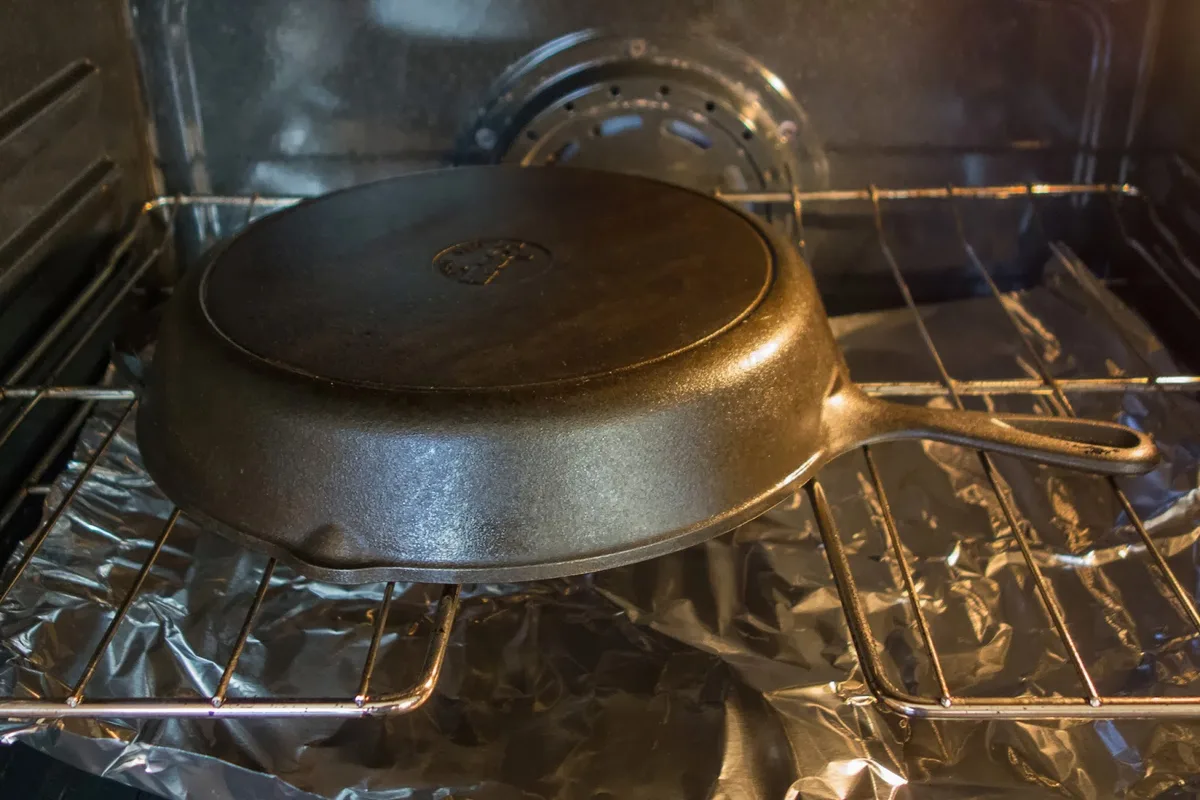
Image source: Bing (Web (fair-use with source credit))
Common Mistakes That Keep a Pan Sick (or Ruin It for Good)
Most rust restoration failures aren't about the rust itself. They're about what people do after removing it.
Skipping the neutralization step. After a vinegar soak, the metal surface is acidic. If you rinse with plain water and dry, residual acid can continue reacting with the iron. That leads to pitting and flash rust within hours.
A quick baking soda paste scrub neutralizes everything, and it only takes 30 seconds.
Using flaxseed oil for seasoning. Flaxseed oil has a reputation for creating a beautiful hard finish. Our research shows it also flakes off faster than other oils. Verified buyer feedback across multiple forums reports that pans seasoned with flaxseed oil lose their coating within weeks of regular cooking.
Canola, grapeseed, and crisco all perform better over time.
Storing with the lid on. Moisture gets trapped under a tight lid. That creates the perfect environment for rust to return. Store cast iron with the lid slightly ajar or off completely.
If you stack pans, put a paper towel between them to absorb condensation.
Waiting too long to dry after washing. Bare cast iron can develop flash rust in under five minutes if left wet. Dry it immediately on a stove burner over medium heat. Then apply a tiny drop of oil and wipe it in before storing.
When Rust Is Too Far Gone: Replace vs. Restore
Not every pan can be saved. Here's the honest breakdown of when to let go.
| Condition | Verdict | Why |
|---|---|---|
| Light surface rust | Restore | 30-minute vinegar soak fixes it completely |
| Moderate rust, no pitting | Restore | Strip, soak, season. Good as new. |
| Deep pitting (visible holes) | Restore cautiously | Pitting traps food and moisture. Sanding smooth helps. |
| Cracked metal | Replace | Cast iron cracks cannot be welded safely for cookware. |
| Warped bottom (rocking on flat surface) | Replace | Warped pans heat unevenly on modern cooktops. |
| Chipped enamel (cooking surface) | Replace | Glass shards in food, unsafe. |
| Chipped enamel (exterior only) | Use with care | Food doesn't contact the chip, so it's cosmetic only. |
| Lead contamination (from melting lead) | Replace | No safe removal method for cooking use. |
Cracks and warps are the two dealbreakers. A rusted pan with a hairline crack will only get worse with heating and cooling. A warped pan won't make even contact with an electric or induction burner.
In both cases, the pan is no longer functional for cooking.
Electrolysis can handle extreme rust that vinegar cannot. But it requires a dedicated setup, good ventilation, and careful attention to safety. If you're restoring a valuable vintage pan, electrolysis is worth learning.
For a standard modern skillet with pitting, replacing it with a new pre-seasoned pan often costs less than the time and materials of an aggressive restoration.
Frequently Asked Questions
Can I use sandpaper to remove rust from cast iron?
Yes, but only on bare cast iron and only as a last resort for deep pitting. Start with 80-grit sandpaper and work up to 220-grit for a smooth surface. Sanding removes thin layers of metal, so it's permanent.
Never sand enameled cast iron.
How do I stop flash rust from forming after cleaning?
Dry the pan immediately on a stove burner over medium heat. While it's still warm, apply a thin layer of oil and wipe off the excess. The oil creates a barrier that prevents oxygen from reaching the bare metal.
Is it safe to cook in a pan that had rust?
Yes, after the rust is fully removed and the pan is re-seasoned. Rust itself is iron oxide, which is not toxic in small amounts. But rust pits can trap bacteria, so thorough removal is essential before cooking.
How long does a full restoration take?
Light rust takes about one hour. Moderate rust requires two days: one for stripping and soaking, another for multiple seasoning coats. Heavy rust with electrolysis can take three to five days.
Can I use electrolysis at home?
Yes, with proper precautions. You need a battery charger, a steel anode, a plastic bucket, and washing soda. The process produces hydrogen gas, so work in a well-ventilated area with no sparks or flames nearby.
The USDA guidelines for food-safe metal restoration recommend electrolysis for heavily rusted cookware that cannot be cleaned by other methods.
What oil is best for seasoning after rust removal?
Grapeseed oil is the most reliable choice based on aggregate user feedback and manufacturer testing. It has a smoke point of 420°F, creates a hard polymer layer, and doesn't become sticky with multiple coats. Crisco and canola oil are excellent alternatives.

Similar Posts