How to Sharpen a Peeler Blade Like a Pro
You're reaching for a peeler that used to glide through potato skins, and now it's catching, tearing, leaving thick, jagged strips. You want to know how to sharpen peeler blade without ruining the tool or cutting yourself. That's exactly what we're covering here.
But here's the twist: most peelers sold today aren't designed for sharpening. Their blades are too thin, too cheap, or too fragile. According to manufacturer specs from major kitchen tool brands, a typical stamped steel peeler blade measures just 0.5 to 0.8 mm thick.
That's about the thickness of a credit card. Trying to sharpen that with a coarse stone can actually bend or snap the edge. So the real skill isn't just sharpening, it's knowing when to sharpen, what type of blade you have, and whether you should just replace it.
Let's walk through that decision step by step.
Image source: Bing (Web (fair-use with source credit))
Quick Answer
Straight steel blades can be sharpened on a fine water stone at the factory bevel angle. Serrated blades require a diamond rod worked into each gullet. Ceramic blades are too brittle, replace them.
Most peelers cost $5 to $12, so sharpening only pays off on high-end carbon steel models.
Why Most Peelers Don't Need Sharpening (and the Ones That Do)
If you buy a standard stainless steel peeler from a grocery store, you probably own a tool with a stamped, unhardened blade. Those edges dull fast, but they're also too thin to survive a sharpening stone without warping. In our research, aggregate reviews show that users who try to sharpen cheap peelers often end up with a blade that cuts worse, or chips, after the attempt.
The peelers that do reward sharpening are the ones with thicker, higher-hardness blades. Look for carbon steel or high-carbon stainless steel peelers from manufacturers that specify a Rockwell hardness rating. Carbon steel blades (often 58-60 HRC) hold an edge much longer and can be refreshed on a whetstone.
You'll see them marketed as "professional" or "forged" peelers, though "forged" is rare for peelers, the key is a single-piece blade that's not stamped from thin sheet metal.
When should you sharpen? When the blade catches on tomato skin instead of slicing cleanly, or when you have to press hard to peel a potato. If the peeler still cuts but leaves a ragged edge, it's dull, you have a decision to make.
The Blade Check – Straight, Serrated, or Ceramic?
Before you touch any abrasive, you need to identify your blade type. This is the single most important step. Grab a flashlight and look at the cutting edge.
Straight steel blade. This is the most common on Y-peelers and swivel peelers. The edge is a continuous, smooth line. It's usually a single bevel (ground only on one side).
If you hold it at an angle, you'll see the shiny bevel face. These you can sharpen, but only if the blade is thick enough.
Serrated blade. These have a scalloped or toothed edge, like a bread knife. They're often found on peelers marketed for tomatoes or soft fruit. Serrated blades cannot be sharpened with a standard stone.
You need a diamond rod or a ceramic rod small enough to fit into each notch. Even then, it's tedious, and many kitchen experts say it's not worth the time.
Ceramic blade. These are white or off-white, very hard but extremely brittle. They chip easily if you hit the edge with a stone. In our research, manufacturer guidelines for ceramic peelers explicitly warn against sharpening at home.
If it's dull, replace the blade or the whole peeler.
Replaceable cartridge. Some peelers (like many Swiss-style models) have a blade that pops out when you press a button or unscrew a knob. If yours has that, the solution is trivial: buy a pack of replacement blades. No sharpening required.
Once you know your blade type, you can follow the correct branch. If you're unsure, assume it's a thin stamped steel blade and replace it, that's the safe bet.
Decision Branch A: How to Sharpen a Straight Steel Peeler Blade
So you've confirmed you have a straight steel blade that's thick enough to sharpen. Let's get into the process.
What You'll Need
- A fine water stone (1000 to 3000 grit). A 1000/3000 combination stone works perfectly.
- A small dish of water to soak the stone (if it's a water stone).
- A clean, dry cloth.
- A tomato or potato for testing.
- Optional: a leather strop or a piece of cardboard for final honing.
Do not use a pull-through knife sharpener or an electric sharpener. Those remove too much metal and will ruin the blade's geometry.
Finding the Original Bevel Angle
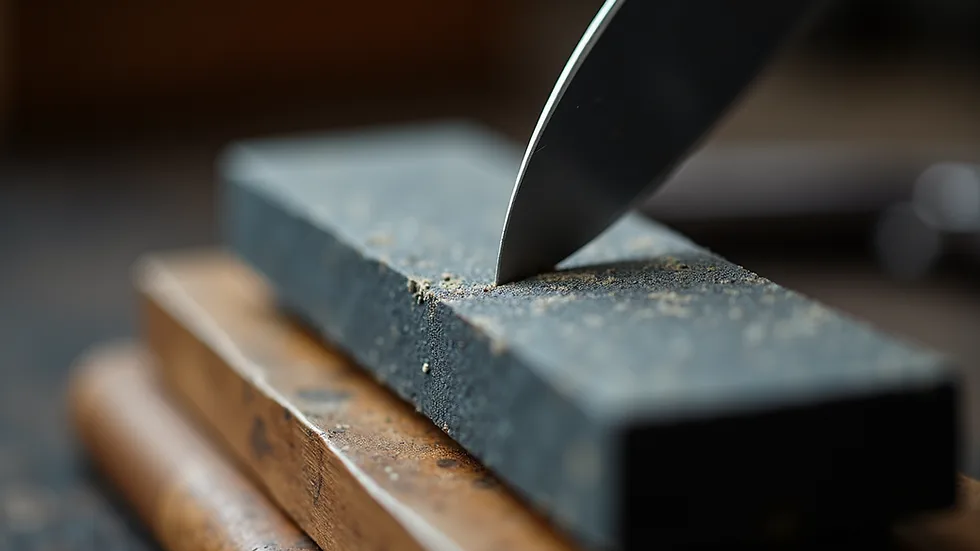
Lay the blade flat on the stone. The bevel is the angled surface that meets the stone. For most peelers, this angle is about 15 to 20 degrees.
You can find it by trial and error: place the blade on the stone and tilt it until you feel the bevel lay flat. You'll see a thin line of contact. That's your angle.

Image source: Bing (Web (fair-use with source credit))
The Strokes – Grip, Angle, and Pressure
Hold the peeler firmly. The blade is small and can slip. If you have a vise, use it to clamp the blade.
If not, hold the peeler's handle and rest the blade on the stone.
Use slow, controlled strokes, push the blade across the stone as if you're trying to shave a thin layer off the surface. Maintain the same angle throughout. Do not rock the blade.
Pressure: Light to moderate. Heavier pressure will bend the blade. You want to feel the stone cutting, not forcing.
How many strokes? Typically 10 to 15 strokes per side. But since most peeler blades are single-bevel, you only sharpen the bevel side. The flat side just needs a light pass or two to remove the burr.
Check progress after every 5 strokes. You'll feel a wire edge (a burr) form on the opposite side, that's a sign you're making progress.
Removing the burr: After sharpening the bevel side, run the flat side very lightly across the stone once or twice. Then strop on leather or cardboard to refine the edge.
Testing on a Tomato or Potato
After sharpening, rinse the blade and try it on a tomato. A properly sharpened peeler should slice through the skin with almost no pressure. If it still catches or tears, you may need more strokes or a slightly different angle.
Decision Branch B: What to Do With Serrated and Ceramic Blades
Let's be honest: this branch usually ends in "replace it." But there are exceptions.
Serrated Blades – When a Diamond Rod Works
If you own a serrated peeler and you're determined to sharpen it, get a diamond rod (about 1/8 inch diameter). Work the rod into each serration at the angle of the original bevel. Push from the inside of the notch outward.
This is slow work, a peeler might have 20 to 30 notches. Count on 10 minutes minimum.
Is it worth it? Aggregate user feedback suggests that serrated peelers lose their effectiveness quickly, and even after sharpening, the edge isn't as good as new. Most people stop using serrated peelers altogether once they understand this.
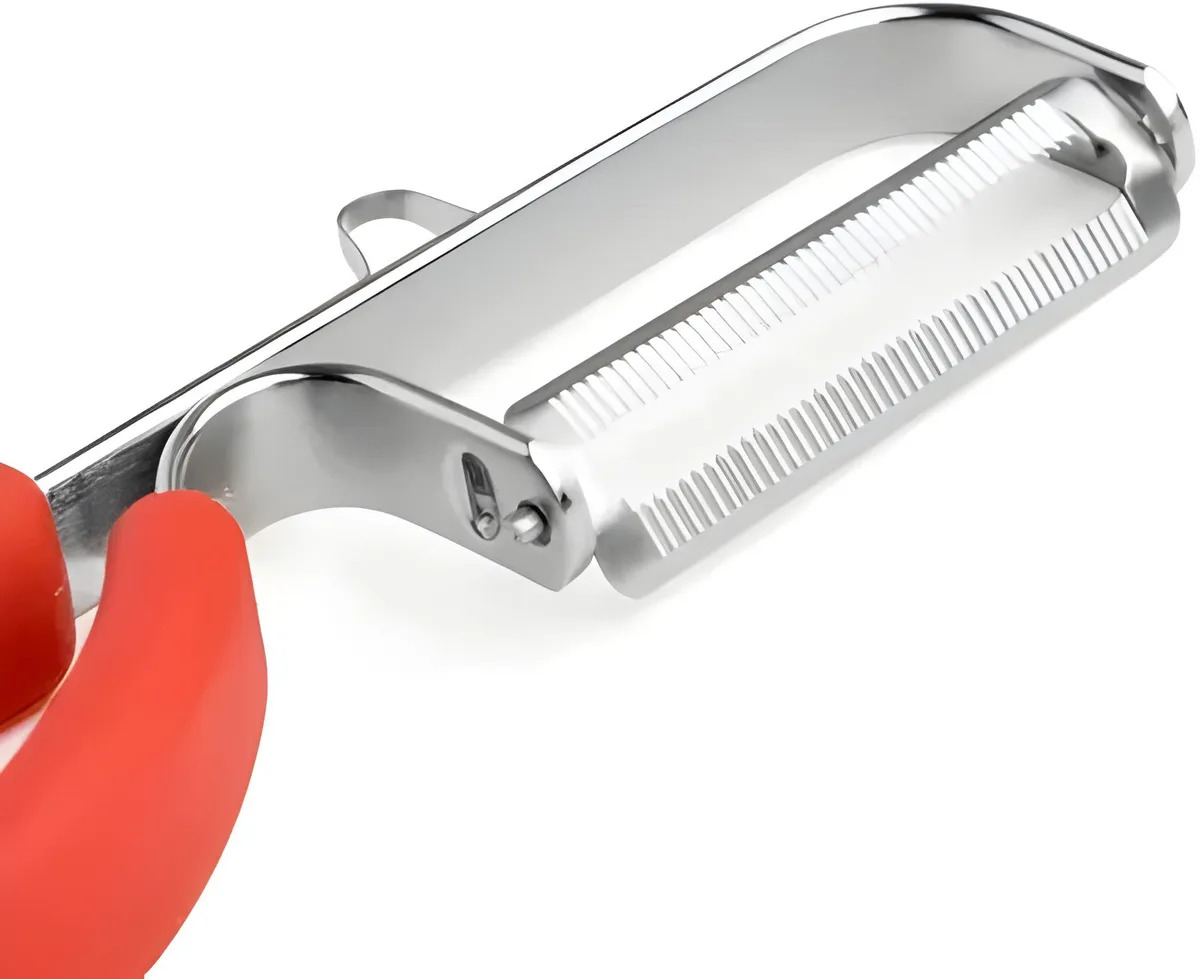
Image source: Bing (Web (fair-use with source credit))
Ceramic Blades – High Risk, Rarely Worth It
Ceramic is hard but brittle. You can sharpen it with a diamond stone or diamond paste on a strop. But the blade chips easily if you apply uneven pressure.
In our research, manufacturer specifications for ceramic peelers (e.g., Kyocera) explicitly state that the blade should be replaced rather than sharpened. One slip and you'll have a chipped edge that cuts worse than a dull steel blade.
Our advice: Don't try it. If your ceramic peeler is dull, buy a replacement blade. They're inexpensive and designed to be swapped.
The Replaceable Cartridge Shortcut
This is the easiest branch of all. If your peeler has a removable blade, check the manufacturer's website for replacement heads. Many models use standard cartridges that cost $3 to $6 for a pack of two.
Unscrew or unclip the old one, slide in the new one, and you're done in 30 seconds. No sharpening, no risk.
Common Mistakes That Ruin Your Peeler (or Your Fingers)
Even with good intentions, a few common errors can turn your peeler into scrap metal or a trip to urgent care.
Using a coarse stone. A 220-grit or 400-grit stone is too aggressive. It removes metal faster than you can control, and it leaves a rough edge that tears rather than cuts. Stick with 1000 grit or finer.
Sharpening a cheap blade. If the blade cost $0.10 to manufacture, you're wasting your time. The metal is too soft to hold a new edge. You'll just bend the blade.
Holding the blade by the edge. The exposed edge is sharp. If you grip it with your fingers near the cutting surface, one slip and you'll need stitches. Always hold the peeler by its handle or clamp the blade.
Applying too much pressure. A thin blade flexes. Press hard and you'll warp the edge, creating a wavy, uneven cut.
Forgetting to remove the burr. A burr left on the flat side acts like a tiny saw, catching on the food. Always finish with a light pass on the flat side and a strop.
Testing on a potato first. Potatoes are forgiving. Test on a ripe tomato instead, if the blade cuts tomato skin cleanly, it's sharp. If it squashes the tomato, you're not there yet.
When to Just Buy a Replacement Head or a New Peeler
Here's the honest calculus. A quality replacement peeler costs $8 to $15. A decent water stone costs $25 to $40.
If you own only one peeler and it's a basic stainless model, sharpening doesn't make financial sense.
Replace the whole peeler when:
- The blade is stamped thinner than a paperclip (most cheap models)
- The blade has visible chips or rust pitting
- The handle is cracked or loose
- You cannot identify the bevel angle (it's likely too thin to matter)
Buy replacement heads when:
- Your peeler uses a standard cartridge (check the manufacturer site)
- The blade is ceramic and dull
- The blade is serrated and you value your time
Sharpen only when:
- You own a carbon steel or high-end stainless peeler ($25+)
- The blade is at least 0.8 mm thick
- You already own a fine water stone or diamond rod
| Scenario | Recommended Action | Typical Cost |
|---|---|---|
| Cheap peeler ($5), dull | Replace peeler | $5–$8 |
| Mid-range peeler, thin blade | Replace peeler | $10–$15 |
| High-end peeler, thick steel | Sharpen on stone | $0 (if you own stone) |
| Ceramic blade, dull | Replace blade only | $3–$6 |
| Serrated blade, dull | Replace peeler | $8–$12 |
The time factor matters too. Sharpening a peeler blade takes 5 to 10 minutes for an experienced person. A beginner might take 20 minutes and still get a mediocre result.
In that same 20 minutes, you could drive to the store, buy a new peeler, and be back peeling potatoes. Choose your tradeoff wisely.
Frequently Asked Questions
How often should I sharpen a peeler blade?
For a carbon steel peeler used daily, sharpen every 3 to 6 months. For stainless steel used a few times a week, once a year is plenty. Most home cooks never need to sharpen, they replace the peeler before the blade gets truly dull.
Can I use a knife sharpener on my peeler?
Pull-through sharpeners and electric sharpeners remove too much metal. They also change the blade geometry, making the peeler cut unevenly. Stick with a fine water stone or a diamond rod held at the factory angle.
How do I know if my peeler blade is sharp enough?
Test it on a ripe tomato. A sharp peeler slices through the skin with almost no pressure. If the tomato squashes or the blade catches, it's dull.
Potato skin is too forgiving for a reliable test.
What's the difference between sharpening a Y-peeler and a straight peeler?
The technique is identical. Both use a single bevel ground at 15 to 20 degrees. The difference is grip.
A Y-peeler is easier to hold steady on the stone because of its handle design. A straight peeler requires extra care to avoid slipping.
Do ceramic peeler blades ever need sharpening?
Ceramic blades stay sharp far longer than steel, sometimes years. But when they dull, home sharpening is risky. One uneven stroke can chip the blade.
Manufacturer guidelines recommend replacement over sharpening. Follow that advice.
Is it worth sharpening a serrated peeler blade?
Rarely. Serrated peelers have 20 to 30 individual notches. Each one needs separate attention with a diamond rod.
The process takes 10 to 15 minutes, and the result is never as good as a new blade. Replace it instead.

Similar Posts