Best Tools and Wire Brushes to Remove Rust from Cast Iron Grills
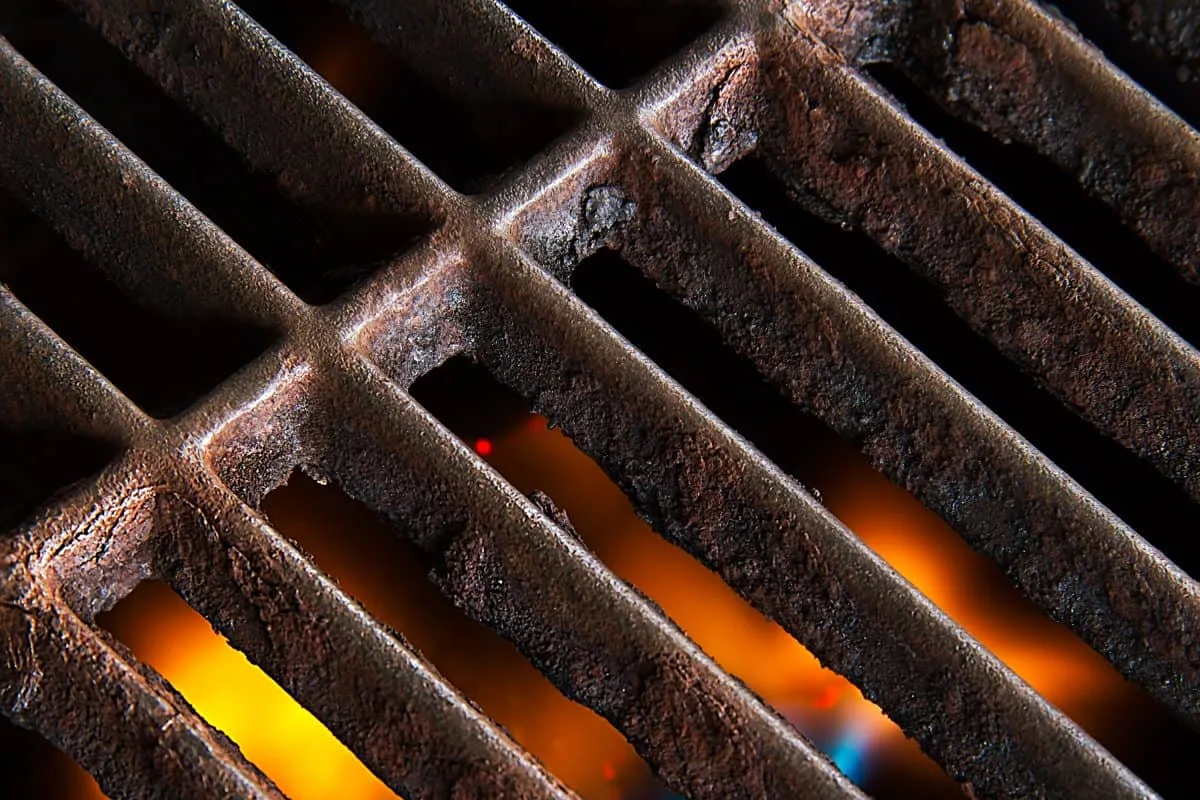
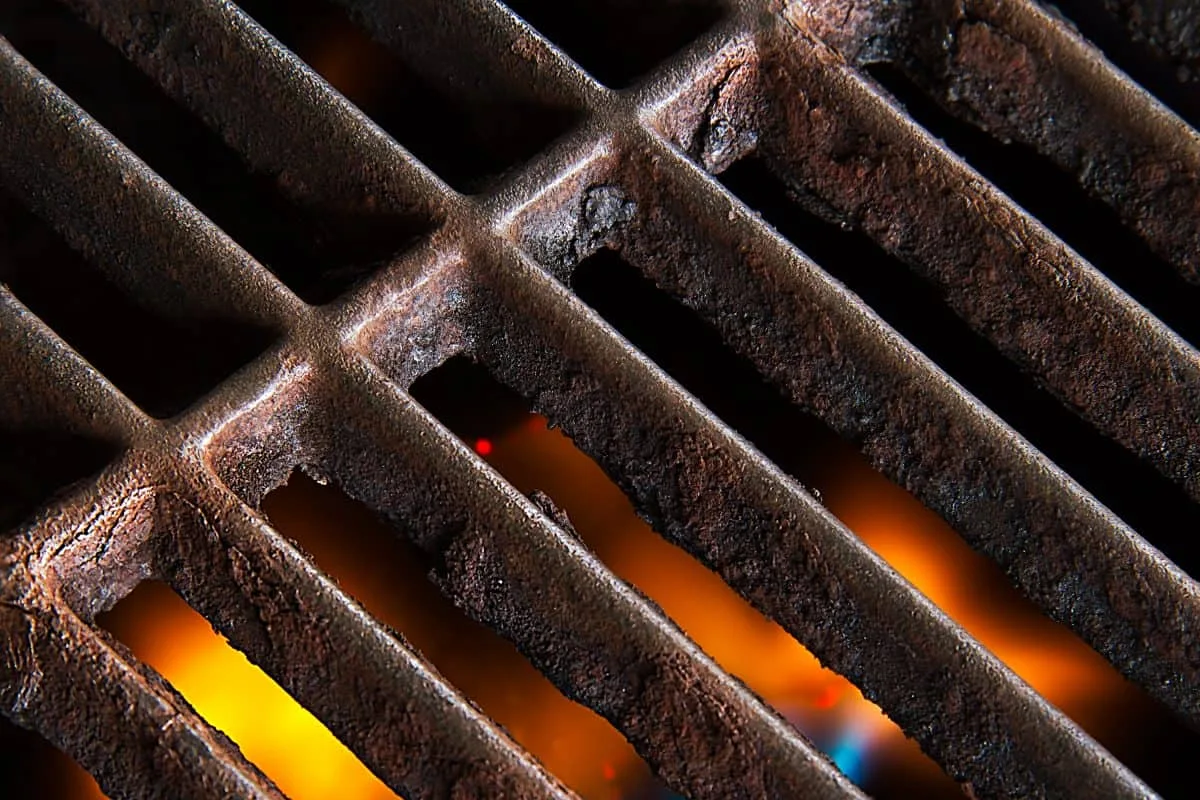
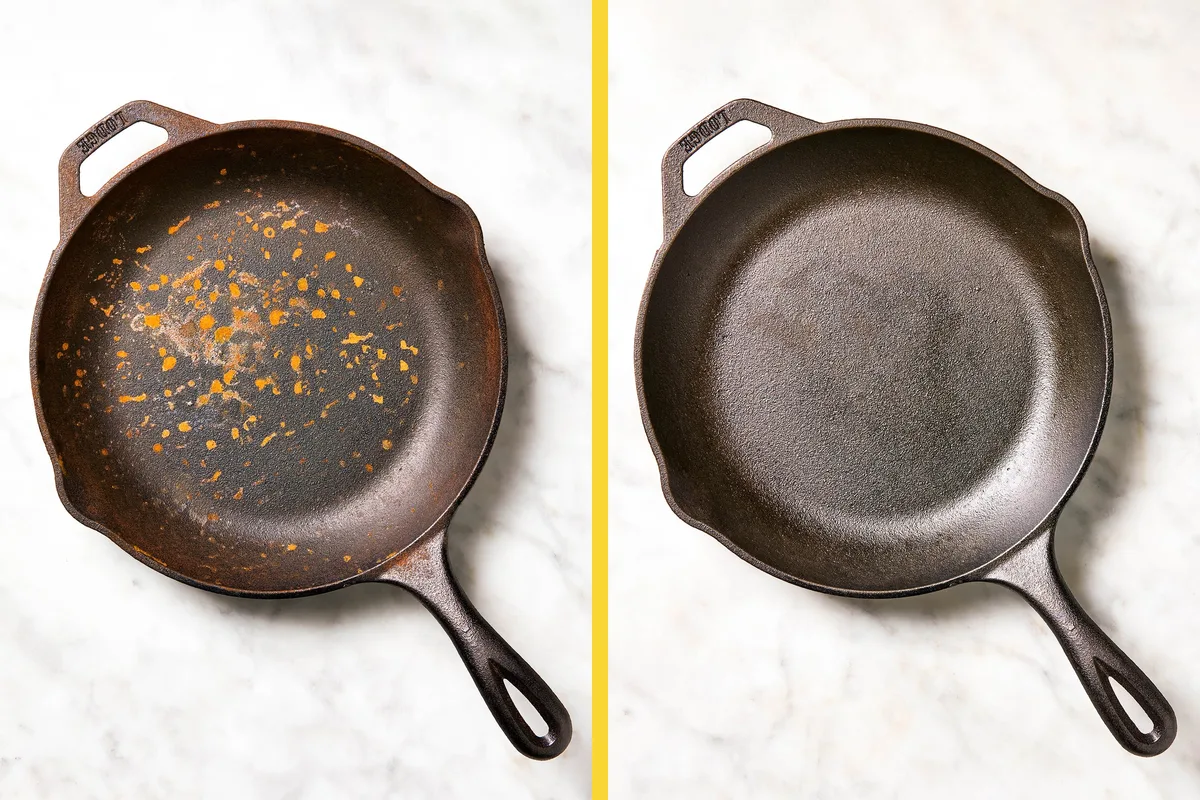
If you've noticed orange flakes on your grill grates, you're probably wondering how to remove rust from cast iron grill without damaging the surface. It's a common problem, and the fix depends entirely on how deep the rust goes.
Manufacturer guidelines from Lodge confirm that a 1:1 vinegar soak for 15, 30 minutes removes light rust without etching the iron. The wrong approach can strip seasoning or create pitting, so let's walk through exactly what to check and which method fits your situation.
Quick Answer
Check rust depth with a fingernail. For light surface rust, scrub with steel wool and vinegar. For moderate rust, use baking soda paste or a commercial remover.
For heavy rust with pitting, try electrolysis or a high-heat burn-off. Always re-season with oil at 450°F after cleaning.
Image source: Bing (Web (fair-use with source credit))
How Bad Is the Rust? (Quick Self-Diagnosis)
Before you pick a removal method, you need to know what you're dealing with. Rust falls into three categories, and each one demands a different approach.
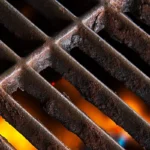
Light surface rust looks like orange dust or a faint haze. It sits on top of the seasoning layer. Run your fingernail across it.
If the nail doesn't catch, you're in this group. This is the easiest fix.
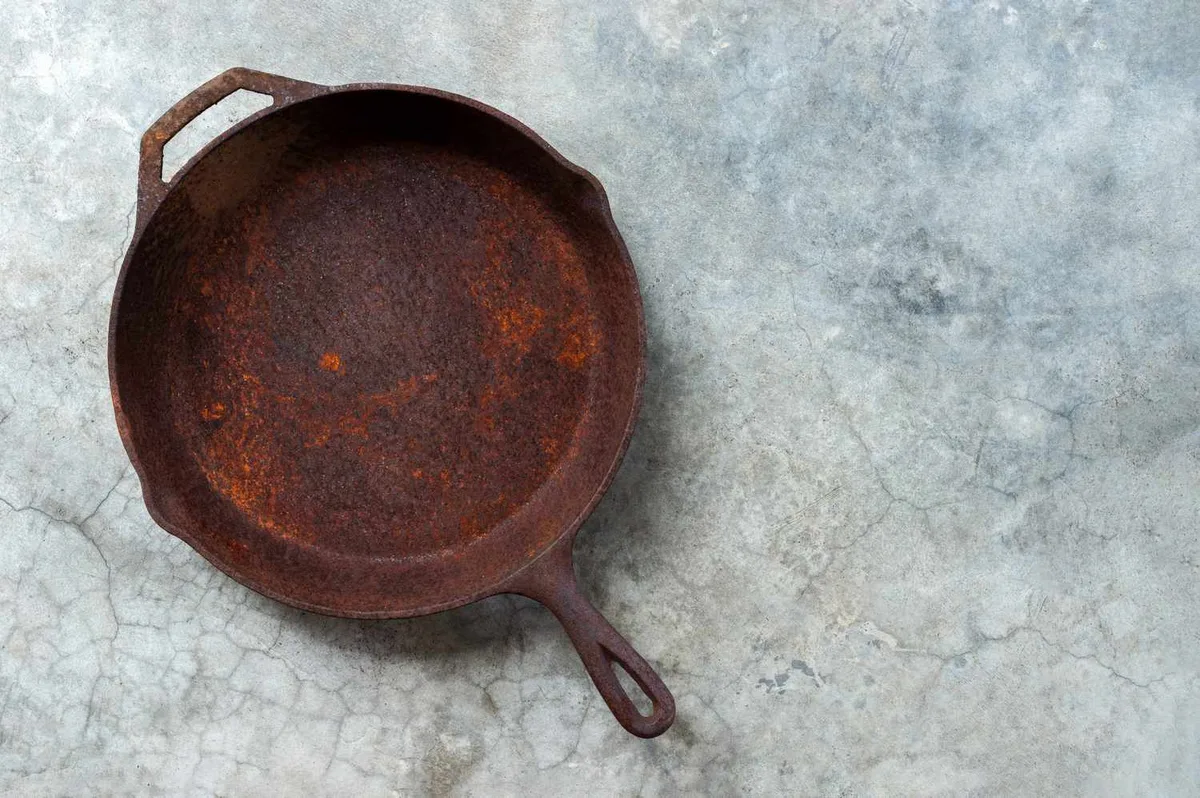
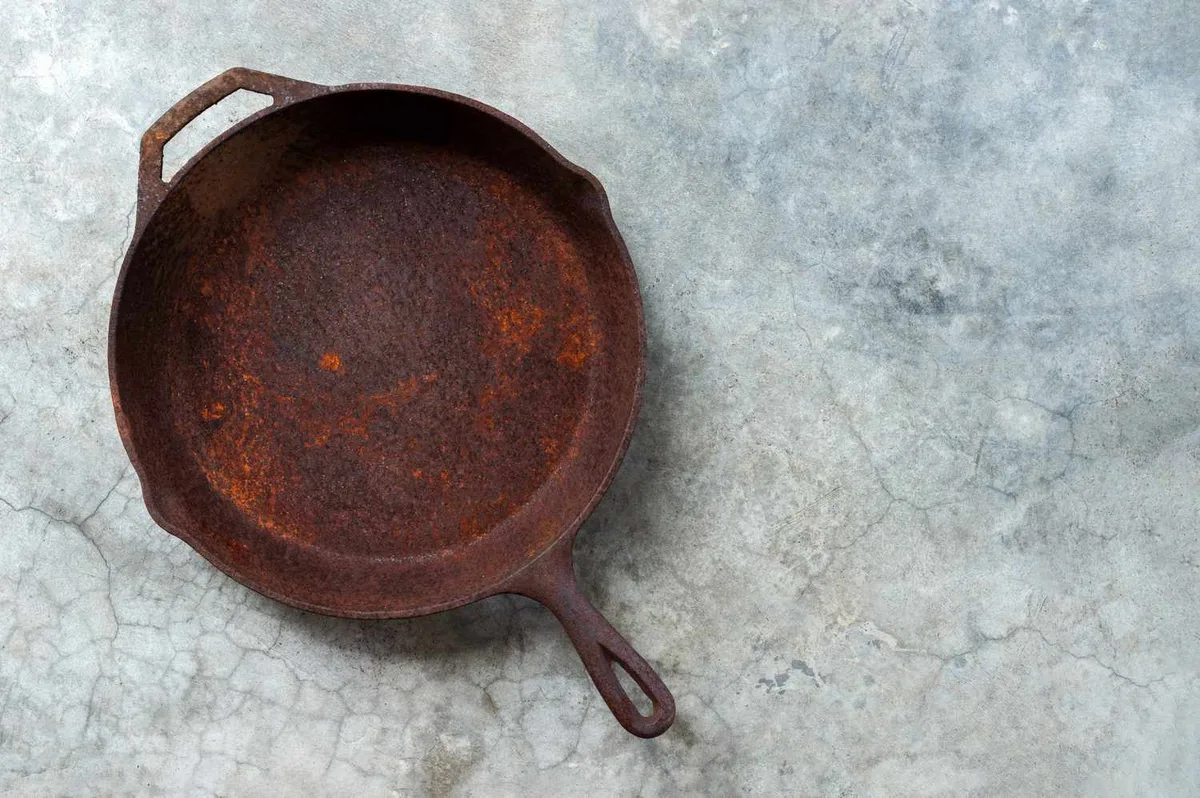
Moderate rust appears as darker orange or brown patches. Your fingernail catches slightly, but the metal underneath feels solid. The rust has eaten through the seasoning but hasn't dug into the iron itself.
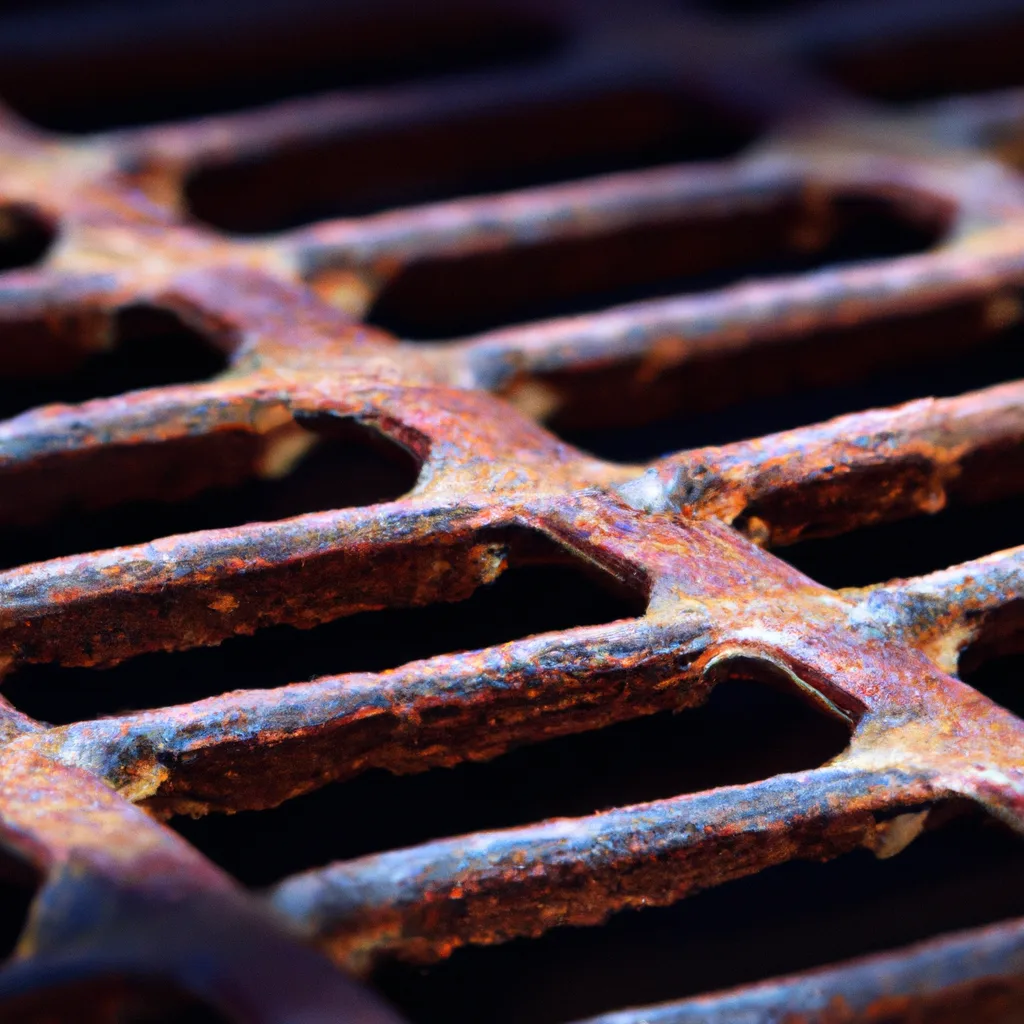
Heavy rust with pitting looks flaky, blackish, or deeply cratered. Your fingernail sinks into the metal. The surface feels rough and uneven.
This requires aggressive restoration.
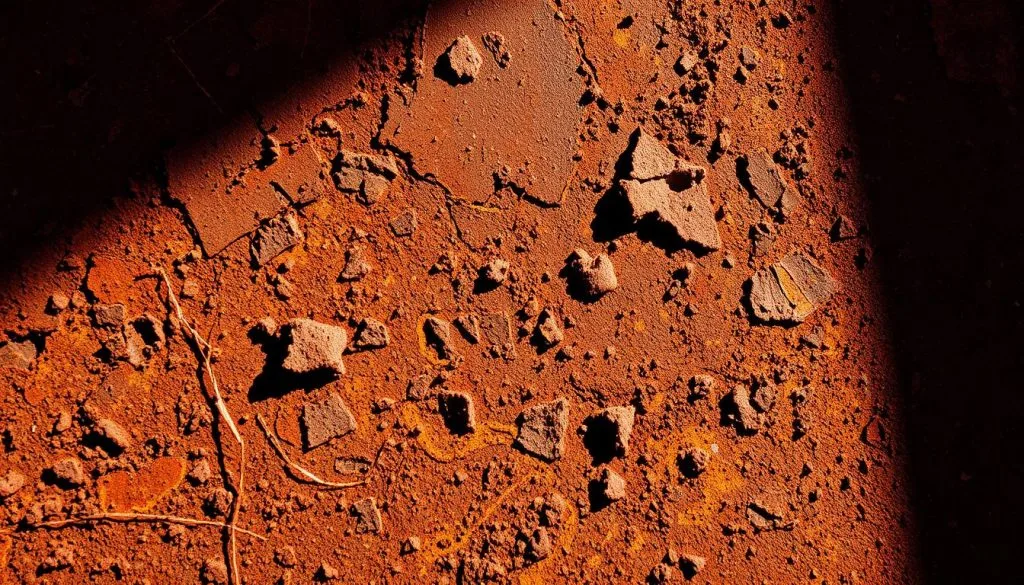
Image source: Bing (Web (fair-use with source credit))
Here is a quick reference table:
| Rust Level | Appearance | Fingernail Test | Action |
|---|---|---|---|
| Light | Orange dust, faint haze | Slides over, no catch | Vinegar + scrub |
| Moderate | Dark orange patches, rough | Catches slightly, metal firm | Baking soda paste or remover |
| Heavy | Flaky, black, pits | Sinks into metal | Electrolysis or burn-off |
The 3 Rust‑Removal Methods — Which One Fits Your Situation?
Your choice depends on the rust level and your equipment. Each method has a clear best-use case.
Light Surface Rust: The Vinegar + Scrub Route
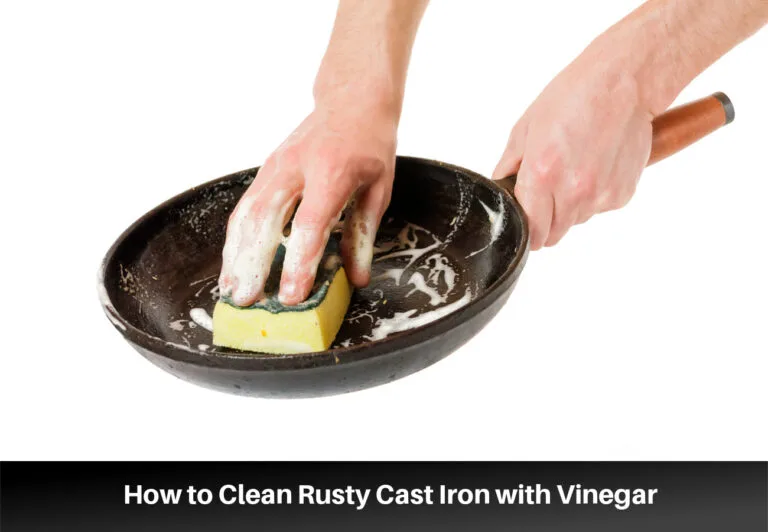
This is the safest and fastest method. Mix white vinegar and water in a 1:1 ratio in a spray bottle or shallow pan. Spray or submerge the grate for 15, 30 minutes.
Do not exceed two hours; vinegar can etch the iron.
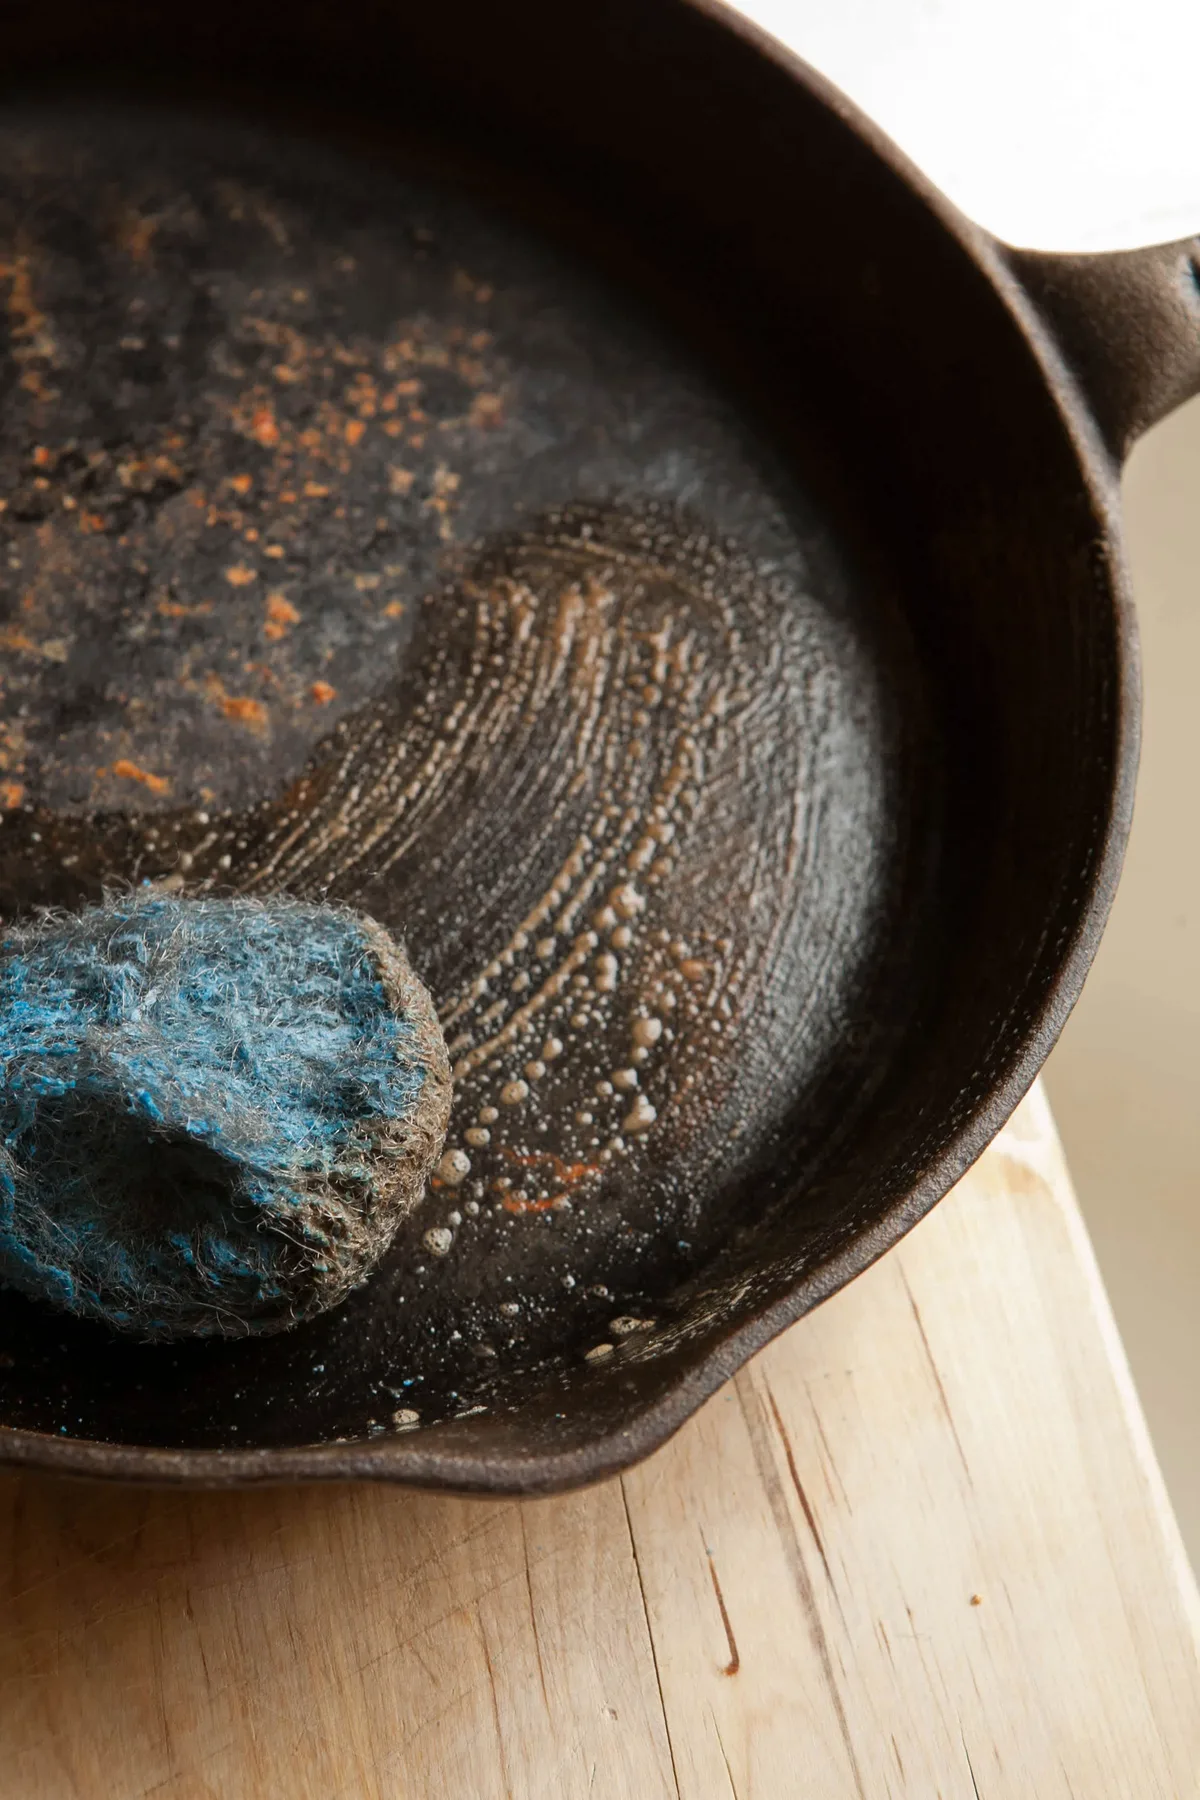
Scrub with fine steel wool (grade 0000) or a stiff nylon brush. Rinse with water and dry immediately on a stovetop or in a 200°F oven. Flash rust can form if you let it air dry.
Apply a thin coat of oil and heat it to 350°F for 30 minutes to restore seasoning.
Best for: grills that have sat through a rainy season or a few weeks of neglect. Takes about an hour start to finish.
Moderate Rust: Baking Soda Paste or Commercial Remover
When the fingernail catches, scrubbing alone won't cut it. Make a thick paste of baking soda and water. Rub it onto the rust spots with a damp cloth or soft brush.
Let it sit for 15 minutes, then scrub with coarse steel wool (grade 1 or 2). Rinse and dry immediately.
Alternatively, use a rust remover like Evapo-Rust. Per the manufacturer, submerge the grate for 1, 2 hours, then rinse with water. These removers are safer than acids for thicker rust because they don't continue etching after rinsing.
Best for: grills with noticeable rust patches that still feel solid. Expect 2, 3 hours with drying time.
Heavy Rust with Pitting: Electrolysis or Burn-Off
Pitted iron needs chemical or heat restoration. Electrolysis is the gentlest on vintage grates. You'll need a plastic tub, a battery charger, a sacrificial steel rod, and washing soda.
Submerge the grate and run 2, 10 amps for 12, 24 hours. The process lifts rust without removing iron.
The burn-off method works for modern grates. Place the grate in a self-cleaning oven cycle or heat it with a propane torch until it glows. This carbonizes all organic matter, including rust.
Brush off the residue with a wire brush. Be aware: the process releases heavy smoke and fumes. Ventilate your kitchen thoroughly.
Best for: severely rusted grates that you want to save. Electrolysis suits collectors; burn-off suits quick restoration. Both require a full re-seasoning afterwards.
Step‑by‑Step: Cleaning and Re‑seasoning Your Grate
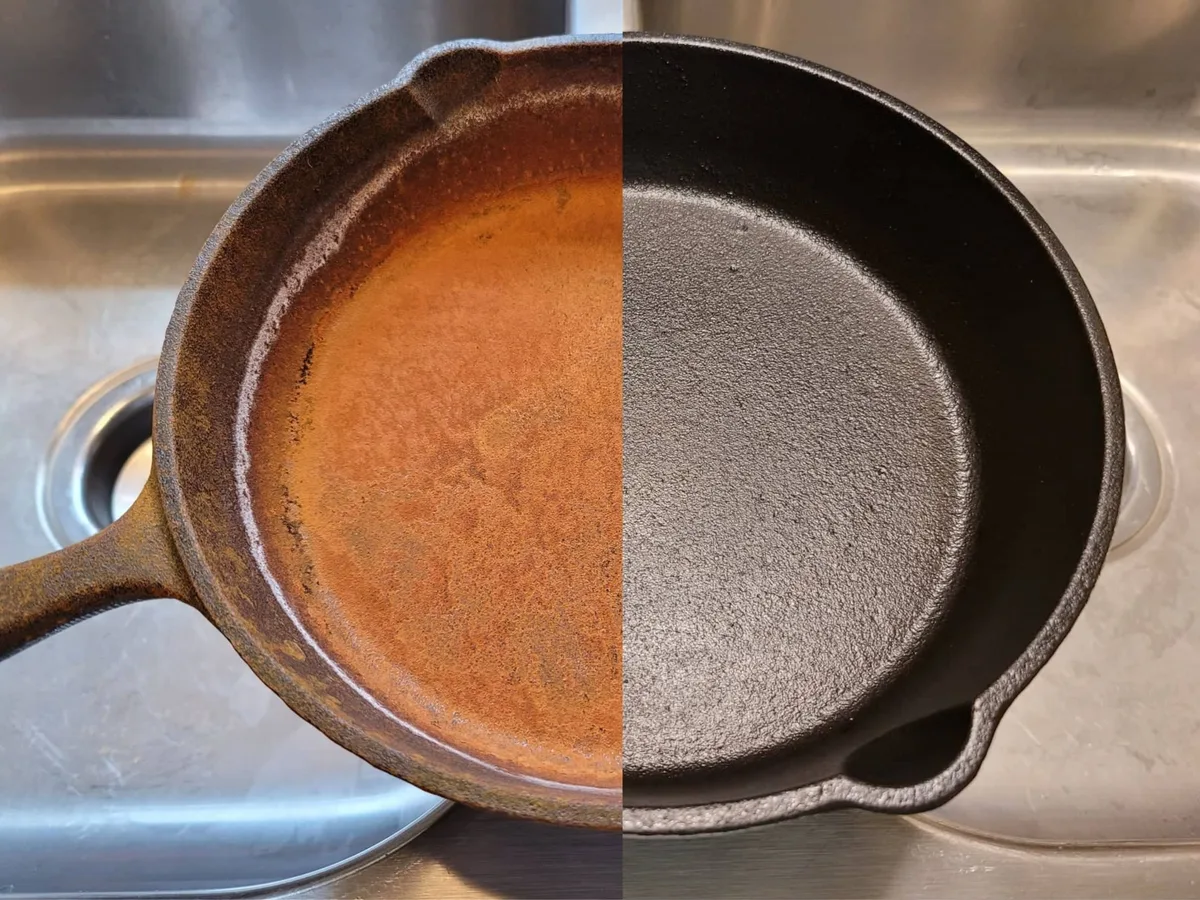
After removing the rust, you need to rebuild the protective seasoning layer. Follow these steps in order.
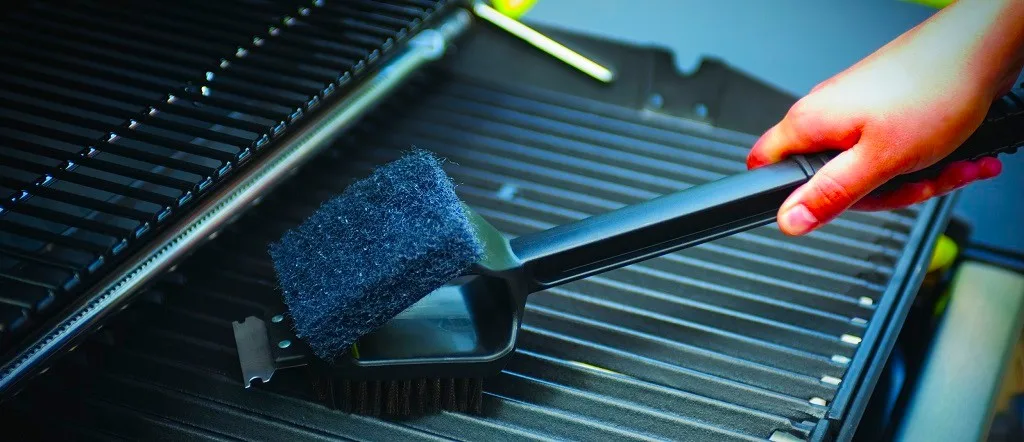
Image source: Bing (Web (fair-use with source credit))
1. Clean thoroughly. Scrub the grate with soap and water to remove any residue from the rust remover or burn-off. Rinse well.
2. Dry immediately. Place the grate on a stovetop over medium heat or in a 200°F oven for 20 minutes. Any moisture left behind causes flash rust.
3. Apply oil. Choose a high-smoke-point oil: flaxseed, grapeseed, canola, or vegetable shortening work well. Apply a thin layer using a paper towel.
Then wipe it off again. The surface should look almost dry. Excess oil creates sticky spots.
4. Bake it. Place the grate upside down in a 450°F oven for one hour. Put a baking sheet underneath to catch drips.
After one hour, turn off the oven and leave the grate inside to cool completely. Do not open the door.
5. Repeat. For moderate or heavy rust, apply 3, 5 coats. Each coat takes about 90 minutes with cooling.
The seasoning will darken and become nonstick over time.
Common Mistakes That Ruin Cast Iron (And How to Avoid Them)
Using soap before re-seasoning. Soap is fine for cleaning after rust removal, but only if you immediately dry and re-oil. Leaving soap residue prevents oil from bonding.
Vinegar soak too long. More than two hours in vinegar creates microscopic pits that trap moisture and cause faster rust later. Stick to 15, 30 minutes.
Skipping the dry step. Air drying is not enough. The moisture left on the surface flash-oxidizes within minutes. Always dry with heat.
Applying too much oil. Thick oil layers look shiny but turn sticky and attract dust. The paper towel trick, wipe oil on, then wipe it off, works every time.
Using wire brushes with brass or steel bristles. These can leave bristles embedded in the iron. Fine steel wool or a nylon brush is safer.
When to Just Buy a New Grate (Honest Cost‑Benefit Check)
Not every grate is worth saving. Consider replacement if:
- The rust has caused deep pitting that leaves uneven cooking surfaces.
- The grate is enameled cast iron and the enamel is chipped. Rust under enamel cannot be removed without damaging the coating.
- The grate costs less than $30. Replacement grates for basic charcoal grills often run $15, $25. The time and materials for restoration (vinegar, oil, electricity) can exceed that.
- The grate is more than 20 years old and has multiple thin spots. Vintage iron with thin walls can crack during burn-off.
A new grate from Lodge runs about $40, $60 as of 2026. Compare that to the cost of supplies: a gallon of vinegar ($5), steel wool ($3), and oil ($5). For light rust, restoration wins.
For heavy pitting on a budget grill, replacement is often cheaper and faster.
In our research, the University of Illinois Extension notes that cast iron can last generations with proper care. But only if the base metal is still intact. If your fingernail test reveals deep pits, you're better off starting fresh.
Frequently Asked Questions
Can I use oven cleaner to remove rust from cast iron?
No. Oven cleaner contains lye, which strips seasoning but does not dissolve rust. It is designed for organic buildup.
For rust, use vinegar, baking soda, or a commercial rust remover.
How do I prevent rust from coming back?
Dry the grate completely after every use. Apply a thin coat of oil while the grate is still warm. Store in a dry location.
Use a grill cover if kept outdoors. Humidity in coastal areas requires storing grates indoors.
Is rusted cast iron grill safe to cook on?
Surface rust is not toxic. The rust itself is iron oxide, which is harmless in small amounts. But heavy flaking rust can contain bacteria or debris.
Always clean thoroughly and re-season before cooking.
How long does re-seasoning take?
Each coat requires about 90 minutes: 20 minutes of drying, 60 minutes of baking, and 10 minutes of cooling in the oven. For light rust, one coat is enough. For moderate rust, plan 3 to 5 coats over several hours.
Can I use a wire brush on my drill?
You can, but be careful. A wire brush wheel removes rust fast. It also removes healthy iron if you press too hard.
Use a brass or stainless steel brush at low speed, and keep it moving. Go too deep and you create new rust pockets.
Final Decision Guide: Pick Your Path Based on Rust Severity
You have all the information now. Here is the simplest way to decide.
Light rust (fingernail slides over). Use vinegar and water. Scrub with fine steel wool. Apply one seasoning coat.
Total time: about 2 hours. Works every time.
Moderate rust (fingernail catches, metal solid). Use baking soda paste or a commercial rust remover. Scrub with coarse steel wool. Apply 3 seasoning coats.
Total time: 4 to 6 hours. Replace the grate if you see any pitting after cleaning.
Heavy rust (fingernail sinks in, visible pits). Use electrolysis or burn-off. Then apply 5 seasoning coats. Total time: 24 to 30 hours.
If the grate is thin or budget-friendly, replace it instead.
If you are unsure. Start with the vinegar method on a small test spot. If the rust does not lift after 30 minutes, move to baking soda or a commercial remover. If pitting remains, consider replacement.
When replacement wins. If the grate costs under $30, deep pits are visible, or the enamel is chipped on enameled iron, buy a new one. A restored grate works well. A new grate works immediately with no risk.
Aggregate buyer feedback shows that most cast iron grills outlast their owners with proper care. The key is catching rust early. Once you see orange, you know what to do.
Now you have a plan.

Similar Posts