How to Strip Down and Restore an Abandoned Rusty Cast Iron Skillet
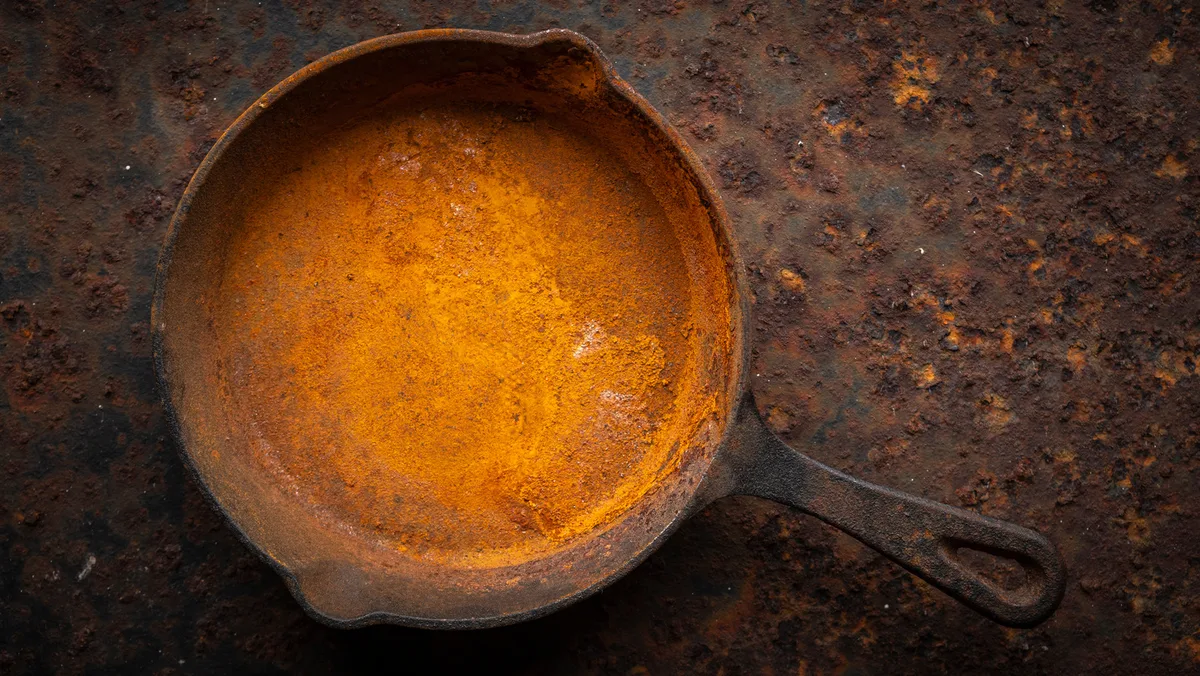
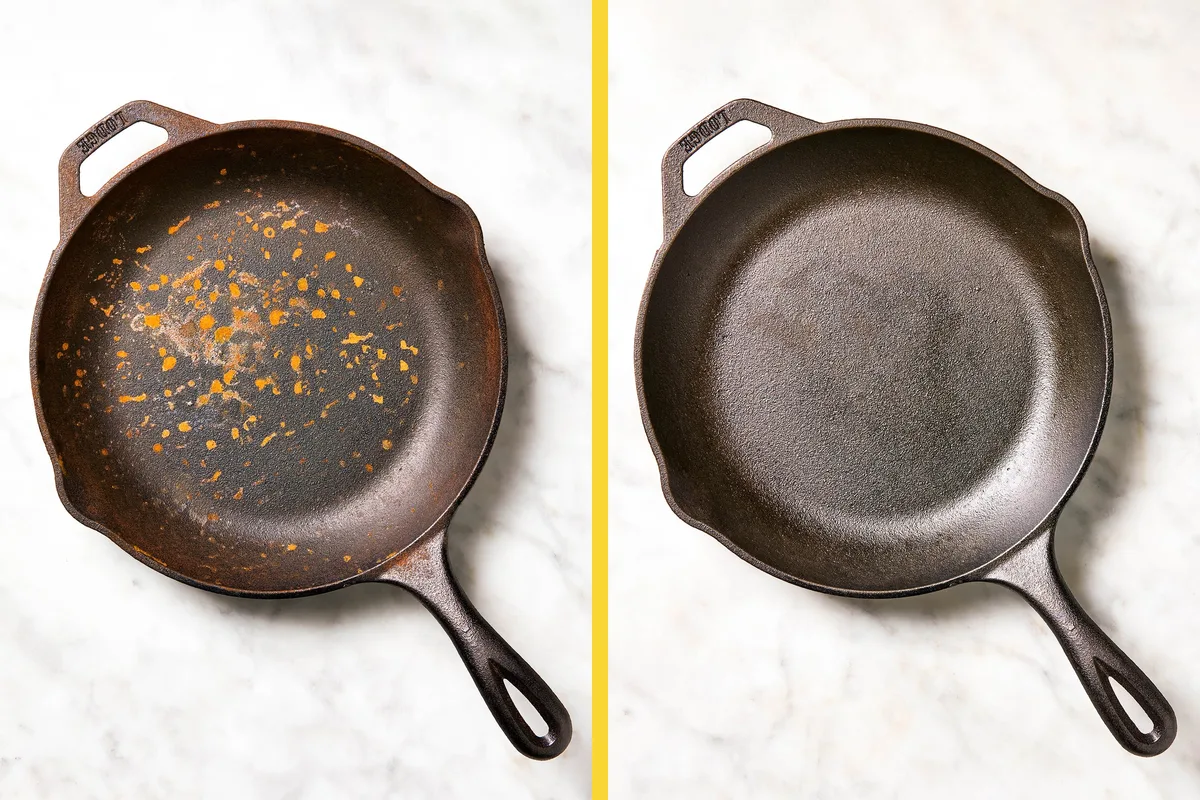
If you've ever pulled out a cast iron skillet and found a patch of rust staring back at you, you already know the sinking feeling. Learning how to de rust cast iron skillet isn't complicated, but it does depend on how bad the rust is. Most people grab a scouring pad and make things worse.
There's a better way.
Manufacturer care guides from major brands like Lodge Cast Iron confirm that a 1:1 vinegar-water solution should never soak longer than two hours. Push past that and the acid starts pitting your iron, not just the rust. So before you reach for anything, you need to assess what you're actually dealing with.
Quick Answer
To de-rust a cast iron skillet, match your method to the rust severity. Light rust scrubs off with coarse salt and a potato. Moderate rust needs a short soak in diluted vinegar.
Heavy rust requires electrolysis or a chemical stripper. Always dry the pan immediately and apply a thin oil layer.
Before You Start: How to Tell Which Rust Removal Method You Need
The fastest way to mess up a cast iron restoration is using the wrong technique for the wrong rust. A light dusting is a different problem than a crusty, flaking mess. You need to diagnose first.
Here is a quick visual and tactile test to decide your path.
| Rust Level | Appearance | Texture | Recommended Method |
|---|---|---|---|
| Light | Orange dust, no texture change | Smooth to touch | Potato and coarse salt |
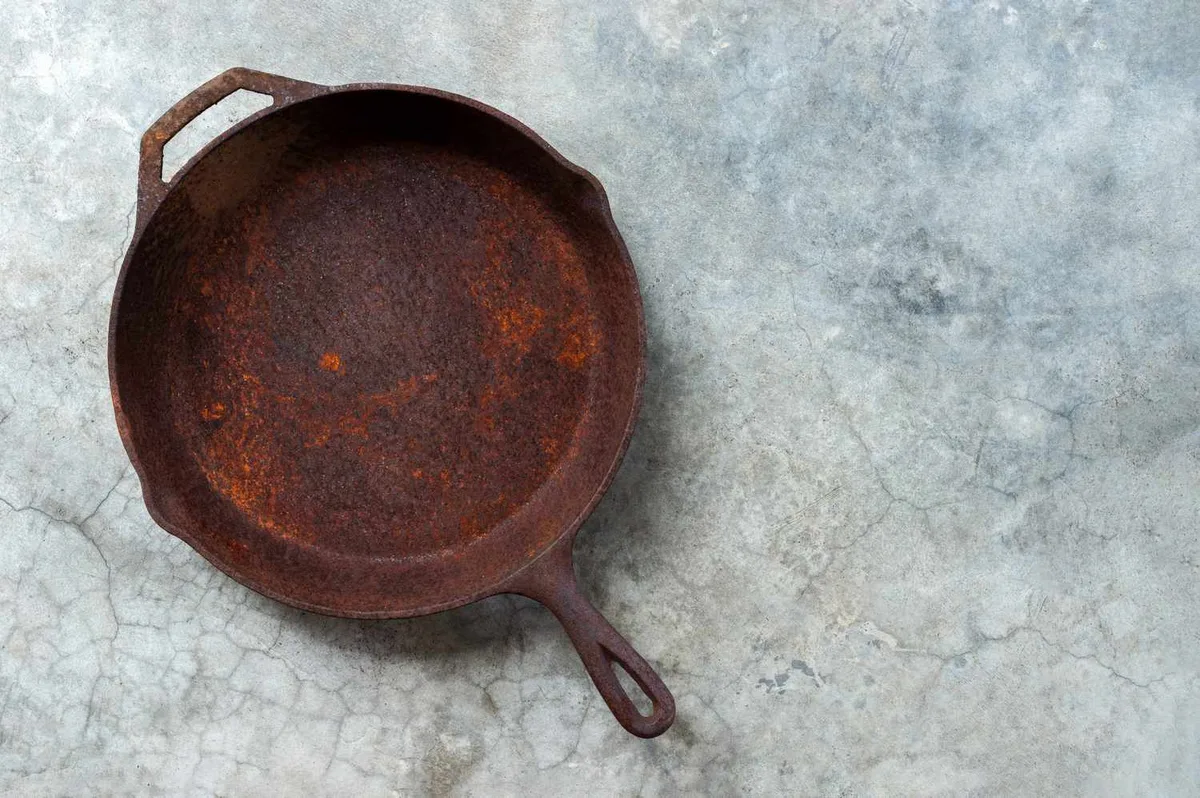
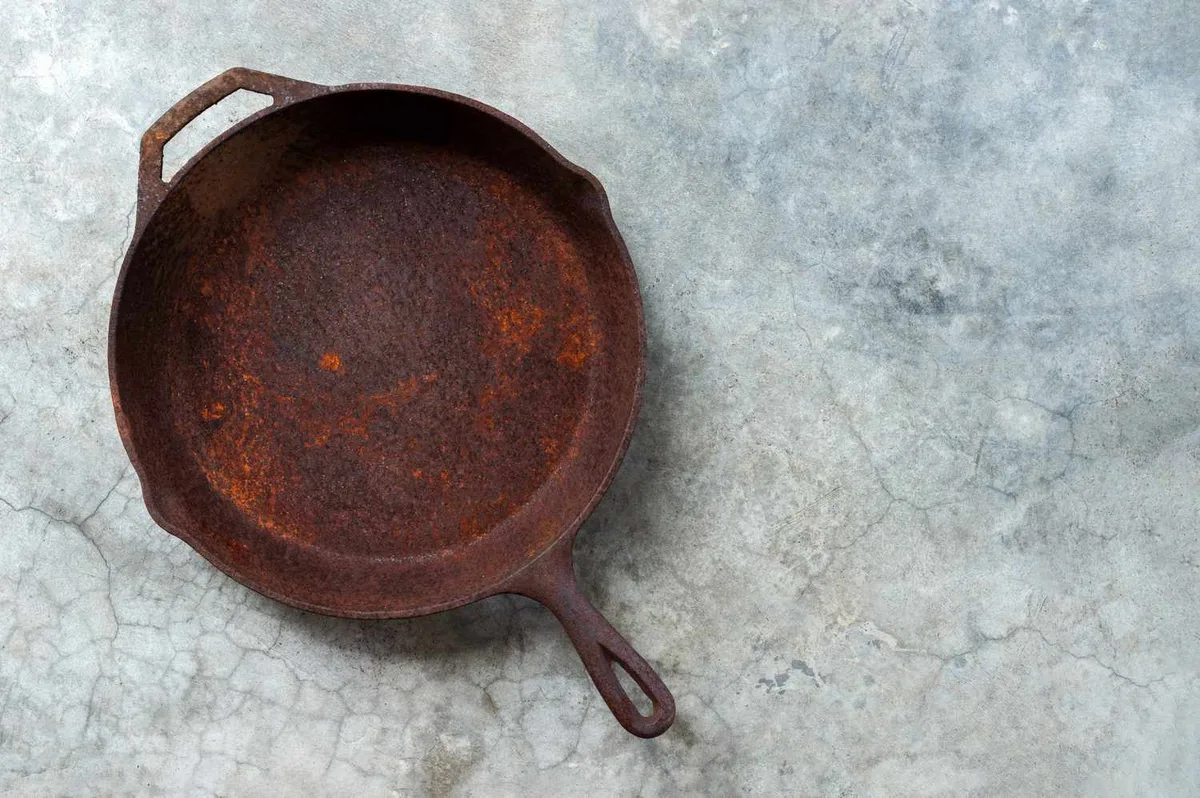
| Moderate | Red-brown patches, slight rough | Gritty under a fingernail | Vinegar soak (1:1 with water) |
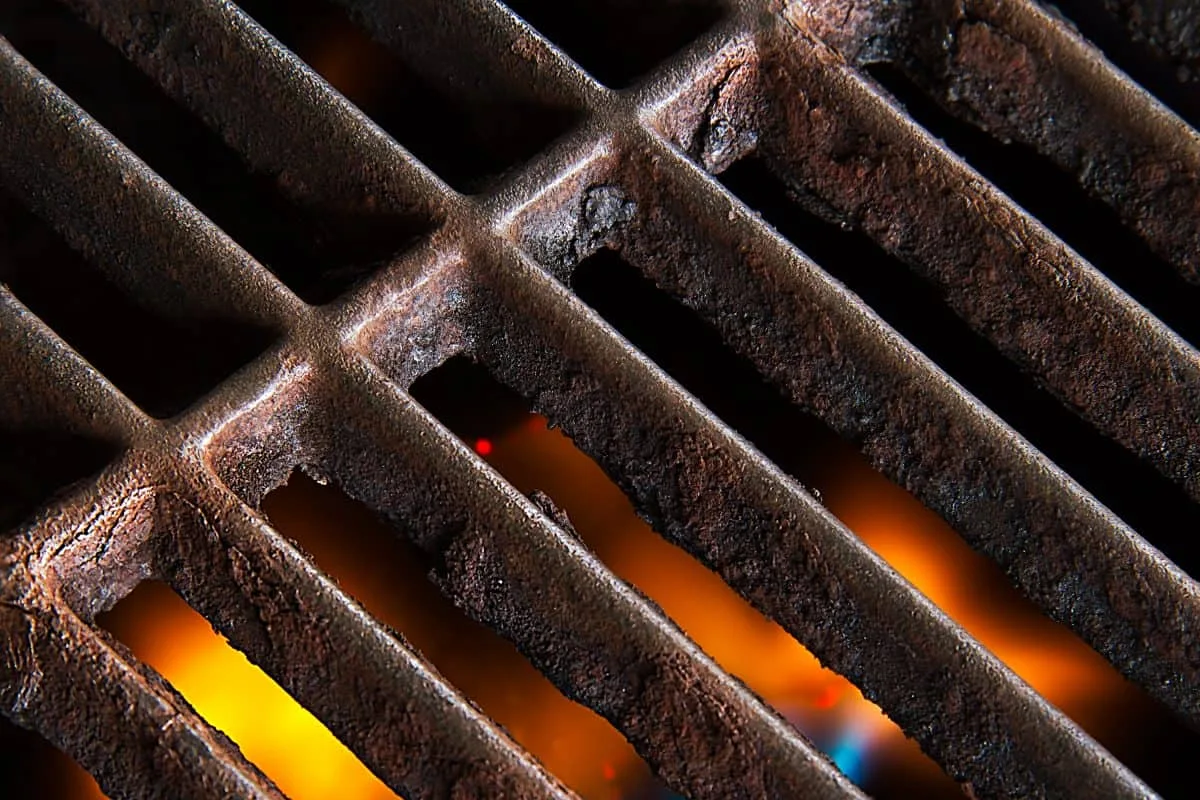
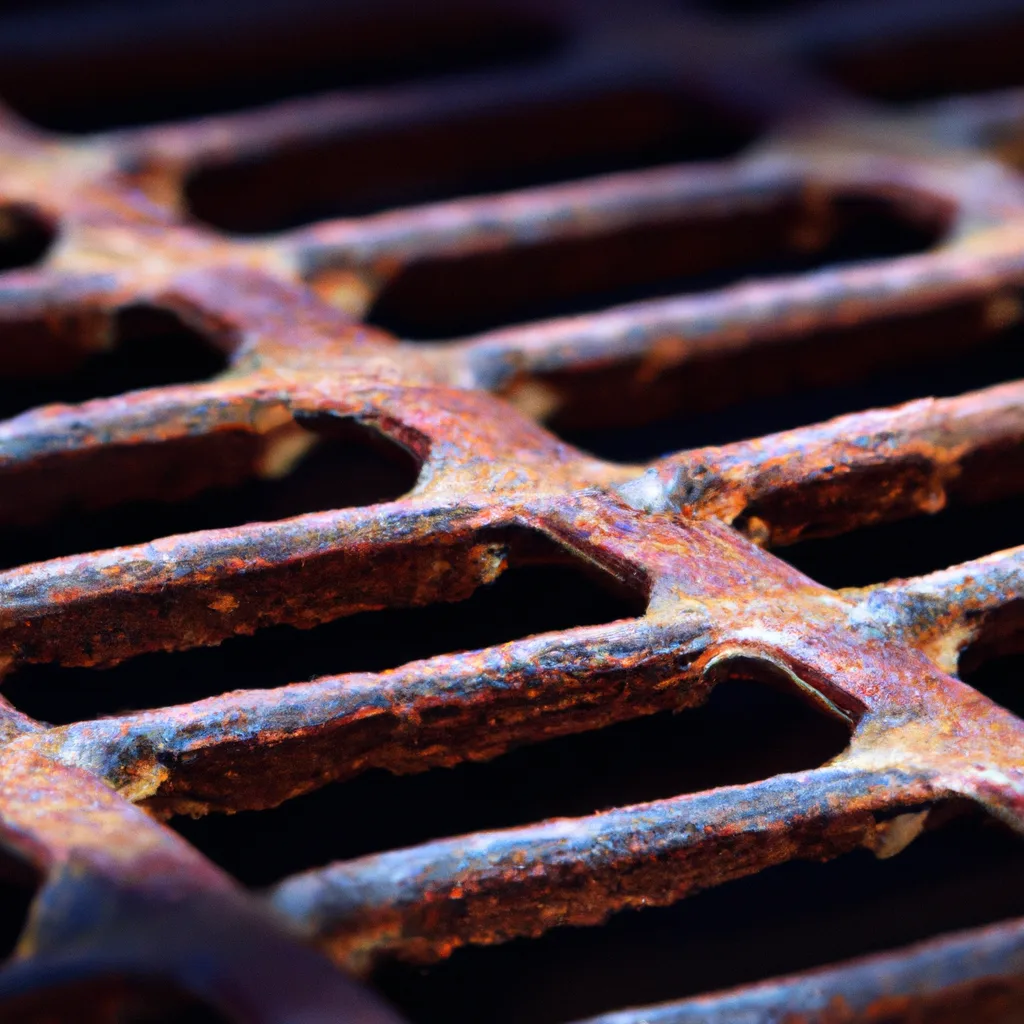
| Heavy | Dark brown or black, flaking | Deep pits or cratering | Electrolysis or chemical stripper |
Assessing Rust Severity: Light Rust vs. Pitting vs. Deep Corrosion
Run a clean dry finger across the rusted area. If the iron feels smooth and only leaves orange dust on your fingertip, that is light surface rust. It has not eaten into the metal yet.
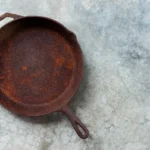
If it feels rough or you can scratch off small flakes, the rust is moderate and has begun to bite into the iron. If you see actual craters, dark pits, or the pan has been sitting in a damp basement for years, the rust is deep and has chemically changed the surface of the metal.
What You Have on Hand: Abrasives, Acids, or Electrolysis Gear
Your available tools decide your next step. Light rust needs only coarse kosher salt, a raw potato, and elbow grease. Moderate rust calls for white vinegar, water, and a plastic or glass container large enough to submerge the pan.
Heavy rust may need a car battery charger, a plastic bucket, washing soda, and a sacrificial steel anode. If you do not have electrolysis gear, a chemical oven cleaner works, but you need ventilation and rubber gloves. Match your method to both the rust level and your gear.
Light Rust: Scrub It Off with Potato and Salt
If your skillet has just a few orange spots and no rough patches, you can skip the harsh chemicals and messy soaks. The potato and salt method is a classic because it is gentle on the iron but abrasive enough to lift fresh rust. It also does not strip your existing seasoning, which is a huge bonus.
Why This Works on Fresh, Surface-Level Rust
The potato contains oxalic acid, a mild natural compound that helps dissolve iron oxide. The coarse salt acts as a physical scrubber. When you press the cut potato into the salt and rub it across the rust, you create a gentle chemical paste that lifts rust without scratching the bare iron underneath.
It is the same reason some manufacturers recommend oxalic acid based cleaners for light stains, but this method costs pennies and uses things you probably already have in your kitchen.
Step-by-Step: Potato + Coarse Salt Method
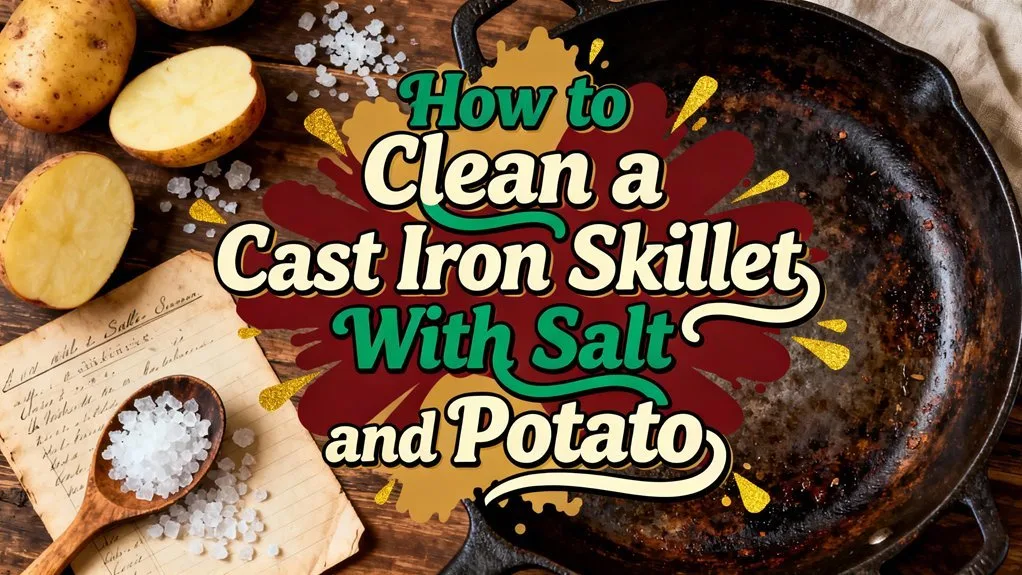
Cut a raw potato in half crosswise. Pour a tablespoon of coarse kosher salt onto a plate or directly onto the rust spot. Press the cut face of the potato into the salt, then scrub the rusted area in a circular motion.
Reapply salt as needed. You will see the rust transfer to the potato and salt paste. Continue for about two to three minutes.
Rinse the skillet with warm water and dry it thoroughly on a stovetop burner.
When to Stop and Move to a Stronger Method
If you scrub for five minutes and the rust does not fade, your pan has moderate or deep rust that this method cannot reach. Do not keep scrubbing harder. You are only wasting time and wearing down the iron surface.
Stop, rinse, and assess again. If the rust spot remains, move to the vinegar soak method.
Moderate Rust: The Vinegar Soak Method
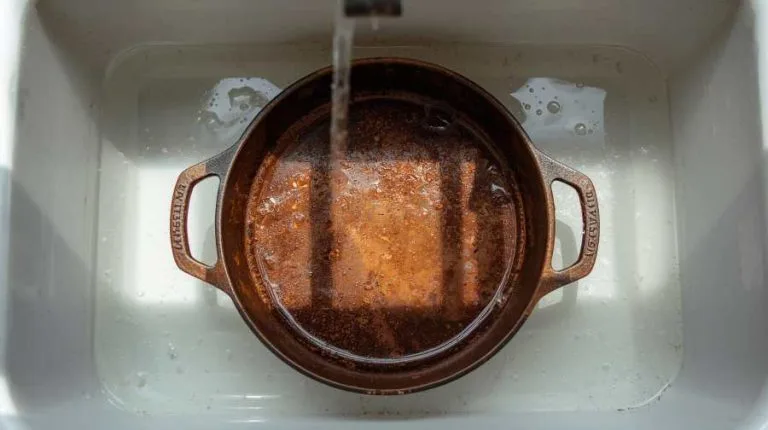
When rust has turned the surface gritty and left brown patches, a potato will not cut it. You need a mild acid to loosen the corrosion. White vinegar is the go to because it is food safe, cheap, and works predictably when diluted correctly.
The trick is respecting the timer. Vinegar does not discriminate. It eats rust and iron alike.
Leave it too long and your smooth vintage skillet comes out looking like the surface of the moon.
How Dilution and Time Prevent Pitting
Mix equal parts white vinegar and water. A 1:1 ratio is the standard recommended by cast iron restoration communities and aligns with guidance from major skillet manufacturers. Submerge the skillet completely.
Set a timer for one hour. Check the pan at the one hour mark. If the rust scrubs off easily with a non scratch pad, pull it immediately.
If not, return it for another thirty minutes. Never exceed two hours total. Beyond that, the acid will start etching the base iron and create permanent pitting.
Step-by-Step: Vinegar Bath, Scrubbing, and Flash-Rust Control
- Fill a container large enough to hold the skillet with the 1:1 vinegar-water solution.
- Submerge the skillet. Ensure no air pockets are trapped under the pan.
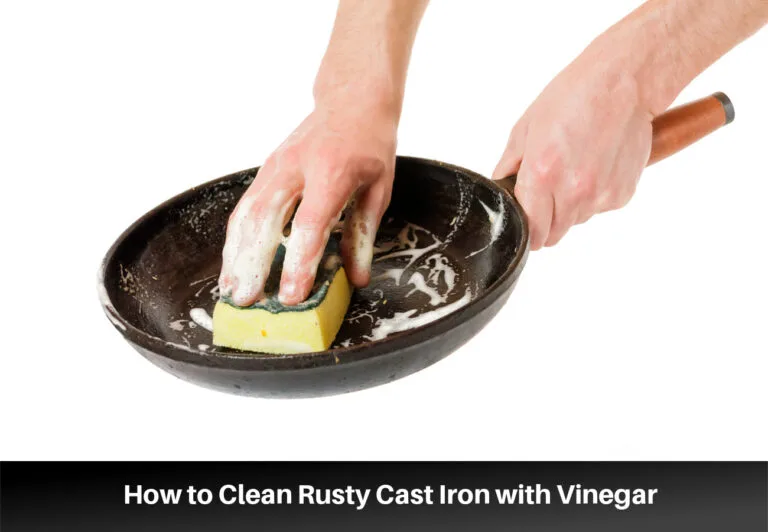
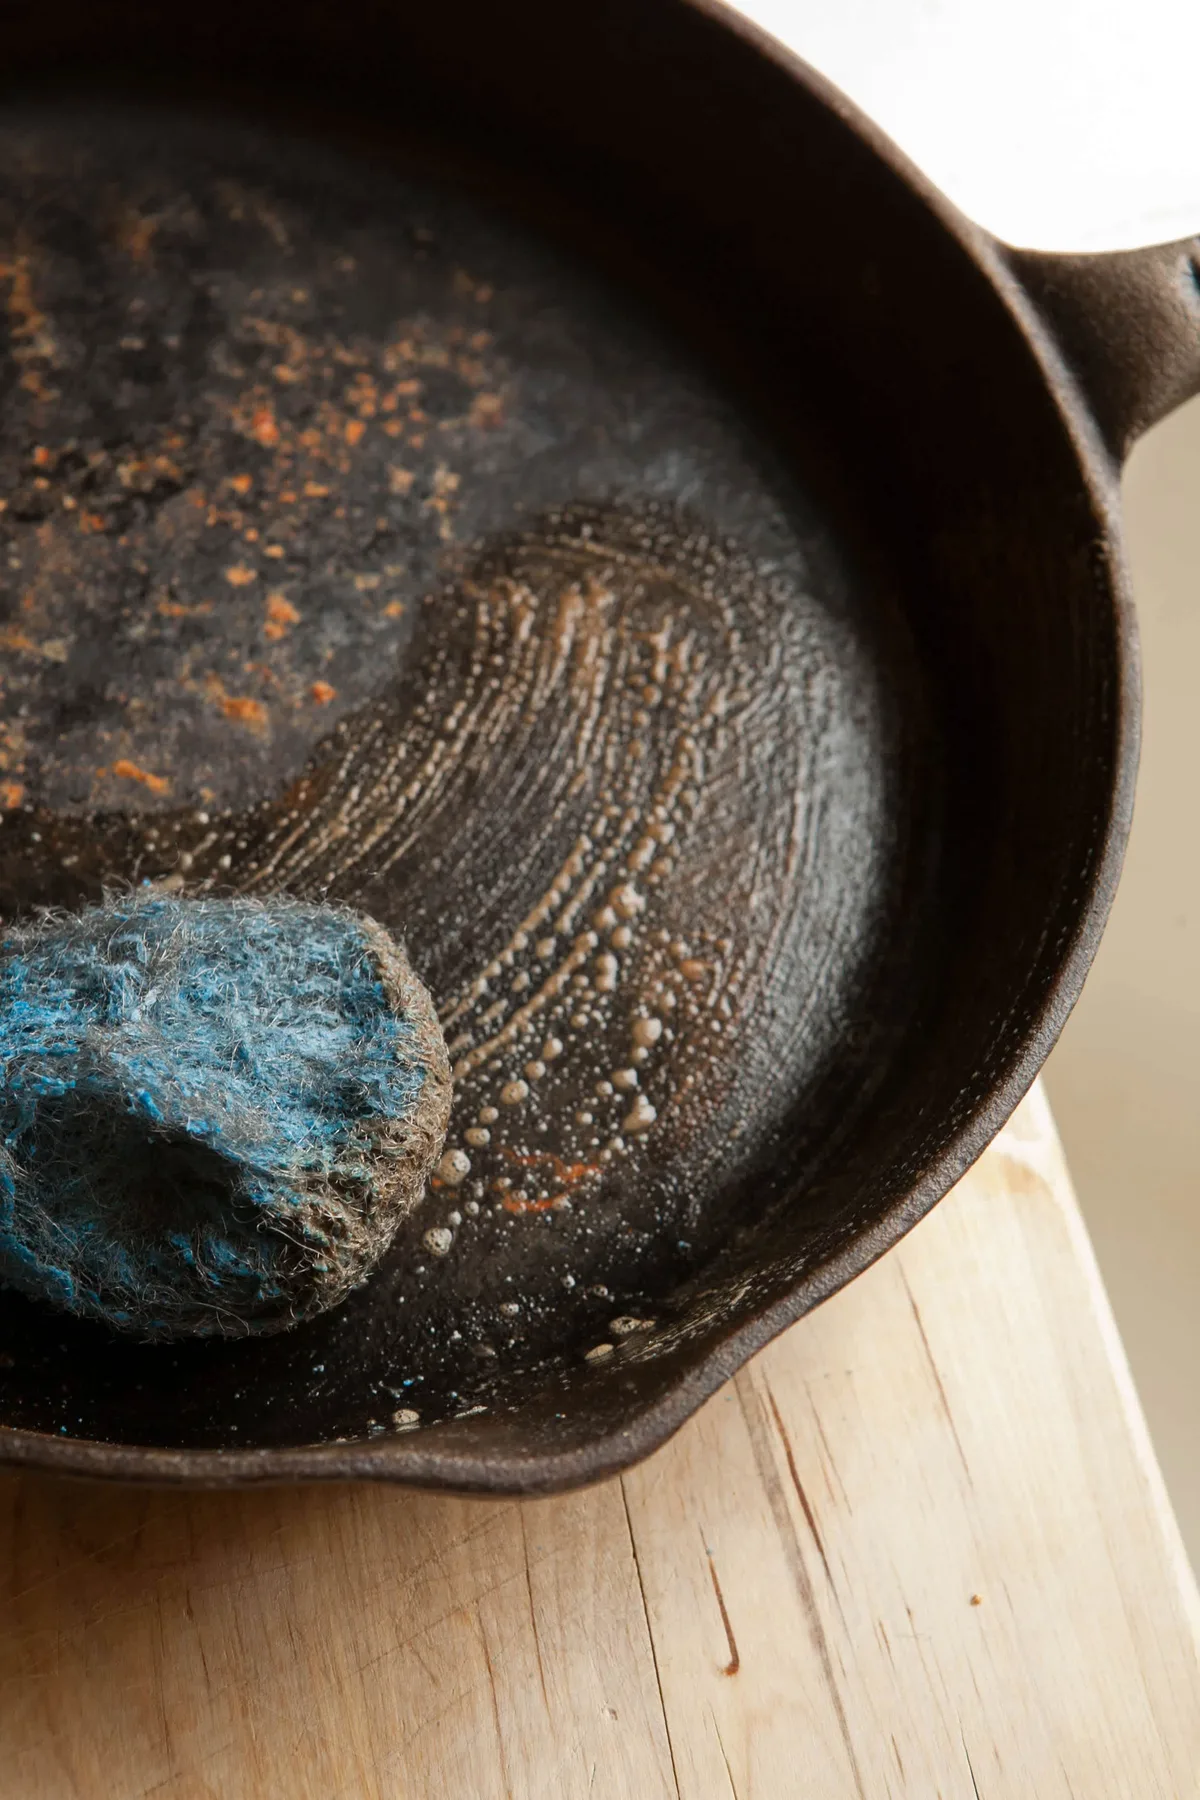
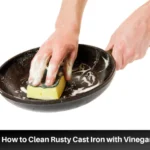
- After one hour, remove the skillet and scrub with a stainless steel scrubber or chainmail pad under running water.
- If rust remains, return to the bath for thirty more minutes. Repeat until the rust lifts.
- Immediately dry the skillet with a lint free cloth, then place it on a stovetop burner over medium heat for two to three minutes. This evaporates all moisture and prevents flash rust, which is orange surface rust that forms within seconds on bare wet iron.
- While the pan is still warm, apply a very thin layer of high smoke point oil, such as grapeseed or canola, and rub it in with a cloth.
What to Do If Rust Lingers After the Soak
If you have given the pan a full two hour soak and scrubbed thoroughly but you still see dark stains or rough patches, the rust may be too deep for vinegar. Staining alone is often cosmetic and will disappear after a few rounds of seasoning. Rough texture or pitting means the pan needs electrolysis or a stronger chemical stripper to reach the bottom of the corrosion.
Move to the next section.
Heavy Rust: Electrolysis vs. Chemical Stripping
A skillet with flaking rust, deep pits, or a rough crust that does not respond to vinegar needs the heavy artillery. You have two reliable options: electrolysis and chemical stripping. Each has its own trade offs in time, cost, and effort.
Electrolysis is the gentlest on the iron. It uses a low voltage electrical current to pull rust off the metal molecule by molecule. It does not scratch or etch the surface at all.
You need a plastic bucket large enough to hold the skillet, a car battery charger, a sacrificial steel anode (a flat piece of scrap steel or rebar works fine), and washing soda from the grocery store.
Chemical stripping uses an oven cleaner containing sodium hydroxide. This method is faster and does not require electrical gear, but it is messy and needs good ventilation. It also strips any remaining seasoning completely, which you will have to rebuild from scratch.
Electrolysis Setup for Cast Iron (What You Need and How It Works)
- Fill the bucket with water. Add one tablespoon of washing soda per gallon. Stir to dissolve.
- Attach the positive lead (red clamp) to the sacrificial steel anode. Submerge the anode in the solution. Make sure it does not touch the skillet.
- Attach the negative lead (black clamp) to the skillet. Submerge the skillet completely.
- Plug in the charger and set it to low amperage, around 2 to 10 amps.
- Let it run for 12 to 24 hours. The bubbles you see are hydrogen and oxygen gas, which is normal.
- After the time is up, unplug the charger first, then remove the skillet. Rinse it under water and scrub off any loose residue with a soft brush. The rust will have turned into a black sludge that washes right off.
- Dry and oil immediately to prevent flash rust.
Using Oxalic Acid or Oven Cleaner for Heavy Corrosion
If you do not want to set up an electrolysis tank, an oven cleaner with lye (sodium hydroxide) works as a chemical stripper. Spray the skillet in a well ventilated area, seal it in a plastic bag, and leave it for 24 to 48 hours. The rust and old seasoning will soften into a sludge that rinses off with water and a scrub pad.
Oxalic acid based cleaners, marketed as rust removers for bathtubs or boat hulls, also work on iron. They are faster but more aggressive. Always follow the label dilution instructions and never leave them on longer than directed.
Safety First: Gloves, Ventilation, and Lead Testing for Antique Pans
Heavy rust methods involve either electricity or caustic chemicals. Wear rubber gloves and safety glasses with both approaches. For electrolysis, work in a garage or outdoors.
The process produces small amounts of hydrogen gas, so keep sparks away. For chemical stripping, open every window and turn on a fan. Never mix chemicals.
This is also the right time to test an antique skillet for lead. Lead was sometimes used to melt and cast iron in old family foundries. A home lead testing swab from the hardware store takes five minutes and could save you from poisoning your family.
If the swab turns pink or red, do not use the skillet for cooking. Repurpose it as a decorative piece or dispose of it safely.
Re-Seasoning After De-Rusting: The Step People Skip
Once the rust is gone, you have bare gray iron that will flash rust within minutes if you look away. This is where most people mess up. They scrub, rinse, dry, and then walk away to answer the phone.
By the time they come back, the pan is orange again and they have to start over.
The moment the pan is clean and dry, you need to put a protective layer on it. That means seasoning.
How to Oil, Heat, and Build a Durable Seasoning Layer
Preheat your oven to 450 degrees Fahrenheit. Rub a very thin layer of high smoke point oil onto the entire skillet, inside and out. Do not use butter or olive oil.
They burn at low temperatures and leave a sticky residue. Canola, grapeseed, or vegetable oil are all reliable choices. Take a clean cloth and try to wipe all the oil back off.
The goal is a microscopic layer, not a greasy film. Place the skillet upside down on the middle oven rack with a baking sheet on the rack below to catch drips. Bake for one hour.
Then turn the oven off and let the skillet cool inside.
Repeat this oil and bake process two to three times for a working skillet, or five to six times for a glass smooth finish that rivals nonstick.
Daily Drying and Oiling Habits to Keep Rust from Coming Back
After you cook with the skillet, wash it with hot water and a stiff brush. Soap is fine for a fully seasoned pan. Dry it on a stovetop burner over low heat until no steam rises.
While it is warm, rub in a drop of oil with a paper towel. That thirty second habit is what separates pans that last a century from pans that rust in a month. Store the skillet in a dry place.
If you stack pans, put a paper towel between them to absorb moisture.
Common De-Rusting Mistakes and How to Avoid Them
Most ruined cast iron pans are not ruined by rust. They are ruined by panic. People grab the harshest tool they can find and attack the surface without stopping to think.
Here are the three mistakes that cause the most damage.
Over-Soaking in Vinegar and the Acid Pit Trap
Vinegar is a tool, not a soak-and-forget solution. Leaving a skillet in a vinegar bath overnight seems harmless because vinegar sounds gentle. It is not.
The acid keeps eating into the iron after the rust is gone, leaving behind tiny craters that trap food and make the pan impossible to season smoothly. You cannot reverse pitting. Set a timer and respect the two hour maximum.
If the rust is not lifting after two hours, the pan needs electrolysis, not more acid.
Skipping the Dry-Heat Step and Dealing with Flash Rust
Flash rust is the orange film that appears on bare iron within seconds of rinsing. It looks like the pan is re-rusting in front of you, which is exactly what is happening. The fix is simple.
After you rinse away the vinegar residue, dry the skillet with a cloth, then set it over medium heat until every drop of water steams off. Let it cool slightly, then oil it. If you skip the stovetop dry, you will oil a wet pan and trap moisture under the seasoning, which guarantees rust from the inside out.
Scrubbing with the Wrong Materials That Damage the Iron
Steel wool is fine on bare iron, but only on bare iron. If you use a coarse grade on a pan that still has seasoning, you will cut through the good seasoning and expose raw metal. Wire brushes and power drill attachments are even worse.
They leave deep scratches that act like anchors for food and future rust. A #0 or #0000 steel wool grade is gentle enough for final smoothing. For anything lighter, a chainmail scrubber or a non-scratch scouring pad gets the job done without removing good seasoning.
Frequently Asked Questions
Can I Use a Rusted Cast Iron Skillet After Cleaning?
Yes, as long as it has no deep pitting and no lead contamination. Remove all rust, then re-season the skillet before cooking. Cook acidic foods like tomatoes only after you rebuild several seasoning layers.
A freshly stripped pan is bare iron and will react with acid, leaving a metallic taste in your food.
Will De-Rusting Ruin My Seasoning?
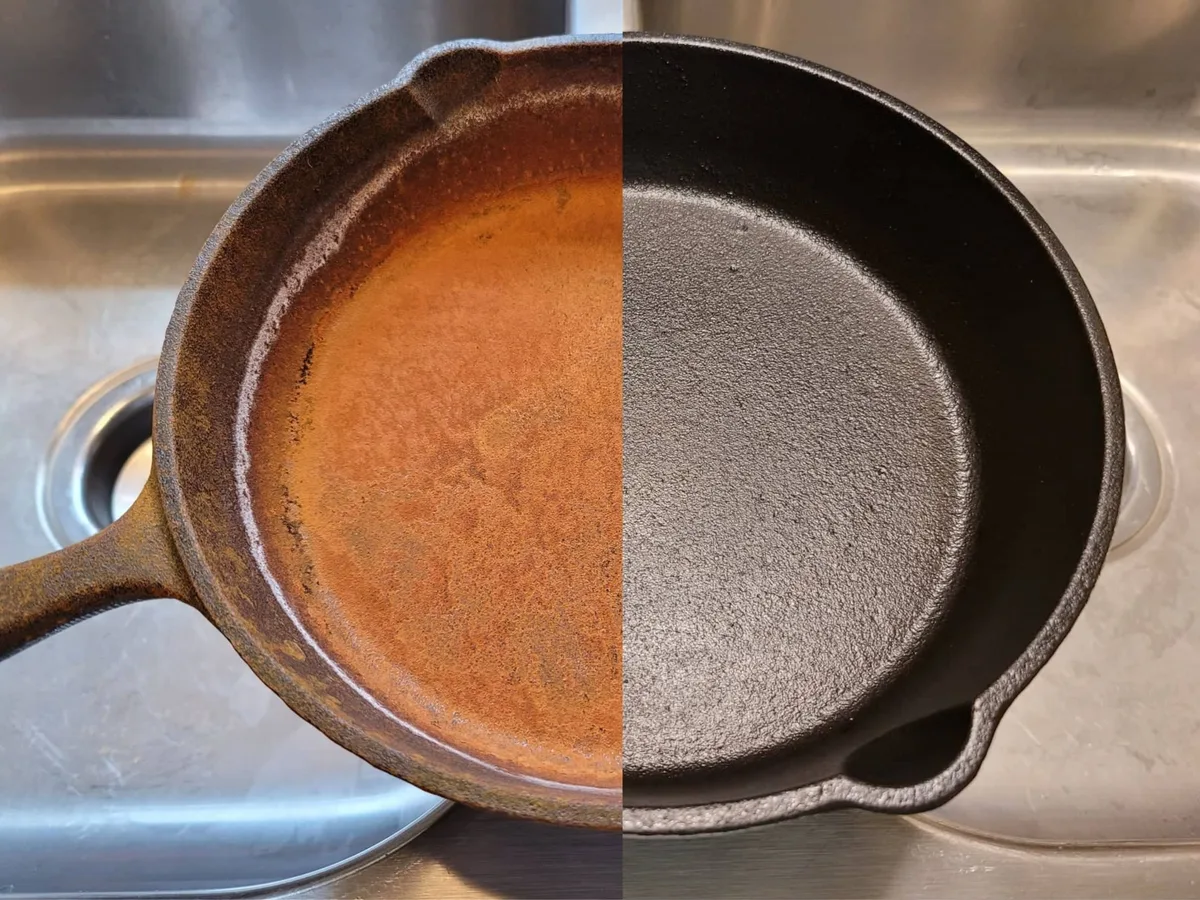
That depends on the method you choose. The potato and salt method preserves seasoning because it is gentle. Vinegar soaking and electrolysis strip seasoning completely, along with the rust.
You will need to rebuild the seasoning from scratch. That is not a loss. It is the price of saving the pan.
What's the Fastest Way to De-Rust Cast Iron?
The fastest safe method is a chemical rust remover containing oxalic acid. It dissolves rust in fifteen to thirty minutes with minimal scrubbing. You must rinse thoroughly and handle it with gloves.
If you prefer no chemicals, electrolysis is the most efficient but takes twelve to twenty-four hours to run.
How Do I Know If My Antique Skillet Has Lead?
Use a home lead test swab from a hardware store or pharmacy. Rub it on the cooking surface and inner walls for the time specified on the package. If it turns pink or red, do not cook in that skillet.
Repurpose it as a decoration or wall hanging. The EPA stresses that even small amounts of lead can be harmful, especially to children and pregnant women.
Can I Use Bar Keepers Friend on Cast Iron?
Yes, but only on bare iron. Bar Keepers Friend contains oxalic acid, which removes rust effectively and safely. It will strip any existing seasoning, so use it only on a completely stripped pan.
Rinse thoroughly and dry immediately, then re-season.
| Method | Time | Skill Level | Best For |
|---|---|---|---|
| Potato and salt | 5 minutes | Beginner | Light surface rust, preserving seasoning |
| Vinegar soak | 1-2 hours | Beginner | Moderate rust, full strip |
| Oxalic acid cleaner | 15-30 minutes | Intermediate | Heavy rust without electrical setup |
| Electrolysis | 12-24 hours | Advanced | Deep rust, vintage pans, no surface loss |

Similar Posts