How to De-Rust a Cast Iron Skillet with Minimum Elbow Grease
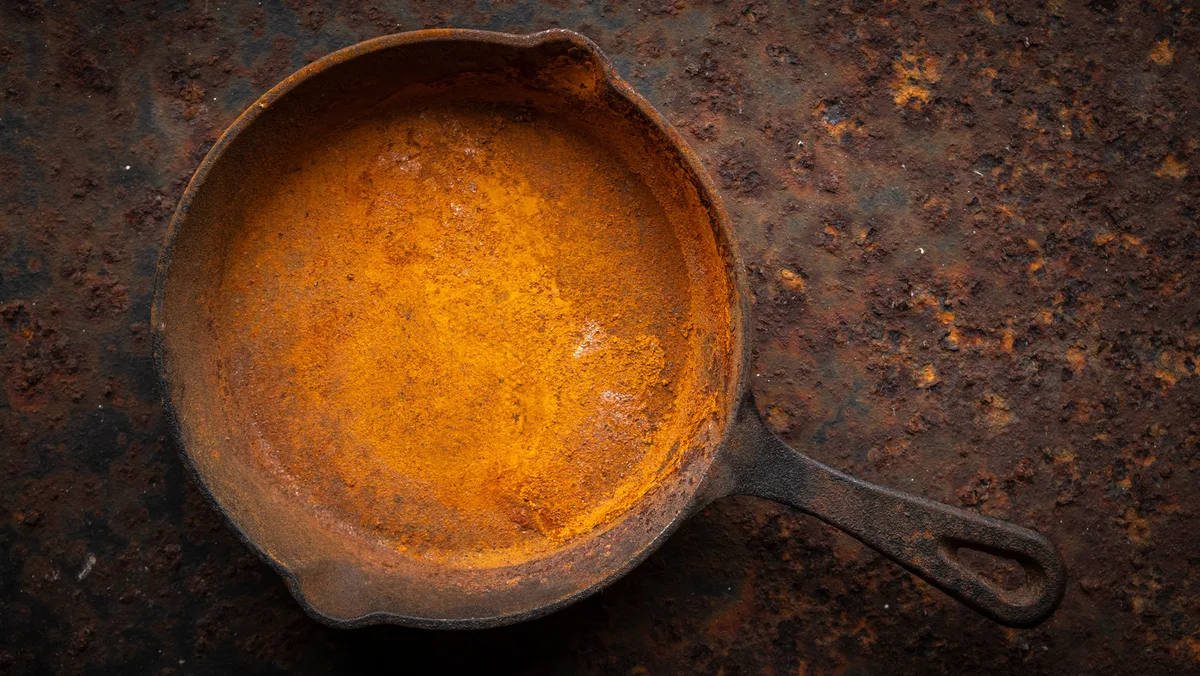
If you've been wondering how to de rust a cast iron skillet without ruining it, you're not alone. Rust shows up in the worst ways: after a forgotten storage spot, a dishwasher mishap, or a damp kitchen. The good news is that most rust is fixable at home for under ten dollars.
The trick is choosing the right method, because the wrong one can leave your pan pitted or ruined.
In our research across manufacturer care guides and metallurgy sources, we found that nearly all rust cases fall into three severity levels. As of 2026, the classic vinegar and steel wool routine still works, but only for the right type of rust. Deeper corrosion needs a longer soak, a stronger tool, or even electrolysis.
Let's diagnose your skillet and match it to the exact workflow.
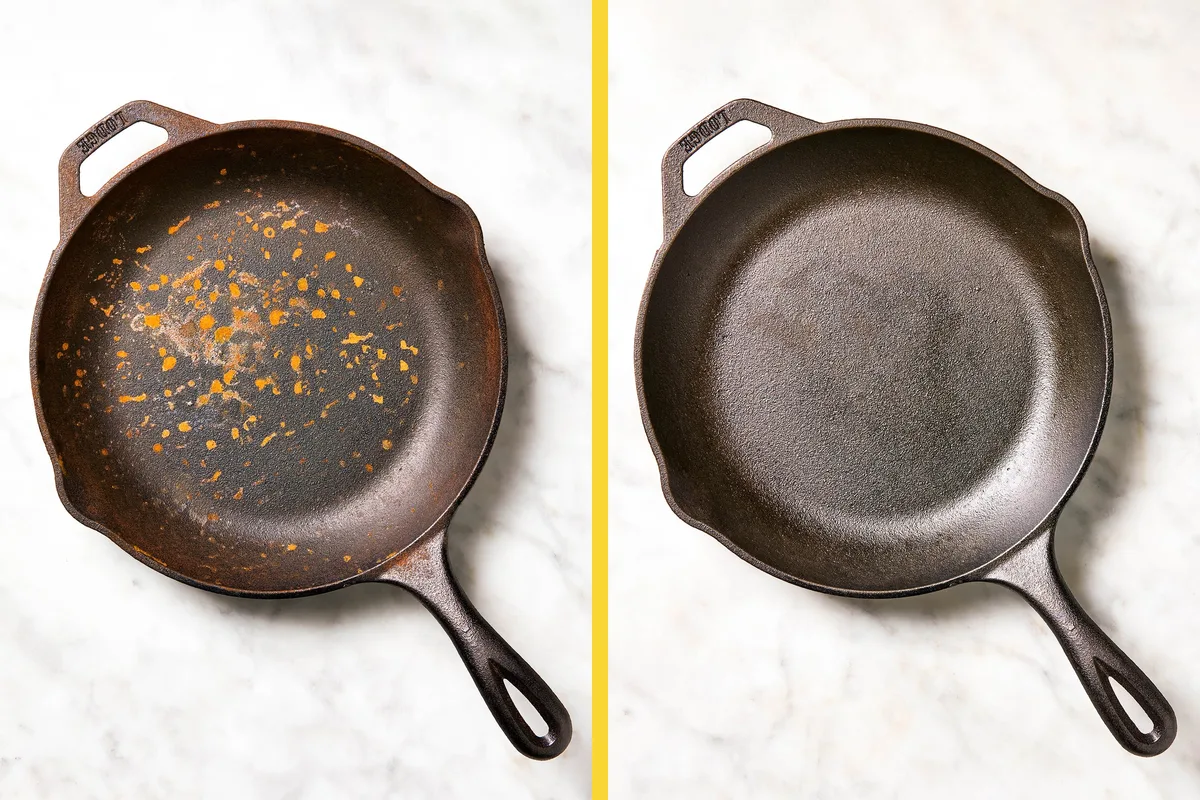
Image source: Web (Bing) / storage.googleapis.com (Web image (fair-use with source credit))
Quick Answer
De-rust a cast iron skillet with fine steel wool and a 1:1 vinegar-water soak. Rinse and dry right away. Coat with a thin oil layer.
Heat until it smokes. Let cool and repeat as needed.
The 3 Types of Rust (And How to Tell Them Apart)
Not all rust is the same. Knowing which type you're dealing with tells you exactly how aggressive to be. The three categories are light surface rust, moderate scaling, and deep corrosion.
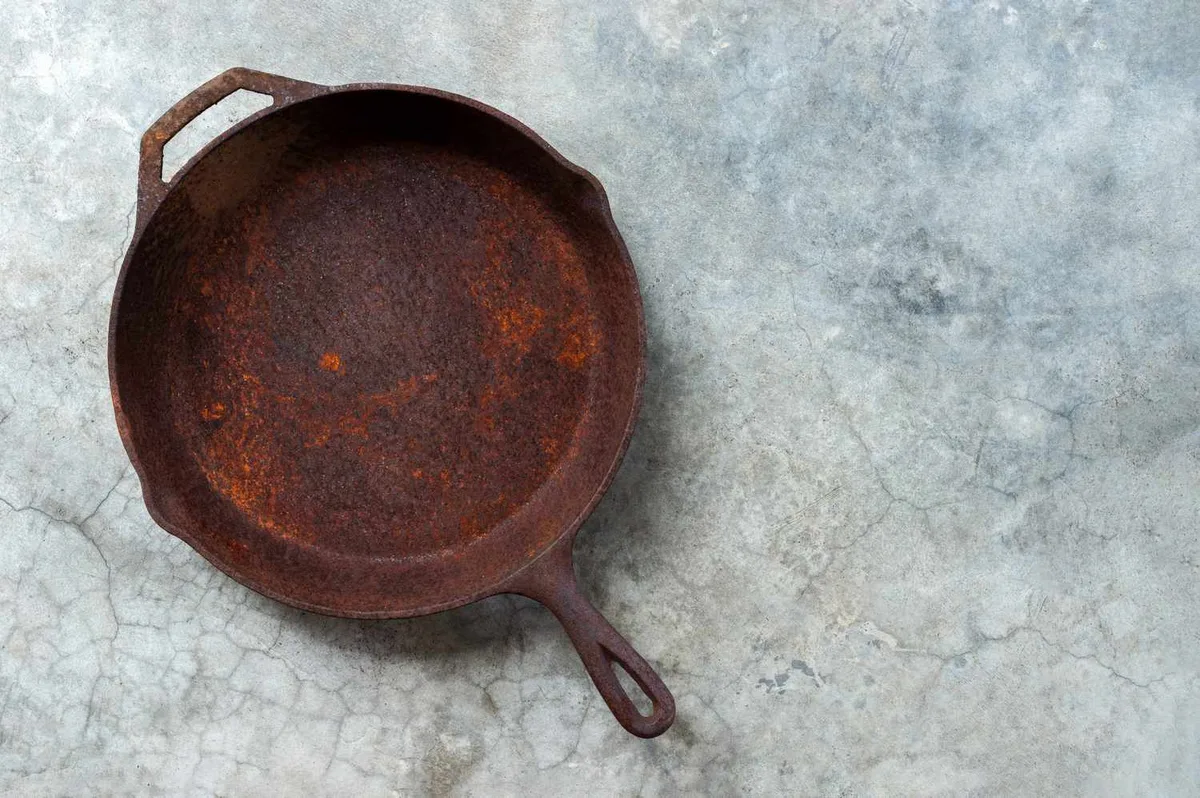
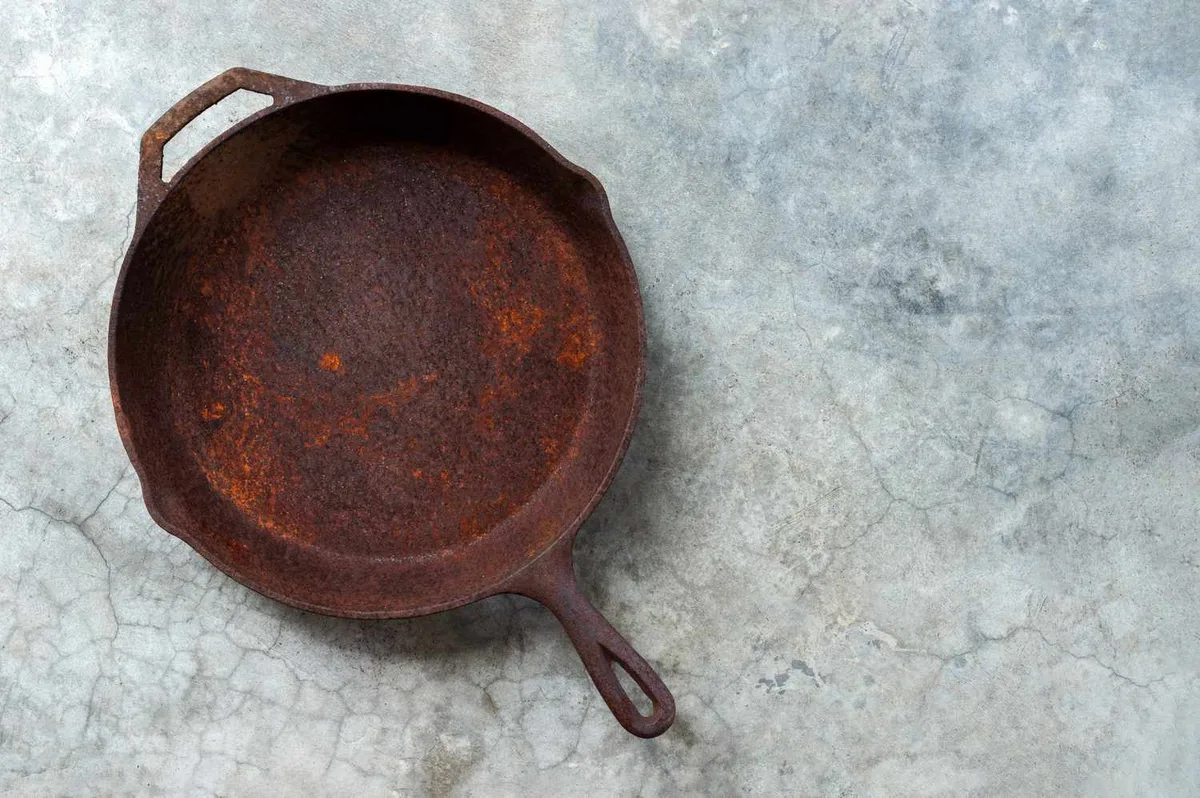
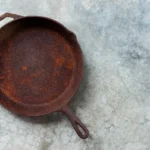
Light surface rust looks like orange-brown dust. It wipes off with a dry paper towel and hasn't eaten into the iron. Moderate rust forms rough, reddish-brown patches that feel bumpy to the touch.
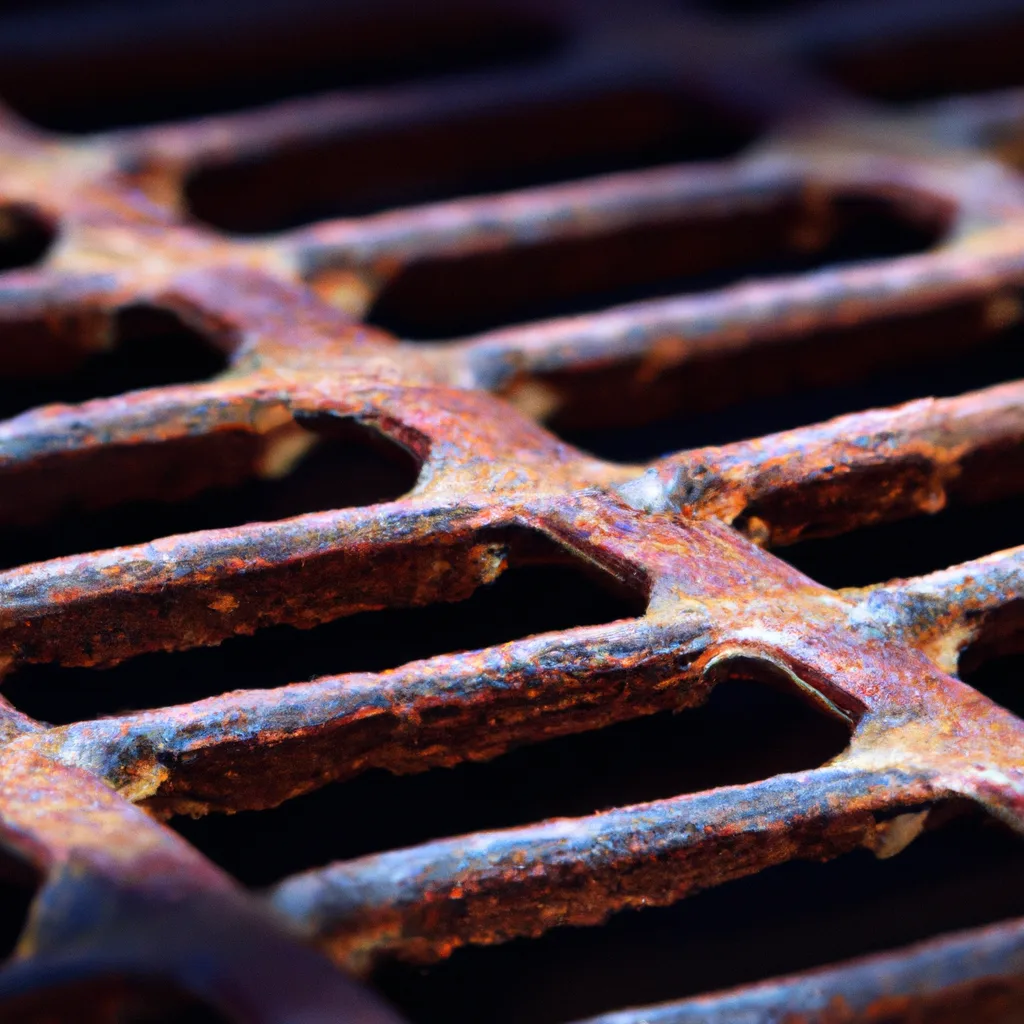
It has broken through the seasoning but not the metal yet. Deep corrosion appears as flaky, chipped areas with black or dark-brown pits. You'll see actual texture loss in the iron.
Manufacturer specifications from foundry experts indicate that deep rust changes the surface permanently. Pitting is metal that's gone forever. Vintage skillet collectors care about this because sanding away pits destroys the original smooth finish and the pan's value.
Here's a quick visual breakdown:
| Rust Type | Look | Feel | Damage |
|---|---|---|---|
| Surface | Dusty orange | Powdery | Seasoning only |
| Moderate | Rusty patches | Bumpy | Seasoning and top layer |
| Deep | Flaky, pitted | Rough, indented | Metal loss |
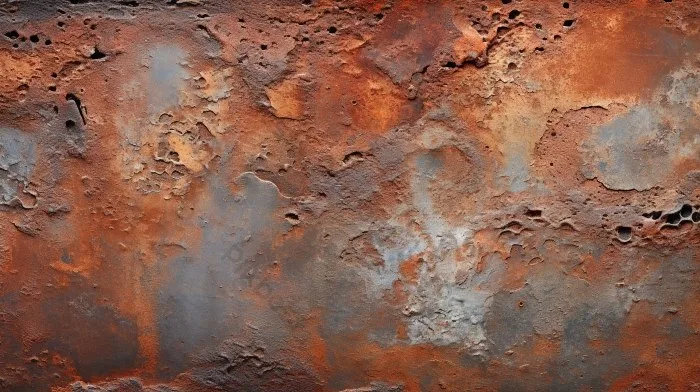
Image source: Bing (Web (fair-use with source credit))
If you can't tell the difference, do the paper towel test. Wipe the surface with a dry, clean rag. If the color comes off easily, it's likely surface rust.
If you need pressure and a scratchy sound, it's deeper.
The Quick Fix: When You Can Skip the Full Restoration
If you have light surface rust, you do not need to strip the pan down to bare iron. That's a common over-reaction. A full vinegar soak will remove your seasoning too, and seasoning is valuable.
The quick fix works when more than 80% of the skillet's cooking surface still has its dark, shiny seasoning. You're just dealing with orange spots. In that case, grab fine steel wool (grade #0000) or a chainmail scrubber.
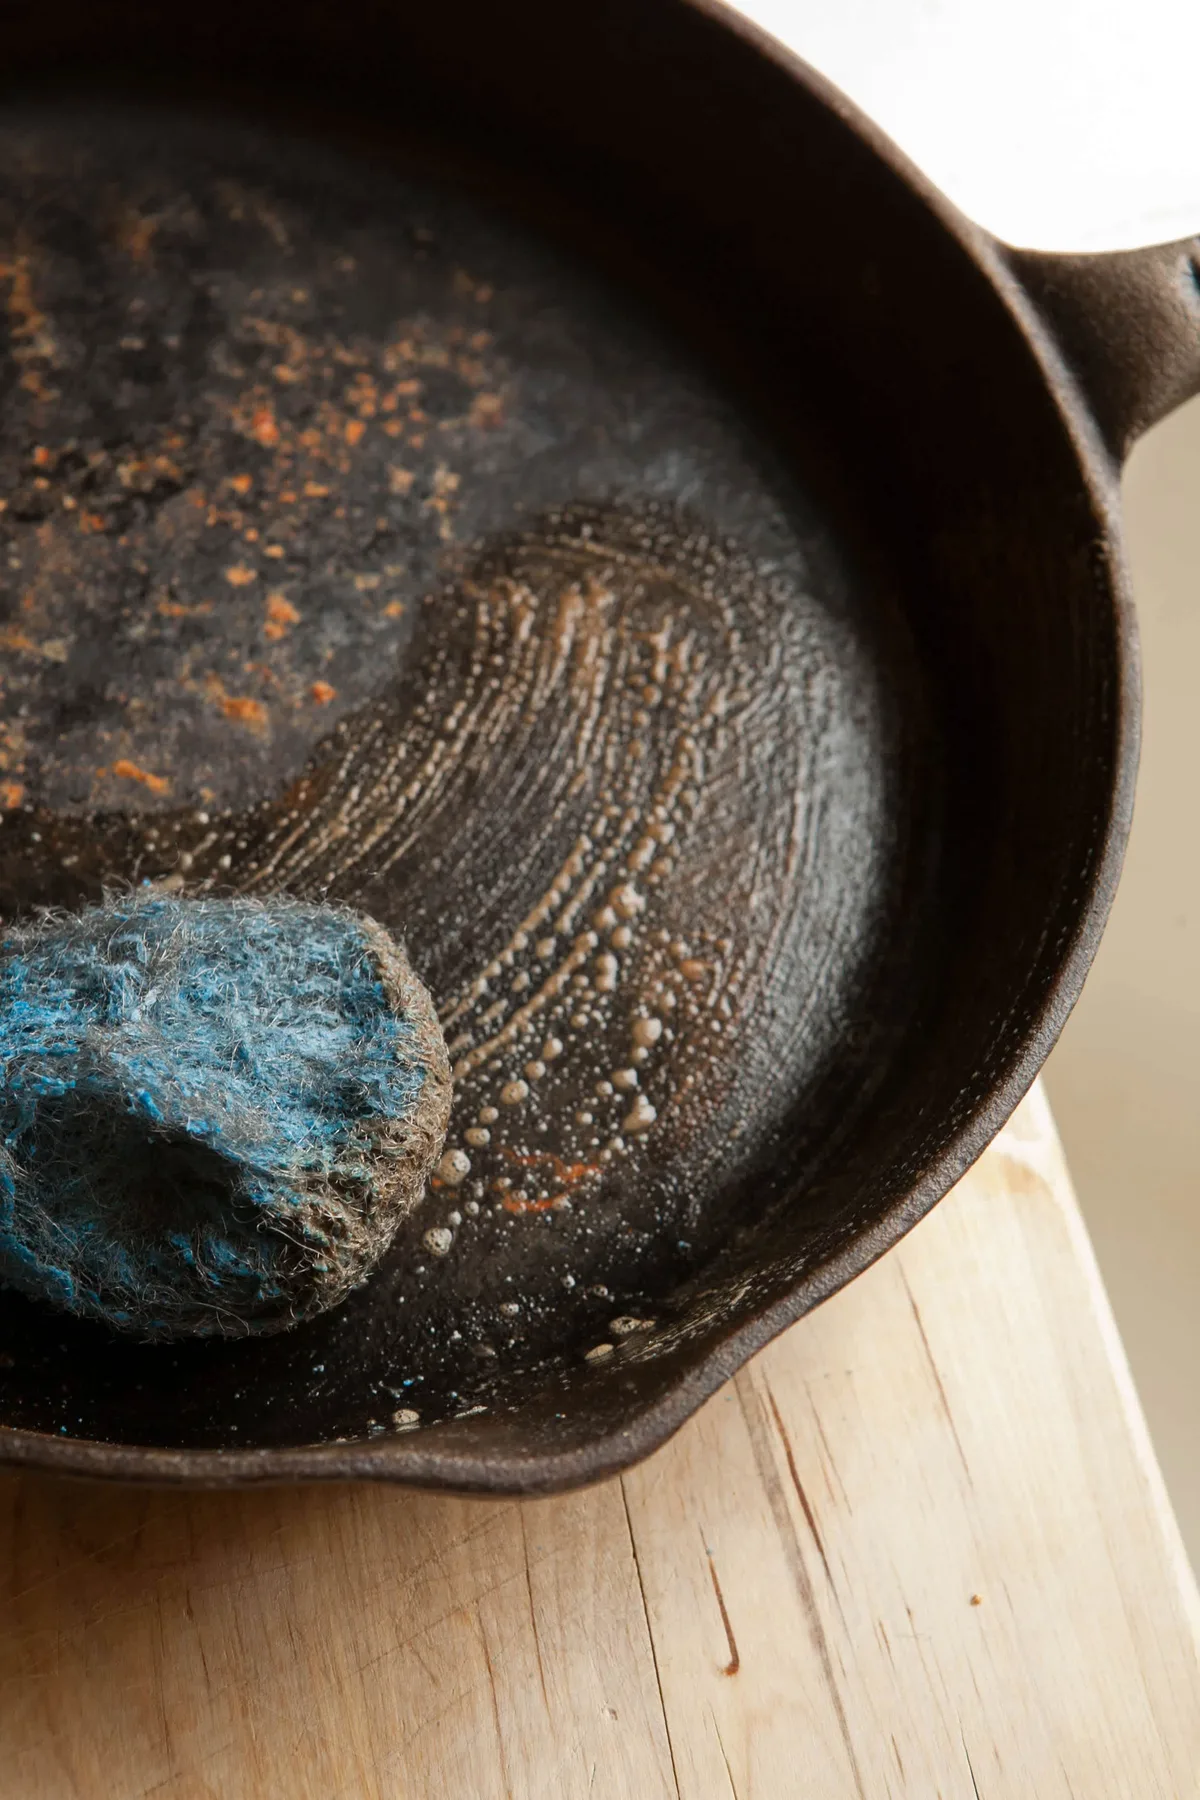
Scrub the rusty spots dry, no water needed. The rust will come off as powder, leaving bare metal underneath.
Then wash the skillet with warm water and a drop of dish soap. Dry it immediately with a towel. Heat it on the stove for a couple of minutes to drive out moisture.
Rub a very thin layer of oil over the whole pan. Here's the catch: use less than you think. A teaspoon is plenty for a 10-inch skillet.
Finally, heat the oiled pan until it just starts to smoke. Let it cool. Store it.
That spot repair keeps your seasoning intact and stops rust from spreading. Full restoration is only needed when rust covers large areas or has eaten into the metal.
Your Decision Guide: Which Rust Removal Method Fits Your Skillet?
Now you need to choose a path based on rust type and your skillet's history. The decision tree is simple:
- Surface rust with intact seasoning → Use the quick fix above.
- Moderate rust covering over half the pan → Vinegar soak and steel wool.
- Deep rust with flaking and pitting → Electrolysis or a commercial rust remover.
- Vintage skillet (Griswold, Wagner) → Skip power tools and heavy sanding. Use electrolysis or chemical soak to preserve the original surface.
Here's a side-by-side look at the main methods:
| Method | Best For | Time Needed | Risk Level |
|---|---|---|---|
| Fine steel wool + chainmail | Surface spots | 10-15 minutes | Very Low |
| Vinegar 1:1 soak | Moderate rust | 30 to 90 minutes | Medium |
| Citric acid soak | Moderate to heavy | 1 to 3 hours | Medium |
| Electrolysis | Heavy, vintage, pitted | 12 to 24 hours | Low |
| Commercial rust remover | Heavy, no electrolysis setup | 1 to 12 hours | Low |
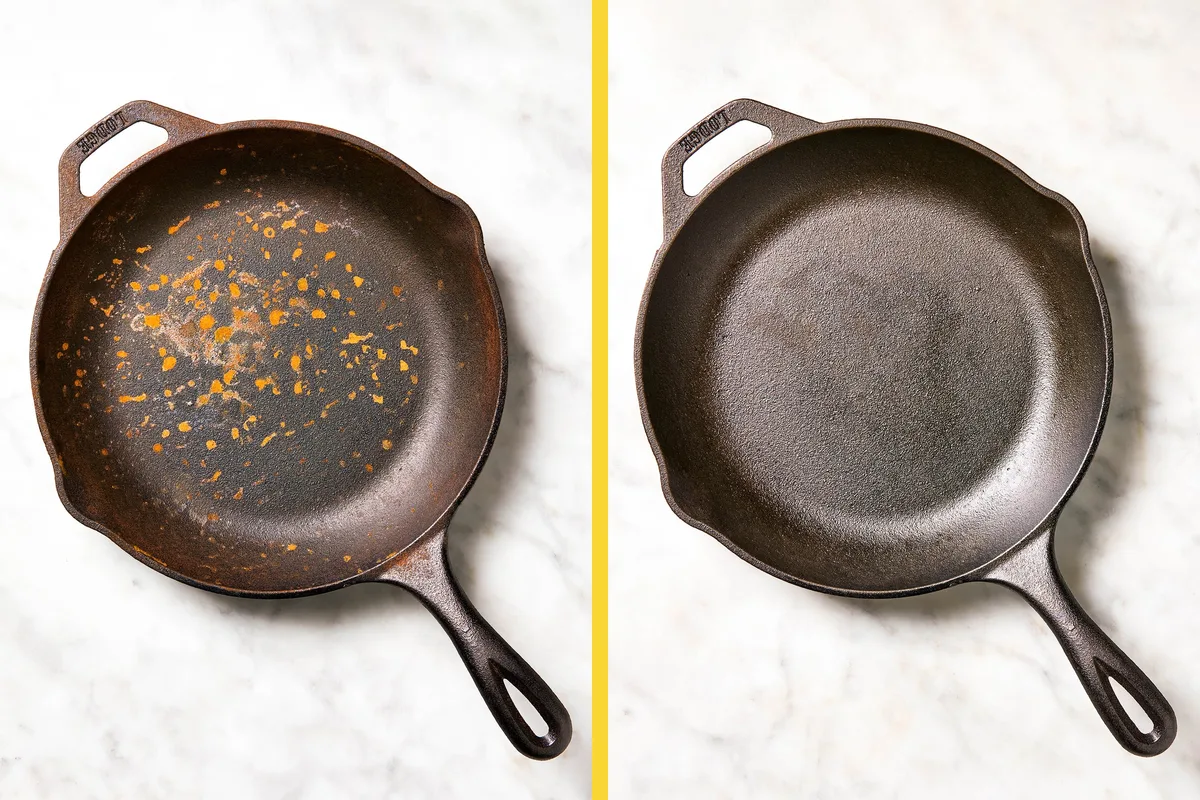
Image source: Bing (Web (fair-use with source credit))
For a standard modern Lodge skillet, vinegar soak is the recommended route. For a beloved heirloom, set up electrolysis. As of 2026, electrolysis remains the only method that removes rust without touching good iron.
That makes it the collector's top pick. The setup cost stays under $40 if you already own a battery charger and a plastic tub.
The Step-by-Step Process for a Full Restoration (Moderate to Heavy Rust)
If your rust level falls into moderate or heavy territory, here's the full workflow. This process strips old seasoning and rust at the same time, leaving you with bare iron ready for a fresh start.
- Wash the skillet with hot water and dish soap. This removes grease and loose debris.
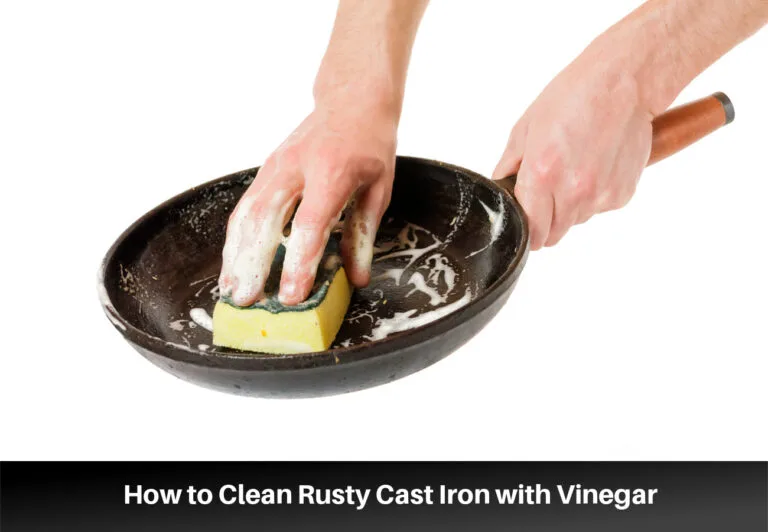
- Mix a 1:1 solution of white vinegar and water. Pour it into the skillet or leave it in a plastic tub.
- Soak for 30 minutes. Check every 15 minutes. If rust is thick, extend up to 2 hours. Do not soak longer than 3 hours. Acid eats into the iron beyond that.
- Scrub with fine steel wool. Use gentle, circular pressure. For tight spots, use a stiff nylon brush.
- Rinse thoroughly with hot water. Soap is fine here to neutralize the acid.
- Dry immediately with a lint-free towel. Air drying causes flash rust in minutes.
- Apply a thin layer of oil. Wipe it all over, then wipe again. The surface should look matte, not shiny.
- Oven-season at 400 to 450°F. Place the skillet upside down on a rack, with a baking sheet below to catch drips.
- Bake for one hour. Turn the oven off and let the pan cool inside.
- Repeat the oil-and-bake cycle 2 to 3 times for a durable layer.
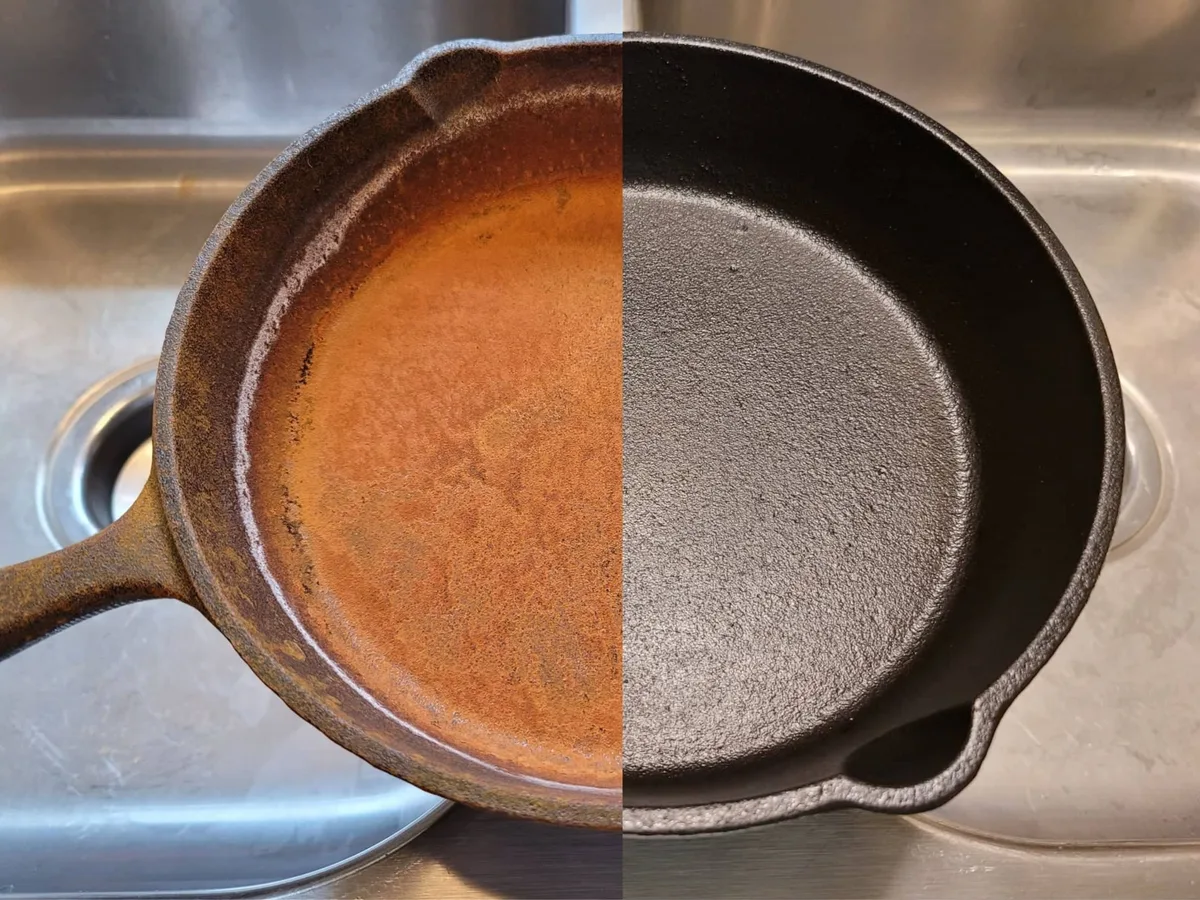
You'll know the pan is ready when it has a uniform, silvery-gray appearance. No orange spots should remain. From there, it's ready to season and cook.
The 5 Biggest Mistakes That Ruin Cast Iron During De-Rusting
Soaking in vinegar too long. Over-soaking creates pitting and weakens the iron. Set a timer before you walk away.
Using a power drill with a wire wheel on old skillets. It's fast, but it chews into the original smooth surface. Acceptable for modern Lodge pans. Disastrous for vintage collectibles.
Skipping the neutralization step. Vinegar is acidic. If you don't wash it off thoroughly, it keeps eating into the metal and causes flash rust.
Applying oil too thick. Thick oil dries into a sticky, gummy layer that never cures. Always wipe the oil off like you made a mistake.
Ignoring lead testing for unknown old skillets. If you bought a vintage pan with unknown history, test for lead before seasoning. The EPA's lead safety guidance is a good starting point. Old pans may have been used as melting crucibles.
Most of these mistakes come from trying to speed up the process. Slow and gentle beats fast and destructive every time.
How to Keep Your Skillet Rust-Free for Good
Prevention is easier than restoration. Once you've de-rusted your skillet, a few habits keep it that way. The biggest rust trigger isn't moisture in the air.
It's leaving water on the surface after washing.
Always dry your skillet immediately. Use a towel, then heat it on the stove for two to three minutes. This drives out moisture trapped in the pores of the metal.
Then apply a tiny layer of oil while it's still warm. That's your daily maintenance routine.
Storage matters more than most people think. Avoid humid basements and garages. A dry kitchen cabinet works fine.
If you stack pans, place a paper towel between them to absorb minor moisture.
One quick test: after your skillet cools from seasoning, it should look matte, not sticky. If it feels tacky, you used too much oil. Wipe it down with a fresh towel and reheat briefly.
Frequently Asked Questions About De-Rusting Cast Iron
Do I need to re-season after de-rusting?
Yes, always. Rust removal strips the protective seasoning layer, even with the quick-fix method. Re-seasoning with a thin oil layer at 400 to 450°F for one hour restores the non-stick surface and seals the iron.
Without it, the skillet will flash rust within days.
Can I use vinegar straight from the bottle?
No. Always dilute vinegar with water at a 1:1 ratio. Undiluted vinegar is too aggressive.
It eats into the iron quickly and causes pitting, even on short contact. Set a timer for 30 minutes and check progress frequently to protect the metal.
What if my skillet still smells like vinegar?
A vinegar smell means residual acid is trapped. Wash with warm soapy water, then dry and heat the skillet on the stove. Bake it in the oven at 300°F for 15 minutes.
Once it smells neutral, apply a light oil coat and season normally.
Is it safe to cook after de-rusting?
Yes, after proper re-seasoning. The polymerization process creates a safe, food-grade surface. Before the first cook, wash with hot water and wipe clean.
Then cook something fatty like bacon or fried eggs to build the initial layer.
Final Decision Flow: From Rusty to Ready in 3 Steps
Here's the whole process simplified. Match your rust type to the right path, then follow through.
| Step | Light Rust | Moderate Rust | Heavy Rust |
|---|---|---|---|
| Clean | Dry scrub with steel wool | Vinegar soak 30-90 min | Electrolysis or commercial remover |
| Dry | Towel plus stovetop heat | Towel plus stovetop heat | Towel plus stovetop heat |
| Season | One layer of oil | Two to three oven cycles | Three full seasoning cycles |
If the seasoning is mostly intact, repair spots only. If rust covers half the pan or more, strip it fully. If you own a vintage skillet, choose electrolysis over acid soaks.
The whole process takes one to two hours for moderate rust. Heavy rust needs twelve to twenty-four hours in an electrolysis tank. Every minute spent on proper prep saves you from repeating the job in a month.
A rusty cast iron skillet feels like a loss. It rarely is. With the right approach, you'll have a pan that cooks better than most modern non-stick options.

Similar Posts