How to Clean Interior Rust from a Cast Iron Hummingbird or Stove Kettle
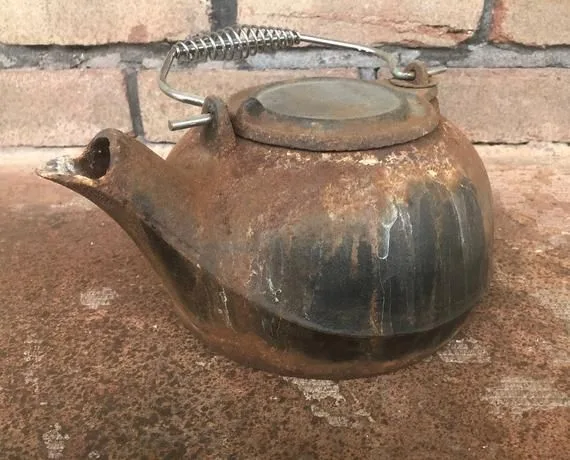
You’ve got a rusty cast iron kettle staring at you from the counter, and you’re wondering whether it’s a lost cause or a weekend project. The good news? Most rusty kettles are absolutely salvageable, provided the iron itself isn’t cracked or eaten through.
The process comes down to one key decision: what kind of rust you’re dealing with. That determines whether you need a simple vinegar soak or a full electrolysis setup.
In our research, the difference usually comes down to surface condition. Light surface rust lifts with a 1:1 vinegar-water soak and some elbow grease. Deep pitting, on the other hand, needs stronger measures like chemical rust removers or electrolysis.
As of 2026, the American Society for Testing and Materials (ASTM) still sets the reference standards for cast iron cookware surface preparation, so there’s a solid baseline to work from. Let’s walk through the whole process step by step, starting with the most important question: what exactly are you working with?
Image source: Bing (Web (fair-use with source credit))
Quick Answer
To restore a rusty cast iron kettle, assess the rust depth first. For light rust, soak in equal parts white vinegar and water for 30 to 60 minutes. Scrub with steel wool, rinse, dry completely, and re-season with a high-smoke-point oil.
For heavy rust, use electrolysis or a chemical rust remover. Always test for lead in vintage kettles before use.
Start Here: What Kind of Rusty Kettle Are You Dealing With?
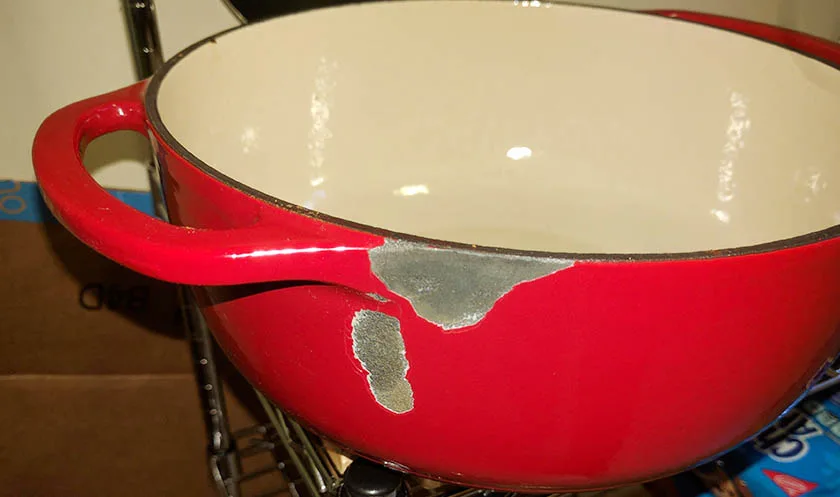
Image source: Bing (Web (fair-use with source credit))
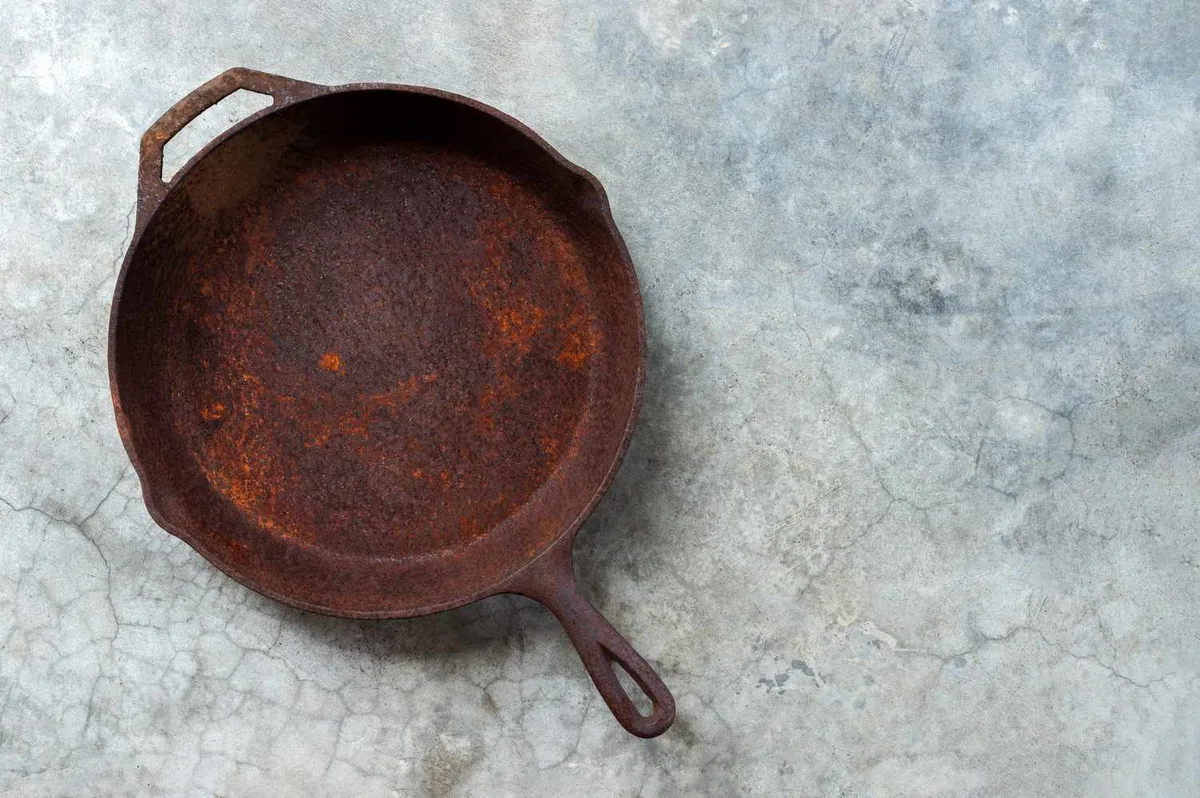
Before you grab any vinegar or steel wool, stop and look at your kettle carefully. The wrong method can ruin an antique or turn a minor fix into a much bigger problem. The first thing to check is whether the kettle is bare cast iron or enamel-coated.
If you see a glossy, glass-like surface under the rust, that’s enamel. Treating enamel with harsh abrasives will scratch it permanently.
Next, assess the rust itself. Rub your finger over the surface. Does it feel slightly rough, or are there deep craters?
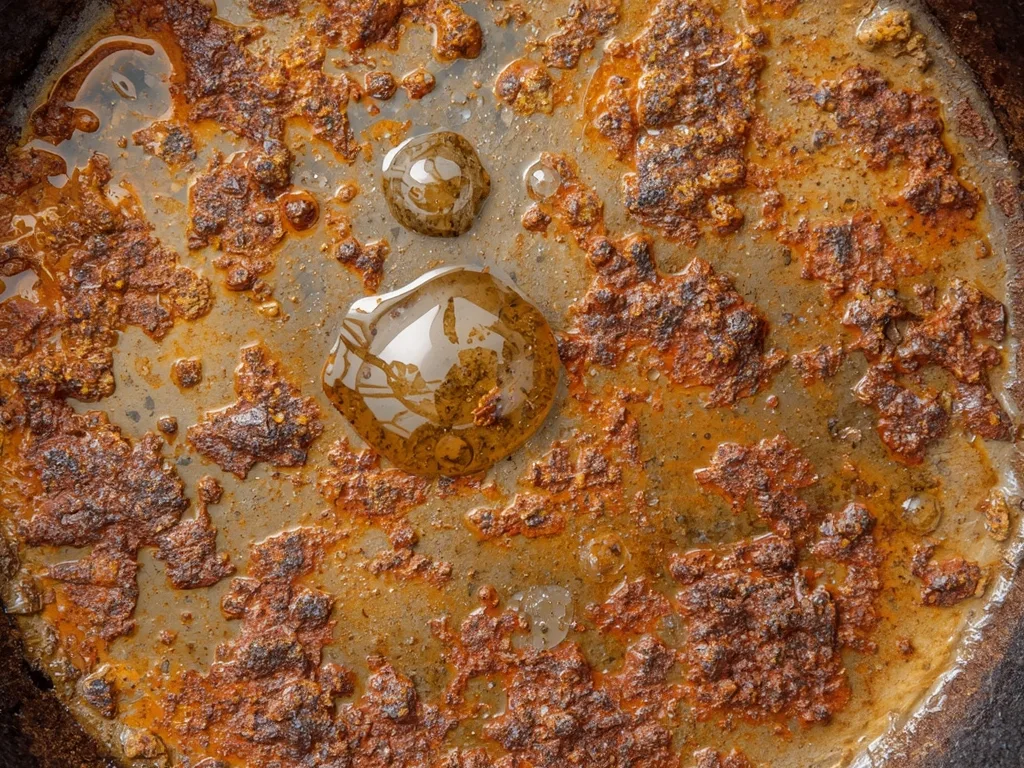
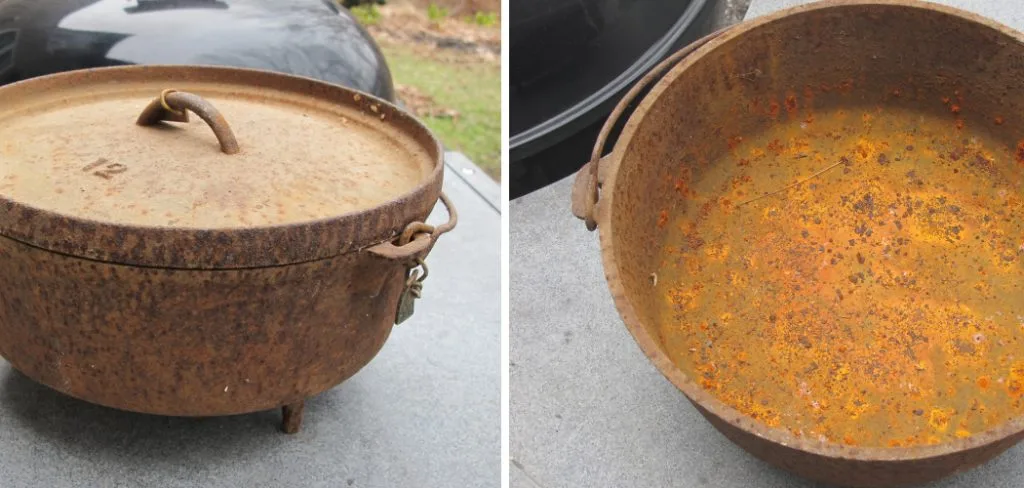
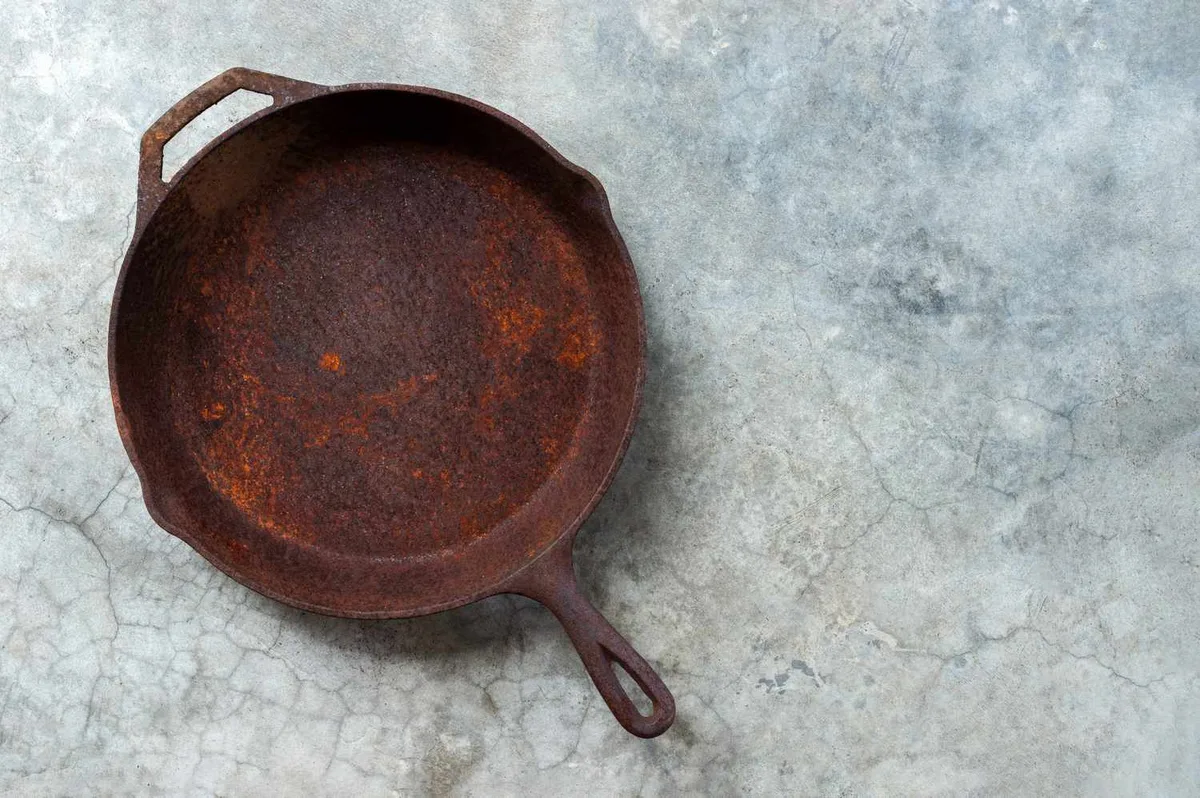
Light rust looks orange and powdery. Heavy rust feels like sandpaper and often flakes off in chunks. If the rust has eaten through the metal anywhere, especially near the base or spout, the kettle may be beyond saving.
Vintage and antique kettles deserve extra caution. Many were made with lead solder in the seams, which can leach into boiled water. If you’re unsure of your kettle’s age, test it with a lead swab kit before you do anything else.
A cracked kettle, no matter how beautiful, is a safety hazard. Thermal shock while heating can split it open.
Here’s a quick decision guide based on what you find:
| Condition | Recommended Path |
|---|---|
| Bare cast iron, light surface rust | Vinegar soak + scrub + re-season |
| Bare cast iron, deep pitting | Electrolysis or rust remover + re-season |
| Enamel-coated, light rust on surface | Gentle cleaner + soft scrub, no acid soaking |
| Vintage kettles, unknown era | Lead test first, then assess for cracks |
| Cracked, warped, or leaking | Not safe to use; consider decorative repurpose |
Light Rust Path: Vinegar Soak, Scrub, and Rinse
If your kettle has just a dusting of rust, this is the easiest path. Mix white vinegar and water in a 1:1 ratio in a plastic bucket or container big enough to submerge the kettle. White vinegar at 5% acidity is ideal.
It dissolves iron oxide without attacking the good metal underneath.
Submerge the kettle completely and let it soak for 30 to 60 minutes. Check it every 15 minutes or so. You’ll see the rust softening and turning into a dark sludge.
That’s normal. The longer you soak, the more rust you remove, but leaving it overnight is a mistake. Vinegar is an acid, and it will begin etching the bare iron itself.
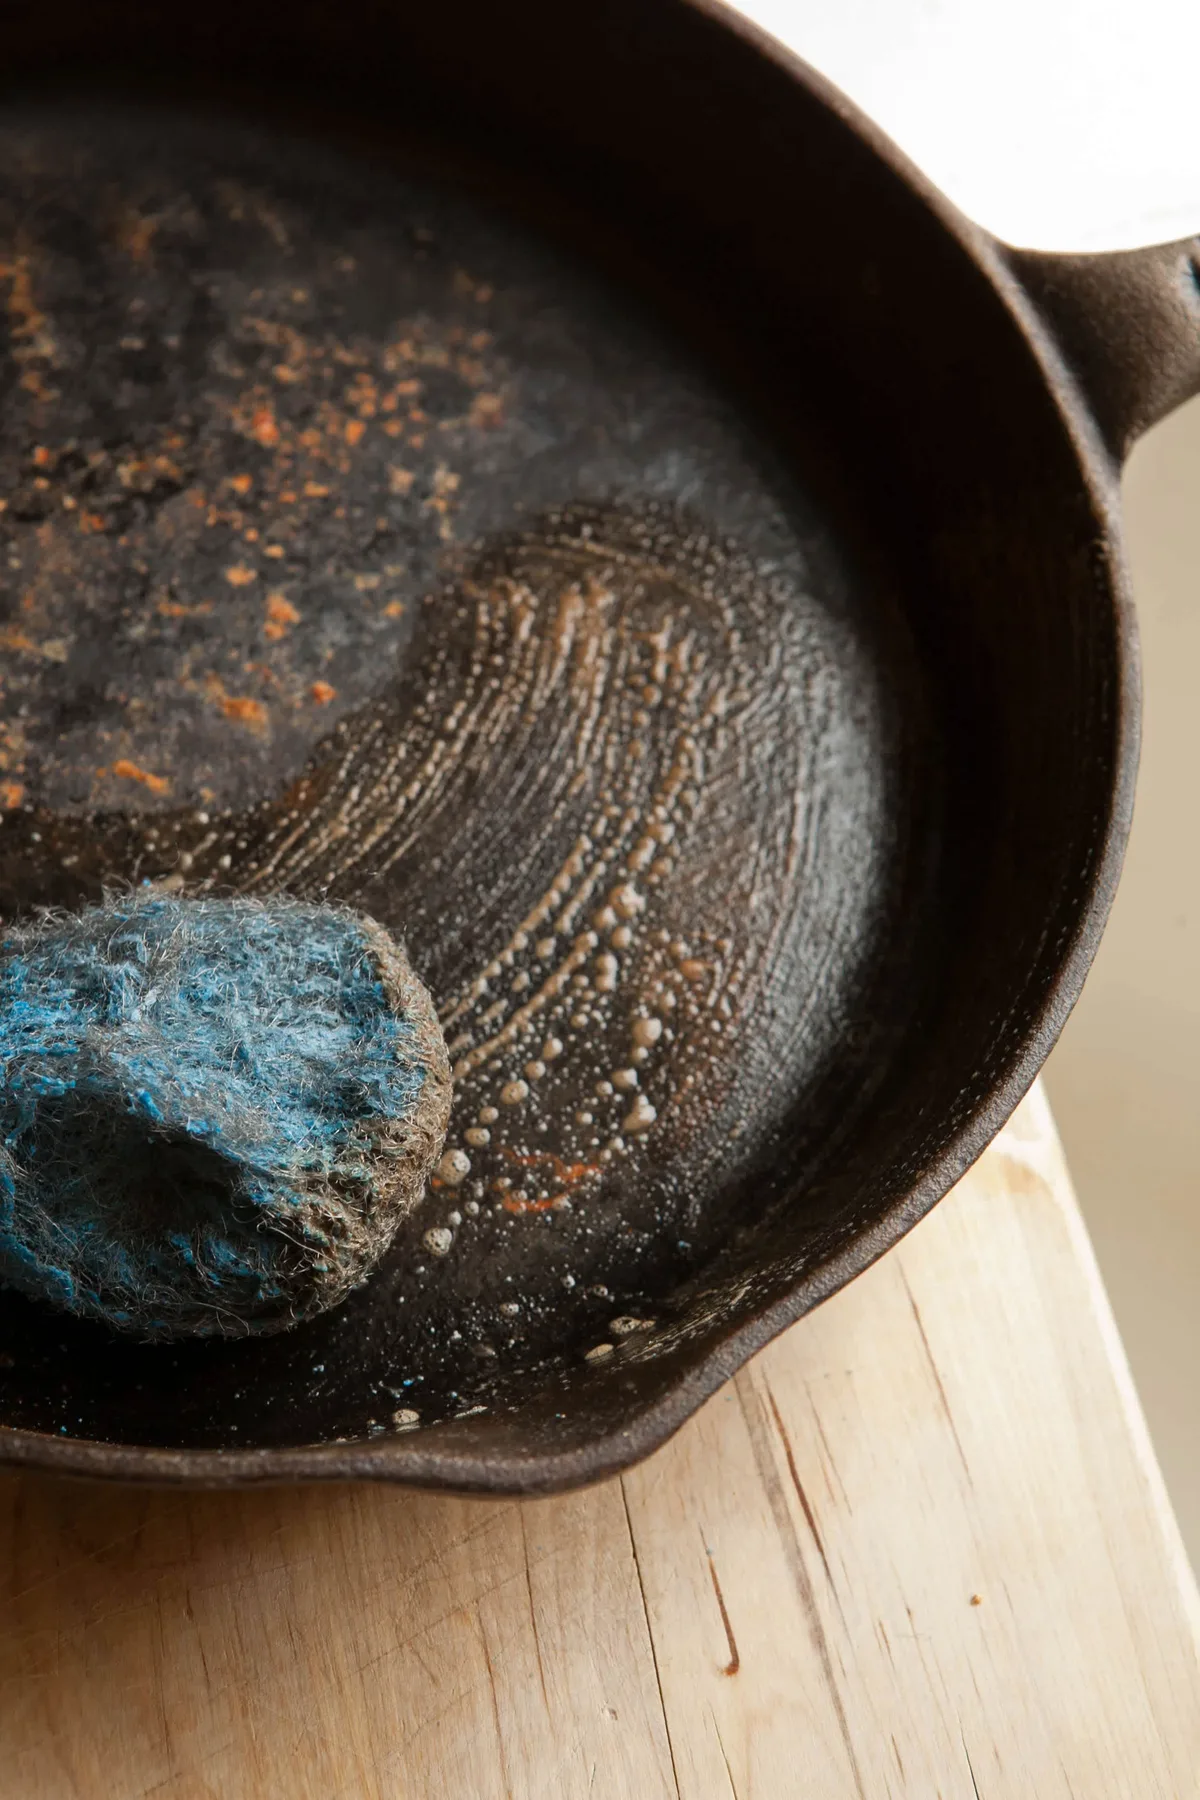
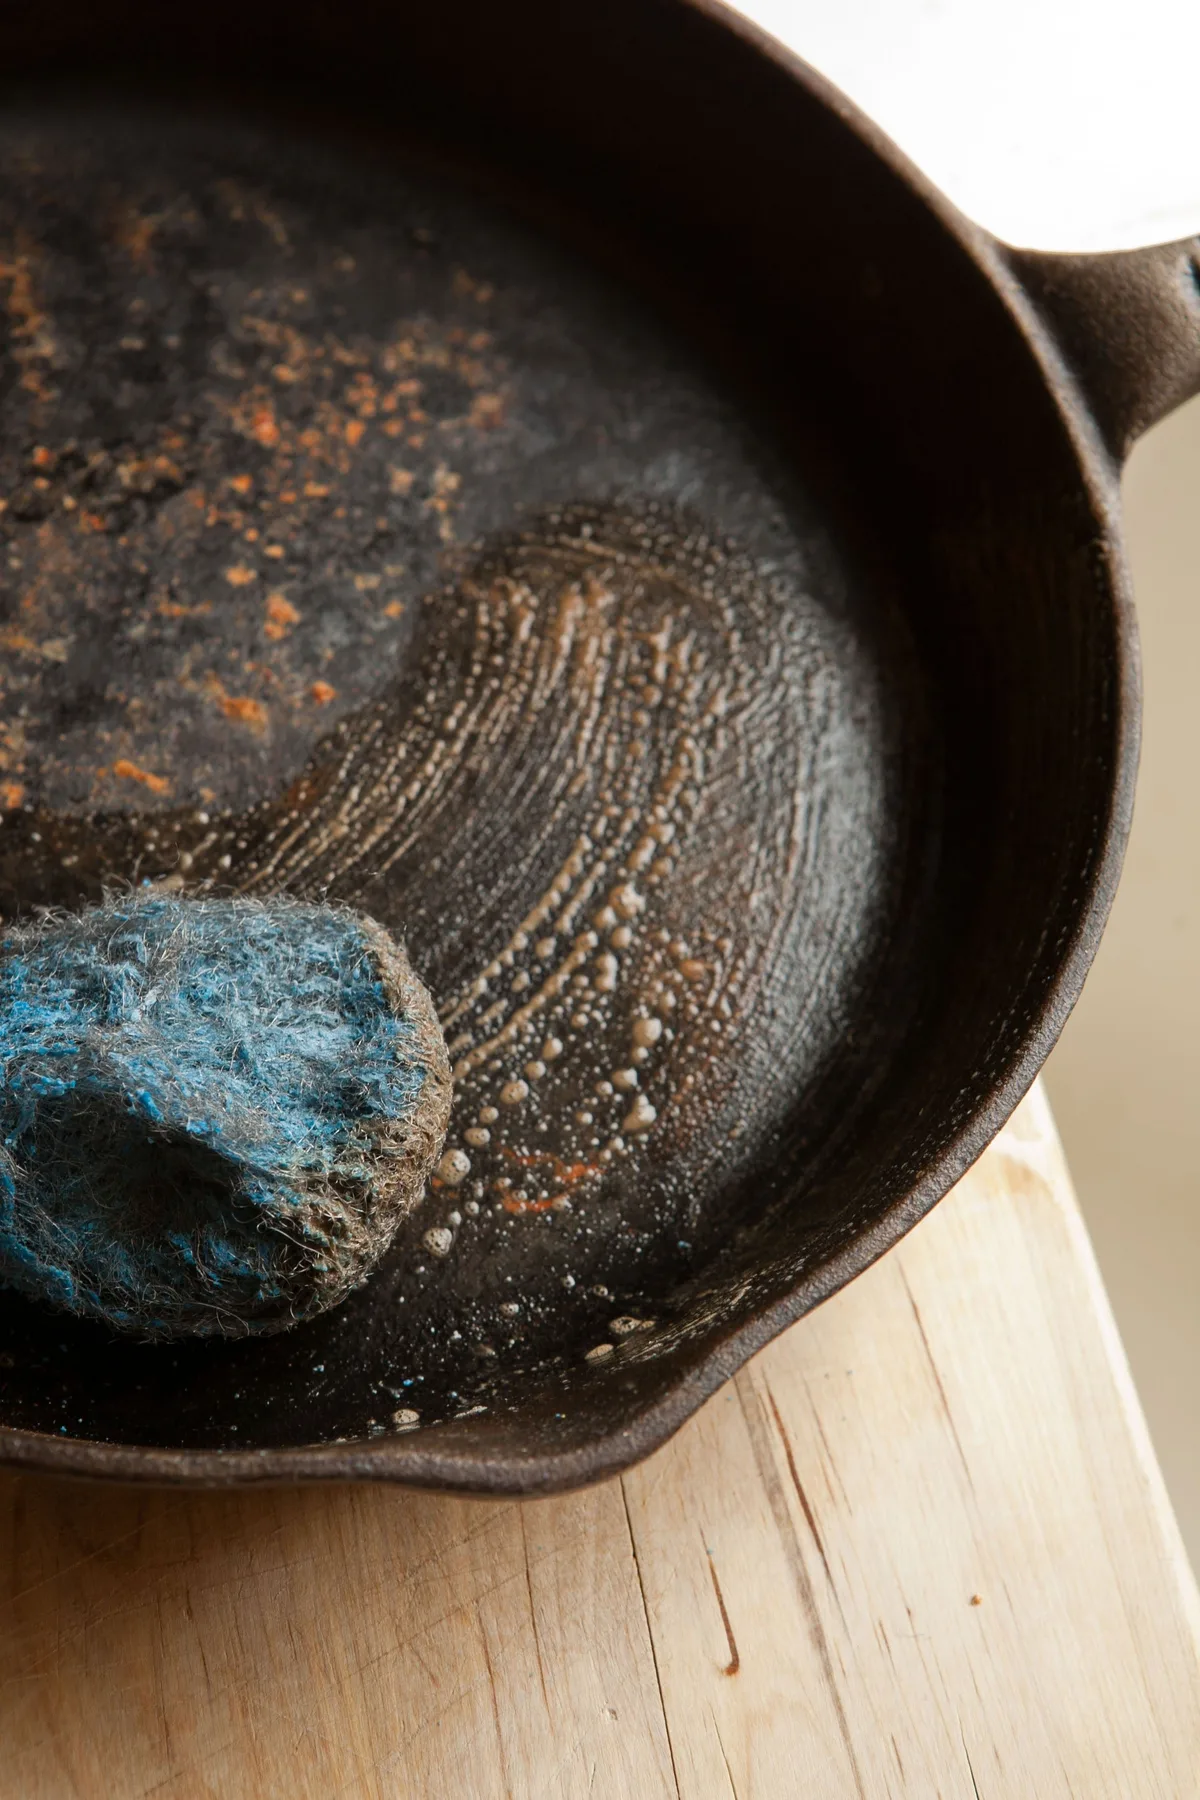
After the soak, pull the kettle out and rinse it under warm water. Now the scrubbing begins. Use fine-grade steel wool (grade 0000 works well) or a stiff nylon brush.
Work in small circles, letting the water carry away the rust particles. For stubborn spots, make a paste from baking soda and water. It acts as a mild abrasive that lifts rust without scoring the surface.
Once the kettle is bare, you’ll see a gray, dull surface. That’s raw iron. Rinse it thoroughly and dry it immediately.
Here’s the tricky part: bare cast iron rusts within minutes when exposed to air. This is called flash rust. Pat it dry with a lint-free cloth, then warm it briefly on a stovetop or in an oven at 200°F to drive off any remaining moisture.
The moment it’s dry, move to the seasoning step.
Avoid using steel wool on enamel-coated kettles. It will scratch the glaze. Instead, use a soft scrub brush or a mild abrasive cleaner designed for enamel surfaces.
Heavy Rust Path: Electrolysis, Chemical Rust Removers, and the Hard Grind
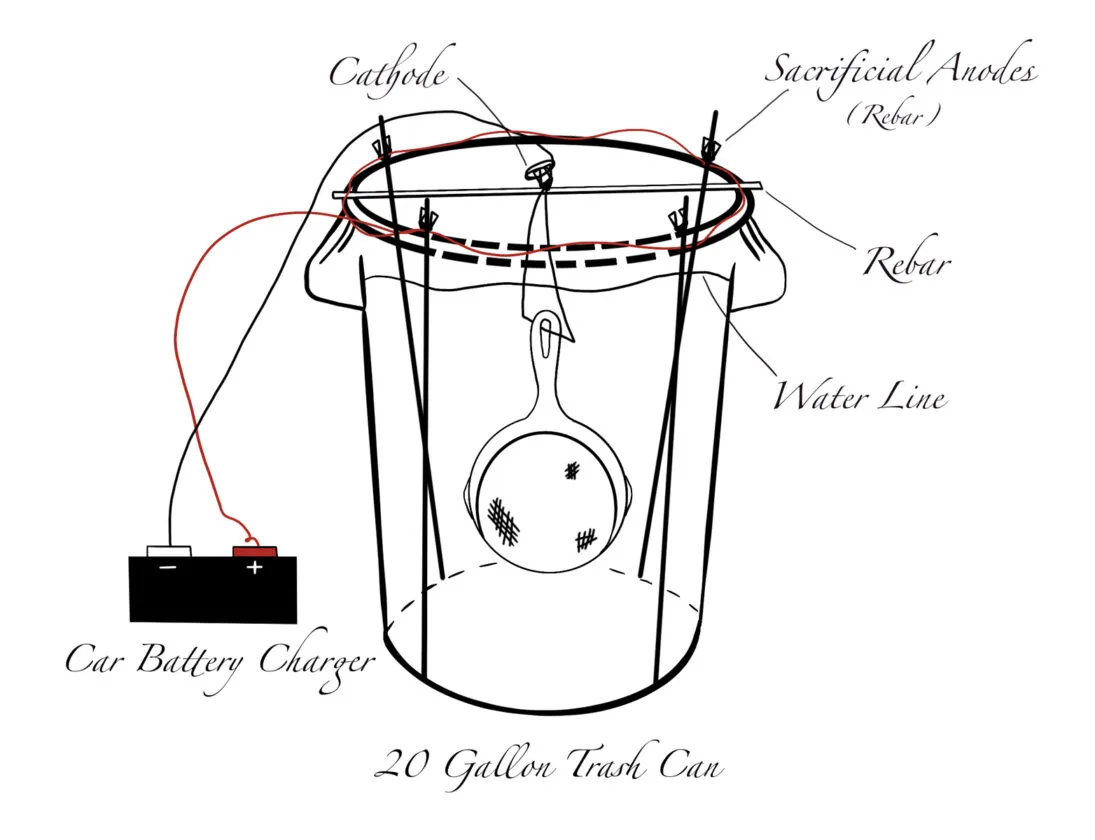
Image source: Bing (Web (fair-use with source credit))
Deep rust needs stronger tools. If your kettle looks like it spent a decade in a damp shed, vinegar won’t cut it. You have two solid options: electrolysis or chemical rust removers.
Both remove heavy corrosion safely, but they work differently.
Electrolysis is the gentlest method for antique kettles. It uses a low-voltage electrical current to pull rust off the iron, leaving the original surface intact. You’ll need a plastic tub, a car battery charger (12V, low amp), a piece of scrap steel, and a solution of washing soda dissolved in water.
The kettle goes in the tank, connected to the negative terminal, while the scrap steel connects to the positive terminal. Current runs through the water, and rust bubbles away over 8 to 24 hours.
This setup is simple but requires care. Never use stainless steel as the sacrificial anode; it can produce toxic hexavalent chromium. Use plain scrap mild steel or cast iron.
Work in a well-ventilated area, and never touch the solution while the power is on. Aggregate hobbyist reviews report excellent results with this method, particularly for tetsubin, the Japanese cast iron kettles with delicate exterior textures.
Chemical rust removers are faster. Products containing oxalic acid, like rust dissolvers, convert rust into a water-soluble compound. Brush on a thick layer, wait 15 to 30 minutes, then rinse.
These work well on interior surfaces where electrolysis is hard to set up. Always wear rubber gloves and safety glasses. The chemicals are harsh on skin and eyes.
After heavy rust removal, you’ll likely see pitting. Those tiny craters are where rust etched the iron. They’re cosmetic, not structural, unless they’ve penetrated deep.
A follow-up scrub with fine steel wool smooths the surface.
Cleaning the Inside: Making the Kettle Water-Safe
The inside of a cast iron kettle matters just as much as the outside, especially if you plan to boil water in it. Interior rust isn’t just an eyesore; it flakes into your water and adds a metallic, bitter taste. For bare cast iron kettles, the cleaning process is the same as the outside, but with extra attention to rinsing.
Fill the kettle with the vinegar-water solution and let it sit for 30 minutes. Then use a bottle brush or a long-handled scrubber to work the interior walls. Rinse repeatedly with fresh water until the runoff runs clear.
You may need to repeat the soak once or twice for stubborn buildup.
After rinsing, dry the interior thoroughly. Tilt the kettle upside down on a towel and let it air-dry in a warm spot. Alternatively, heat it dry on a stove over low heat.
Any leftover moisture creates flash rust before you can season it.
If your kettle has mineral scale, those chalky white deposits from hard water, a vinegar soak handles that too. Fill the kettle with the solution and simmer it gently for 20 minutes. Let it cool, dump it, and scrub with the bottle brush.
There’s a point where cleaning stops being enough. If you can see light through any part of the kettle, or if the bottom feels thin and springy, the corrosion has gone too far. At that stage, the kettle is no longer safe to heat.
Repurpose it as a planter or decorative piece instead.
Re-Seasoning: Restoring the Rust-Proof, Non-Stick Layer
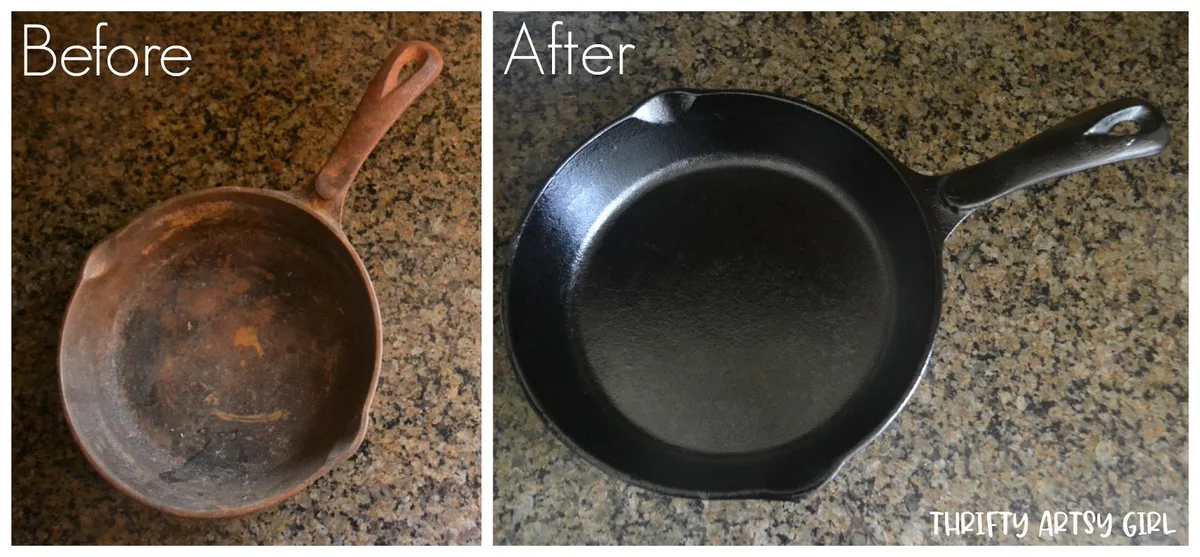
Seasoning is the step that turns bare iron into a durable, rust-resistant surface. It’s the same principle as cast iron pans: a thin layer of oil polymerizes into a hard, dark coating that bonds to the metal. Without it, your freshly cleaned kettle will rust again within hours.
Start by choosing an oil with a high smoke point. Flaxseed oil is the favorite among enthusiasts because it creates a hard, glossy finish. Canola, grapeseed, or vegetable oil also work well.
Avoid olive oil and butter; they smoke at low temperatures and leave a sticky residue. The smoke point you want is at least 400°F.
Heat your oven to 350°F to 400°F. While it warms, wipe the entire kettle, inside and out, with a very thin layer of oil. The key word is thin.
Excess oil pools and turns into a tacky, uneven mess. Use a lint-free cloth to apply, then buff with a clean cloth so the surface looks almost dry.
Place the kettle upside down on the oven rack. Put a baking sheet on the rack below it to catch any drips. Bake for one hour, then turn off the oven and let the kettle cool completely inside without opening the door.
That gradual cooling helps the polymer layer harden properly.
One coat is rarely enough. For a kettle that will see regular use, plan on 2 to 4 coats. Between coats, let the kettle cool, then apply another thin oil layer and repeat the bake.
The surface will gradually darken from gray to a rich, almost black sheen. That’s the seasoning building up.
If you don’t have an oven, you can season on a stovetop. Warm the kettle over low heat, rub oil onto the surface using a towel held with tongs, and keep heating until it stops smoking. This method works, but it’s harder to get even coverage on the interior.
Take your time with the oven method when possible.
Safety First: Lead Risks, Cracks, and Bad Shortcuts
Restoring a rusty kettle is satisfying, but safety has to come before aesthetics. The biggest risk with vintage pieces is lead. Many antique kettles used lead solder in their seams or lead-based paint on their exteriors.
If you’re unsure of the kettle’s age, test it before doing anything else.
Lead testing swabs are cheap, available online, and take about 60 seconds to use. Swab the seams, the interior base, and any painted areas. If the test turns pink or red, stop right there.
That kettle is not safe for boiling water. The U.S. Consumer Product Safety Commission (CPSC) classifies lead cookware as a health hazard, and for good reason.
Lead leaches into boiling water and accumulates in the body over time.
Cracks and leaks are the second major concern. A hairline crack in the base or side wall turns into a serious problem when heated. Thermal shock from a hot stove or campfire can split the kettle open, sending boiling water everywhere.
If you can see any crack, or if the kettle feels thin and springy when you press the base, retire it.
The final danger is bad restoration shortcuts. Sandblasting, grinding with power tools, or using acid meant for concrete will strip too much metal. That permanently damages the kettle’s structure and collector value.
Stick with the methods in this guide.
Frequently Asked Questions
Can I use a restored kettle on an induction stove or open fire?
Yes, but keep the heat low after restoration. Cast iron handles rapid temperature swings poorly. Warm the kettle gradually to avoid thermal shock and cracking.
How do I know if my kettle is enameled underneath the rust?
Look for glossy white, cream, or speckled patches near the rust. Enamel won’t rust, so flaking areas reveal bare iron underneath. If the glaze is intact, use gentle cleaning only.
Why does rust come back a day after cleaning?
The kettle wasn’t seasoned properly, or moisture got trapped. Cast iron is highly reactive. After cleaning, dry it thoroughly and apply a seasoning coat immediately, ideally within minutes.
Is it safe to boil water in a restored tetsubin after cleaning?
A tetsubin is safe if you used electrolysis or a mild vinegar soak and passed a lead test. This is rule number one for Japanese cast iron teapots. Once restored, season the interior and use it regularly to build up protection.
What’s the best oil for seasoning a cast iron kettle?
Flaxseed oil is our top choice because it polymerizes into a hard, smooth coating. Grapeseed and canola also work well. Avoid low-smoke-point oils like olive or butter.
Can I speed up restoration with oven cleaner?
Don’t do it. Oven cleaners contain lye that strips seasoning, but they can also etch cast iron or damage enamel coatings. Stick with vinegar, electrolysis, or dedicated rust removers.

Similar Posts