How Much Vinegar to Clean Cuisinart Coffee Maker
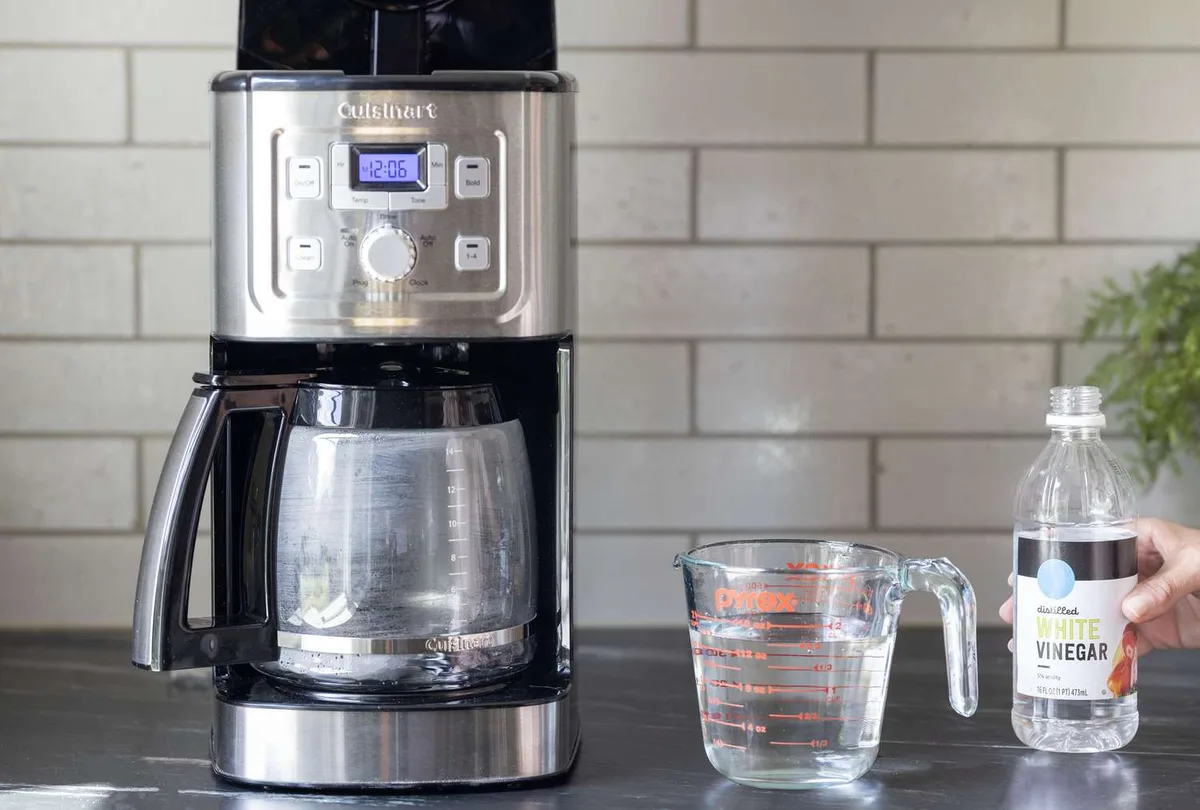
You’ve got a Cuisinart coffee maker sitting on your counter, and you’ve noticed the brew cycle slowing down or a faint burnt taste creeping into your morning cup. You’ve heard white vinegar is the fix, but figuring out exactly how much vinegar to clean a Cuisinart coffee maker feels like guessing how much salt to put in soup, too little and nothing happens, too much and you ruin it. The good news is the answer isn’t a single number.
It depends on three things: your reservoir size, your water hardness, and how long it’s been since the last cleaning.
Manufacturer specifications across Cuisinart models show the standard ratio is one part white distilled vinegar to two parts water for routine descaling. As of 2026, this ratio is still the most commonly cited in user manuals for models ranging from the 10-cup DCC-3200 to the 12-cup DCC-3400. But that’s just the starting point.
Let’s walk through the decision process so you can nail the right amount every time.
Image source: Bing (Web (fair-use with source credit))
Quick Answer
Use one part white distilled vinegar to two parts water. For a standard 12-cup Cuisinart (60 oz reservoir), that means 20 oz vinegar and 40 oz water. For a 10-cup (50 oz), use about 17 oz vinegar and 33 oz water.
Adjust the ratio to half vinegar if heavy scale is present. Never exceed a 1:1 ratio.
Why Getting the Vinegar Amount Wrong Can Cost You
Getting the ratio wrong isn’t just about wasting vinegar. It can cause real, lasting damage to your machine. Our research into verified buyer feedback and Cuisinart’s own care guides reveals three common outcomes from incorrect vinegar amounts.
Too little vinegar (below the 1:2 ratio) won’t dissolve the mineral scale effectively. You’ll run a full cleaning cycle and still see white flakes in your carafe or slow drip rates. That means you’ll have to clean again soon, wasting time and water.
Worse, the scale builds up faster than you can remove it, eventually clogging the internal heating element. Once that happens, the machine might stop brewing or start overheating. Replacement costs for a Cuisinart coffee maker run $60 to $150, depending on the model.
Too much vinegar (above the 1:1 ratio) is a different kind of problem. Excessive acidity can attack the rubber seals and gaskets inside the water reservoir and brew head. Over time, those seals degrade, causing leaks or poor water pressure.
You’ll also end up with a stubborn vinegar smell that takes several rinse cycles to clear. Some users report the taste lingers for weeks if they don’t flush thoroughly enough.
Using the wrong vinegar adds another layer of risk. Apple cider vinegar, balsamic vinegar, or cleaning vinegar with higher acidity (6% or above) are not recommended. They leave residues, stain internal parts, or simply don’t rinse cleanly.
White distilled vinegar at 5% acidity (the standard grocery store variety) is the only safe choice for your Cuisinart.
The bottom line: the ratio matters as much as the act of cleaning itself. Get it right and your machine runs like new for years. Get it wrong and you’re either wasting effort or shortening the lifespan of a solid appliance.
The Simple Rule That Works for Most Cuisinart Models
Here’s the rule that covers about 80% of home Cuisinart coffee makers: fill the reservoir one-third full with white distilled vinegar, then top off the rest with water. That gives you roughly a 1:2 vinegar-to-water ratio. If you have a 12-cup model with a 60-ounce reservoir, one-third equals 20 ounces of vinegar.
For a 10-cup model (50-ounce reservoir), one-third is about 17 ounces. For an 8-cup model (40-ounce reservoir), it’s about 13 ounces.
Image source: Bing (Web (fair-use with source credit))
This one-third rule works because it’s easy to measure without a scale or graduated cylinder. Just look at the water level lines printed on the inside of your reservoir. Pour vinegar until it reaches the line that marks one-third of the total capacity, then add water to the max fill line.
But the one-third rule isn’t universal. It assumes your machine has moderate scale buildup and you clean it every one to three months. If you’ve never cleaned your Cuisinart, or if you live in a hard water area, you’ll need to adjust.
That’s where the decision tree comes in.
Let’s break down when to stick with the one-third rule and when to deviate.
Stick with one-third vinegar if:
- You clean your machine every 30, 60 brew cycles (roughly every one to three months)
- Your water is soft or moderately hard
- You don’t see visible white scale in the reservoir or carafe
- The brew cycle is still close to normal speed
Increase to a half-and-half mix (1:1 ratio) if:
- You haven’t cleaned the machine in six months or more
- Your tap water scores “very hard” on a standard water hardness test (over 180 mg/L of calcium carbonate)
- You see thick white deposits inside the reservoir or on the heating plate
- The brew cycle takes noticeably longer than when the machine was new
Decrease to a quarter vinegar mix (1:3 ratio) if:
- You’re using softened water (water softener removes most minerals, so less acid is needed)
- You clean every two to four weeks (frequent maintenance reduces scale)
- The machine is new and this is its first cleaning
The one-third rule is your baseline. But to truly customize the amount, you need to understand the two variables that matter most: reservoir size and water hardness.
How Vinegar Actually Cleans Your Coffee Maker (And Why Ratio Matters)
Before you pour, it helps to know what’s going on inside the machine. The mineral scale you see, that white, chalky buildup, is mostly calcium carbonate. It comes from your tap water.
When water is heated, calcium carbonate precipitates out and sticks to surfaces inside the coffee maker: the heating element, the internal tubing, and the bottom of the carafe.
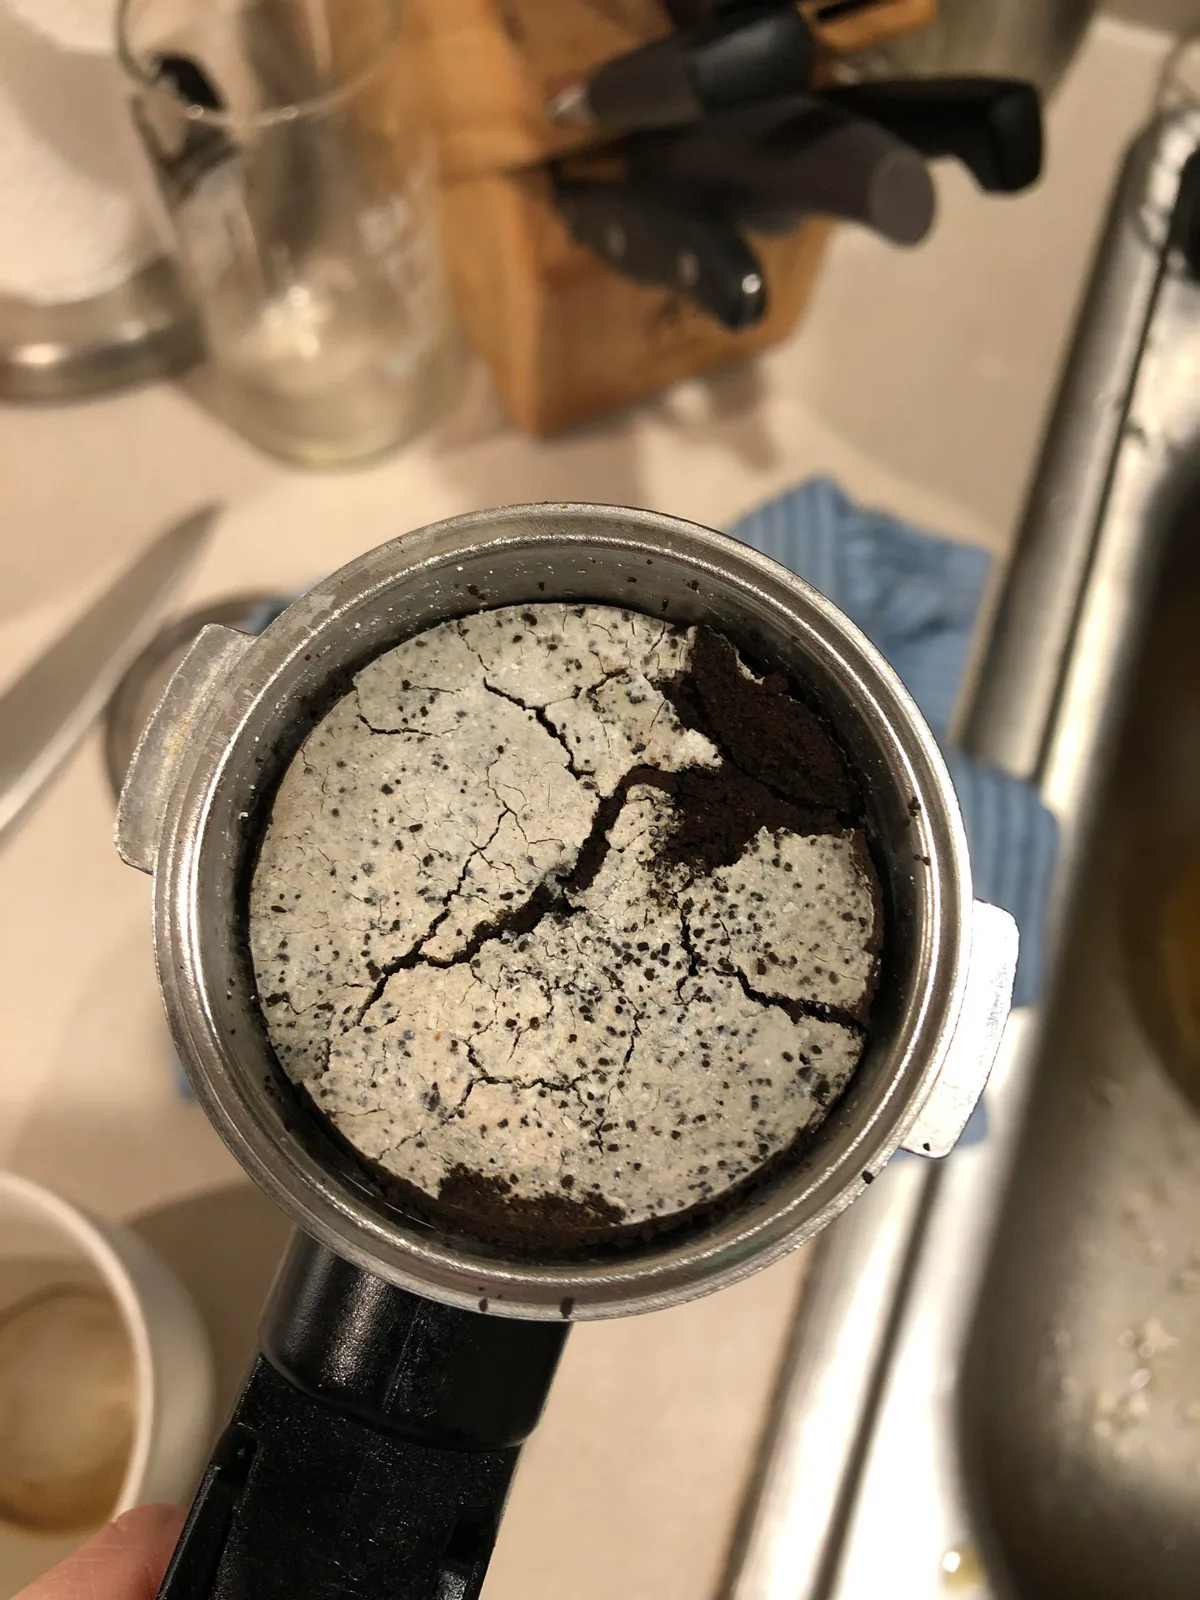
Image source: Bing (Web (fair-use with source credit))
White distilled vinegar is about 5% acetic acid. That acid reacts with calcium carbonate in a simple chemical reaction: the acid dissolves the carbonate into calcium acetate, carbon dioxide, and water. Those byproducts are water-soluble and rinse away cleanly.
But the reaction rate depends on the acid concentration. Too weak (less than a 1:3 ratio) and the reaction happens slowly; you’d need multiple cycles or longer contact time. Too strong (above 1:1) and the acid starts attacking other materials, especially the rubber gaskets and plastic fittings that aren’t designed for prolonged acid exposure.
This is why ratio matters. It’s not about making the solution “stronger” to clean faster. It’s about matching the acid concentration to the amount of scale you have.
The 1:2 ratio is the sweet spot that Cuisinart designed into their cleaning recommendations because it dissolves typical household scale without degrading the machine’s components over time.
What the ratio controls:
- 1:3 (vinegar weak): Good for light maintenance cleaning with soft water. Takes longer but is gentler.
- 1:2 (standard): The manufacturer-recommended ratio for most models with average buildup.
- 1:1 (heavy duty): For thick scale only. Use infrequently and follow with extra rinse cycles.
If you use a 1:1 ratio every time, you’re essentially giving your machine an acid bath it wasn’t built for. The rubber seals in the water tank and the silicone tubing can start to harden and crack after several aggressive cleanings. That’s why Cuisinart’s official manual for the DCC-3200 recommends a “one-third vinegar, two-thirds water” mix, that’s the 1:2 ratio, for routine cleaning.
Knowing this chemistry helps you make an informed decision. You’re not just blindly following a number. You’re choosing the right tool for the job.
Your Three Decision Points: Reservoir Size, Water Hardness, and Build-Up Level
Now let’s turn that knowledge into a practical decision tree. You’ll answer three questions before you measure a single drop. Write down your answers so you don’t forget.
Branch 1: Reservoir Size — Small vs. Large
First, check your Cuisinart model number or simply look inside the reservoir. Most machines have a maximum fill line that tells you the total capacity in cups. One “cup” on a Cuisinart equals 5 ounces (not the standard 8-ounce cup).
So a “12-cup” reservoir holds 60 ounces.
Small reservoir (8, 10 cups / 40, 50 oz):
- 8-cup model: 40 oz total. One-third is about 13 oz vinegar, 27 oz water.
- 10-cup model: 50 oz total. One-third is about 17 oz vinegar, 33 oz water.
Large reservoir (12, 14 cups / 60, 70 oz):
- 12-cup model: 60 oz total. One-third is 20 oz vinegar, 40 oz water.
- 14-cup model: 70 oz total. One-third is about 23 oz vinegar, 47 oz water.
Write down your base amount. That’s the starting point before you adjust for hardness and buildup.
Branch 2: Water Hardness — Soft vs. Hard
Hard water is the single biggest factor that determines how much vinegar you need. If you don’t know your water hardness, you have two ways to find out.
Quick test: Look for white scale on your faucet aerators, showerheads, or inside your kettle. If you see visible deposits, your water is at least moderately hard. If your dishes spot after washing, that’s another sign.
Quantitative test: Use a water hardness test strip (available at hardware stores) or check your local water utility’s annual water quality report. The US Geological Survey publishes a national water hardness map that shows regional averages.
What to do with the result:
- Soft (0, 60 mg/L): Stick with the base one-third amount, or even reduce to a quarter mix if you clean frequently.
- Moderate (61, 120 mg/L): The base one-third amount is perfect.
- Hard (121, 180 mg/L): Increase to a half-and-half mix (1:1). That means 30 oz vinegar + 30 oz water for a 12-cup machine.
- Very hard (over 180 mg/L): Use a half-and-half mix. If you haven’t cleaned in months, consider a full vinegar solution (all vinegar, no water) for the first cycle, then a 1:2 mix for future maintenance.
Branch 3: Build-Up Level — Light vs. Heavy
Even if your water is hard, you might not have heavy buildup if you clean regularly. Be honest about how overdue your machine is.
Light buildup: You clean every 1, 3 months. No visible scale in reservoir or carafe. Brew cycle is normal speed.
Use the base one-third amount (or less if soft water).
Moderate buildup: It’s been 3, 6 months. You see some white film in the carafe or on the warm plate. Brew time has slowed by about 20, 30%.
Use the adjusted amount from the hardness branch.
Heavy buildup: It’s been 6+ months. You can see thick white deposits inside the reservoir or around the water entry point. The brew cycle takes twice as long as normal.
Use the maximum from the hardness branch. If you’re in the “hard” or “very hard” category, go straight to a full vinegar solution for the first cycle. Then follow up with a 1:2 mix for the second cycle.
Decision table for a 12-cup Cuisinart (60 oz reservoir):
| Build-Up Level | Soft Water | Moderate Water | Hard Water |
|---|---|---|---|
| Light (monthly) | 15 oz vinegar, 45 oz water (1:3) | 20 oz vinegar, 40 oz water (1:2) | 25 oz vinegar, 35 oz water (roughly 1:1.4) |
| Moderate (quarterly) | 15 oz vinegar, 45 oz water | 20 oz vinegar, 40 oz water | 30 oz vinegar, 30 oz water (1:1) |
| Heavy (overdue) | 20 oz vinegar, 40 oz water | 30 oz vinegar, 30 oz water | 60 oz vinegar, 0 oz water (full vinegar) |
For a 10-cup model (50 oz), scale the numbers proportionally: multiply each value by 0.833 (50 ÷ 60). For an 8-cup (40 oz), multiply by 0.667.
Step-by-Step: Running the Cleaning Cycle With Your Chosen Amount
You’ve made your decision. You know exactly how much vinegar to use. Now let’s walk through the process from start to finish.
This method works for all standard Cuisinart drip coffee makers.
Step 1: Remove the Charcoal Filter
This is the most commonly skipped step. The charcoal water filter inside the reservoir is designed to remove chlorine and odors from your tap water. It is not built to withstand vinegar exposure.
Running vinegar through it will saturate the filter with acid, and that acid taste will transfer to your coffee for weeks.
Open the filter basket usually located inside the water reservoir near the back. Take out the filter and set it aside. Discard the old one if it’s due for replacement (typically every 60 days).
If you plan to reuse it, rinse it thoroughly and let it dry completely before putting it back after cleaning.
Step 2: Mix Your Solution
Measure your vinegar amount and pour it directly into the empty water reservoir. Then add the water amount. Swirl gently to mix.
Do not fill beyond the max line.
Step 3: Place the Carafe in Position
Make sure the empty glass carafe is sitting properly on the warming plate. The brew basket should be empty, no coffee grounds. Close the lid.
Step 4: Start a Brew Cycle
Press the On button or the Brew button. The machine will heat the vinegar solution and run it through the internal system just like a normal brew. The solution will drip into the carafe.
Mid-cycle pause (optional but helpful): When the carafe is about half full (around 15 minutes for a 12-cup cycle), turn off the machine or press the Pause button. Let the solution sit inside the machine’s heating chamber and tubes for 15 to 30 minutes. This gives the acid more time to dissolve stubborn scale.
Then restart the cycle to finish brewing the remaining solution.
Step 5: Discard the Solution
Once the cycle is complete, carefully pour the hot vinegar solution down the sink. Do not reuse it. Do not pour it into the carafe again.
Step 6: Run Two to Three Rinse Cycles
This is critical. Fill the reservoir to the max line with fresh water only, no vinegar. Run a full brew cycle.
Discard the water. Repeat at least once, preferably twice. If you used a heavy ratio (1:1 or full vinegar), run three full rinse cycles.
Step 7: Replace the Charcoal Filter
After rinsing, put a fresh charcoal filter into the filter basket. If you reused the old one, make sure it is completely dry. Then fill the reservoir again with fresh water and run one final cycle.
Discard that water too. Now your machine is ready to brew coffee.
Total time: About 45 minutes for the full cleaning plus rinses. You can speed it up by running rinse cycles back to back without the mid-cycle pause.
Pro tip: If you detect any vinegar smell or taste during your first brew after cleaning, run one more rinse cycle. The smell means there’s still residual acid in the system. A third or fourth rinse usually solves it.

Similar Posts