How to Choose the Best High Smoke-Point Oil to Reseason Rusted Cast Iron
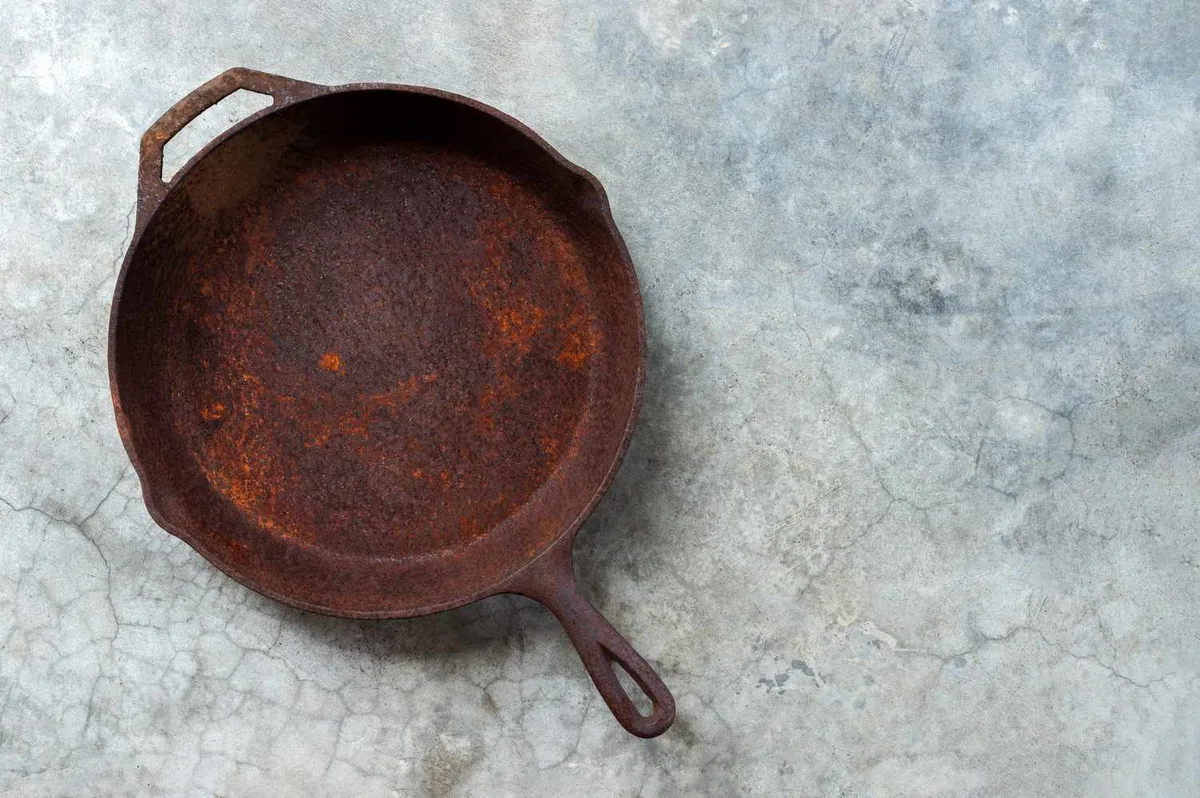
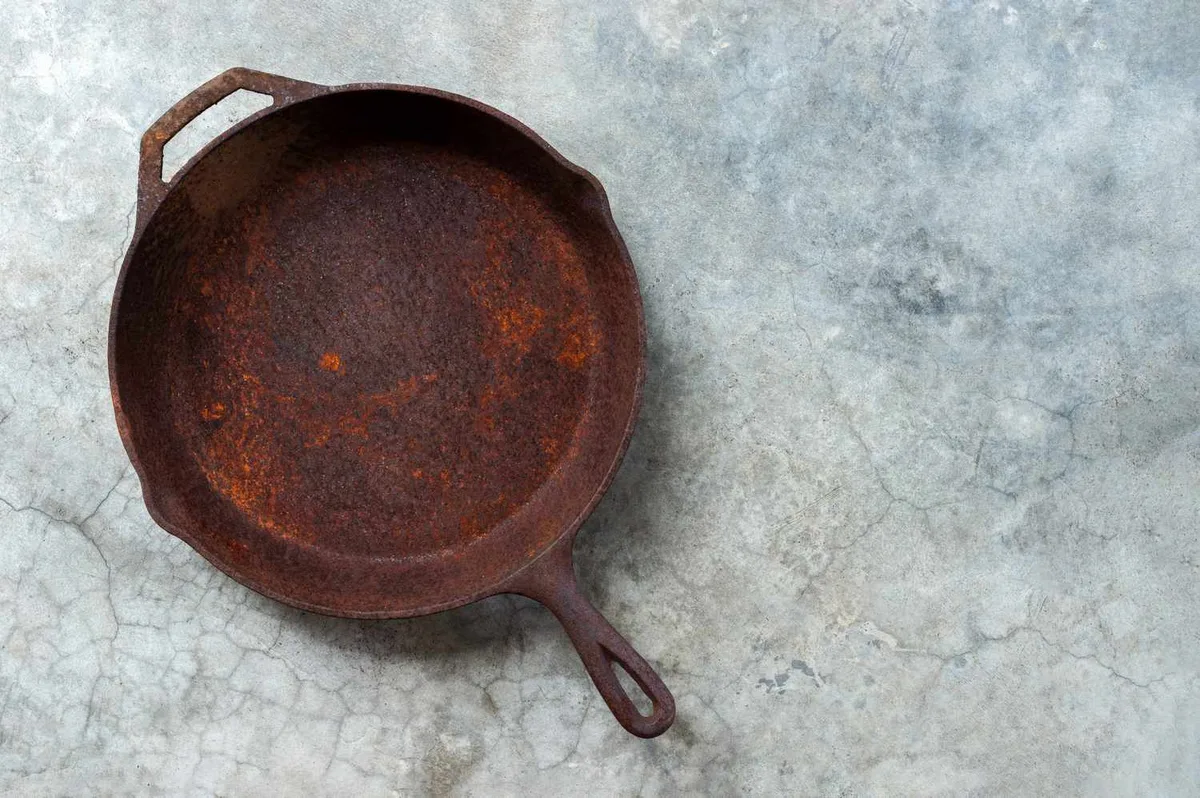
You have pulled your cast iron skillet out of storage. Or maybe you found a gem at a flea market. But instead of a smooth black surface, you are staring at orange rust.
Learning how to reseason rusty cast iron is a straightforward process if you match the method to the damage.
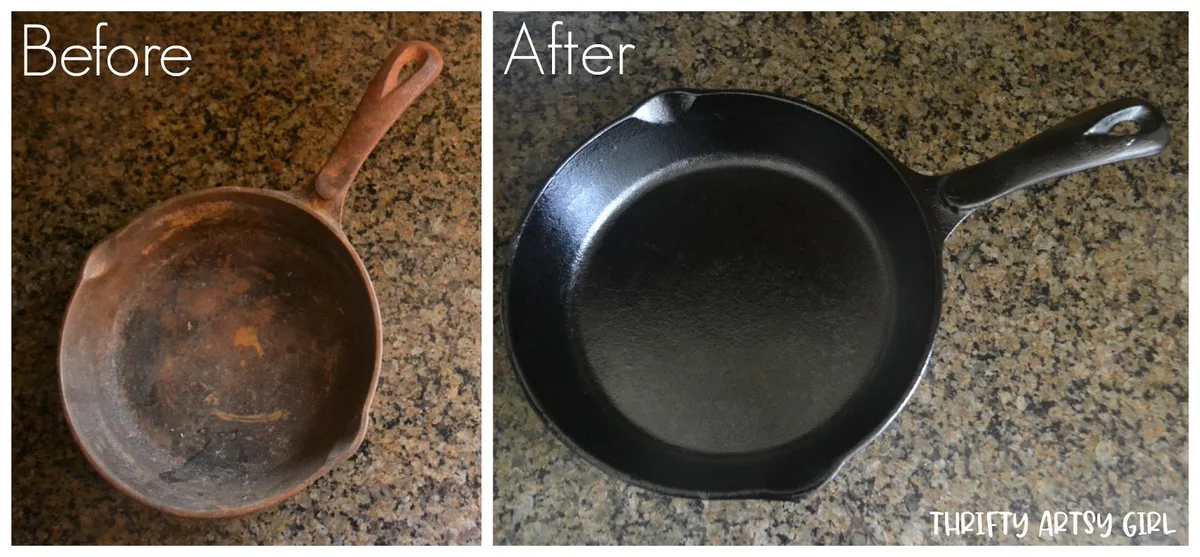
According to manufacturers like Lodge, a properly seasoned pan relies on a polymerized oil layer. Rust destroys that bond completely. The good news is that bare iron is very forgiving.
Our research shows that almost any pan can be brought back to life. First, you need to know exactly what you are working with. Let us diagnose the rust level.
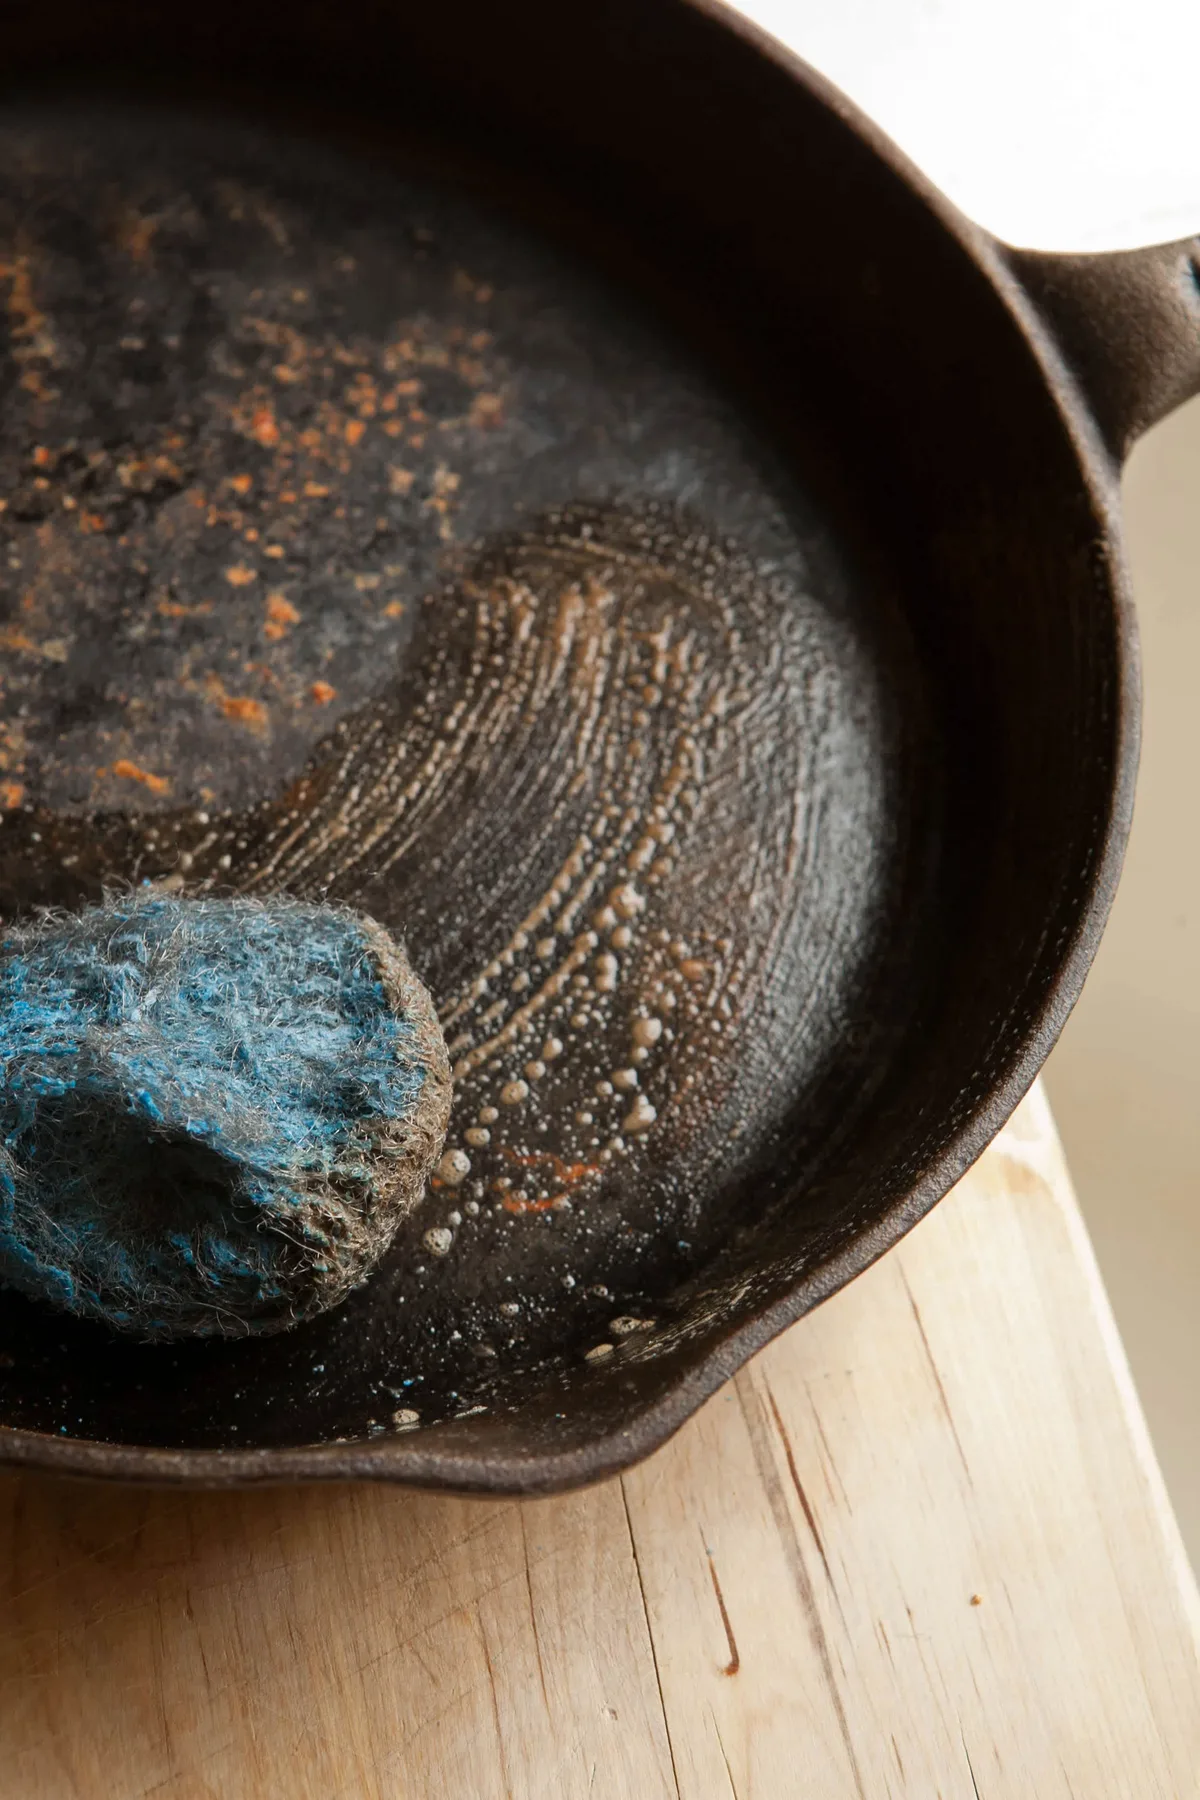
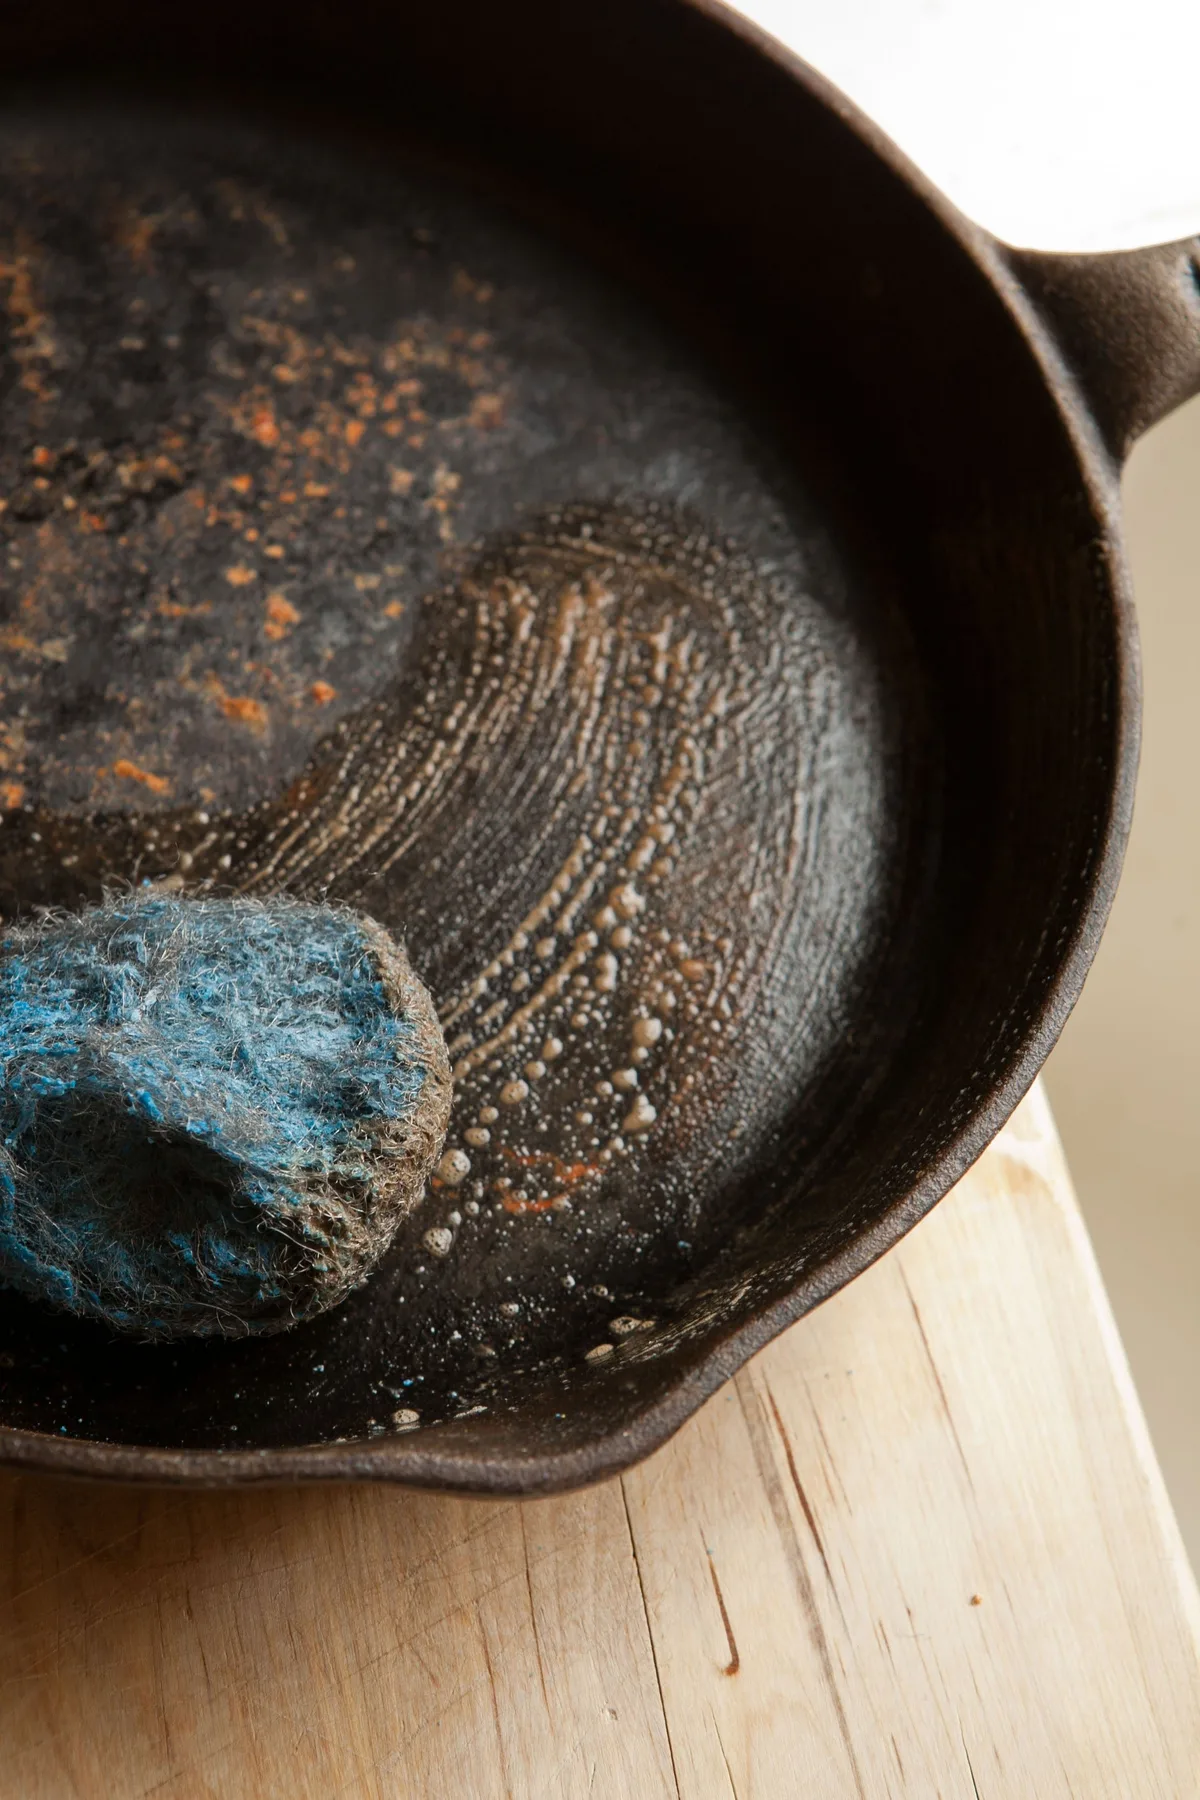
Image source: Web (Bing) / thekitchn.com (Web image (fair-use with source credit))
How to Diagnose Your Rust Level (and Why It Matters)
The right restoration path depends on one thing. How deep does the rust go?
Light rust looks like surface discoloration. You can barely feel it with your finger. The original seasoning is mostly gone, but the iron underneath is still smooth.
This often happens when a pan sits in a humid cabinet for a few weeks.
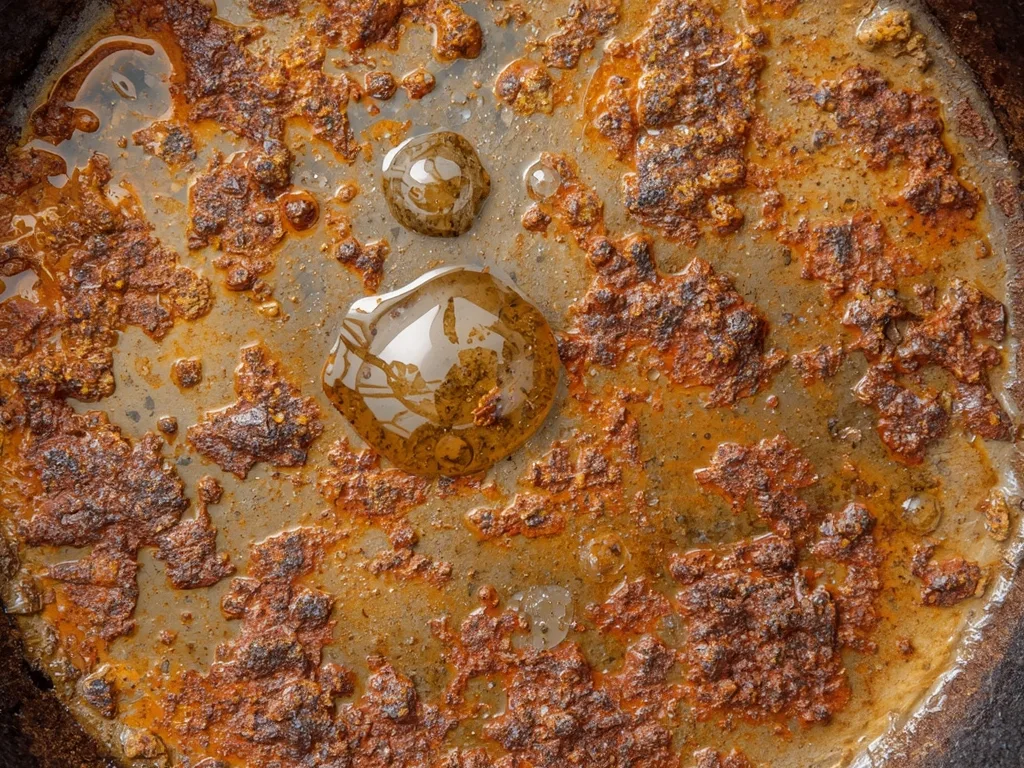
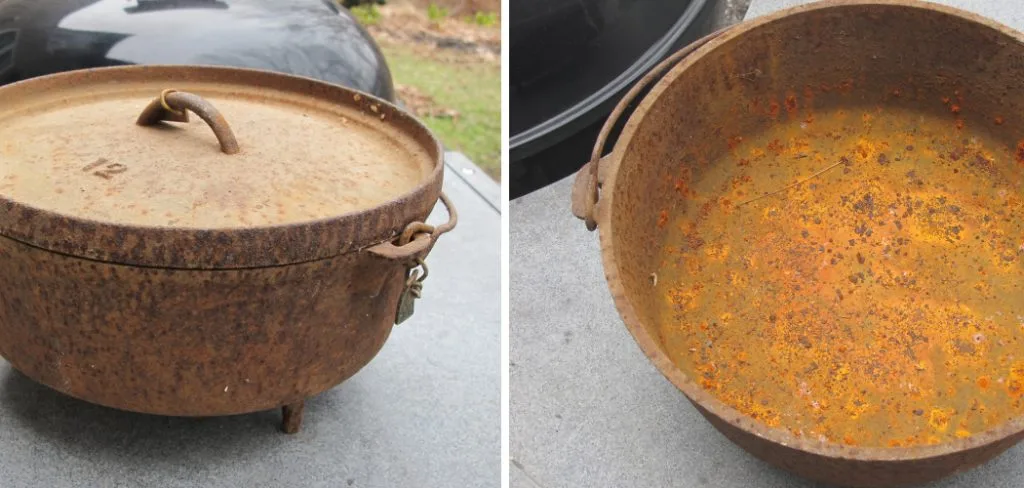
Moderate rust shows orange powder on the surface. The pan feels rough or gritty to the touch. Flakes of rust come off on your finger.
This rust has eaten into the top layer of the iron.
Heavy rust with pitting has deep craters or holes. Layers of rust are flaking off in sheets. This happens when moisture sits on the pan for months or years.
Why does this matter? Using a vinegar soak on light rust wastes time and adds unnecessary work. Scrubbing heavy rust with steel wool will not fix the pitting.
If you season over pitting, you trap moisture. The rust will come back within weeks. You must strip the pan to bare metal first.
Quick Answer: Is Your Cast Iron Salvageable?
Yes, rusty cast iron is almost always salvageable. Scrub light rust with soap and steel wool. Soak moderate rust in equal parts vinegar and water.
Use electrolysis for deep pitting. Season bare metal with thin oil layers. Bake upside down to polymerize the coating.
How to Remove Rust (Three Methods Based on Your Assessment)
Light Rust: Scrub and Soap Method
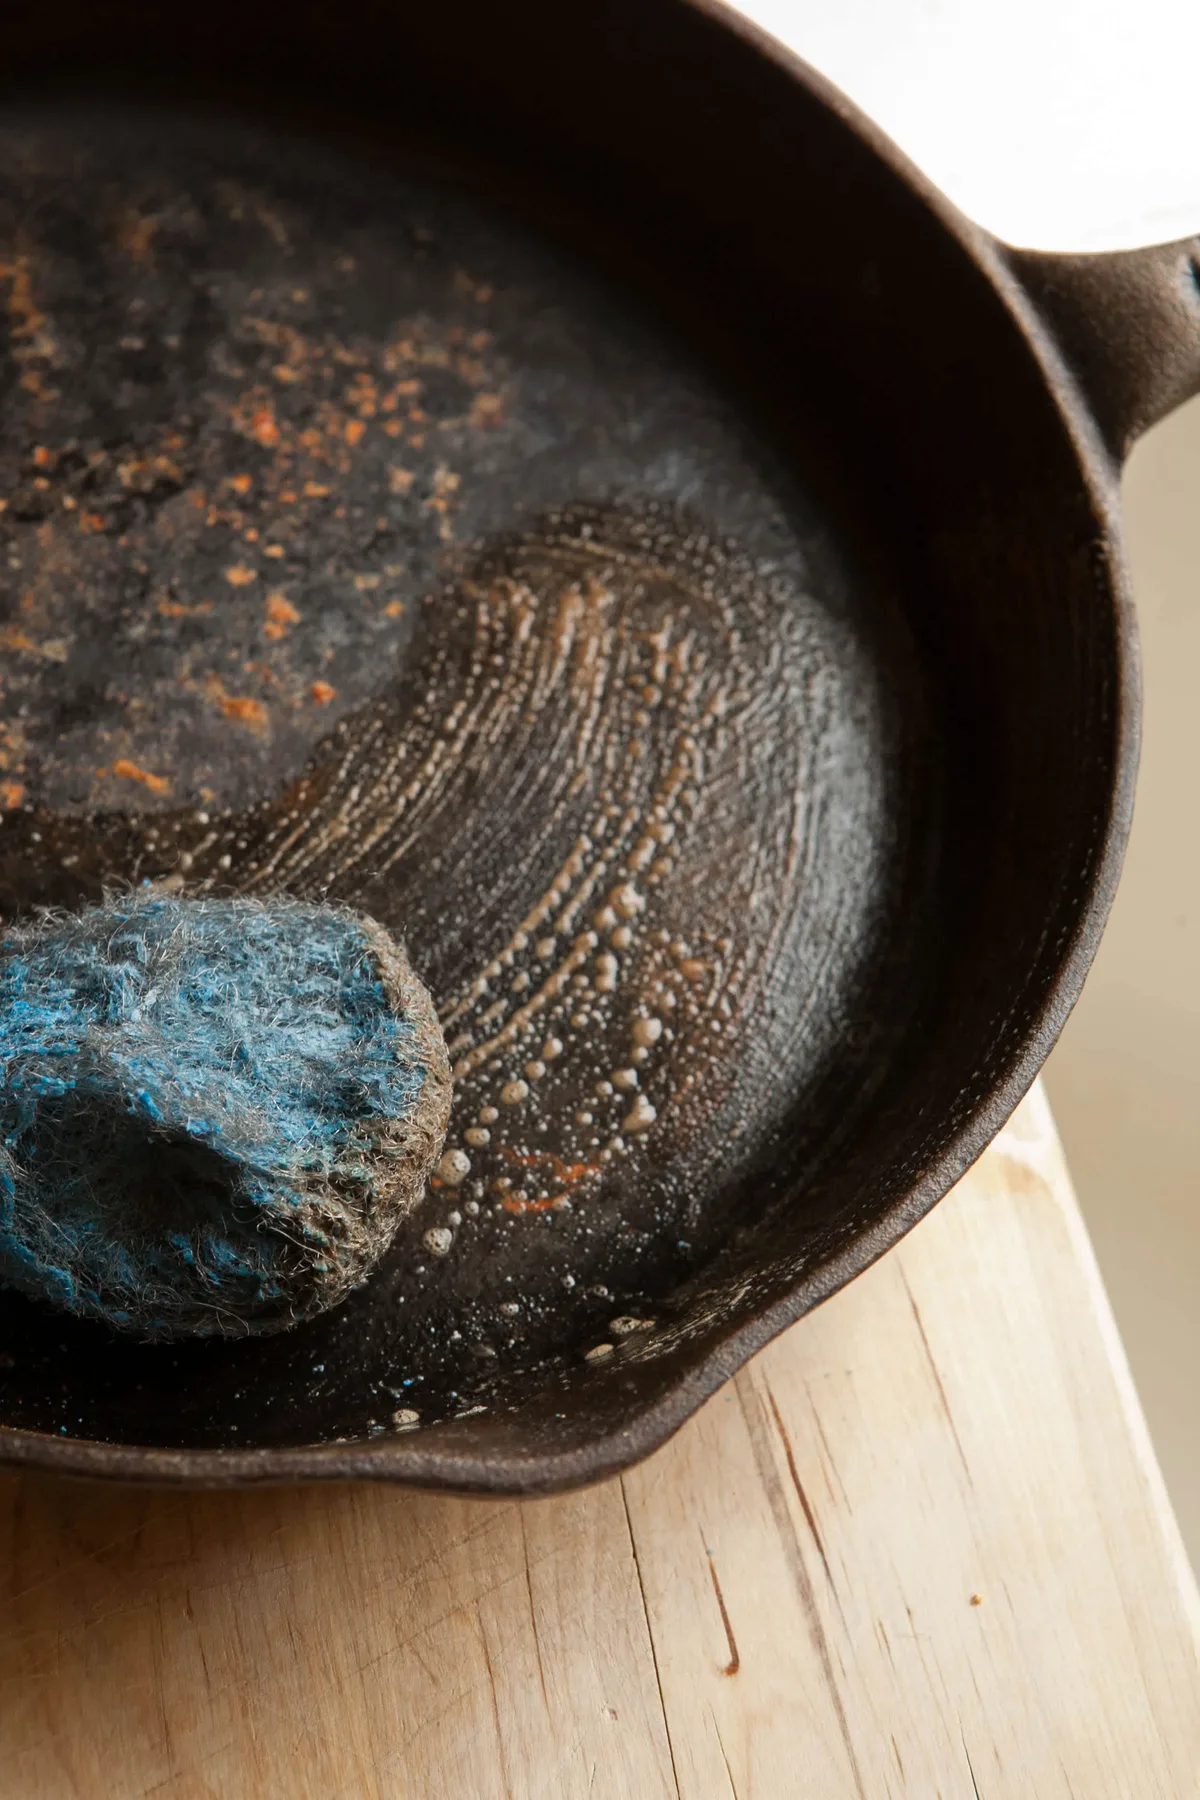
For light rust, you do not need harsh chemicals. Grab a pad of fine steel wool. The 0000 grade is best because it scours without gouging the iron.
Apply a small squirt of liquid dish soap to the pan. Scrub the rusted area in a circular motion. Rinse the pan with warm water.
Dry it immediately with a clean cloth. Then place it over a low burner for two minutes to drive off any remaining moisture.
You should see bare gray iron. Apply a very thin layer of oil right away. This prevents flash rust from forming on the exposed metal.
Moderate Rust: Vinegar Soak Method
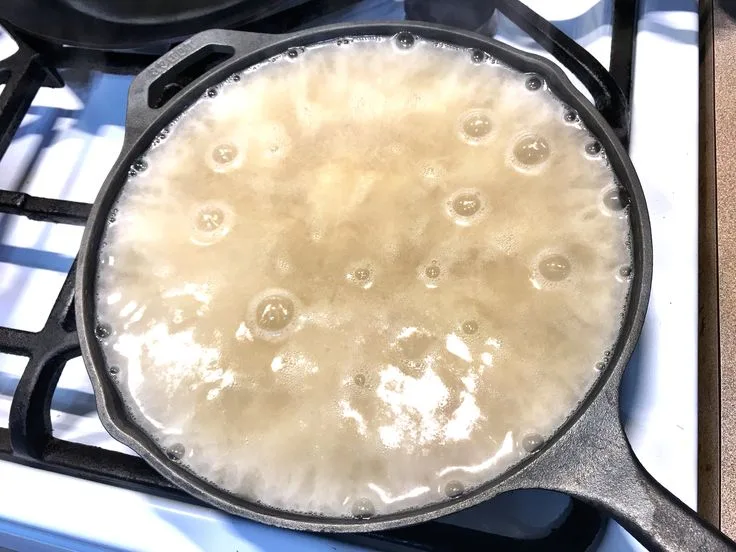
Image source: Bing (Web (fair-use with source credit))
Mixed ratings report that a vinegar soak is the most reliable way to dissolve moderate rust without damaging the pan. Mix a 50/50 solution of distilled white vinegar and water in a plastic tub. Submerge the pan completely.
Check it every 30 minutes. Total soak time should not exceed two hours. Vinegar is acidic, and leaving it too long will etch the iron.
You want to remove the rust, not eat away the surface grain.
After soaking, scrub the pan with a stiff nylon brush under running water. Neutralize the acid with a paste of baking soda and water. Rinse again and dry immediately.
You will see bare dull gray metal.
Heavy Rust or Pitting: Electrolysis Method
For deep pitting, scrubbing and vinegar will not reach the bottom of the craters. Electrolysis uses a low voltage current to lift rust out of the pores.
You need a plastic bucket, water, washing soda (sodium carbonate), a stainless steel or rebar anode, and a battery charger. Submerse the pan fully in the solution. Connect the charger leads.
Positive goes to the anode. Negative goes to the pan.
The current pulls rust ions off the pan and deposits them onto the anode. Run the setup for 12 to 24 hours. Afterward, scrub the pan with a scouring pad under water.
Dry it immediately and apply oil.
Warning: This method involves electricity and water. Work in a ventilated area. Never connect the leads while the charger is plugged in.
If this sounds too complex, a professional sandblasting service can also handle heavy pitting.
Seasoning Your Restored Pan: Step-by-Step
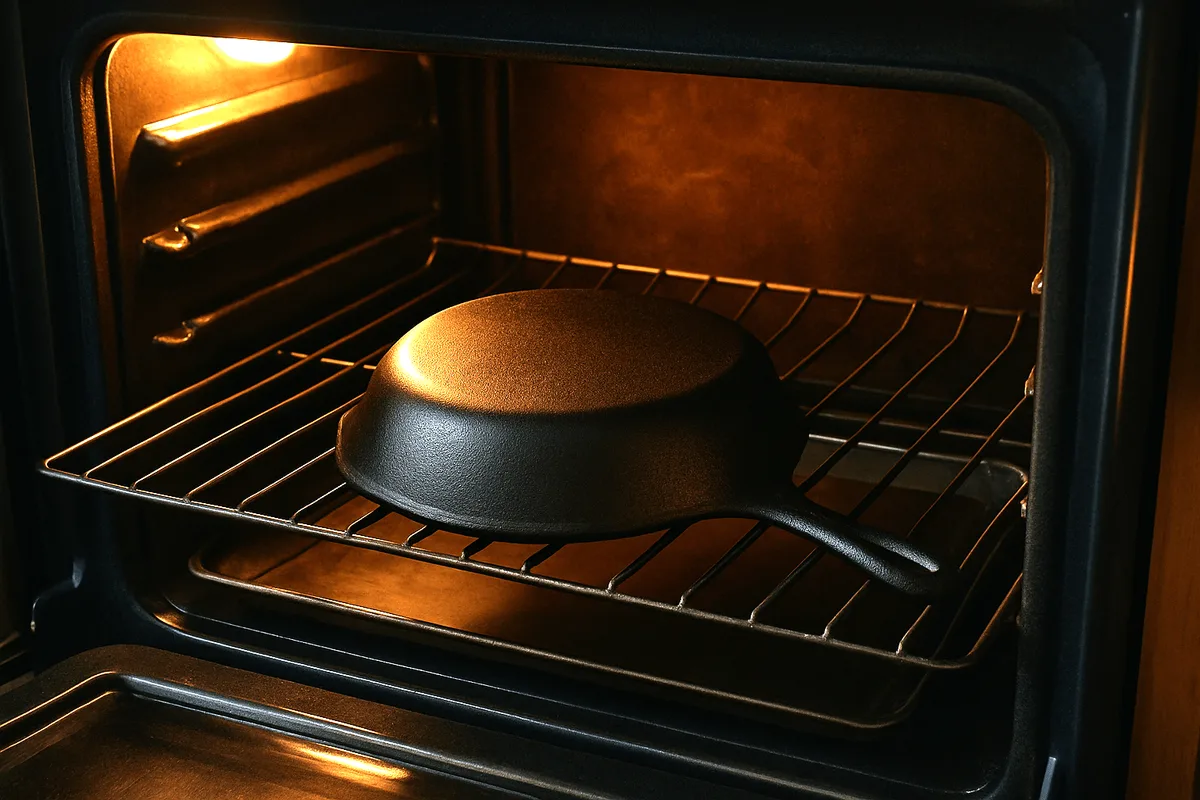
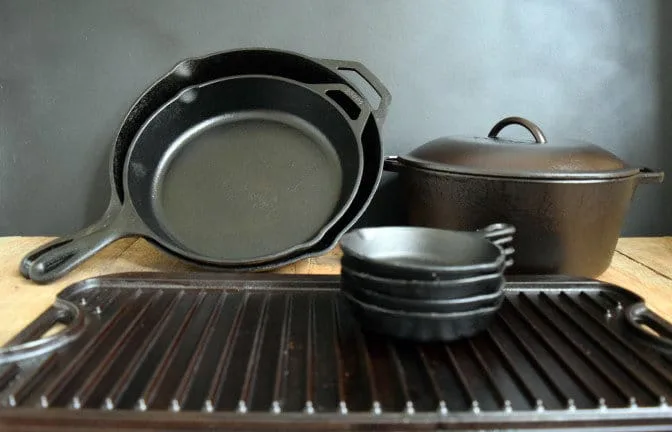
Image source: Bing (Web (fair-use with source credit))
You have bare clean iron. Now you need to rebuild the nonstick coating. This is where patience pays off.
Step 1: Warm the pan. Place it in the oven at 200°F for 15 minutes. This opens the pores of the metal so the oil bonds better.
Step 2: Apply oil. Use a high smoke point oil. Flaxseed oil makes a hard coating. Grapeseed or canola oil are also excellent options.
Crisco shortening is a classic choice that has been used for decades.
Step 3: Wipe it off. Use a lint free cloth. Wipe the oil on, then wipe it off completely. The pan should look dry with no visible oil pools.
Step 4: Bake upside down. Place the pan upside down in the oven. Put a baking sheet on the rack below to catch any drips.
Step 5: Heat. Bake at 450°F to 500°F for one hour. This temperature is above the smoke point of the oil. It causes the oil to polymerize into a hard plastic like coating.
Step 6: Cool. Let the pan cool in the oven. Do not open the door until it is fully cooled.
Repeat. Apply at least three coats. For a very slick surface, do five or six coats.
Common Mistakes That Ruin a Restoration
Sticky seasoning. This is the most common problem. You applied too much oil. The rule is to wipe it on and then wipe it off as if you made a mistake.
Oil pools create a gummy sticky layer that never hardens properly.
Flash rust. You cleaned the pan and let it air dry. A light orange rust formed almost instantly. Bare iron reacts with oxygen and humidity.
To prevent flash rust, dry the pan with a towel, then heat it on the stove or in the oven until it is too hot to touch.
Over soaking in vinegar. Leaving the pan in a vinegar bath overnight is a terrible idea. The acid eats into the grain of the iron. It creates a rough etched surface that is very difficult to season.
Stick to 30 minute checks and a maximum of two hours.
Skipping layers. One layer of seasoning is not enough. It will look patchy, and food will stick. You need multiple thin layers to build a durable nonstick surface.
Plan for at least three rounds in the oven.
Seasoning over rust. Some people scrub the loose rust and apply oil directly. Do not do this. Any remaining rust will continue to corrode underneath the seasoning.
The seasoning will bubble and flake off within weeks. You must strip the pan down to the bare iron first.
Safety First: What to Watch For
Lead contamination. This is the biggest hidden risk. Vintage cast iron pans were occasionally used as melting pots for lead in home workshops. Running a lead test kit on the bare iron surface costs about $15.
It is worth every penny for flea market finds or inherited pans.
Thermal shock. Never pour cold water into a hot pan. A rapid temperature change of more than 300°F can crack or warp the iron. Let the pan cool completely before washing.
This is especially critical during the restoration process when the pan moves between vinegar soaks and oven heat.
Fumes and ventilation. Seasoning oil produces smoke. That is the oil reaching its smoke point. The smoke can trigger fire alarms and irritate your lungs.
Always season near an open window or under a range hood. Keep a close eye on the oven during the first 15 minutes of each seasoning cycle.
Bare iron handling. After stripping the rust, the pan is exposed raw metal. It will rust within minutes in humid air. Keep the pan oiled at every step until the first seasoning layer goes on.
Frequently Asked Questions
Can I use soap on a reseasoned cast iron pan?
Yes. Modern dish soap is safe for seasoning. The polymerized oil layer is fully cured and will not wash away with mild soap.
Aggressive scrubbing with steel wool is what damages the seasoning.
How long does the entire restoration take?
Light rust takes about two hours. Moderate rust requires a vinegar soak plus seasoning time, totaling five to six hours. Heavy rust with electrolysis needs 24 hours just for the current to lift the rust.
Seasoning adds one hour per layer.
What is the best oil for reseasoning?
Grapeseed oil and Crisco perform best in our research. They polymerize at 450°F with a hard, durable finish. Flaxseed produces a beautiful glossy coat but flakes easily under heavy use.
Canola oil is a budget friendly option that works well.
My seasoning looks sticky. What went wrong?
You left too much oil on the pan. The excess never polymerized and remained soft. Fix it by placing the pan in a 400°F oven for one hour.
The remaining oil will bake into a smooth coating.
Can I restore a pan with black sticky buildup?
Yes. The sticky gunk is old burned-on oil and food. Strip it with oven cleaner in a sealed bag overnight, or use electrolysis.
After it is stripped to bare iron, follow the normal rust removal and seasoning steps above.
Final Decision Guide: Which Path Should You Take?
This whole process comes down to one honest assessment. Look at your pan and decide whether the rust is light, moderate, or heavy. Then follow the branch that matches.
| Condition | Method | Total Time | Effort |
|---|---|---|---|
| Light surface rust | 0000 steel wool + soap | 15 minutes | Low |
| Moderate rust | 50/50 vinegar soak | 3 to 4 hours | Medium |
| Heavy rust or pitting | Electrolysis | 24 to 30 hours | High |
| Sticky old seasoning | Oven cleaner strip | 12 hours plus bake time | Medium |
For a light rust pan, skip the vinegar entirely. Scrub it, dry it on the stove, and apply one seasoning layer. You will be cooking within two hours.
For a moderate rust pan, commit to the vinegar soak and the full seasoning cycle. Invest in five layers of seasoning. The pan will be better than when you found it.
For a heavy rust or pitted pan, do not cut corners. Electrolysis is the only method that removes rust from the pores. The time investment is significant, but vintage pans with smooth surfaces are worth it.
The seasoning steps stay the same for every path: warm the pan, apply a whisper-thin oil coat, bake upside down for one hour at 450°F to 500°F, and repeat three to five times.
Restoring rusty cast iron is a skill you only need to learn once. After the first successful batch, the maintenance becomes a simple routine. Keep the pan dry, oil it lightly after each use, and it will never need this level of rescue again.

Similar Posts