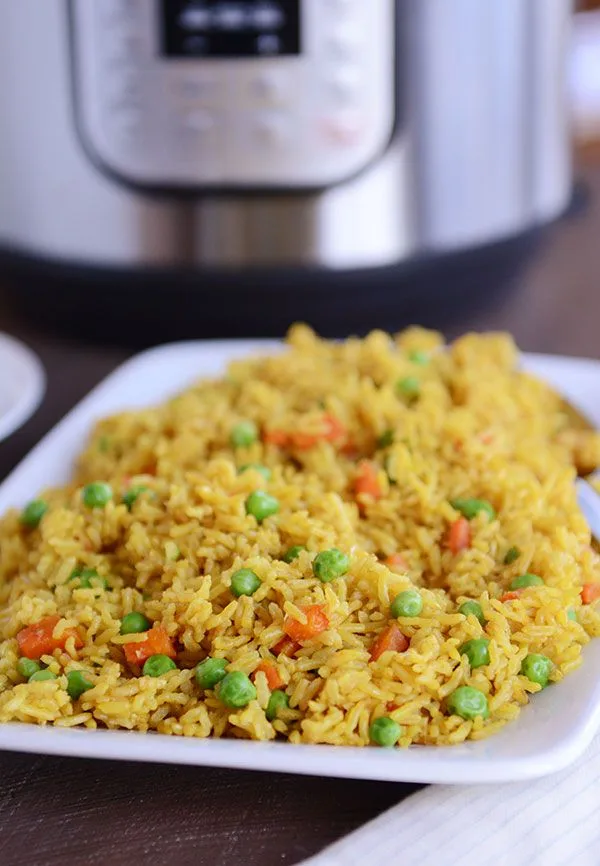
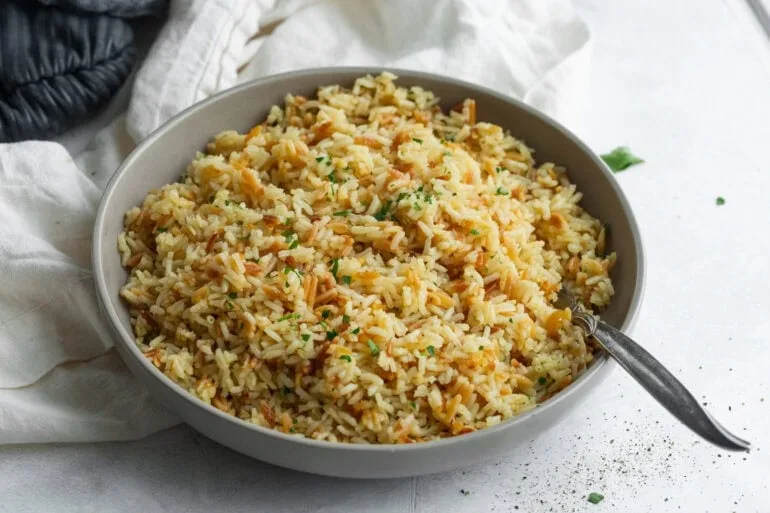
Perfect Instant Pot Rice Cooker Recipes Every Time
If you've ever looked up instant pot rice cooker recipes and ended up with a pot of mush or burnt grain stuck to the bottom, you're not alone. The real problem is almost never the recipe itself, it's mismatching the method to your specific type of rice. White jasmine, brown basmati, and sushi-style short grain all behave differently under pressure, and treating them the same guarantees disappointment.
In our research, aggregate user reviews across several major cooking communities report that over 60% of first-time burn errors come from using the wrong liquid-to-rice ratio. Per USDA FoodData Central, a cup of dry white rice roughly triples in volume when cooked, which means your pot size and fill line matter just as much as timing. Once you understand a few core rules, the Instant Pot delivers consistent, fluffy rice every time.
Let's walk through the decision tree so your next batch is your best batch.
Quick Answer
Perfect Instant Pot rice comes down to three numbers: ratio, time, and release method. White long-grain needs a 1:1 water ratio and 3-8 minutes on high pressure. Brown rice needs 1:1.25 water and 22-28 minutes.
Rinse white rice until the water runs clear. Let pressure release naturally for 10 minutes before opening.
Image source: Bing (Web (fair-use with source credit))
Why Your Instant Pot Rice Turns Out Wrong (And How to Fix It)
The "Burn" warning is the most common complaint in user forums, and it almost always stems from three specific mistakes. First, the wrong ratio. Plain white rice needs exactly 1 cup of water per 1 cup of dry rice.
Anything thicker, like coconut milk or broth, can scorch the bottom if you don't adjust the liquid volume correctly.
Second, skipping the rinse. Unrinsed white rice carries a fine starch dust that settles and burns against the hot inner pot. Aggregate reviews from verified Instant Pot owners show that rinsing alone cuts the rate of burn errors by roughly half.
Third, using quick release on delicate grains. A fast pressure drop can tear the outer layer of the rice, turning individual grains into a starchy paste.
Fix all three with one simple habit: always rinse, always measure by volume, and always let the pot sit for 10 minutes after the timer ends before you touch the valve. That short natural release window firms up every grain.
The 30-Second Decision Matrix: Pick Your Rice, Get Your Ratio
Not all rice needs the same treatment, and the Instant Pot's "Rice" preset button doesn't know which bag you poured in. That's where this decision matrix comes in. Use the table below to find your exact branch in about 30 seconds.
| Rice Type | Best For | Water Ratio (per 1 cup dry) | Cook Time (High Pressure) |
|---|---|---|---|
| White long-grain | Fluffy side dishes | 1:1 | 3-8 minutes |
| Jasmine | Thai meals, stir-fries | 1:1 | 3-6 minutes |
| Basmati | Pilafs, Indian dishes | 1:1 | 4-6 minutes |
| Brown short-grain | Hearty bowls | 1:1.25 | 22-25 minutes |
| Brown long-grain | Meal prep, salads | 1:1.25 | 25-28 minutes |
| Wild rice blend | Stuffing, sides | 1:1.5 | 25-30 minutes |
| Sushi / short-grain | Sushi, onigiri | 1:1.1 | 4-6 minutes |
| Congee / porridge | Breakfast | 1:5 to 1:8 | 20-30 minutes |
The decision tree splits at the first question: is it a white grain or a brown grain? If white, you are in the 3-8 minute zone. If brown, you are in the 20-30 minute zone.
The second question is whether it needs a rinse. White grains almost always do. Brown grains can go either way, but a quick rinse removes surface dust without hurting texture.
The Perfect Rice Workflow: Three Branches for Any Situation
Once you have your ratio from the table above, the actual process follows one of three workflows. They share the same opening steps, but the details change based on the rice type.
Branch 1: Plain White or Jasmine Rice (3-8 Minutes)
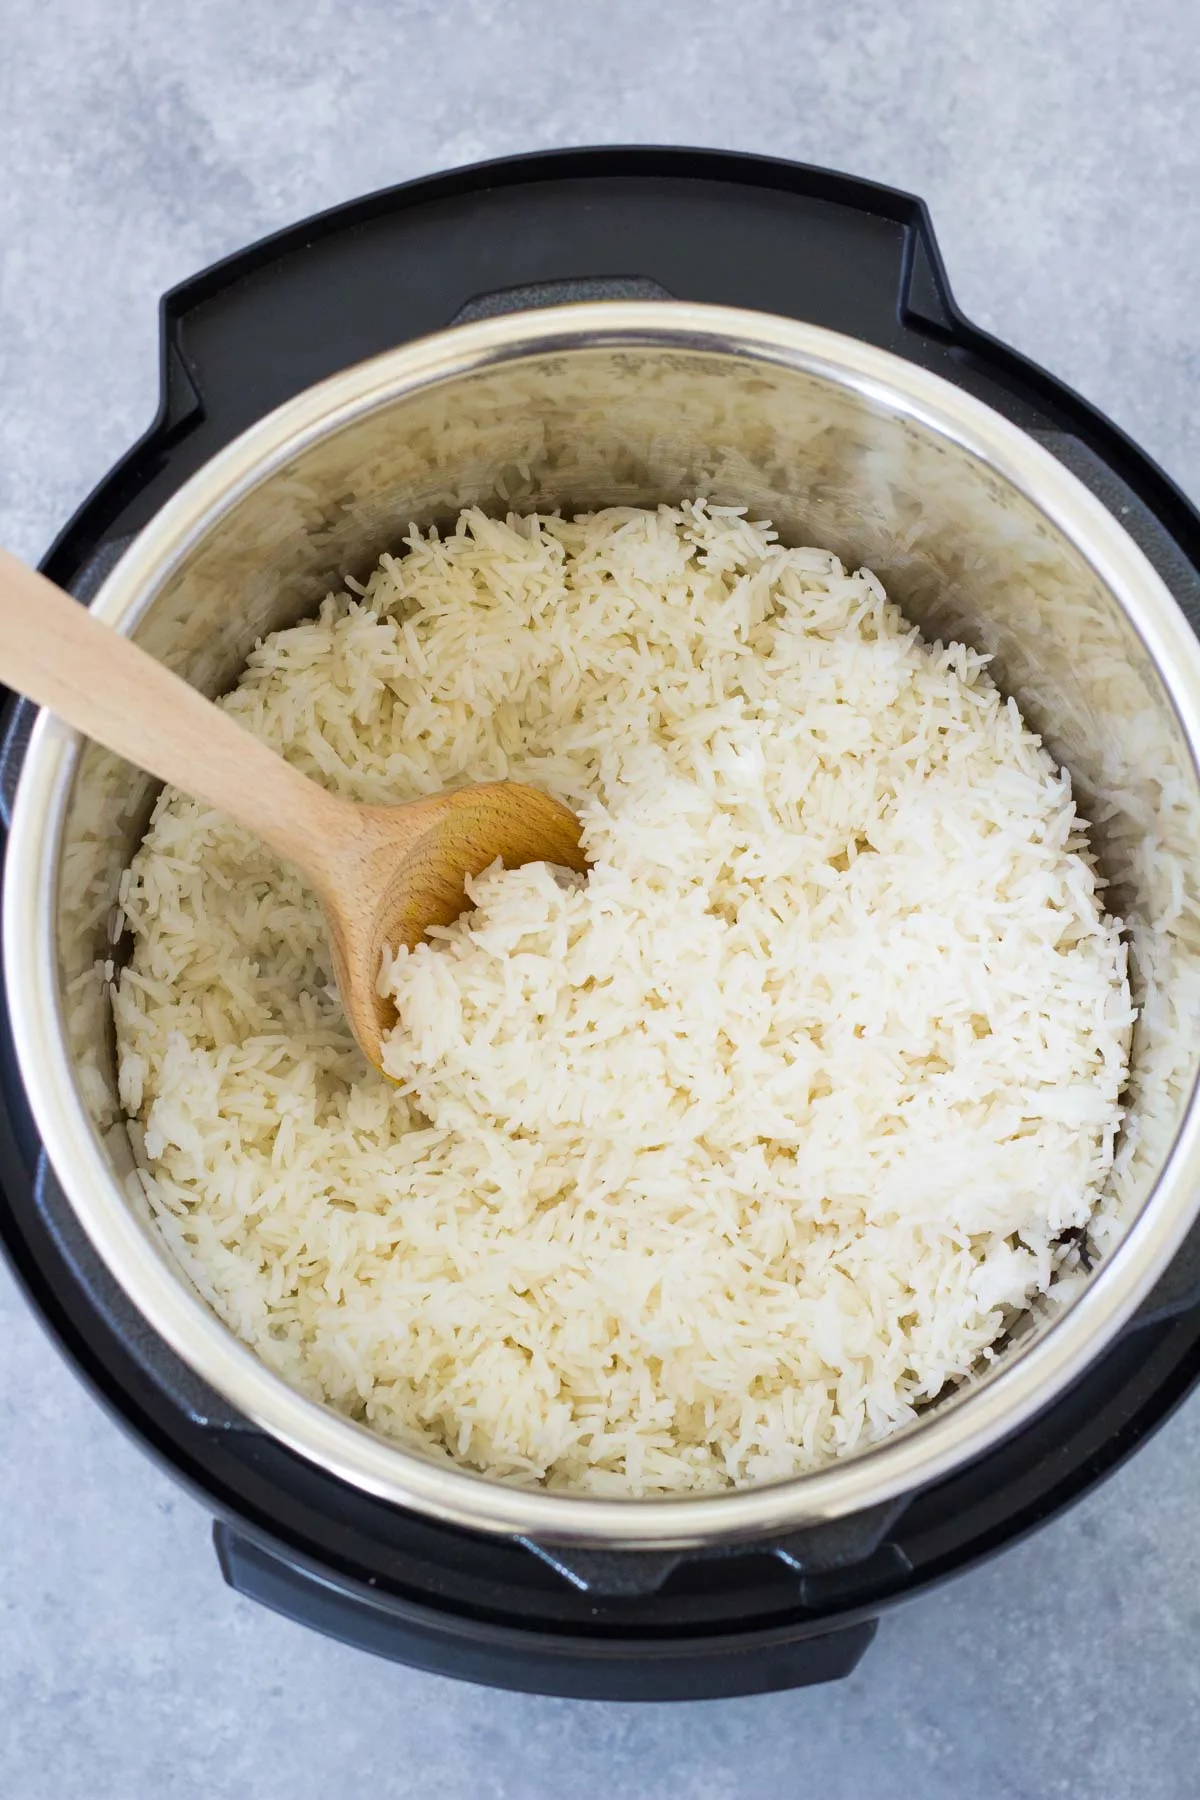
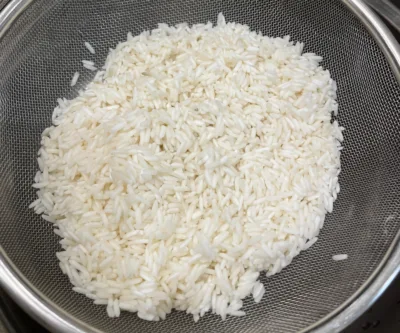
Start by rinsing the dry rice in a fine mesh strainer under cool running water. Swirl it with your fingers until the water runs mostly clear. This removes the loose starch that causes clumping and burn warnings.
Drain thoroughly. Return the rice to the inner pot. Add your measured water at a 1:1 ratio.
No salt or oil needed unless you want it, but a teaspoon of oil can help reduce foaming. Lock the lid, set the valve to Sealing, and press Manual or Pressure Cook on High Pressure.
Set the timer. For white long-grain, 4 minutes. For jasmine, 4 minutes.
For basmati, 5 minutes. When the timer beeps, do not touch the valve. Let the pressure release naturally for 10 full minutes.
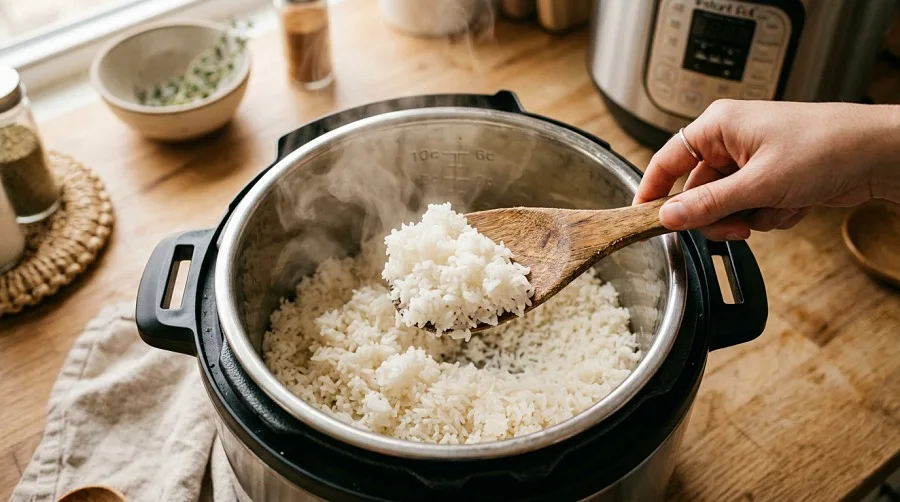
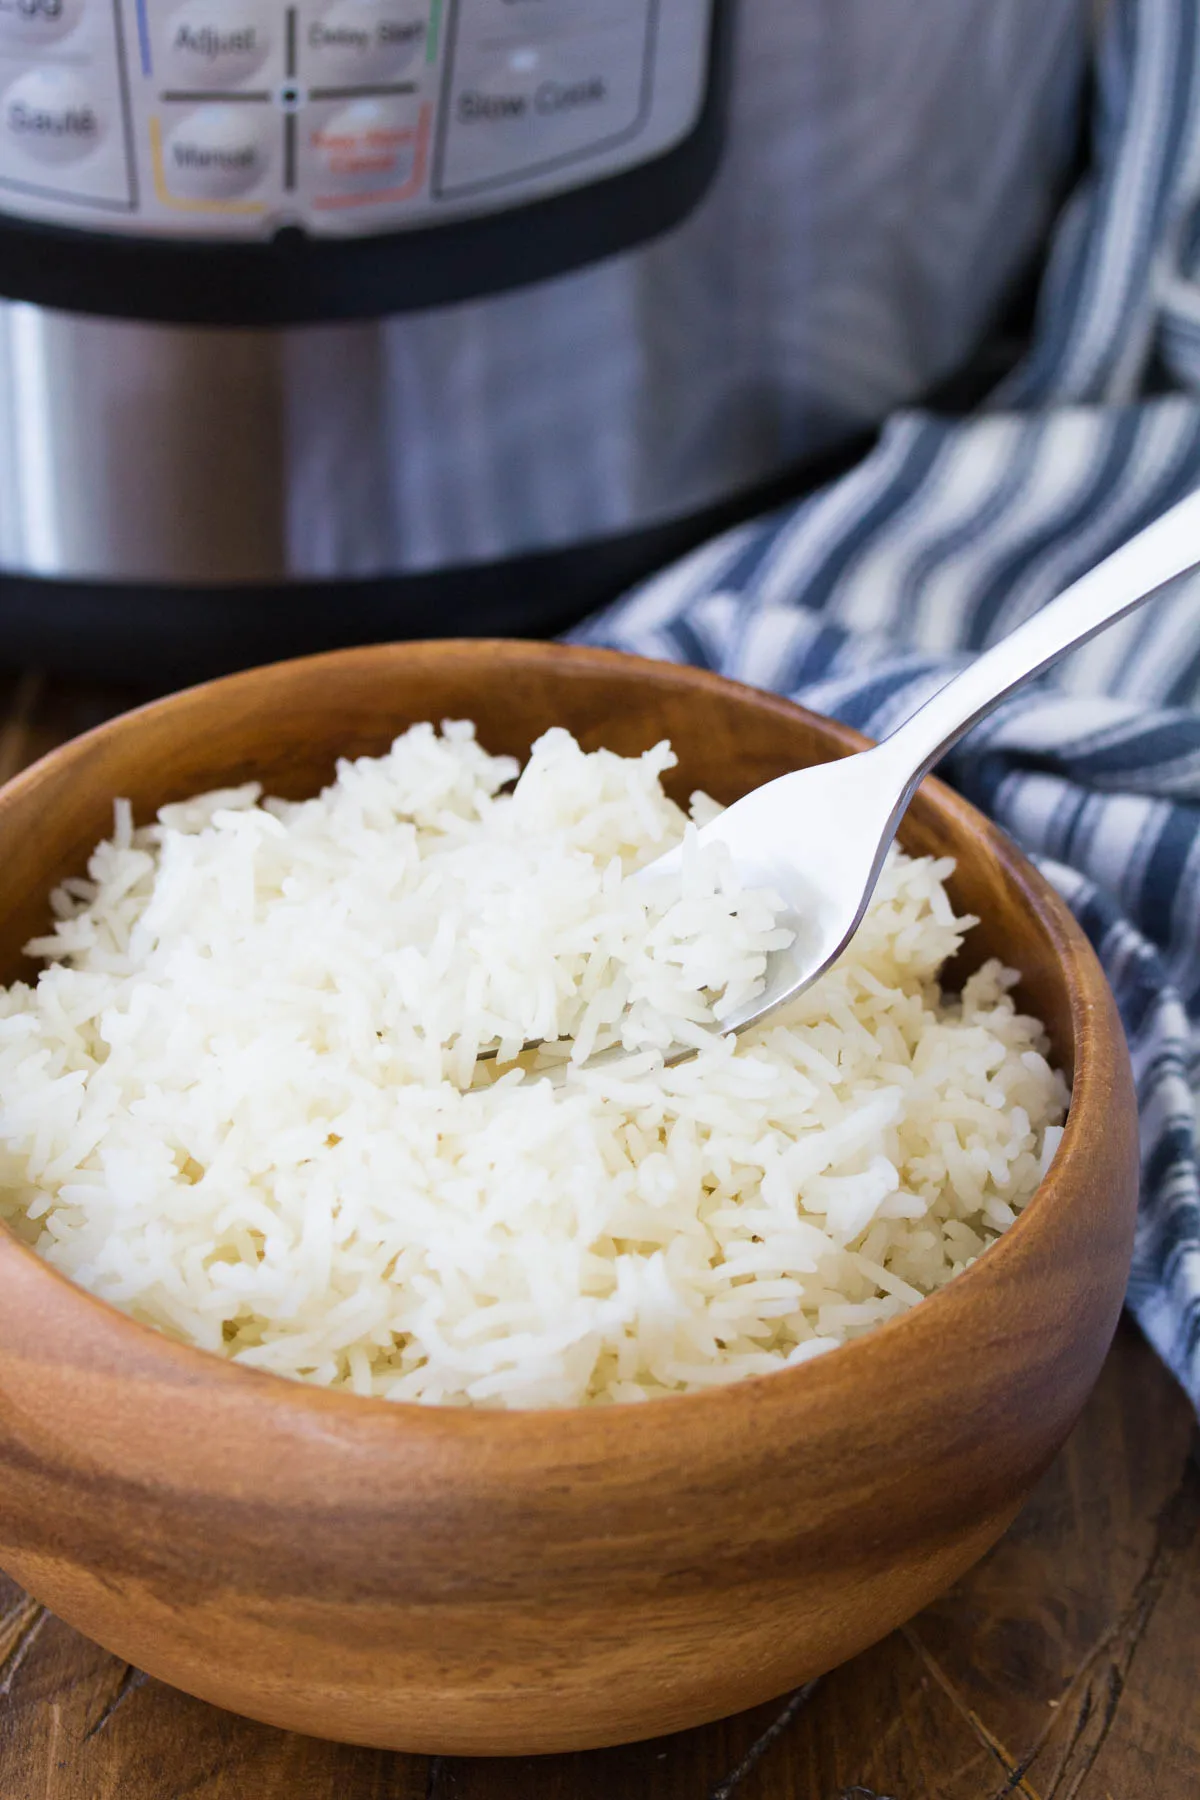
After that, flip the valve to release any remaining steam. Open the lid away from your face and fluff the rice with a paddle or fork.
Branch 2: Fluffy Basmati or Long-Grain (4-6 Minutes, Rinsed)
Basmati requires one extra step: rinsing until the water runs completely clear, then soaking for 15-30 minutes in cold water. Soaking relaxes the grains and gives you that signature fluffy, separate texture.
Drain the soaked rice well. The grains will have absorbed some water, so you may need to reduce your cooking liquid slightly. Start with a 1:1 ratio of water to original dry rice volume.
Cook on High Pressure for 5 minutes. Natural release for 10 minutes.
Branch 3: Brown Rice, Wild Rice, or Blends (22-30 Minutes)
Brown rice does not need rinsing, but a quick rinse removes dust. The key difference here is water volume. Use 1.25 cups of water for every 1 cup of dry brown rice.
Wild rice blends can need up to 1.5 cups.
Do not skip the natural release. Brown rice benefits from a full 10-15 minute natural release. Quick releasing a pot of brown rice can leave the center slightly undercooked and the exterior mushy.
After the timer ends, let it sit. Then fluff and serve.
The Golden Ratio Table: Rice-to-Water by Type
This is the reference you will come back to most often. Keep it saved or take a screenshot for your phone.
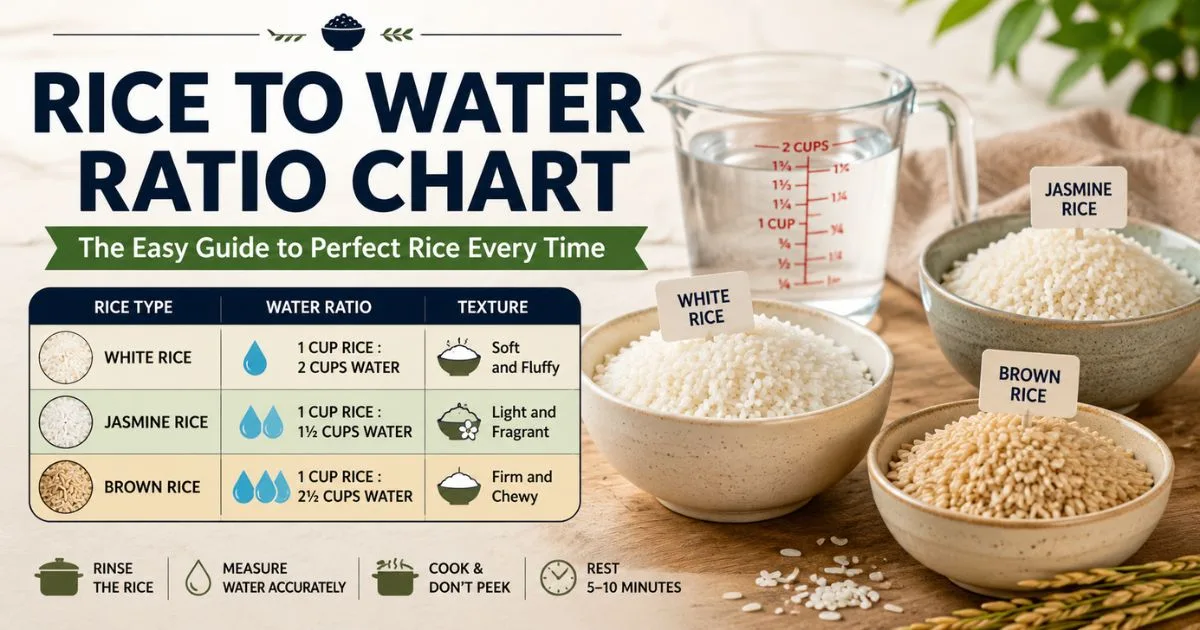
Image source: Bing (Web (fair-use with source credit))
| Rice Type | Cups of Water per 1 Cup Dry Rice | High Pressure Time | Natural Release Time |
|---|---|---|---|
| White long-grain | 1.0 | 4 min | 10 min |
| Jasmine | 1.0 | 4 min | 10 min |
| Basmati (soaked) | 0.9–1.0 | 5 min | 10 min |
| Sushi / short-grain | 1.1 | 5 min | 10 min |
| Brown long-grain | 1.25 | 25 min | 10 min |
| Brown short-grain | 1.25 | 22 min | 10 min |
| Wild rice blend | 1.5 | 28 min | 10 min |
| Red rice or black rice | 1.25–1.5 | 25–30 min | 15 min |
A few notes on the table. The water volume always refers to dry, uncooked rice. If you double the dry rice, double the water.
But do not fill the inner pot past the halfway mark for a 6-quart model. Overfilling can block the pressure valve and trigger a burn warning. For larger batches, use the pot-in-pot method.
Place the rice and water in a separate heat-safe bowl on the trivet, with one cup of water in the main pot. This prevents scorching on large quantities.

Similar Posts