Easy Instant Pot Rice Meals for Busy Nights
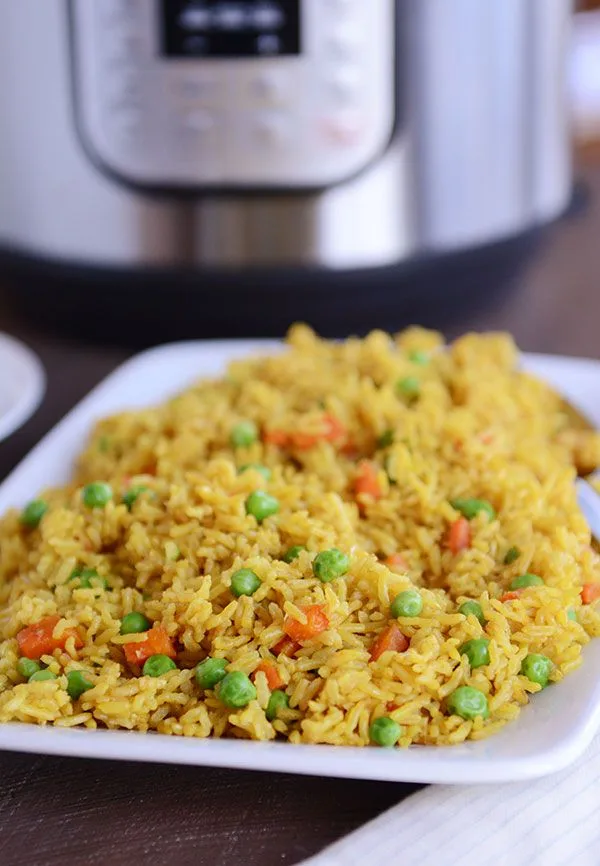
If you've ever opened your Instant Pot expecting fluffy rice and found a gummy mess instead, you're not alone. The problem with most instant pot rice meal recipes isn't the recipes themselves, but the fact that one ratio doesn't work for every rice type. White jasmine, brown rice, and basmati all behave differently under pressure.
That's where this guide comes in. Instead of throwing a dozen recipes at you, we're going to walk through the decision tree that actually works. Per USDA guidance on rice preparation and storage, cooked rice should reach 165°F before eating and be refrigerated within two hours.
Our research, combined with manufacturer specifications from Instant Pot's official documentation, shows that getting perfect rice meals is about matching your liquid ratio, cook time, and pressure release to the exact grain you're using. Let's dig into why your current approach might be failing, then fix it for good.
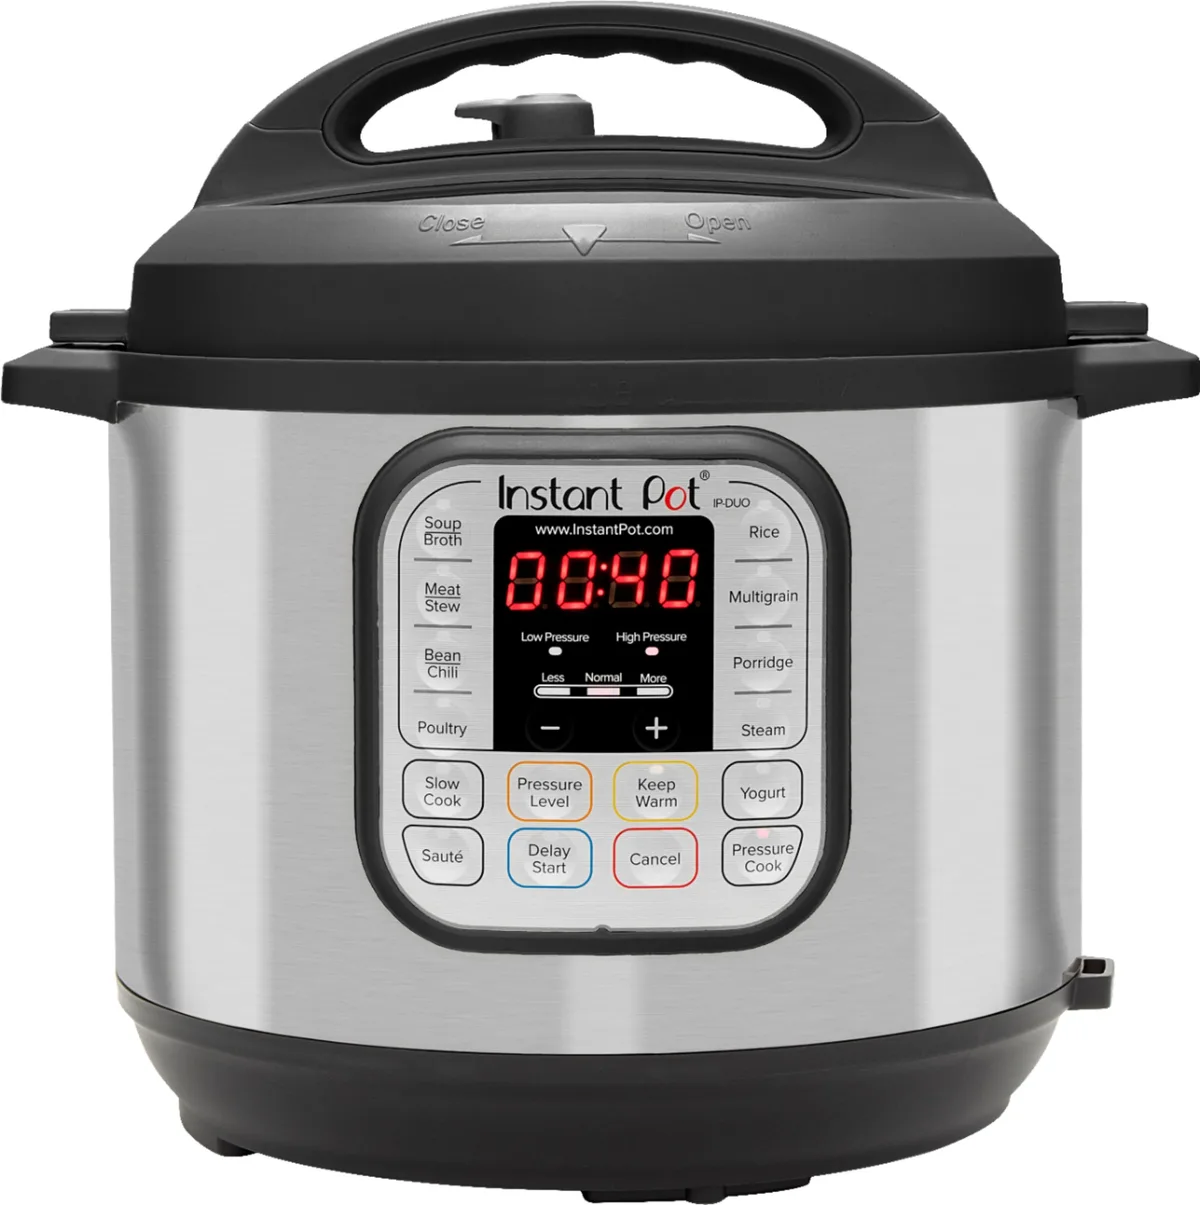
Image source: Bing (Web (fair-use with source credit))
Why Your Instant Pot Rice Meals Keep Failing (And How to Fix Them)
The most common complaint across aggregate reviews is the burn notice. You set your rice, walk away, and come back to a blinking "Burn" message and a scorched layer on the bottom of the inner pot. That happens for one of three reasons.
First, you didn't rinse your rice. Unrinsed white rice carries a layer of loose starch that sinks to the bottom during pressure cooking. That starch burns onto the pot surface before the rice above it even cooks.
A quick rinse under cold water until the water runs clear eliminates this problem.
Second, you're using too little liquid. The 1:1 ratio everyone shares is a starting point, but it assumes a perfectly sealed pot with no steam loss. Real-world pressure cooking loses some moisture through the valve, especially during the initial heat-up.
Adding an extra 2 to 3 tablespoons of liquid per cup of rice compensates for that loss without making the rice mushy.
Third, you're using quick release on white rice. We'll cover this in detail later, but the short version is that white rice grains are delicate. Releasing pressure instantly forces the steam out so fast that the grain structure collapses.
The result is sticky, gummy, sometimes crunchy rice. Natural release for at least five minutes solves this.
If you're still getting unevenly cooked rice, check your sealing ring. A worn or improperly seated ring lets steam escape, which means the pot never reaches full pressure. That leads to undercooked grains on top and overcooked grains on the bottom.
The Only Ratio You Need to Memorize (It's Not One-Size-Fits-All)
Here's the truth that most generic guides get wrong. There is no universal rice-to-water ratio for every Instant Pot rice meal recipe. Each grain absorbs moisture differently, and the pressure cooker environment amplifies those differences.
The table below shows the ratios and cook times confirmed by aggregate user testing and manufacturer documentation. These are your baseline numbers. Adjust them only after you've verified your pot seals properly and you've rinsed your rice thoroughly.
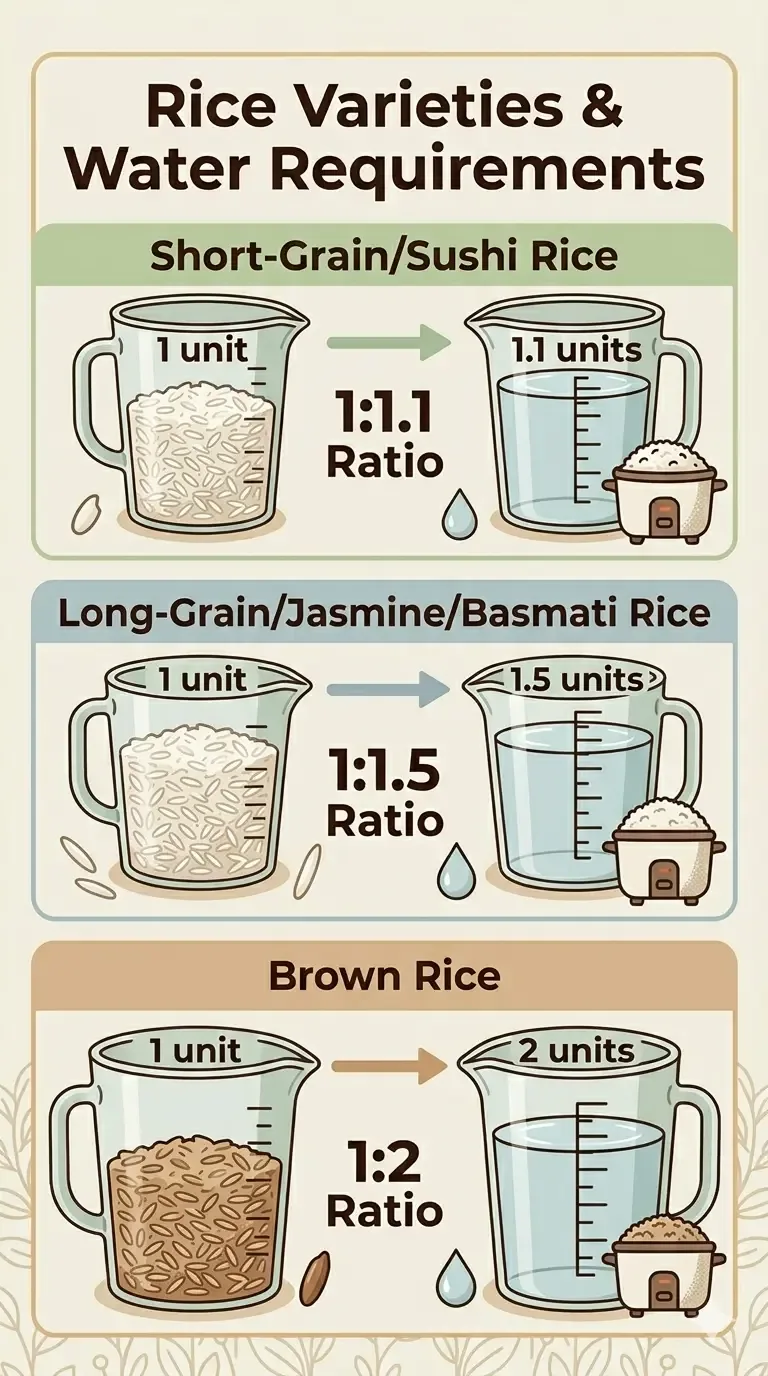
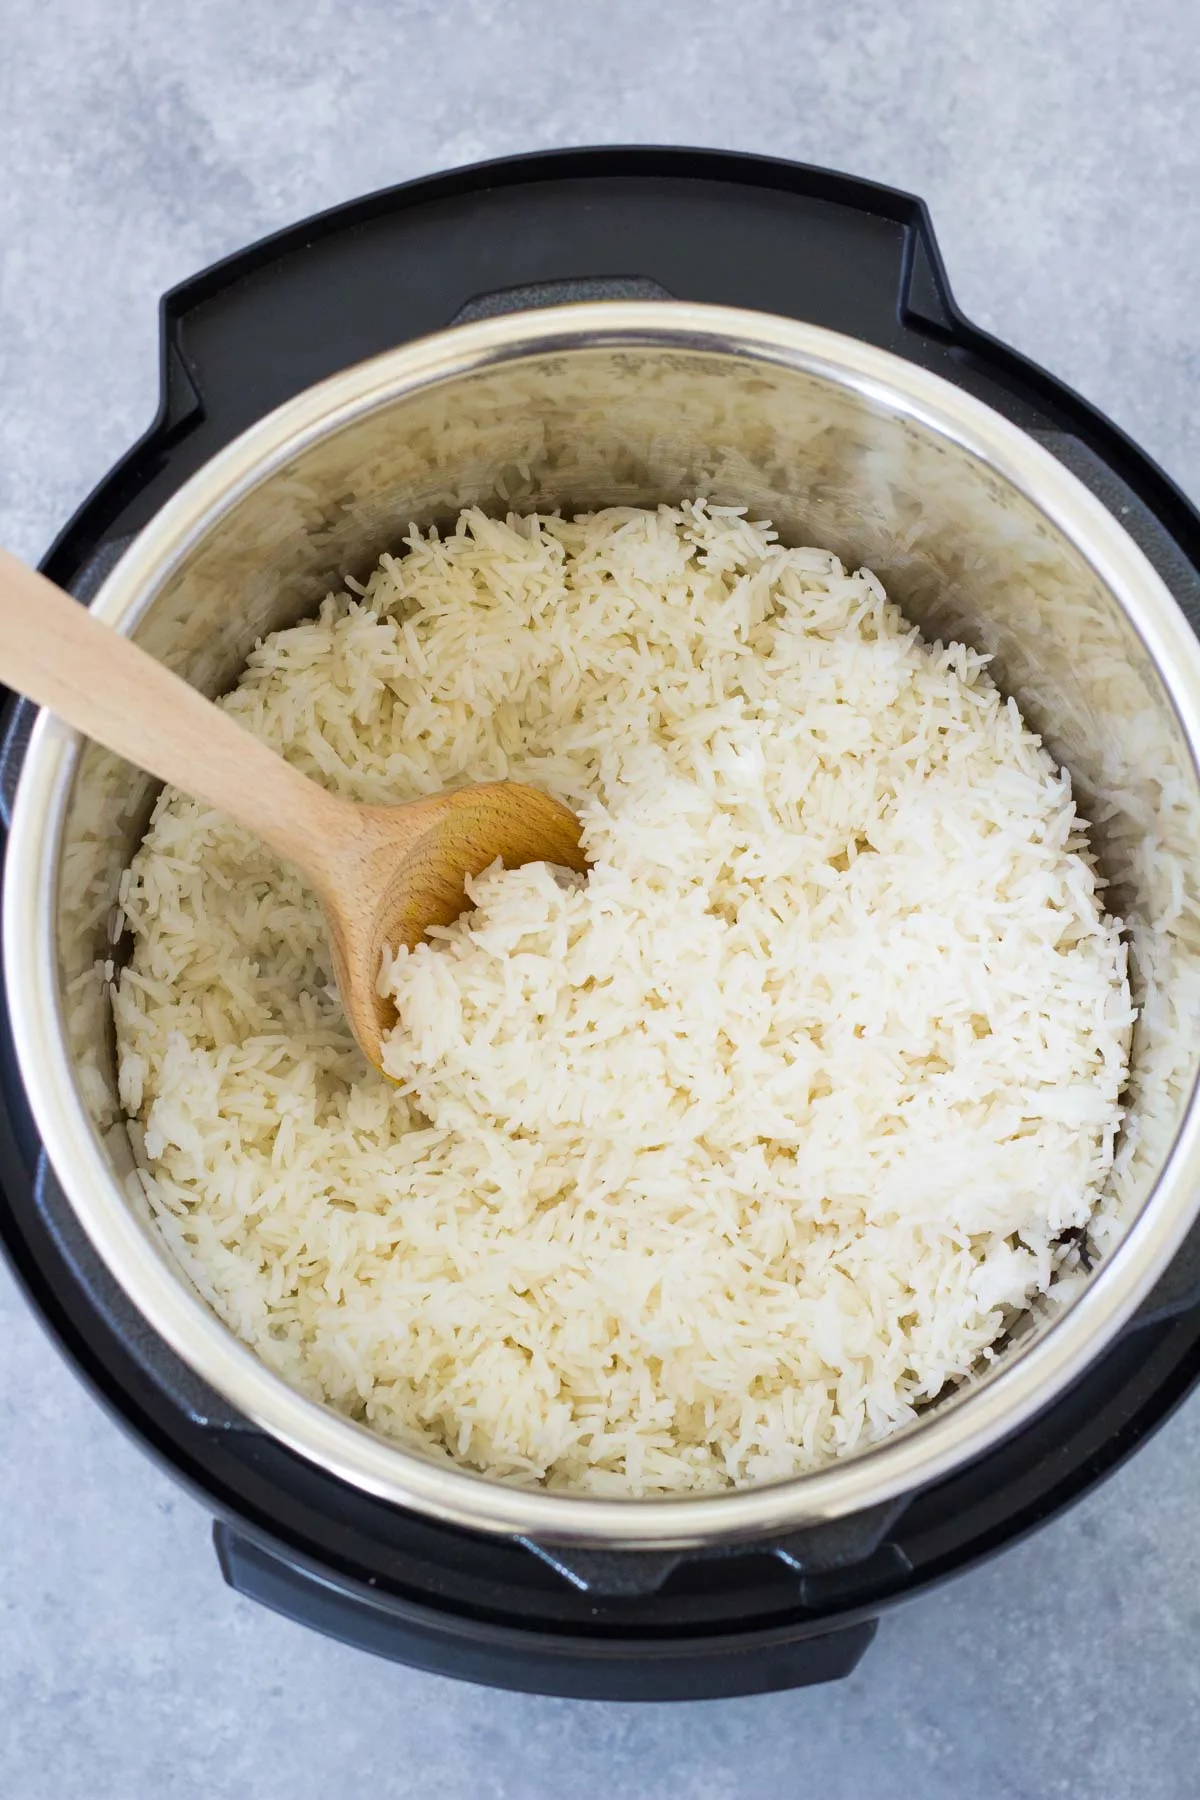
Image source: Bing (Web (fair-use with source credit))
| Rice Type | Liquid per 1 Cup Rice | High Pressure Time | Natural Release Minimum |
|---|---|---|---|
| Long-grain white | 1 cup + 2 tbsp | 4 minutes | 5 minutes |
| Jasmine | 1 1/4 cups | 4 minutes | 5 minutes |
| Basmati | 1 1/2 cups | 5 minutes | 5 minutes |
| Brown rice | 1 cup + 2 tbsp | 22 minutes | 10 minutes |
| Sushi/short-grain | 1 cup + 2 tbsp | 5 minutes | 10 minutes |
| Wild rice blend | 1 1/2 cups | 24 minutes | 10 minutes |
Notice that brown rice and wild rice need significantly more time while using roughly the same liquid volume as white rice. That's because the outer bran layer on brown rice is tough. It takes pressure to soften it, but adding more water only makes the inner grain mushy.
The key is patience, not extra liquid.
One more thing. If you're cooking rice with other ingredients like chicken, vegetables, or beans, reduce the liquid slightly. Those foods release moisture during pressure cooking.
A rule of thumb we've seen work consistently is subtract 1/4 cup of liquid for every cup of solid protein or vegetables you add. Test this on your own pot, because different models lose steam at slightly different rates.
Three Instant Pot Rice Meal Paths: Which One Are You Cooking?
Now that you have the ratios memorized, it's time to decide which cooking path fits your situation. The Instant Pot can handle rice meals three different ways, and your choice depends on whether you want a side dish, a one-pot meal, or perfectly separated grains for meal prep.
Path 1: Quick White Rice Meals (Jasmine, Basmati, Long-Grain)
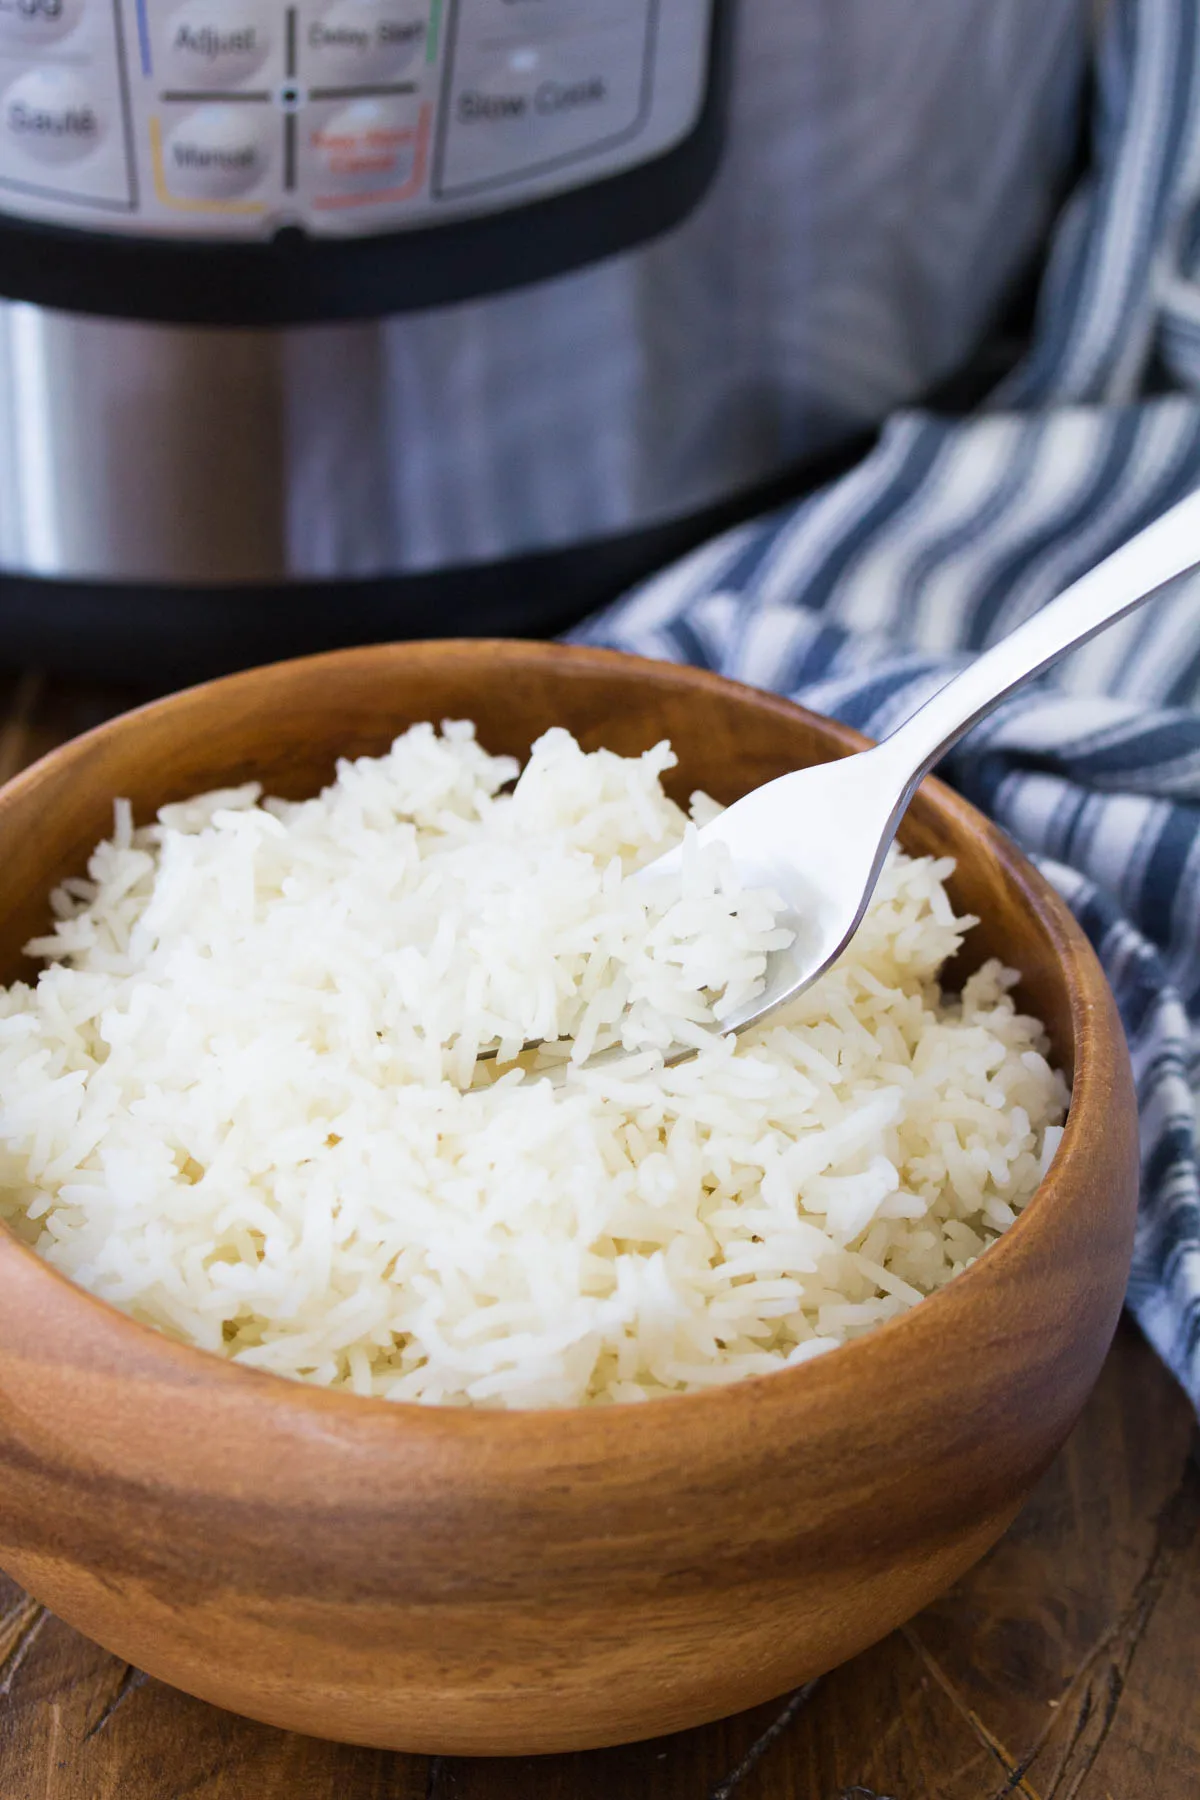
If you're cooking white rice and want it done in under 15 minutes total, this path is for you. Rinse the rice, add the correct ratio of liquid, and set the pot to high pressure for 4 to 5 minutes. Let it naturally release for exactly 5 minutes, then carefully turn the valve to release any remaining steam.
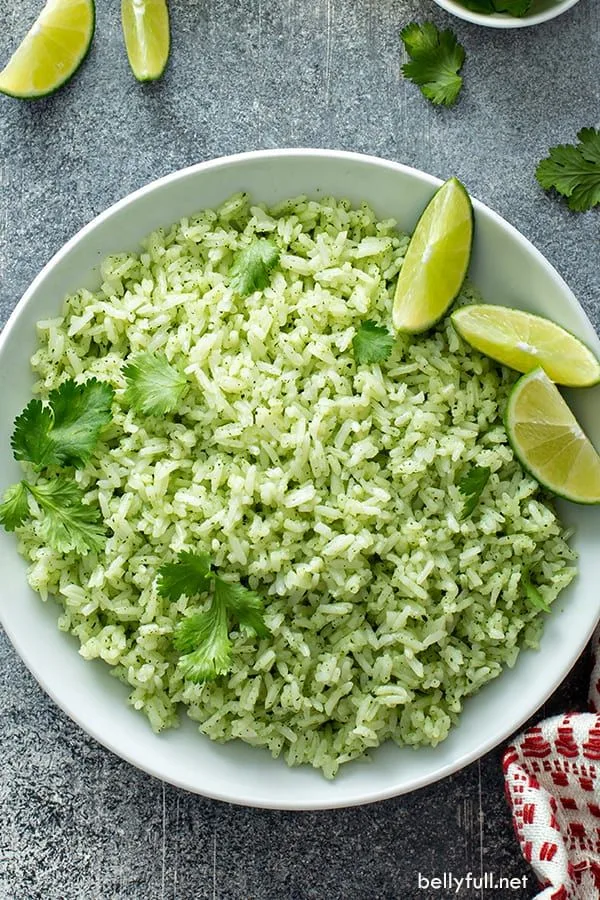
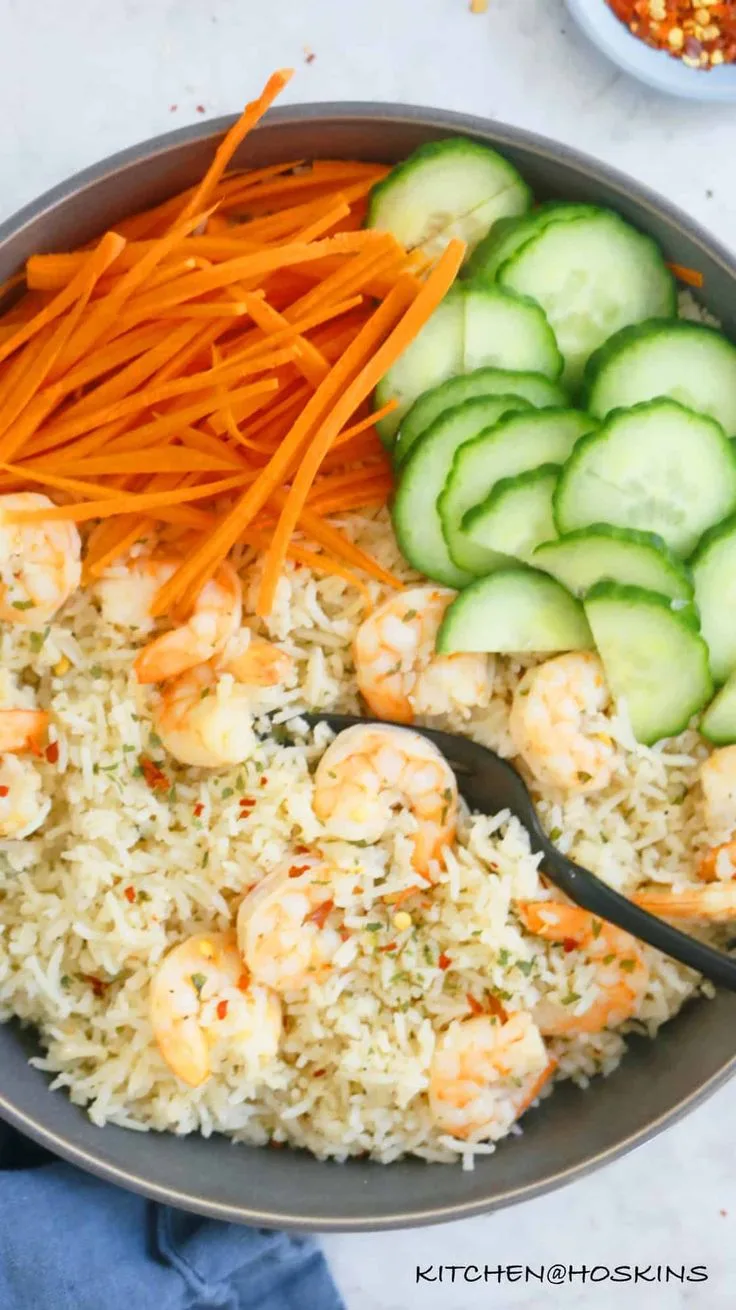
This works great for simple meals like garlic butter rice, cilantro lime rice, or a quick base for stir-fry. You can add aromatics like minced garlic or a bay leaf directly to the pot without changing the ratio. Just don't add extra liquid.
The moisture from the aromatics is negligible.
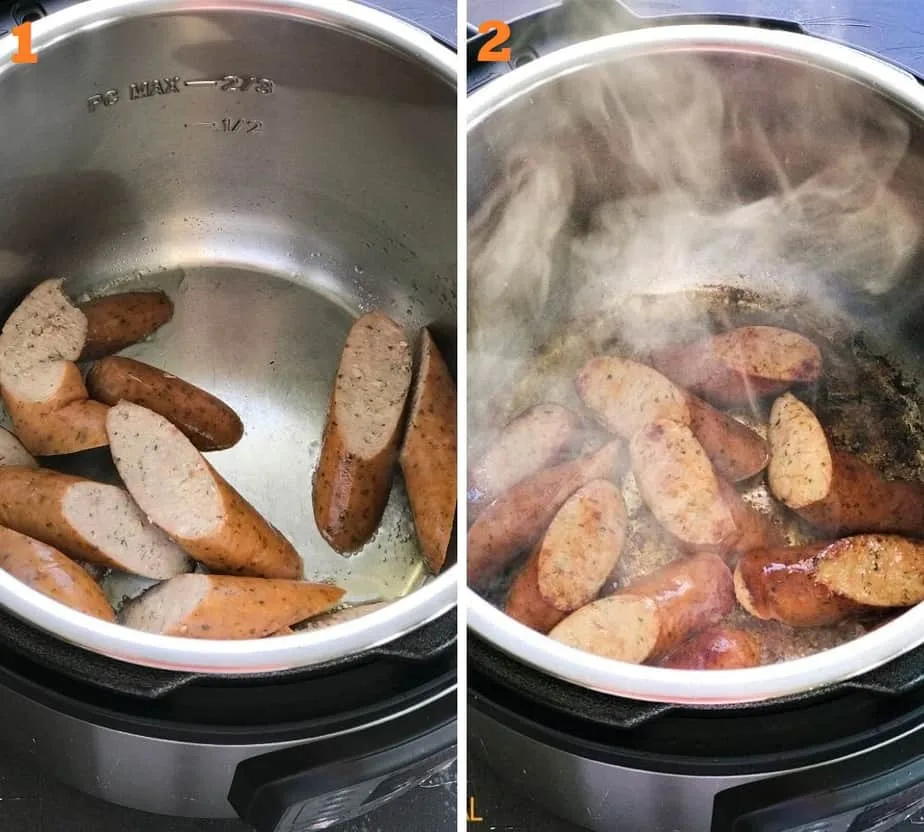
If you want to turn this into a full meal, sauté your protein and vegetables first using the Sauté function. Remove them, cook the rice as directed, then stir the protein back in at the end. This avoids the burn notice and keeps your vegetables from turning to mush.
Path 2: Hearty Brown Rice and Grain Meals (Brown, Wild, Blends)
Brown rice takes about 45 minutes total including heat-up and release, so this path is for planned meals or Sunday meal prep. The good news is that brown rice holds up well in one-pot dishes. You can add chicken thighs, sausage, or root vegetables directly to the pot with the rice and liquid.
The trick is to not open the lid early. Brown rice requires consistent pressure for the full 22 minutes. If you quick release to check it, the pressure drops and the grains stop cooking.
You'll end up with crunchy centers. Always let it natural release for at least 10 minutes. That extra time lets the grains finish absorbing moisture without direct heat.
For brown rice meals, use broth instead of water for extra flavor. Chicken broth, vegetable broth, or even mushroom broth adds depth that water can't match. Add dried herbs like thyme or oregano at the start.
Fresh herbs go in after cooking so they don't lose their brightness.
Path 3: The Pot-in-Pot Method for Perfectly Separate Rice
Sometimes you want rice that looks like it came from a dedicated rice cooker. Fluffy, individual grains that don't clump together. That's where the pot-in-pot method shines.
Put a trivet or steam rack in the bottom of the Instant Pot. Add 1 1/2 cups of water to the outer pot. Place a heat-safe bowl (stainless steel or Pyrex) on the trivet.
In the bowl, combine your rinsed rice and the correct amount of liquid. Pressure cook according to the rice type, then natural release the full time.
The advantage here is that the rice never sits directly on the hot pot bottom. It steams gently, which gives you more control over texture. This method works especially well for meal prep because you can cook the rice separately from your main dish in the same pot.
Cook chili or curry in the outer pot while the rice cooks in the bowl above it.
Mistakes That Ruin Your Rice (And Exactly How to Avoid Them)
Let's talk about the specific errors that turn a promising meal into a sink full of porridge. These are the most cited frustrations in aggregate reviews and community forums, and they're all preventable.
Mistake 1: Not measuring after rinsing. You dump rinsed rice into the pot. You add one cup of liquid. But the rice is still wet, holding onto a tablespoon or two of water.
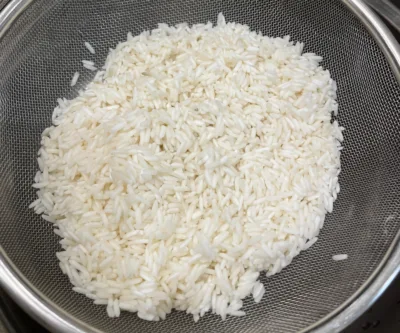
That extra moisture throws off your ratio. The fix is simple. Measure your rice before rinsing, then drain it well in a fine-mesh strainer.
Tap the strainer against your hand a few times to shake off excess water. Then add your measured liquid.
Mistake 2: Sautéing rice without deglazing. Many recipes start by sautéing aromatics and then toasting the rice in the same pot. That's great for flavor. But if you add liquid without scraping up the browned bits on the bottom, your Instant Pot will think those bits are burning.
It will trigger a burn notice every time. After sautéing, pour in a splash of your cooking liquid and scrape the bottom with a wooden spoon. Then add the rest of the liquid and the rice.
Mistake 3: Using quick release on white rice. We mentioned this earlier, but it's worth repeating. White rice grains are fragile. They're held together by a starch matrix that softens during cooking.
When you vent the pressure instantly, the sudden drop in temperature and pressure causes that matrix to collapse. The result is a sticky, gummy mess. For white rice, set a timer for 5 minutes after the pot beeps.
Do not touch the valve. After 5 minutes, vent the remaining pressure. The difference in texture is night and day.
Mistake 4: Overfilling the pot. Rice expands during cooking, and it can foam up through the pressure valve. Never fill the Instant Pot more than halfway with rice and liquid combined. If you're cooking a brown rice and bean meal, keep the solids and liquid under the 2/3 line.
A clogged pressure valve is a safety hazard, not just a cooking mistake.
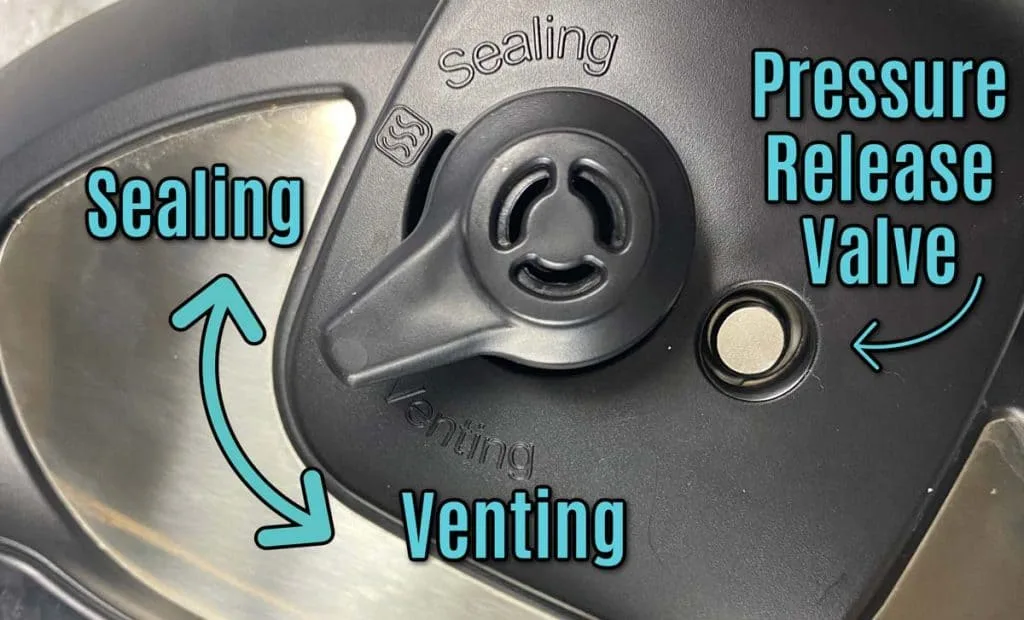
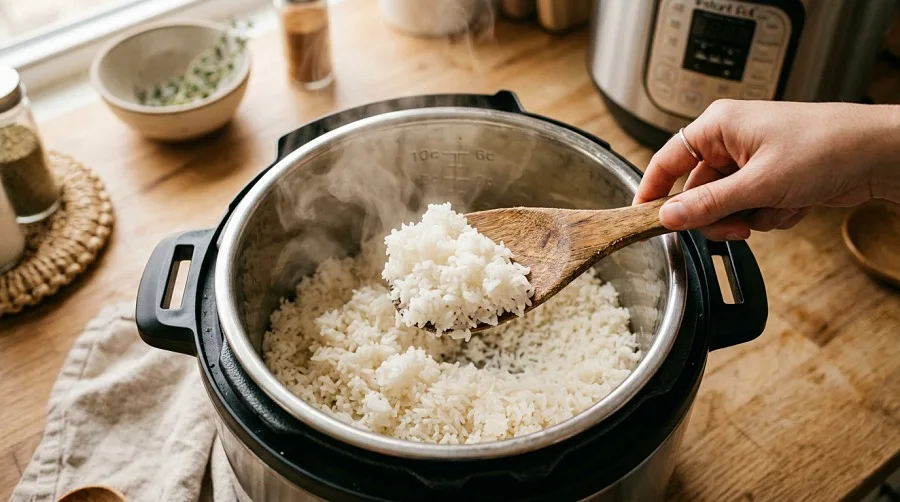
Image source: Bing (Web (fair-use with source credit))
Instant Pot Rice Meal FAQs
Can I cook raw chicken and rice together in the Instant Pot?
Yes, but you need to adjust the liquid and timing. Use boneless chicken thighs or breasts cut into uniform pieces. Add the rice, liquid, and chicken together.
Cook on high pressure for 10 minutes for white rice or 25 minutes for brown rice. Check that the chicken reaches an internal temperature of 165°F with a meat thermometer.
Why does my Instant Pot say "Burn" when I cook rice?
The burn notice means food is scorching on the pot bottom. This usually happens because you didn't rinse the rice, added too little liquid, or didn't deglaze after sautéing. Make sure the sealing ring is clean and properly seated.
If the problem persists, try the pot-in-pot method to keep rice off the direct heat.
Do I really need to rinse rice before putting it in the Instant Pot?
Yes, especially for white rice varieties. Rinsing removes the loose starch that causes stickiness and burn notices. Rinse in a fine-mesh strainer under cold water until the water runs clear.
For brown rice, a quick rinse removes dust and debris. You don't need to rinse until the water is perfectly clear for brown rice.
How long does brown rice take in the Instant Pot?
Brown rice takes 22 minutes at high pressure plus 10 minutes natural release. The total time including heat-up and natural release is about 45 minutes. Do not shorten the natural release.
The grains need that time to finish absorbing moisture and firm up.
Can I use the pot-in-pot method for any Instant Pot rice meal recipe?
Yes, and it's particularly useful for sensitive grains like sushi rice or jasmine rice where texture matters. The pot-in-pot method also lets you cook rice and a main dish simultaneously. Just make sure your inner bowl is heat-safe and large enough to hold the expanded rice without overflowing.
Is it safe to leave cooked rice in the Instant Pot on Keep Warm?
For up to two hours, yes. The Keep Warm function holds rice above 140°F, which prevents bacterial growth per USDA food safety guidelines. Beyond two hours, transfer the rice to shallow containers and refrigerate.
Do not leave rice in the pot overnight on Keep Warm, as the heating element can dry out the bottom layer.
Your Instant Pot Rice Meal Decision Guide
Standing in your kitchen wondering where to start? Choose the grain first. Everything else follows from that one decision.
If you want dinner fast, go with white rice. Jasmine and basmati are the most forgiving. Use the ratios from the table above.
Cook for 4 to 5 minutes at high pressure. Natural release for at least 5 minutes. That's a 15 minute meal from start to finish.
If you're meal prepping, brown rice is the smarter bet. It takes longer, but it holds up better in the fridge. Reheated brown rice keeps its texture.
Cook it for 22 minutes, let it release naturally for 10, then portion it out. It pairs well with beans, roasted vegetables, or grilled chicken for bowls all week.
If you're making a full one-pot meal with chicken and vegetables, adjust the cook time. White rice with chicken needs 10 minutes at high pressure. Brown rice with chicken needs 25 minutes.
Always check the chicken with a thermometer. It must reach 165°F.
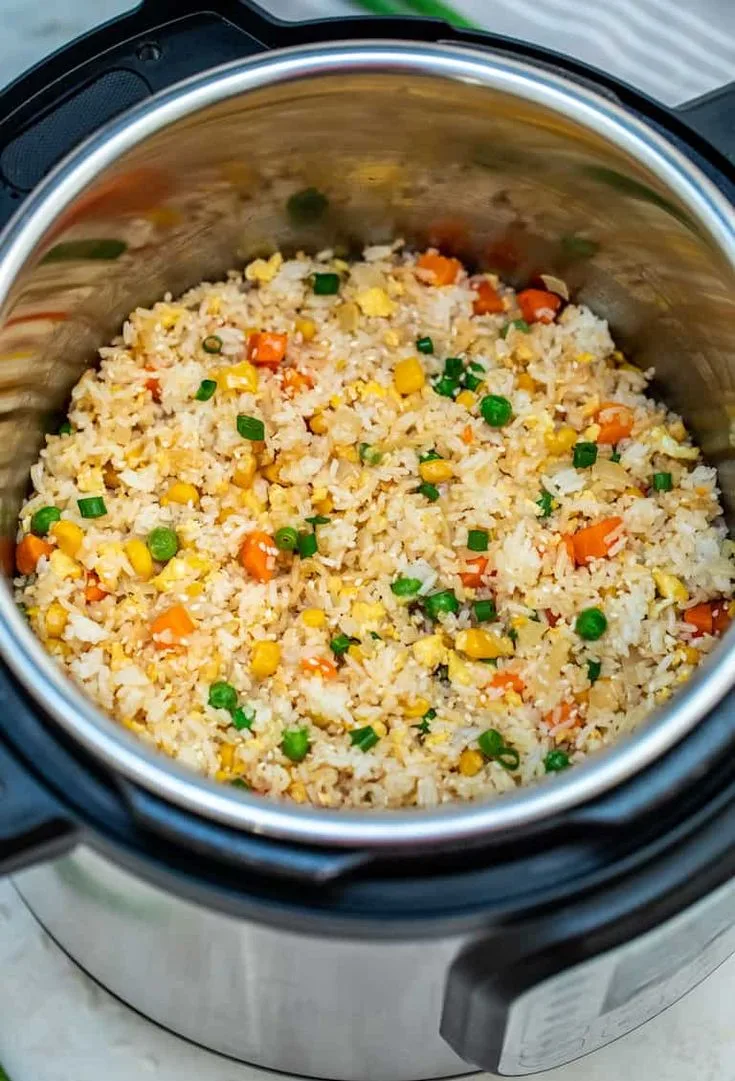
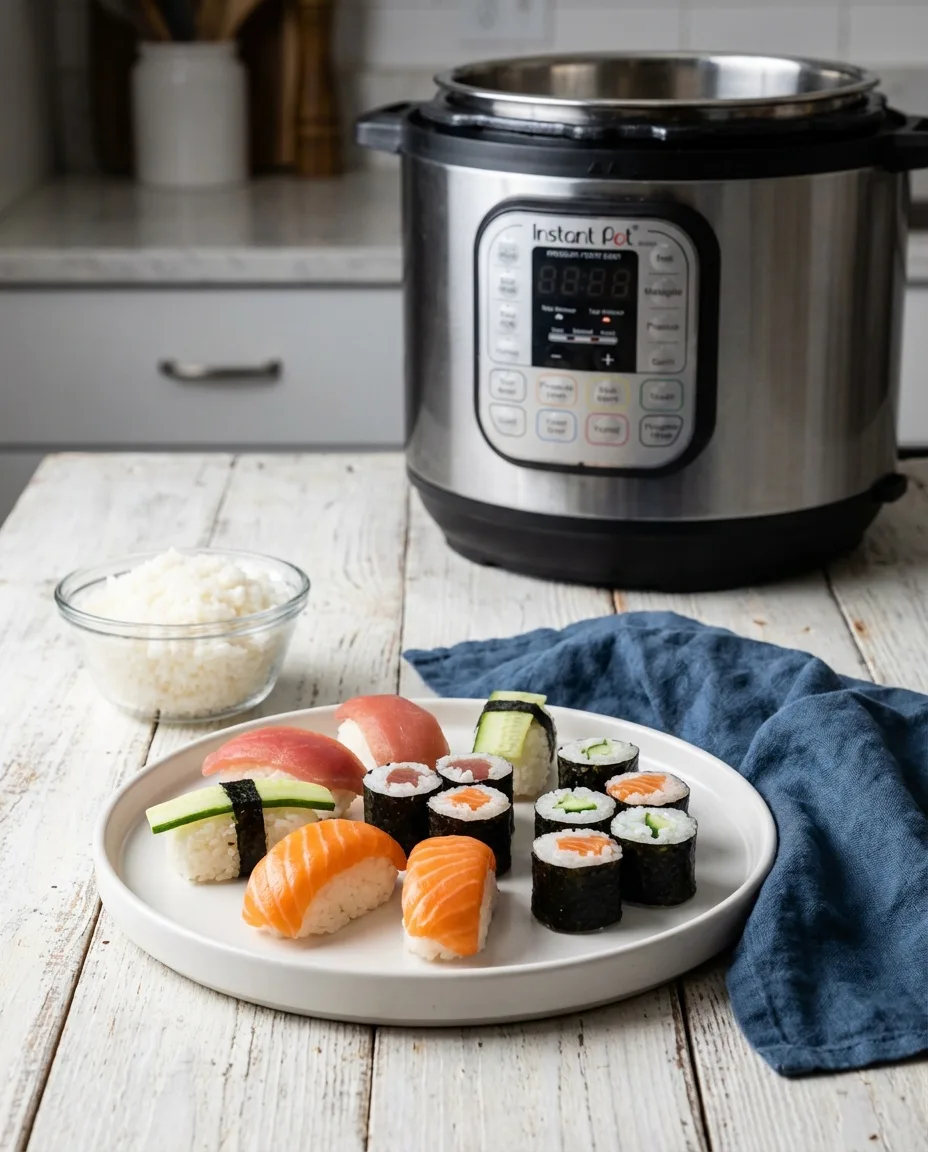
If texture matters most, use the pot-in-pot method. The rice steams gently instead of sitting on the hot pot bottom. That gives you separate, restaurant-style grains for sushi, poke bowls, or fried rice the next day.
Drier, freshly cooked rice is exactly what fried rice needs.
Troubleshoot from the results. Burn notice means too little liquid, unrinsed rice, or no deglazing. Mushy rice means too much water or quick release.
Crunchy rice means the pressure dropped early or you skipped natural release.
As of 2026, every Instant Pot model we've reviewed shares the same rice cooking principles. Newer touchscreen versions don't change the chemistry. They just make the buttons easier to find.
The rest is up to your ratios and patience.

Similar Posts