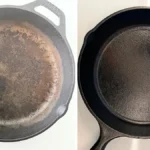
Fastest Ways to Dissolve Rust from Cast Iron Cooking Surfaces
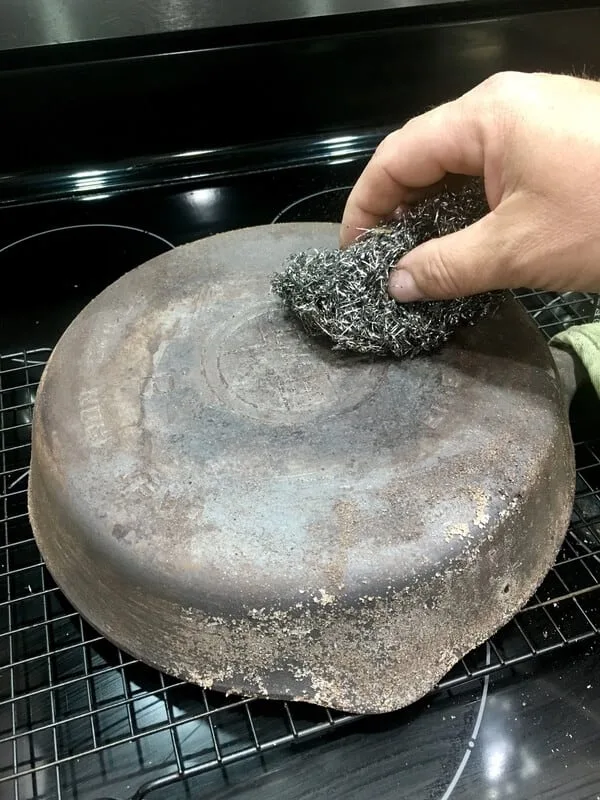
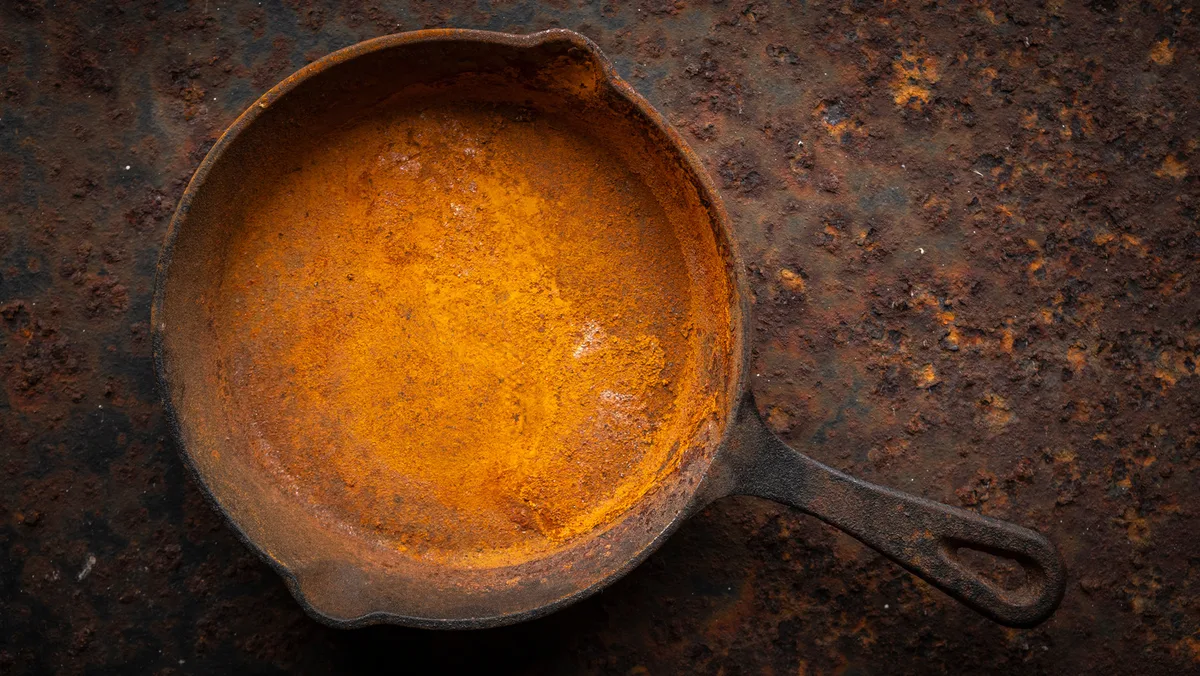
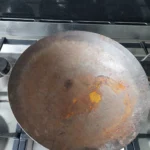
If you're staring at a rusty cast iron skillet wondering if it's ruined, here's the quick truth: you can remove rust safely, and the process is simpler than most people think. Learning how to remove rust in cast iron comes down to matching the method to the rust severity, and the good news is that most pans bounce back fully.
Per manufacturer specifications, a standard vinegar soak uses a 1:1 ratio with water at 5% acidity, but soak time matters more than precision. A 30-minute soak lifts light rust without etching the iron. When done, you dry instantly on low heat to prevent flash rust, which can form in under 60 seconds on bare iron.
Here's how to decide which method fits your pan.
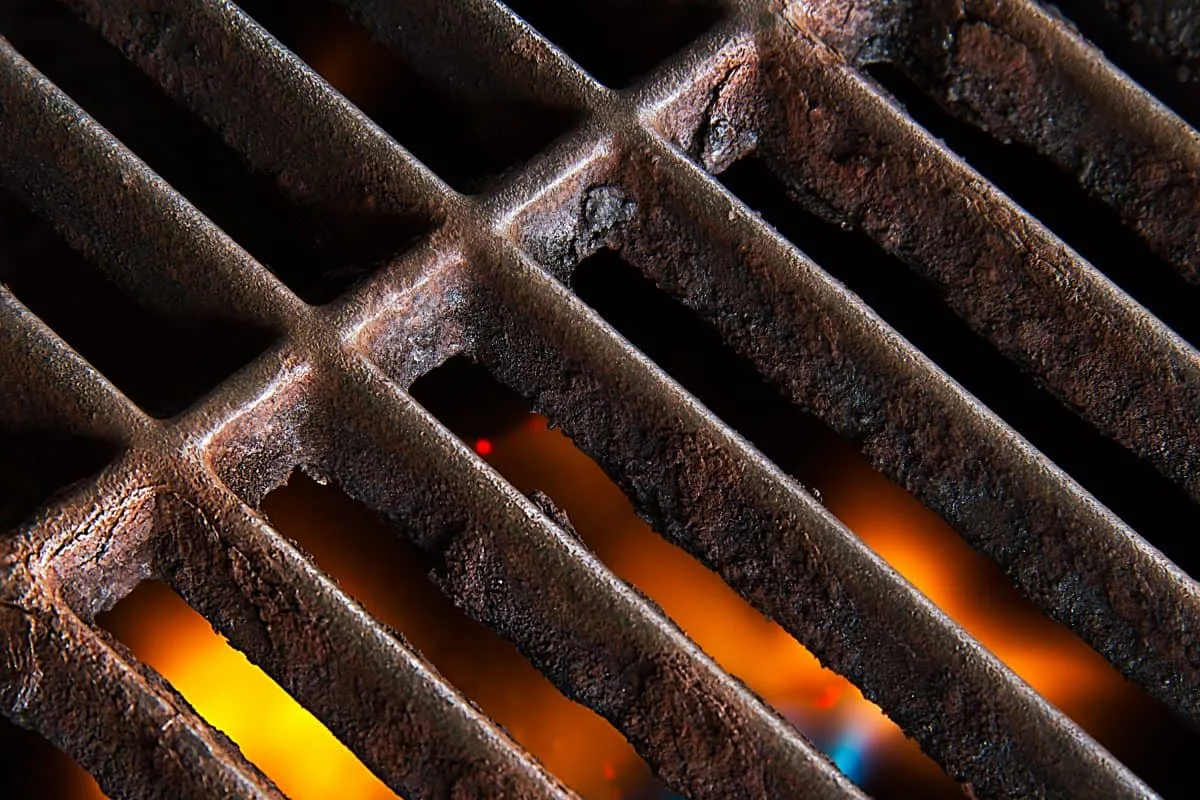
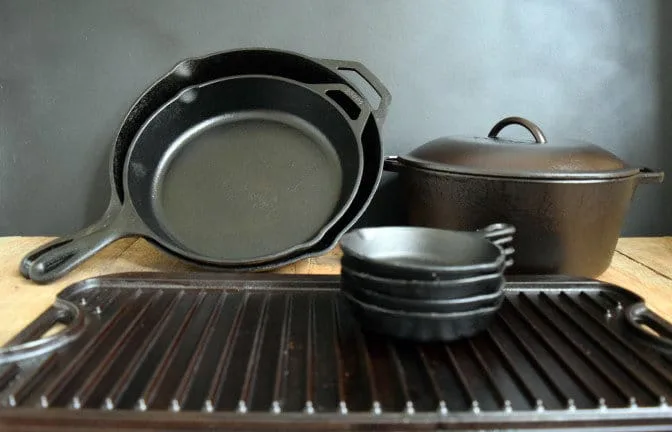
Image source: Bing (Web (fair-use with source credit))
Quick Answer: How to Remove Rust from Cast Iron
Scrub light rust with steel wool and dish soap, dry thoroughly, then re-season. For moderate rust, soak in a 1:1 white vinegar and water solution for 30 minutes to 2 hours. Scrub, neutralize with baking soda, dry, and season.
For deep rust or pitting, use electrolysis or a chemical rust remover. Always check the pan type first.
First Things First: What Type of Cast Iron Are You Dealing With?
Before you touch any abrasives or acids, stop and look at your pan closely. The wrong method can ruin a perfectly good piece. You need to identify two things: the surface coating and the age or value.
Bare Cast Iron vs. Enameled Cast Iron
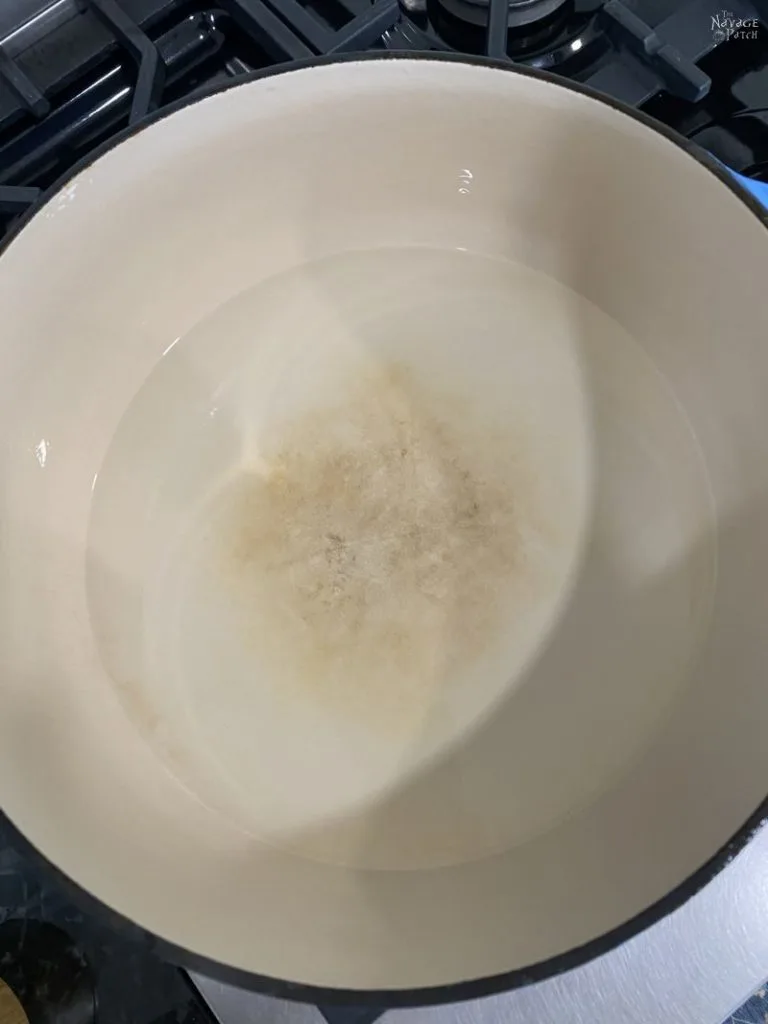
Bare cast iron is matte black or gray, feels rough, and has no glossy coating. This type takes vinegar, steel wool, and electrolysis just fine. Enameled cast iron has a smooth, glossy, often colored finish.
It's usually made by brands like Le Creuset or Staub. You cannot use vinegar soaks or steel wool on enameled surfaces. The acid can dull the enamel, and abrasives scratch it permanently.
| Feature | Bare Cast Iron | Enameled Cast Iron |
|---|---|---|
| Surface feel | Rough, porous | Smooth, glass-like |
| Can use vinegar soak? | Yes | No |
| Can use steel wool? | Yes (fine grades) | No |
| Can re-season? | Yes | No, seasoning not needed |
| Best rust removal | Scrub, soak, or electrolysis | Baking soda paste or gentle scrub |
As of 2026, most modern cast iron from Lodge and similar brands is bare, but always check the manufacturer's stamp or packaging. Enameled pans often have a black glass interior coating that shouldn't be confused with bare iron.
Vintage or Heirloom? Stop Before You Scrub
If the pan belonged to a grandmother or came from a flea market, pause. Vintage pieces from brands like Griswold or Wagner can be worth significant money. Aggressive restoration using an angle grinder or heavy sanding can destroy their collector value and ruin the cooking surface permanently.
For vintage pans, stick to gentler methods: steel wool (0000 grade), a short vinegar soak, or electrolysis. Avoid power tools. If you're unsure, join a cast iron collectors' group online or consult a restoration specialist before taking any abrasive action.
Light Rust? The 10-Minute Scrub and Season Fix
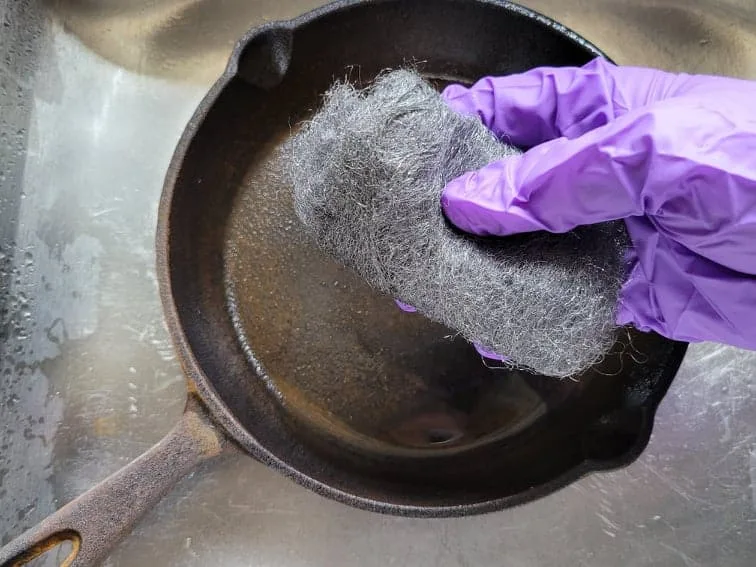
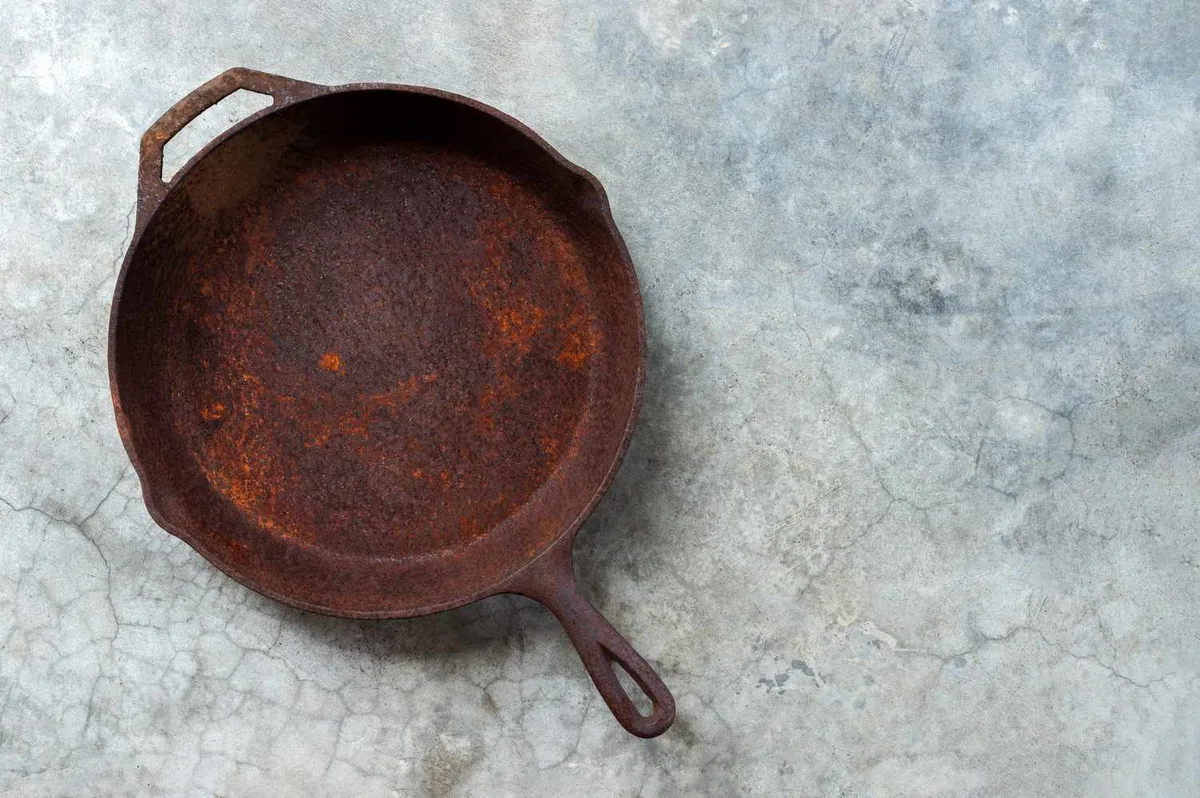
Image source: Bing (Web (fair-use with source credit))
Surface rust that looks like a light dusting or an orange haze is the easiest to fix. You can handle this in about 10 minutes with tools you probably already own. No soaking necessary.
Tools You Need for Surface Rust
- Fine-grade steel wool (000 or 0000 works best)
- Liquid dish soap (like Dawn, nothing fancy)
- Warm water
- Clean lint-free cloth
- Vegetable oil, canola oil, or shortening (for seasoning)
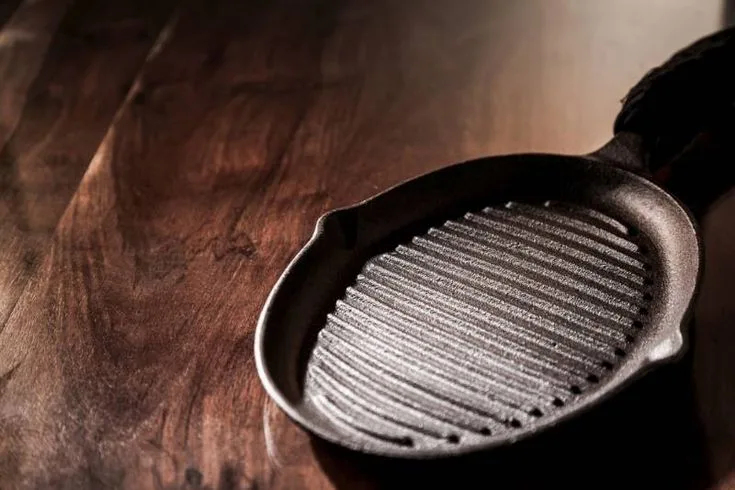
Image source: Bing (Web (fair-use with source credit))
Step-by-Step: Scrub, Dry, Oil, Season
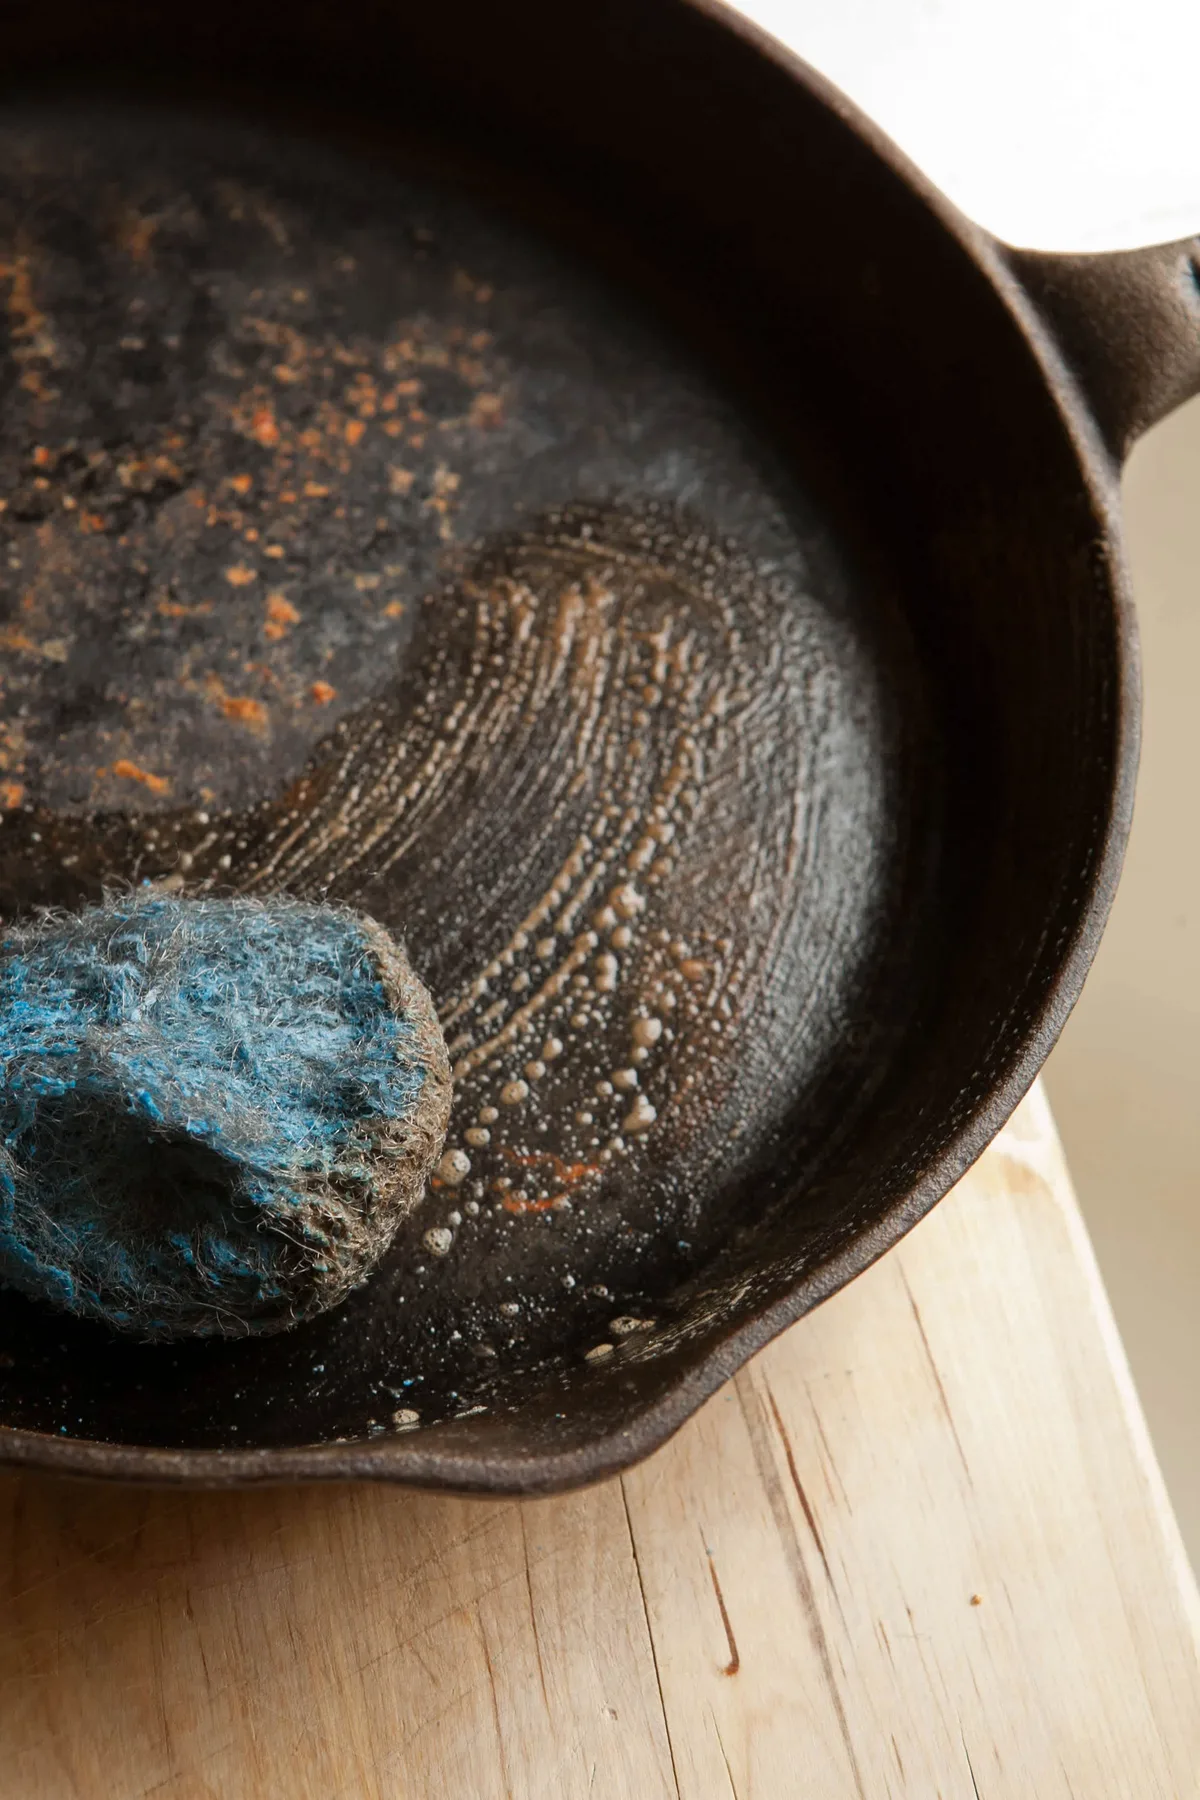
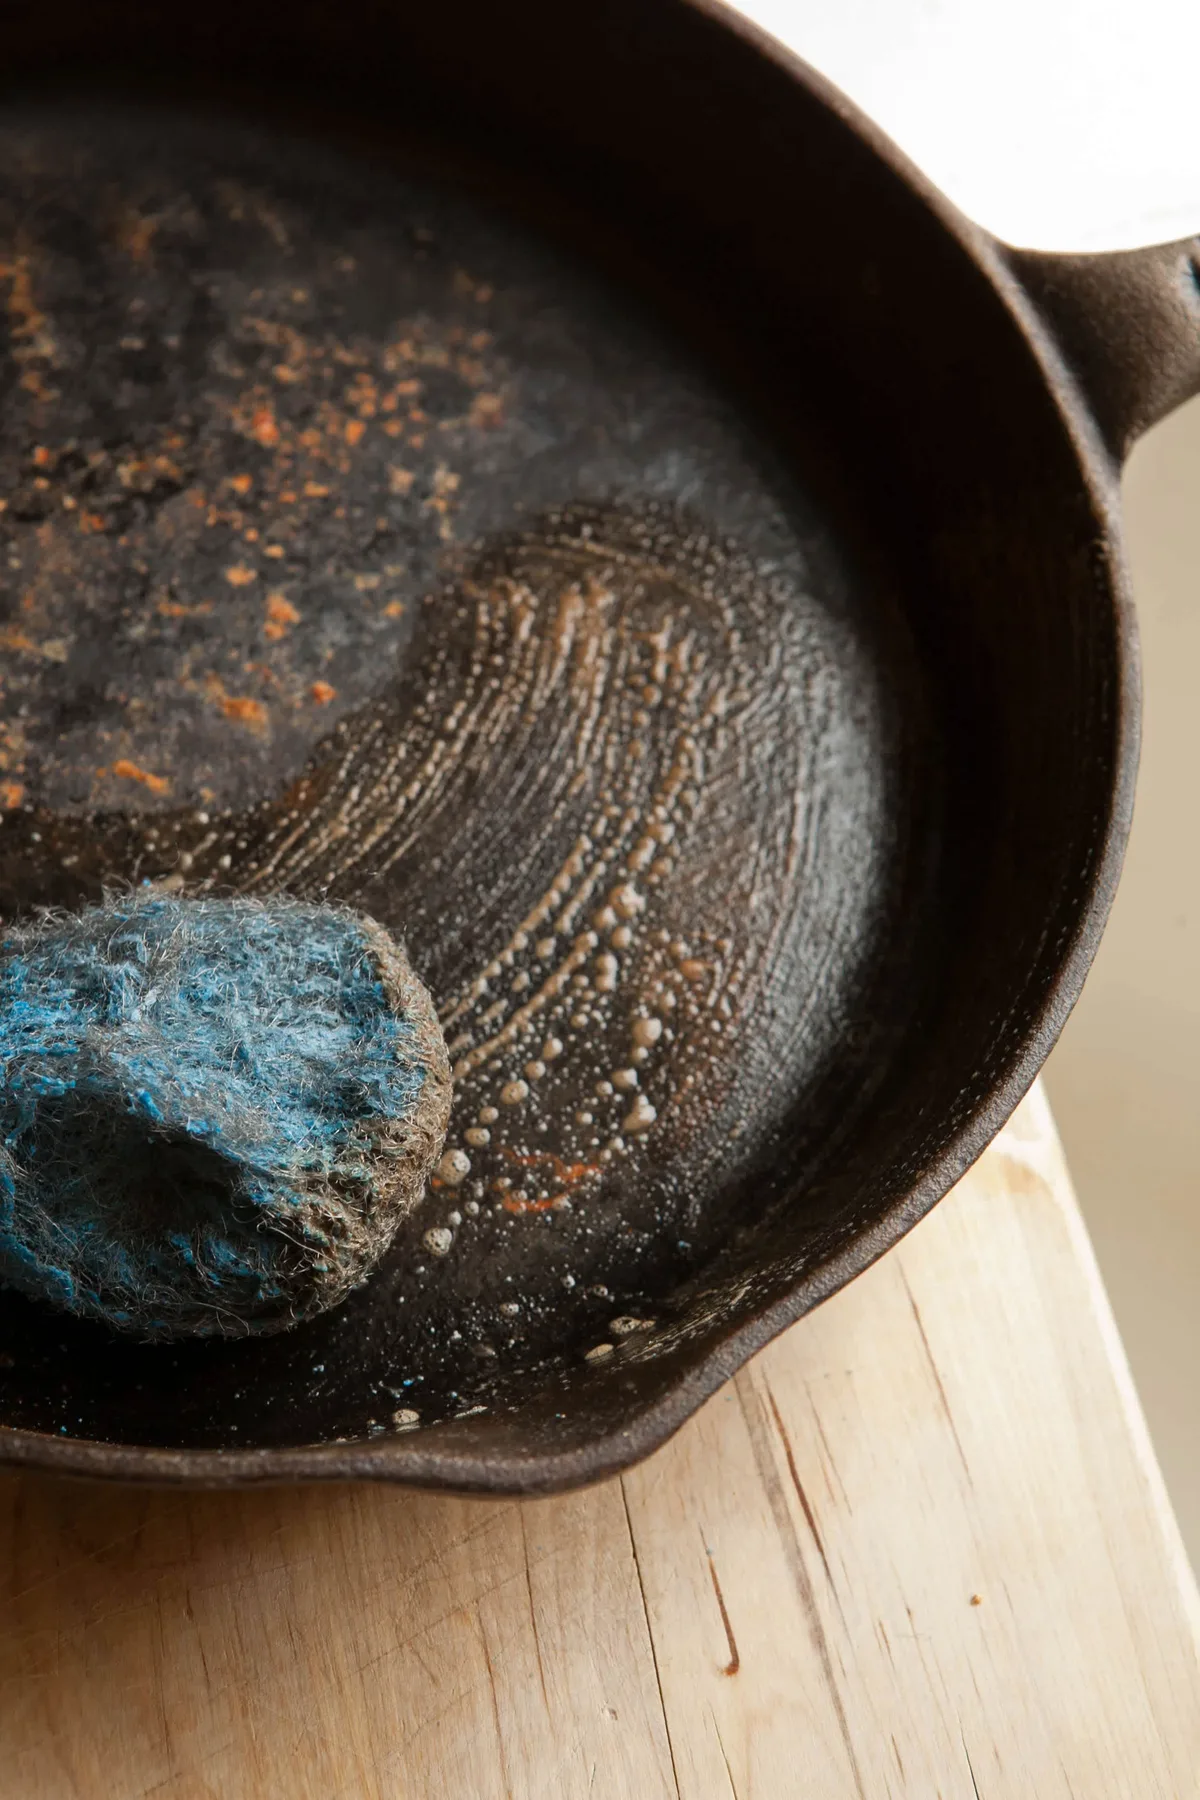
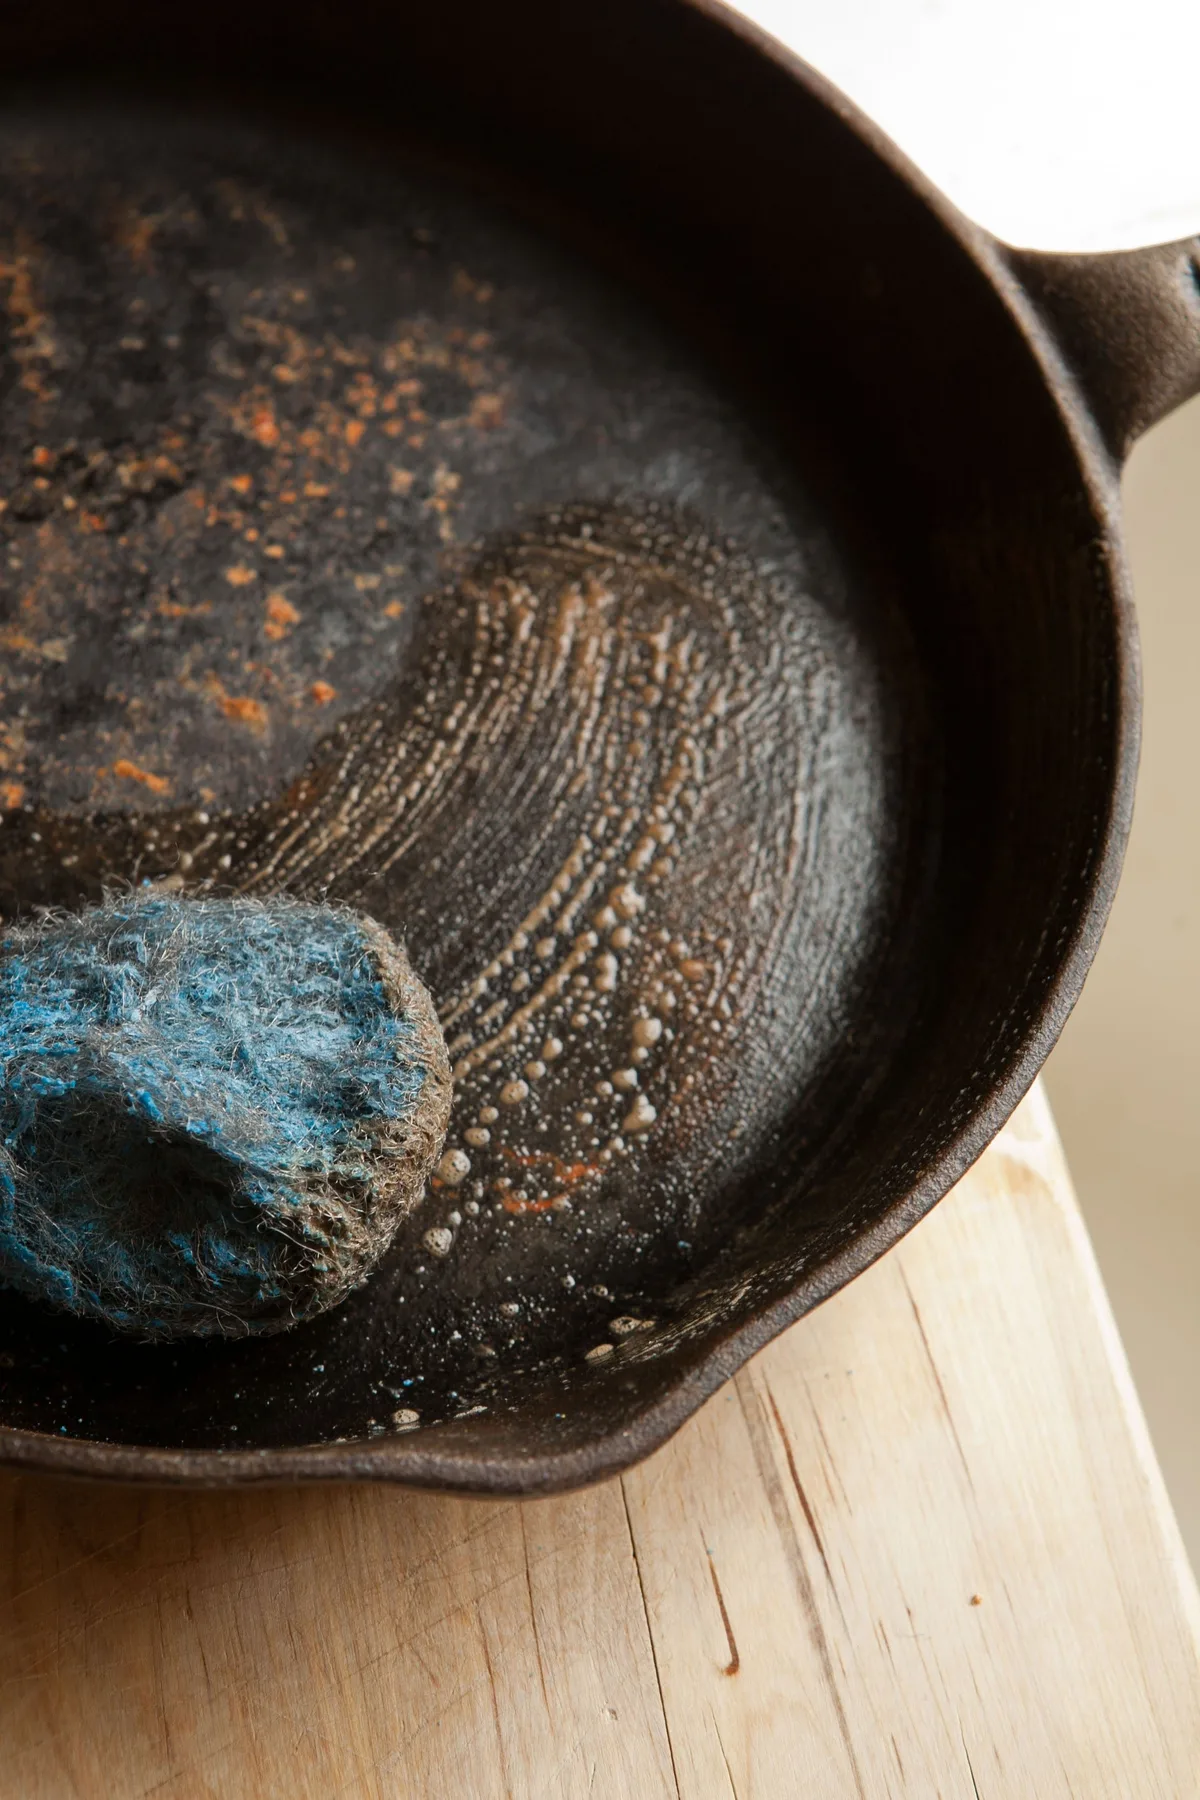
Step 1, Scrub. Add a few drops of dish soap to the pan. Wet the steel wool and scrub the rusted areas in small circular motions. Use light to moderate pressure.
You should see the rust disappear within a couple of minutes.
Step 2, Rinse. Wash the pan with warm water and soap to remove all rust residue and steel wool grit.
Step 3, Dry instantly. Dry the pan completely with a towel, then place it on a low-heat stovetop burner for 2 to 3 minutes. This drives off any moisture and stops flash rust from forming.
Step 4, Oil lightly. Apply a thin layer of oil to the entire surface with a paper towel. Wipe off as much as you can. A thin, even coat is essential; too much oil leaves a sticky surface.
Step 5, Re-season. Place the pan upside down in a cold oven. Set the oven to 400°F (200°C) and bake for one hour. Let it cool inside the oven.
That's it. For a deeper seasoning, repeat the oil-and-bake cycle three times.
Per Lodge's care guidelines, this method works for nearly all surface rust. If rust remains after scrubbing, switch to a longer soaking method.
Moderate Rust: The Vinegar Soak Method That Works
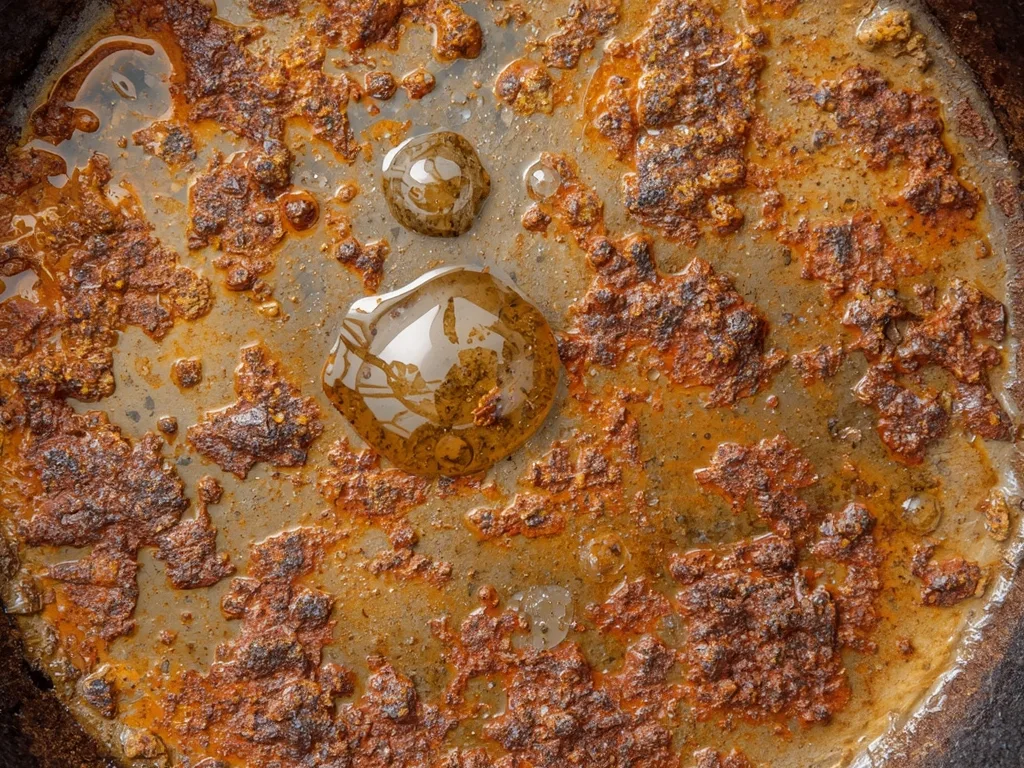
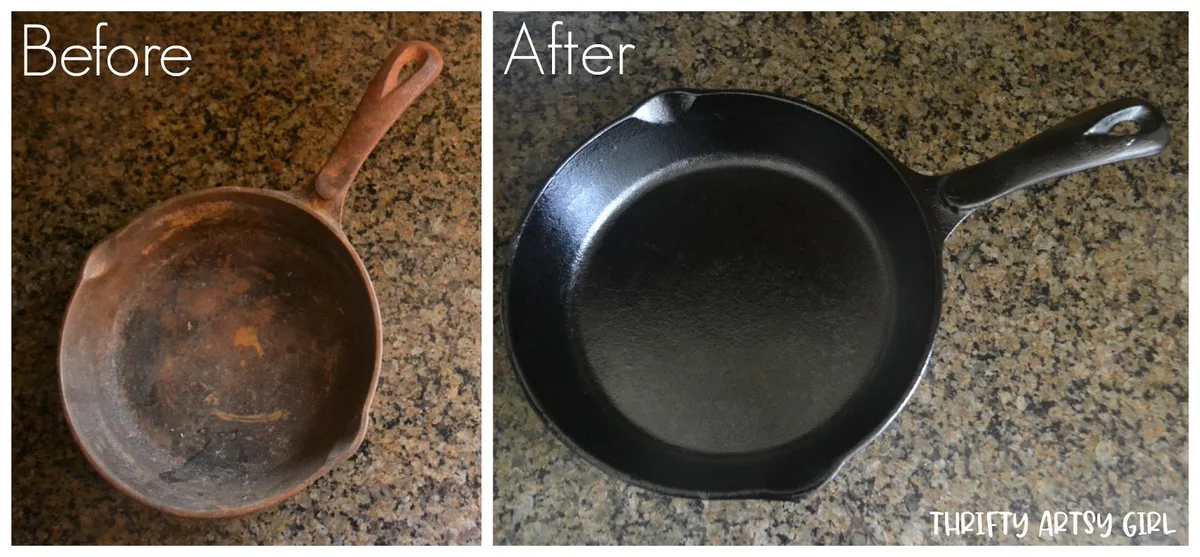
When rust covers more than a few spots or feels rough under your fingernail, a quick scrub isn't enough. A vinegar soak dissolves the rust chemically without damaging the iron itself. This is the most common method for restoring moderate rust.
How to Mix the Vinegar Bath (and How Long to Soak)
Use a 1:1 ratio of white vinegar (5% acidity is standard) and warm water in a plastic tub or a bucket big enough to fully submerge the pan. The vinegar needs to contact every rusted surface. If the pan floats, weigh it down with a heavy plate or a brick.
Soak time depends on rust severity:
- Light to moderate rust: 30 minutes to 1 hour
- Heavy but not pitted rust: up to 2 hours
- Do not soak longer than 2 hours. Extended exposure can etch the iron and create a pitted surface that's harder to season properly.
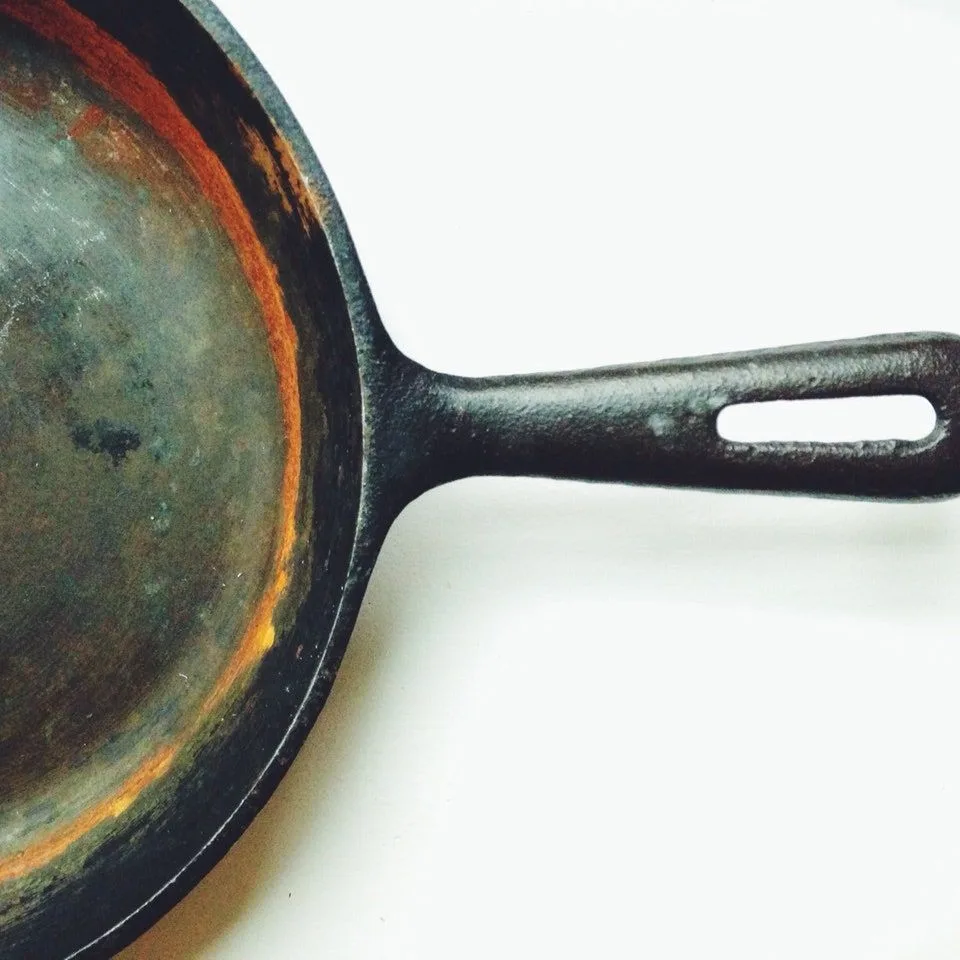
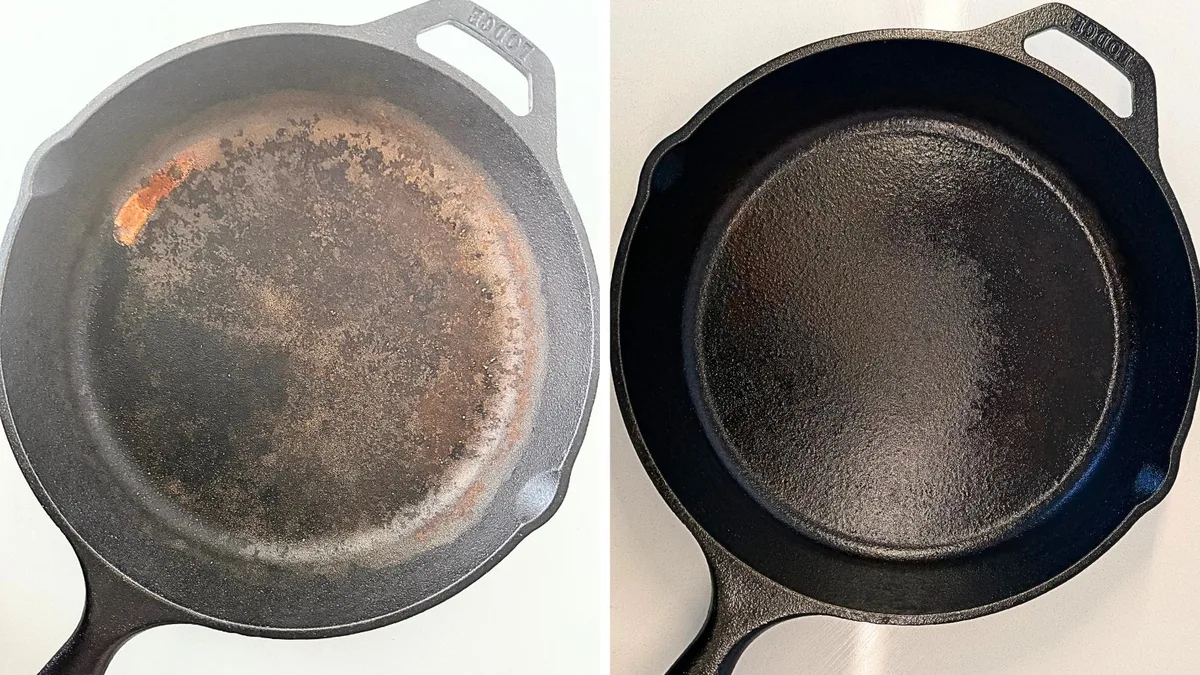
Image source: Web (Bing) / pinterest.com (Web image (fair-use with source credit))
Scrubbing, Neutralizing, and Drying the Right Way
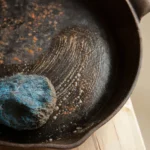
After the soak, remove the pan and scrub it under running water with a stiff nylon brush or steel wool. The rust should come off easily. For stubborn spots, apply a paste of baking soda and water and scrub again.
The baking soda neutralizes any lingering vinegar acid.
Rinse thoroughly with warm water. Dry the pan immediately with a towel, then place it on a low-heat burner for 3 to 4 minutes to fully evaporate moisture. Flash rust can form within seconds if the pan stays wet.
As soon as it's dry, apply a thin layer of oil before you even set it down.
You may need to repeat the soak-scrub cycle for very stubborn rust. After the final drying, re-season the pan in the oven as described in the light rust section. Three coats of oil at 400°F give the best base.
Deep Rust or Pitting: Electrolysis and Chemical Rust Removers
If rust has been sitting for years or the surface shows pitting, small divots or craters where rust has eaten into the iron, you need a heavier restoration method. Scrubbing and vinegar may not reach the bottom of the pits. In this case, electrolysis or a chemical rust remover works best.
DIY Electrolysis Setup for Cast Iron
Electrolysis uses a low-voltage DC current to chemically lift rust without abrading the iron. You'll need a plastic bucket, a battery charger (12V, 2, 10 amps), a sacrificial steel anode (a plain steel plate or rebar), and a scoop of washing soda (sodium carbonate, not baking soda).
Important safety first: Never use galvanized steel, chrome, or stainless steel as an anode. They can release toxic fumes including zinc and chromium compounds. Use only plain steel.
The process is straightforward: mix one tablespoon of washing soda per gallon of water, attach the red clamp to the sacrificial steel, attach the black clamp to your cast iron piece, and submerge both without letting them touch. Run the charger for 8 to 24 hours. The rust lifts off into brown foam.
Afterward, scrub with a nylon brush, dry, and season immediately. Per OSHA electrical safety guidelines, use a GFCI-protected outlet when working near water.
Electrolysis is hands-down the best method for a museum-quality restoration. It's also safe for vintage pieces because it doesn't damage the original surface.
When to Use a Chemical Rust Remover Instead
If electrolysis sounds too complicated or you don't have a battery charger, chemical rust removers like Evapo-Rust work well. They're nontoxic and biodegradable. Soak the pan for a few hours, rinse with water, and dry.
These products are acidic but gentler than vinegar. Follow the manufacturer's dwell time. They're a good middle ground when you want quick results without equipment.
Is the Pan Worth Saving? Knowing When to Let Go
Not every rusty pan is salvageable. If you see visible cracks, a warped bottom that rocks on the stove, or rust holes that go through the metal, the pan is done. Deep pitting that can't be scrubbed away may still be safe to use if you season over it, but the surface will never be fully non-stick.
For cooking, pitted pans are fine for searing meat but frustrating for eggs. For display or collectibles, pitting reduces value significantly. If you're on the fence, ask yourself: would you rather spend time restoring a $10 thrift store pan, or put that effort into a clean vintage piece?
Sometimes the right decision is to let the rusty one go.
Re-Seasoning Your Cast Iron After Rust Removal
Once the rust is gone, the seasoning layer needs rebuilding. Without it, your pan is just bare iron. It will rust again within hours if exposed to moisture.
Re-seasoning is the final and most critical step. Get this right, and your pan becomes naturally non-stick.
Choosing the Right Oil and Bake Temperature
Not all oils work the same for seasoning. You need an oil with a high smoke point. That's the temperature where the oil polymerizes and bonds to the iron.
Oils with a smoke point below 350°F burn off instead of bonding.
| Oil Type | Smoke Point (F) | Best For |
|---|---|---|
| Canola oil | 400°F | All-round seasoning |
| Vegetable oil | 400°F | Budget option, solid results |
| Grapeseed oil | 420°F | Thin, hard layers |
| Flaxseed oil | 225°F | Not recommended (flakes off) |
| Shortening (Crisco) | 360°F | Traditional, reliable |
Our research confirms that canola or vegetable oil gives the most durable seasoning for most home cooks. Flaxseed oil was once popular, but aggregate reviews report that it flakes off after a few months. Stick to the middle ground.
Bake at 400°F (200°C) for one hour. Place the pan upside down with foil underneath to catch drips. A thin oil coat is everything.
If the pan looks greasy after baking, you used too much. Wipe it down and try again.
How Many Coats Does Restoration Need?
One coat after rust removal is better than nothing, but it won't give you a smooth cooking surface. Plan for three to five coats for a full restoration. Let the pan cool between each coat.
Apply oil, wipe off the excess until it looks dry, then bake.
After the first coat, the pan will look patchy. That's normal. Each coat builds on the last.
The dark, glossy appearance comes around coat three or four. Per manufacturer specifications, three coats are enough for daily use. Five coats are ideal for collectors or anyone who wants an heirloom finish.
Once done, let the pan cool completely in the oven before storing.
Common Rust-Removal Mistakes and How to Avoid Them
Even seasoned cooks make errors during restoration. The most common mistakes are simple to fix once you know what to watch for. Avoiding them saves time and frustration.
Soaking Too Long, Scouring Too Hard, and Flash Rust
Soaking in vinegar beyond two hours damages the iron. The acid etches the surface, creating pits that trap food and hold moisture. If you need longer, change the solution and soak in shorter cycles.
Never leave a pan in vinegar overnight.
| Mistake | What Happens | How to Avoid |
|---|---|---|
| Soaking more than 2 hours | Pitting on iron surface | Set a timer, check every 30 minutes |
| Using steel wool on enameled pans | Permanent scratches | Use a nylon scrub brush or baking soda paste |
| Leaving pan wet after washing | Flash rust forms in seconds | Dry with a towel, then heat on the stove |
| Baking seasoning at wrong temperature | Sticky or uneven coating | Use 400°F, check oil smoke point first |
Scouring too hard is another common error. Heavy steel wool or sandpaper removes metal along with the rust. Use 0000-grade steel wool for bare iron.
Anything coarser can leave permanent grooves. For enameled pans, skip steel wool entirely.
Flash rust happens when you wash a stripped pan and let it air dry. The water reacts with the exposed iron and a thin orange layer appears within a minute. The fix is simple.
Dry the pan with a towel immediately, then heat it on a low burner for two minutes. Apply a light oil coat before you set it down.
Mistakes That Ruin Enameled Cast Iron
Enameled cast iron has a glass coating. It does not need seasoning. People treat it like bare iron and ruin the finish.
Never use vinegar soaks, steel wool, or abrasive scrubbing pads. Enamel chips and scratches easily. Use a baking soda and water paste to lift rust from small chips or edges.
Scrub gently with a soft sponge.
If the enamel is chipped and rust appears at the chip site, you have a limited window. Light surface rust can be scrubbed off with baking soda. But if the rust has spread under the enamel, the piece may be unsafe for cooking.
The exposed iron can rust deeper, and enamel edges can flake into food. In our research, manufacturers like Le Creuset advise replacing pans with cracked or chipped enamel rather than attempting restoration.
FAQs About Removing Rust from Cast Iron
Can I use sandpaper to remove rust from cast iron?
You can, but only for bare cast iron with deep pitting. Use fine grit (120 to 220) and work by hand, not with a power sander. Power tools remove too much metal and ruin the surface shape.
After sanding, wipe away all dust and season immediately.
Is it safe to cook in a rusty cast iron pan after cleaning?
Yes, as long as you remove all rust and re-season the pan thoroughly. Red rust itself is not toxic, but it can harbor bacteria in pits and affect the taste of food. The seasoning layer seals the iron and makes it safe for cooking.
How do I know if rust has damaged my pan permanently?
Look for cracks, warping, or rust holes that go through the metal. Deep pitting that won't scrub away is cosmetic damage. The pan is still usable but will never be fully non-stick.
If the pan rocks on a flat surface, the heat distribution is compromised and replacement is better.
What if the rust comes back after I season the pan?
That usually means the seasoning layer is too thin or you didn't dry the pan properly after cooking. Wash with mild soap, dry thoroughly on the stove, and apply a thin oil layer after each use. If rust appears, scrub the spot with steel wool, dry, and touch up seasoning with a single coat.
Can I remove rust from a cast iron griddle or grill pan the same way?
Yes, the same methods apply. For griddles with raised ridges, a stiff nylon brush helps reach between the grooves. Avoid soaking griddles that have a wooden handle.
Remove the handle first if possible. If not, use a baking soda paste and scrub without soaking.
Should I strip the old seasoning before removing rust?
If the rust is only on the surface, you don't need to strip the seasoning. Scrub the rust spots directly. If the seasoning is flaking or uneven, strip the entire pan first.
A vinegar soak or oven self-cleaning cycle removes old seasoning quickly. Then proceed with rust removal.

Similar Posts