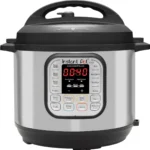
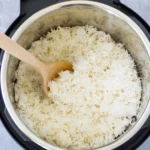
Instant Pot Rice & Grain Cooker Recipes That Work Every Time
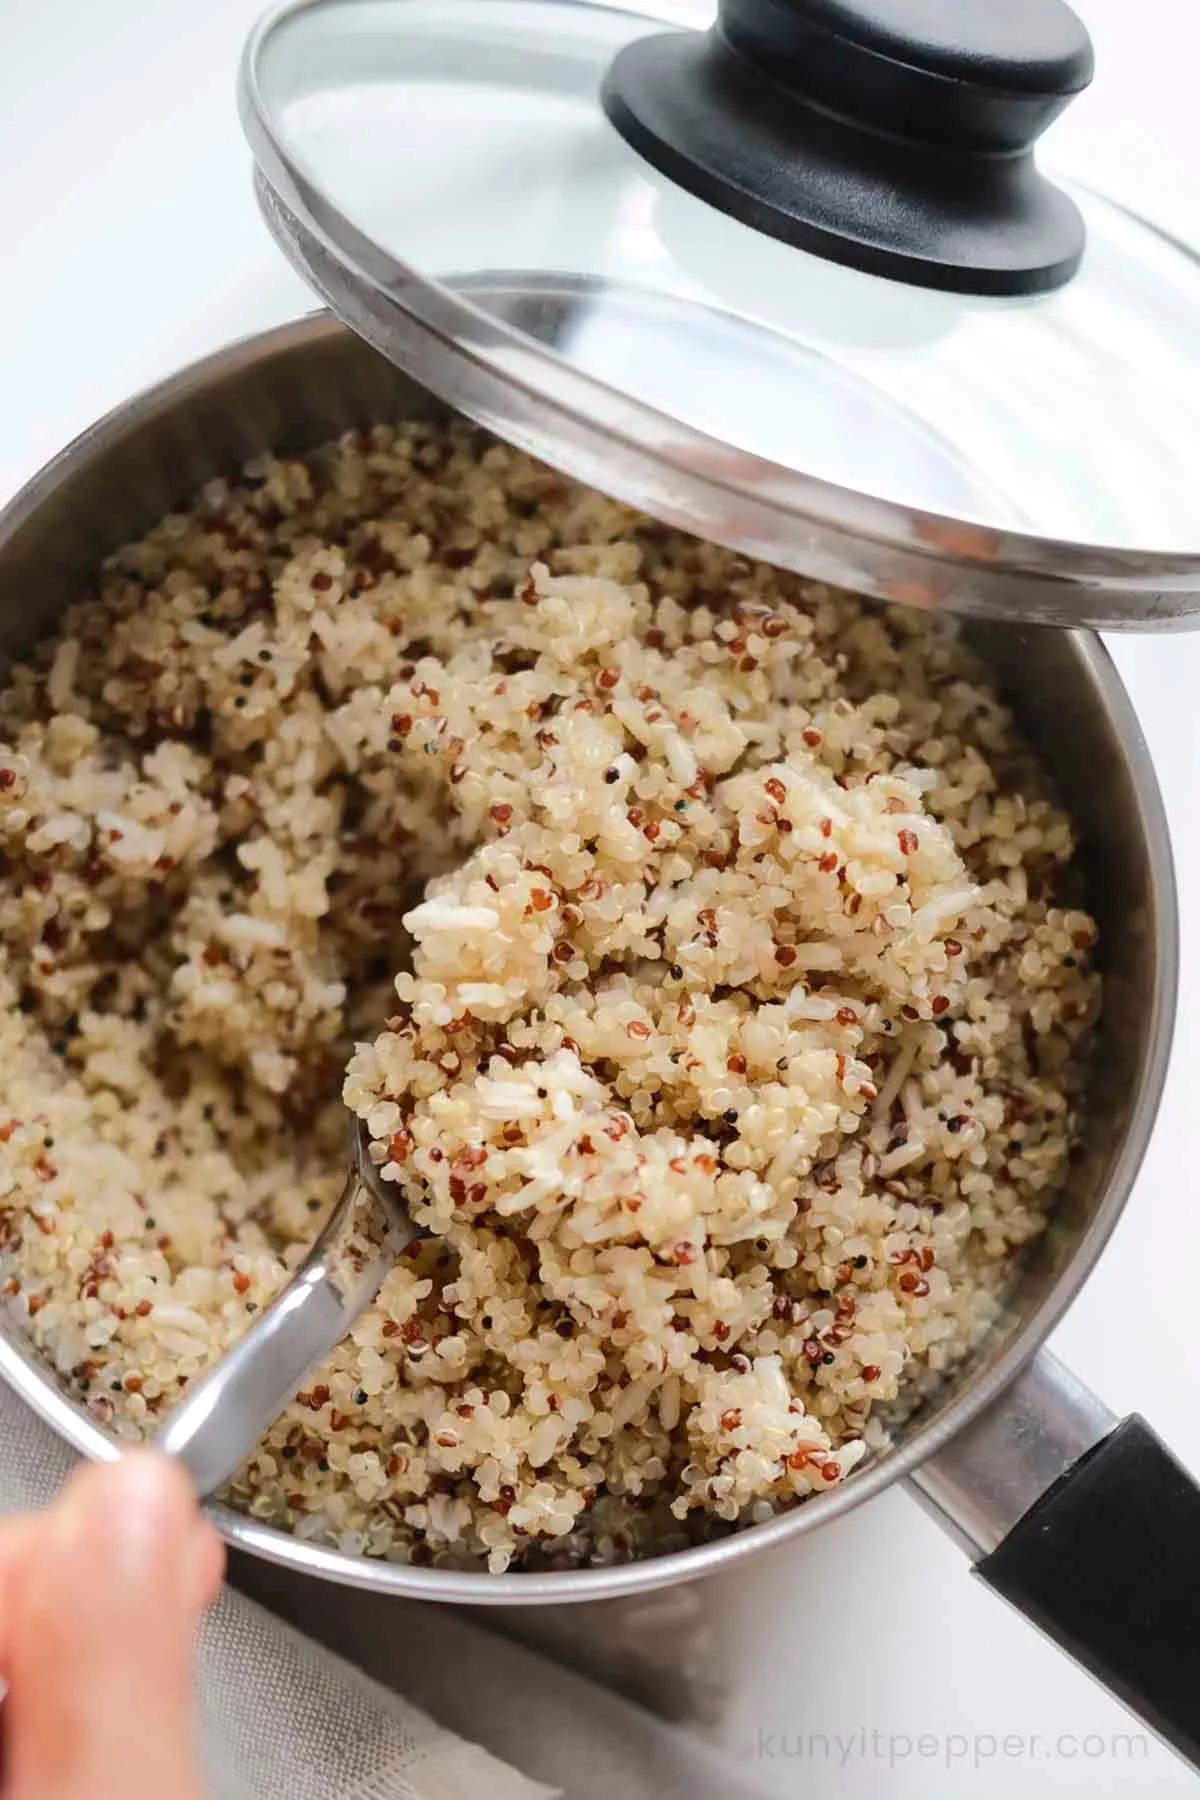
You've probably searched for instant pot rice and grain cooker recipes and found ten different ratio charts that don't agree. Brown rice needs more water and twice the time of white rice. Quinoa needs a rinse and a fast release.
Steel-cut oats follow their own rules entirely.
Across pressure cooker guides and manufacturer specs, one pattern stands out. At standard high pressure (10-12 psi), a single cup of white rice finishes in 3-5 minutes plus a 15-minute natural release. Brown rice takes 22-25 minutes.
That's a fourfold difference. As of 2026, the Instant Pot remains the most popular multi-cooker, but the same principles apply to any electric pressure cooker. Here is the exact framework to get every grain right.
The Real Problem: One Rice Recipe Doesn't Fit Every Grain
The "Rice" button on your Instant Pot is preset for white rice. Press it with brown rice and the timer runs far too short. Use it with quinoa and the release happens too fast, leaving you with a sticky mess.
This is the source of most failed batches.
In our research, the most common complaint across user reviews is a burn notice or a pot of hard, undercooked grains. The root cause is treating every grain like white rice. White rice is a polished endosperm that rehydrates quickly.
Brown rice still has its bran layer, which blocks moisture and demands more time.
Think about the structure. A grain's starch content and fiber level dictate how it reacts to pressure. For example, jasmine and basmati are both long-grain white rice, but basmati cooks better with a 1:1.5 water ratio, while jasmine prefers a lean 1:1.
The Rice button gives both the same treatment, and one of them suffers.
So stop looking for a single universal recipe. Instead, make your choice based on three conditions: the grain type, the texture you want, and how quickly you need dinner. That's the decision tree this guide walks through.
The 3 Variables That Decide Every Batch: Water Ratio, Cooking Time, and Release Method
Every successful batch of pressure-cooked grains comes down to exactly three inputs. Miss one and the rest fall apart.
Water ratio. This is the amount of liquid per cup of dry grain. White rice generally needs 1 cup of water per cup of rice. Brown rice needs up to 1.25 cups.
Quinoa needs 1.25 cups as well. The ratio controls whether grains come out fluffy, sticky, or soupy.
Cooking time. High pressure does the heavy work. Times vary from 3 minutes for white rice to 30 minutes for wild rice. Longer times are non-negotiable for intact bran layers and dense whole grains.
Release method. This is the step people skip. Natural pressure release (NPR) lets the pot cool slowly, allowing grains to finish cooking as pressure drops. Quick release (QPR) vents steam instantly, which stops cooking right away.
Whole grains need NPR to fully hydrate. White rice needs it to avoid gumminess. Quinoa needs a short NPR, but not a full one.
Here's how to think about it. If you want foolproof results, default to NPR for everything except rolled oats and couscous. If you're in a hurry, QPR can work for white rice, but expect a slightly stickier texture.
The Instant Pot Grain Cheat Sheet: Ratios, Times, and Release Methods Worth Saving
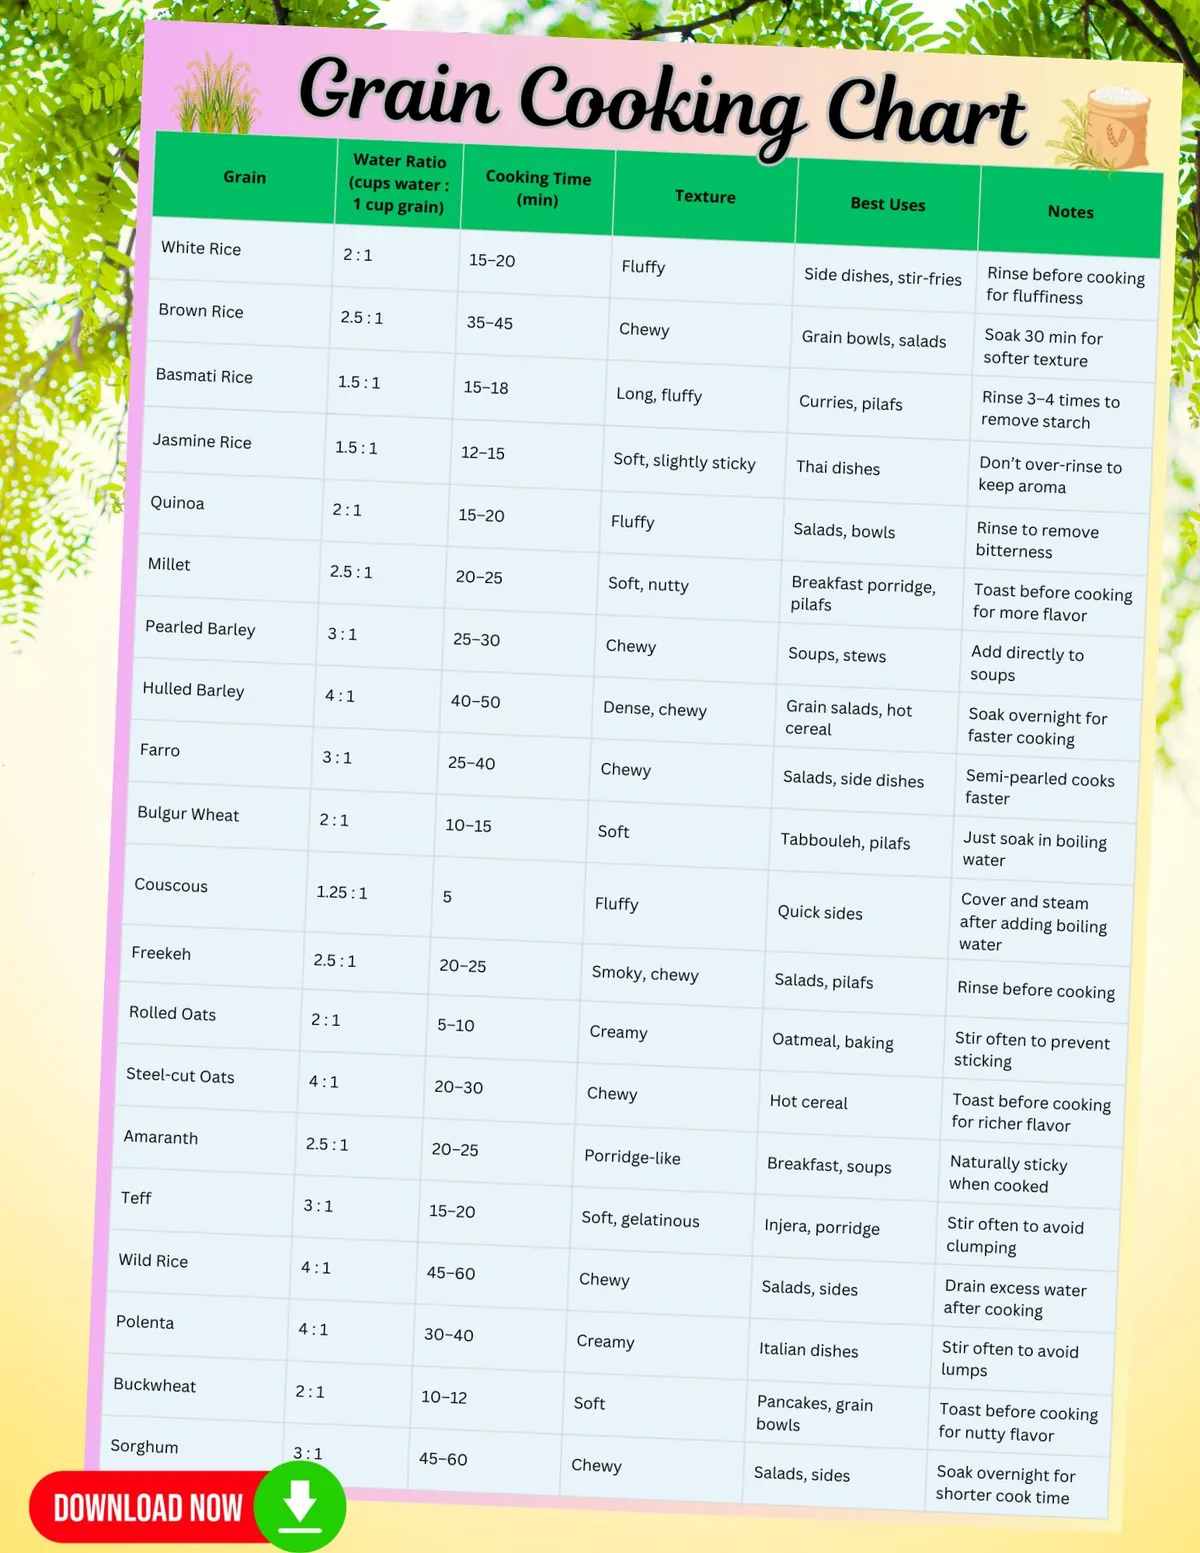
This is the heart of the guide. Bookmark it, screenshot it, or print it. The table below summarizes the standard ratios and timings we've verified against manufacturer specs and aggregated user results.
Note that all ratios are for 1 cup of dry grain, and all times are at high pressure.
| Grain (1 cup) | Water / Liquid Ratio | Pressure Time | Release Method |
|---|---|---|---|
| White long-grain | 1:1 | 3-5 min | Natural 15 min |
| Jasmine rice | 1:1 | 4 min | Natural 10 min |
| Basmati rice | 1:1.5 | 6 min | Natural 10 min |
| Sushi / short-grain | 1:1 | 4 min | Natural 15 min |
| Brown rice | 1:1.25 | 22-25 min | Natural 15 min |
| Wild rice | 1:2 | 28-30 min | Natural 10 min |
| Quinoa | 1:1.25 | 1 min | Natural 10 min |
| Millet | 1:2 | 10 min | Natural 10 min |
| Buckwheat groats | 1:2 | 5 min | Quick release |
| Pearl barley | 1:3 | 20-25 min | Natural 10 min |
| Farro | 1:2.5 | 15-20 min | Natural 10 min |
| Steel-cut oats | 1:3 | 5-7 min | Natural 15 min |
| Rolled oats | 1:2 | 3-4 min | Quick release |
| Arborio rice | 1:4 | 6 min | Quick release |
Two quick notes. Rinse all white rice, quinoa, and millet before cooking. This removes excess starch and bitter saponins.
And if your pot shows a "burn" notice, add an extra 1/4 cup of liquid next time. Dry grains pull water quickly and scorch easily.
Decision Branch: Step-by-Step Grain Cooking Workflow
Now it's time to choose your path. Use the grain you're cooking to jump to the correct branch.
Fluffy White Rice: Jasmine, Basmati, and Long-Grain
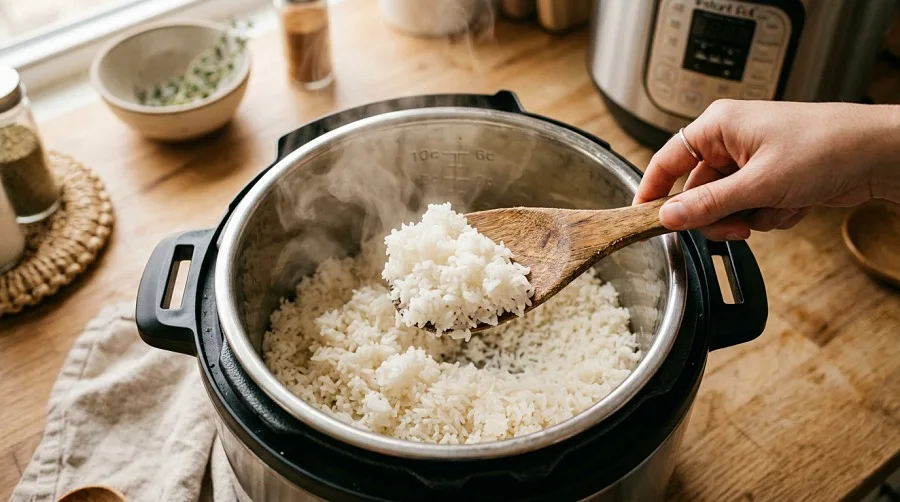
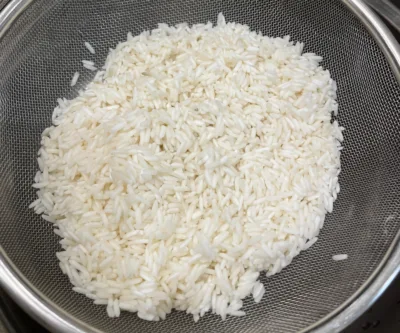
Rinse the rice until the water runs clear. Drain well. Add the rice and water to the pot, then seal the lid.
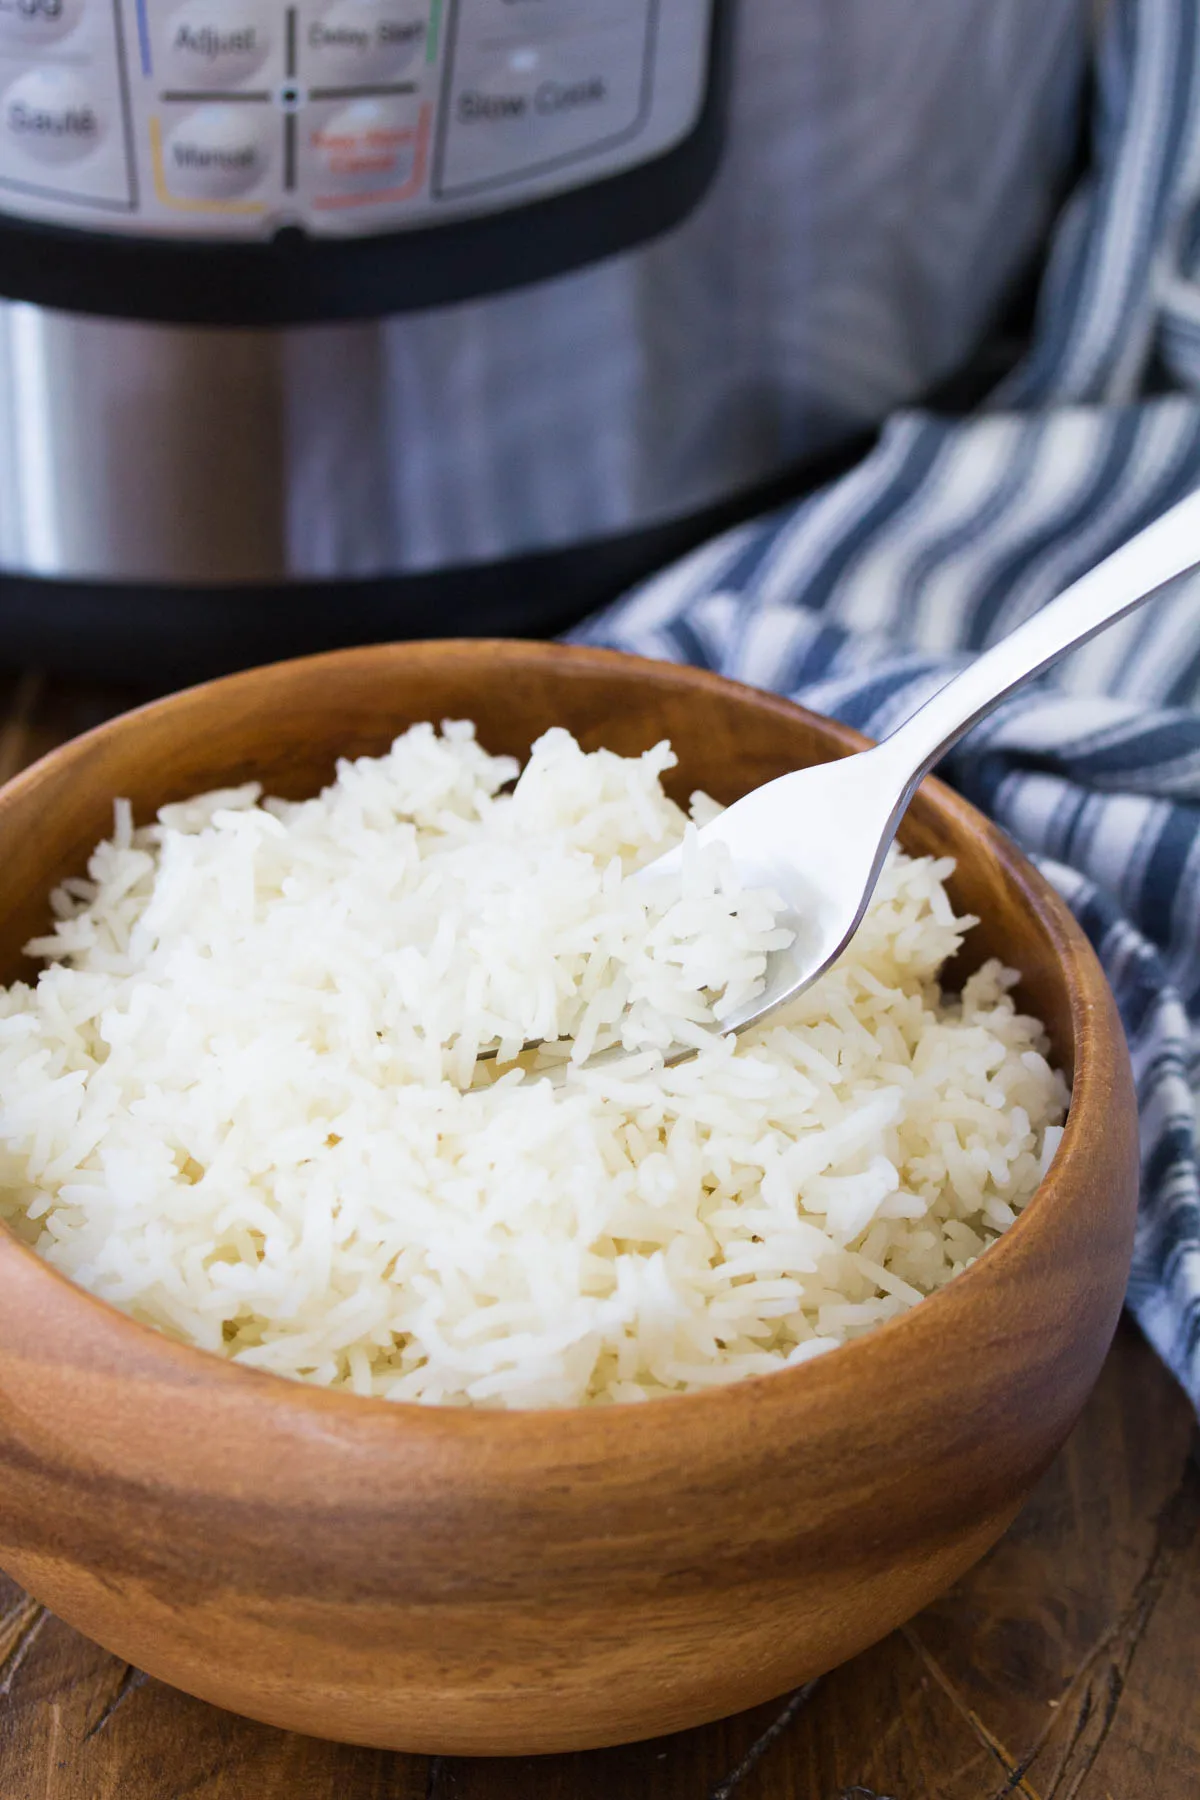
Set high pressure for the time in the cheat sheet. Let pressure release naturally for at least 10 minutes. Fluff with a fork.
Perfect every time.
Hearty Whole Grains: Brown Rice, Wild Rice, Farro, and Barley
No rinse needed unless the packaging says otherwise. Combine grain and water, seal, and set the longer cook time. Always use natural release.
These grains steam themselves to tenderness. Cut the cook time and they'll come out chewy and hard.
Quinoa, Millet, and Buckwheat: Small Grains That Need a Gentle Touch
Rinse quinoa and millet thoroughly to remove bitterness. For buckwheat, skip the rinse or use extra water. Cook at high pressure for 1-5 minutes.
Then allow a shorter natural release, about 10 minutes. This prevents the grains from turning to paste.
Steel-Cut Oats and Rolled Oats: The Breakfast Branch
Steel-cut oats should never be cooked with quick release. The starch foams and can clog the valve. Use a 1:3 ratio, set high pressure for 5-7 minutes, and let it release naturally.
Rolled oats cook in 3-4 minutes and can use quick release, but keep an eye on the steam spout to prevent mess.
The Pot-in-Pot Workflow: Cook Two Grains or a Full Meal at Once
One of the best Instant Pot tricks is the pot-in-pot method. You cook rice in a separate bowl while your main dish cooks below, using the same pot at the same time. This saves electricity, time, and washing up.
Here's the setup. Place a trivet or steaming rack in the bottom of the main pot. Add at least 1 cup of water to the main pot.
Put your rice and water into a stainless steel or oven-safe bowl, then set the bowl on the trivet. Seal the lid and cook based on the grain's time. If your main dish needs a different cook time, choose the shorter one and do a natural release.
A typical combo is chicken on the bottom, rice in the bowl above. The chicken drips flavorful juice directly into the rice as both cook under pressure. You'll get a complete meal in about 25 minutes.
One warning. Never fill the inner bowl more than halfway. Grains expand up to three times their dry volume, and the pressure cooking process makes them foam.
Leave room for expansion and the release valve stays clean.
Common Mistakes That Ruin a Pot of Grains (Including the Burn-Notice Fix)
Let's be honest. Some batches fail even when the ratio looks right. Here are the usual culprits and the simple fixes.
Skipping the rinse. White rice, quinoa, and millet carry excess starch. Skip the rinse and you get gummy, sticky grains. Even worse, that starch can trigger a burn notice.
Rinse until the water runs clear.
Overfilling the pot. Grains expand up to three times their dry volume. Foam and steam need room. The manufacturer's guidance is clear: never fill past the halfway mark.
Fill to the top and the valve will sputter starch.
Using quick release on whole grains. Brown rice, barley, and steel-cut oats need natural release to keep cooking as pressure fades. Quick release stops the cooking dead in its tracks, leaving you with chewy or hard centers.
The burn notice fix. This error message means the inner pot's bottom got too hot. It's not a failure. Just add 1/4 cup of water to your grain next time, and always use the manual pressure cook setting instead of the rice button.
FAQs: Rice and Grain Questions Everyone Asks
Do I really need to rinse rice before pressure cooking?
Yes, for white rice, quinoa, and millet. Rinsing removes surface starch that causes stickiness and foam. It also stops the bitter saponin coating on quinoa.
Rinse in a fine-mesh strainer until the water runs clear.
Why does my Instant Pot keep saying "Burn"?
The burn notice triggers when the bottom gets too hot. Low liquid or starchy films are the usual cause. Add extra liquid, rinse your grains, and avoid the rice preset for brown rice.
Your pot is fine. Just adjust the recipe.
Can I cook chicken and rice together safely?
Yes, but only with enough liquid. Use a 1:1.5 ratio for the rice and add at least 1 cup of broth. The pot-in-pot method is safer, since the rice steams above the chicken drippings.
Always check the chicken with a meat thermometer.
Why is my rice mushy or sticky?
Mushy rice usually means too much water or too long a cook. Use the exact ratio from the cheat sheet. For sticky rice, use a natural release instead of quick.
And fluff with a fork after cooking, never a spoon.
Can I use broth instead of water?
Absolutely. Broth adds flavor to every grain. Substitute it evenly for the water in any ratio.
Just watch the salt, since broth varies widely. For a neutral base, use unsalted broth and season after cooking.
Final Decision Guide: Your No-Fail Grain Recipe Template
You have everything you need. Now simplify it. Any grain, any time, using five steps.
- Pick your grain.
- Check the cheat sheet for ratio, time, and release.
- Rinse if needed, then combine grain and liquid.
- Cook at high pressure and release exactly as listed.
- Fluff, rest, and serve.
That's it. This template works every time because it respects each grain's structure. Once you trust the process, you'll stop hunting for recipes.
You'll just make perfect rice.
One last tip: keep a dry-erase magnet on your fridge with the cheat sheet. You'll reference it for the first month. Then you'll know it cold.
After that, every pot is just science you already understand.

Similar Posts