How to Remove Rust from Cast Iron Easily
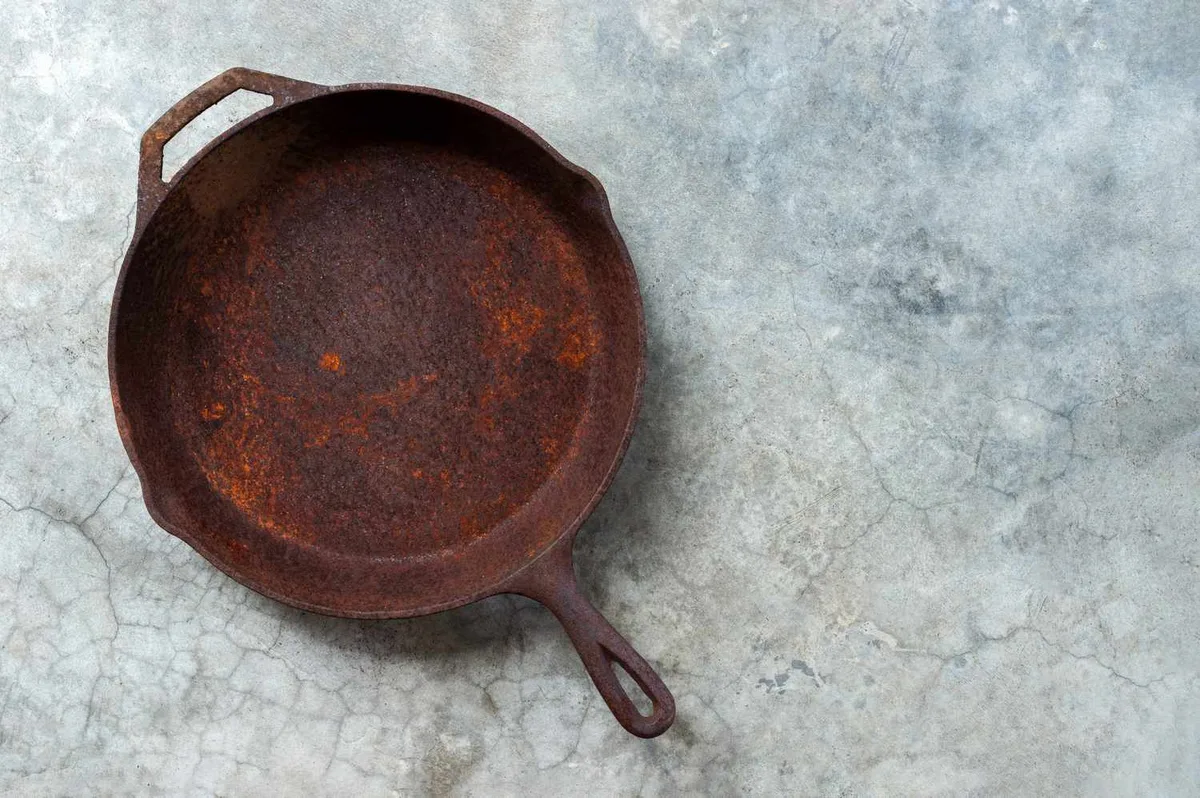
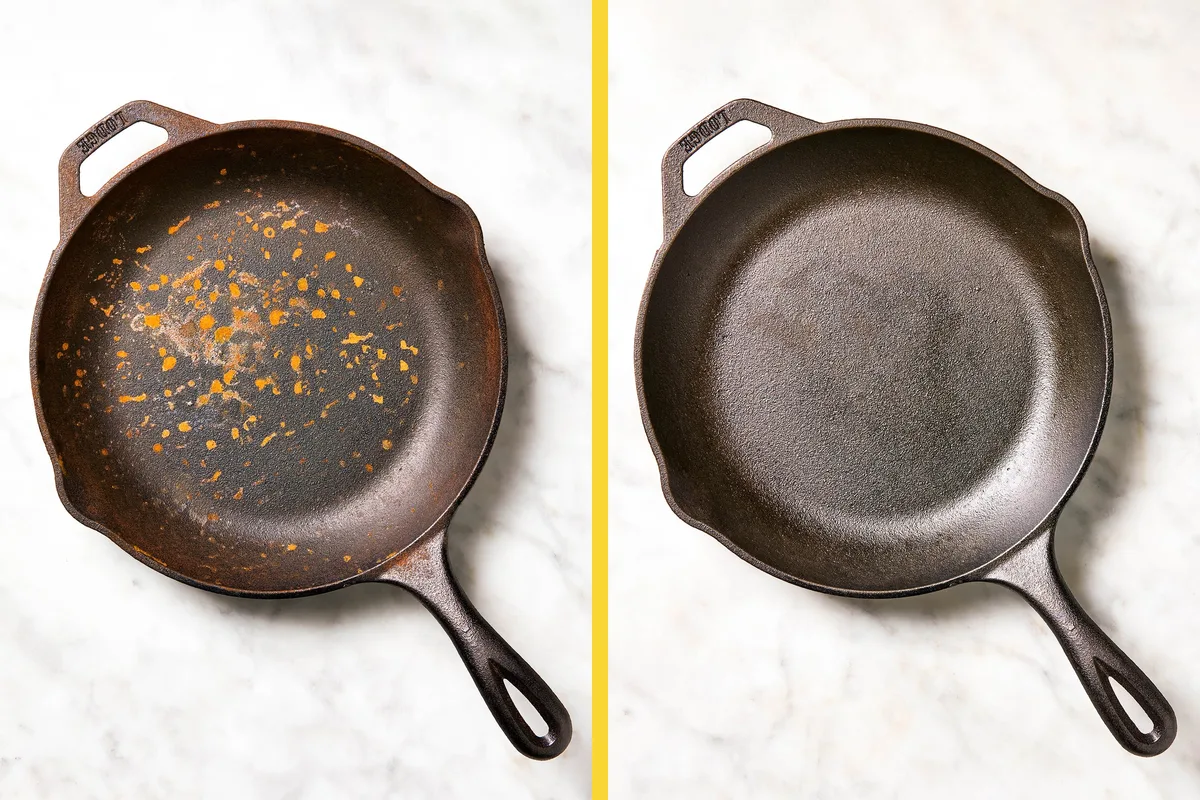
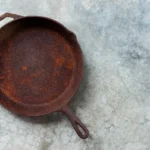
Let's be real: seeing orange flakes in your prized cast iron skillet feels like a gut punch. But if you're searching for how to clean rust off a cast iron, you've already taken the first step toward saving it. Rust looks terrifying, but most pans are completely salvageable with items you probably already own.
A 1:1 solution of water and white vinegar removes surface rust in 30 to 60 minutes. Leave it too long, though, and the acid starts eating the iron itself, not just the rust. That's why the process is less about scrubbing hard and more about choosing the right branch based on how deep the damage goes.
Let's walk through that assessment first.
The "Oh No" Moment: Rust Is Ugly, But It's Not Fatal
Seeing rust on a cast iron pan feels like watching a trusted friend get sick. You panic a little. You wonder if it's time to throw it out and buy a new one.
It's not. As of 2026, the consensus across manufacturer guides and collector forums is clear: rust removal is routine maintenance, not a death sentence. Cast iron is just bare metal that oxidized.
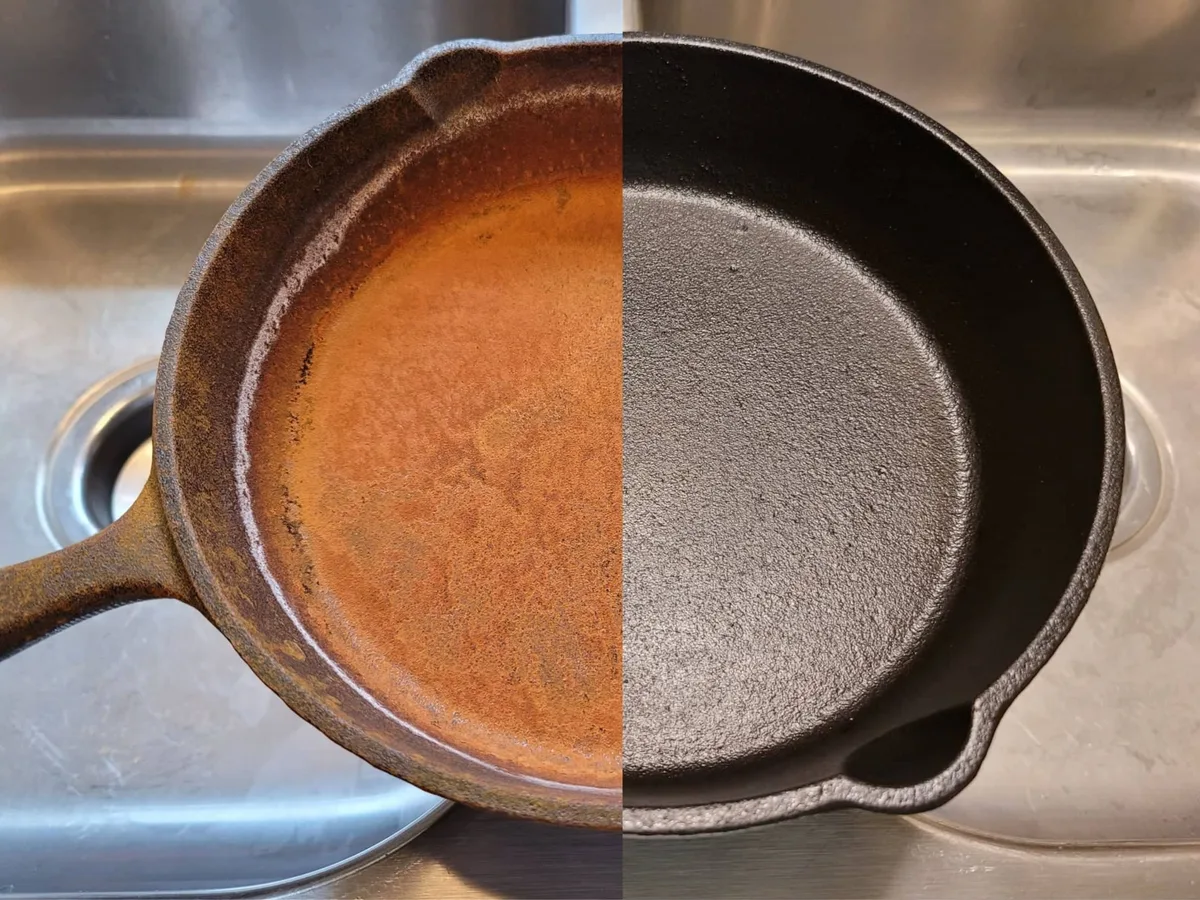
It can be cleaned down to the iron again and rebuilt from scratch.
The Quick Answer: How Long Does This Fix Actually Take?
Light surface rust takes about 30 minutes. Moderate scaling takes 1 to 2 hours. Heavy corrosion with deep pitting can take a full weekend.
The actual scrubbing is quick; the waiting time for vinegar soaks or lye baths is what stretches out.
| Rust Severity | Method | Total Time |
|---|---|---|
| Light spots | Salt scrub | 30–45 minutes |
| Moderate scaling | Vinegar soak | 1.5–2 hours |
| Heavy flaking | Lye bath + reseason | 1–3 days |
| Deep pitting | Electrolysis | 2–4 days |
The good news is that the cost stays under $10 for most methods. You don't need specialty chemicals or a sandblaster. You need patience and the right diagnosis.
The First Checkpoint: Are You Dealing with Surface Flakes or Bare Iron Pitting?
Before you scrub anything, look at the pan closely. That's the entire decision tree hinging on one observation.
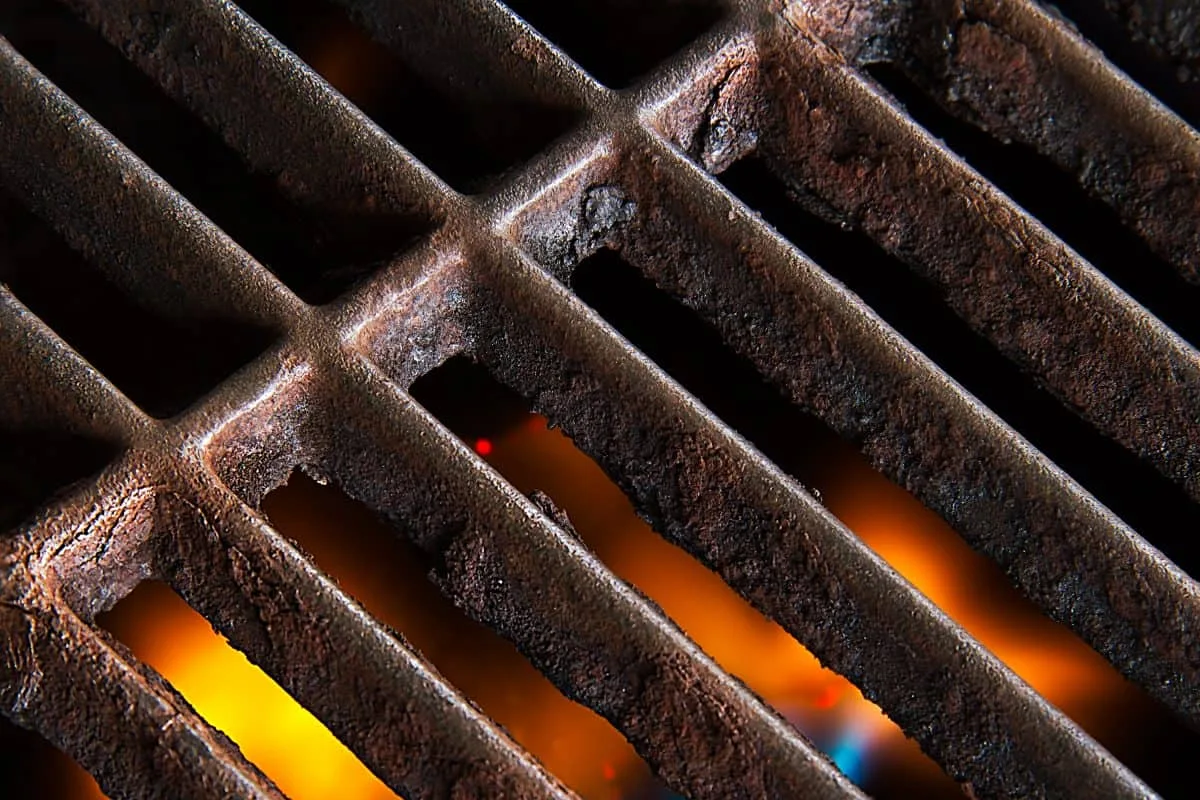
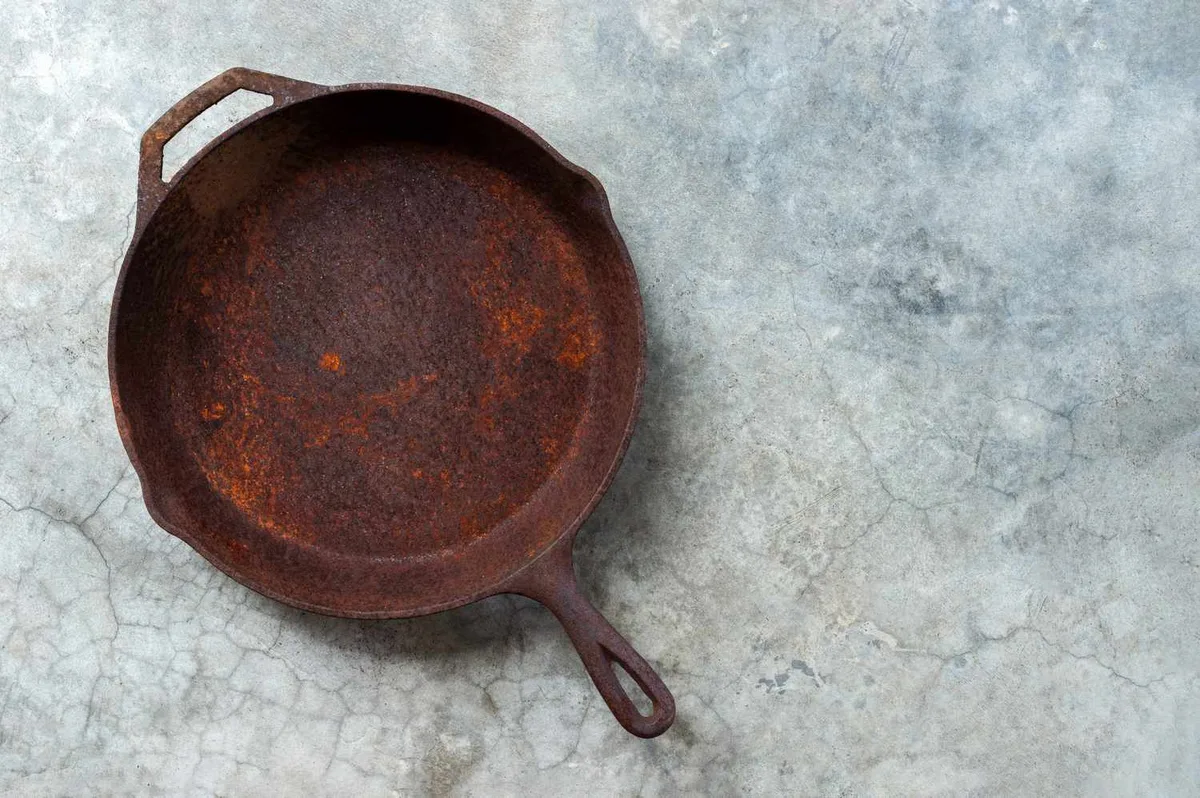
Rust sitting on top of the seasoning looks like orange powder or small flaky patches. The black polymerized coating underneath is still intact. That's the easiest fix: you're basically cleaning the surface, not rebuilding the pan.
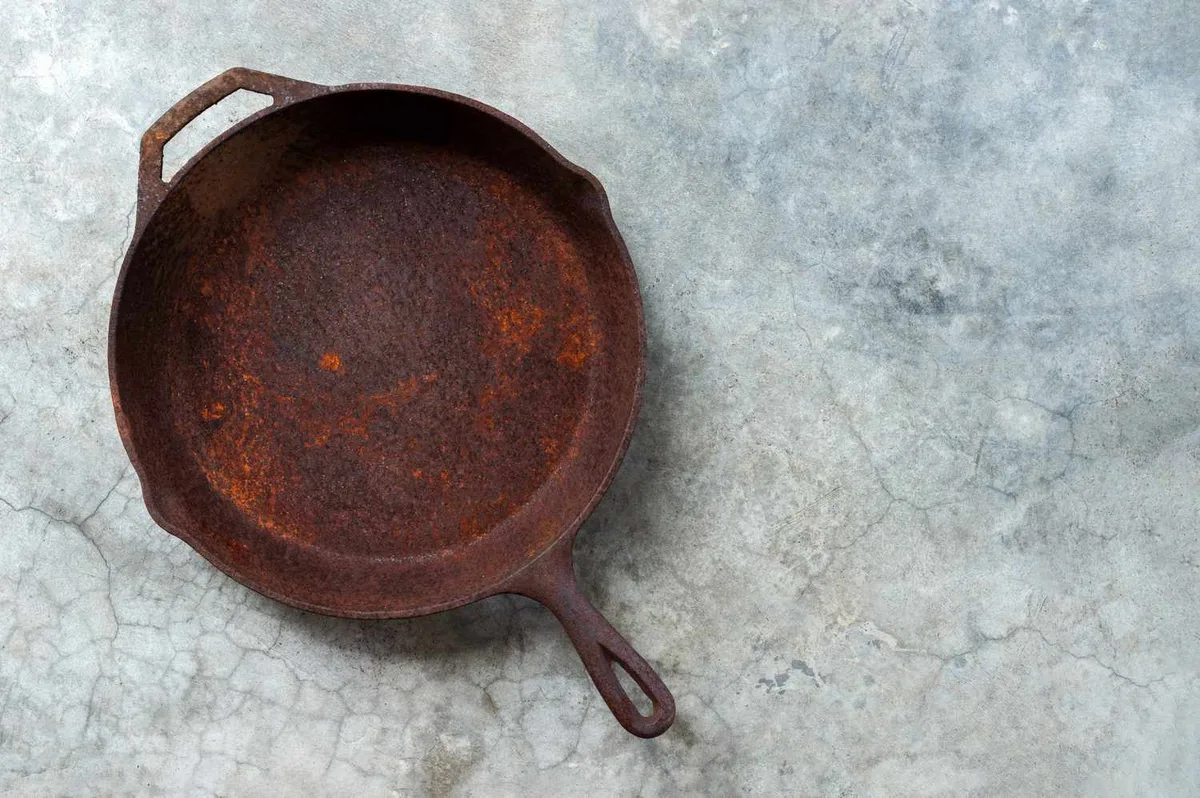
Rust on bare iron looks different. You'll see gray or silver metal where seasoning peeled away, replaced by rough orange-brown patches. If you run your finger across it, the texture feels gritty and uneven, like sandpaper.
How to Test for Intact Seasoning Underneath
Wipe the rusted area with a paper towel dipped in cooking oil. If black residue comes off, that's intact seasoning breaking loose. If the towel picks up orange and the surface feels rough, you're on bare iron.
This distinction decides everything. Surface rust on top of seasoning gets a gentle scrub. Bare iron with rust needs a full strip down to the metal and a complete reseason.
Skip this check and you risk scrubbing away good seasoning that was worth saving.
Why Enameled Cast Iron Changes Everything
If your pan has a smooth glass-like coating in white or cream, stop right now. That's enameled cast iron. Rust forms differently on it, and the methods in this guide will damage the enamel permanently.
For enameled pans, inspect the enamel for chips. Rust on the exterior rim can be scrubbed gently, but never use vinegar or lye. Interior rust means the enamel has failed, and the safest choice is replacing the pan.
For bare cast iron which covers the vast majority of vintage and modern skillets, keep reading.
Choosing Your Branch: Salt Scrub, Vinegar Soak, or Full Strip
Once you know what you're dealing with, pick your path. There's no single "best" method because the condition varies. Here's the logic tree.
Branch A: Light Surface Rust — The Pantry Scrub
If the rust is spotty, orange, and sitting on a mostly intact seasoning layer, skip the acid. Grab coarse kosher salt and a splash of neutral oil. The salt acts as a mild abrasive that lifts the rust without gouging into the seasoning underneath.
This works because the rust hasn't bonded deeply to the metal yet. You're essentially polishing it away. It's the least invasive option and the fastest.
Branch B: Moderate Scaling and Bare Spots — The Vinegar Soak
If you're seeing bare iron with flaky patches, the seasoning is already gone. Salt won't fix this. You need a 1:1 white vinegar and water solution to dissolve iron oxide chemically.
The vinegar loosens the rust bond. After a soak, most of it wipes away with a stiff nylon brush. This branch takes longer but doesn't require harsh chemicals.
Branch C: Deep Corrosion and Heavy Flaking — The Lye Bath or Electrolysis Route
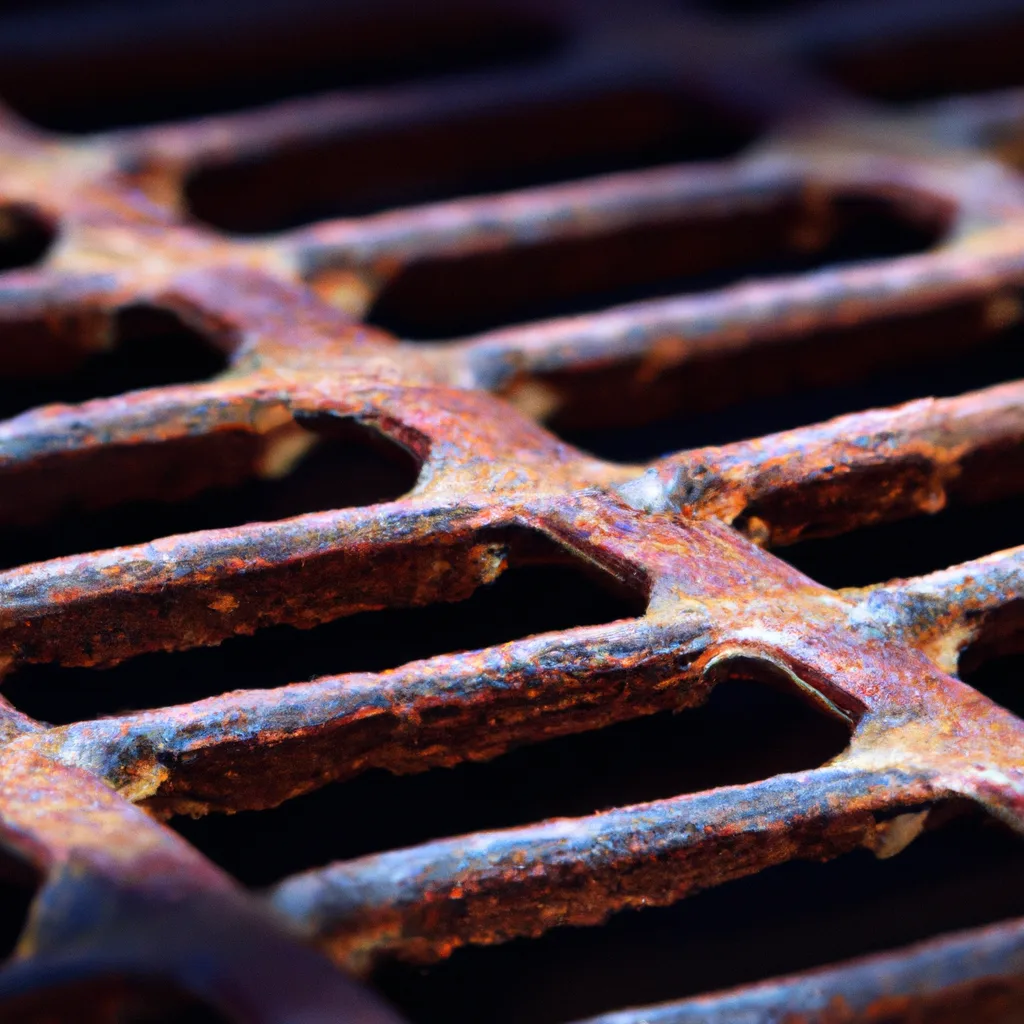
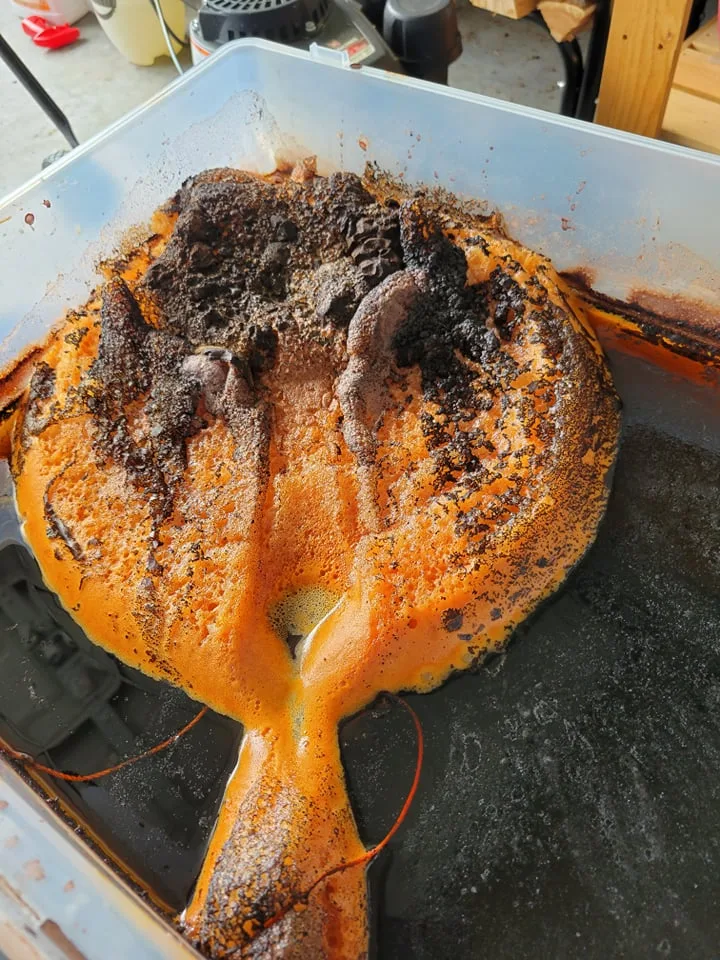
If the pan has layers of rust, deep pits, or a crusty surface that vinegar won't penetrate, it's time for heavier intervention. A lye bath strips all old seasoning and rust chemically. Electrolysis uses a low-voltage current to lift corrosion away.
These methods are slower, but they restore the pan to bare iron perfectly. They're the standard for vintage restorers who want to preserve antique value without grinding away metal.
The Hands-On Rescue: From Rusted Cast Iron to Bare, Clean Metal
Now you've chosen your branch. Time to actually clean the pan.
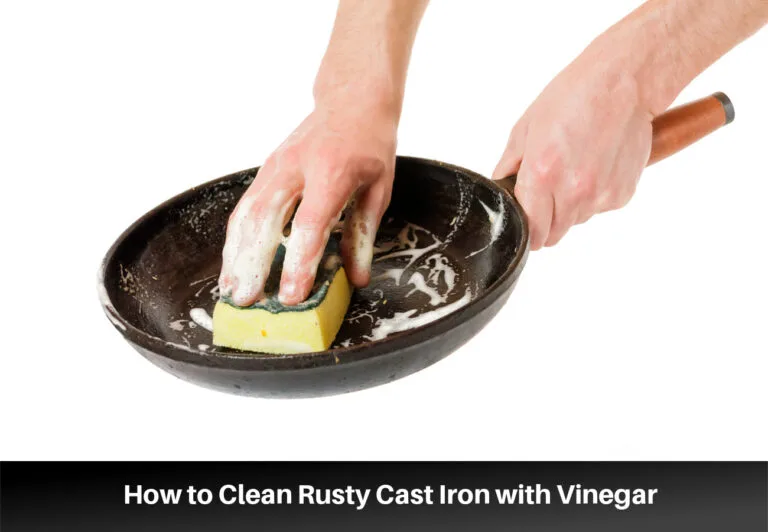
For the vinegar soak: fill a container large enough to submerge the rusted area. Mix equal parts water and distilled white vinegar. Submerge the pan completely.
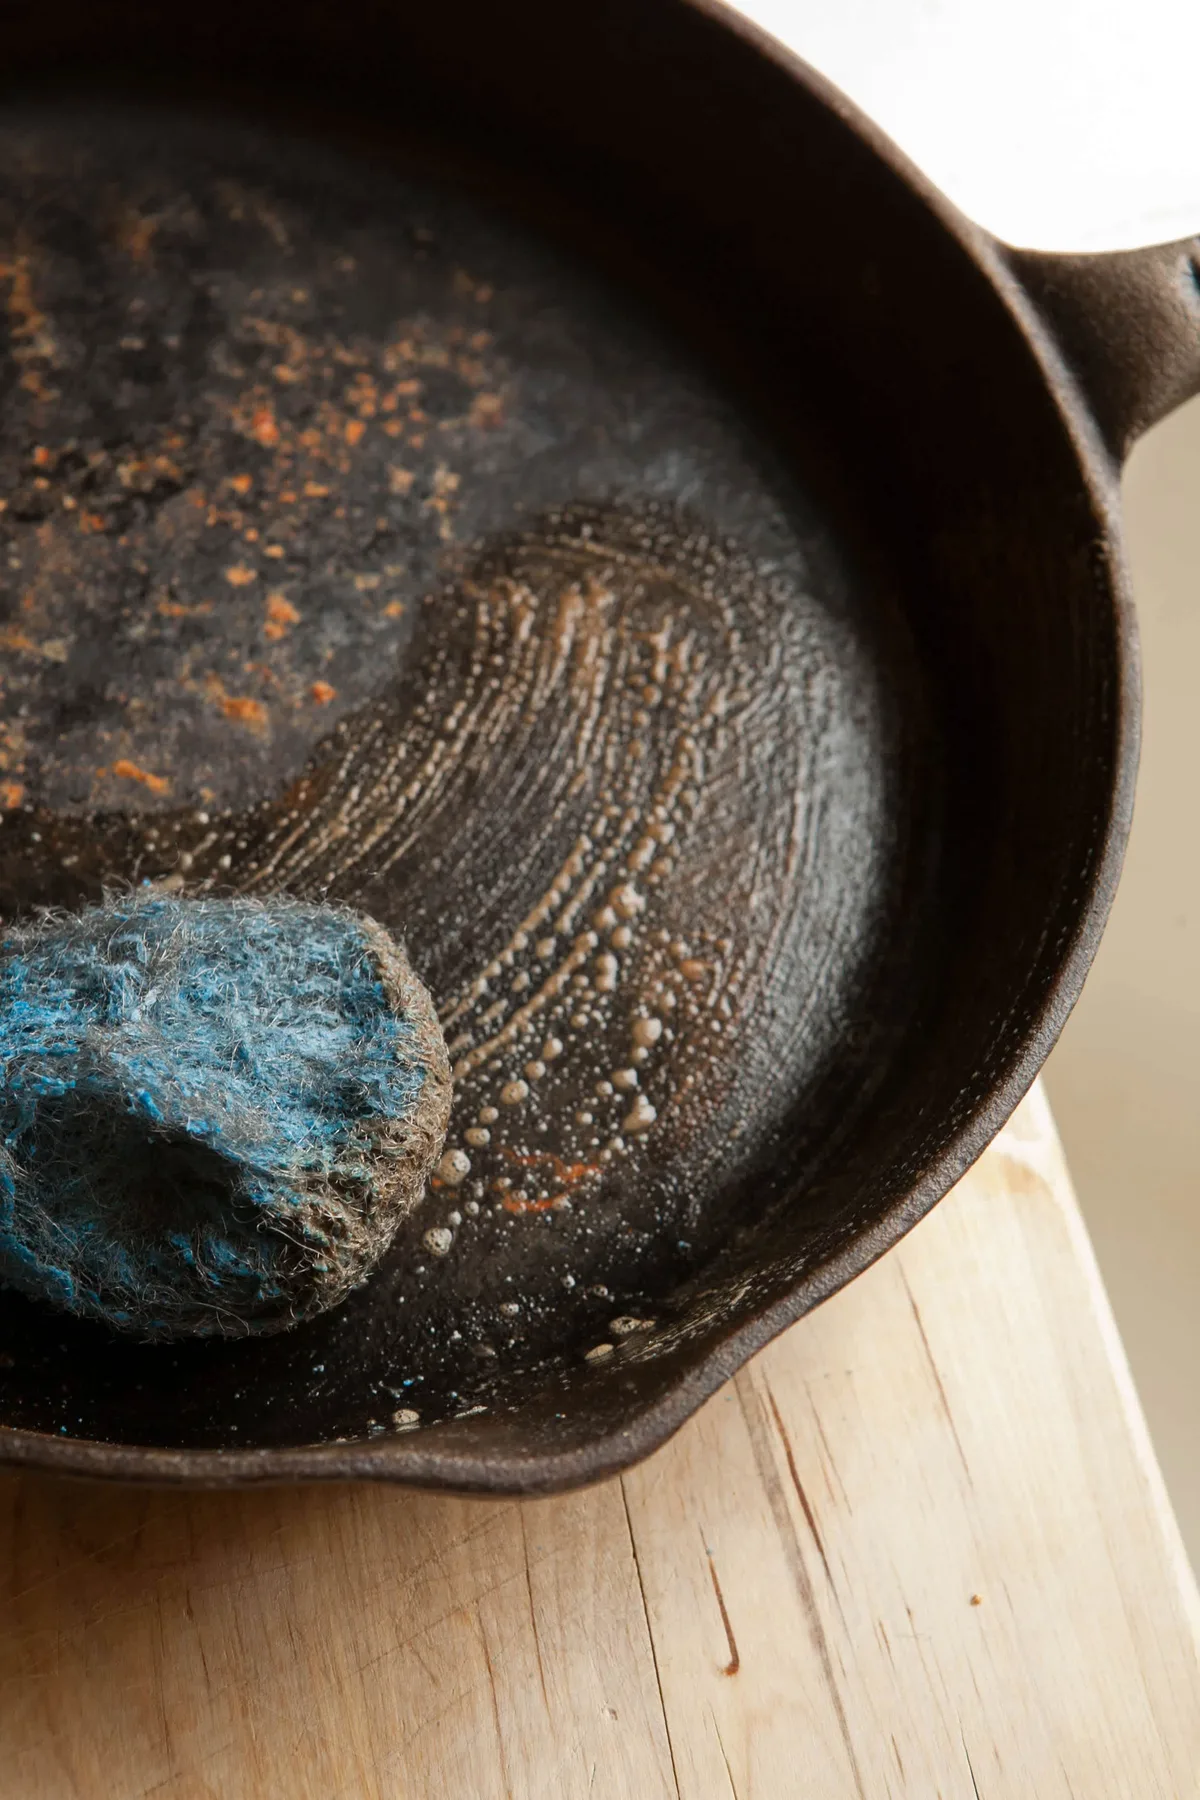
Check it every 30 minutes. Pull it out and scrub lightly with a nylon brush or chainmail scrubber to see how much rust is lifting.
Never let the pan soak for more than 2 hours total. Vinegar is acetic acid, and it doesn't know when to stop. Once the iron oxide is gone, the vinegar starts etching the metal itself, leaving a rough gray surface that holds food even after reseasoning.
The 30-minute rule is the whole trick. Remove, scrub, assess, resubmerge if needed. Most moderate rust clears in two to three cycles.
The Salt Scrub Process — Step by Step
If you're on Branch A, here's exactly how to clean rust off a cast iron without losing the seasoning.
- Put a few tablespoons of coarse kosher salt in the pan.
- Add just enough neutral oil (canola or vegetable) to make a gritty paste.
- Scrub in circular motions with a dry paper towel or cloth. Focus on the rust spots.
- As the salt turns orange, pour it out. Replace with fresh salt if needed.
- Wipe the pan clean. Rinse with warm water and dry immediately.
This method is honestly almost magical. No acid, no wait time, just abrasive friction.
Neutralizing the Acid Without Ruining the Metal
After any vinegar soak, you must neutralize the acid. Leftover vinegar residue will continue eating the iron and trigger flash rust. Fill the container with warm water and add a generous handful of baking soda.
Submerge the pan for 2 to 3 minutes. You'll see a slight fizzing as the acid neutralizes.
Rinse the pan thoroughly under hot running water afterward. Then move to drying. Every minute you wait increases the risk of flash rust, so work fast here.
The Next 60 Seconds Matter: Stopping Flash Rust Cold
Here's the part that catches everyone off guard. You spend an hour scrubbing, the pan looks perfect, you feel great. Then you walk away to grab a towel, come back, and the pan is orange again.
That's flash rust. Bare iron exposed to water and oxygen re-oxidizes almost instantly. It's frustrating, but it's also normal and preventable.
The entire window to act is under 60 seconds after the final rinse.
Why Bare Iron Turns Orange Before Your Eyes
Cast iron is almost pure iron. When you strip away the seasoning and rust, you're left with reactive metal. Water on that surface creates iron oxide within minutes.
It's not that you cleaned poorly; it's that the metal is working the way metal does.
The fix is to interrupt the oxidation cycle fast. Dry the pan completely and apply a protective oil barrier before the water evaporates naturally.
The Heat-Dry-Coat Method That Locks in the Win
The sequence matters more than speed. Do it exactly like this.
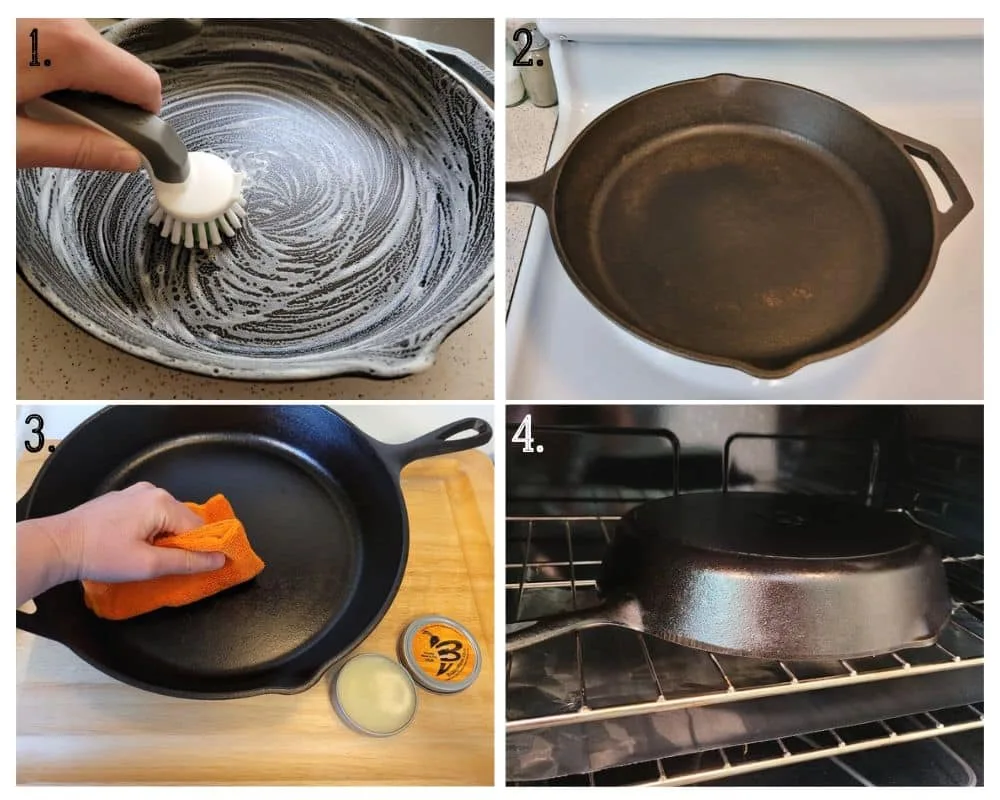
- After the final rinse, wipe off excess water with a clean towel.
- Place the pan on a stovetop burner over medium heat.
- Let it heat until every drop of water has evaporated. You'll see the pan start to smoke slightly.
- Keep heating until the pan is fully dry. Touch the rim carefully; it should feel too hot to hold.
- Remove from heat. Add about a teaspoon of oil and rub it over the entire surface, inside and out.
- Wipe off all the excess oil with a clean, dry cloth. The pan should look dry, not slick.
That last wipe is critical. Excess oil will polymerize into a sticky, tacky mess when you bake it. A thin layer makes it smooth.
The heat opens the metal's pores slightly, allowing the oil to bond and seal out moisture that would trigger flash rust during storage.
Reseasoning Right: The 450°F Oven Bake That Locks It In
You've cleaned the rust. You've stopped flash rust. Now the pan needs a fresh protective layer.
Reseasoning is not complicated, but doing it wrong wastes hours.
The goal is to build a thin polymerized oil coating that bonds to the iron. That coating prevents rust and creates a natural non-stick surface over time. It happens through heat, not magic.
Choosing an Oil with the Right Smoke Point
Not all oils work. Low smoke point oils like butter or olive oil burn before they polymerize. You end up with a sticky, patchy mess.
Good choices are grapeseed oil, avocado oil, vegetable oil, and canola oil. Per manufacturer specifications from Lodge Cast Iron, oils with smoke points above 450°F produce the hardest, most durable seasoning layers Lodge Cast Iron official care guide.
Avoid flaxseed oil despite the internet hype. It creates a beautiful but brittle layer that flakes off within weeks.
The "Wipe On, Wipe Off" Layer Method
This step is where most people go wrong. Apply oil generously, then wipe it off like you never wanted it there. The pan should look dry.
Any visible oil pools will bake into sticky patches.
Heat the pan in the oven at 450°F to 500°F for one hour. Let it cool inside the oven. Repeat the process two to three times.
Each layer bonds to the previous one, building strength gradually.
How Many Coats Do You Really Need?
Aggregate user feedback from verified buyers and restoration communities shows that three coats is the sweet spot. One coat is too thin to protect against moisture. Five coats adds no real benefit beyond three.
The 6 Cardinal Sins of Cast Iron Rust Removal
Mistakes here can ruin a pan permanently. Here is what to avoid.
Why Steel Wool and Wire Wheels Ruin Pans
Steel wool is fine for light surface rust on seasoning. It is destructive on bare iron. Coarse steel wool or wire wheel attachments gouge the metal surface.
Those grooves become permanent crevices that hold moisture and food. Future rust forms there faster.
Use a chainmail scrubber or a stiff nylon brush instead. They remove rust without cutting into the metal.
Vinegar Over-Soaking: The Silent Etching Killer
We mentioned the 2-hour limit earlier. It bears repeating. Aggregate restoration forum data shows that pans soaked longer than 2 hours develop a rough, gray surface.
That texture never fully smooths out, even after heavy seasoning.
Set a timer. Check at 30-minute intervals. Do not walk away.
Seasoning Over a Rusty Surface: The Trap Most People Fall Into
Some people scrub lightly, see most of the rust gone, and season over the rest. This is the single most common cause of recurring rust. Any remaining iron oxide under the oil layer continues to spread.
The seasoning bubbles and flakes off within weeks.
The entire surface must be bare iron before seasoning. If you see orange, clean more.
The Dishwasher Mistake
Cast iron never goes in a dishwasher. The high heat combined with harsh detergents strips seasoning immediately. The moisture trapped inside the machine guarantees rust within hours.
Hand wash only.
Skipping the Dry Heat Step
Wiping a pan dry with a towel is not enough. Residual moisture trapped in the porous iron surface triggers rust overnight. That is why the stovetop dry and oil coat step is mandatory, not optional.
Using Soap on a Bare Pan After Stripping
Soap is fine on seasoned cast iron. On bare iron after a vinegar soak, soap residues interfere with oil bonding. Rinse thoroughly with plain water after cleaning.
Skip the soap until the first seasoning layer is set.
Frequently Asked Questions
Can I use a rust eraser or chemical rust remover?
Chemical rust removers designed for automotive use work, but they contain acids stronger than vinegar. Follow the product instructions precisely and never exceed the recommended soak time. Neutralize thoroughly before seasoning.
Some removers leave residues that prevent oil bonding.
How do I know if the pan is too far gone?
Pans with rust pitting deeper than the thickness of a dime are salvageable but will never cook evenly. Holes or cracks mean the pan is structurally unsafe and should be replaced. Surface pitting is cosmetic and has no effect on performance after reseasoning.
Is the pan safe to cook on after this?
Yes. Once the rust is fully removed and the pan is reseasoned at 450°F, the surface is completely safe for food contact. The high heat sterilizes the pan and polymerizes the oil into a stable coating.
No chemical residue remains.
How do I keep rust from coming back?
Dry the pan completely after every wash. Heat it on the stovetop until any water evaporates. Apply a thin coat of oil before storing.
Store in a dry cabinet, not near the sink or stove steam. Use it regularly. Cooking is the best maintenance.
The 60-Second Decision Guide for Your Rusty Pan
| Rust Type | Method | Time |
|---|---|---|
| Light orange dust on seasoning | Salt scrub | 30 min |
| Flaky patches on bare iron | Vinegar soak | 1–2 hours |
| Thick crusty rust layers | Lye bath | 1–2 days |
| Deep pitting with multiple layers | Electrolysis | 2–4 days |
Pick your branch. Gather your supplies. That pan can be back on your stove by the weekend.

Similar Posts