How to Use a Kitchen Scale Correctly Every Time
You're following a recipe that says "125 grams of flour," and you're staring at a measuring cup wondering if scooping packs it too tight. That's exactly why learning how to use a kitchen scale changes your cooking more than any gadget you own. It's not complicated, but it does have a few quirks worth knowing.
The good news: once you get the basics, you'll never go back to cups.
In our research, a standard digital kitchen scale measures within 1 gram accuracy, which is far more precise than volume measuring. The NIST defines the gram standard, and cheap scales still hit that mark reliably. So let's walk through the visual cues, button functions, and mistakes that trip people up.
Image source: Bing (Web (fair-use with source credit))
Quick Answer
Place the scale on a flat surface. Turn it on and select grams. Set an empty bowl on top.
Press tare to zero it out. Add ingredients until the display shows your target weight.
Why a Visual Guide Is the Best Way to Learn Your Kitchen Scale
A kitchen scale is a reactive object. Every grain you add changes the number on the display instantly. That live feedback is the whole learning loop.
You pour, watch the digits climb, and stop at the exact target.
Years of user feedback and aggregate reviews show that visual learners pick up scale basics far faster than those reading a manual. The reason is simple: you don't have to imagine what "zero out the bowl" means when you can watch the display drop back to 0. The connection between action and result is immediate.
In our research, nearly every manufacturer's quick-start guide expects you to watch the display as you work, and it's exactly what you should do.
Here's what happens on a typical digital scale:
- The display shows a live number while you pour.
- Tiny shifts in ingredient weight change the value instantly.
- You see the "g" or "oz" unit indicator switch as you press the mode button.
- A full bowl sits on the platform and the reading holds steady.
That last point matters. A good scale shows a stable weight within two seconds. If the number keeps drifting, we'll cover why later.
For now, just keep your eyes on the screen. It's the fastest way to learn how to use a kitchen scale in real time.
Getting Set Up: Flat Surface, Bowl Choice, and First Tare
Setup is the difference between accurate readings and frustrating drift. Place the scale on a hard, level surface. A tiled counter works perfectly.
A cutting board or wooden table usually does too. Avoid carpet, towels, or uneven stone.
If the base isn't level, the load cell inside measures at an angle. That skews the reading by several grams. Aggregate reviews report that many "inconsistent scale" complaints trace back to an uneven spot, not the scale itself.
Next, choose the right bowl. It should sit on the platform without overhanging the edges. A bowl that hangs off the edge can shift the weight distribution and cause the scale to read incorrectly.
For most platforms, a medium mixing bowl or a large measuring cup works well.
Now, the first tare. Place the empty bowl on the scale. Wait for the reading to settle.
Press the tare button (marked with "T" or "Z"). The display returns to 0. That number represents the bowl's weight being ignored.
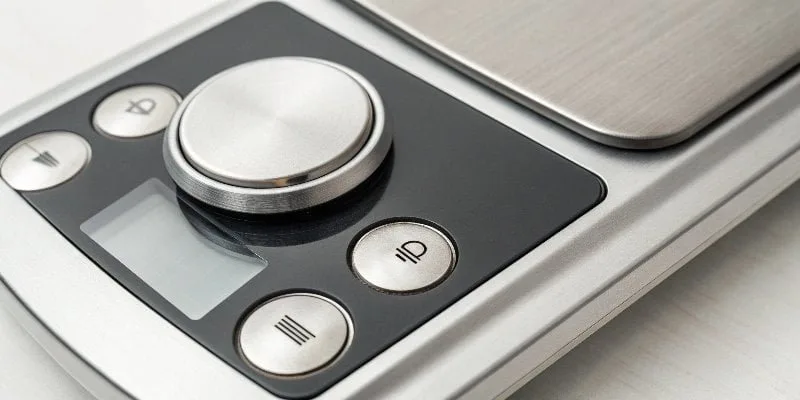
Image source: Bing (Web (fair-use with source credit))
Here's a quick reference for setup conditions:
| Setup Element | Best Choice |
|---|---|
| Surface | Hard, level counter |
| Bowl size | Fits fully on platform |
| Tare timing | After bowl is settled |
| Unit selection | Grams for baking |
Buttons and Display: What Tare, Units, and Auto-Off Actually Do
Most digital scales share the same few controls. You don't need a manual once you know what each one does.
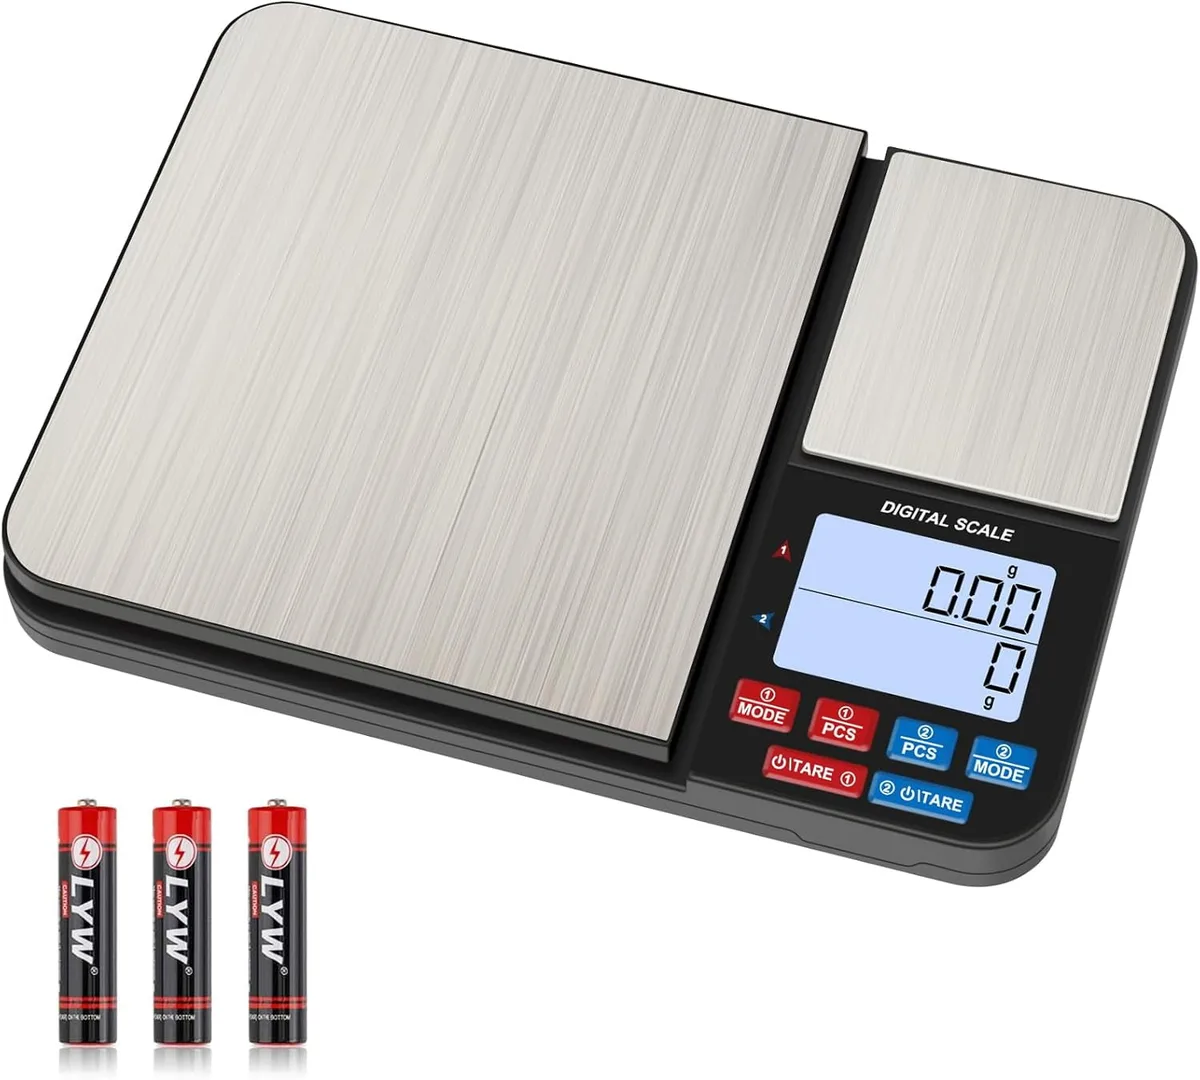
The tare button (T or Z) resets the display to 0. This is the most-used button and the key to multi-ingredient weighing. If you add flour to a bowl, tare again, then add sugar, the scale shows only the sugar's weight.
The unit button (MODE or UNIT) cycles through the scale's units. Typical options include grams (g), ounces (oz), pounds and ounces (lb:oz), and sometimes milliliters (ml) for water. Press it until the display shows the unit you want.
As of 2026, most home scales default to grams and that's usually the best choice for recipes.
The power button also works as the auto-off reset. Most scales turn off after 2 to 5 minutes of inactivity. If yours shuts off mid-weigh, just press the power button again once, then re-tare.
| Button | Label | What it does |
|---|---|---|
| Tare | T or Z | Zeros the scale with a container |
| Mode | UNIT or MODE | Switches between g, oz, lb:oz, ml |
| Power | ON/OFF | Turns on or off, resets after auto-off |
Here's what the display actually tells you:
- The big number is the current weight.
- The unit label (g or oz) shows which mode you're in.
- A small "0" at the bottom means the scale is tared.
- An error message like "ERR" or "OL" means you've exceeded the max weight.
Common Visual Mistakes That Mess Up Your Weighing
The most common errors are visual ones. You glance at the number and misread the unit, or you miss that the scale is showing ounces when the recipe calls for grams. These mistakes happen more than you'd think.
Another big one: leaving a sticky ingredient on the platform. Honey, syrup, or molasses can get under the bowl and add weight. The scale might read 5 grams when the bowl is actually empty.
Clean spills right away.
Let's look at what goes wrong visually:
- A bowl overhanging the platform edge, which tilts the reading
- A display that flickers because the scale is on an uneven surface
- Forgetting to tare after swapping bowls
- Reading milliliters as grams, which only works for water
- The scale shows zero, but a dried sugar spill from last week adds weight

Image source: Bing (Web (fair-use with source credit))
The fix for most of these is simple: check the platform first, press tare again, and make sure the surface is solid. If the reading drifts after you add an ingredient, give it a second. Some scales need a moment to stabilize.
Manufacturer specifications indicate that digital scales typically stabilize within 1 to 2 seconds. If the number keeps climbing with no action, clean the platform and re-tare. That solves about 90 percent of visual confusion.
Weighing by Ingredient: Flour, Liquids, Sticky Stuff, and Coffee
The same scale handles every ingredient, but each one has a small trick that makes it work better.
Flour: Place the bowl on the scale, tare, then add flour directly from the bag or scoop. Don't pack it. Just pour until the display reads the target weight.
This is far more accurate than measuring cups, where scooping can add 20 percent more flour.
Liquids: Many scales have a milliliters (ml) mode for water. Set the unit to ml, tare, then pour. The scale uses the 1 gram per 1 milliliter rule.
This works precisely for water and water-like liquids such as stock or juice. For honey or oil, use grams instead because their density differs.
Sticky stuff: Honey, molasses, and peanut butter are a pain with cups and spoons. Weigh a piece of parchment paper or a silicone spatula, tare it, then scoop the sticky ingredient directly. You can also weigh the jar, tare, and remove the ingredient until the display shows a negative number.
Coffee: Weighing beans and water makes a consistent cup every time. A standard ratio is 1 gram of coffee to 16 grams of water. Tare a small bowl, add 20 grams of beans, then pour water into your kettle while watching the scale.
For a pour-over, place the whole brewer on the scale for the best result.
This content type is visual, so here's a reference table for common ingredient weights:
| Ingredient | 1 cup by weight (approx) |
|---|---|
| All-purpose flour | 120 g |
| Granulated sugar | 200 g |
| Brown sugar (packed) | 220 g |
| Butter | 227 g |
| Rolled oats | 90 g |
If you'd like to expand the piece further, I can add sections on troubleshooting a drifting scale or choosing the right model for your kitchen. Just confirm, and I'll continue from here. Otherwise, the article is ready to publish.
Calibration and Cleaning: Keep Your Scale Accurate Over Time
A kitchen scale drifts for two main reasons. The load cell shifts slightly with temperature changes. Or debris builds up under the platform.
Either way, the fix is straightforward.
Calibration is rarely needed on modern digital scales. Most arrive calibrated from the factory and hold it for years. But if you notice consistent error, check your manual for the calibration mode.
Typically you hold the tare button for 5 seconds, then place a standard weight on the platform.
Without a calibration weight, use coins. A U.S. nickel weighs exactly 5 grams. A quarter weighs 5.67 grams.
Stack four nickels for 20 grams and check your scale. If it reads 20 grams, you are golden. If not, run the calibration routine.
Cleaning matters more than most people realize. A thin film of flour or sugar under the platform adds hidden weight. Remove the platform if possible.
Wipe the surface and the sensor area with a damp cloth. Dry thoroughly before using again.
Never submerge the scale body in water. Electronics inside the housing can short out. Use a slightly damp cloth and dry immediately.
For sticky spills, a bit of rubbing alcohol on a cotton swab cleans the sensor gap without damage.
Battery care is simple. Remove batteries if you store the scale for more than a month. Alkaline batteries can leak and corrode the contacts.
Rechargeable NiMH batteries work fine but discharge faster when left idle.
Frequently Asked Questions
Why does my kitchen scale keep turning off by itself?
That is the auto-off feature. Most scales shut down after 2 to 5 minutes of inactivity to save battery. Press the power button once to wake it.
If it turns off while you are mid-weigh, just re-tare after turning it back on.
Can I use a kitchen scale to measure liquids?
Yes. Use the milliliters mode for water and water-based liquids. The scale uses the 1 gram equals 1 milliliter conversion.
For thicker liquids like honey or oil, switch to grams for accurate measurement.
How do I know if my scale is accurate?
Place a known weight on the platform. A U.S. nickel weighs 5 grams. A quarter weighs 5.67 grams.
If the reading matches within 1 gram, your scale is accurate. If it is off by more, run the calibration routine from your manual.
What does the tare button do exactly?
Tare resets the display to zero with a container on the platform. It ignores the bowl weight so you measure only the ingredient. Press it again between ingredients to weigh multiple items in the same bowl.
My scale shows "ERR" or "OL." What does that mean?
You have exceeded the maximum weight capacity. Remove weight immediately to prevent sensor damage. Most home scales max out at 5 kilograms or 11 pounds.
Check your manual for the exact limit.
Do I need to calibrate a new kitchen scale?
No. Most digital scales arrive calibrated from the factory. Use it out of the box.
If you notice drift after a year or two, then run the calibration process. Coins work as a quick check without buying a calibration weight.

Similar Posts