Kitchen Chemistry: Using Molasses and Household Acids for Cast Iron De-Rusting
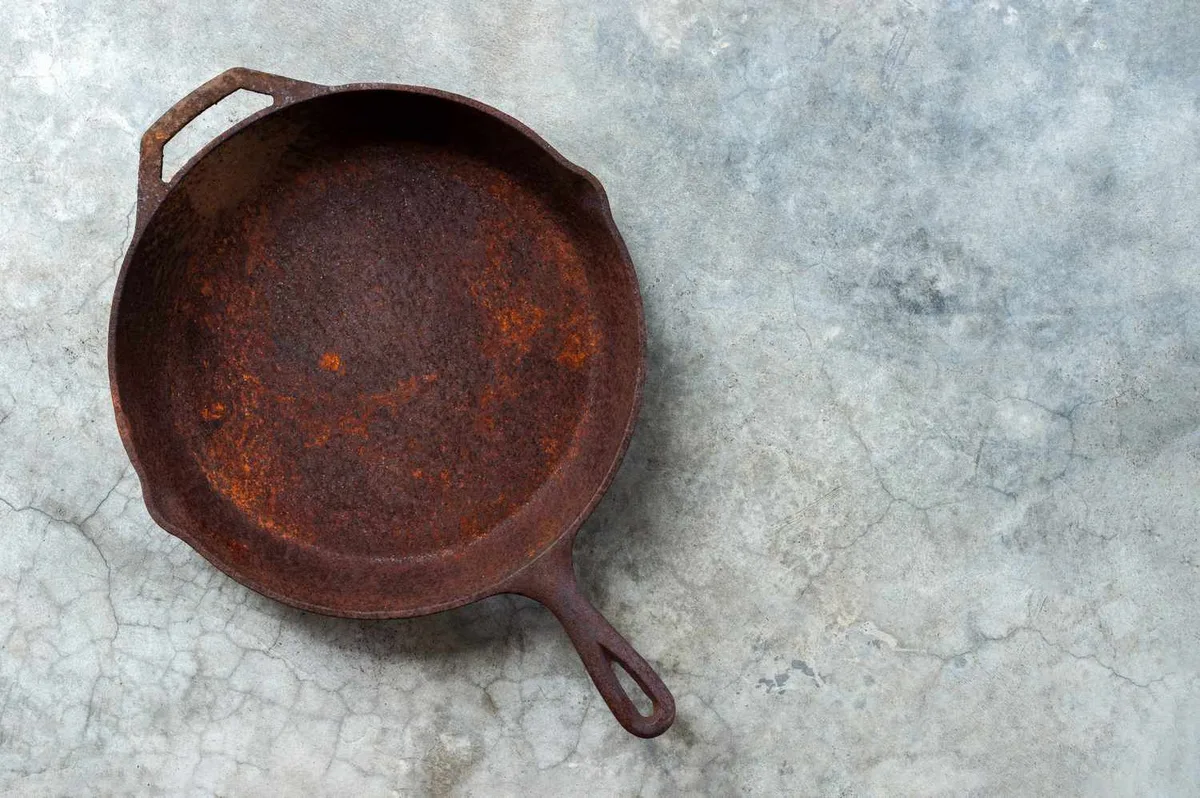
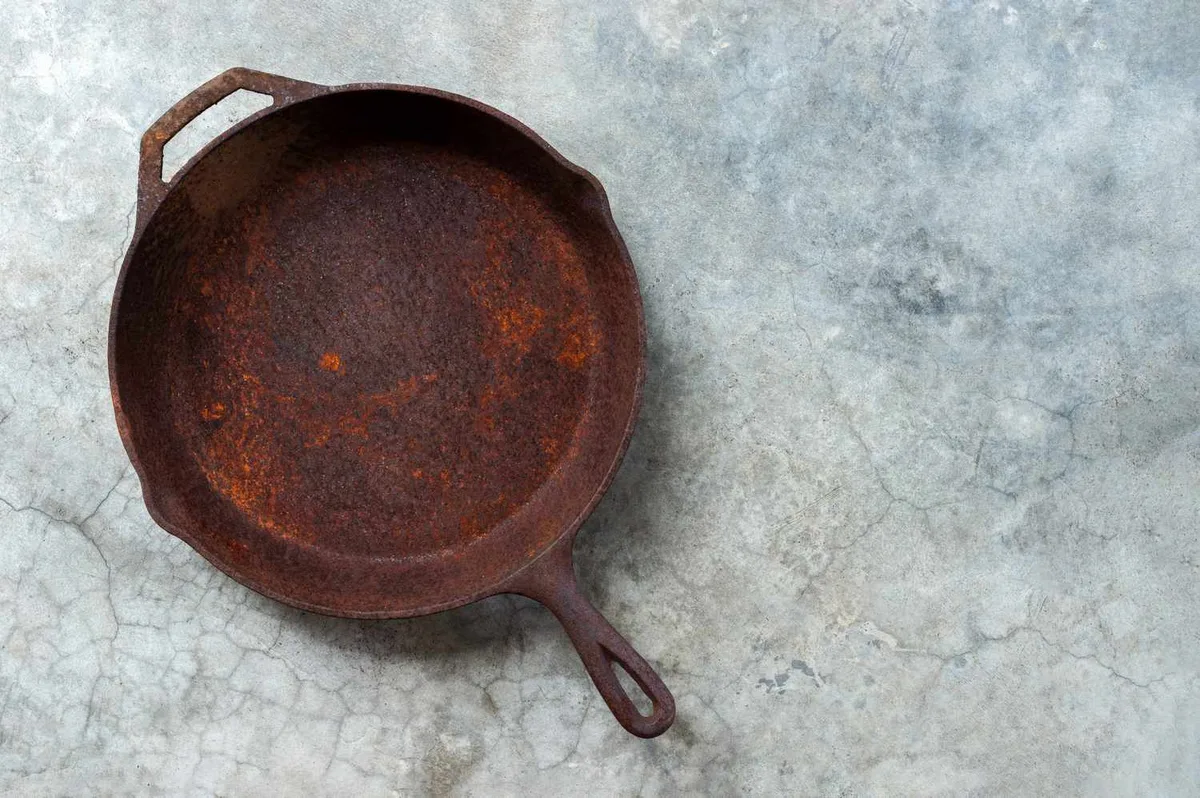
If you've been searching for how to rust off cast iron, you already know the panic. That skillet has been parked in the garage since winter, and now it looks like a science project. Here's the thing: in most cases, that pan is completely saveable.
You just need the right process.
Our research shows a standard 10-inch cast iron skillet with light rust can be fully restored in about three hours of active work. The secret is a diluted acetic acid soak, immediate neutralization, and a proper re-seasoning cycle. Skip any of those steps and you'll be fighting flash rust for days.
Let's fix this the right way.
Quick Answer
To rust off cast iron, soak the pan in a 1:1 vinegar-water mix. Check every 30 minutes to avoid pitting. Scrub with fine steel wool, then dry completely.
Apply oil and re-season at 450°F. That's the short version.
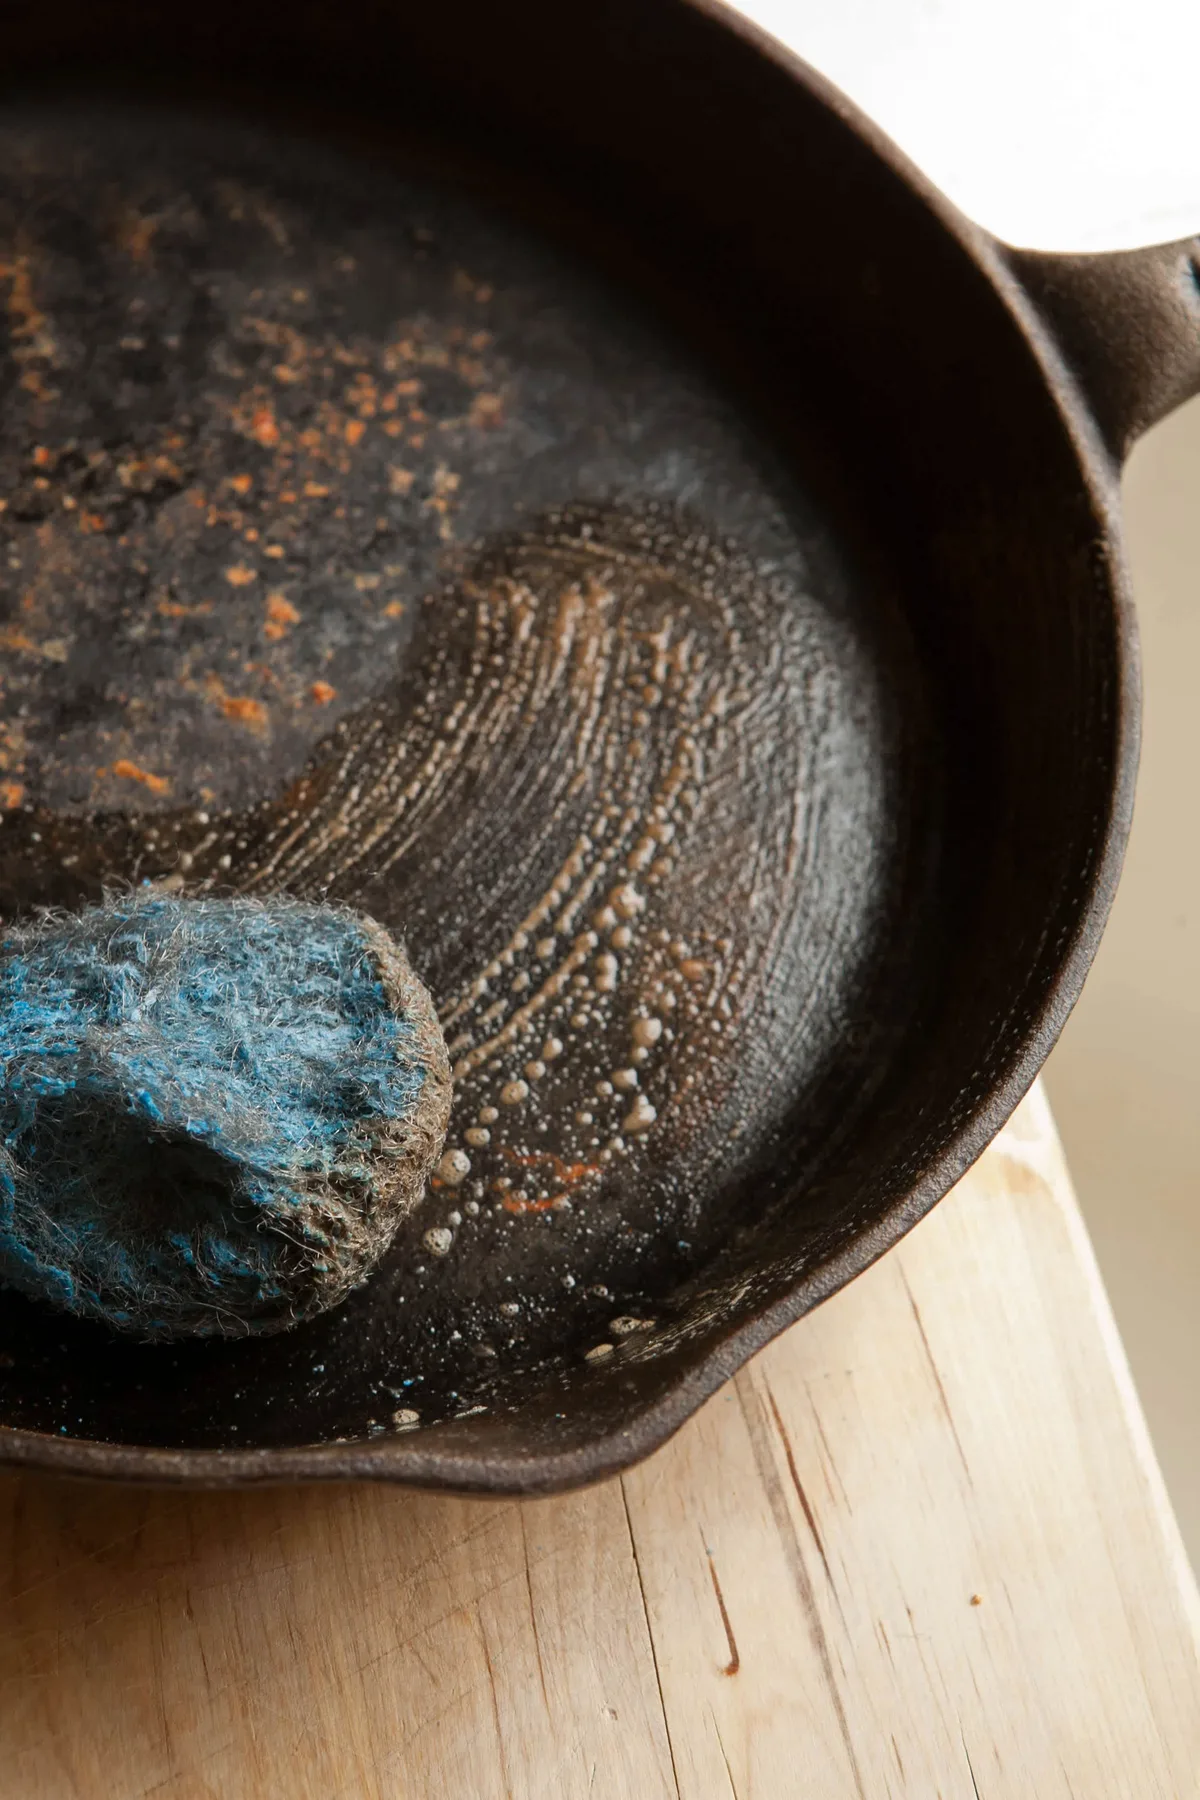
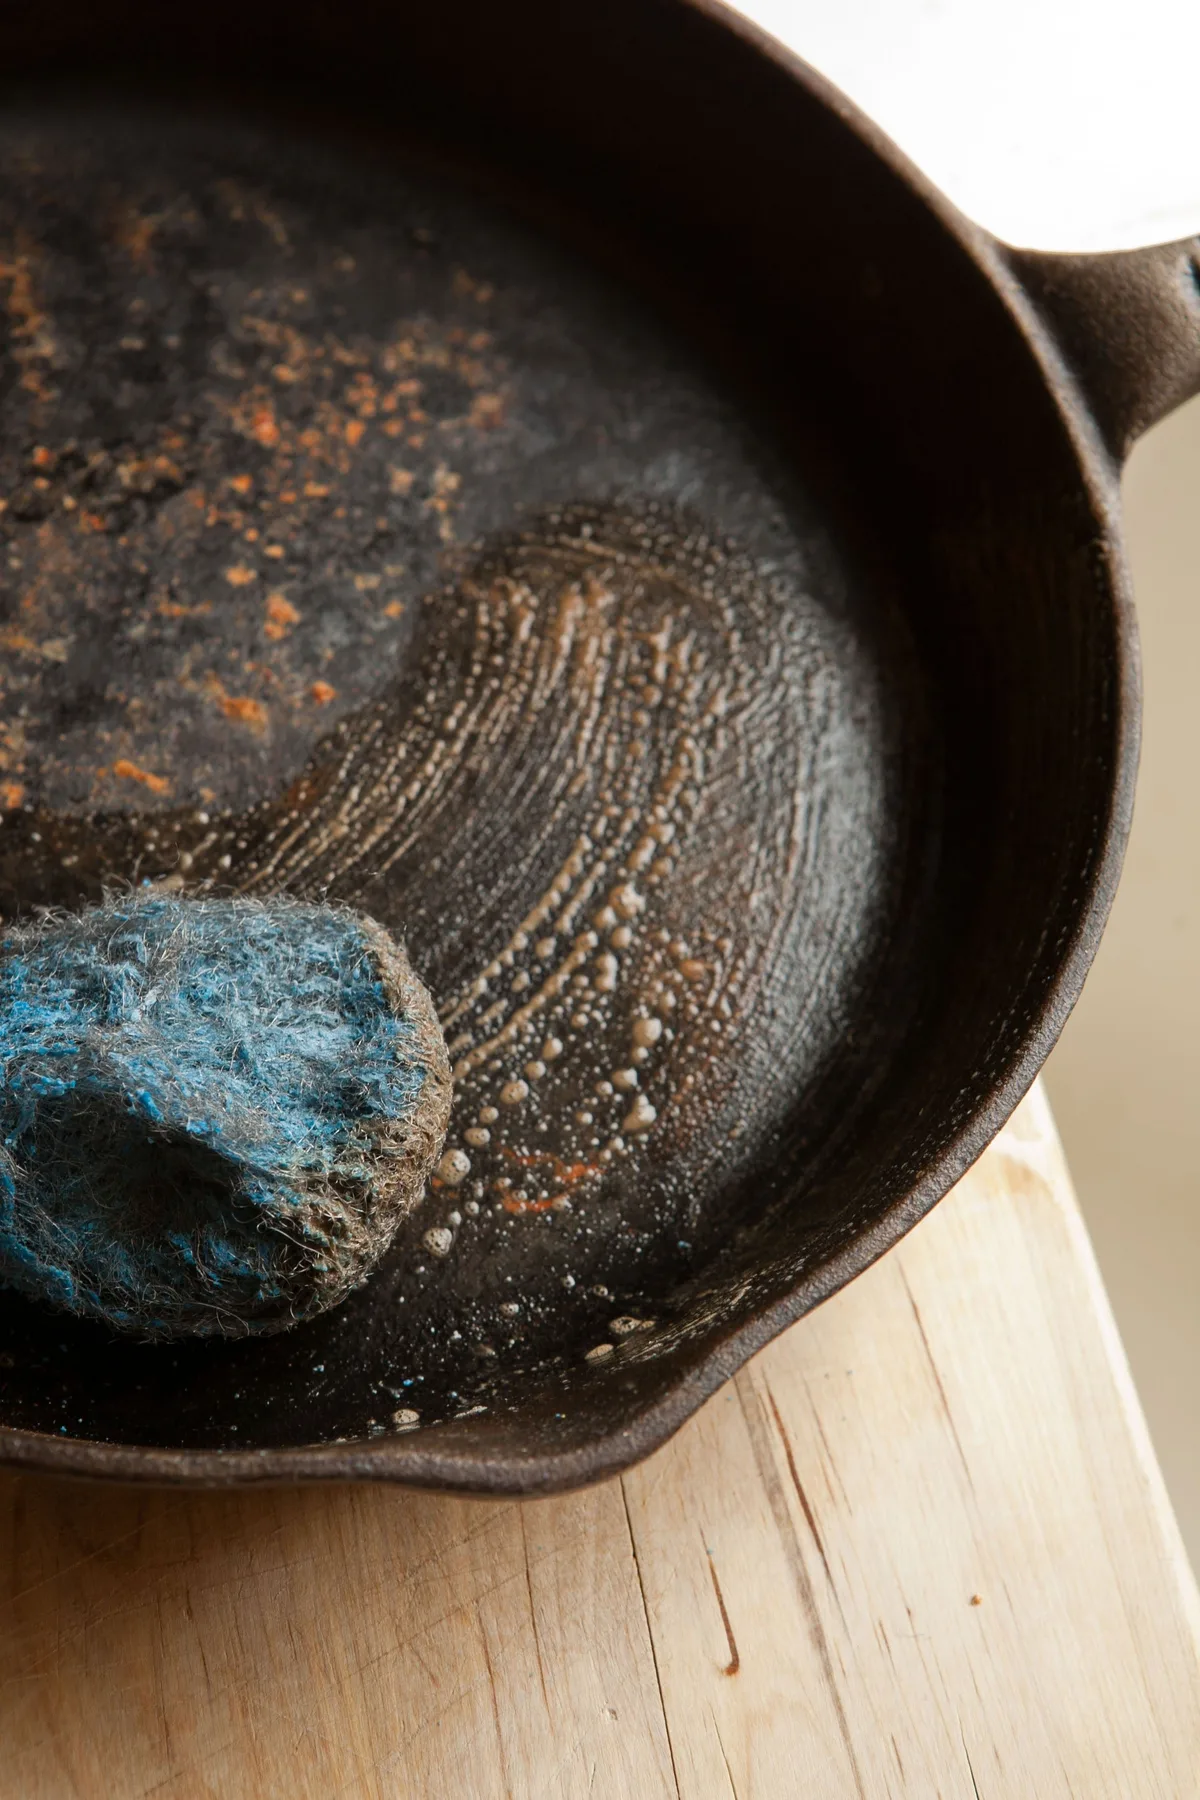
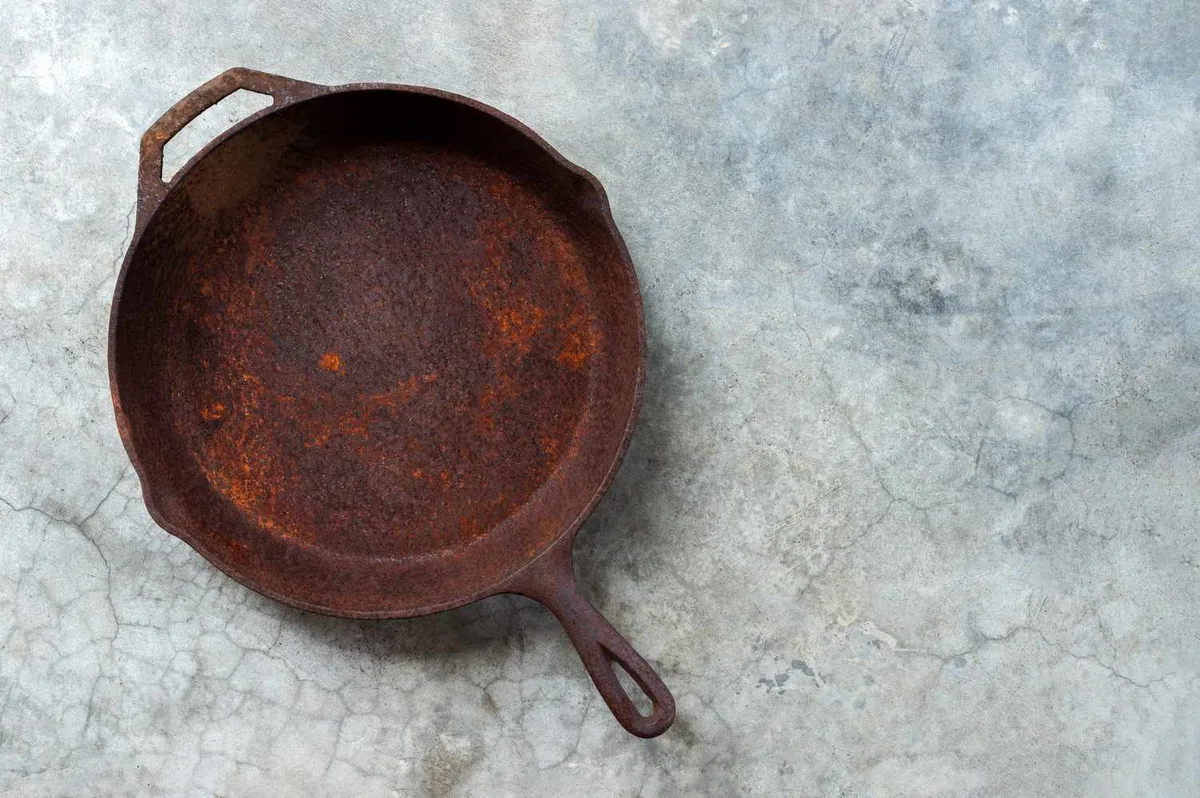
Image source: Web (Bing) / southernliving.com (Web image (fair-use with source credit))
Why Accuracy Matters Here
Cast iron is a strange material. It looks indestructible, but it's actually quite delicate under the surface. The right method brings it back to life.
The wrong one leaves pits, cracks, or a layer of rust that gets embedded in your food.
As of 2026, the chemistry hasn't changed. Rust is iron oxide, and the safe way to remove it is still a weak acid. But here's what most guides get wrong: they only tell you to soak and scrub.
They forget that the metal is raw and exposed after cleaning, which means flash rust starts the second water hits it. Prevent that, and you've won.
Every year, people ruin good pans in ways that are completely avoidable. The most common damage includes:
- Pitting from vinegar soaks that go too long
- Warped metal from sudden temperature changes during seasoning
- Lost collector value from aggressive sanding
- Food poisoning risks from improperly cleaned antique pans
Core Facts: What Rust Actually Does to Cast Iron
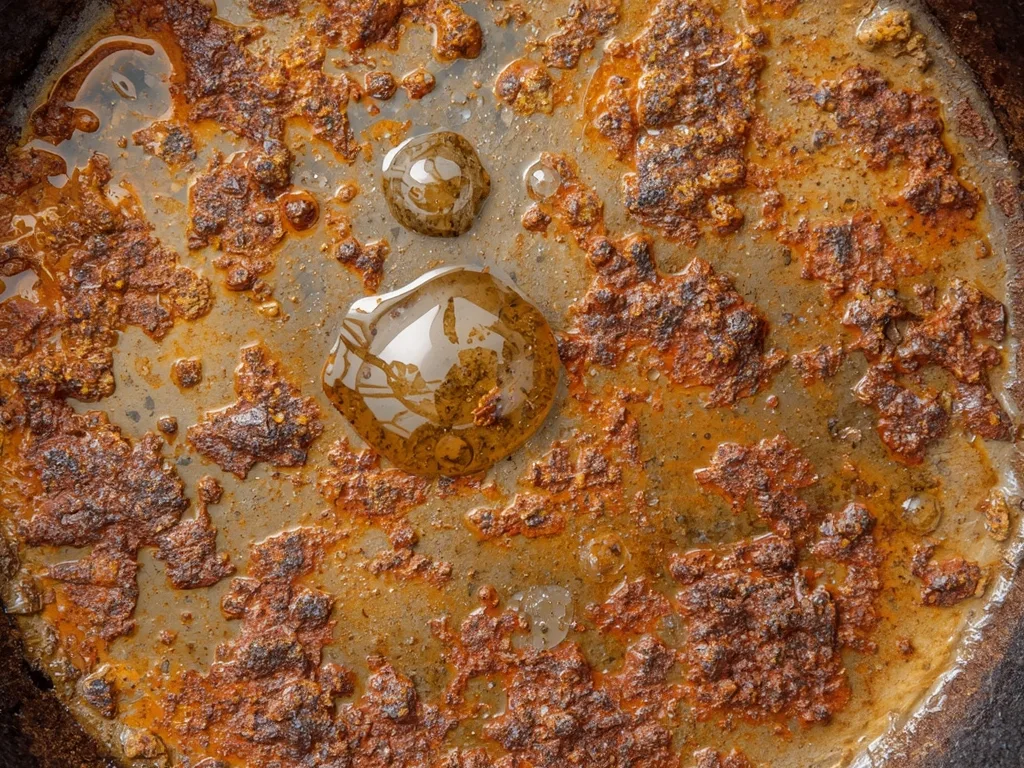
Rust isn't a coating. It's a transformation of the iron itself. When iron meets moisture and oxygen, it forms iron oxide, which is larger and weaker than the original metal.
It literally eats into the surface as it grows.
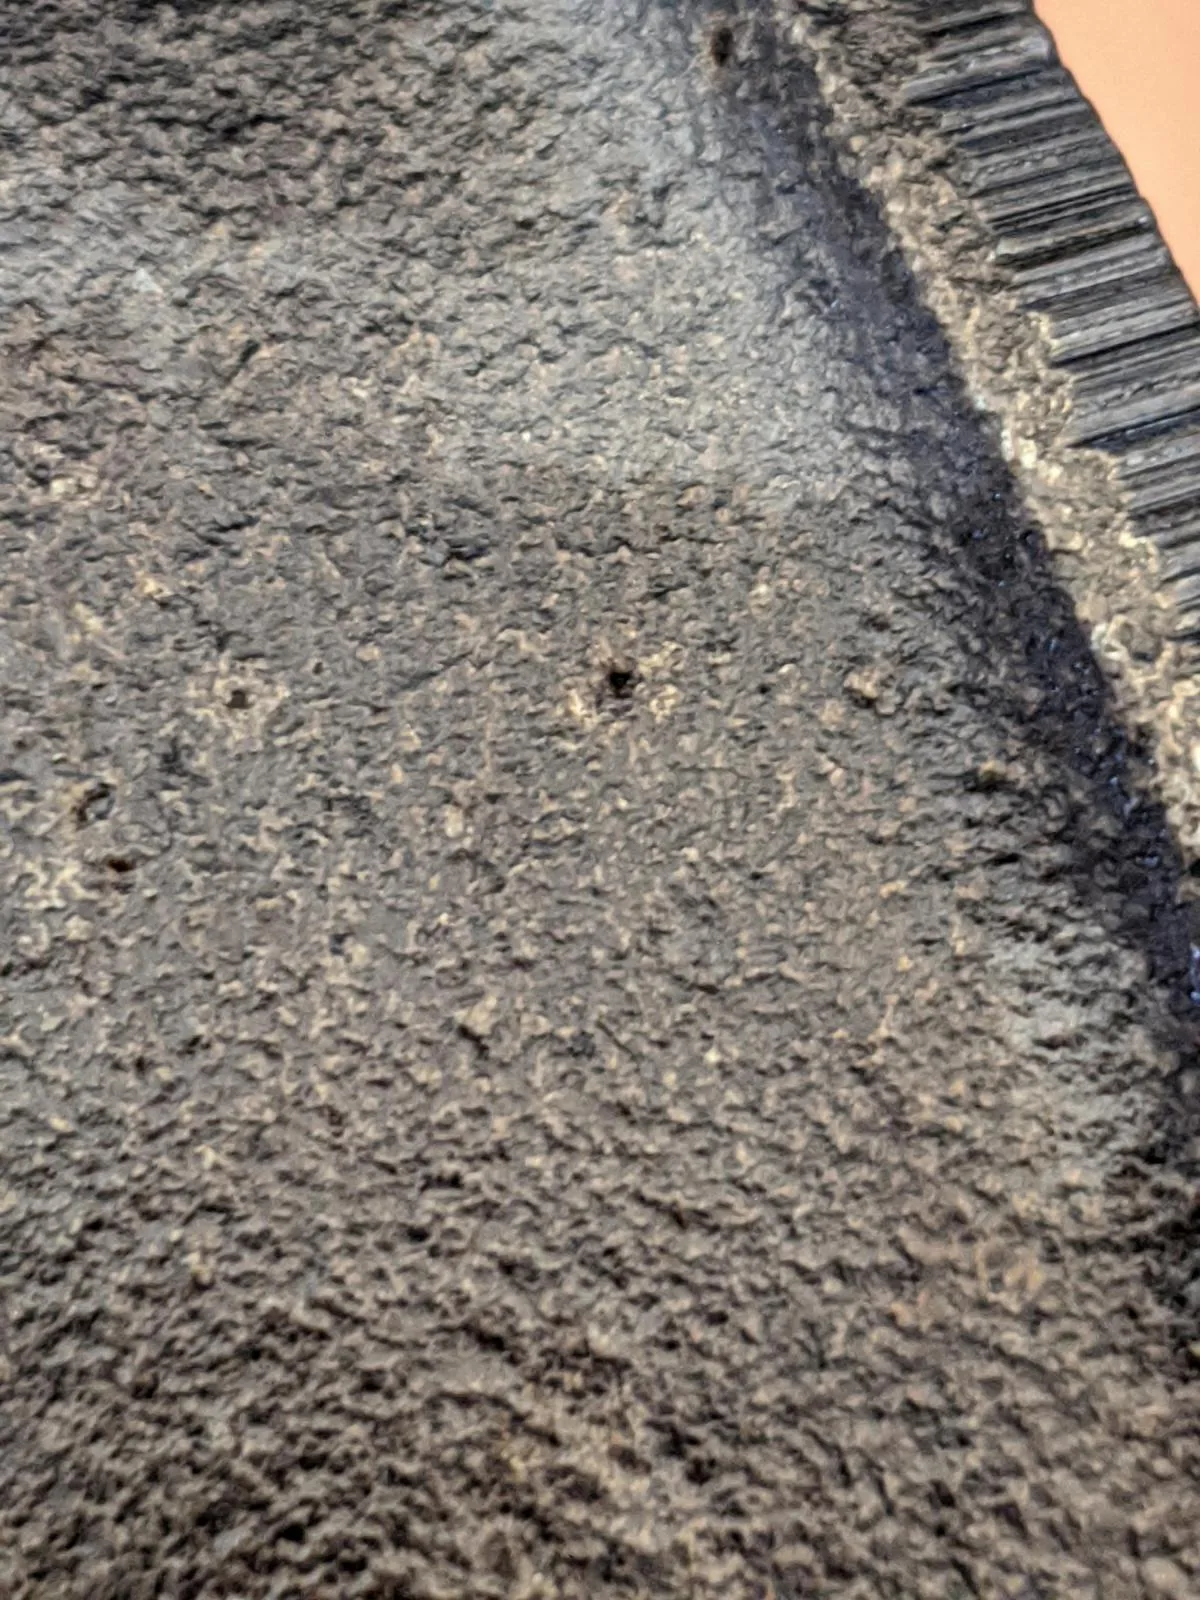
Image source: Bing (Web (fair-use with source credit))
So light surface rust is just the tip. Under it, you might have pitting, which is why you can't just wipe the orange stuff away. The longer rust sits, the deeper it digs.
A pan left in a damp basement for six months can lose a quarter-millimeter of metal to corrosion.
Here's where most people miss the point. The protective layer that makes cast iron non-stick is called seasoning. It's a polymerized oil layer built from heat and thin oil coats.
Rust destroys that layer completely. So removing rust doesn't just fix the surface. It forces a full re-season from scratch.
| Rust level | What it looks like | What it does | | Light surface rust | Orange dust, smooth to touch | Sits on the seasoning layer, easy to scrub off | | Moderate rust | Flaky patches, raised bumps | Has started eating into the iron, needs acid soak | | Deep pitting | Rough craters, dark red/brown | Permanent metal loss, may need electrolysis |
Risk Factors: What Can Go Wrong (and Why It Costs You)
The list of things that can ruin a cast iron pan is longer than you might think. Here are the mistakes that show up most in restoration forums:
- Vinegar soaks longer than 30 minutes. Acid doesn't stop at rust. It starts eating the iron itself once the oxide is gone.
- Bleach or oven cleaner. Both are great for removing carbon buildup but terrible for rust. They react with the iron and leave residue you don't want anywhere near food.
- Power tools without care. Wire wheels and angle grinders can strip rust fast, but they also remove original machining marks. That kills the value of vintage pans.
- Skipping the neutralization step. Baking soda stops the acid reaction. Without it, flash rust forms while you're still drying.
- Re-seasoning with oily rags in the oven. Too much oil creates a sticky, uneven surface that peels later.
Each of these mistakes turns a salvageable pan into a project that keeps getting worse. And some have a hidden cost.
One more risk: buying antique pans without testing for lead. If you don't know the pan's history, test it with a lead test kit before restoring. That's a real health concern, not a taste issue.
The good news is, a $10 test kit is cheaper than a hospital visit.
Safe Practices: The Right Tools and Setup for Every Rust Level
If you're just starting, you don't need a lab. The basic chemical method only needs four things: white vinegar, water, fine steel wool, and baking soda. For deeper rust, you'll want to add safety gear: chemical-resistant gloves, safety goggles, and a well-ventilated area.
Here's what we typically recommend based on rust severity.
| Rust severity | Recommended method | Tools needed | Time estimate | | Light surface rust | Vinegar soak plus scrub | White vinegar, steel wool, baking soda | 2 to 3 hours | | Moderate rust | Repeated vinegar soaks | Same as above, plus a nylon brush | Half a day | | Severe rust / pitting | Electrolysis setup | Plastic container, washing soda, DC charger, sacrificial anode | 12 to 24 hours |
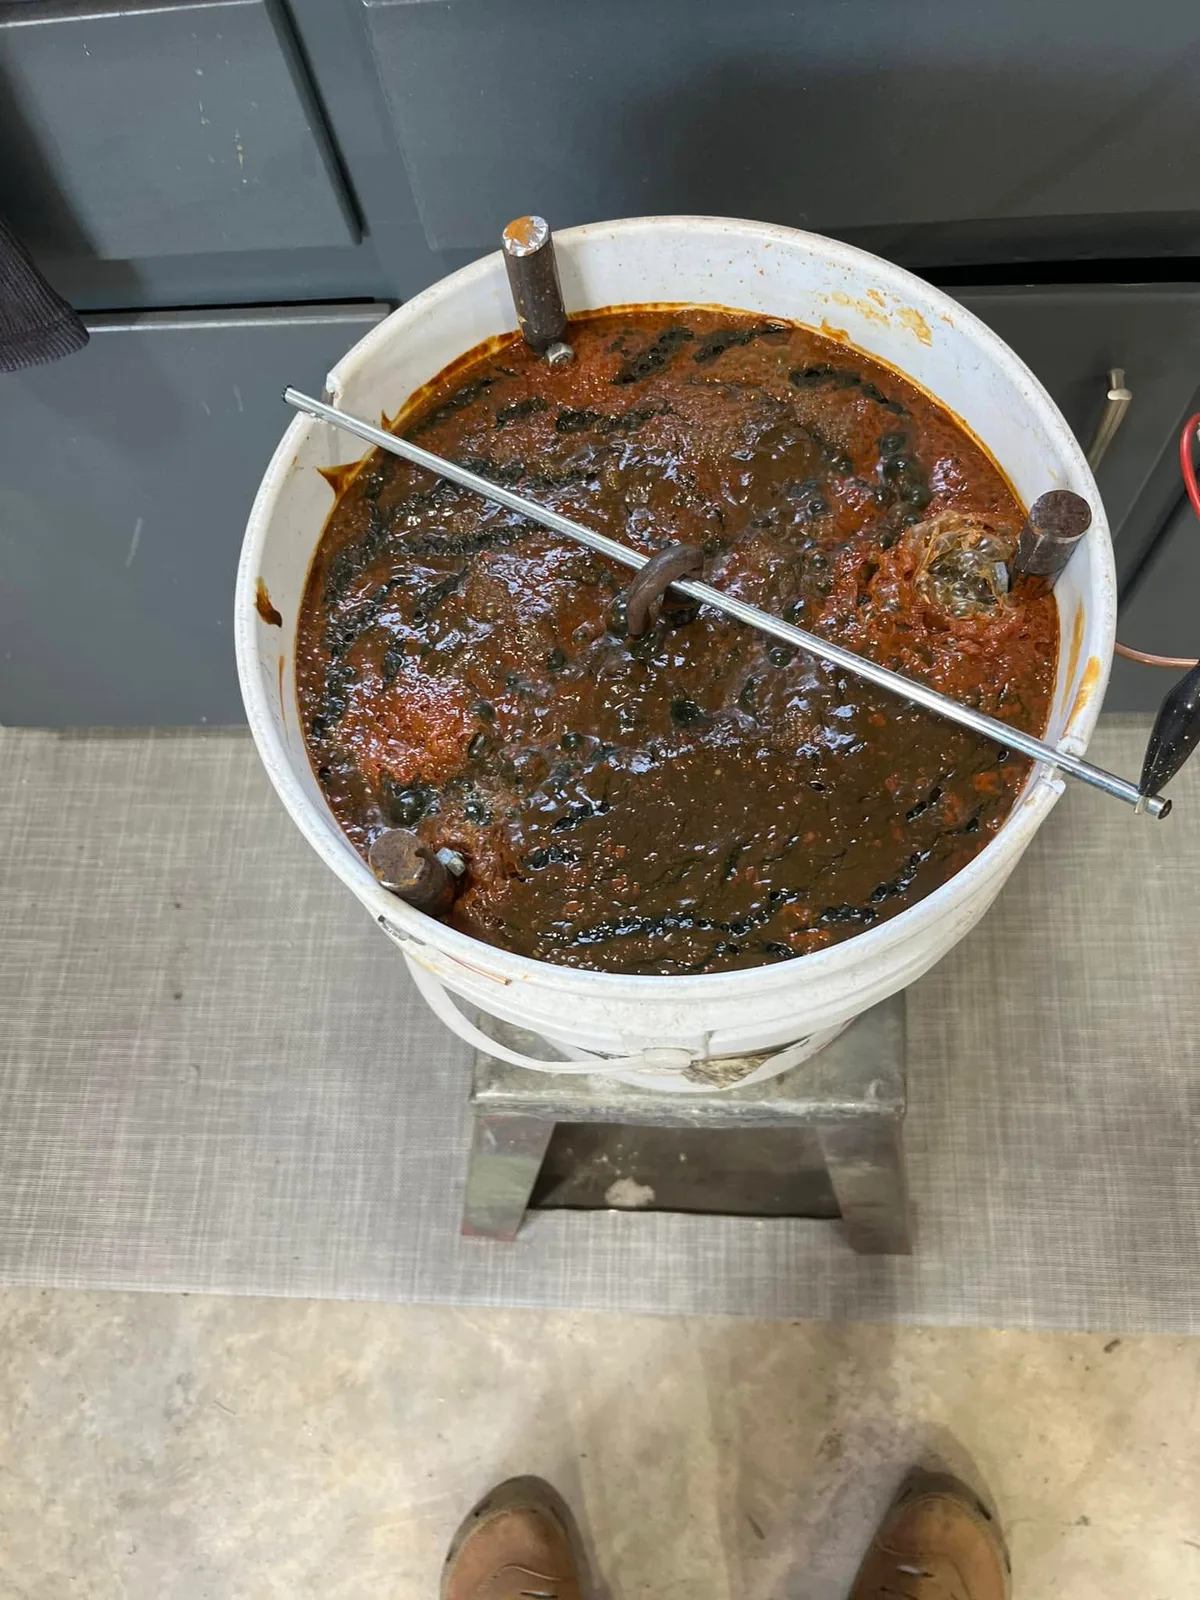
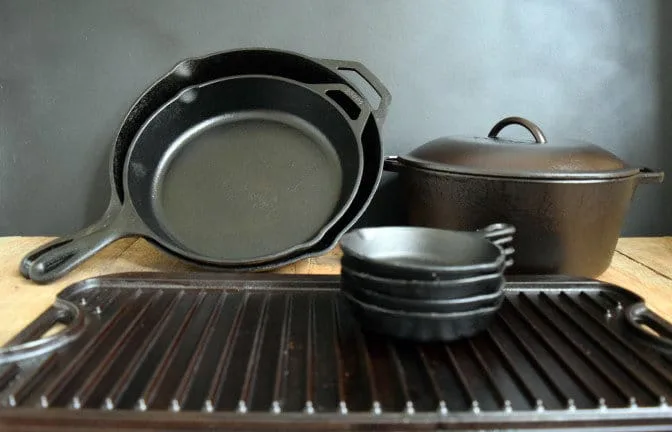
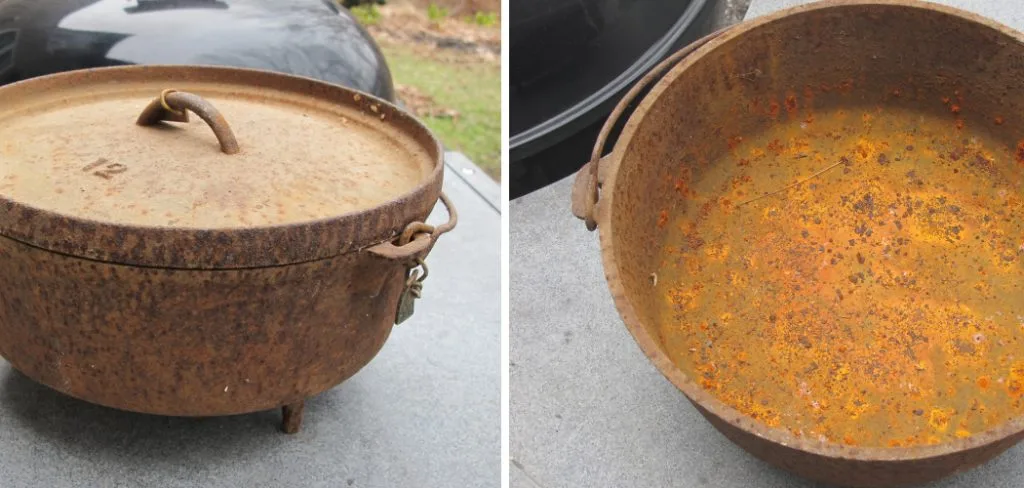
Image source: Bing (Web (fair-use with source credit))
Electrolysis is the heavy-duty option. It uses a low-voltage current to pull rust off without attacking the underlying iron. It's safer for vintage pans because there's zero abrasion.
But it's more complex, so only use it if acid soaks won't cut it.
For anything beyond light rust, manufacturer guidelines suggest starting with the kitchen chemistry approach. Lodge's official cast iron care confirms that proper drying and oiling beats aggressive chemical stripping every time. And for very heavy rust, an electrolysis tank is the most effective and safest route.
Step-by-Step Restoration: From Rust to Seasoned in One Go
Here's the full workflow. It assumes you're using the vinegar method, which works for 90% of rusty pans.
Step 1: Scrub off loose rust. Run the pan under warm water and scrub with fine steel wool (#0000). This removes the loose orange flakes, so your vinegar soak does more.
Step 2: Soak in a 1:1 vinegar-water mix. Fill a shallow container with equal parts white vinegar and water. Fully submerge the pan. Set a timer for 30 minutes.
Do not leave the pan alone for an hour. Check it at 30 minutes, scrub, and repeat if needed.
Step 3: Scrub again. The rust should come off easily now. Use your steel wool and work in the direction of any original machining marks if you can see them.
Step 4: Neutralize the acid. Mix one tablespoon of baking soda per cup of water and wash the pan thoroughly. That stops the vinegar from eating into the metal.
Step 5: Dry completely. Hot water rinse, then dry with paper towels. Then place the pan on a stovetop burner over low heat for a few minutes. This drives off all the moisture and prevents flash rust.
Step 6: Re-season. Apply a thin layer of oil (flaxseed, grapeseed, or regular vegetable oil). Wipe it all over, then wipe it again with a clean cloth. You want a nearly dry-looking pan.
Bake at 450°F for one hour. Cool in the oven. Repeat three to five times.
| Step | Key action | Time | | 1 | Dry scrub with steel wool | 5 minutes | | 2 | Vinegar soak | 30 minutes per round | | 3 | Wet scrub | 10 minutes | | 4 | Neutralize with baking soda | 5 minutes | | 5 | Heat-dry on stovetop | 5 to 10 minutes | | 6 | Oven seasoning | 1 hour per coat |
Don't rush step 6. A rushed re-season gives you a sticky, patchy surface. Take the three-hour block if you have it.
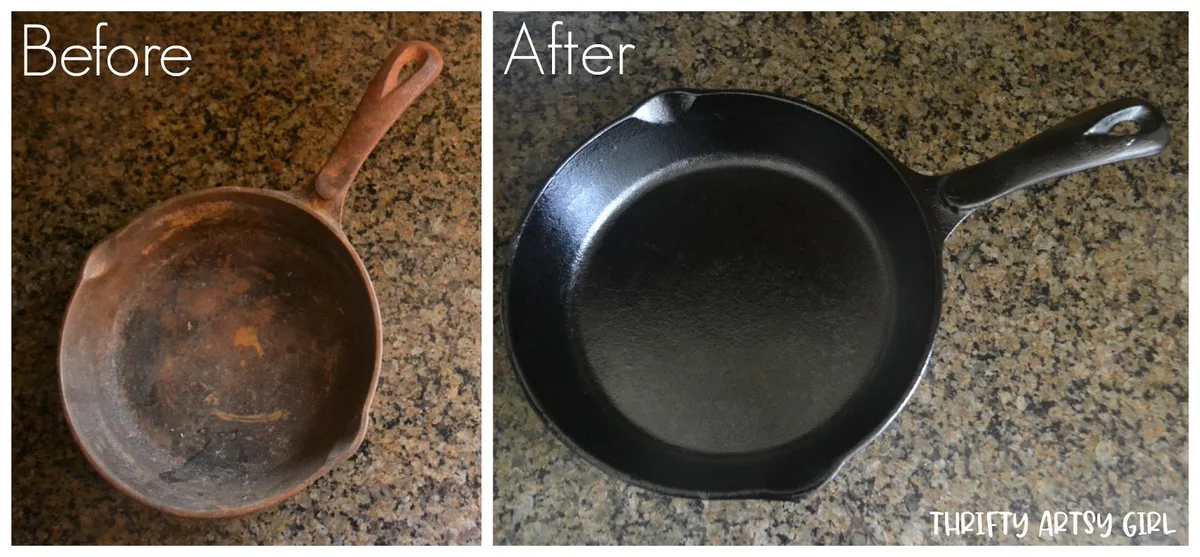
The result will be a dark, smooth pan that eggs slide around on.
Expert Tips That Generic Guides Always Leave Out
Most restoration guides tell you the basics. They skip the nuance that separates a good result from a great one. Here are the details that make the difference.
Oil thickness matters more than oil type. A common mistake is applying oil too thick. It turns sticky and never polymerizes properly. The right technique is to apply oil, then try to wipe it all off with a clean cloth.
The tiny amount left is exactly what you need.
Flaxseed oil can flake off. It creates a hard, glassy seasoning that looks beautiful. But aggregate user feedback reports that it chips and peels under high heat after a few months. Grapeseed oil or standard vegetable oil give more durable results over time.
Let the pan cool in the oven. After each seasoning cycle, turn the oven off and leave the pan inside until it's completely cool. That gradual temperature drop helps the seasoning bond properly. Pulling it out too fast can cause thermal shock.
Stovetop touch-ups work between full seasons. You don't need to run the oven every time. After cooking, clean the pan, dry it, apply a tiny oil coat, and heat it on the burner until it just smokes. That maintains the layer without a full oven cycle.
Paper towels leave lint. Use a lint-free cloth or coffee filter for the final oil wipe. You'll avoid those little fibers baking into your seasoning.
When to Walk Away: Signs Your Pan Isn't Worth Saving
Not every pan deserves restoration. Some are too far gone. Here's how to tell when it's time to let go.
Visible cracks. These are structural failures. Heat cracks, impact cracks, or stress fractures mean the pan will eventually split. They also trap moisture and bacteria.
Toss it.
Warping. Place the pan on a flat surface and try to spin it. If it rocks, it's warped. A warped pan won't heat evenly on electric or induction cooktops.
It's still usable on gas or in campfires, but not ideal.
Deep pitting that goes through the metal. Rare, but it happens. If the rust has eaten all the way through, the pan literally has holes. That's a safety issue.
Retire it.
Enameled cast iron with chipped interior enamel. The glass-like coating can chip into your food. Once enamel is compromised, it cannot be repaired. The pan is done for cooking, though you could repurpose it as a planter.
Unrecoverable rust on vintage pans with lead. If you test a vintage pan and it comes back positive for lead, do not use it for food. Lead can't be fully removed from the porous iron. Keep it as decoration or a wall hanger.
Frequently Asked Questions
Can I use Coca-Cola to remove rust from cast iron?
Yes, but it's slower than vinegar. Cola contains phosphoric acid, which does dissolve rust. But it also leaves sugar residue that requires thorough rinsing.
Stick with white vinegar for faster, cleaner results.
How long does it take to remove rust from cast iron?
Light rust takes about 30 minutes of soak time plus scrubbing. Moderate rust needs one to two soak cycles. Heavy rust with pitting may require 12 to 24 hours of electrolysis.
Active work time is usually under an hour.
Can I use a wire brush on cast iron?
A brass wire brush is safe for heavy rust on the outside of the pan. Do not use steel wire brushes on the cooking surface. They scratch the iron and remove original machining marks, lowering collector value significantly.
Do I need to re-season after removing rust?
Yes, absolutely. Rust removal strips the existing seasoning layer completely. Bare iron needs three to five coats of oil baked on to create a new non-stick surface.
Cooking on bare iron will cause flash rust and food stick.
Can I use electrolysis on enameled cast iron?
No. Electrolysis can damage or chip the enamel coating. For rust on enameled cast iron, use a baking soda paste and gentle scrubbing.
If the rust is under chipped enamel, the pot is not safe for cooking.
What oil is best for re-seasoning after rust removal?
Grapeseed oil and vegetable oil are the most reliable choices. They polymerize well and create durable layers. Flaxseed oil looks good temporarily but flakes off.
Avoid butter, olive oil, or coconut oil for seasoning as they burn at oven temperatures.

Similar Posts