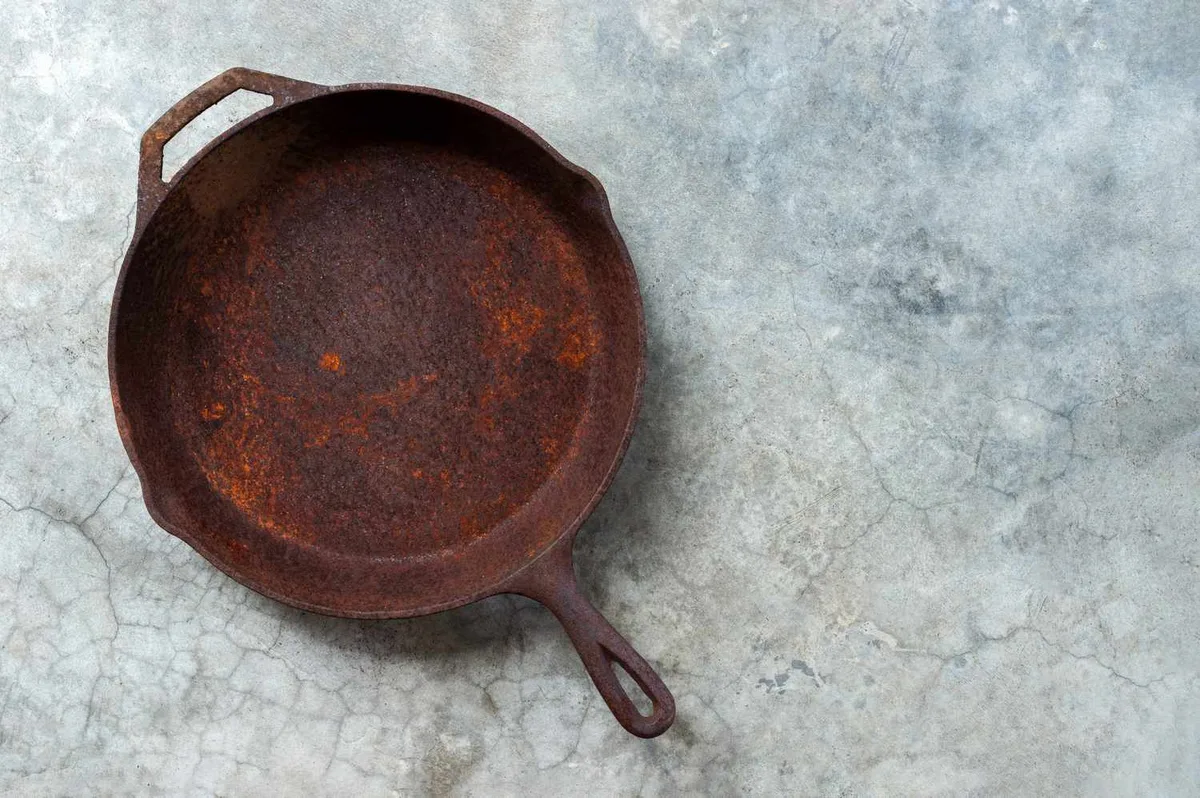
3 Simple Ways to Restore a Rusty Dutch Oven
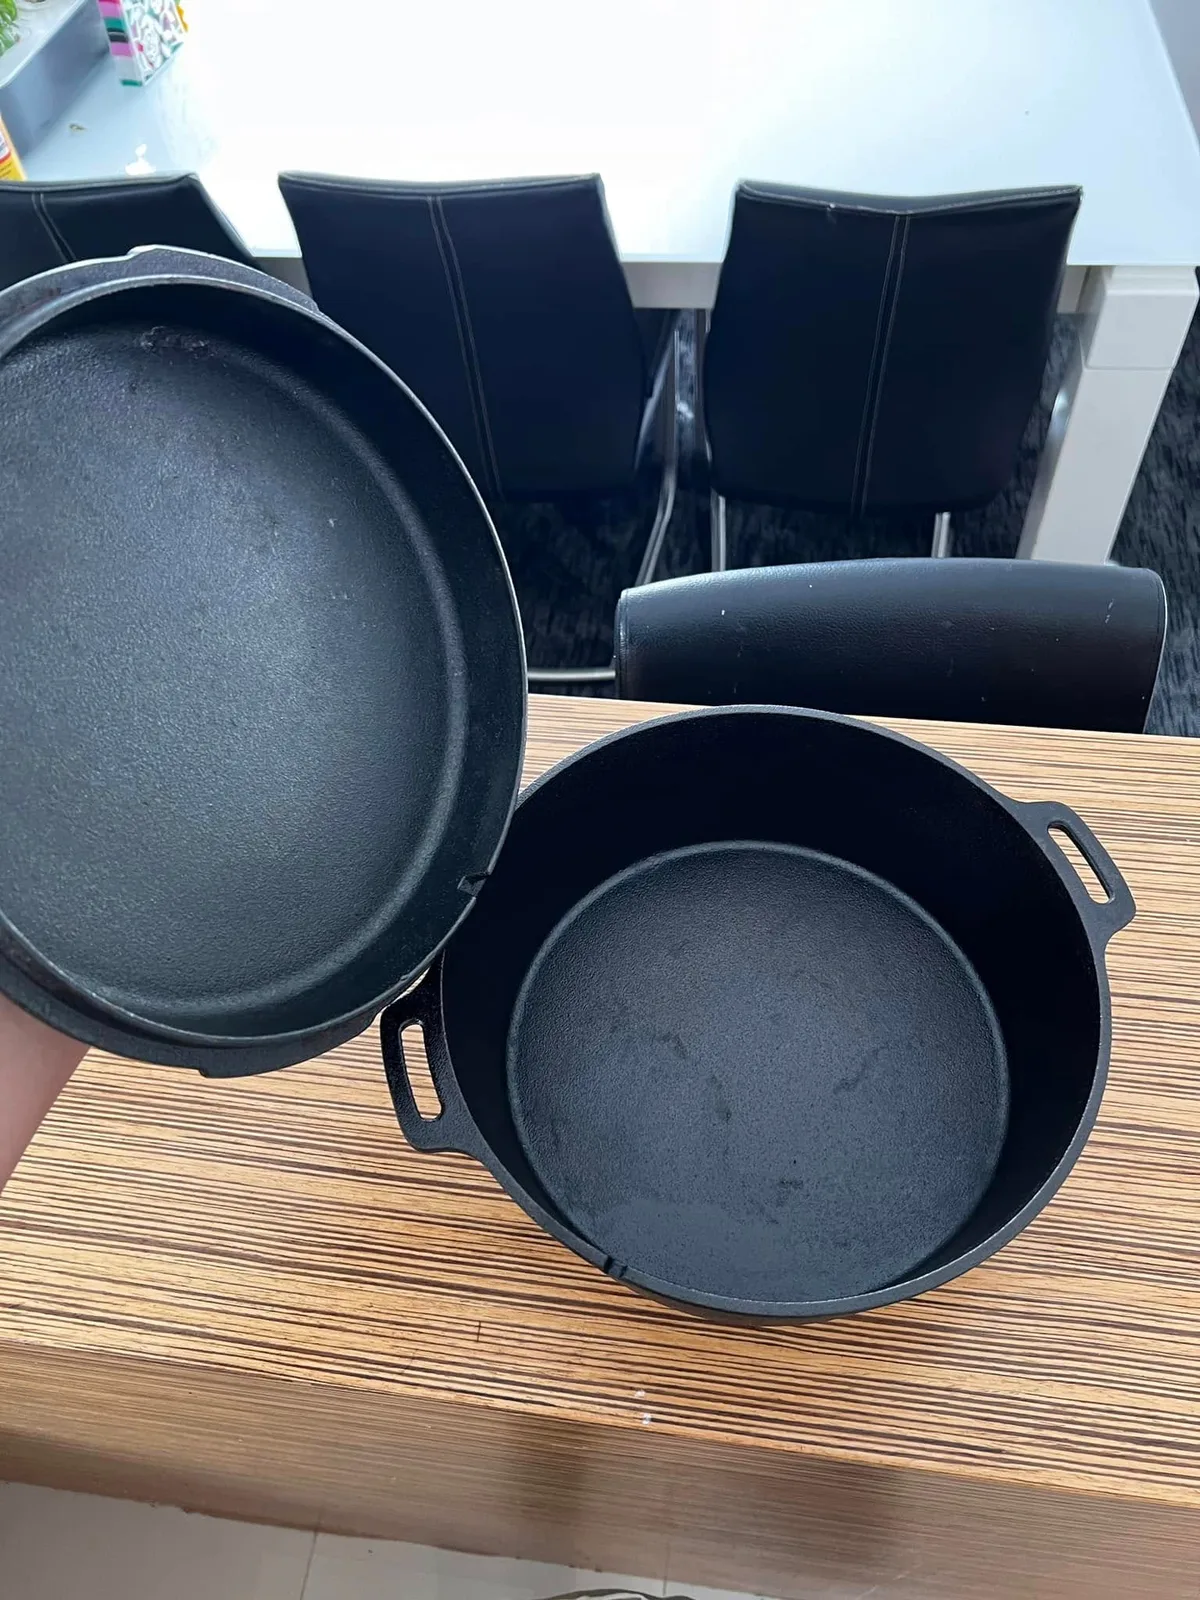
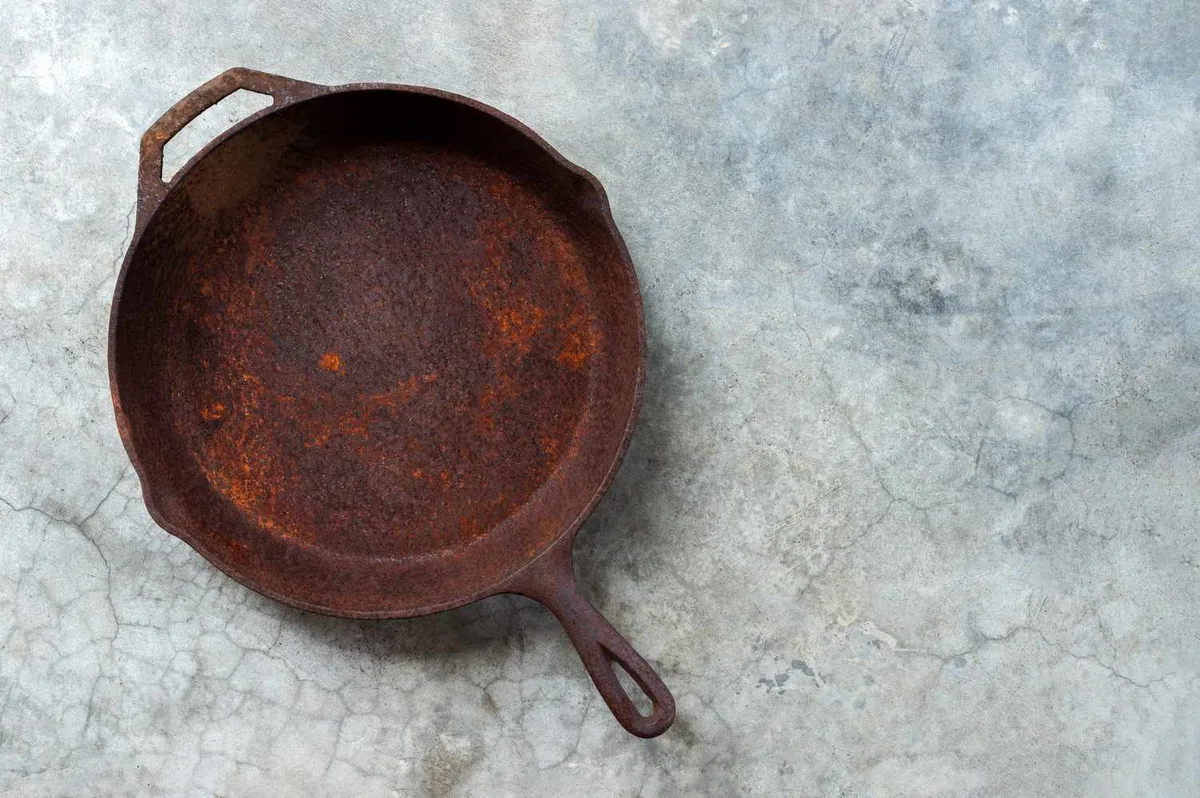
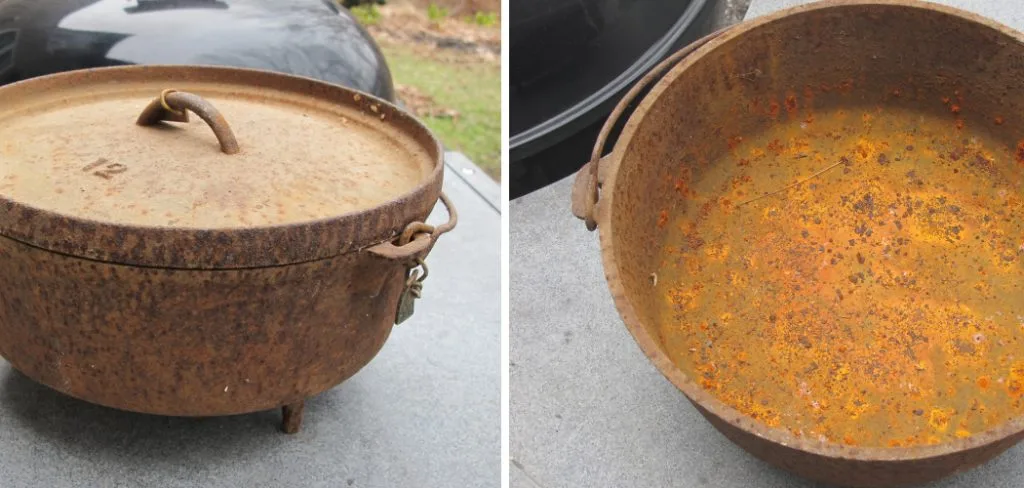
You've got your dutch oven out and there it is. Rust. Maybe just a few orange spots on the lid.
Maybe the whole cooking surface looks like a crime scene. Either way, you're wondering how to restore a rusty dutch oven without wrecking it.
Here's the good news. Most rust is cosmetic. You can fix it at home with stuff you probably already have in your pantry.
But here's the catch. Do it wrong and you can permanently damage the pot. Per manufacturer guidelines from Lodge, a 1:1 vinegar and water solution is the standard for removing rust from bare cast iron without causing pitting.
The trick is knowing which method fits which pot. Let's walk through it step by step.
Image source: Web (Bing) / fobdel.com (Web image (fair-use with source credit))
Quick Answer
Assess your pot first. Bare cast iron can handle a vinegar soak. Enameled cast iron cannot.
Scrub bare iron with steel wool and vinegar. Scrub enamel with Bar Keepers Friend and water. Dry every pot completely.
Oil and season bare iron in the oven. Replace enamel if the coating is chipped.
The Real Problem With Rust (And Why Panic Is Your Worst Enemy)
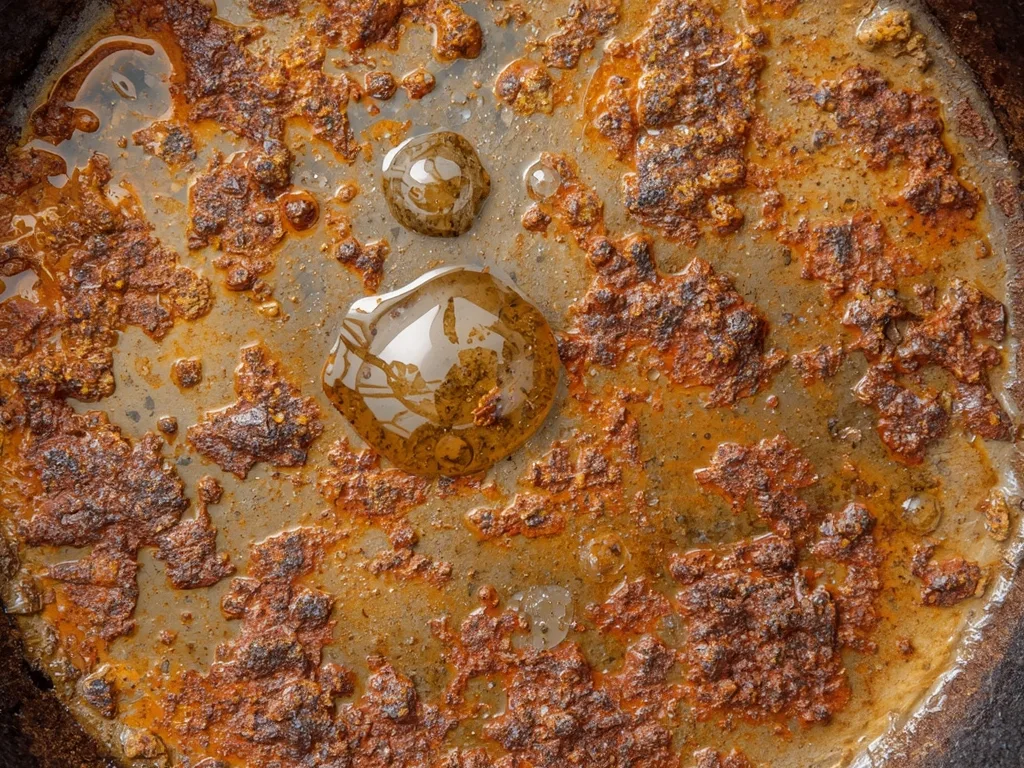
Rust on cast iron looks terrifying. Orange flakes. Reddish powder.
Stains that seem baked in. But here's what you need to understand. Rust is just iron oxide.
It forms when moisture hits the bare metal and oxygen does its thing.
Surface rust is the most common type. It sits on top. It has not eaten into the metal yet.
You can remove it with a scrub and some vinegar. That kind of rust is purely cosmetic. It will not affect how your pot cooks once you re-season it.
Deep rust is a different story. It has pitted the iron. You can feel the craters with your finger.
That kind of damage might be too far gone. It can create hot spots. It can flake food debris into your meals.
Aggregate reviews from cast iron restoration communities suggest that pots with deep pitting over more than 25 percent of the cooking surface are generally not worth saving.
The real risk here is wasting your time. You could spend three hours scrubbing and seasoning a pot that was already dead. Or you could ruin a perfectly salvageable pot by using the wrong method on the wrong material.
That is why the first step matters more than all the others combined.
Bare Cast Iron vs. Enameled: The One Question That Decides Everything
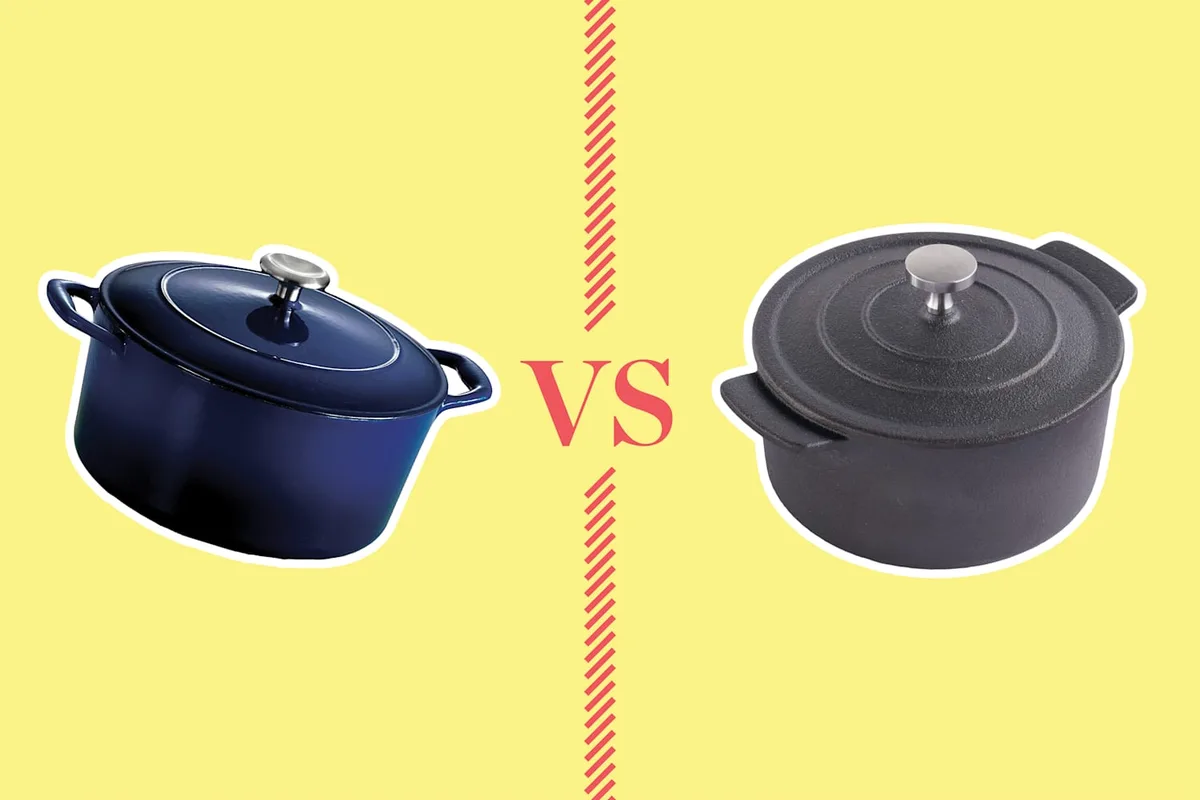
Image source: Web (Bing) / Fobdel.com
This is the fork in the road. If you get this wrong, nothing else matters. Bare cast iron and enameled cast iron are two completely different materials that need completely different treatment.
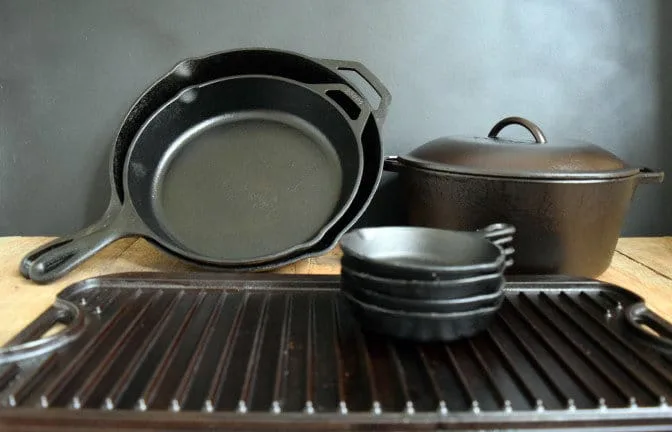
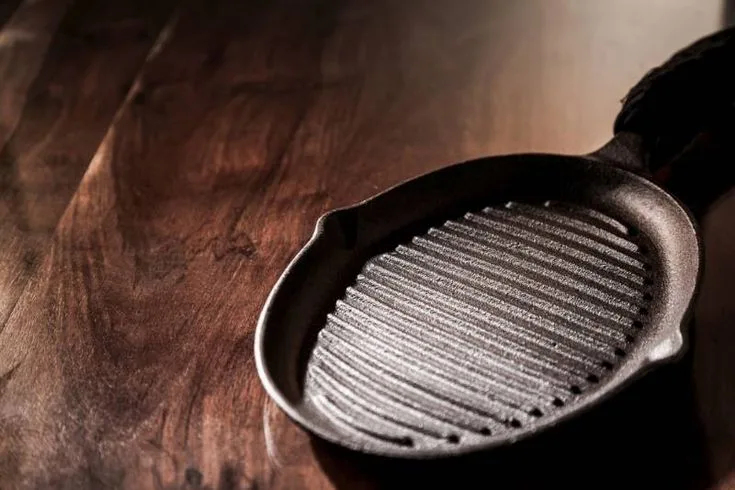
Bare cast iron is raw metal. It has a porous surface. It needs a layer of polymerized oil called seasoning to be nonstick.
When it rusts, you can scrub it hard. You can soak it in vinegar. You can bake it at 500 degrees.
The metal can take it.
Enameled cast iron has a glass coating fused to the metal. Le Creuset and Staub are the most common brands, but there are many others. The enamel is smooth, glossy, and non-reactive.
When it rusts, you are not seeing rust from the enamel itself. You are seeing rust from the exposed iron underneath a chip or a crack. Scrubbing enamel with steel wool will scratch the glass.
Using vinegar on a chip can worsen the damage.
How do you tell them apart? Look at the cooking surface. Bare cast iron is rough and matte.
It will feel slightly gritty. Enamel is smooth and shiny. It is usually cream, black, or colored.
If the inside of your dutch oven is white or light colored, it is enameled. If it is dark, rough, and looks like a cast iron skillet, it is bare.
| Feature | Bare Cast Iron | Enameled Cast Iron |
|---|---|---|
| Cooking surface | Rough, matte, porous | Smooth, glossy, glass-like |
| Rust treatment | Vinegar soak + steel wool | Bar Keepers Friend + soft scrub |
| Seasoning required | Yes, essential | No |
| Steel wool safe | Yes | No, scratches enamel |
| Oven safe temp | Up to 500°F+ | Usually up to 500°F (check lid knob) |
How to Tell If It's Worth Saving (And When to Walk Away)
Before you break out the vinegar, you need to answer one question honestly. Is this pot salvageable or is it trash? Sometimes the kindest thing you can do is toss it and buy a new one.
Start with a visual inspection. Hold the pot under bright light. Look for chips, cracks, and pitting.
On enameled dutch ovens, a chip is the end of the road. The glass coating is a barrier. Once it breaks, the exposed iron will continue to rust.
More importantly, small glass fragments can break off into your food. That is a safety risk. Per the FDA guidelines on food contact surfaces, damaged enamel cookware should not be used for food preparation.
Do not patch it. Do not try to seal it. Replace it.
On bare cast iron, look for pits. Surface rust is fine. Deep pits are not.
Take your fingernail and run it across the rusty area. If your nail catches in a hole, that is pitting. A few small pits might not matter.
A cooking surface that looks like the surface of the moon means the pot has lost its heat distribution advantages. You will get hot spots. Food will stick unevenly.
It is better to repurpose that pot for decoration or campfire use and buy a fresh one for the kitchen.
Another test is the smell test. Rust itself does not smell. But a pot that was stored wet for months may have mold or mildew trapped in the pores.
That comes with a musty odor. You can kill mold with vinegar and high heat, but if the smell persists after cleaning, the pot has organic material deep in the metal. That is not coming out.
Finally, consider the economics. A new Lodge dutch oven costs about 50 to 70 dollars. If you are restoring a cheap pot from a thrift store, is your time worth more than 50 bucks?
For an heirloom Le Creuset, the answer is almost always yes. For a rusty no-name pot from a garage sale, the answer might be no.
| Sign of Damage | Bare Cast Iron Verdict | Enameled Cast Iron Verdict |
|---|---|---|
| Surface rust only | Saveable | Saveable if enamel is intact |
| Chipped enamel | N/A | Toss (unsafe) |
| Deep pitting over 25% of surface | Toss or repurpose | Toss |
| Crack in the metal | Toss | Toss |
| Musty smell that won't come out | Repurpose | Repurpose |
The Step-by-Step Restoration Guide for Bare Cast Iron
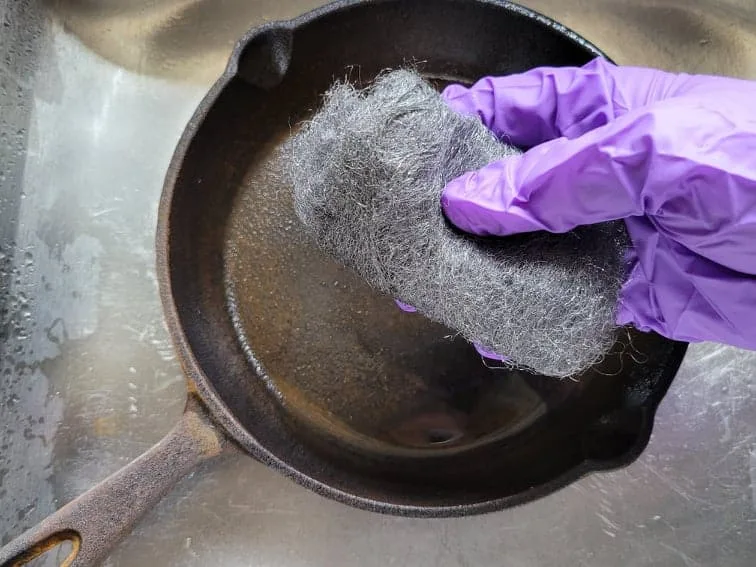
Image source: Bing (Web)
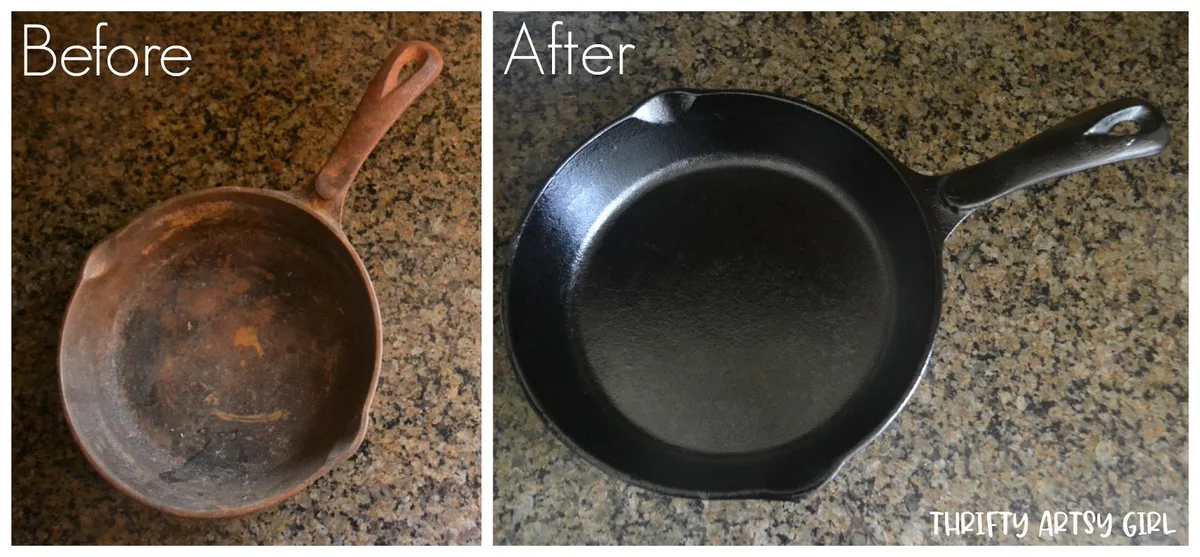
Alright, you have a bare cast iron dutch oven with surface rust and no deep pitting. You are good to go. This process takes about two hours of active work plus a few hours of curing time.
Step one is removing the rust. Mix a 1:1 solution of white vinegar and water in a container large enough to submerge your pot. If you do not have a container that big, you can fill the dutch oven itself and soak the lid in a separate tub.
Submerge the rusty areas. Let them sit for 15 to 30 minutes. Do not leave it longer.
Vinegar is acidic. It will eat the rust, but it will also begin etching the good iron if you leave it overnight.
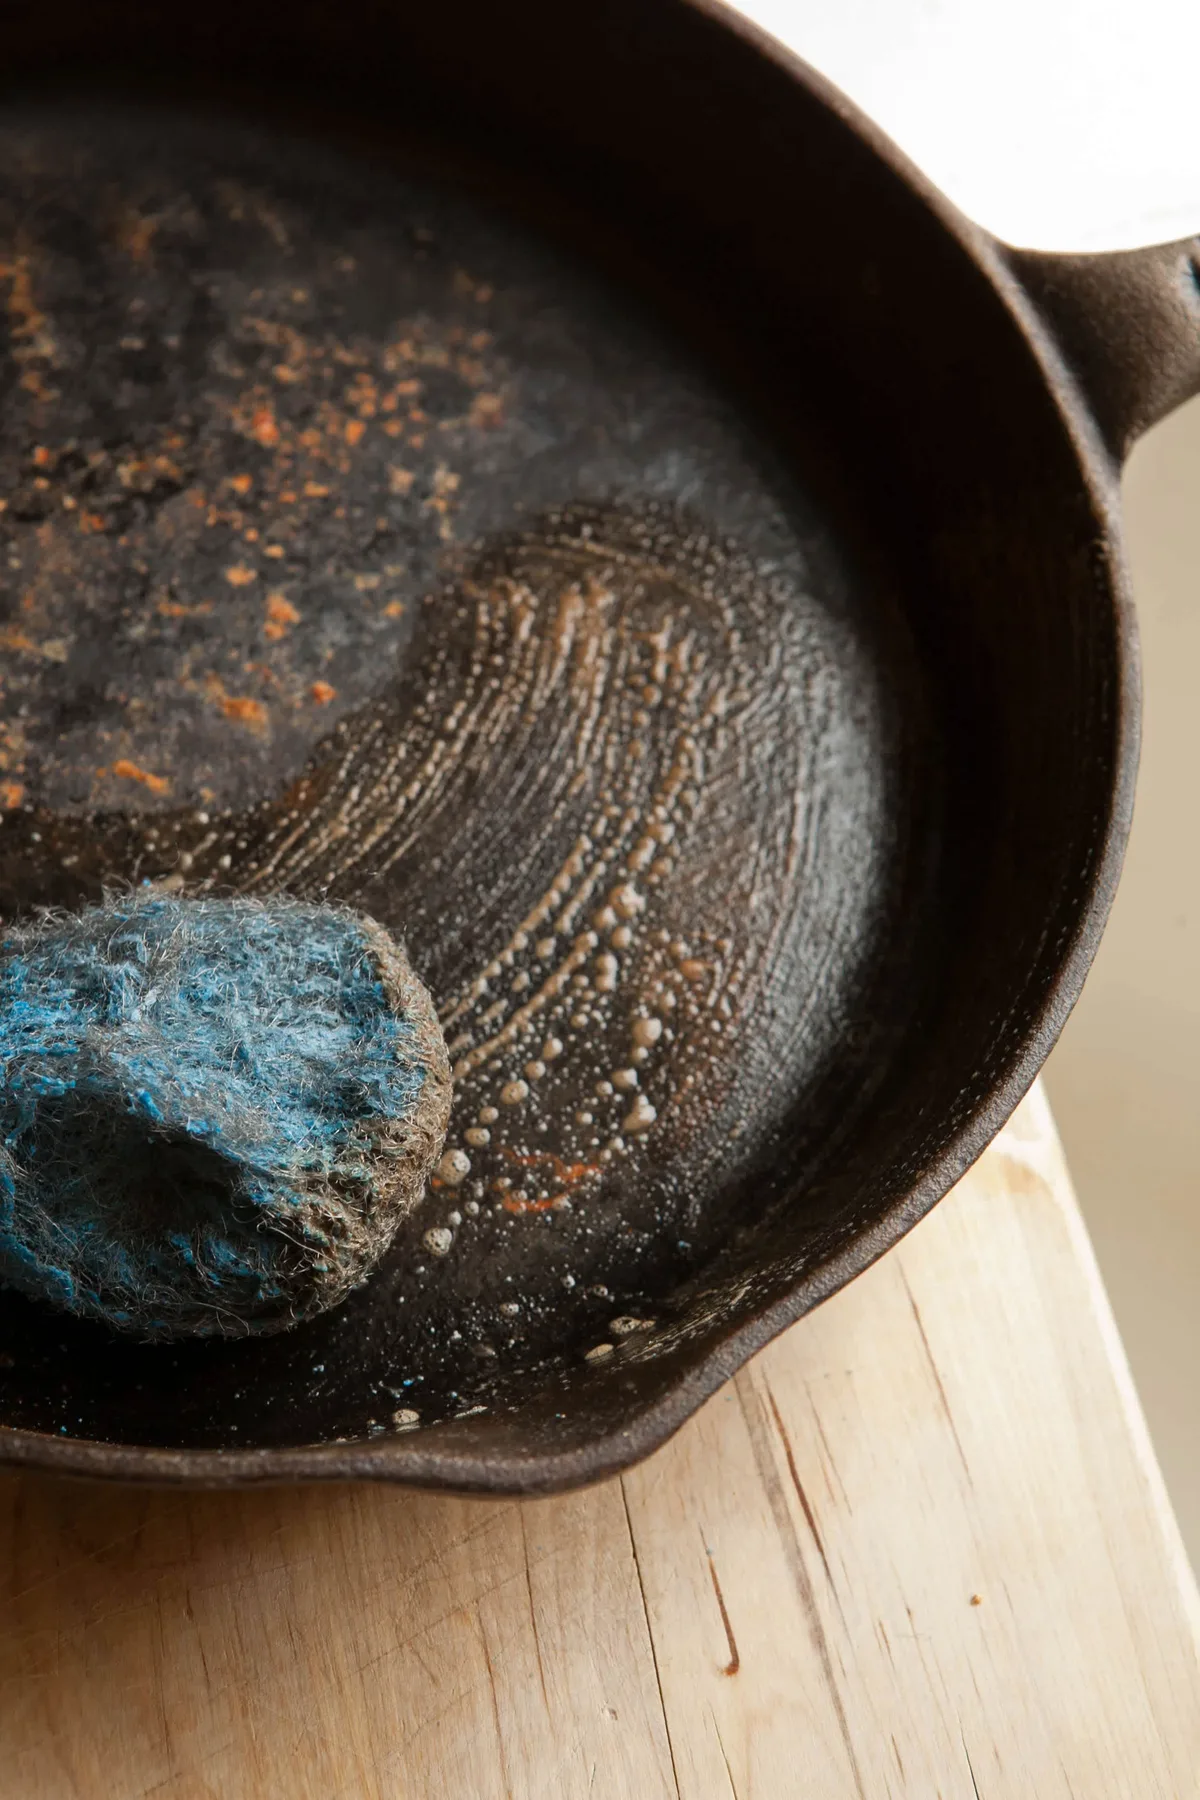
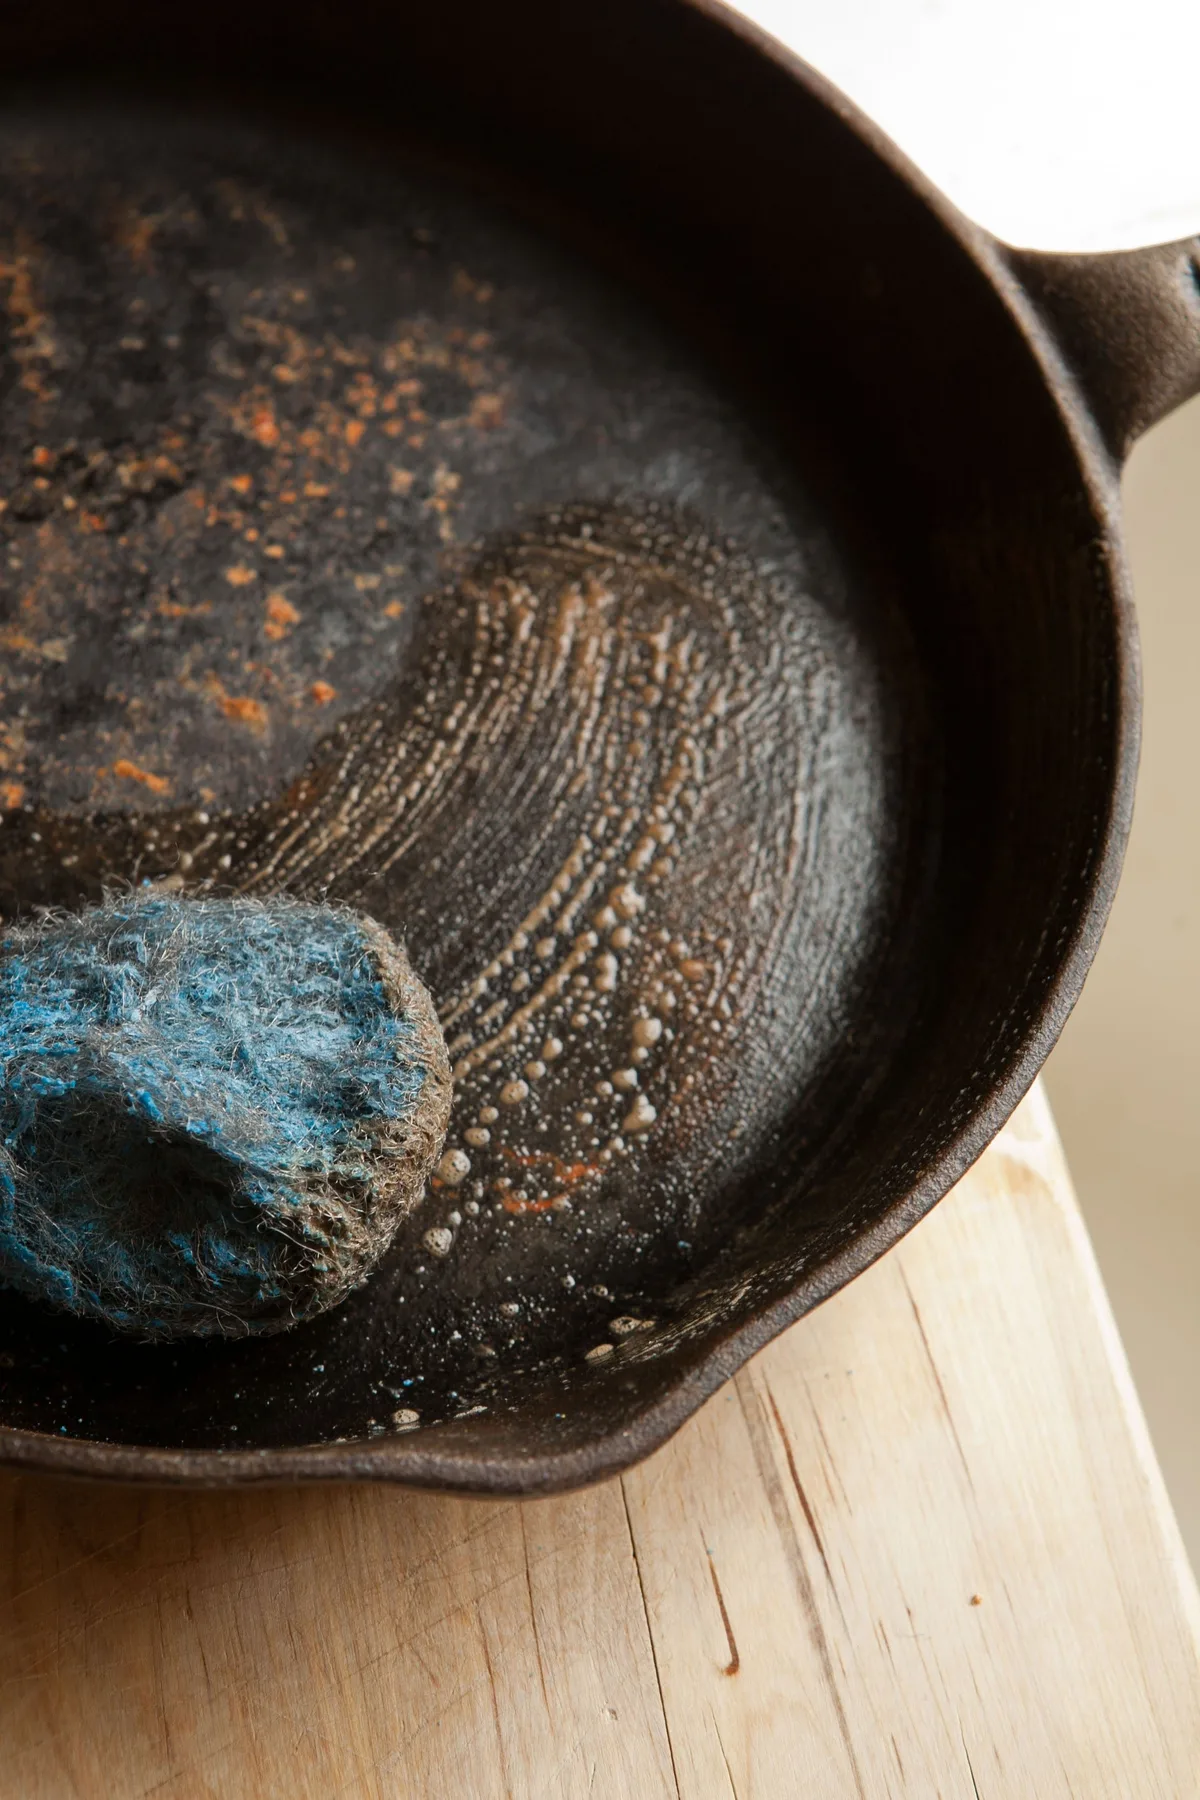
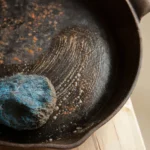
After the soak, pull the pot out. You will see loose orange sludge on the surface. Scrub it with steel wool.
Use a fine grade, 0000 or 000. Scrub in all directions. Focus on the rusty spots.
Rinse the pot with water. Dry it completely with a clean towel. If you see any remaining rust spots, repeat the soak and scrub cycle.
Step two is the drying test. Put the pot on a burner over low heat for a few minutes. You want every drop of moisture gone.
If you see any orange residue on your towel after drying, you missed some rust. Go back and scrub again.
Step three is seasoning. This step is non-negotiable. Without seasoning, your bare iron will rust again within hours.
Preheat your oven to 450 degrees. Coat the entire pot, inside and out, with a very thin layer of oil. Grapeseed oil works well.
Canola oil also works. Avoid flaxseed oil. Aggregate user reports indicate it has a tendency to flake off after a few months of use.
Here is the critical trick. After you apply the oil, take a clean towel and try to wipe it all off. You want the pot to look dry.
The oil layer should be microscopic. If it looks wet, it is too thick. Put the pot upside down in the oven with a baking sheet on the rack below to catch drips.
Bake for one hour. Let it cool in the oven with the door closed. Repeat the oil and bake cycle two or three more times.

Similar Posts