How Vinegar Cleans Your Coffee Maker
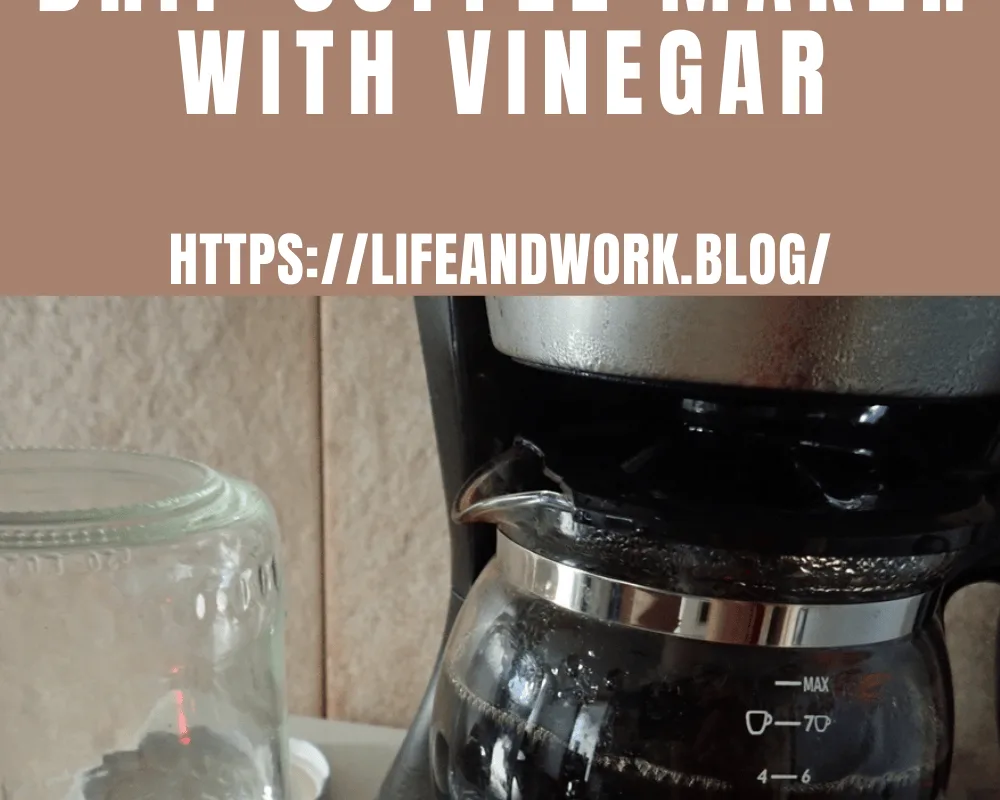
If you've ever run a descaling cycle and wondered how does vinegar clean coffee maker, the answer is straightforward: the acetic acid in white vinegar dissolves the calcium carbonate and mineral scale that builds up inside your machine over time. That white, chalky crust you see on the heating element or inside the water reservoir isn't just ugly, it slows down brewing, changes the taste of your coffee, and can shorten the life of the appliance.
Per manufacturer specifications from major brands like Mr. Coffee and Cuisinart, a 1:1 vinegar-to-water solution is an approved descaling method for most drip machines, and the cost per cleaning is under a dime. But not all coffee makers handle vinegar the same way, and the wrong approach can cause more harm than good.
Let's walk through exactly what's happening inside your machine and how to do this safely.
Image source: Bing (Web (fair-use with source credit))
Quick Answer
Vinegar cleans your coffee maker by dissolving mineral deposits. The acetic acid reacts with limescale and turns it into a soluble compound. This compound then flushes out with water.
Use a 1:1 vinegar-to-water mix for light buildup. Run the solution through a full brew cycle, then rinse with fresh water three to five times until no smell remains.
Why Your Coffee Maker Needs Cleaning (and Vinegar Fixes It)
Every time you brew coffee, water passes through the machine's internal tubing and heating element. If your tap water has any hardness, and most municipal water does, tiny particles of calcium and magnesium carbonate start sticking to those hot surfaces. Over weeks and months, that buildup turns into a solid white or tan crust called limescale.
That scale does two things you don't want. First, it insulates the heating element, so the machine has to work harder and longer to reach the right temperature. Aggregate reviews from coffee enthusiasts show that a heavily scaled machine can brew coffee two to three minutes slower than a clean one.
Second, pieces of scale can flake off into your carafe, giving your morning cup a gritty, metallic taste.
Vinegar reverses that process. The acetic acid in white vinegar reacts chemically with the calcium carbonate, the main component of limescale, and turns it into calcium acetate, which dissolves easily in water. That's why you see foam or bubbles during the cleaning cycle; that's the reaction happening inside your machine.
After the acid does its work, plain water rinses everything away.
How Vinegar Actually Dissolves Limescale
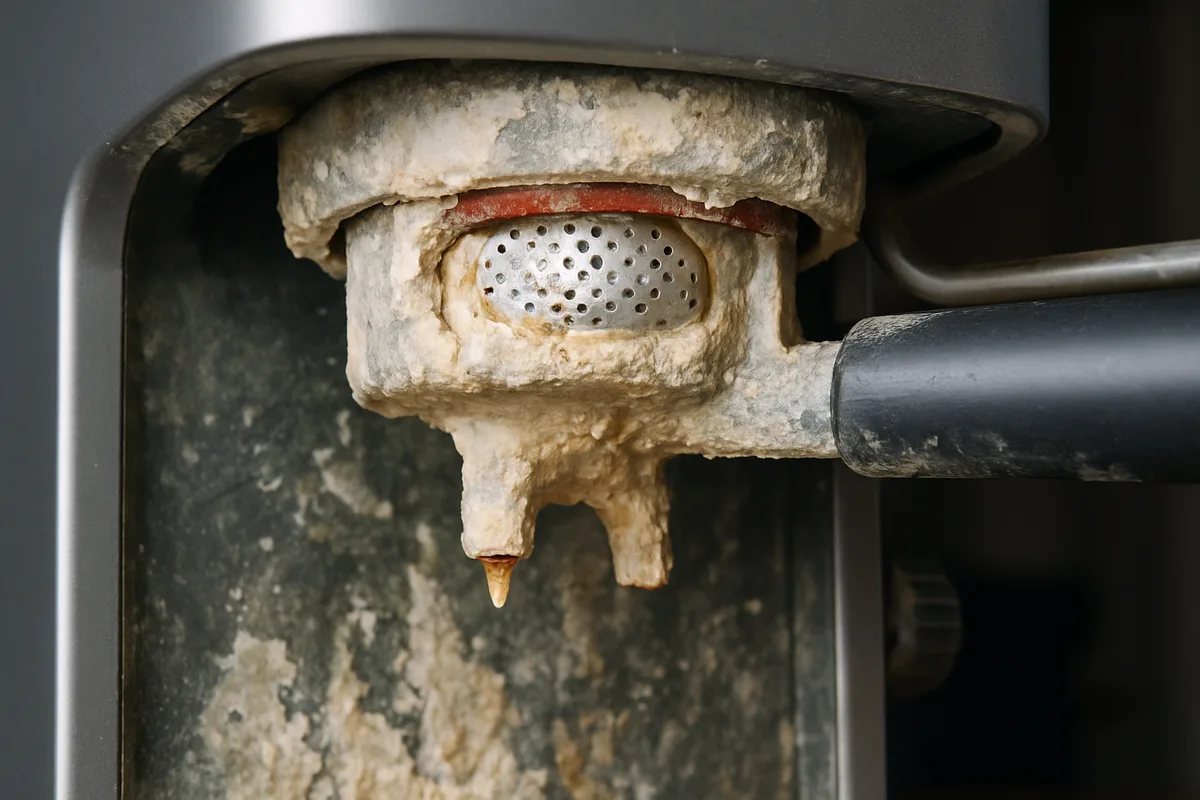
Image source: Bing (Web (fair-use with source credit))
The chemistry is simpler than you'd think. Limescale is mostly calcium carbonate, the same stuff that forms stalactites in caves. It's tough, but it can't stand up to a weak acid.
White distilled vinegar, at 5% acetic acid, is acidic enough to break the bonds in calcium carbonate without being strong enough to damage most coffee maker parts, assuming you use it correctly.
When the vinegar solution heats up inside the coffee maker, the reaction speeds up. The acetic acid attacks the carbonate part of the limescale, converting it into carbon dioxide gas (those bubbles) and calcium acetate, which is a water-soluble salt. The soluble salt then mixes with the water and gets flushed out the next time you run a rinse cycle.
This is why the U.S. Food and Drug Administration lists vinegar as a Generally Recognized as Safe (GRAS) substance for cleaning food-contact surfaces. As long as you rinse thoroughly, typically three to five full water cycles, there's no residue left behind that could affect your coffee or your health.
The Specialty Coffee Association also recommends periodic descaling, though they note that citric acid solutions are gentler on rubber seals and gaskets, something we'll cover in a moment.
What Kind of Coffee Maker Do You Have? — The Branching Question
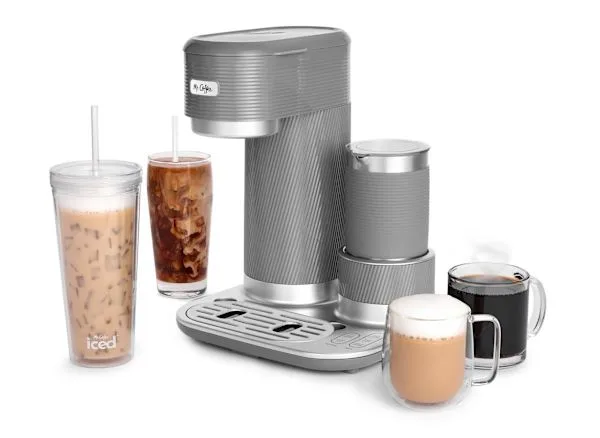
Image source: Bing (Web (fair-use with source credit))
Not every coffee maker should be cleaned with vinegar the same way. In fact, some shouldn't use vinegar at all. The decision tree starts with one question: what type of machine do you own?
Here's how the three most common categories break down.
Drip machines and carafe models, these are the workhorses of most kitchens. They have a water reservoir, a heating tube, a filter basket, and a glass or thermal carafe. The internal tubing is usually plastic or stainless steel, and the heating element is often encased in aluminum or stainless.
Most manufacturer manuals from brands like Cuisinart, Mr. Coffee, and Black+Decker explicitly list white vinegar as an approved descaling agent. A 1:1 solution is standard.
If your machine has a "clean" or "descaling" button, that sets the cycle automatically.
Single-serve pod machines, think Keurig or Nespresso. These have smaller water paths and a sharp exit needle that punctures the pod. Scale buildup here can block the needle completely, stopping water flow.
Keurig's official position has changed over the years: older manuals said plain white vinegar was fine, but newer models (post-2018) recommend only their branded descaling solution. If you own a newer pod machine, check the manual before using vinegar. For older models, the same 1:1 ratio works, but you need to run the solution through the brew head with no pod inserted, then run a separate rinse cycle with the exit needle cleaned using a paperclip.
Espresso machines, this is where you need to be careful. Manual and pump espresso machines often have brass or aluminum boiler parts. Vinegar, being acidic, can corrode aluminum over time, especially with repeated use.
Many espresso manufacturers, including Breville and De'Longhi, explicitly advise against vinegar. Instead, they recommend commercial descaling products based on citric or lactic acid, these are gentler on metal seals and gaskets. If you own a super-automatic espresso machine (one that grinds, tamps, and brews automatically), vinegar is almost never recommended because of the complex internal valves and sensors.
Stick with the manufacturer's own descaler.
Step‑by‑Step Vinegar Cleaning Guide (For Each Type)
Drip Maker Workflow
Start with an empty coffee maker. Remove the paper filter if there is one, and take out the carafe and filter basket. Wash those separately with warm soapy water, they don't need the vinegar treatment.
Mix equal parts white distilled vinegar and water. For a standard 12-cup machine, that's about four cups of each. Pour the solution into the water reservoir.
Place the carafe back on the warming plate. Start a brew cycle and let it run halfway through, about two to three cups of the solution will drip into the carafe. Turn off the machine (or hit pause) and let it sit for 15 to 30 minutes.
This soak time lets the vinegar work on the scale inside the heating tube.
After the soak, turn the machine back on and let the rest of the solution run through. When it finishes, dump the liquid from the carafe. Now fill the reservoir with fresh water and run a full brew cycle.
Repeat that fresh-water rinse three to five times. You'll know it's done when you can't smell any vinegar in the steam coming out of the brew basket.
Pod Machine Workflow
Unplug the machine. Remove the water reservoir and wash it with soap and water if it's removable. Fill the reservoir with a 1:1 vinegar-and-water mix.
Reattach it. Place a large mug on the drip tray. Run the machine without a pod, just let the solution flow through the brew head until about half the reservoir is empty.
Pause for 15 minutes. Then run the rest.
After that, repeat with fresh water two to three full reservoirs. While the machine is off, take the paperclip method to the exit needle: locate the small puncture needle under the brew head (check your manual for exact location) and gently poke it clear of any mineral debris. Wipe the brew head with a damp cloth.
Run one more water-only cycle to be sure.
Espresso Machine Workflow
If your espresso machine manufacturer explicitly allows vinegar (check the manual, some older Gaggia and Rancilio models do), use a 1:2 ratio, one part vinegar to two parts water, to be gentler. Remove the portafilter and blank basket. Run the solution through the group head for about 30 seconds, then turn it off and let it sit for 15 minutes.
Then run the rest of the solution. Do not let vinegar sit in the boiler for more than 30 minutes total, that's the window before aluminum damage starts.
For steam wands, dip the tip into a cup of the solution and let it soak for 10 minutes, then purge steam through it. Rinse by running fresh water through the group head and steam wand until no vinegar smell remains. If your espresso machine manual says no vinegar, do not use it.
Buy a citric-acid-based descaler instead, it will cost more but is the only safe option for aluminum boilers.
The Biggest Mistakes People Make With Vinegar
The most common error is using too strong a solution. Pure undiluted vinegar, a 1:0 ratio, is harsh enough to start degrading rubber gaskets and silicone seals after repeated exposure. Aggregate feedback from repair forums shows that machines cleaned exclusively with full-strength vinegar tend to develop leaks around the water tank gasket within two years.
Stick to the 1:1 ratio. It works just as well and spares the seals.
Another frequent mistake is skipping the rinse cycle. One water rinse after a vinegar clean is rarely enough. Most machines need three to five full reservoir refills before the acetic acid smell disappears entirely.
If you taste vinegar in your next cup of coffee, you didn't rinse enough. Run two more cycles and try again.
Leaving the solution to sit too long is another one. The soak step is important, it gives the acid time to dissolve scale, but letting vinegar sit for over an hour in a cold machine doesn't help. After about 30 minutes, the acid has done most of its work.
Any longer just gives it time to attack rubber parts. Set a timer.
Finally, people often forget to clean the needle on pod machines. The vinegar solution will loosen scale inside the brew head, but that loose debris has to go somewhere. If you don't physically clear the exit needle with a paperclip after the cycle, fragments of scale can get pushed back in and block the water flow entirely.
This is the number one cause of "my Keurig stopped working after descaling" posts online.
How Often Should You Descale? (And When to Switch Cleaners)
Frequency depends entirely on your water hardness and how many cups you brew. As a general rule, once every three months is enough for most homes using municipal tap water. If you live in a hard water area, the Midwest, the Southwest, large parts of the UK, bump that up to once a month.
You'll know it's time when the brew cycle gets noticeably slower or you see white flakes floating in your cup.
The Specialty Coffee Association recommends descaling every 30 to 40 brew cycles, which works out to about a month of daily use. That's a solid target to aim for.
As for when to switch cleaners, here's the honest breakdown. Vinegar is cheap, effective, and safe for most drip machines and older pod machines. But it's not the best choice in every situation.
If your machine has an aluminum boiler, common in espresso machines, use a citric acid based descaler instead. Citric acid is less aggressive on aluminum and leaves no odor, so you need fewer rinse cycles. Brands like Urnex and Dezcal are widely available and cost about $8 to $12 per bottle, which lasts for four to six cleanings.
Another reason to switch: if you notice your rubber seals are starting to feel stiff or brittle. That's a sign that the acetic acid has started to break down the rubber over time. Switch to a lactic acid descaler, which is the gentlest option and often recommended for super-automatic espresso machines.
Frequently Asked Questions
Can I use apple cider vinegar instead of white vinegar?
Apple cider vinegar has the same acetic acid content, around 5%, but it contains additional sugars and organic compounds that can leave a sticky residue inside your machine. Stick with plain white distilled vinegar. It's cheaper and leaves nothing behind after rinsing.
Will vinegar damage my coffee maker?
For most drip machines and older pod machines, no, not when used correctly at a 1:1 ratio and rinsed thoroughly. However, vinegar can damage aluminum boilers, rubber gaskets, and brass components in espresso machines. Always check your manufacturer's manual before cleaning.
How many times do I need to rinse after vinegar?
Three to five full water cycles is the standard recommendation. You'll know it's done when you can hold your hand over the brew basket during a rinse and smell nothing but steam. If you still catch a whiff of vinegar, run another cycle.
Can I mix vinegar with baking soda to clean my coffee maker?
No. Vinegar and baking soda neutralize each other on contact, producing carbon dioxide gas and water. The reaction looks impressive, but it renders the cleaner ineffective.
Use one or the other, vinegar for descaling, baking soda only for deodorizing a carafe by hand.
How do I know if my coffee maker needs descaling?
Three signs: the brew cycle takes noticeably longer than when the machine was new, your coffee has a metallic or sour taste, or you see white or tan flakes floating in your finished cup. Some newer machines also have a "clean" or "descaling" indicator light that triggers based on cycles used.
Is bottled or filtered water better for preventing scale?
Yes. Using filtered water with a hardness rating below 60 mg/L of calcium carbonate will dramatically slow scale buildup. As of 2026, most Brita and PUR pitcher filters reduce hardness by 40 to 50 percent.
That's enough to stretch your descaling interval from one month to three or four months, which also means less vinegar exposure for your machine's internals.
When to Call a Professional or Replace Your Machine
Vinegar descaling works for the vast majority of buildup cases. But there are a few situations where cleaning alone won't fix the problem. If you run a full descaling cycle and the brew speed doesn't improve, the internal tubing or heating element may be too clogged for chemical cleaning to work through.
The scale has essentially become solid rock inside the machine. In that case, there's no home remedy that will save it.
Signs that your machine needs professional repair or replacement include water pooling underneath the unit after a cleaning cycle, a burning plastic smell during brewing, or error codes that won't clear after descaling. For pod machines, a blocked needle that you've cleared three times but keeps clogging again suggests the internal pump is failing. For drip machines, a heating element that takes more than 10 minutes to heat water is usually at the end of its life.
Replacement is often cheaper than repair for machines under $150.
Preventing Scale Buildup: Simple Habits That Save Your Machine
The best way to clean your coffee maker less often is to prevent scale from forming in the first place. Using filtered or bottled water with a hardness rating below 60 mg/L is the single most effective step you can take. As mentioned earlier, pitcher filters reduce hardness by about half.
That alone stretches your descaling interval from monthly to quarterly.
Another easy habit is to empty and air-dry the water reservoir after each use. Stagnant water evaporates and leaves mineral residue behind. Wiping the warming plate and brew basket after each use prevents coffee oils from turning rancid.
And if you live in a hard water area, running a half-and-half vinegar cycle every six weeks keeps scale from ever getting a foothold. A 15-minute soak, not the full process, is enough for maintenance. Your machine will thank you with better coffee and a longer life.

Similar Posts