How to Clean Rust Off Heavy Cast Iron Stew Pots and Bean Pots
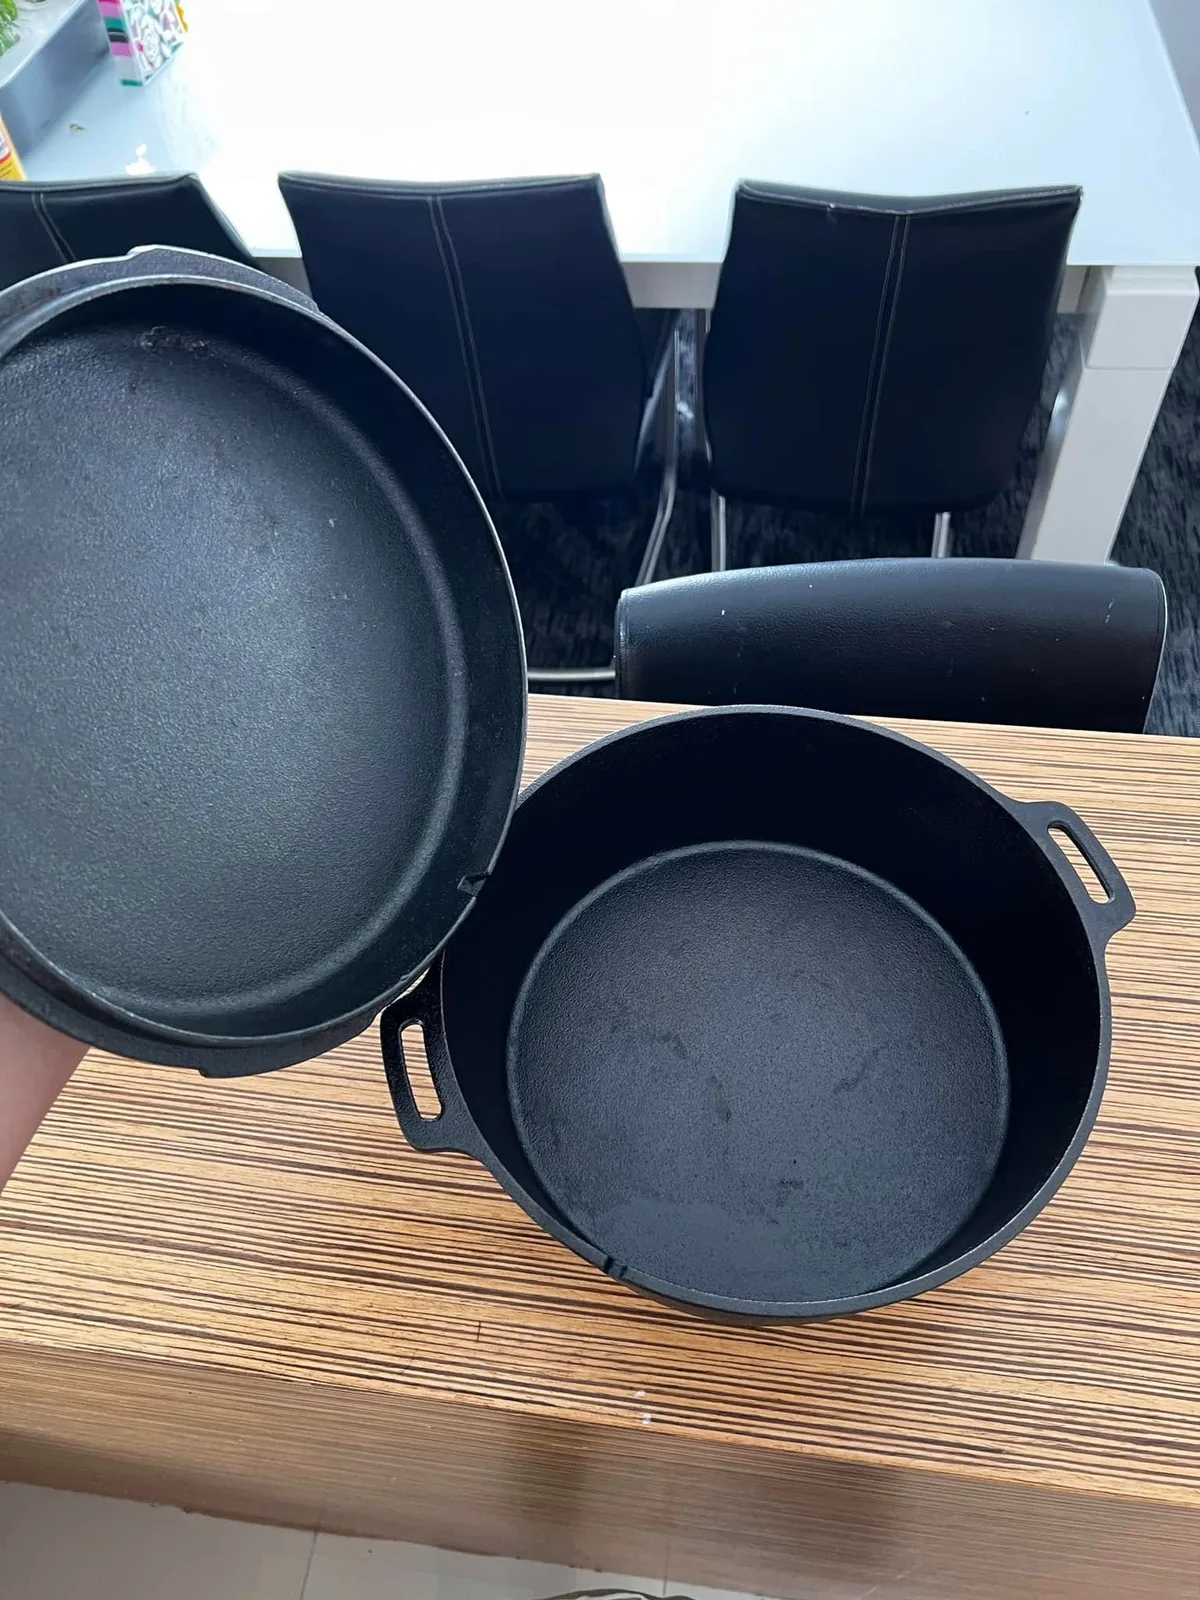
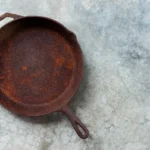
Image source: Web (Bing) / fobdel.com (Web image (fair-use with source credit))
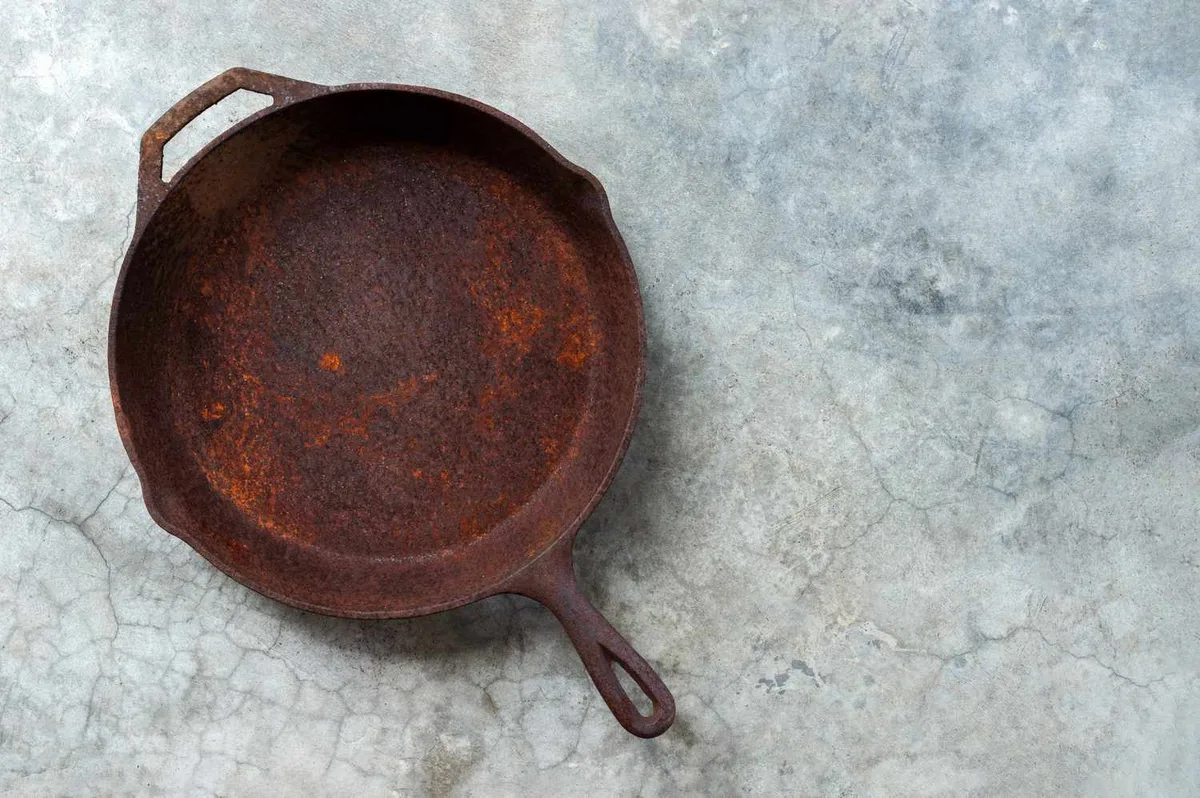
Why Your Cast Iron Pot Rusted (And Why It Happens So Fast)
Cast iron rusts because it wants to. That's not a joke, that's chemistry.
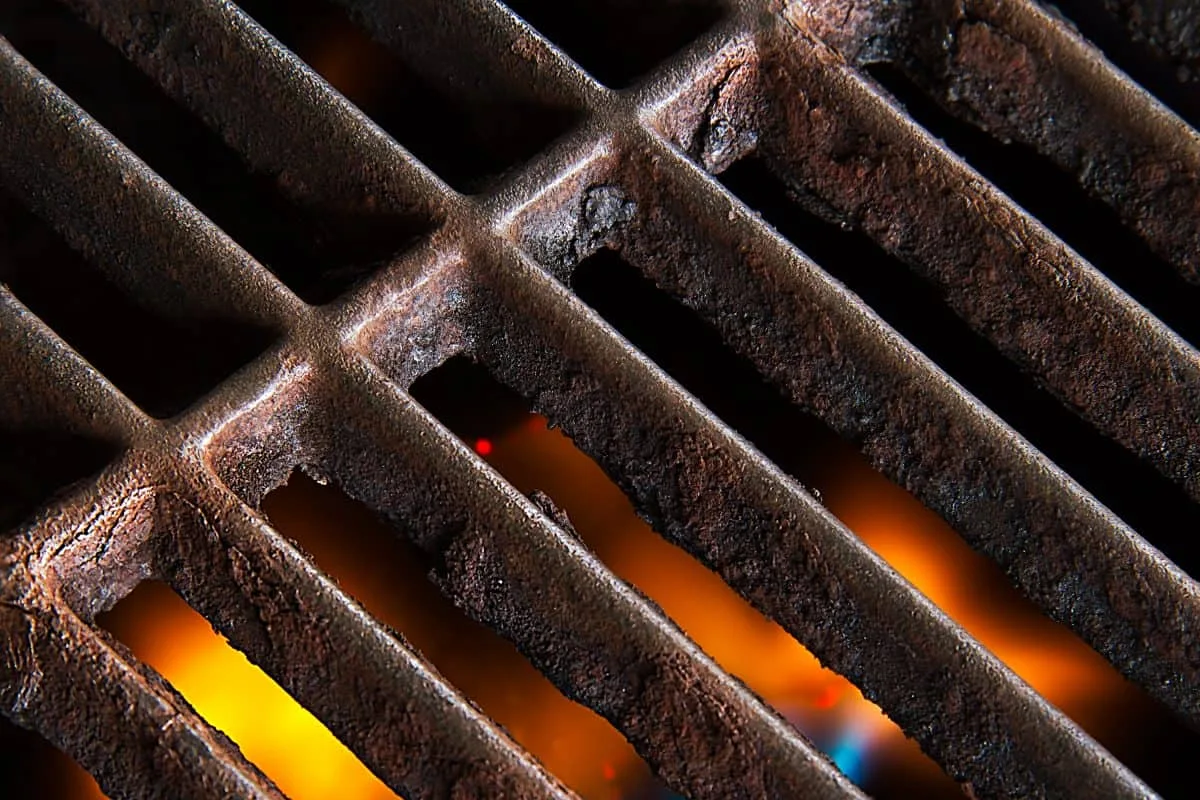
The metal is highly reactive with oxygen and moisture. When water sits on the surface, iron atoms oxidize and form ferric oxide, which is just the scientific name for rust. Your seasoning, that dark polymerized oil layer, is the only thing standing between your pot and rapid oxidation.
Once the seasoning wears thin or flakes off, exposed iron starts rusting within hours.
Humidity makes it worse. In damp climates or kitchens with poor ventilation, rust can appear overnight on a pot you thought was dry.
That's why de-rusting isn't just about scrubbing. It's about removing the oxidation completely, then rebuilding that protective seasoning layer so the rust doesn't come back.
Quick Answer
To de-rust a cast iron pot, scrub off loose rust with steel wool or a stainless scrubber. Soak the pot in a 1:1 white vinegar and water solution for 30 to 60 minutes. Scrub again, rinse thoroughly, and dry immediately.
Then oil the pot and bake it at 450°F to re-season.
The Two-Minute Test: Check Your Pot Type and Rust Level First
Before you touch a single scrub brush, you need to know what you're working with. Bare cast iron and enameled cast iron require completely different treatments. Using the wrong method on either one can ruin the pot permanently.
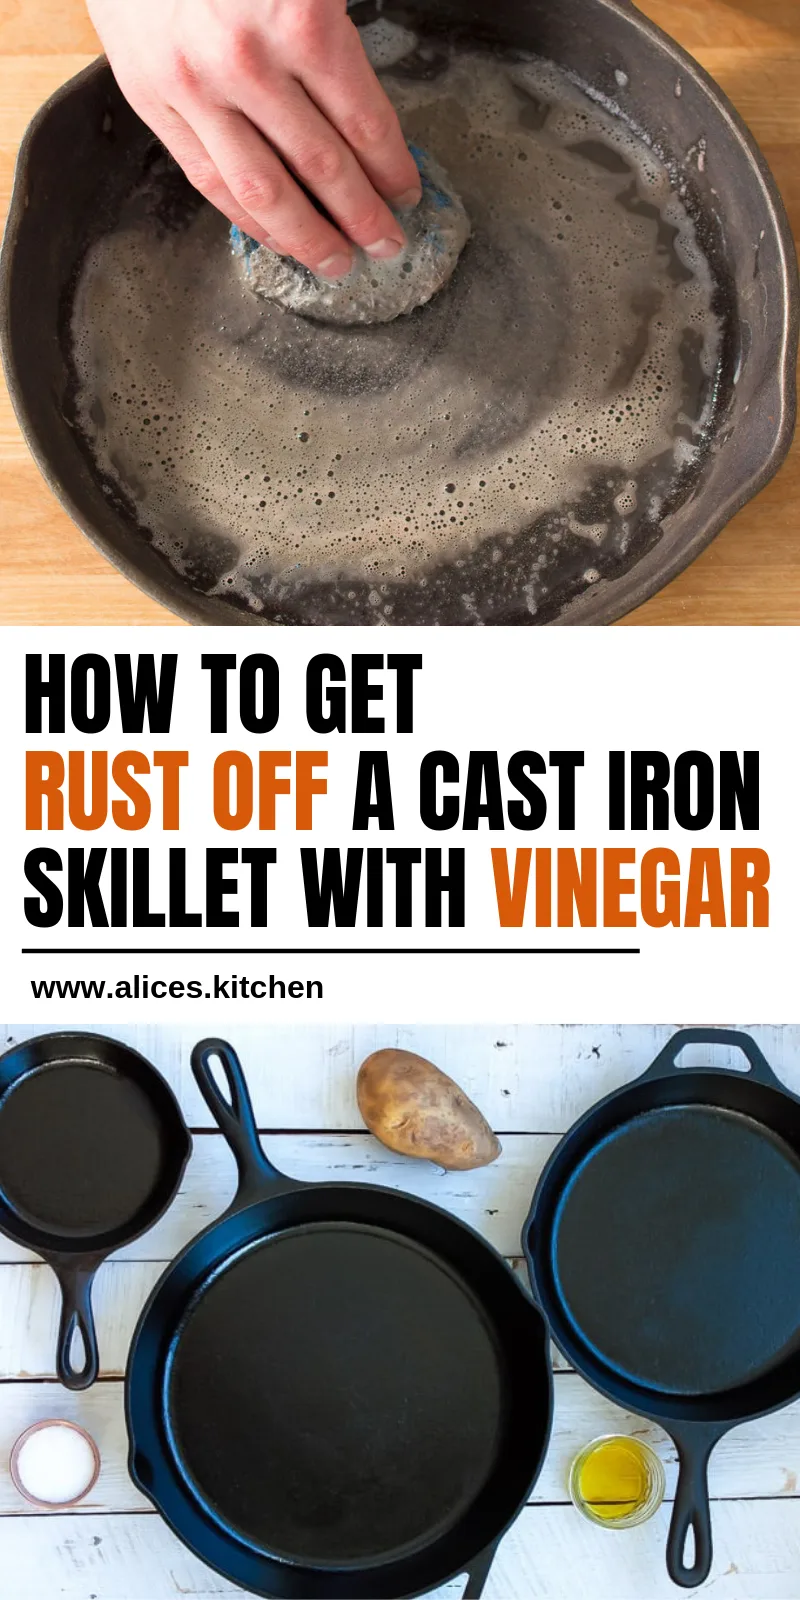
Step 1: Check for enamel
Look at the surface. Uncoated cast iron is dark gray or black with a rough, slightly textured feel. Enameled cast iron has a smooth, glossy coating that's usually white, cream, or a bright color on the inside.
If you see a glass-like finish, you're dealing with enamel.
Step 2: Assess the rust severity
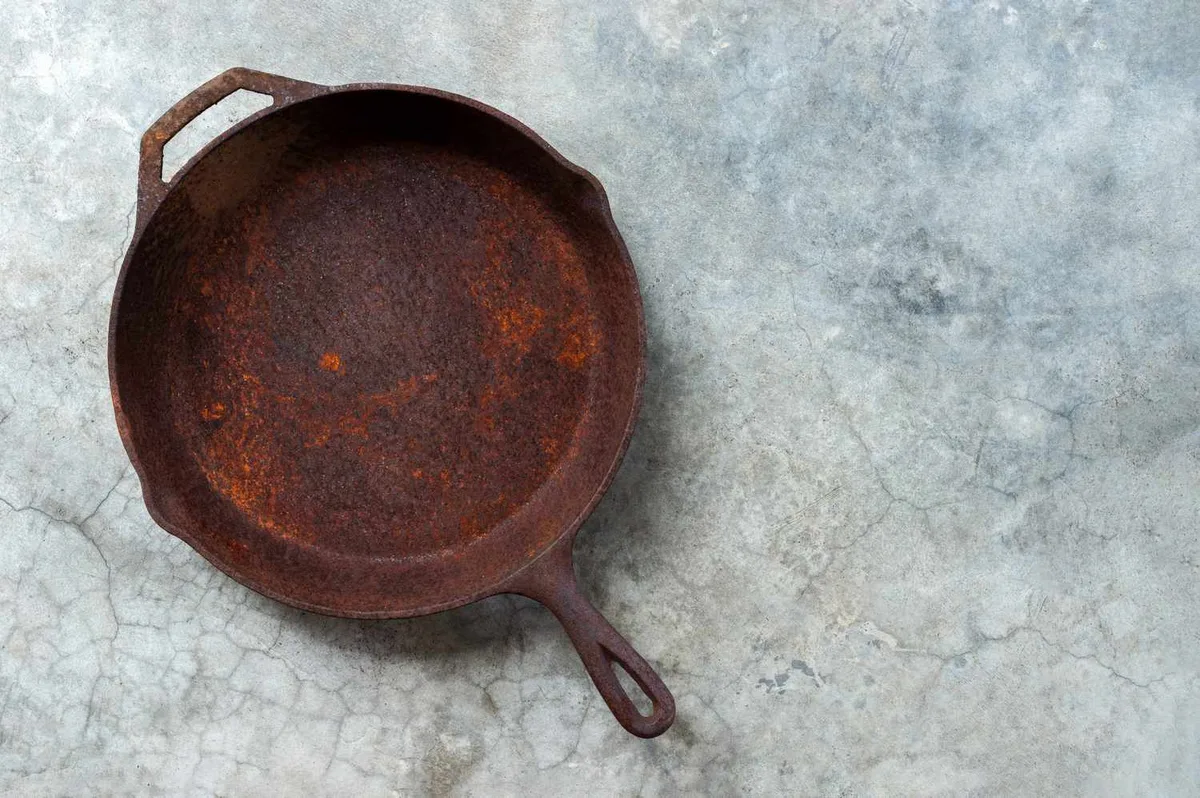
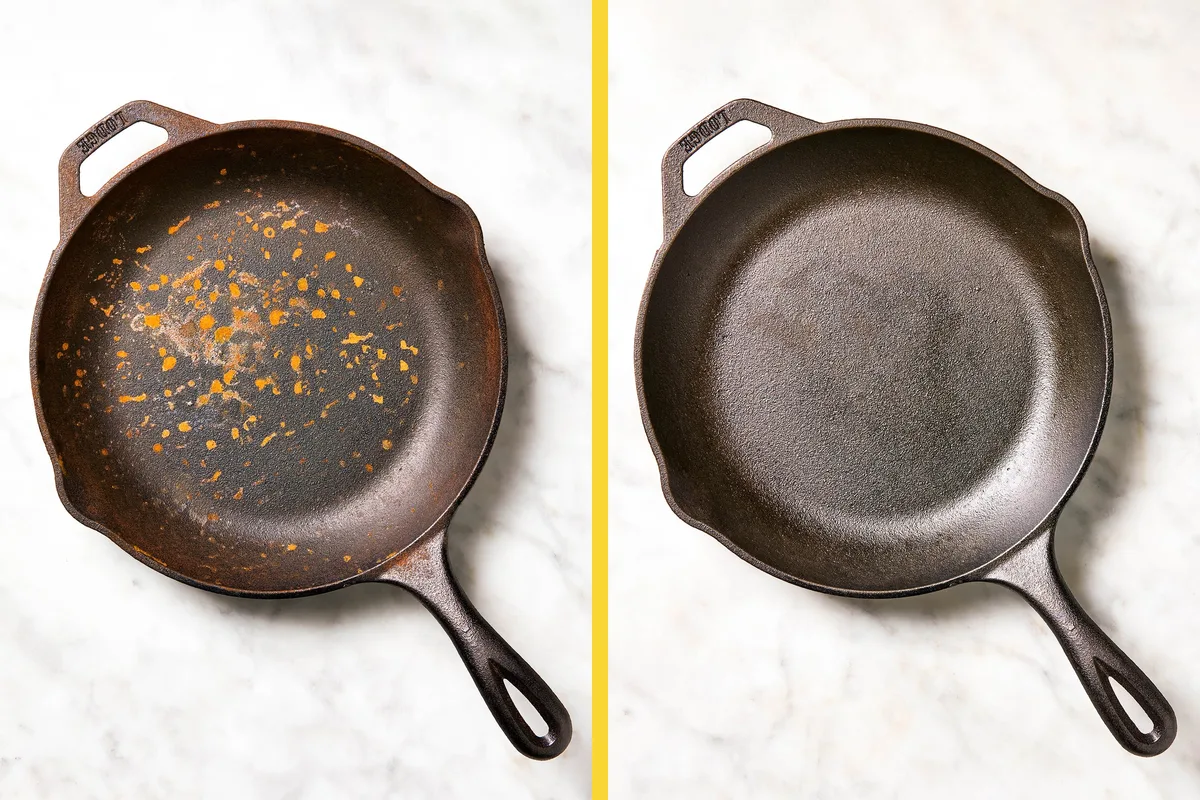
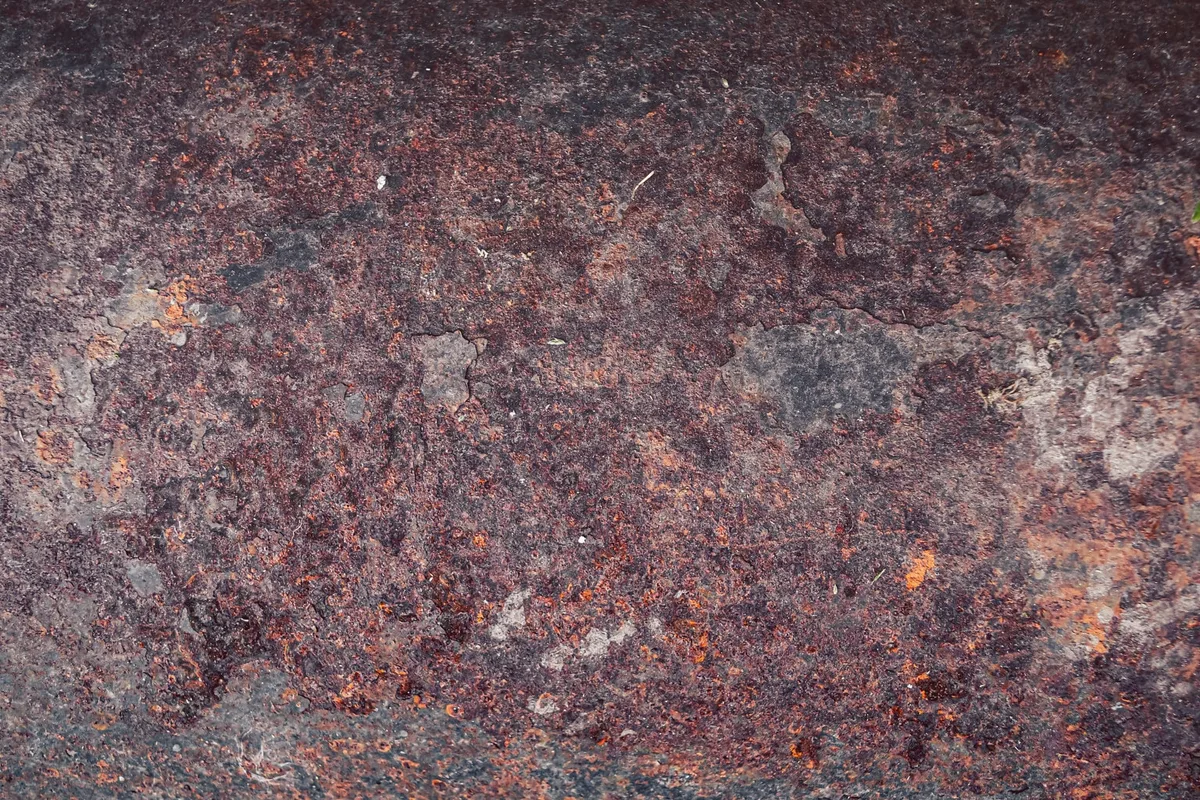
Rub your finger across the rusted area. Light rust feels rough but stays on the surface. Moderate rust has visible flakes and orange-brown patches.
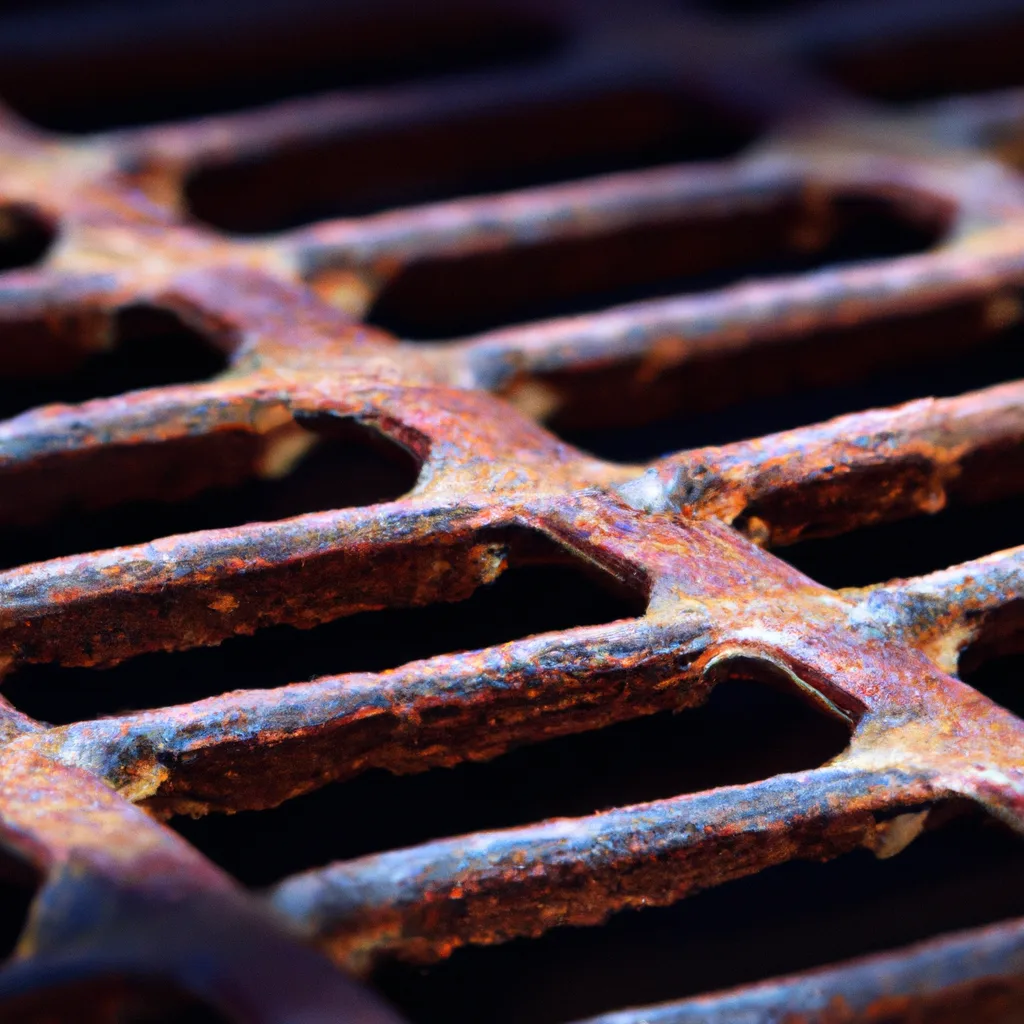
Deep rust has pitting, meaning the iron itself has started to corrode in small craters.
Step 3: Choose your path
From here, the workflow is simple:
- Light rust on bare cast iron? Scrub and re-season.
- Moderate to deep rust on bare cast iron? Soak in vinegar or use electrolysis.
- Rust on enameled cast iron? Use gentle, non-abrasive methods only.
- Chipped or cracked enamel? Stop. The pot isn't safe to use.
Manufacturer specifications from major cast iron producers like Lodge indicate that light surface rust is fully recoverable. Heavy pitting may still be salvageable, but the pot's cooking performance will never quite return to original.
How to De-Rust a Bare Cast Iron Pot (Step by Step)
This is the classic restoration workflow. It works for skillets, Dutch ovens, kettles, and any other uncoated cast iron. Here's the full process, from start to finish.
Gather your supplies
| Material | Purpose |
|---|---|
| Steel wool (grade 0 or 1) | removes loose rust |
| White vinegar | dissolves oxidation |
| Baking soda | neutralizes vinegar residue |
| Mild dish soap | washes away debris |
| Paper towels or lint-free cloth | drying |
| Vegetable oil or flaxseed oil | re-seasoning |
Step 1: Remove loose rust
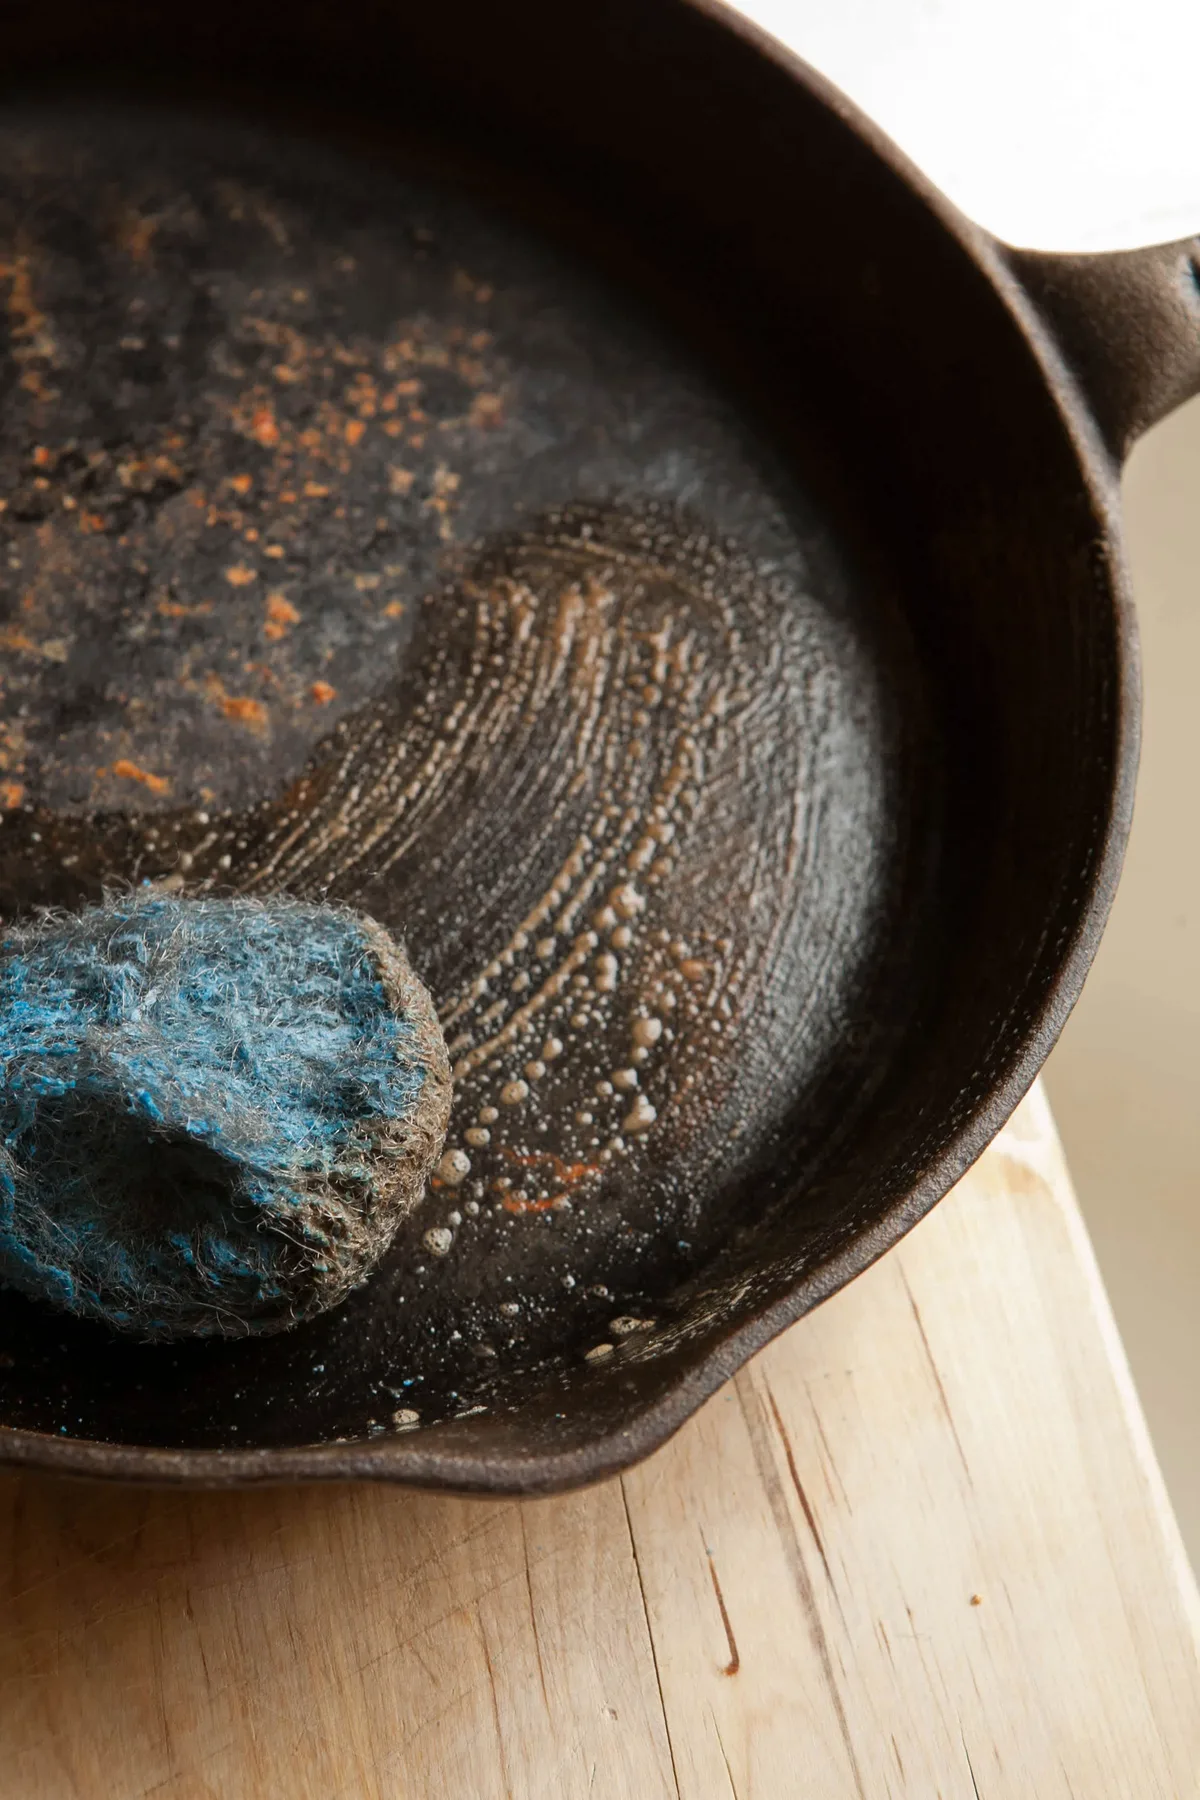
Scrub the pot with steel wool and warm soapy water. This strips away the flaking rust, loose seasoning, and any crud stuck to the surface. Rinse well.
Step 2: Vinegar soak
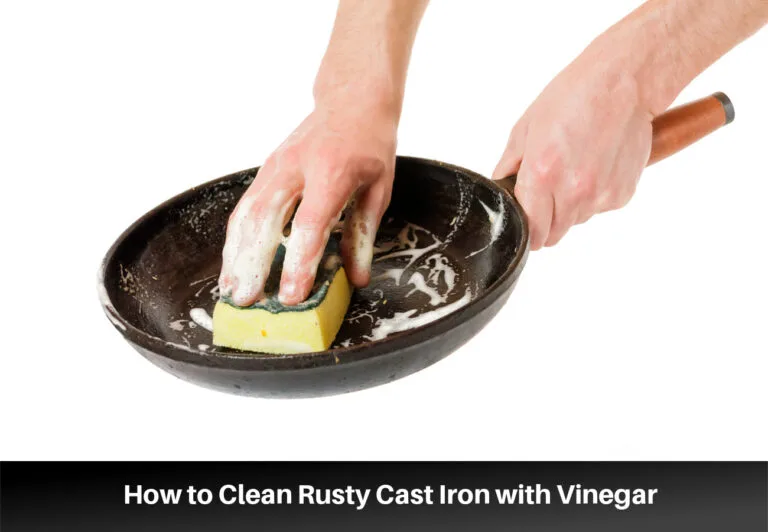
For moderate rust, mix a 1:1 solution of white vinegar and water in a bucket or sink. Submerge the pot completely and let it soak for 30 to 60 minutes. Check it every 15 minutes.
Here's the critical warning: vinegar is acidic, and acid dissolves iron, not just rust. If you leave a pot soaking for several hours or overnight, you'll end up with pitted, weakened metal. We've seen thrift-store rescue attempts ruin perfectly good pans this way.
Step 3: Scrub again
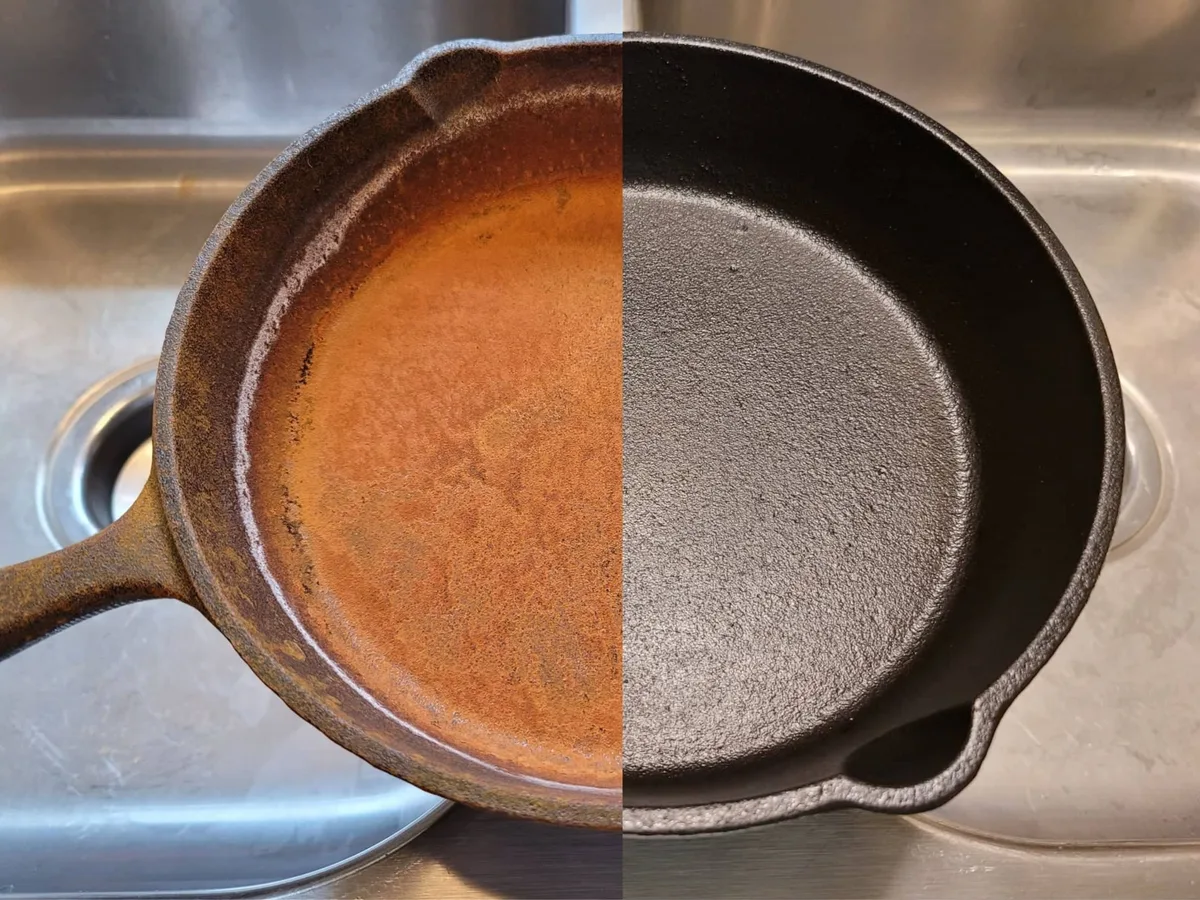
Pull the pot out and scrub it once more with steel wool. The rust should come off easily now. If you still see rust patches, repeat the vinegar soak for another 20 to 30 minutes.
Step 4: Neutralize and wash
Mix a small amount of baking soda with water to make a paste. Rub it over the pot. This neutralizes the acid left behind by the vinegar.
Then wash the pot thoroughly with dish soap and hot water. Dry it completely, which brings you to the next hurdle.
Step 5: Deal with flash rust
Flash rust is the orange bloom that appears on bare iron within minutes of washing. It happens because the protective seasoning layer is gone and the clean, active iron reacts instantly with moisture in the air. To prevent it, dry the pot with a towel, then place it on a stovetop burner over low heat or in a 200°F oven for 5 to 10 minutes to drive off all remaining water.
Apply a thin coat of oil immediately.
Now the pot is ready for seasoning.
How to De-Rust an Enameled Cast Iron Pot (Step by Step)
Enameled cast iron needs a completely different approach. The enamel coating is technically glass. It's durable, but it scratches, chips, and cracks under the wrong treatment.
Steel wool, wire brushes, and abrasive scrubbers will permanently damage the surface.
Understand where the rust actually is
Here's the surprising truth: on enameled pots, rust often isn't on the enamel at all. If the interior is coated, the rust may be forming on the rim, on the exterior bottom, or under the lid handle where the cast iron is exposed. Some cheaper enameled pots also have uncoated rims that rust readily.
If the rust is on a bare cast iron edge or base, follow the bare cast iron method above, but mask off the enamel with painter's tape to protect it.
Remove rust from enamel surfaces
For rust stains on the enamel itself, the approach is gentler:
- Sprinkle baking soda over the rusted area.
- Add a few drops of water to form a soft paste.
- Scrub gently with a non-abrasive nylon pad.
- Rinse and dry thoroughly.
For stubborn mineral deposits or rust streaks, a mild oxalic acid cleaner works well. Bar Keepers Friend is the standard here. Per its usage guidelines, you apply the powder with a damp sponge, work it into a light suds, and rinse within one minute.
Don't let it sit and dry.
What if the enamel is chipped?
Stop using the pot immediately. Chipped enamel can expose the underlying cast iron to moisture, which causes rust from the inside. Worse, small glass shards can flake into your food.
Per general kitchen safety standards, pots with chipped enamel should be retired or reserved for dry storage only.
Mistakes to Avoid When De-Rusting Cast Iron
Even experienced cooks make these errors. Here's what not to do, plus why.
Over-soaking in vinegar
The most common mistake by far. Vinegar eats rust, sure, but it also eats iron. Leaving a pot in a vinegar bath for hours creates permanent pitting.
Stick to 30 to 60 minute sessions and check frequently.
Using steel wool on enameled surfaces
Steel wool scratches enamel. Those scratches become tiny traps for food, grease, and bacteria. They also weaken the coating, making chips more likely.
Use nylon scrubbers or a baking soda paste instead.
Skipping the neutralization step
Vinegar leaves an acidic residue on the metal. If you skip the baking soda wash, that residual acid continues eating away at the iron under your new seasoning. The seasoning won't stick properly, and the rust will return within weeks.
Oiling a still-damp pot
Trapping moisture under oil is the fastest way to get flash rust. Always dry the pot completely, including a low-heat warm-up on the stove or in the oven, before applying any oil.
Using the wrong oil for seasoning
Flaxseed oil creates a hard, beautiful finish, but it's prone to flaking. Vegetable oil and grapeseed oil are more forgiving and more durable. Avoid olive oil, which has a low smoke point and leaves a sticky, gummy residue that never fully polymerizes.
Forgetting the exterior
We've seen people spend an hour restoring the cooking surface, only to leave the bottom and sides rusted. Cast iron pots rust everywhere. If you're doing the job, do all of it.
How to Re-Season and Maintain Your Pot After Rust Removal
Once the rust is gone, the real work begins. Your pot’s seasoning is what protects it from moisture and gives it that non-stick performance. Without it, rust returns fast.
Step 1: Apply a thin oil layer
Use vegetable oil, grapeseed oil, or flaxseed oil. Pour a small amount onto a paper towel and rub it over every surface, interior and exterior. Then take a clean paper towel and wipe it off.
You want the thinnest possible film, not a greasy coating. If it looks wet, it's too thick.
Step 2: Bake at high heat
Place the pot upside down on the middle oven rack. Put a sheet of aluminum foil on the lower rack to catch drips. Set the oven to 450°F to 500°F, depending on your oil's smoke point.
Bake for one hour. Turn the oven off and let the pot cool inside.
Step 3: Repeat 2 to 4 times
One seasoning coat is rarely enough. Manufacturer specifications from Lodge recommend at least three rounds for a durable home-seasoned layer. Each coat builds on the previous one, creating a harder, smoother surface.
Step 4: Maintain after cooking
After each use, wash the pot with hot water and a stiff brush. Avoid dish soap for everyday cleaning, but a little is fine if you need to cut grease. Dry the pot on the stovetop over low heat.
Apply a thin oil coat before storing.
FAQs About Rusty Cast Iron Pots
Can I use a power tool to remove rust from cast iron?
Yes, but it's risky. Wire brush attachments on an angle grinder or drill can strip rust fast. The problem is they also remove healthy iron and leave deep scratches that make seasoning difficult.
Stick to manual methods unless the rust is extremely heavy and you're experienced with metal restoration.
Is it safe to cook in a rusty cast iron pot after cleaning?
Yes, as long as you remove all visible rust and re-season the pot properly. Cooking in a rusty pot without cleaning it first can add excess iron to your food. That's not dangerous for most people, but it gives your food a metallic taste and a dark, unappealing color.
How do I know if the rust damage is permanent?
Run your fingernail across the rusted area. If you feel a crater or depression, the iron is pitted. Pitting is permanent damage.
The pot is still usable, but it won't season as smoothly and may always have a rough spot that's prone to sticking.
Can I use oven cleaner to strip seasoning and rust?
Yes, but only on bare cast iron. Spray the pot with oven cleaner, seal it in a plastic bag, and let it sit for 24 to 48 hours. The lye in the cleaner dissolves seasoning and rust.
Wear gloves and work in a ventilated area. Rinse thoroughly and re-season immediately.
Why does my pot rust after I already cleaned it?
Flash rust is the most common cause. Bare iron oxidizes within minutes when exposed to moisture. The fix is to dry the pot on a stovetop burner or in a low oven after every wash, then oil it immediately.
Never air-dry a seasoned or unseasoned cast iron pot.
Your De-Rusting Decision Guide: Which Method to Use
The right method depends on your pot type and rust severity. Use this guide to choose your path.
| Pot Type | Rust Level | Best Method | Time Required |
|---|---|---|---|
| Bare cast iron | Light | Steel wool scrub + re-season | 30 minutes |
| Bare cast iron | Moderate | Vinegar soak + steel wool + re-season | 1 to 2 hours |
| Bare cast iron | Deep | Electrolysis or oven cleaner + re-season | 24 to 48 hours |
| Enameled cast iron | Light | Baking soda paste + nylon scrub | 15 minutes |
| Enameled cast iron | Moderate | Oxalic acid cleaner + nylon scrub | 30 minutes |
| Enameled cast iron | Deep (chipped) | Retire the pot | Immediate |
If you're still unsure, start with the gentlest method and work up. Steel wool and vinegar handle 90 percent of rusted cast iron pots we see in our research. Electrolysis is only necessary for restoration projects with years of neglect.
Remember the golden rule from the start. When in doubt, scrub gently, dry thoroughly, and oil immediately. Your pot will last decades if you do.

Similar Posts