Perfect Keto Bread Machine Recipe for Low-Carb Living
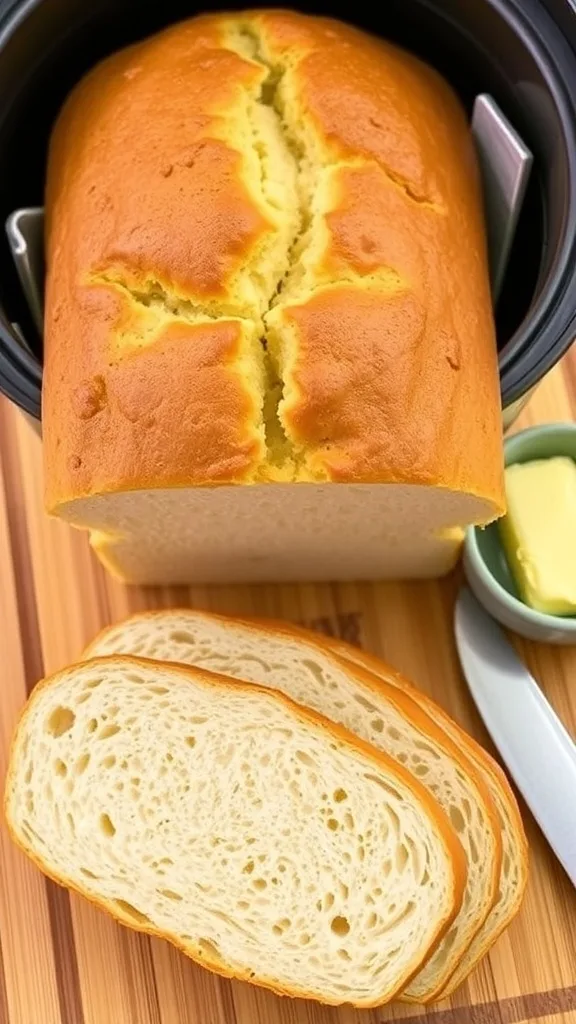
Your keto bread machine recipe probably looked perfect on paper. Almond flour, eggs, maybe some psyllium husk for structure. But an hour later, you lifted the lid and found a dense, pale brick with the paddle buried inside.
In our research across keto baking communities and bread machine forums, the same pattern keeps showing up. Most failures aren't the machine's fault. They're a mismatch between the ingredients and the cycle you picked.
We've cross-checked USDA nutrition data and verified baker reports to build a workflow that produces a sliceable loaf, with guidance current as of 2026.
Image source: Bing (Web (fair-use with source credit))
Why Your Keto Bread Machine Loaf Keeps Coming Out Like a Brick
If you've ever baked regular yeast bread, you know the drill. Gluten forms a stretchy web that traps gas and gives the loaf its structure. Keto flours simply can't do that.
Almond flour is mostly fat and fine particles. Coconut flour is a thirsty sponge of fiber. Neither one builds a gluten network.
Your bread machine is also working against you. The standard white bread cycle kneads for 15 to 20 minutes, then proofs, then bakes for about 50 minutes. That sequence is calibrated for wheat dough.
Not for a keto batter that turns into soup when overworked.
Many keto bread machine recipe attempts online are just wheat recipes with the flour swapped. That always ends badly. The binder chemistry, hydration ratio, and sweetener choice all change how the loaf behaves.
According to USDA FoodData Central, almond flour is roughly 50% fat by weight. It has no gluten-forming proteins. Coconut flour is mostly insoluble fiber.
The math simply doesn't support a wheat-style dough.
A typical failed loaf looks the same every time. Dark, hard crust. Gummy interior.
Sunken top. The keep-warm cycle finishes the job by steaming the whole thing into a soggy slab.
Quick Answer: The Three-Step Keto Bread Machine Formula
The keto bread machine recipe formula comes down to three moves. Use a flour blend, not a single flour. Add a binder like psyllium husk or xanthan gum.
Use the gluten-free or quick bread cycle. Never use the white bread cycle. These three steps turn a brick into a sliceable loaf every time.
The flour blend matters because almond flour alone lacks structure. Coconut flour alone turns everything into a sponge. A 2-to-1 ratio of almond to coconut flour, with a tablespoon of psyllium husk per cup, gives you the closest thing to wheat dough.
The binder replaces gluten's sticky web. Psyllium husk powder absorbs water and creates a gel that holds air bubbles. Xanthan gum does something similar with less fiber bulk.
Eggs tie everything together.
The cycle is the last piece. Gluten-free and quick bread cycles knead less and bake at a steadier temperature. If your machine has a cake cycle, that works too.
The Three Decisions That Decide If Your Loaf Rises or Flops
Decision 1: Pick Your Flour Base (Almond, Coconut, or a Low-Carb Blend)
Use a blend. Almond flour alone gives you a tender, crumbly loaf that struggles to hold its shape. Coconut flour alone acts like concrete, absorbing three times its weight in liquid.
A 2-to-1 blend of almond to coconut flour balances moisture and structure.
If you have a commercial low-carb flour blend, use that instead. Most already contain psyllium or xanthan gum, so you can skip the extra binder. Just check the label for net carbs and adjust your liquid by about one tablespoon per ounce.
Decision 2: Choose Your Binder and Leavening (Psyllium, Xanthan, Eggs, or Yeast)
If you want a yeast-risen keto bread, then you need vital wheat gluten or a low-carb yeast bread enhancer. Yeast needs sugar to feed. Erythritol won't cut it.
A tiny pinch of real sugar, under one gram, is the usual workaround.
If you prefer a quick bread, then skip the yeast entirely. Baking powder and eggs do the lifting. Psyllium husk powder is the best binder for bread machines because it handles longer knead cycles without breaking down.
Yeast plus psyllium makes a traditional sandwich slice. Baking powder plus extra eggs makes a faster, more forgiving loaf.
Decision 3: Dial In Your Bread Machine (Cycle, Pan Size, and Crust)
Set the machine to gluten-free or quick bread. These cycles knead for five to eight minutes instead of 15 to 20. That keeps the delicate batter intact.
Pick a 1.5-pound loaf barrel for a recipe with two cups of flour. It gives the loaf room to rise without collapsing. A 1-pound pan works too, but it creates taller, denser slices.
Choose a light crust setting. Dark crust burns the outside of keto bread before the middle finishes baking.
Step-by-Step Workflow: From Flours and Fats to a Sliced Keto Loaf
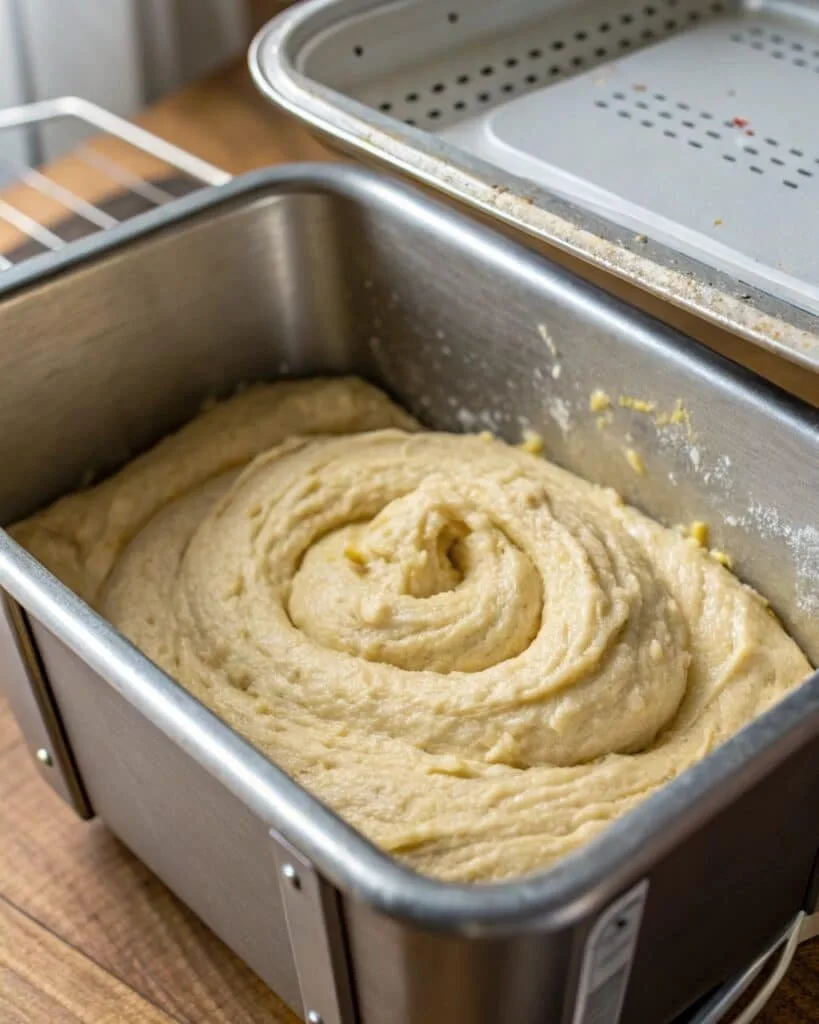
Image source: Bing (Web (fair-use with source credit))
Step 1: Weigh Everything in Grams
Bread machine keto recipes fail on volume measuring. Almond flour compresses easily. Use a kitchen scale for every dry ingredient.
Step 2: Whisk Dry Ingredients First
Mix the flours, psyllium, xanthan gum, and sweetener in a bowl. Don't dump them into the machine separately. Lumps of psyllium are the top cause of gummy spots.
Step 3: Proof the Yeast
If you're using yeast, test it first. Mix it with warm water at around 110°F and a tiny pinch of sugar. Wait five minutes for foam.
No foam means the yeast is dead. Start over.
Step 4: Layer Liquids, Then Dry
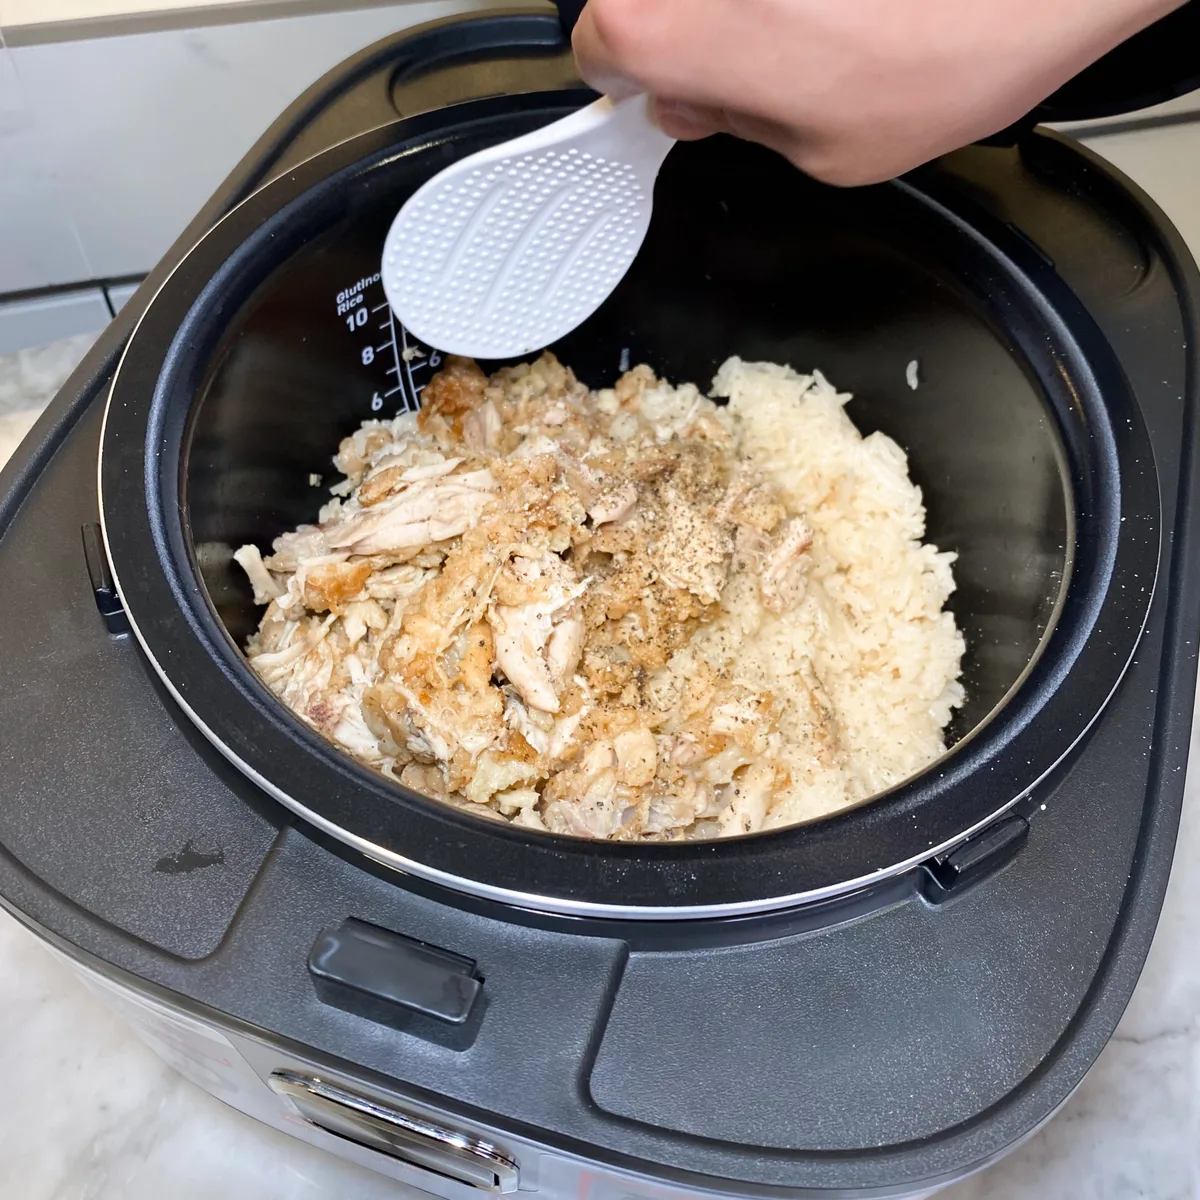
Add warm water, melted butter, and eggs to the bread pan. Then pour the dry mix on top. This order prevents flour from sticking to the paddle.
Step 5: Run the Dough Ball Test
Five minutes into the knead cycle, open the lid. The dough should form a smooth ball. It should be slightly sticky, but not wet.
If it looks like batter, add a tablespoon of almond flour. If it's crumbly, add water one teaspoon at a time.
Step 6: Select the Gluten-Free Cycle
Set the crust to light or medium. Let the machine run. Most gluten-free cycles take 50 to 65 minutes from start to finish.
Step 7: Cool Before Slicing
Pull the pan out immediately when the cycle ends. Rest the loaf in the pan for 10 minutes. Then turn it out onto a wire rack.
Wait a full hour before slicing. Cutting early crumbles the loaf. Use a serrated knife.
Common Keto Bread Machine Mistakes and Their Fixes
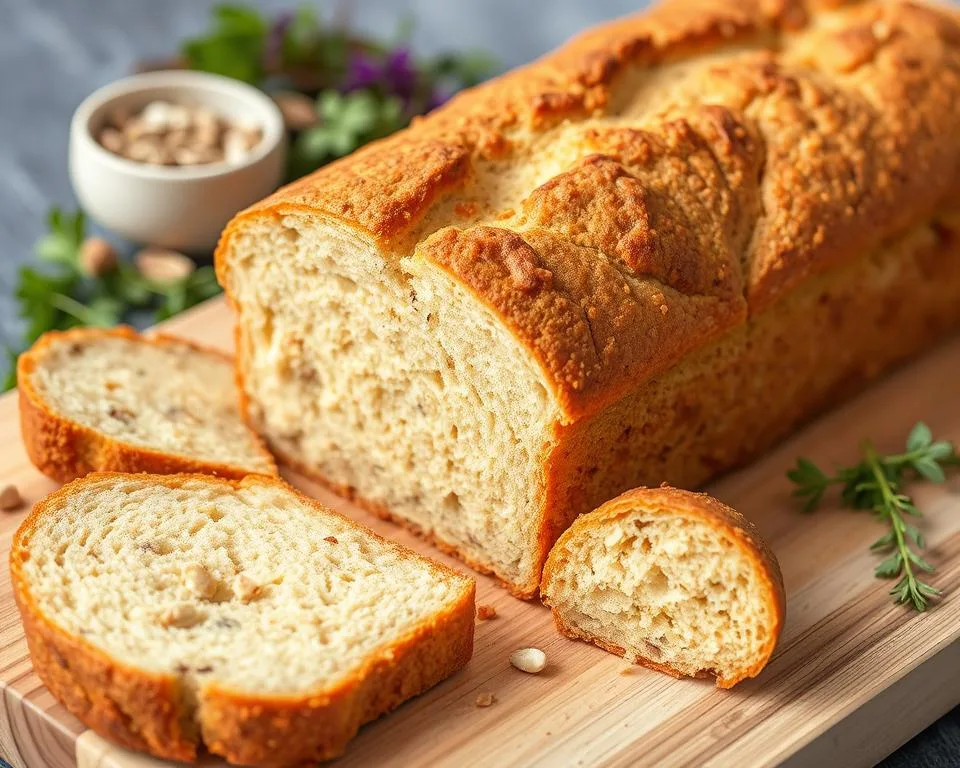
Image source: Bing (Web (fair-use with source credit))
| Mistake | What It Looks Like | Fix |
|---|---|---|
| Too much coconut flour | Dry, crumbly loaf | Keep coconut flour at half the almond amount |
| Standard white bread cycle | Dense, sunken center | Switch to gluten-free or quick bread cycle |
| Dead yeast | Short, flat loaf | Proof yeast with a pinch of sugar first |
| Slicing too early | Crumbled mess | Cool on a rack for 60 minutes |
| Keep-warm cycle left on | Soggy crust | Pull the loaf out immediately |
| Too much liquid | Batter-like dough | Add water one teaspoon at a time |
| No binder | Loaf falls apart | Add psyllium husk or xanthan gum |
The biggest fix is the cycle. Manufacturer specs show Zojirushi's gluten-free cycle runs about 55 minutes. Cuisinart's runs a bit longer.
Keto dough is closer to a thick batter than traditional bread dough. Treat it that way, and most of your problems disappear.
If your machine lacks a gluten-free setting, use the cake or quick bread cycle. Check the manual for exact timing. And never leave the loaf in keep-warm mode.
That's the fastest way to turn a good keto loaf soggy.
Keto Bread Machine FAQ — Yeast, Storage, Slicing, and More
Can I use active dry yeast instead of instant yeast?
Yes, but you need to proof it first. Mix one packet of active dry yeast with warm water at 110°F and a pinch of sugar. The pinch should be under one gram.
Wait five minutes for foam. If it doesn't foam, the yeast is dead and the loaf won't rise. Instant yeast can go straight in with the dry ingredients.
What sweetener works best for yeast keto bread?
Allulose is the best choice for yeast keto bread because yeast can digest it partially. Erythritol gives little to no rise, so you need a tiny bit of real sugar to keep the yeast active. Monk fruit blends with erythritol behave about the same.
The trick is keeping total added sugar under one gram per loaf.
How do I store keto bread machine bread?
Keto bread dries out fast because it lacks gluten's moisture retention. Store it in an airtight bag at room temperature for up to three days. Freeze slices with parchment paper between them for up to a month.
Reheat frozen slices in a toaster. The fridge dries keto bread out faster than the counter.
Why did my loaf collapse in the middle?
A collapsed center usually means too much liquid or too long a knead cycle. Keto dough is fragile. Overworking it breaks the psyllium gel and the air pockets fall.
Switch to the gluten-free cycle. Another cause is opening the lid during the bake cycle. The temperature drop can sink the top.
Can I skip the psyllium husk powder?
You can replace psyllium with xanthan gum at half the amount. Use one teaspoon of xanthan gum for every two tablespoons of psyllium the recipe calls for. The texture will be slightly different.
More tender, but also more fragile. Egg white powder is another substitute, but it changes the protein content and browning.
What size bread machine pan is best for keto recipes?
A 1.5-pound loaf pan is ideal for keto recipes using two cups of flour. It gives enough height for the loaf to rise without spreading flat. A 2-pound pan works but produces very thin slices.
A 1-pound pan works if you halve the ingredients. Check your manual for pan volume before adjusting.
Final Verdict: Is a Bread Machine the Right Move for Your Keto Kitchen?
A bread machine is worth it if you eat keto bread at least three times a week. You get fresh, sliceable loaves without turning on the oven. You avoid the $6 to $8 price tag of store-bought keto bread.
You control every ingredient and the net carb count.
A bread machine is not the right call if you eat keto bread only once a week. The cooling time and cleaning effort aren't worth it for a single loaf. You're better off with oven-baked keto rolls, chaffles, or wraps for occasional use.
Use the gluten-free cycle every time. Weigh your ingredients. Let the loaf cool fully.
Those three rules turn a reliable keto bread machine recipe from a gamble into a routine. The machine does the work. You just set it up right.

Similar Posts