Easy Instant Pot Chicken Thighs and Rice – One Pot Meal!
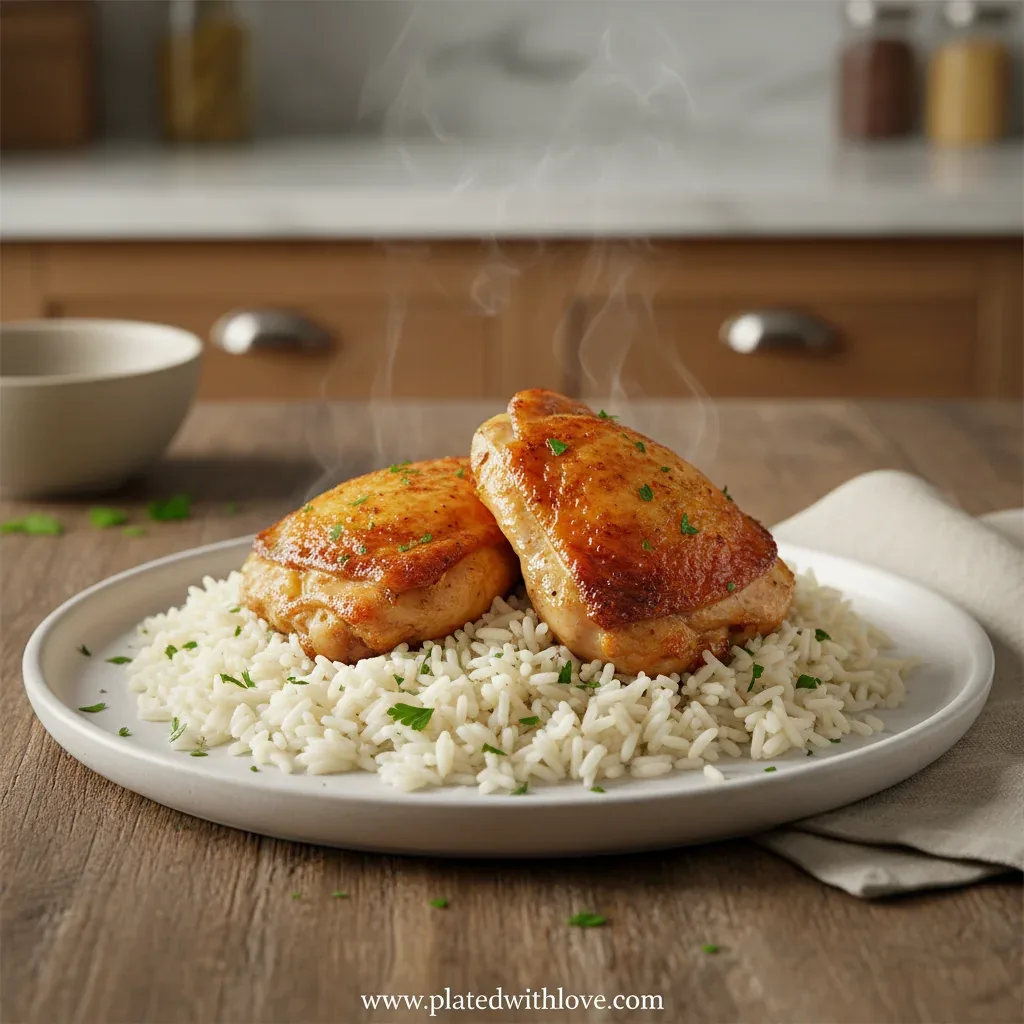
You’ve searched for instant pot recipes chicken thighs and rice and ended up staring at a dozen contradictory methods. Some say ten minutes. Some say twenty.
Some tell you one cup of water, others insist on two. In our research, the biggest variable is almost never the chicken. It’s the method, the rice, and how both behave under pressure.
The USDA sets a clear safety floor for poultry: 165°F internal temperature. That part isn’t negotiable. But pressure cooking adds precision demands that stovetop cooking doesn’t.
A recipe that works for boneless thighs can fail with bone-in. Here’s what to adjust before you hit that button.
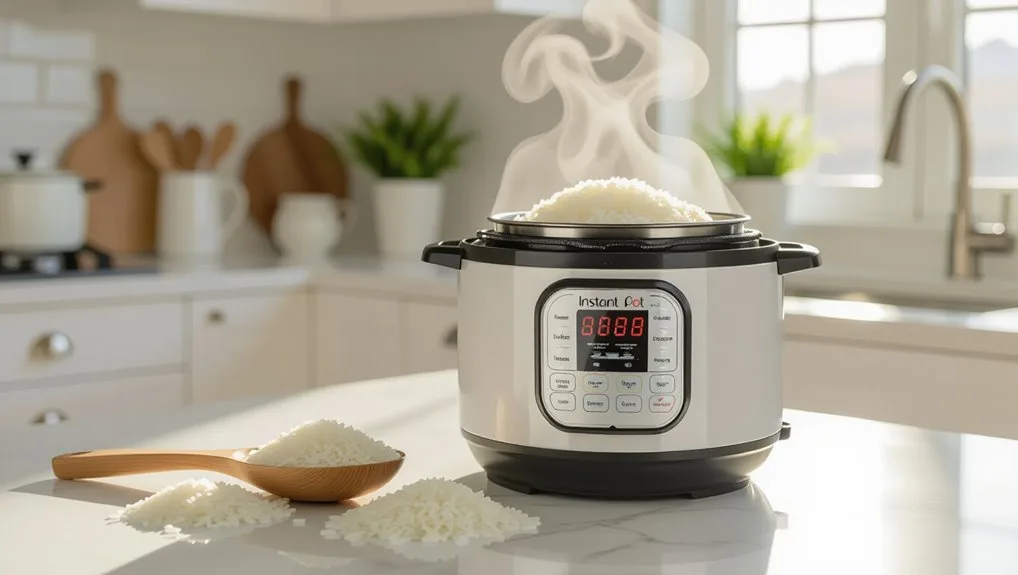
Image source: Bing (Web (fair-use with source credit))
Quick Answer
Instant Pot recipes chicken thighs and rice work best with boneless thighs and long-grain white rice. Use a 1:1 liquid-to-rice ratio. Pressure cook on High for 10 minutes.
Let the pot naturally release for 10 minutes. Check chicken hits 165°F.
Why This Recipe Trips Up Even Experienced Cooks
The Instant Pot does most of the thinking for you. But it can’t tell you what it can’t see.
Chicken thighs and white rice have different cook times. Thighs are forgiving because dark meat stays moist even when cooked a little long. White rice is not.
Overcook it by five minutes and you’re eating paste. That mismatch is why so many recipes fail.
Pressure takes away your eyes. On a stovetop, you can lift the lid, stir, and check. A sealed pressure cooker hides everything until the timer ends.
By then, there’s no fixing mushy rice or dry chicken.
The burn notice also trips people up. Rice releases starch. Starch sinks and scorches on the bottom of the stainless steel insert.
When the sensor detects too much heat, it stops the cycle. You open the lid to half-cooked chicken.
As of 2026, most electric pressure cookers are still built around that same safety sensor. It’s a good thing. It’s also why you need a method that prevents scorching in the first place.
Aggregate reviews and recipe forums show the same three failures repeated again and again: burnt rice, gummy rice, undercooked chicken. None of them are about the appliance. They’re about ratios, layering, and release timing.
That’s actually good news. Once you fix those three, the recipe becomes reliable.
The Core Variables That Make or Break the Dish
Bone-in vs Boneless – This Changes Everything
Boneless skinless thighs are the easiest cut for a one-pot meal. They hit 165°F quickly and absorb seasoning well. Bone-in thighs build more flavor because the bone and skin add richness, but they need more time under pressure.
Plan on 15 to 18 minutes at high pressure instead of 10 to 12.
White Rice vs Brown Rice – Different Rules Apply
Long-grain white rice, like jasmine or basmati, is the right partner for this dish. It stays fluffy and releases starch slowly. Brown rice needs nearly twice as long to soften.
That extra time turns boneless thighs into dry shreds. If you want brown rice, cook it separately and keep the chicken in a separate pot.
The Ratio That Actually Works (And Why Most Recipes Lie)
Most recipes print one ratio: one cup of liquid to one cup of rice. That works for plain white rice. It doesn’t hold when chicken thighs add their own liquid.
Short-grained rice absorbs more. Brown rice absorbs more. So you have to account for both.
| Chicken cut | Rice type | Liquid per 1 cup rice | High pressure | Natural release |
|---|---|---|---|---|
| Boneless thigh | Jasmine or basmati | 1 cup broth plus 2 tbsp | 10 min | 10 min |
| Bone-in thigh | Jasmine or basmati | 1 cup broth plus 1/4 cup | 15-18 min | 15 min |
| Boneless thigh | Brown rice | Cook separately | 24 min | 10 min |
What You Actually Need (Ingredients and Gear)
You don’t need a pantry overhaul. The list is short, and every item has a job.
Ingredients:
- 1.5 lbs chicken thighs (boneless skinless for quickest cook, bone-in for extra flavor)
- 1 cup long-grain white rice, rinsed
- 1 cup chicken broth, plus 2 tbsp
- 1-2 tsp salt and black pepper
- 1 tbsp olive oil or butter
- Optional aromatics: onion, garlic, thyme, bay leaf
Equipment:
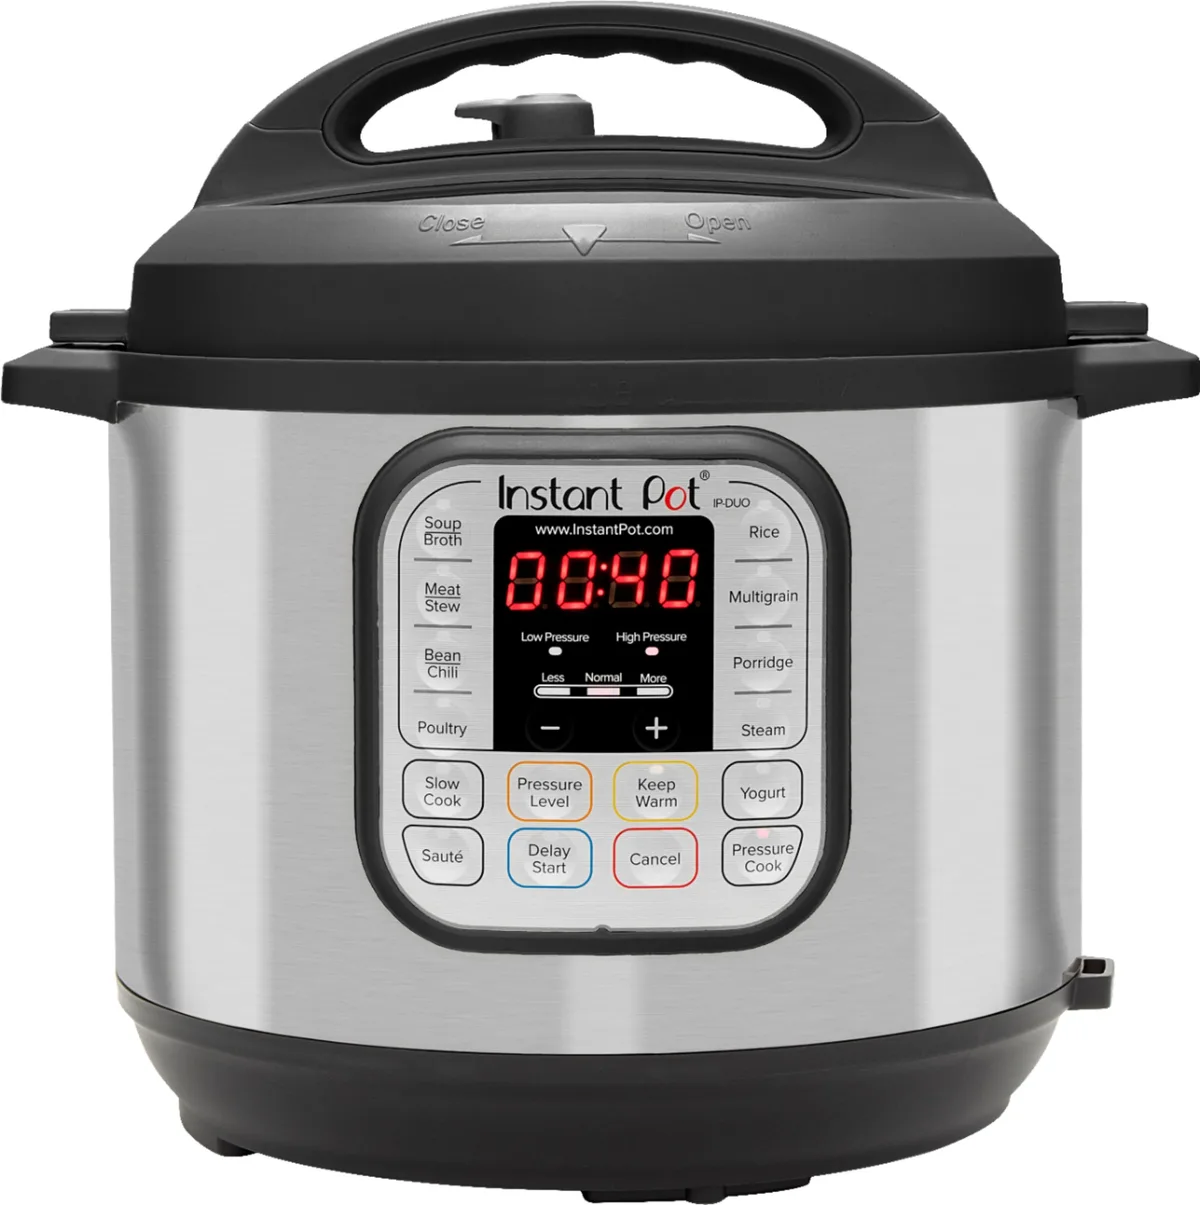
- 6-quart Instant Pot with Sauté function
- Digital instant-read meat thermometer
- Measuring cups (liquid and dry)
- Wooden spoon or silicone spatula
- Foil-lined sheet pan for crisping skin after pressure cooking
Rinsing the rice isn’t a suggestion. It removes loose starch that causes burning. And if you skip the thermometer, you’re flying blind.
Verify the densest part of the thigh reaches 165°F.
The Safe Way to Do It: A Step-by-Step Guide
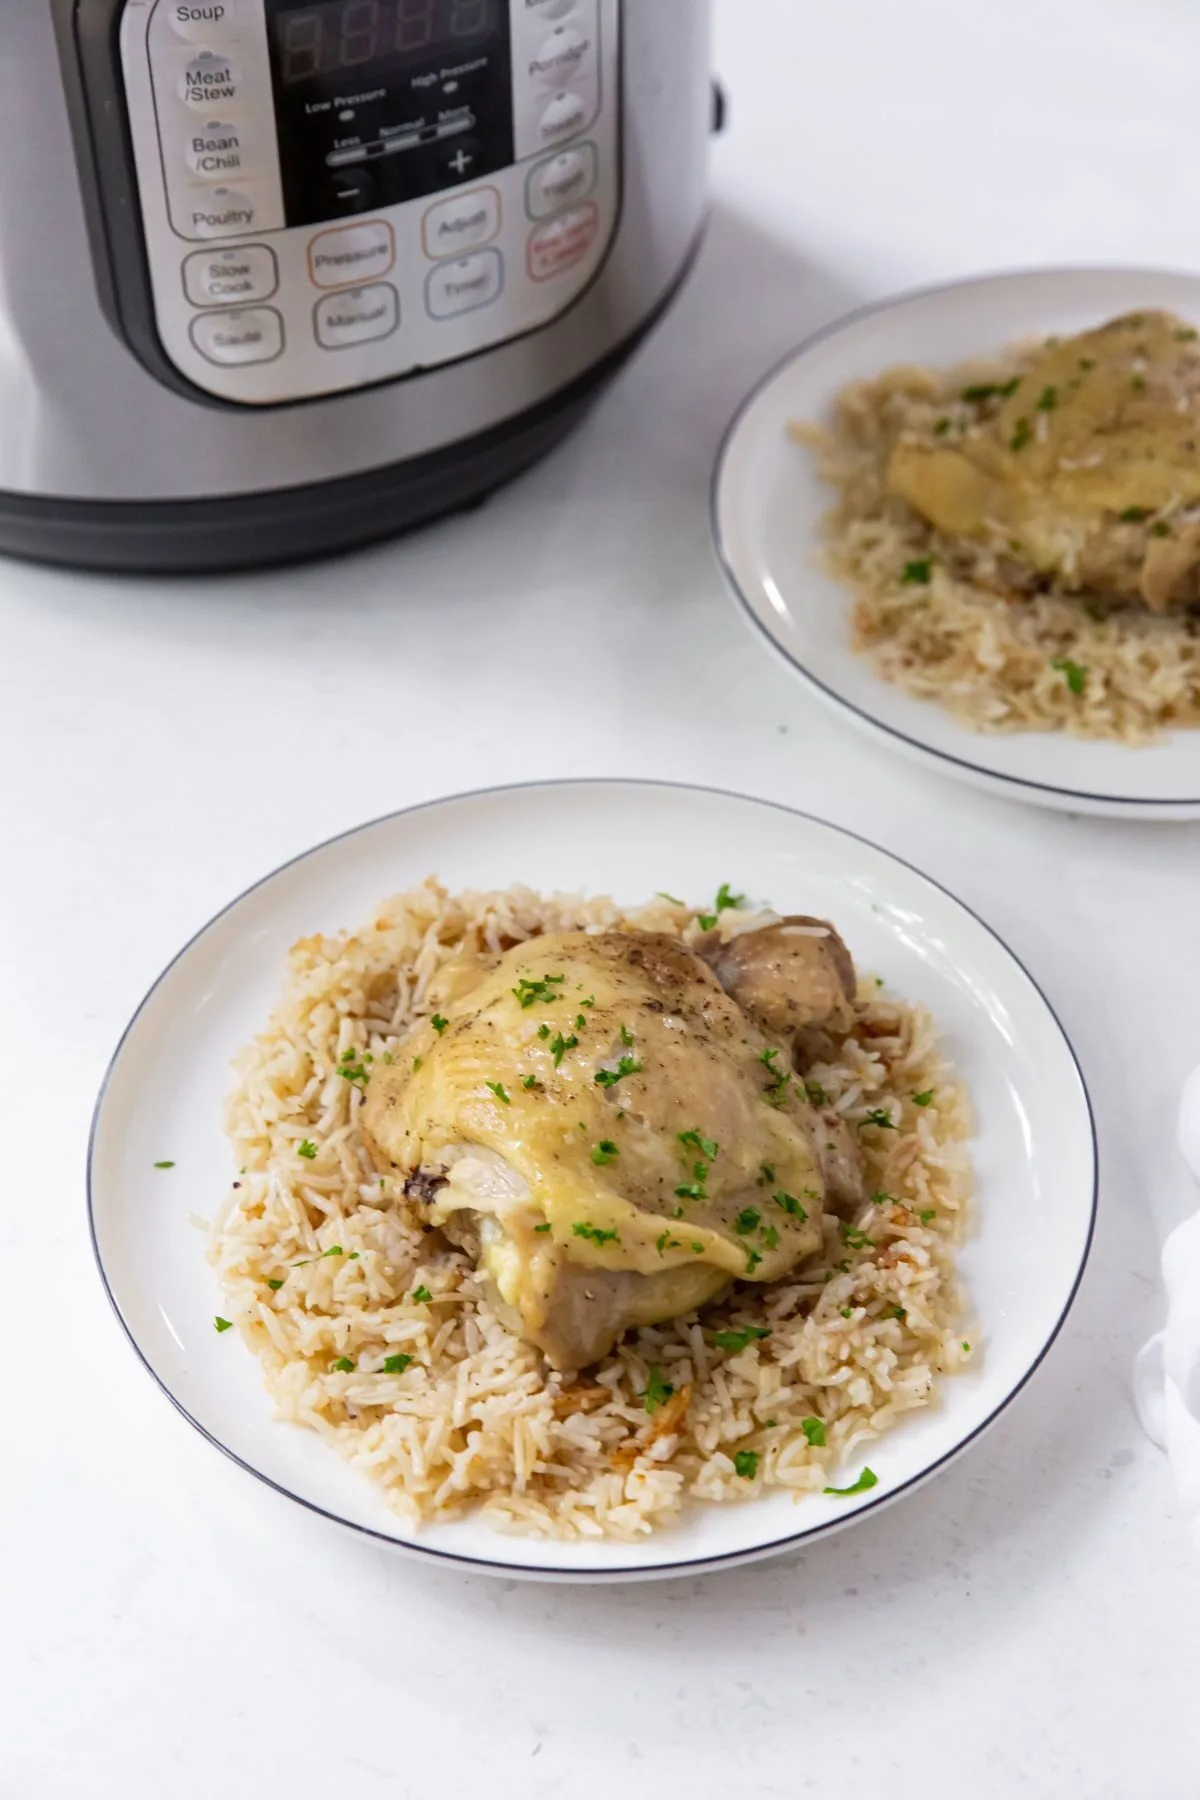
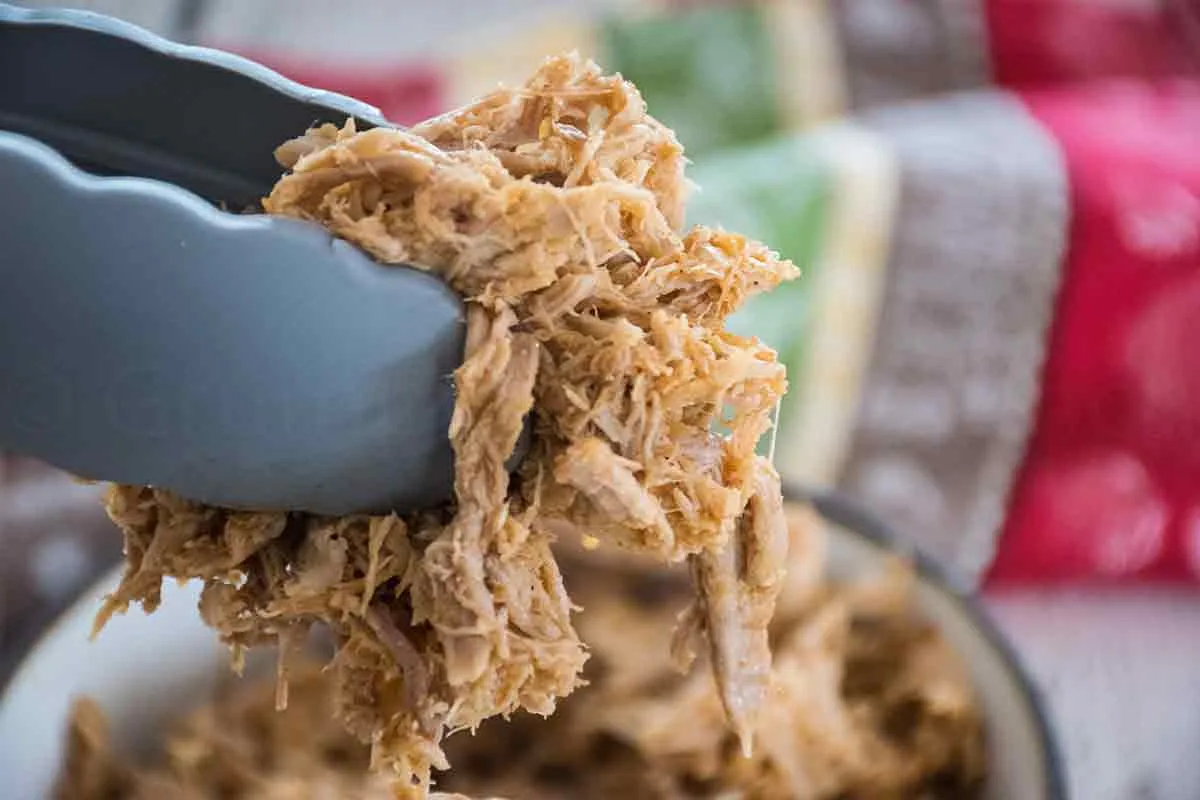
Image source: Bing (Web (fair-use with source credit))
Step 1: Sear the Thighs Right (Don’t Skip This)
Set the pot to Sauté mode. Add oil. Pat the thighs dry and season them.
Sear skin-side down until golden, about 3 to 4 minutes per side, then remove. This isn’t just for flavor. The browning builds the fond that flavors the rice.
Step 2: Deglaze or Get Burn Notice
Sauté leaves brown bits on the bottom. Press Cancel, then pour in 1/2 cup of the broth. Scrape the bottom thoroughly with a wooden spoon.
Every bit of stuck food must come up or the burn notice will stop the pressure cycle. This is the number one fix for the most common Instant Pot failure.
Step 3: Layer for Success – Rice Goes on Top
Add the rinsed rice to the pot. Stir to coat it in the broth. Place the seared thighs on top of the rice.
Do not press them down. They will release juices during cooking, and those juices drip down into the rice. If the rice sits directly on the bottom, it scorches.
Step 4: Pressure Time by the Numbers
Lock the lid and set the valve to Sealing. For boneless thighs with white rice, cook on High for 10 minutes. For bone-in thighs, use 15 to 18 minutes.
Brown rice changes the chart entirely. If you’re not sure, check your rice type against the table above.
Step 5: Natural Release Is Non-Negotiable
When the timer beeps, do nothing. Let the pot sit for 10 minutes. This is natural release.
The rice needs it to absorb remaining steam and set its texture. Quick release after pressure can spray starchy liquid and leave rice dense and undercooked. After 10 minutes, flip the valve to Venting and release the rest.
Check the chicken reaches USDA’s food safety guidelines minimum of 165°F.
Common Mistakes That Ruin Chicken or Rice
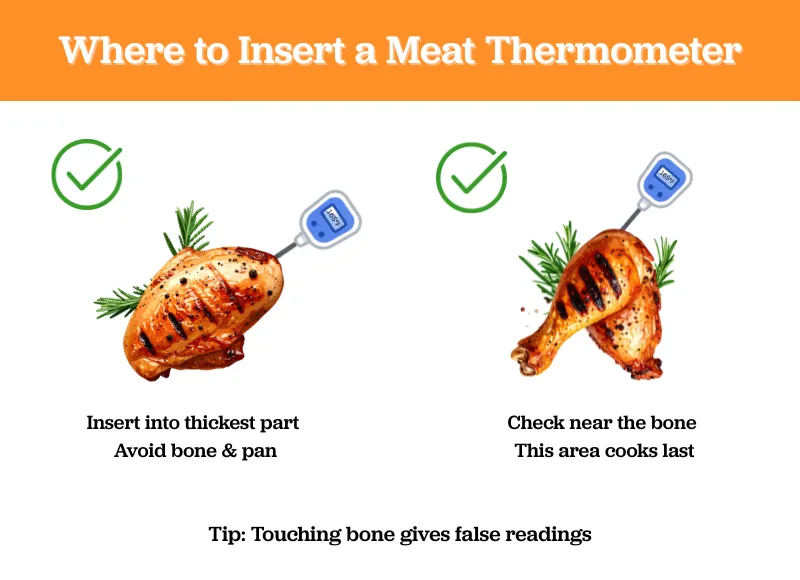
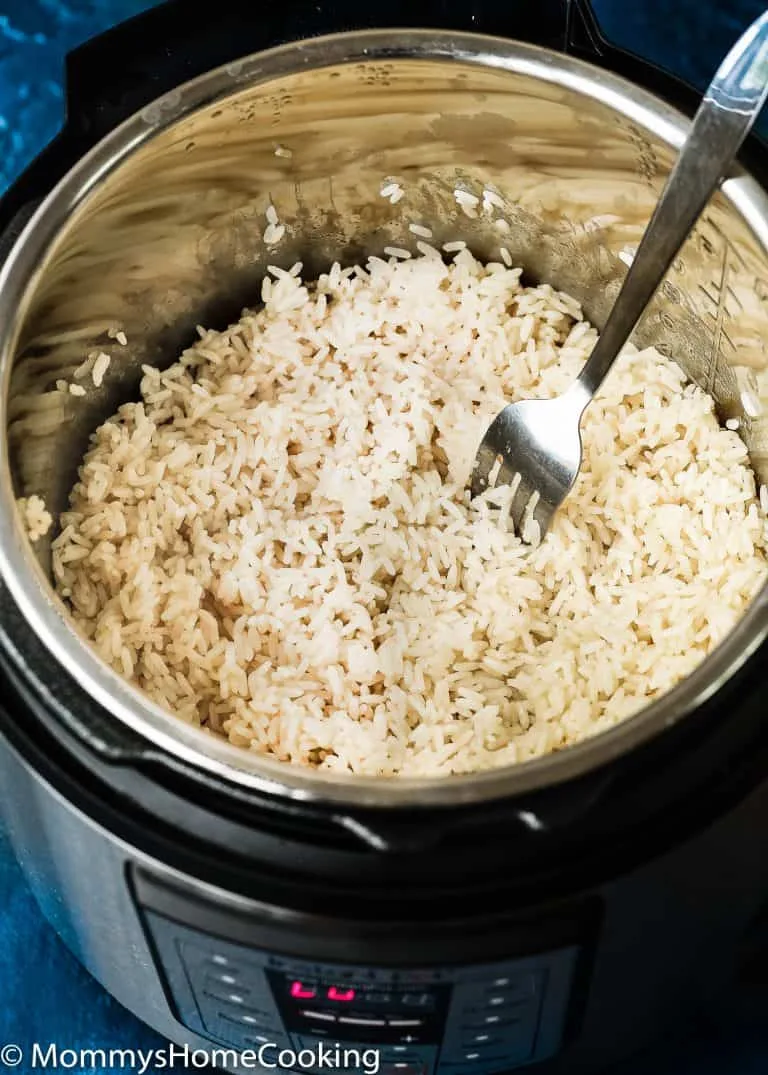
Image source: Bing (Web (fair-use with source credit))
The Burn Notice Trap
You sear chicken, add rice, and the pot stops after two minutes. That’s the burn notice. It happens when starches stick to the bottom.
Fix it by deglazing every time. Don’t use quick release for this dish either. That steam drags starch back down to the hot base.
The Mushy Rice Problem
Mushy rice means too much liquid or too long a cook. A 1:1 ratio is a starting point, not a law. Measure your broth before you pour it in.
Rinse the rice until the water runs clear. And don’t let it sit in warm mode for 20 minutes after cooking. That’s a steamer that never stops.
The Undercooked Chicken Risk
Undercooked chicken isn’t a texture issue. It’s a safety risk. The USDA’s safe minimum for poultry is 165°F.
Check the thickest part of the thigh with a thermometer. If it’s not there, pressure cook for another 3 minutes and let it release naturally for 5. And don’t trust clear juices.
They’re not a reliable indicator.
When to Walk Away and Try a Different Method
Pressure cooking chicken thighs with rice works beautifully. But it isn't the only way, and sometimes it isn't the best.
If you're cooking for one, a pot-in-pot setup makes sense. That method uses a second inner container inside the Instant Pot. The chicken cooks in the broth below while the rice steams in a heatproof bowl above.
It prevents scorching altogether and gives you separate textural control.
If you need crispy skin, pressure cooking works against you. The sealed environment traps steam, which softens the skin. The fix is a quick broil after cooking, but that adds another pan and another step.
An oven-baked sheet pan dinner might serve you better from the start.
If your household mixes brown rice lovers with white rice eaters, don't fight it. Cook the brown rice separately in a rice cooker. Fold it into a portion of the finished dish at the end.
That's not a compromise. It's the difference between everyone enjoying dinner and one person picking around their bowl.
And if you're cooking at high altitude, know that pressure cooking times don't translate directly. Above 3,000 feet, you'll need to test your recipes and add liquid. Adjust gradually.
The Instant Pot manual includes altitude guidance, so consult it before you trust your usual times.
Frequently Asked Questions
Can I use frozen chicken thighs in this recipe?
Yes, but the math changes. Frozen thighs need about 15 to 18 minutes at high pressure. Add an extra cup of liquid because frozen meat releases more water as it thaws.
Always verify 165°F in the thickest part before serving.
Why does my Instant Pot say "Burn" when I make this?
The burn notice means the heating sensor detected a hot spot on the bottom. Rice starches settle there, scorch, and trigger the safety shutoff. Defix it by deglazing thoroughly after searing, rinsing your rice well, and keeping the rice off the very bottom.
Should I use broth or water?
Broth wins for flavor. Water alone makes the rice taste flat. Use a low-sodium chicken broth so you control the salt.
If you're using salted broth, cut the added salt in half.
Is quick release safe for this recipe?
Yes, after the natural release period ends. The 10-minute natural release softens the rice and lets it absorb liquid. Quick releasing immediately after the beep can spray starchy, hot liquid and leave the rice gummy.
Can I double this recipe in an 8-quart pot?
Yes, but don't stack the pot past the two-thirds fill line. Rice expands significantly. Extra height blocks the steam vent and creates a safety hazard.
Scale up liquid and rice proportionally, but verify your new pressure time with a thermometer.
Quick Reference Guide
| Chicken cut | Rice type | Liquid per 1 cup rice | High pressure | Natural release |
|---|---|---|---|---|
| Boneless skinless | Jasmine or basmati | 1 cup broth plus 2 tbsp | 10 min | 10 min |
| Bone-in with skin | Jasmine or basmati | 1 cup broth plus 1/4 cup | 15-18 min | 15 min |
| Boneless skinless | Brown rice | Cook separately | 24 min | 10 min |
Combined with the step-by-step method above, this table covers the most common Instant Pot chicken thigh and rice setups. For bone-in thighs that you want crisped, follow the pressure cook with a 3-minute broil on a foil-lined sheet pan. Your homemade version will beat takeout.
Keep that meat thermometer handy and you'll never second-guess your results.

Similar Posts