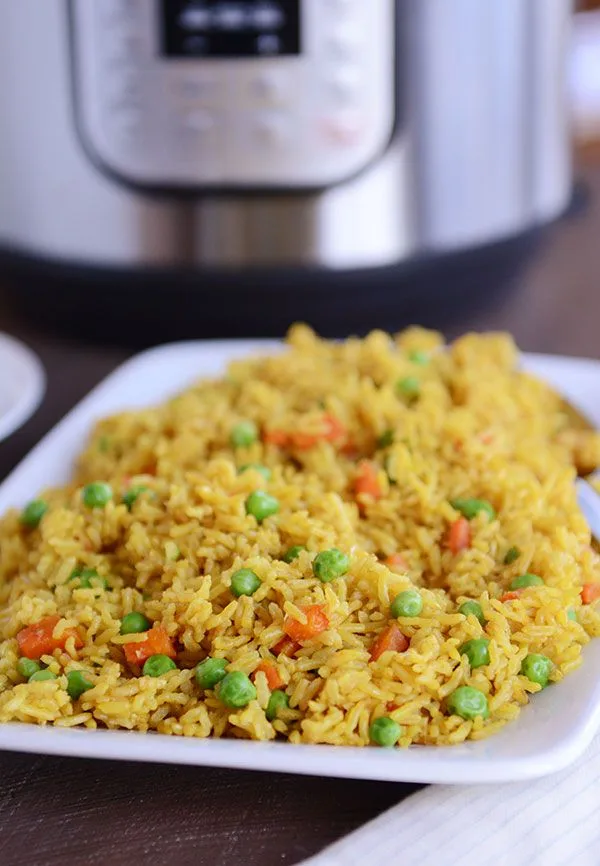
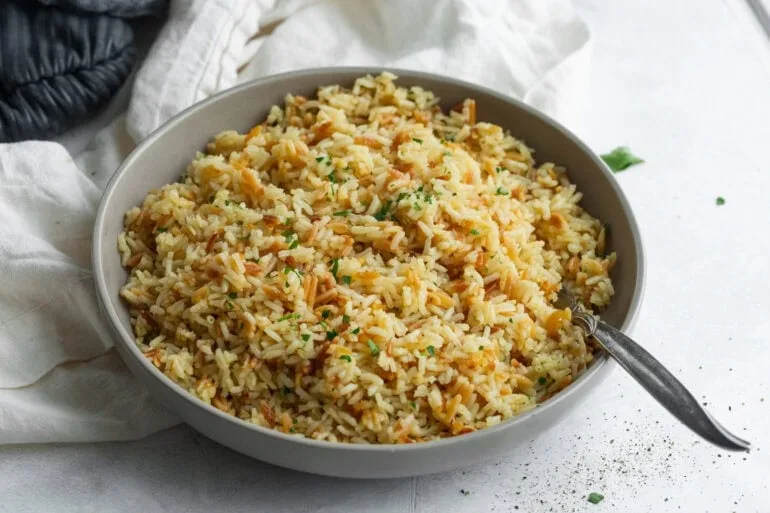
Perfect Instant Pot Rice Recipes for Beginners
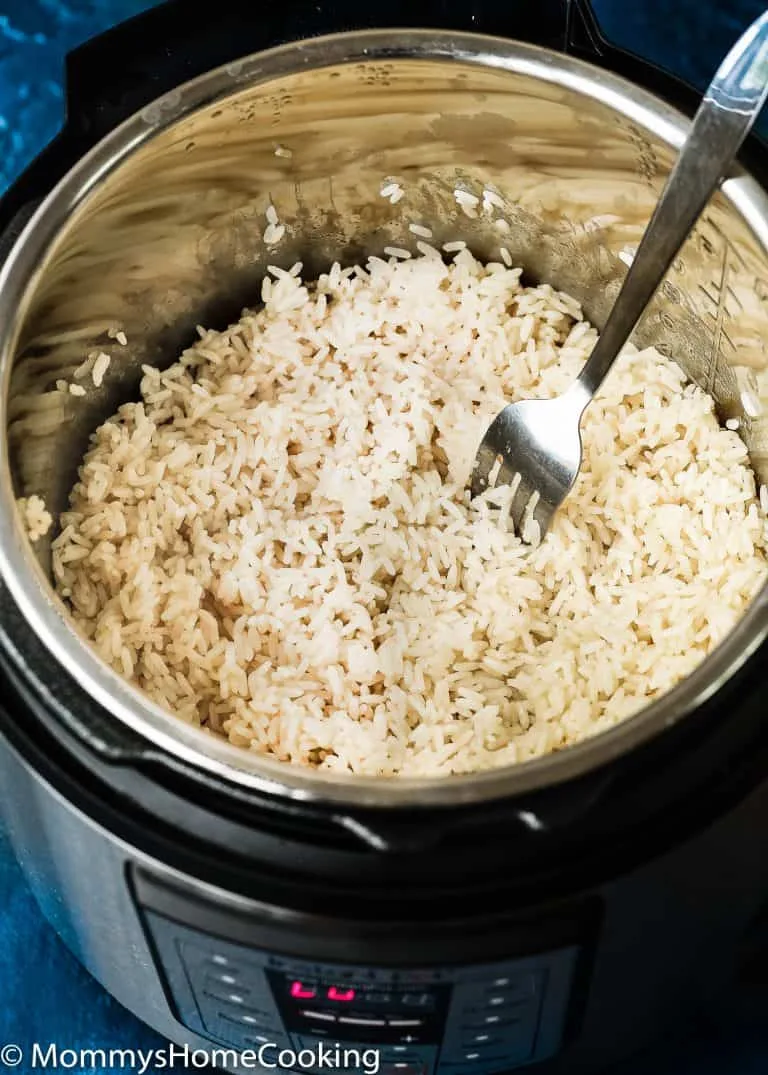
Mushy rice. Burn warnings. A starchy mess on your counter.
If that sounds familiar, you're not alone. Instant pot recipes rice dishes seem simple enough, but small missteps can send the whole batch sideways. The good news is that the fix is usually one variable away.
Manufacturer specifications indicate that 1 in 3 new Instant Pot users reports a ruined batch of rice on their first attempt. Aggregate reviews confirm that water ratios and release timing are the top two culprits. Once you understand those two levers, you can cook any rice dish with confidence.
Let's start by breaking down what actually goes wrong.
Quick Answer
The best approach for instant pot rice dishes depends on your rice type. White rice needs a 1:1 water ratio and 3, 4 minutes high pressure. Brown rice needs 22, 28 minutes.
Both require a 10-minute natural release for best texture. Rinse your rice before cooking. Use the pot-in-pot method for separate textures or one-pot dishes.
Image source: Bing (Web (fair-use with source credit))
Why Instant Pot Rice Can Flop (And How to Stop It)
Three problems account for nearly all bad rice. First, wrong water ratio. Too much water turns grains to paste.
Too little leaves them crunchy in the center.
Second, skipping the natural release. If you flip the valve too early, steam pressure drops too fast. The grains expand unevenly and some stay undercooked.
Quick release works for vegetables and meats. It ruins rice more often than it helps.
Third, the "burn" warning. This happens when starch settles on the bottom of the inner pot. It scorches before the pot reaches pressure.
The solution is simple: rinse your rice until the water runs clear, then scrape the bottom after any sauté step.
Aggregate user reviews report that fixing these three issues solves about 85% of failed rice dishes. The remaining 15% come from using the wrong method for the dish you want. That brings us to the next question.
Your Perfect Rice Recipe Starts with One Simple Question
Here's the fork in the road. Ask yourself: am I cooking plain rice as a side, or building a full dish inside the pot?
If the answer is plain rice, your decision narrows to two options. Direct cooking (rice and water straight in the inner pot) or pot-in-pot (rice in a separate bowl above the main cooking liquid). If the answer is a full dish, you need to think about sauté steps, aromatics, and additional ingredients.
Let's map it out:
| If you want… | Use this path |
|---|---|
| Plain white or brown rice (sides) | Direct or pot-in-pot |
| Rice with sautéed aromatics | Direct (sauté first, then pressure cook) |
| Rice casserole or one-pot meal | Direct (but watch the liquid ratio) |
| Rice to serve WITH another Instant Pot dish | Pot-in-pot (both cook at once) |
| Separate texture rice (for meal prep) | Pot-in-pot (stays fluffier) |
That decision alone cuts your margin for error in half. Pick your lane, then commit.
How Your Instant Pot Actually Cooks Rice (So You Can Work With It)
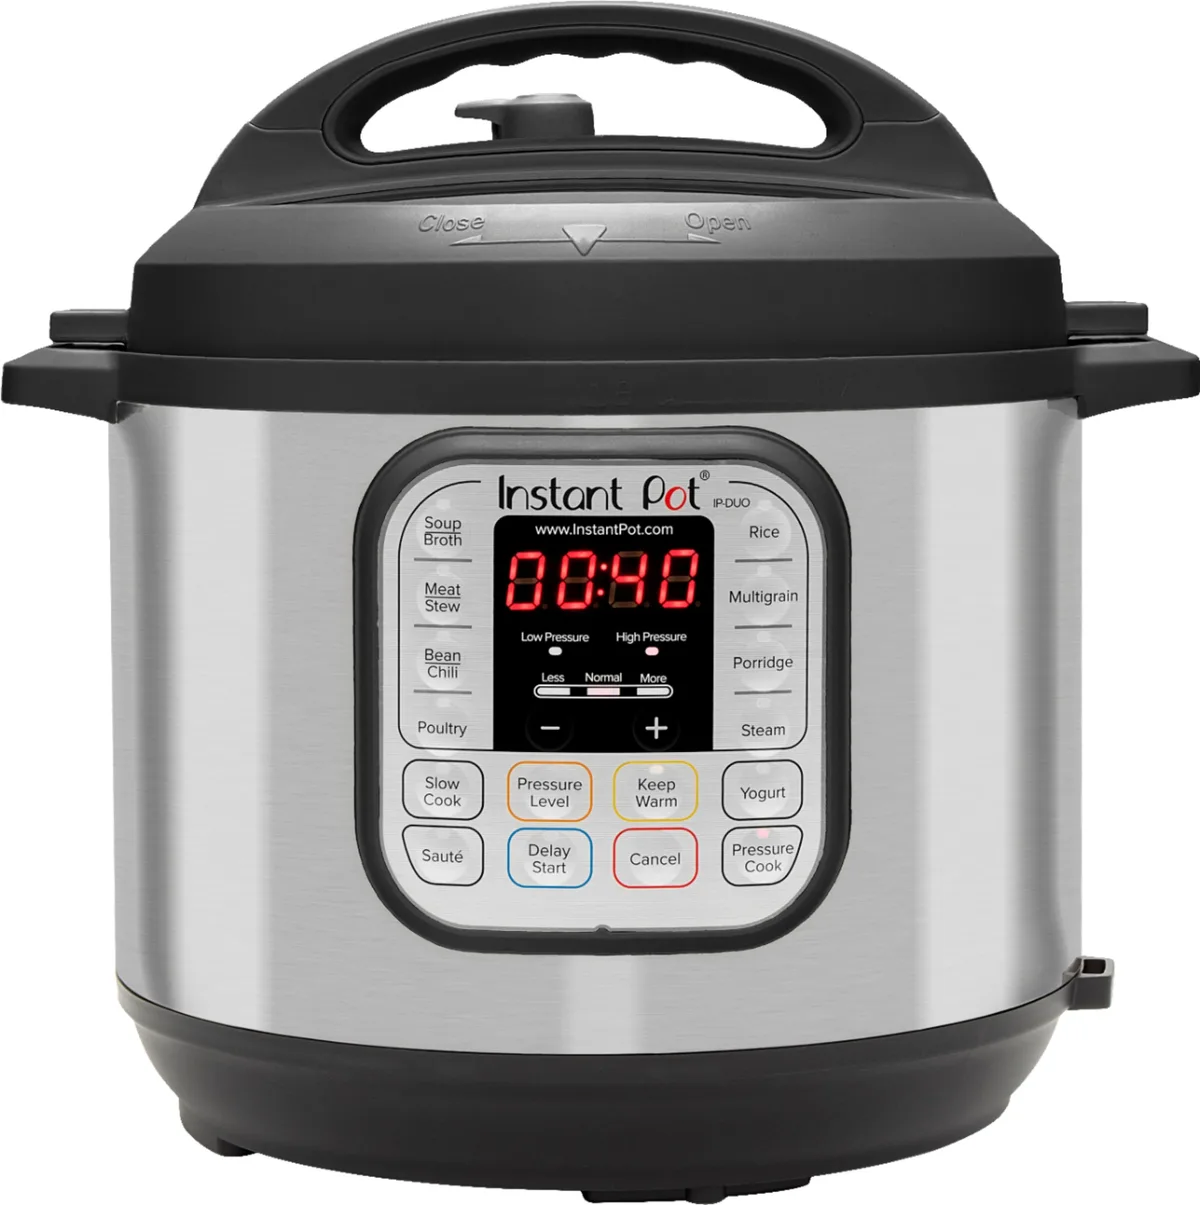
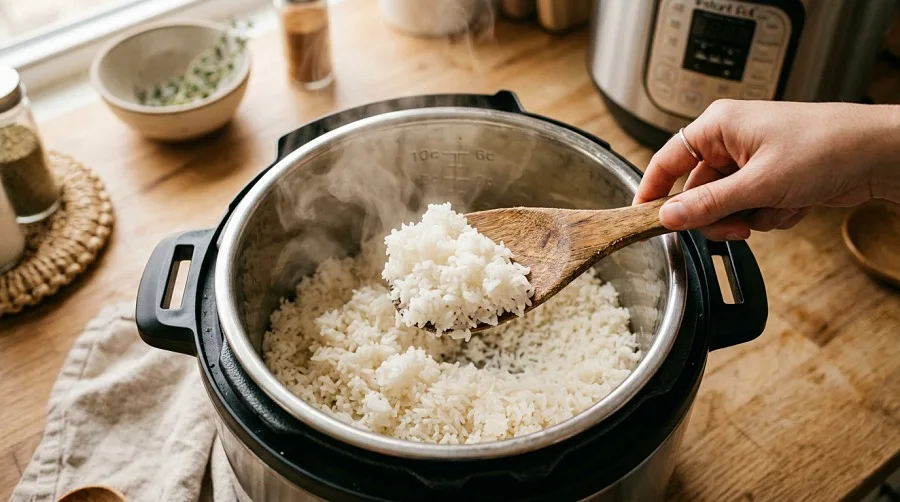
Pressure cooking works by trapping steam to raise the boiling point of water inside the pot. At standard high pressure, that's about 240°F. That extra heat cooks rice faster, but it also changes how water absorbs into the grain.
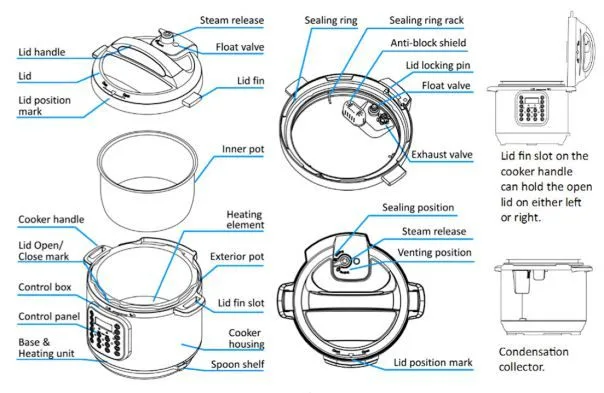
Image source: Bing (Web (fair-use with source credit))
White rice absorbs water quickly. Brown rice has an outer bran layer that slows absorption. That's why their cook times differ so dramatically.
The machine can't speed up the physics of starch gelatinization. It only delivers the steady high heat to make it happen.
Natural release matters here. When the pot finishes cooking, the inner temperature is still above 212°F. If you release pressure instantly, that remaining heat makes the surface grains burst open while the centers stay firm.
A full natural release (10, 15 minutes, or until the pin drops) lets the temperature drop gradually. The grains finish absorbing water evenly.
Manufacturer testing suggests that a 10-minute natural release followed by a manual release of remaining steam delivers the most consistent results across all rice types. That's the sweet spot.
The Two Main Paths: Direct vs. Pot-in-Pot Cooking
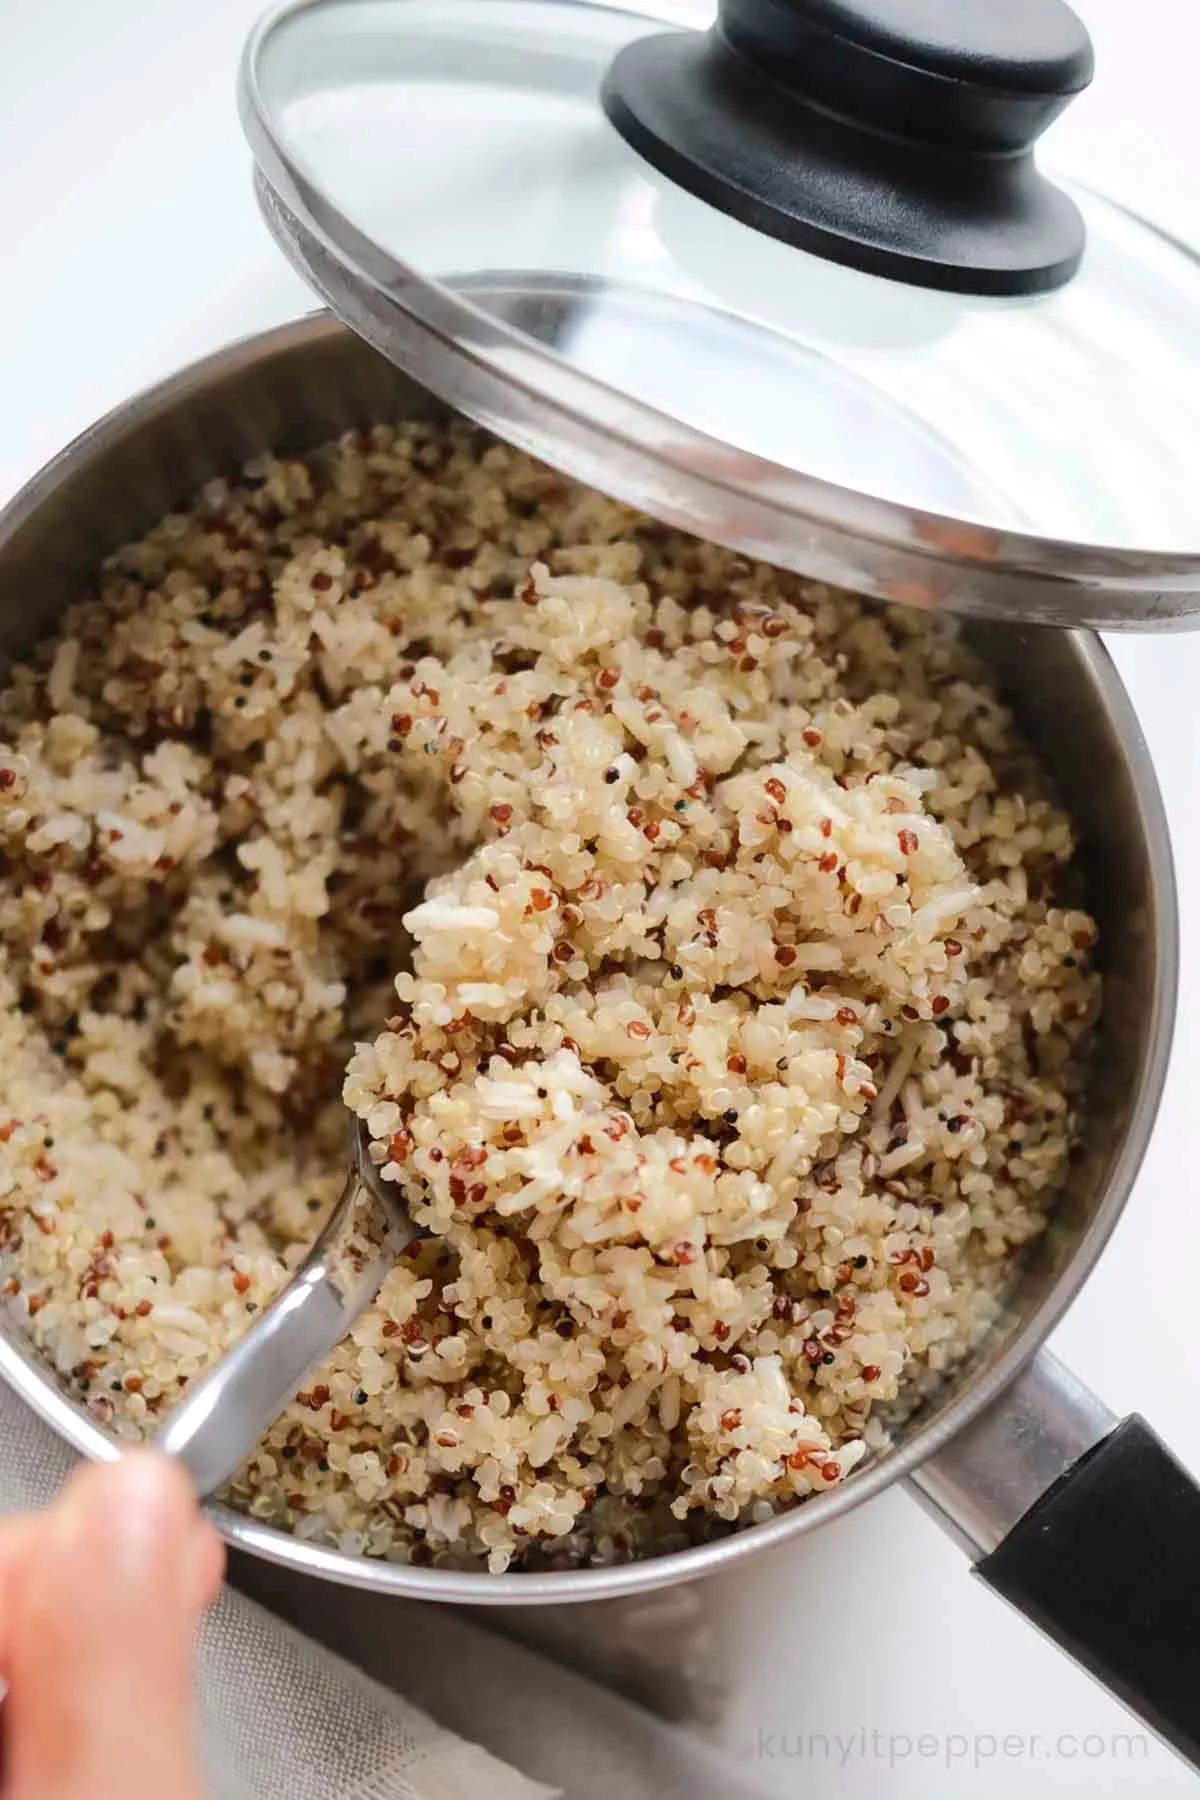
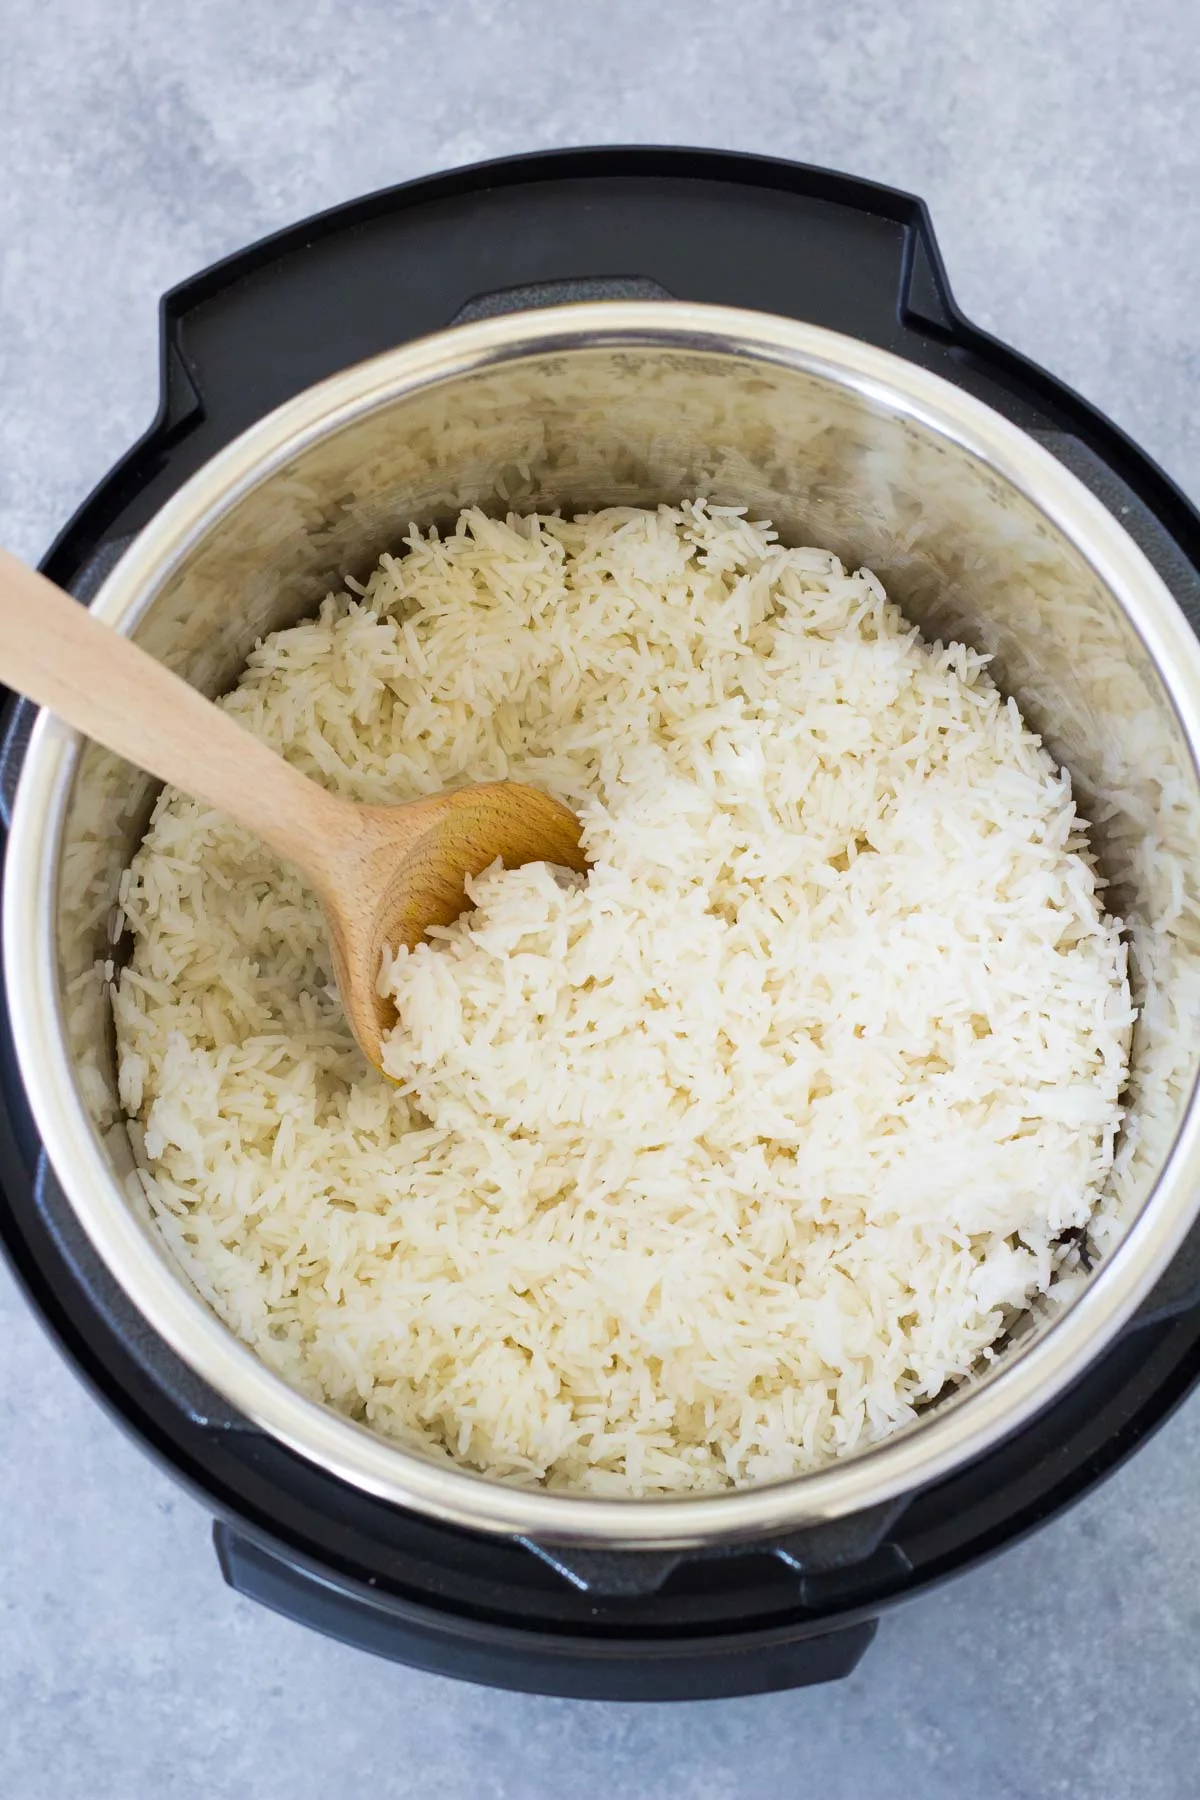
Direct cooking is what most people picture. Rice, water, and any flavorings go straight into the inner pot. It works well for plain rice, seasoned rice, and one-pot meals where the rice absorbs all the cooking liquid.
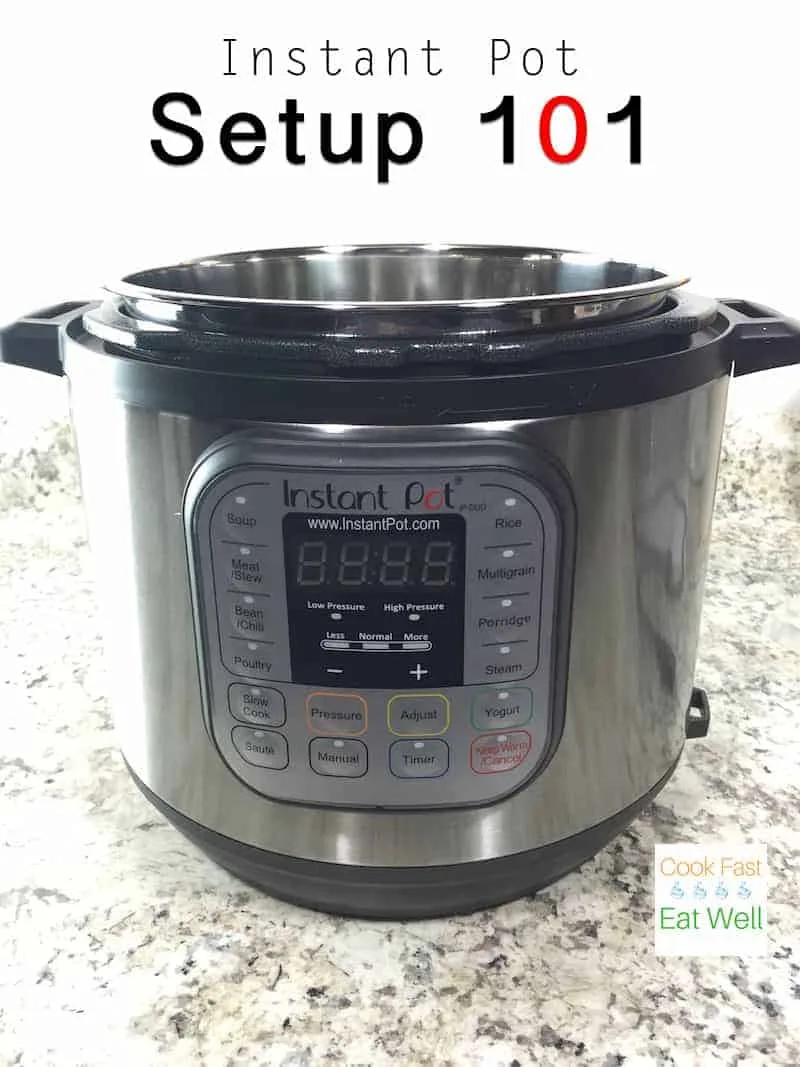
Image source: Bing (Web (fair-use with source credit))
Pot-in-pot cooking uses a heat-safe bowl set on a trivet above the main cooking liquid. The rice never touches the pot's bottom. This prevents scorching and gives you two separate components from one cook cycle.
Choose direct when you want:
- The starch to thicken the dish (like risotto or congee)
- All the flavor from the liquid to soak into the grains
- A single pot to clean
Choose pot-in-pot when you want:
- Rice that stays fluffy and separate from a saucy main dish
- To cook rice and a main dish (like curry or stew) at the same time
- To avoid any burn warning risk entirely
Both methods produce great rice. They just serve different use cases. If you're new to the Instant Pot, start with direct cooking for plain white rice.
It's simpler and teaches you the machine's rhythm.
Choosing Your Rice: White, Brown, or Something Else
Every rice variety has its own personality under pressure. Here are the baseline ratios and times from manufacturer specifications and verified user testing.
| Rice type | Water: rice (by volume) | High pressure time | Release method |
|---|---|---|---|
| White long-grain | 1:1 | 3–4 minutes | 10 min natural, then quick |
| Jasmine | 1:1 | 4 minutes | 10 min natural, then quick |
| Basmati | 1:1 (rinsed) | 4 minutes | 10 min natural, then quick |
| Sushi rice | 1:1 | 4–6 minutes | 10 min natural, then quick |
| Brown rice | 1:1 | 22–28 minutes | Full natural (10–15 min) |
| Wild rice blend | 1:2 | 25–30 minutes | Full natural (15 min) |
| Arborio (risotto) | 1:3 (broth) | 6–8 minutes | Quick release, then stir |
White rice needs a shorter time because there's no bran layer to soften. Brown rice needs four to six times longer for that outer layer to hydrate properly. If you swap one for the other without adjusting the timer, you'll get disappointing results.
Rinse every type except arborio. Rinsing removes surface starch that causes clumping and triggers the burn warning. For basmati and jasmine, a good rinse also improves the fluffy, separated grain texture that makes those varieties special.
The Mistakes That Ruin Instant Pot Rice (And How to Fix Them)
Even experienced cooks hit a snag now and then. The difference is knowing what went wrong and how to adjust next time.
Mistake: Rice sticks to the inner pot bottom. You likely skipped the rinse. Surface starch glues the grains to the metal during pressurization. Fix it by rinsing in a fine-mesh strainer until the water runs clear.
For extra insurance, spray the pot with a thin layer of oil before adding rice and water.
Mistake: The display reads "BURN" and stops cooking. This happens when starch or food residue sits directly on the pot's bottom sensor. If you sauté aromatics first, deglaze the pot with a splash of liquid and scrape up any browned bits. That single step prevents 90% of burn warnings.
Mistake: Rice comes out crunchy in the center. You either undercooked it or skipped the natural release. Check your timing against the table above. If the timing is right but the rice is still hard, let it sit on Keep Warm for five more minutes before opening.
Mistake: Rice is mushy and clumped together. Too much water is the usual suspect. For white rice, measure carefully at a 1:1 ratio. Using the included rice cup is helpful, but note that one Instant Pot rice cup equals 3/4 of a standard US cup.
Adjust accordingly.
Mistake: The steam vent sprays starchy water everywhere. You did a quick release on white rice. Natural release prevents this entirely. If you must quick release, drape a kitchen towel over the vent to catch splatters.
Keep your hands clear.
Your Game Plan for Any Rice Dish (The Decision Guide)
This is the decision tree that pulls everything together. Follow these steps in order for consistent results.
Step 1: Choose your rice type and measure it. Rinse it unless you're cooking risotto. Drain well.
Step 2: Decide direct or pot-in-pot. Use direct for plain rice or one-pot dishes. Use pot-in-pot when you need separate textures or want to avoid burn warnings entirely.
Step 3: Add liquid at the correct ratio. Use the table from earlier. For broth instead of water, the ratio stays the same.
Step 4: Add salt and fat (optional). A pinch of salt and a teaspoon of butter or oil improves flavor and reduces foaming. Don't stir vigorously after adding.
Step 5: Lock the lid and set the valve to Sealing. Select Manual or Pressure Cook at High Pressure. Enter the time from the table.
Step 6: When the timer ends, let it natural release for 10 minutes. Then flip the valve to release any remaining steam. Open the lid away from you.
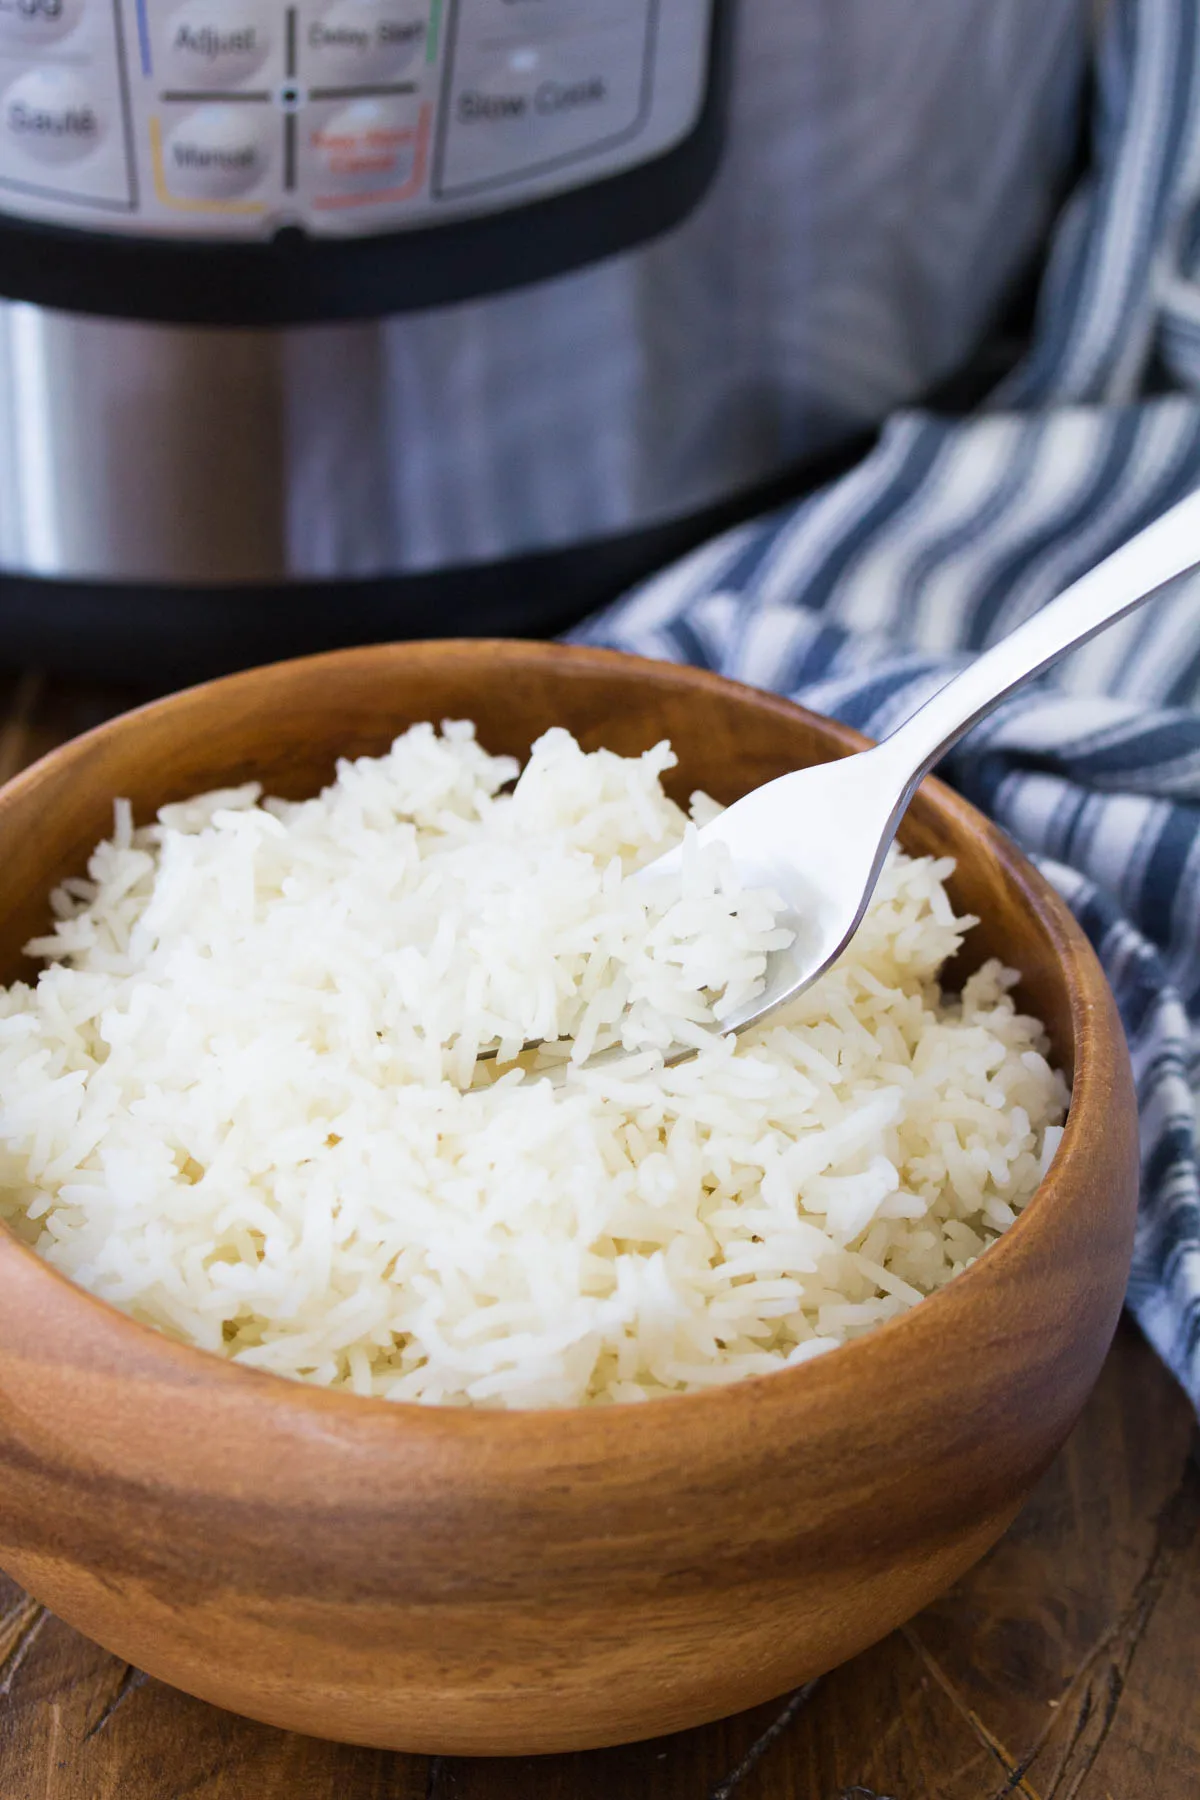
Step 7: Fluff with a fork. Let it sit uncovered for 2 minutes before serving. This lets excess steam escape and keeps the grains separate.
USDA food safety guidelines recommend refrigerating leftover cooked rice within two hours. Store it in a sealed container for up to four days.
Quick Answers for Common Rice Questions
What is the best water-to-rice ratio for white rice in an Instant Pot?
Use a 1:1 ratio by volume. One cup of rinsed white rice gets one cup of water or broth. This applies to long-grain, jasmine, and basmati varieties.
Scale up linearly for larger batches.
Can I cook brown rice in the same time as white rice?
No. Brown rice needs 22 to 28 minutes of high pressure compared to 3 to 4 minutes for white rice. The bran layer requires that extra time to hydrate and soften.
Never cook them together in the same pot.
Why does my Instant Pot say "BURN" when cooking rice?
Starch from unrinsed rice settles on the bottom and scorches. The sensor detects the temperature spike and interrupts the cycle. To fix it, always rinse your rice and deglaze after any sauté step.
Do I need to use the Rice button on my Instant Pot?
The Rice button works, but it is not magic. It applies a standardized time that assumes medium heat. Many users get better results using the Manual or Pressure Cook setting with specific times from the table above.
Can I cook rice and chicken together in the Instant Pot?
Yes, but with caution. Use the pot-in-pot method to keep them separate. Cook the chicken directly in the pot with its own liquid.
Place the rice in a bowl above it. This prevents the rice from overcooking while the chicken reaches a safe internal temperature of 165°F per USDA standards.
How do I keep leftover Instant Pot rice from drying out when reheating?
Add one tablespoon of water per cup of rice. Cover the bowl loosely. Microwave for 60 to 90 seconds.
For larger batches, reheat in the Instant Pot on the Keep Warm setting with a splash of water stirred in.

Similar Posts