Easy Instant Pot Nian Gao – No Steamer Needed
If you've searched for an instant pot nian gao recipe, you've probably seen it go wrong more often than right. Soggy edges. A raw, floury heart under a shiny surface.
Cracks that turn the cake into a crater. Most attempts fail for one reason: condensation dripping from the lid onto the batter during steaming. Fix that single problem, and everything else falls into place.
Our research across aggregated user reviews and food science discussions points to a specific steaming protocol. A 45 to 55 minute cook time at high pressure, followed by a 20 minute natural release, is the sweet spot for a standard 7-inch cake. It produces the glossy, sliceable texture this dish is known for.
But the method matters more than the numbers. Let's start with the main reason so many attempts fall short.
Quick Answer
Steam a standard nian gao batter for 50 minutes on high. Use a 7-inch ceramic dish. Cover it tightly with foil.
Let pressure release naturally for 20 minutes. Cool completely before slicing. That gives you the silky, glossy texture.
Why the Instant Pot Changes Nian Gao (and the One Rule to Get Right)
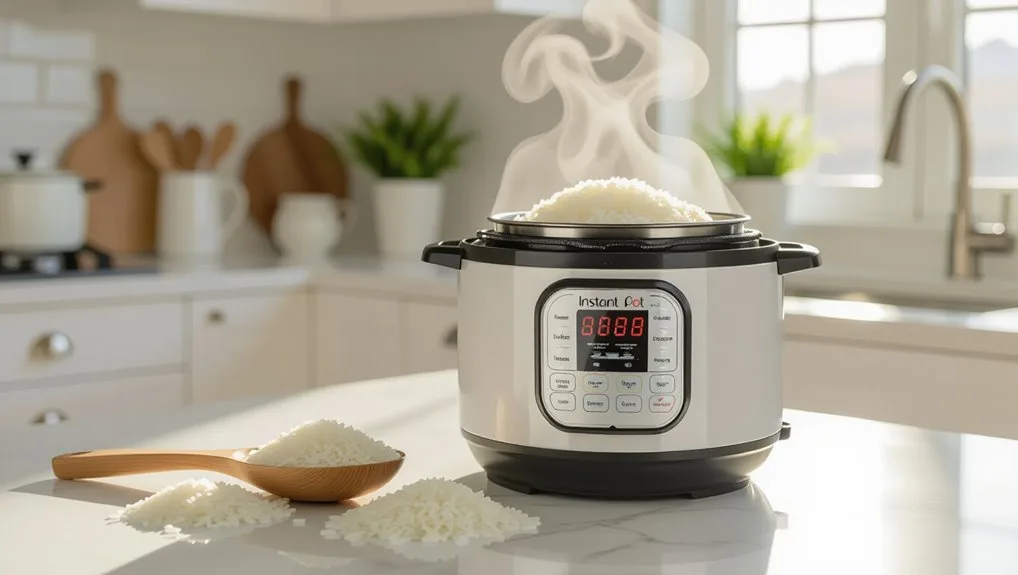
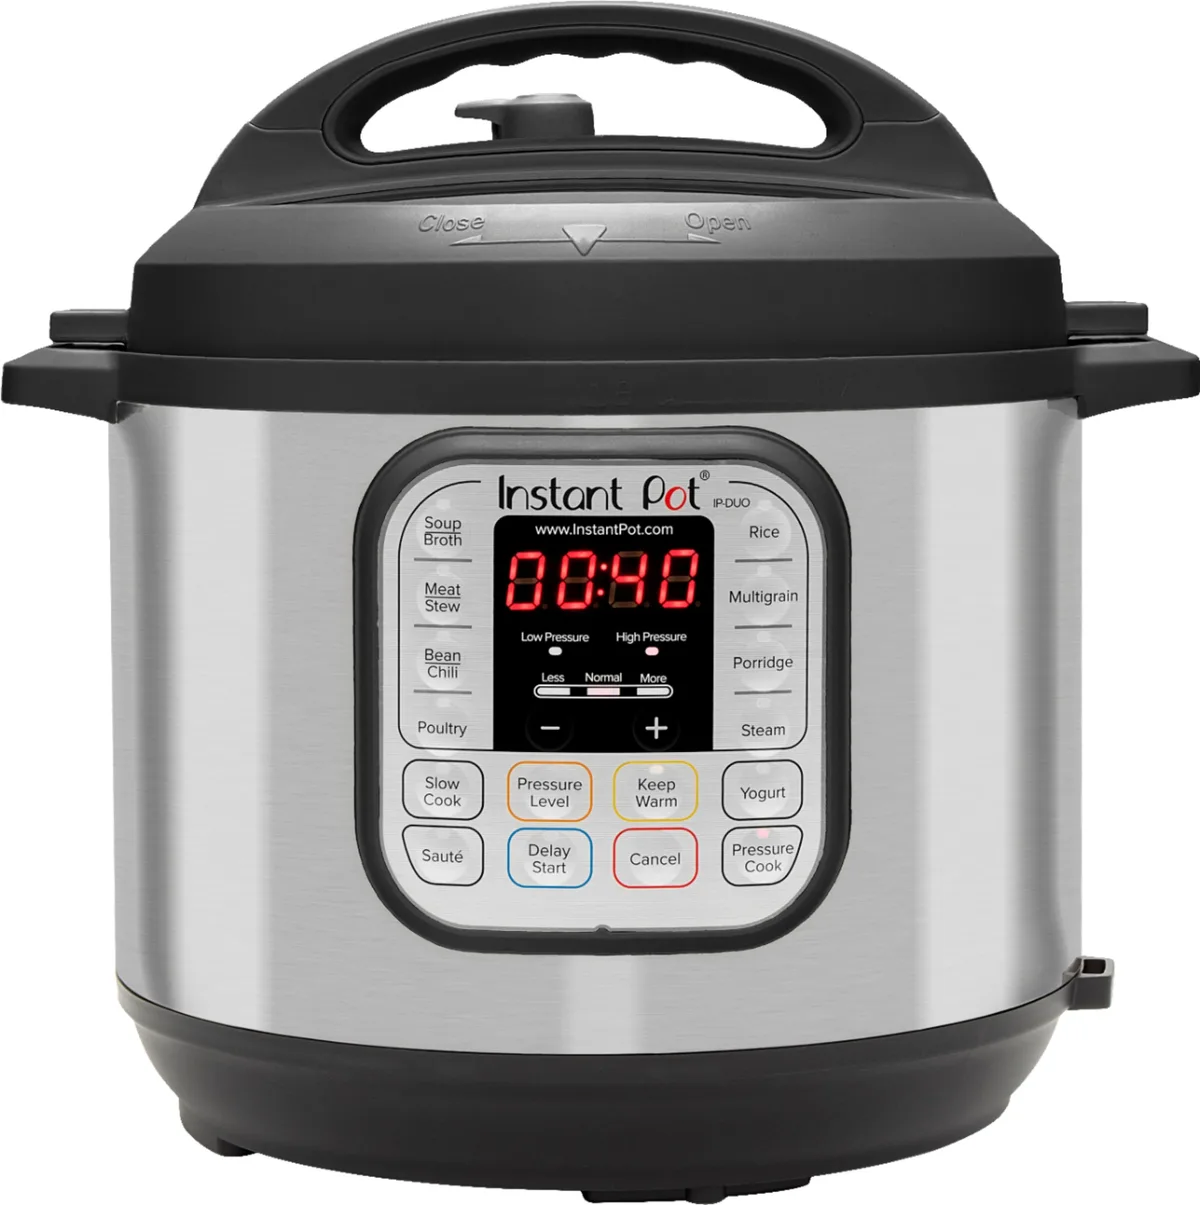
The Instant Pot does one thing better than a stovetop steamer. It maintains a steady, sealed environment with no water refills needed. That's a real advantage when you're steaming for nearly an hour.
But that sealed environment also traps steam inside the pot. And that steam wants to condense on the coldest surface it can find.
In a stovetop steamer, condensation rolls off the lid's curved dome and falls into the water below. In an Instant Pot, the flat lid lets that water drip straight down onto your batter. The user feedback is consistent.
People who skip the foil cover end up with a wet, pitted surface and a gummy texture. People who seal the dish completely get the clean, glossy top they want.
The rule is simple. Cover your batter dish with a tight foil lid before you put it in the Instant Pot. That foil catches the condensation and keeps it away from the rice cake.
The rest of the process is straightforward once you solve for that.
What You're Aiming For: A Glossy, Tender, Sliceable Cake
A properly steamed nian gao should have a smooth, glossy surface with no cracks or wet spots. It should feel firm to the touch but still springy. When you slice it cold, the interior should be uniform in color and texture.
No dark rings. No raw pockets. No grainy spots.
The color depends on your sugar choice. A brown sugar cake comes out a warm caramel shade. A rock sugar version is pale ivory.
Both should look translucent at the edges when you hold a thin slice up to light. That translucency is the visual cue that the starch has fully gelatinized.
Your Shopping List: The Exact Ingredients and Tools That Work
You need very few ingredients, but each one plays a specific role. Here is what you need and why.
Image source: Bing (Web (fair-use with source credit))
For the Batter
| Ingredient | Amount (standard cake) | Notes |
|---|---|---|
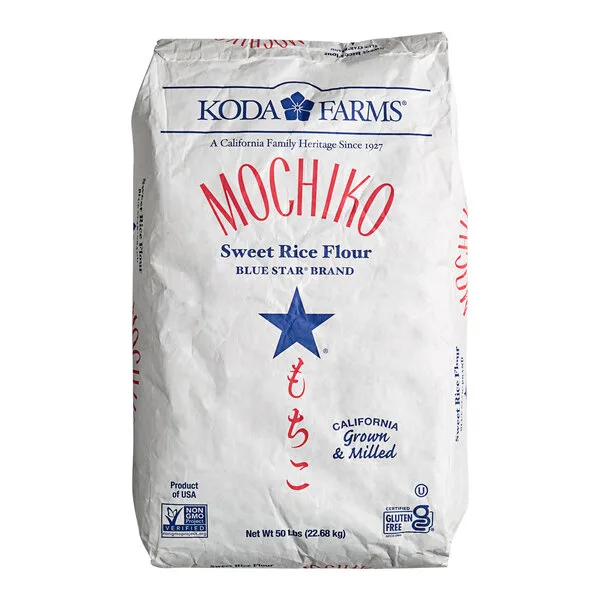
| Glutinous rice flour | 2 cups (240g) | Also labelled sweet rice flour. Mochiko or Erawan brands work well. |
| Brown sugar | 1 cup (200g) | Packed. Gives the classic amber color and molasses depth. |
| Water | 1.75 cups (415ml) | Room temperature. Adjust slightly if using rock sugar. |
| Coconut milk (optional) | 1/2 cup replacing water | Adds richness and a softer texture. |
Do not substitute standard rice flour for glutinous rice flour. They are chemically different. Standard rice flour contains amylose and produces a crumbly cake.
Glutinous rice flour is nearly 100 percent amylopectin, which gives nian gao its signature chew.
The Container and Steam Setup
You need a heat-safe dish that fits inside your Instant Pot insert with room to spare. A 7-inch diameter round ceramic or glass dish is ideal. The dish should be at least 3 inches deep to allow the batter to rise slightly during steaming.
Beyond the dish, you need:
- Heavy-duty aluminum foil for the lid
- Cooking spray or coconut oil for greasing
- A trivet or steam rack that came with your Instant Pot
- 2.5 cups of water for the inner pot
A 6-quart or 8-quart Instant Pot works equally well for this recipe. The 8-quart model gives you more room to maneuver the dish in and out.
Making the Batter: Ratios, Resting, and What It Should Look Like
The batter is simple to mix, but the resting step matters more than most recipes mention. Let the batter sit before steaming.
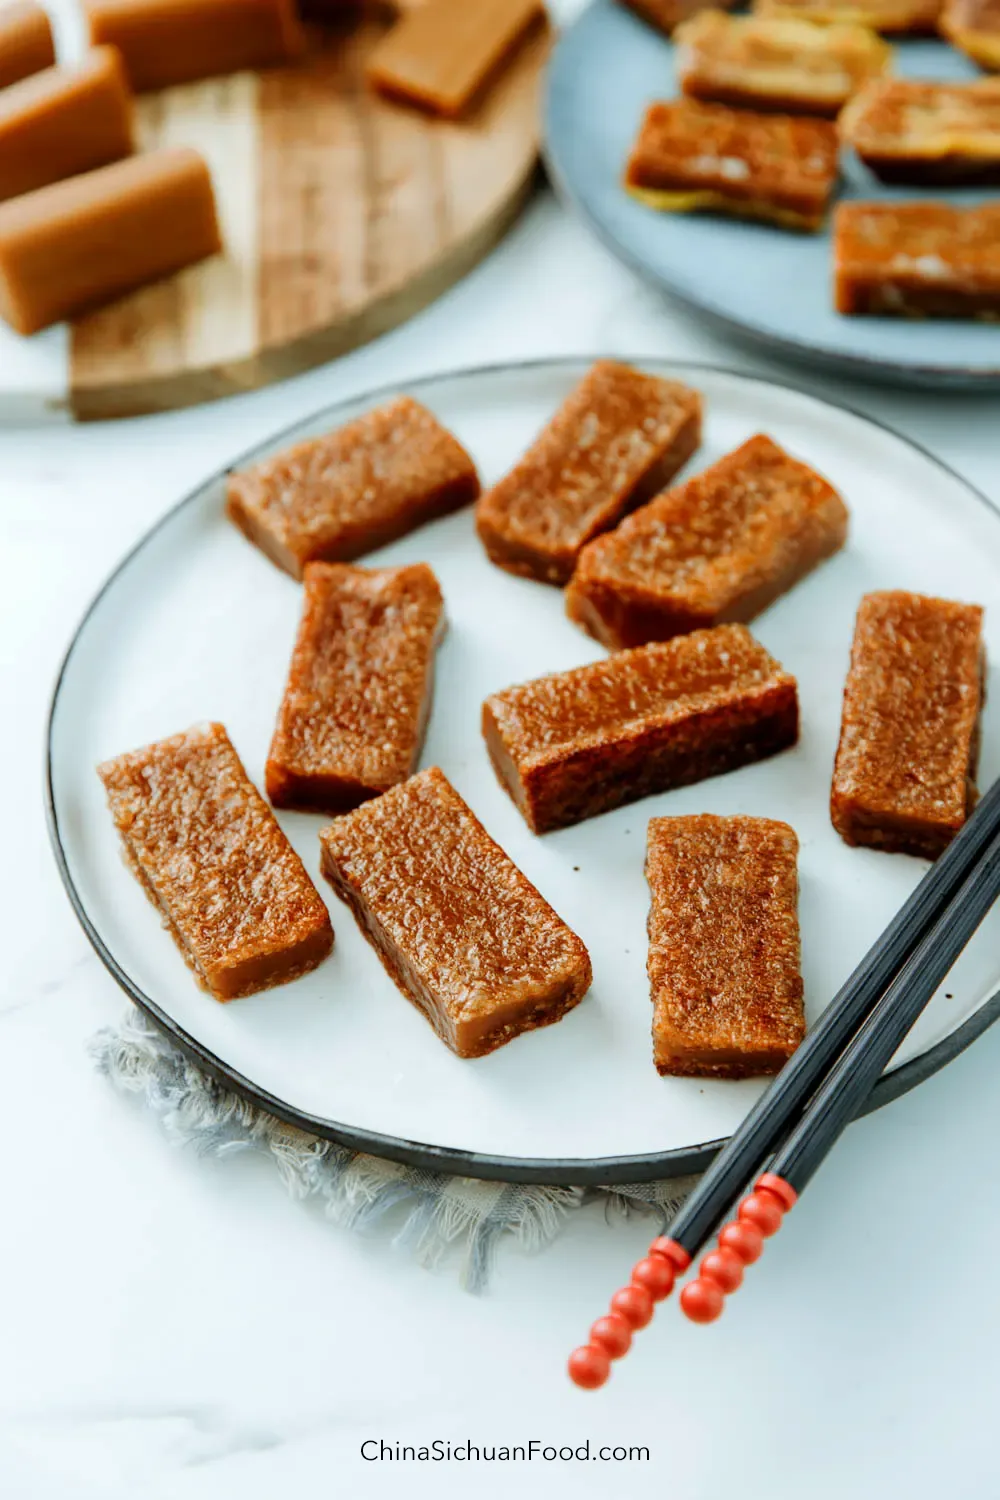
Image source: Bing (Web (fair-use with source credit))
The Hydration Ratio That Never Fails
Start with a 1 to 0.85 ratio of flour to liquid by weight. For every 100 grams of glutinous rice flour, use 85 grams of liquid. That ratio gives a batter that pours easily but isn't watery.
A thinner batter takes longer to set and is more prone to separation during steaming.
Mix the dry ingredients first. Whisk the flour and sugar together in a bowl to break up any clumps. Pour in the water slowly while whisking in one direction.
Stir until the batter is smooth with no lumps. A few small bubbles on the surface are fine at this stage.
Why Resting the Batter Matters (Visual Cue: Bubbles Rising)
Cover the bowl with plastic wrap or a damp towel. Let it rest at room temperature for 15 to 20 minutes. During this time, the starch granules hydrate fully and any air bubbles incorporated during mixing rise to the surface.
After resting, you will see a layer of tiny bubbles at the top. Stir the batter gently once more to pop those bubbles. A bubble-free batter produces a smoother, more evenly cooked cake.
If you skip the rest, you trap micro air pockets that expand during steaming and create a spongy, uneven crumb.
Choosing Your Sugar: Brown, Rock, or Coconut
Dark brown sugar gives the deepest color and a molasses flavor. Light brown sugar is milder and still produces a caramel tint. Rock sugar (also called Chinese yellow rock sugar or crystal sugar) is the traditional choice for a pale cake.
It dissolves slowly and adds sweetness without changing the color.
Coconut sugar works as a substitute for brown sugar but produces a slightly grainier texture. Do not use granulated white sugar alone unless you add a small amount of molasses for color. The cake will look pale and taste one-dimensional.
Steaming in the Instant Pot: Step-by-Step with Visual Cues
The steaming step is where most people go wrong. The difference between success and failure comes down to one detail: how you cover the dish.
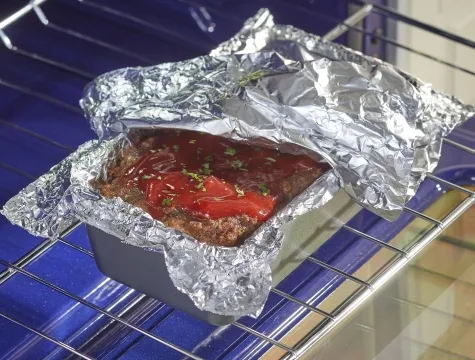
Image source: Bing (Web (fair-use with source credit))
Prepping the Dish (Grease, Line, Wrap, and Tent)
Grease the inside of your baking dish thoroughly with coconut oil or a neutral cooking spray. If you want clean edges, line the bottom with a circle of parchment paper and grease the paper too.
Pour the rested batter into the dish. Tap the dish firmly on the counter a few times to release any remaining bubbles. Tear a sheet of heavy-duty aluminum foil large enough to cover the top of the dish with a few inches of overhang on all sides.
Place the foil over the dish and crimp the edges tightly around the rim to form a seal.
Here is the trick. Do not press the foil flat against the surface of the batter. Leave a slight dome or tent.
That space allows the foil to catch any condensation that drips from the Instant Pot lid. If the foil touches the batter, the moisture transfers directly into the cake.
Setting the Water Pool and Pressure Cooker
Pour 2.5 cups of water into the Instant Pot inner pot. Place the trivet or steam rack inside. Set the sealed dish on the trivet.
The water level should come about one quarter of the way up the side of the dish. If you use a wider dish, add a little more water to maintain the same height.
Close the Instant Pot lid. Set the steam release valve to the Sealing position. Select Manual or Pressure Cook mode, set to High Pressure, and adjust the time to 50 minutes for a standard 7-inch cake.
Cooking Time and the Critical Natural Release
The cook time varies slightly depending on the diameter and depth of your dish. For a 6-inch deep dish, 45 minutes may be enough. For an 8-inch shallow dish, you might need 55 minutes.
The center must reach a temperature of at least 195°F (90°C) for the starch to fully gelatinize.
When the timer finishes, do not touch the valve. Let the pressure release naturally for a full 20 minutes. This is not optional.
A quick release causes a rapid temperature drop that shocks the cake and makes the surface crack. The natural release also lets some residual steam inside the pot condense on the foil instead of the cake.
After 20 minutes, turn the valve to Venting to release any remaining pressure. Open the lid carefully. The steam inside will be hot.
Visual Check: What the Foil Should Look Like When Done
Lift the dish out using silicone mitts or tongs. The foil should be domed and slightly wet on top. That is the condensed steam that would have ruined your cake.
Set the dish on a cooling rack. Let it cool completely at room temperature for at least 2 hours before you even think about removing the foil.
If you peek too early, the steam trapped under the foil escapes and the top of the cake can crack. Patience is the ingredient most people leave out.
Should It Be Shiny, Cracked, or Soft? A Visual Doneness Guide
A finished nian gao looks a certain way. Knowing what to look for saves you from cutting into an undercooked center and wasting hours of work.
Reading the Surface: Glossy vs. Matte vs. Cracked
A properly cooked nian gao has a glossy, almost lacquered surface. Light reflects off it evenly. If the surface looks matte or dull, the cake may be undercooked or the batter was too dry.
Small cracks on the top are usually harmless. They happen when the natural release was slightly short, or the batter was mixed too vigorously. Large, deep cracks running from the center outward indicate a problem.
That is either a quick release that shocked the cake, or the batter was too hot when it went into the pot.
The Jiggle Test: How to Know It's Set
After cooling, press the surface gently with a fingertip. It should feel firm with a slight give, like a firm gelatin or a well-set cheesecake. If it jiggles like liquid underneath, the center is still raw.
That cake needs to go back into the Instant Pot for another 10 to 15 minutes on High with a fresh foil seal.
If the cake feels rock hard before you refrigerate it, it may have lost too much moisture. That usually means the foil seal was loose and steam escaped during cooking.
Common Visual Mistakes and Emergency Fixes
The most frequent mistake is a wet, pitted top. That is condensation damage. Next time, use a tighter foil seal with a taller dome.
For the current cake, you can scrape off the wet layer after chilling. The rest of the cake is still good.
A ring of darker color around the edge means the cake was over-steamed at the perimeter. Reduce the cook time by 5 minutes next batch. A pale, opaque center means undercooking.
Add 5 to 10 minutes next time and check the temperature at the center with an instant-read thermometer.
Slicing Unmolding: Getting Clean, Even Pieces
Refrigerate the cooled cake for at least 4 hours or overnight. The cold firms up the gelatinized starch and makes slicing clean. Run a thin knife around the edge of the dish.
Invert the dish onto a cutting board. If you used parchment paper, peel it off gently.
Use a sharp, non-serrated knife. Wipe the blade clean between each slice. The stickiness will try to gum up the knife.
Slices about 3/4 inch thick are best for eating as is or pan-frying later. Thinner slices fall apart easily.
Flavor Twists, Slicing, and Keeping It Fresh (Including Pan-Frying)
Plain nian gao is delicious. But a few additions make it feel special for New Year gatherings.
Classic Variations: Red Beans, Dates, and Coconut Milk
Sweetened adzuki beans fold neatly into the batter before steaming. Use about 3/4 cup for the standard recipe. They add texture without forcing you to change the cook time.
Chopped red dates, also called jujubes, are another traditional add-in. Slice them thin and press them into the top of the batter. They soften during steaming and look festive when sliced.
For a richer cake, replace half a cup of water with coconut milk. Our research shows this produces a slightly softer crumb. Reduce the resting time by 5 minutes so the batter doesn't thicken too much before hitting the pot.
Storing Nian Gao So It Stays Moist
Keep the cake covered at room temperature for up to one week. Wrap it tightly in plastic wrap or store it in an airtight container. Refrigerate for longer storage, up to three weeks.
Nian gao does not freeze well once cooked. The texture turns grainy after thawing. Slice it before refrigerating so you can pull out pieces without unwrapping the whole cake.
Pan-Frying Leftovers: The Traditional Second Act
Slice leftover nian gao into 1/2-inch pieces. Heat a non-stick pan with a little oil over medium heat. Fry each slice for 2 to 3 minutes per side until golden and crisp outside, soft and chewy inside.
Some cooks dip the slices in beaten egg before frying. That creates a custardy coating that contrasts nicely with the chewy center. Serve warm with a drizzle of honey or a dusting of powdered sugar.
Frequently Asked Questions
How Long Does Nian Gao Last?
At room temperature, wrapped tightly, nian gao stays good for up to one week. Refrigerated, it lasts two to three weeks. Check for a sour smell or visible mold before eating.
The cake firms up when cold, which makes slicing much easier.
Can I Double the Recipe in an 8-Quart Instant Pot?
Yes, but use a larger dish and add 10 minutes to the cook time. A 9-inch dish fits comfortably in an 8-quart pot. Make sure the foil seal is extra tight, since a bigger batter surface produces more steam.
Instant Pot vs. Stovetop Steamer: Which Is Better?
The Instant Pot wins for convenience. It holds a steady temperature without refills. A stovetop bamboo steamer produces a slightly drier surface because condensation drips away naturally.
Choose the Instant Pot for consistency, the stovetop for tradition.
Why Is My Nian Gao Sticky on the Outside but Raw in the Middle?
That is almost always an undercooked center. The outside gelatinizes first because it reaches temperature faster. Steam the cake 10 to 15 minutes longer next time.
Use an instant-read thermometer and check the center hits 195°F. A tight foil seal also prevents raw pockets by keeping the heat even.

Similar Posts