Flavorful Instant Pot Indian Vegetarian Recipes
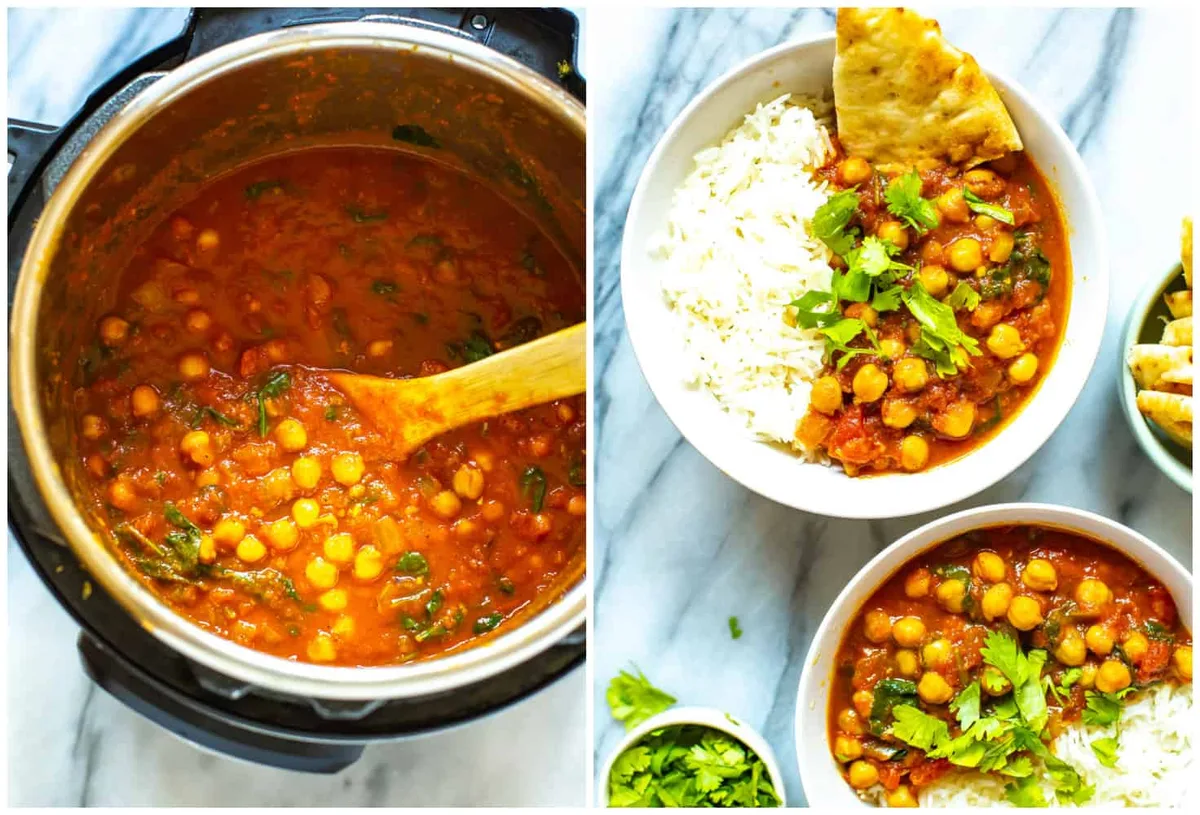
You've got an Instant Pot, a half-full bag of dried chickpeas, and a serious craving for something rich, spiced, and vegetarian. But every time you try making instant pot indian vegetarian recipes, something falls apart: the dal boils over, the rice goes mushy, or the burn warning shuts everything down. Sound familiar?
It's not you. It's the method.
Here's the thing. Indian vegetarian cooking and electric pressure cookers actually fit together beautifully, but only when you understand a few hard numbers. As of 2026, Instant Pot's official manual still requires a 2/3 max fill line for starchy, foaming foods, and typical legume cook times range from 10 minutes for split lentils to 40 for whole chickpeas.
That gap is where most recipes fall apart. Let's fix that.
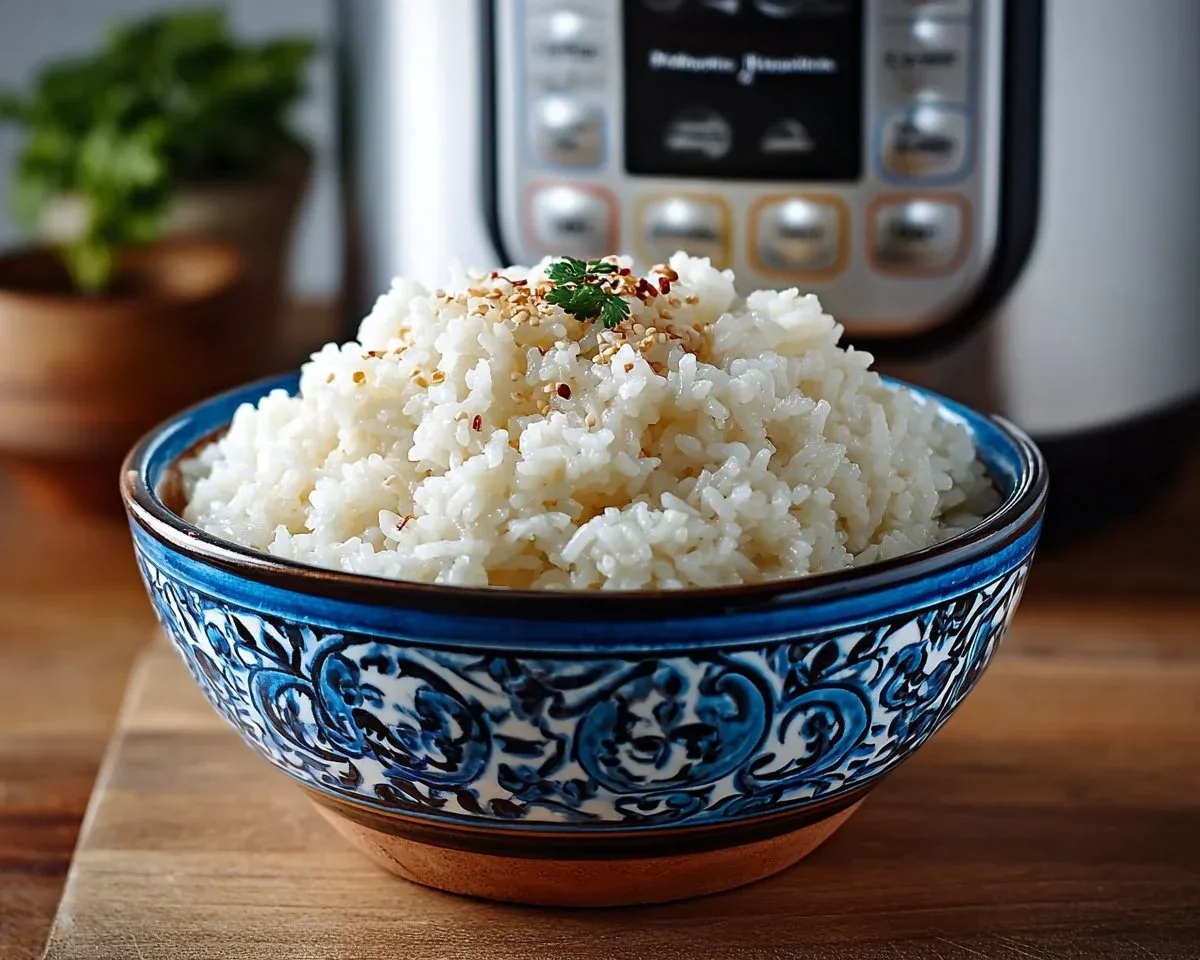
Image source: Bing (Web (fair-use with source credit))
What Goes Wrong: The Real Struggle with Instant Pot Indian Cooking
Indian vegetarian cooking in a pressure cooker is simple, but it's not automatic. The Instant Pot behaves differently than a stovetop pot, and those differences trip up nearly everyone.
The burn warning is the #1 frustration. Thick tomato paste or heavy dal sinks to the bottom of the stainless steel inner pot. The heating element hits its temperature threshold faster than the sauce releases liquid, the sensor reads the bottom as too hot, and the whole cycle stops. The fix: sauté vegetables, deglaze with water or tomatoes, and keep the total liquid above a 1:1 ratio with your grains.
The second failure is textural chaos. Cooking chickpeas and potatoes together always sacrifices one of them. Chickpeas need 30 to 40 minutes. Potatoes need 10 to 12.
If you want both, add vegetables later or cut them into chunks as big as your thumb.
The third is flat flavor. Spices bloom in hot fat, not boiling water. If you skip the sauté step, your chana masala tastes dull, however much garam masala you add.
- If the burn warning appears: thin your tomato paste with water before sealing the lid.
- If everything turns mushy: use Quick Pressure Release for delicate vegetables.
- If the flavor is muddled: season and temper before you pressure cook.
The 3-Question Quick-Fire Quiz: Find Your Recipe Match in 10 Seconds
This quiz is simple. Answer three questions and you'll know exactly which recipe fits your night.
Question 1: How much time do you have?
- Under 30 minutes: go with red lentils (masoor dal).
- 30 to 60 minutes: chickpeas, kidney beans, or paneer curries.
- More than an hour: biryani or a big batch meal.
Question 2: What's already in your kitchen?
- Dried beans and rice: you're set for a pantry meal.
- Fresh vegetables like cauliflower and spinach: cook them into a sabzi.
- Paneer and yogurt: stir them in after pressure cooking, not before.
Question 3: What do you want to eat?
- Comforting: dal tadka.
- Bold and protein-heavy: chana masala.
- Celebration-worthy: vegetable biryani.
If you answered "limited time," follow Branch 1 below. If a stocked pantry is your home base, let Branch 2 guide you. If you're feeding yourself for the week, skip ahead to Branch 3 and soak the beans today.
Decision Branch 1: You Have 20 Minutes or Less

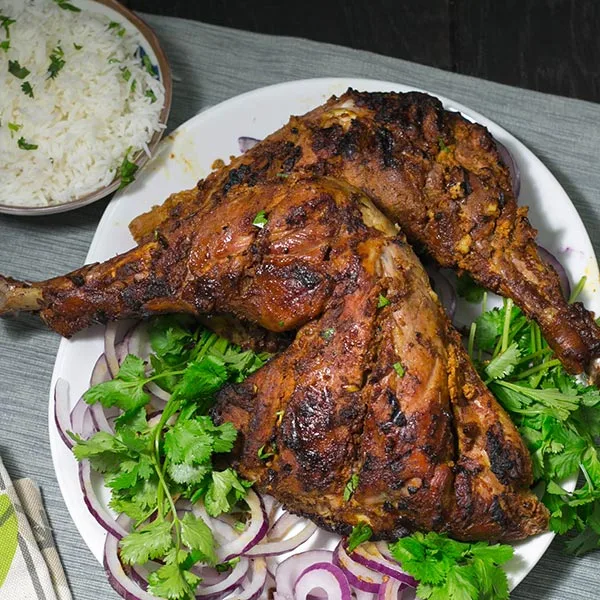
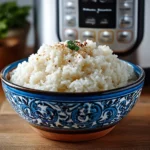
Image source: Web (Bing) / giolweooi.blob.core.windows.net (Web image (fair-use with source credit))
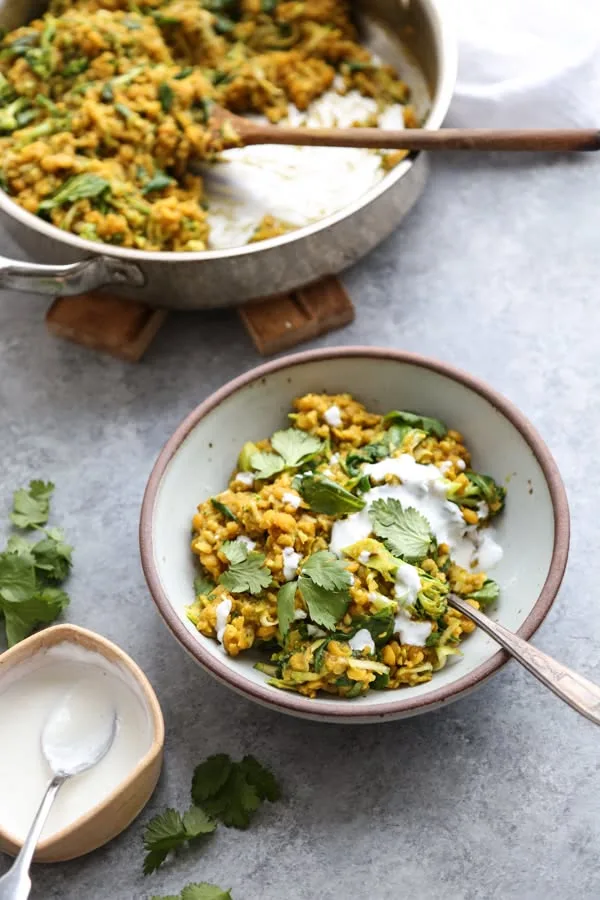
Red lentils are the ultimate pressure cooker shortcut. They split in half, don't need soaking, and melt into a silky dal in about 10 minutes.
Recipe: Masoor Dal in 20 minutes. Set the Instant Pot to Sauté. Heat 1 tablespoon ghee or oil, then bloom 1 teaspoon cumin seeds and 2 dried red chilies for 30 seconds. Add 1 cup rinsed red lentils, 1/2 cup diced tomato, 1 teaspoon turmeric, 1 teaspoon grated ginger, and 3 cups water.
Stir, deglaze the bottom well, then seal the lid. Pressure cook on High for 10 minutes and walk away. After it finishes, let the pressure release naturally for 5 minutes, then do a Quick Release.
Why red lentils work here: unlike whole chickpeas, which can take 35 to 40 minutes even in a pressure cooker, split lentils break down quickly and thicken their own broth. The USDA notes that dry legume cook times vary by type, size, and even storage age, which is why split lentils are the only reliable 10-minute bet.
Tempted to swap in something else? Don't. Whole beans like chana or kidney beans need 25 to 40 minutes under pressure. If you only have canned chickpeas, skip the pressure cook entirely.
Add them after the pressure cycle and let residual heat warm them through.
Decision Branch 2: You Have a Stocked Pantry and an Hour
An hour sounds like a lot. It's mostly hands-off. You'll spend about 10 minutes actually cooking, and the machine does the rest.
Recipe: Chana Masala in about an hour. Soak 1 cup dried chickpeas in water the night before, or don't. Electric pressure cookers handle unsoaked chickpeas if you add 10 minutes. Start with Sauté mode: cook 1 diced onion in oil for 4 minutes, add garlic, ginger, and a cinnamon stick, and stir for another minute.
Stir in 1 tablespoon chana masala powder and 1 teaspoon turmeric. Add 1 can crushed tomatoes and 2 cups water. Deglaze the pot until nothing sticks, add the soaked chickpeas, and pressure cook on High for 35 minutes.
Let pressure release naturally for 15 to 20 minutes.
Canned chickpeas change the math. They're already cooked, so a full pressure cycle turns them to mush. Wait until the pressure cook finishes, then stir in canned, drained chickpeas and let the dal's residual heat do the work. That's a 20-minute chana masala that tastes weekend-slow.
Pot-in-pot biryani is also in your range. Layer soaked basmati rice, sautéed vegetables, and a pinch of saffron in a heatproof bowl. Set the bowl on a trivet above boiling water with rice at a 1:1 dry-to-liquid ratio. Steam it for 10 minutes on High, then wait another 10 minutes before releasing.
Manufacturer instructions recommend never filling beyond the 2/3 line, and a trivet keeps delicate layers away from direct heat.
Decision Branch 3: You Want to Cook Once, Eat for a Week
Meal prepping Indian food in an Instant Pot is one of the smartest uses for the machine. Dals and curries are saucy, forgiving, and reheat beautifully.
Scale up deliberately. A 6-quart Instant Pot holds roughly 2 cups of dried chickpeas with room for liquid, which gives you a full week of lunches. Don't max out the pot. The 2/3 fill rule exists because legumes foam and expand during cooking, and an overfilled pot can block the pressure release valve.
Three recipes that batch beautifully:
- Masoor dal: 20 minutes of work, freezes for up to three months.
- Chana masala: 60 minutes total, tastes better on day two.
- Vegetable korma: 30 minutes, freezes well as long as you add yogurt after reheating.
Portioning like a pro. Cool the cooked curry completely. Ladle it into freezer-safe containers, leaving half an inch of headroom for expansion. Store flat in freezer bags to save space, then thaw in the fridge overnight.
One honest caveat: potatoes and rice turn grainy in the freezer. Cook your starch fresh when serving, or skip the potatoes entirely and add greens instead. Sauces carry the flavor, and fresh starch keeps the texture intact.
Mistakes That Ruin Your Instant Pot Indian Recipes
You already know the burn warning and texture failures. But here are the subtler mistakes that show up in aggregate user feedback, often after someone has cooked five or six decent meals and starts wondering why nothing tastes quite right.
Skipping the deglaze. After you sauté onions and spices, a thin brown crust sticks to the pot bottom. That crust is pure flavor, but if you leave it there, the burn sensor trips. Pour in a splash of water or tomato puree and scrape with a wooden spoon until the pot bottom looks clean.
This one step eliminates most burn warnings.
Using too much water. Dal recipes from stovetop days call for more liquid because stovetop pots boil off steam for 45 minutes. The Instant Pot loses almost no steam. Stick to the 1:2 or 1:3 ratio by volume for lentils to water.
A soupy dal is fine, but watery dal tastes thin.
Adding dairy too early. Paneer, yogurt, and cream curdle under pressure. Stir them in after the pressure releases. Residual heat is enough to warm them through.
Ignoring natural pressure release for beans. If you quick-release chickpeas or kidney beans, they explode from the sudden drop in pressure. The skins slip off and the pot looks like a murky soup. Let beans release naturally for at least 15 minutes.
Grains like rice do not need this, but beans do.
Opening the lid too fast. Even after the float valve drops, steam inside the pot continues cooking for a few minutes. If you lift the lid instantly, delicate vegetables like spinach or peas lose their structure. Wait one minute after the pin drops before opening.
Pro Tips for Better Flavor (Without Extra Work)
Indian food in an Instant Pot can taste as layered as stovetop versions. The secret is a two-step cooking method that uses the pot's own abilities.
Bloom whole spices in hot fat first. Cumin seeds, mustard seeds, and dried red chilies release their essential oils within 30 seconds of hitting hot oil or ghee. That aroma is the flavor backbone of dal tadka and sambar. Sauté them before adding onions or garlic.
Finish with a tempering step if you have time. Tempering (tadka) means blooming spices in hot ghee and pouring them over the finished dish. It adds a fresh layer of aroma that no amount of pressure cooking can replicate. A good tadka uses mustard seeds, cumin seeds, curry leaves, and dried red chilies.
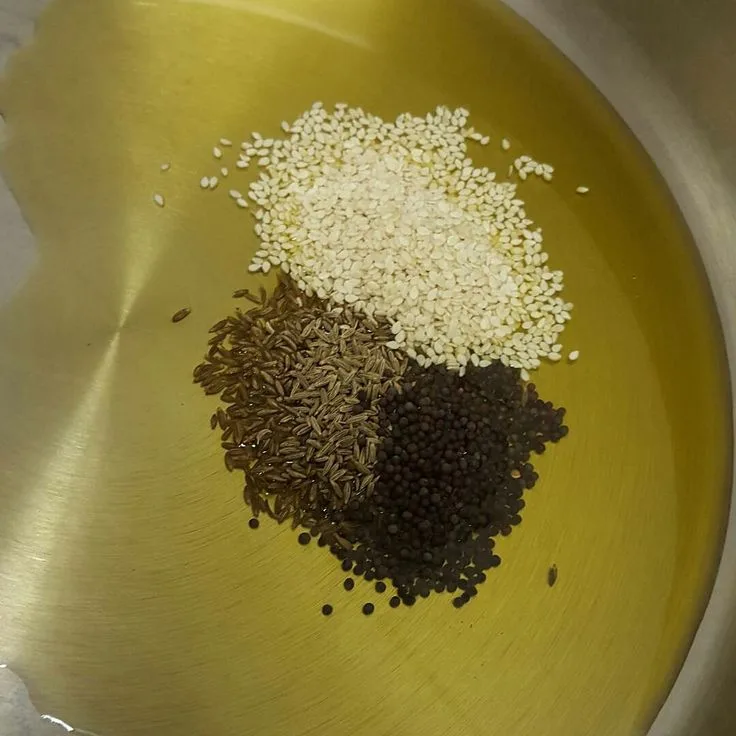
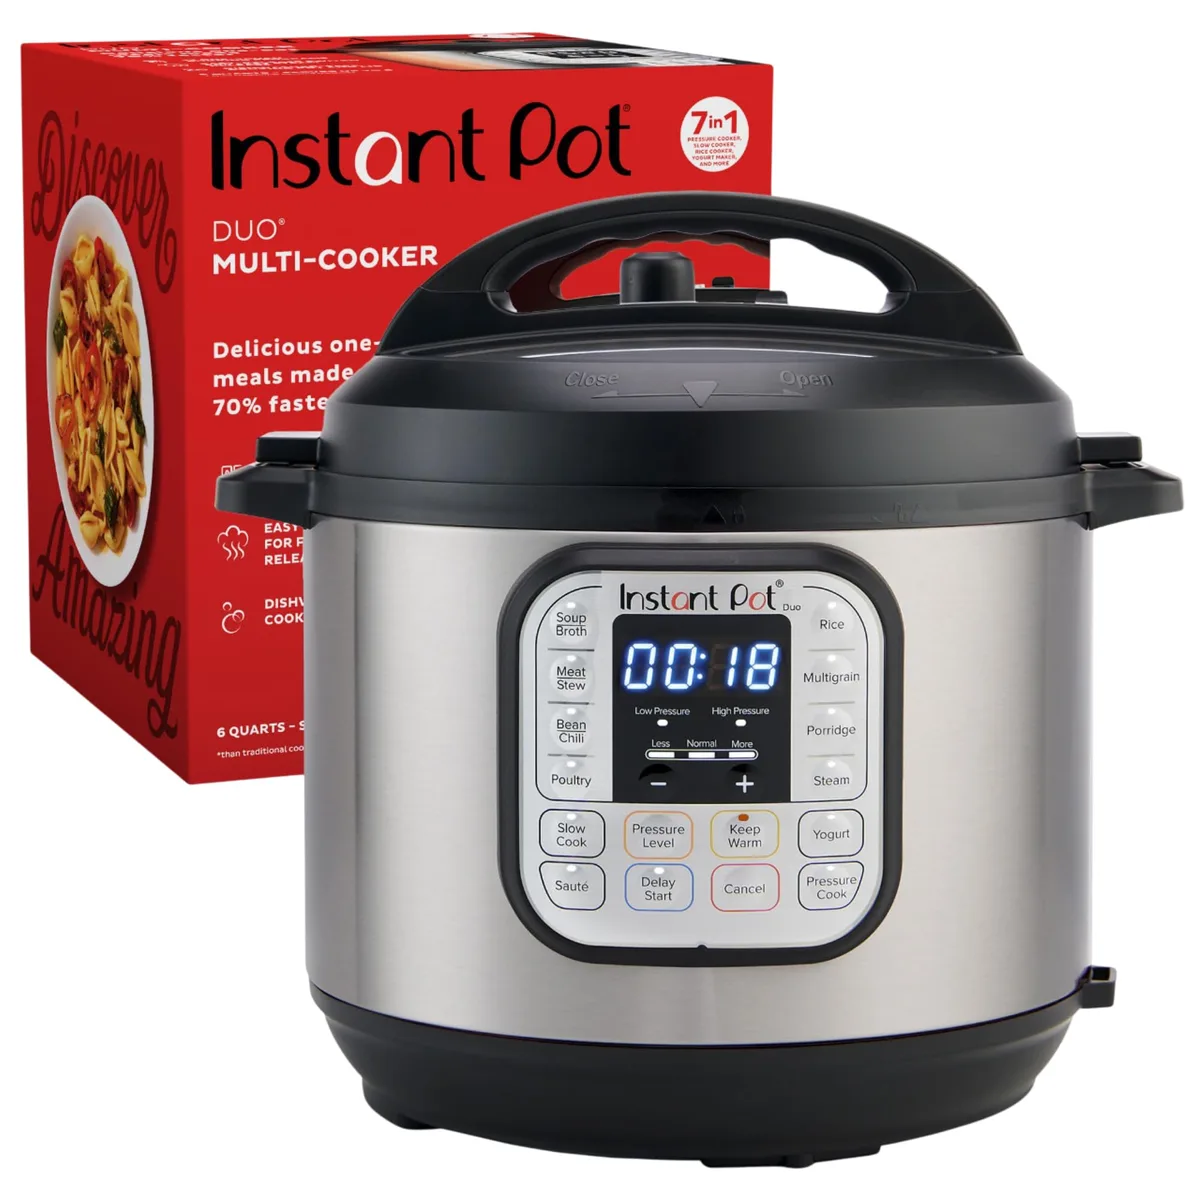
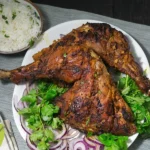
Image source: Bing (Web (fair-use with source credit))
Salt lentils after cooking, not before. Salt added early can toughen the skins on whole lentils and chickpeas, making them take longer to soften. Add half the salt before pressure cooking and the rest after. This gives you control over both texture and seasoning.
Use the residual heat trick. After the pressure cycle ends, the pot stays hot for 10 to 15 minutes. Drop in fresh spinach, chopped cilantro, or a squeeze of lime. The heat wilts the greens and brightens the acid without cooking them into submission.
One pro-level tip from our research: grind whole spices fresh when you can. Pre-ground garam masala loses intensity within a few months. A mortar and pestle or a cheap electric grinder transforms whole cumin, coriander, and cinnamon into something punchy and bright.
Frequently Asked Questions
Can I make Instant Pot Indian food without sautéing first?
You can, but the flavor will be noticeably flat. Spices need hot fat to release their volatile oils. If you truly have no time, dump and go works for dal, but add a tadka at the end to bring back some depth.
Why does my Instant Pot say "burn" when making dal?
Tomato paste or thick dal sinks and scorches the stainless steel bottom. Deglaze the pot thoroughly after sautéing. Add enough water to keep everything moving, and never fill more than two-thirds full for starchy dishes.
How long does it take to cook chickpeas without soaking?
Unsoaked chickpeas need about 40 to 50 minutes on High pressure, plus 20 minutes of natural release. Soaked chickpeas cut that to 15 to 20 minutes. Both work, but unsoaked require more water and a longer wait.
Can I freeze leftover Indian curry from the Instant Pot?
Yes. Most dals and curries freeze beautifully for up to three months. Cool the curry completely, portion into containers leaving headroom, and thaw overnight in the fridge.
Potatoes turn grainy after freezing, so add them fresh when reheating.
Is it safe to pressure cook frozen vegetables in Indian recipes?
It is safe, but the texture suffers. Frozen vegetables release a lot of water and turn mushy under pressure. Add them after the pressure cycle ends.
The residual heat cooks them through in three to four minutes without turning them to mush.
How do I clean the sealing ring after cooking strongly spiced food?
The silicone sealing ring absorbs odors from cumin, turmeric, and fenugreek. Remove the ring and wash it with hot soapy water. Soak it in a baking soda and water paste for 15 minutes if the smell lingers.
Replace the ring every 12 to 18 months for best performance.

Similar Posts