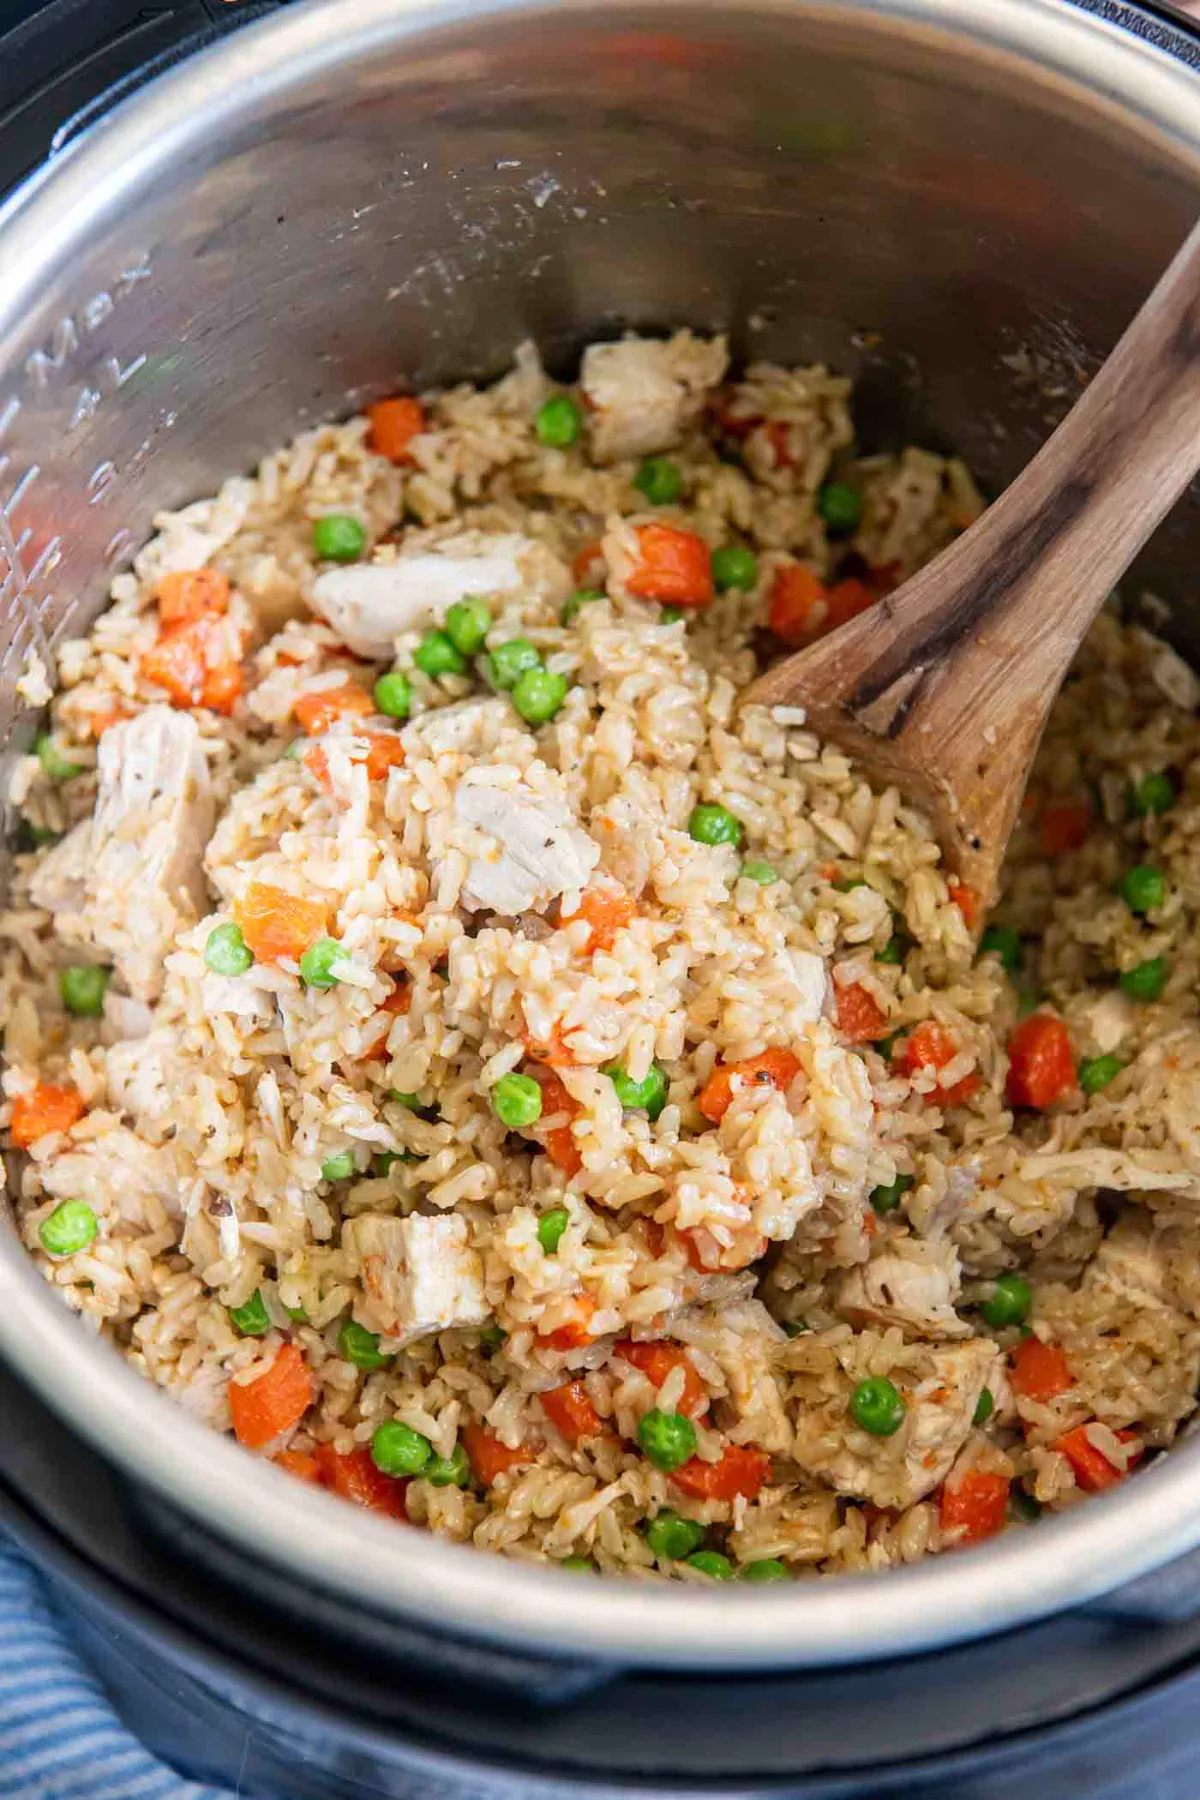
Instant Pot Chicken and Rice Recipes You’ll Make on Repeat
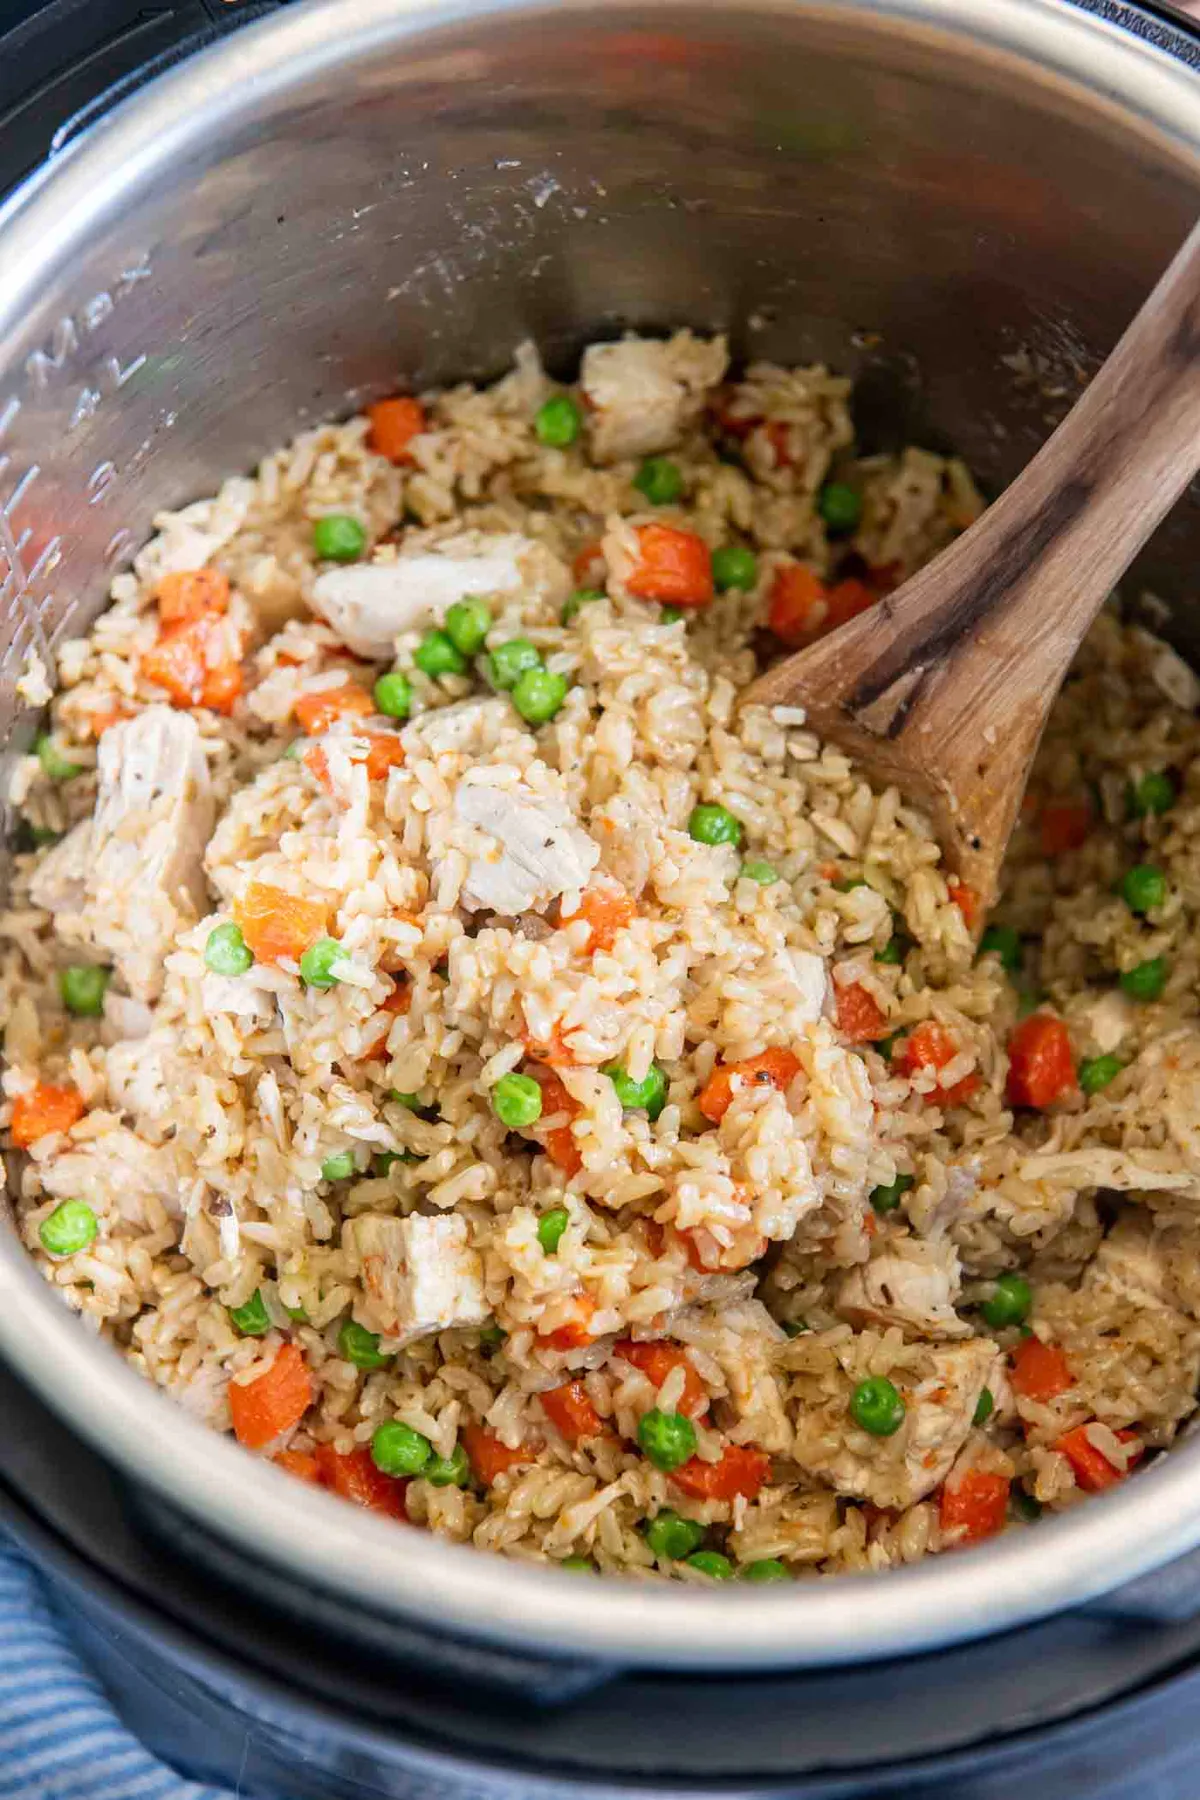
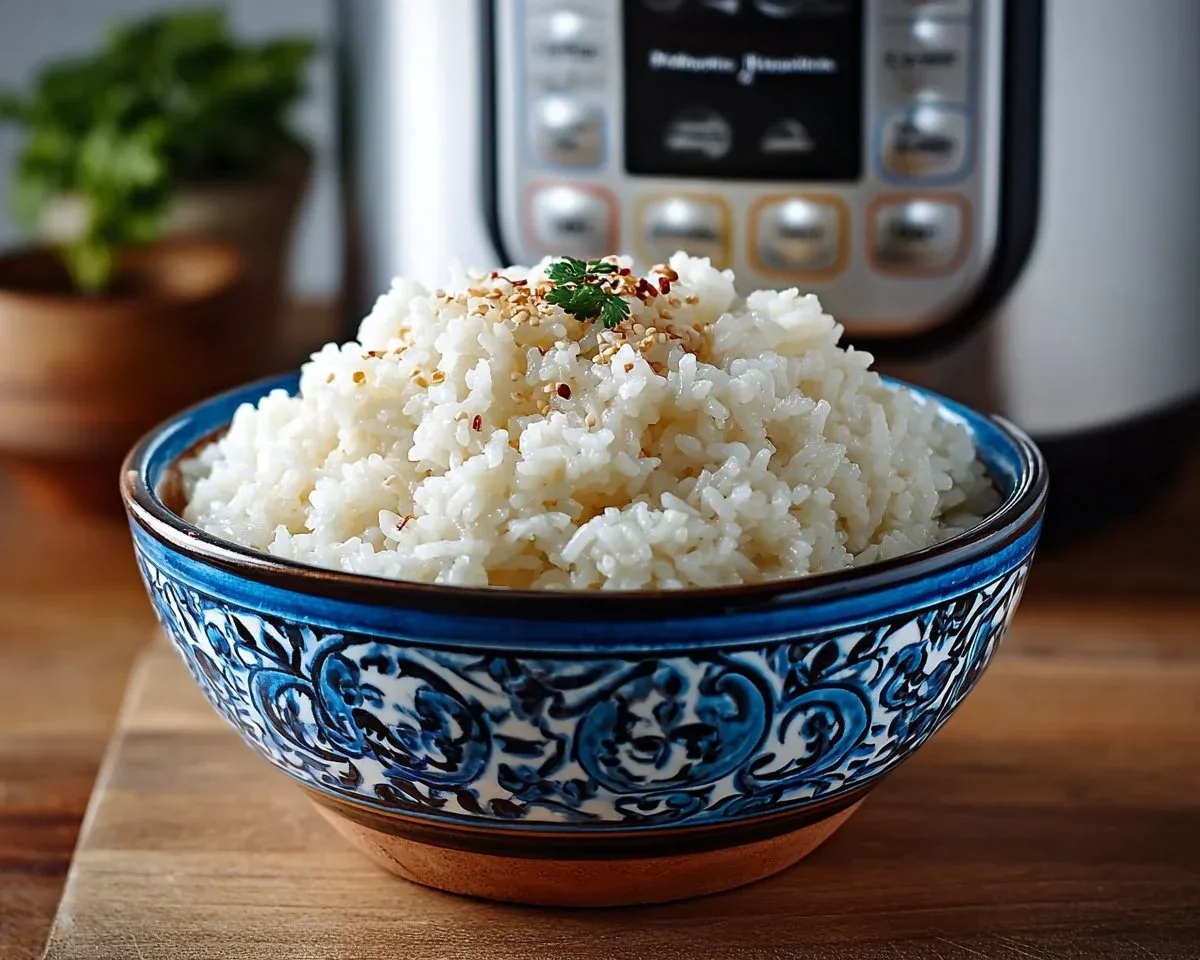
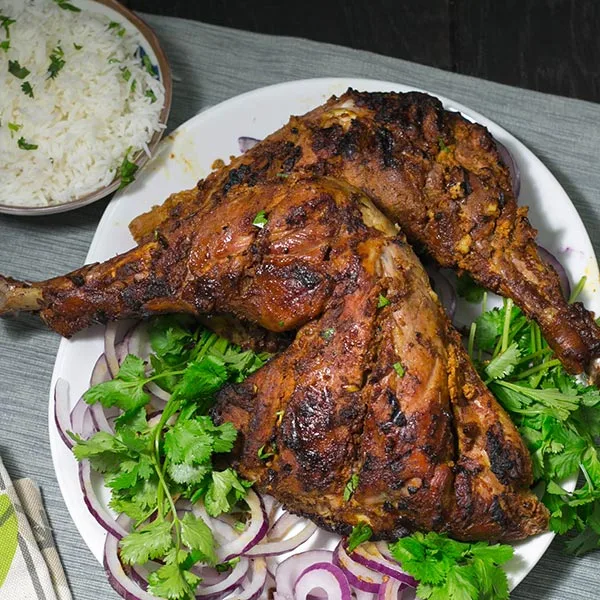
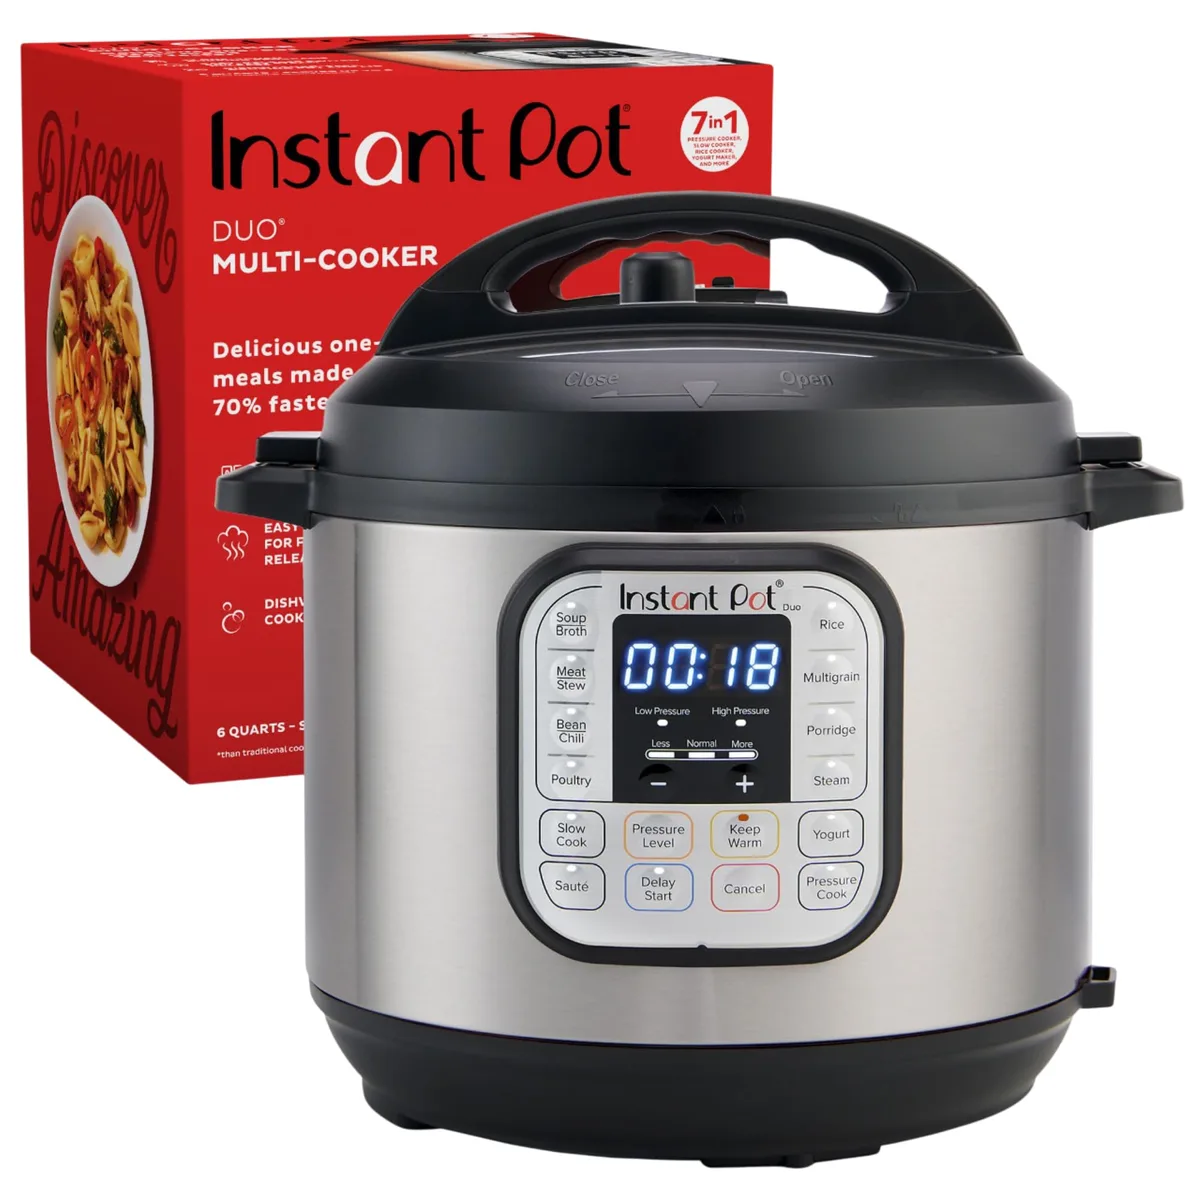
Your Instant Pot is a powerhouse, but chicken and rice together? That's where things get tricky. Too many "instant pot chicken recipes rice" guides skip the hard part: different cuts of chicken and types of rice need different cook times, and shoving them in together often leads to a burn notice or a pot of mush.
The real problem is timing mismatches.
Manufacturer specifications confirm that white rice needs 4 to 6 minutes on high pressure, while brown rice requires 22 to 24 minutes. A boneless chicken breast falls right in the middle at 8 to 10 minutes. As of 2026, the most reliable way to nail this meal is to understand which variables change under pressure.
Let's walk through the decision tree so you never guess again.
Image source: Bing (Web (fair-use with source credit))
Quick Answer
Cook chicken and rice together in an Instant Pot by matching cook times. White rice works with boneless chicken thighs. Brown rice needs bone-in chicken or pre-cooked meat.
Use a 1:1 liquid ratio for white rice. Use a 1:1.25 ratio for brown rice. Always natural release for 10 minutes.
First, a Decision Tree: Choose the Right Chicken and Rice Method for Your Instant Pot
There isn't one perfect "instant pot chicken recipes rice" method. The right approach depends on what you have in the fridge and pantry. Let's work through the three most common scenarios.
Branch 1: You have white rice (jasmine, basmati, or long-grain) and boneless chicken (breast or thigh).
This is the simplest path. White rice cooks in 4 to 6 minutes under high pressure. Boneless chicken breast needs 8 to 10 minutes.
Boneless thighs need 10 to 12 minutes. The gap is small enough that you can get away with one pot if you layer correctly. Place liquid first, then rice, then chicken on top.
Set the time for the chicken. Let the rice cook during the longer pressure time and natural release. The rice will be slightly softer than usual but still good.
Branch 2: You have brown rice and boneless chicken.
Brown rice takes 22 to 24 minutes on high pressure. That is nearly three times longer than boneless chicken breast. Cooking them together in one pot will turn the chicken into dry, stringy shreds.
Your best bet here is the pot-in-pot method. Cook the chicken directly in the main pot and place the brown rice in a separate bowl on a trivet with its own liquid. They finish at the same time without overcooking either.
Branch 3: You have frozen chicken.
Frozen chicken throws off every timing calculation. Manufacturer guides recommend adding 5 to 8 minutes to the cook time for frozen breasts or thighs. That extra time often pushes rice past the point of fluffy into gummy territory.
The safest approach is to thaw the chicken first in the refrigerator overnight. If you are in a hurry, use the pot-in-pot method again. Let the frozen chicken cook in the main pot with extra time, and remove the rice bowl as soon as it finishes.
The Exact Numbers That Matter: Cook Times, Liquid Ratios, and Release Methods
Getting the numbers wrong is the number one reason people quit making chicken and rice in the Instant Pot. Here is a cheat sheet based on manufacturer specs and aggregate user feedback.
| Ingredient | High Pressure Cook Time | Liquid Ratio (rice to liquid) | Release Method |
|---|---|---|---|
| White rice (jasmine / basmati) | 4 to 6 minutes | 1:1 | Natural release 10 min, then quick |
| Brown rice | 22 to 24 minutes | 1:1.25 to 1:1.5 | Natural release 10 min, then quick |
| Boneless chicken breast (fresh) | 8 to 10 minutes | N/A | Quick release or natural |
| Boneless chicken thigh (fresh) | 10 to 12 minutes | N/A | Quick release or natural |
| Bone-in chicken thigh (fresh) | 12 to 15 minutes | N/A | Natural release preferred |
| Frozen boneless chicken breast | 14 to 16 minutes | N/A | Natural release for safety |
Why natural release matters for rice.
When you quick-release pressure on a pot full of rice, the rapid depressurization causes the starches to expand and burst. The result is a sticky, porridge-like texture. A 10-minute natural release lets the pressure drop slowly, giving the rice time to firm up.
This is non-negotiable for fluffy rice.
Liquid ratio rule of thumb.
White rice absorbs exactly its volume in water. So 1 cup of dry white rice needs 1 cup of liquid (broth, water, or a mix). Brown rice needs slightly more because the outer bran layer slows water absorption.
Use 1.25 cups of liquid for every cup of brown rice. If you are adding chicken that will release its own juices, reduce the liquid by 2 tablespoons to compensate.
Why the Instant Pot Sometimes Triggers a Burn Notice or Turns Rice to Paste
The dreaded burn notice is the Instant Pot's way of saying the bottom of the pot has gotten too hot because food is stuck to it. This happens for three main reasons when cooking chicken and rice.
Reason 1: You did not rinse the rice.
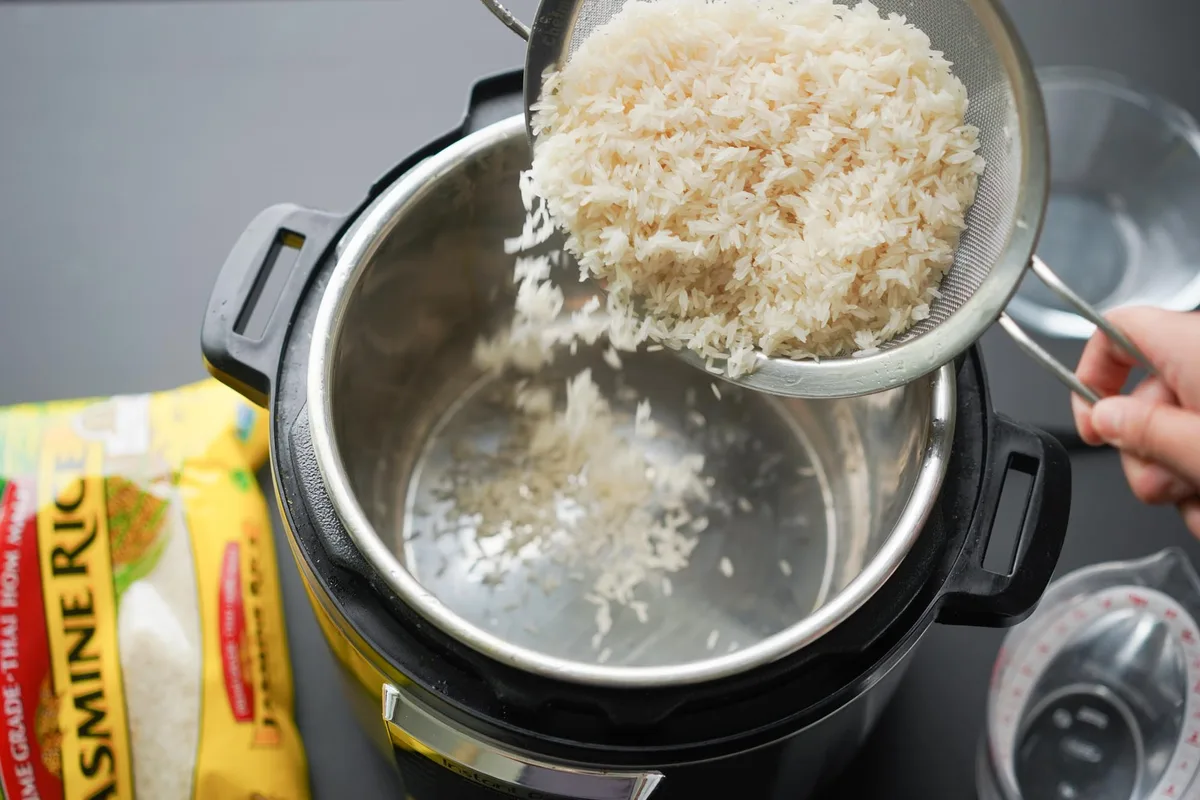
Unrinsed rice has a layer of loose starch powder. When you dump it into the pot and add liquid, that starch sinks to the bottom and scorches. Rinsing rice in a fine mesh strainer until the water runs clear removes that excess starch.
It takes 30 seconds and prevents burn notices.
Reason 2: You skipped the deglazing step.
If you use the saute function to brown the chicken before pressure cooking, you created fond (those brown bits stuck to the bottom). Fond is flavor gold, but if you do not deglaze it with a splash of broth or water before adding the rice, it will burn during the pressure cycle. Scrape the bottom with a wooden spoon until all the bits lift off.
Then add your liquids and rice.
Reason 3: You used too little liquid or too much rice.
The Instant Pot needs a minimum amount of liquid to build pressure. Most models require at least 1 cup of liquid. If you pack the pot with rice and chicken but only add a half cup of broth, the pot cannot generate enough steam.
The food scorches, and the sensor trips. Always measure liquid carefully. Fill the pot no more than halfway when cooking rice, because the grains expand and can block the steam vent.
Step-by-Step: Building a One-Pot Chicken and Rice Meal That Works Every Time
Let's put the decision tree into action. This method works best with white rice and boneless chicken thighs. Adjust the cook time if you are using breast or bone-in pieces.
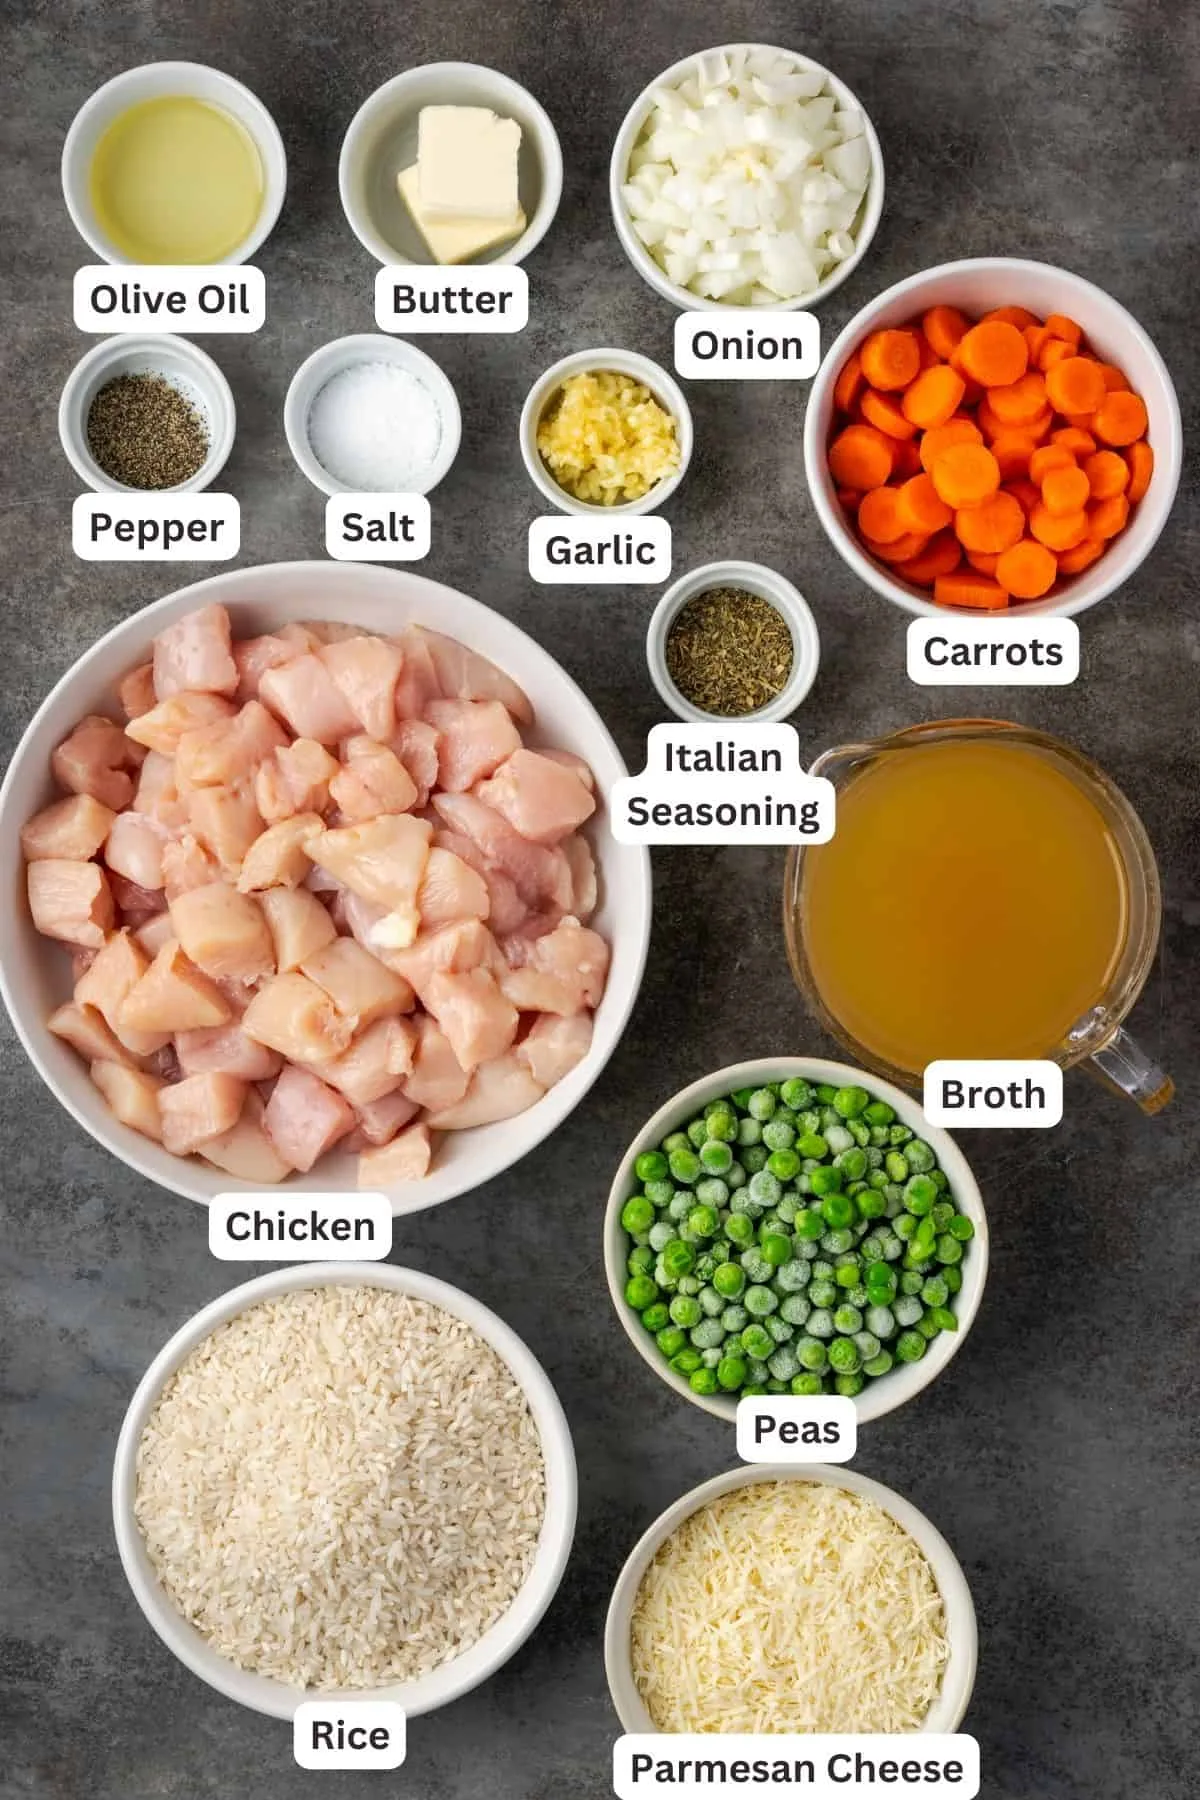
Step 1: Prep your ingredients.
Rinse 1 cup of white rice until the water runs clear. Pat 1 to 1.5 pounds of boneless chicken thighs dry with paper towels. Season the chicken with salt, pepper, garlic powder, and any other spices you like.
Dice half an onion and two cloves of garlic if you want extra flavor.
Step 2: Saute the chicken (optional but recommended).
Turn on the saute function. Add 1 tablespoon of oil. Sear the chicken thighs for 3 minutes per side until golden.
Remove the chicken and set it aside. Add the onion and garlic and cook for 1 minute.
Step 3: Deglaze the pot.
Pour in 1/2 cup of chicken broth. Scrape the bottom with a wooden spoon until all the browned bits lift off. This step prevents the burn notice.
Step 4: Add the rice and liquid.
Add the rinsed rice to the pot. Pour in another 1/2 cup of broth plus 1 cup of water (total liquid is 1.5 cups for 1 cup of rice, accounting for the extra 1/2 cup used in deglazing). Stir gently to spread the rice evenly.
Step 5: Layer the chicken on top.
Place the seared chicken thighs on top of the rice. Do not stir them in. If the chicken sinks into the rice, it can trap starch at the bottom and cause burning.
Step 6: Pressure cook.
Close the lid and set the valve to sealing. Select high pressure for 10 minutes (for thighs) or 8 minutes (for boneless breast). The pot will take 10 to 15 minutes to come to pressure.
Step 7: Natural release.
When the cook time ends, let the pressure release naturally for 10 minutes. Then carefully flip the valve to vent any remaining steam.
Step 8: Fluff and serve.
Open the lid. Remove the chicken and let it rest for 5 minutes. Fluff the rice with a fork.
Slice the chicken and serve it over the rice. If you want a saucy finish, stir in a pat of butter or a squeeze of lemon juice.
What to do if the rice is too wet.
Remove the chicken. Set the pot to saute for 2 to 3 minutes, stirring constantly. The extra heat will evaporate the excess moisture.
If the rice is too dry, add 2 tablespoons of hot broth and fluff again.
The Pot-in-Pot Alternative: When You Want Fluffy Rice and Tender Chicken Separately
Some people swear by one-pot cooking, and it works well when the cook times match up. But what if you want brown rice with chicken breast? Or you are cooking a wild rice blend that takes 45 minutes?
That is where the pot-in-pot method saves the meal.
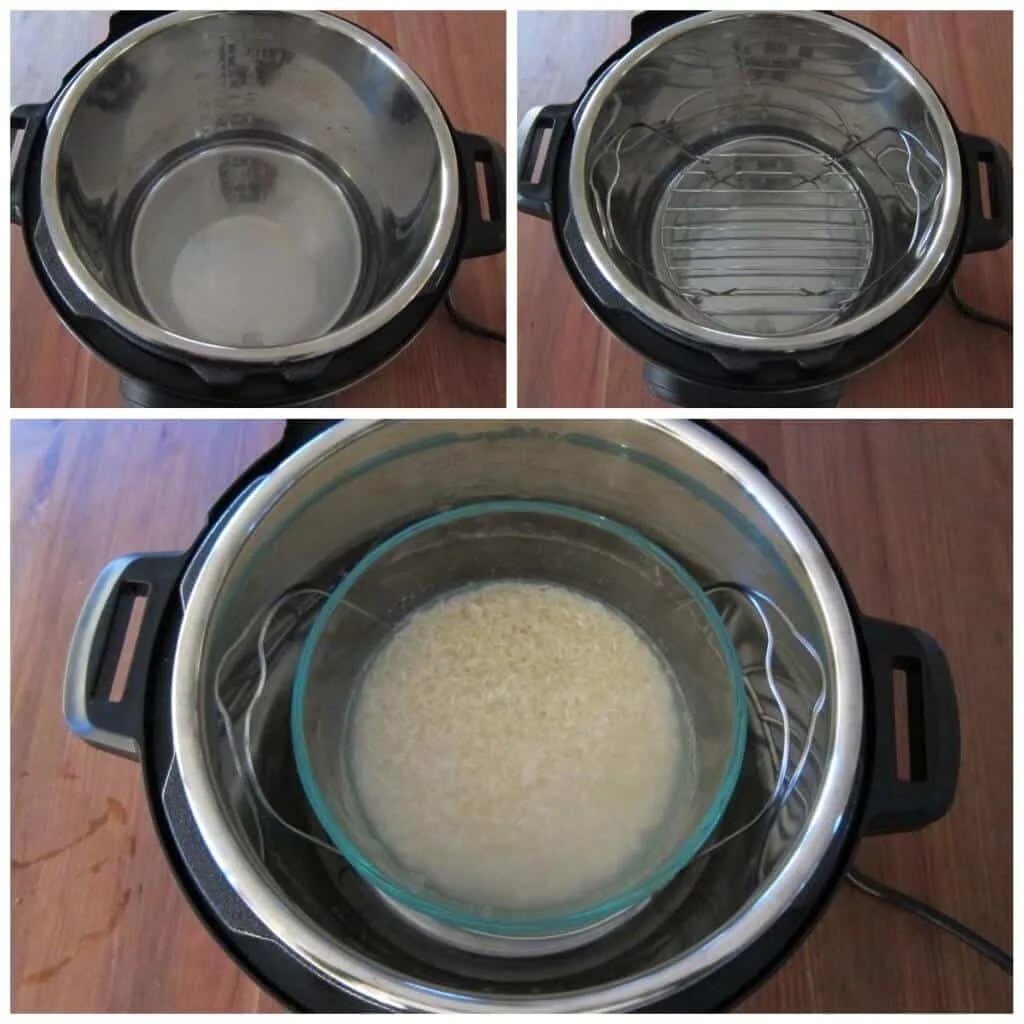
How pot-in-pot works.
You place your chicken and liquid directly in the stainless steel inner pot. Then you put a trivet or a sling (folded foil handles work too) in the pot. On top of that trivet, you set a separate heat-safe bowl containing your rice and its own measured liquid.
The steam from the chicken chamber cooks the rice bowl at the same time. The two foods never touch, so each one finishes with the right texture.
When to use pot-in-pot.
- Brown rice with boneless chicken. The chicken needs 10 minutes, the brown rice needs 22 minutes. Cook the chicken for 22 minutes alongside the rice. It will be very tender but not dry because the steam keeps it moist.
- Wild rice blends that need 40 minutes. These work best with bone-in chicken thighs or drumsticks that can handle the longer time.
- Small batch cooking. If you only want one serving of rice, a small bowl prevents a thin layer from burning on the bottom of the main pot.
Liquid adjustments for the bowl.
The rice bowl needs the same liquid ratio as a normal cook. Use a 1:1 ratio for white rice and 1:1.25 for brown rice. The bowl should have at least 1/2 inch of headspace because the rice will expand.
Place it on the trivet, cover the main pot, and pressure cook according to the longer ingredient's time.
The trade-off.
Pot-in-pot takes slightly longer to come to pressure because there is more mass inside the pot. Expect an extra 5 to 7 minutes before the pin pops up. It also means washing a bowl and a trivet instead of just the inner pot.
But the payoff is perfectly textured rice and tender chicken every time, which is worth the extra dish.
Common Mistakes That Ruin Instant Pot Chicken and Rice (and How to Fix Them)
Even experienced Instant Pot users hit snags when cooking chicken and rice together. Here are the most frequent problems and exactly how to fix each one.
Mistake 1: Adding too much liquid.
You assume rice needs lots of water like stovetop cooking. That ends up with soupy, mushy rice. Pressure cooking traps all the steam.
No evaporation happens. Stick to the 1:1 ratio for white rice. For brown rice, use 1.25 cups per cup of rice.
If you added too much already, open the lid and saute for 3 to 5 minutes to boil off the excess.
Mistake 2: Layering ingredients in the wrong order.
If you dump chicken first and then rice on top, the rice sinks under the chicken and scorches on the bottom. The correct order is liquid first, then rice, then chicken on top. The chicken acts as a barrier that keeps the rice from burning while it releases flavorful juices down into the grains.
Mistake 3: Quick releasing instead of natural releasing.
That hissing steam release feels satisfying. But for rice, it is destructive. The rapid pressure drop makes the starches explode into a sticky paste.
Always wait at least 10 minutes for a natural release. If you are in a hurry, 5 minutes is the absolute minimum. Any less and the rice will be gummy.
Mistake 4: Using the wrong size pot.
A full 8-quart pot with just one cup of rice and two chicken thighs leaves too much headroom. The pot struggles to build pressure because the food volume is too low. Conversely, cramming 4 cups of rice and 3 pounds of chicken into a 6-quart pot blocks the steam vent.
Fill the pot at least one-third full but no more than two-thirds full when cooking rice.
Mistake 5: Forgetting to rinse the rice.
Skipping the rinse means all that surface starch settles on the bottom. It burns during the pressure cycle, triggers the burn notice, and ruins the meal. Rinse every type of rice except enriched or parboiled varieties that say "do not rinse" on the package.
Mistake 6: Cooking frozen chicken without adjusting the time or method.
Frozen chicken releases extra water as it thaws inside the pot. That extra liquid throws off the rice ratio. Thaw the chicken first if possible.
If you cannot, use the pot-in-pot method so the frozen chicken and rice stay separate.
Frequently Asked Questions
Can I use any type of rice in the Instant Pot with chicken?
Yes, but you must adjust the cook time and liquid ratio for each type. White rice needs 4 to 6 minutes at high pressure with a 1:1 liquid ratio. Brown rice needs 22 to 24 minutes with a 1:1.25 ratio.
Wild rice blends need 28 to 30 minutes. Match the rice time to the chicken time or use the pot-in-pot method.
Why does my Instant Pot say "burn" when I cook chicken and rice?
The burn notice means food is stuck to the bottom of the inner pot. This happens when you skip rinsing the rice, fail to deglaze after sauteing, or use too little liquid. Scrape the bottom of the pot thoroughly after any saute step.
Always rinse rice until the water runs clear.
How do I keep the rice fluffy when cooking with chicken?
Use the correct liquid ratio. Do not stir the rice after adding the liquid. Place the chicken on top of the rice without mixing it in.
Always perform a natural release for 10 minutes. Fluff the rice with a fork instead of a spoon to separate the grains.
Can I cook brown rice and chicken together in one pot?
It is tricky because brown rice needs 22 to 24 minutes while boneless chicken breast needs only 8 to 10 minutes. Bone-in chicken thighs can handle the longer time. If you want boneless chicken, use the pot-in-pot method.
Cook both at 22 minutes. The chicken will be very tender but not dry.
Do I need to sauté the chicken first?
No, but it adds a lot of flavor. Searing creates browned bits on the bottom of the pot that deepen the taste of the rice. If you skip the saute step, deglazing is not necessary.
Just add liquid, rice, and raw chicken directly. The chicken will still cook safely and taste good.
How much liquid do I need for Instant Pot chicken and rice?
Use 1 cup of liquid for every 1 cup of dry white rice. For brown rice, use 1.25 cups per cup of dry rice. The liquid can be broth, water, or a mix.
If you are adding chicken that releases moisture, reduce the liquid by 2 tablespoons to prevent soggy rice.

Similar Posts