Perfect Instant Pot Duo Rice Recipe Every Time
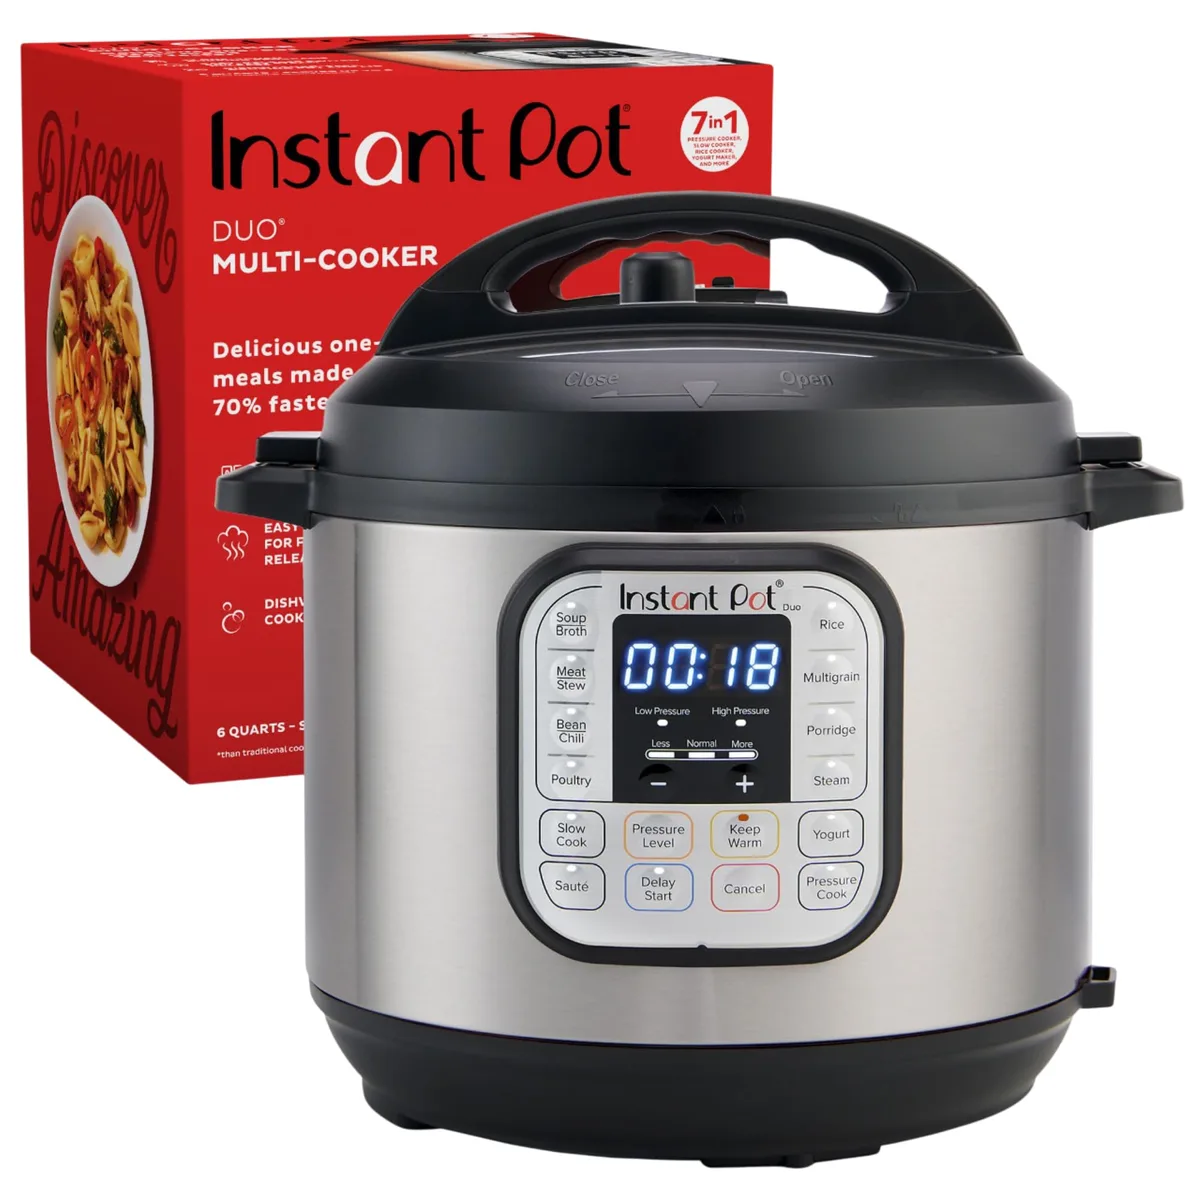
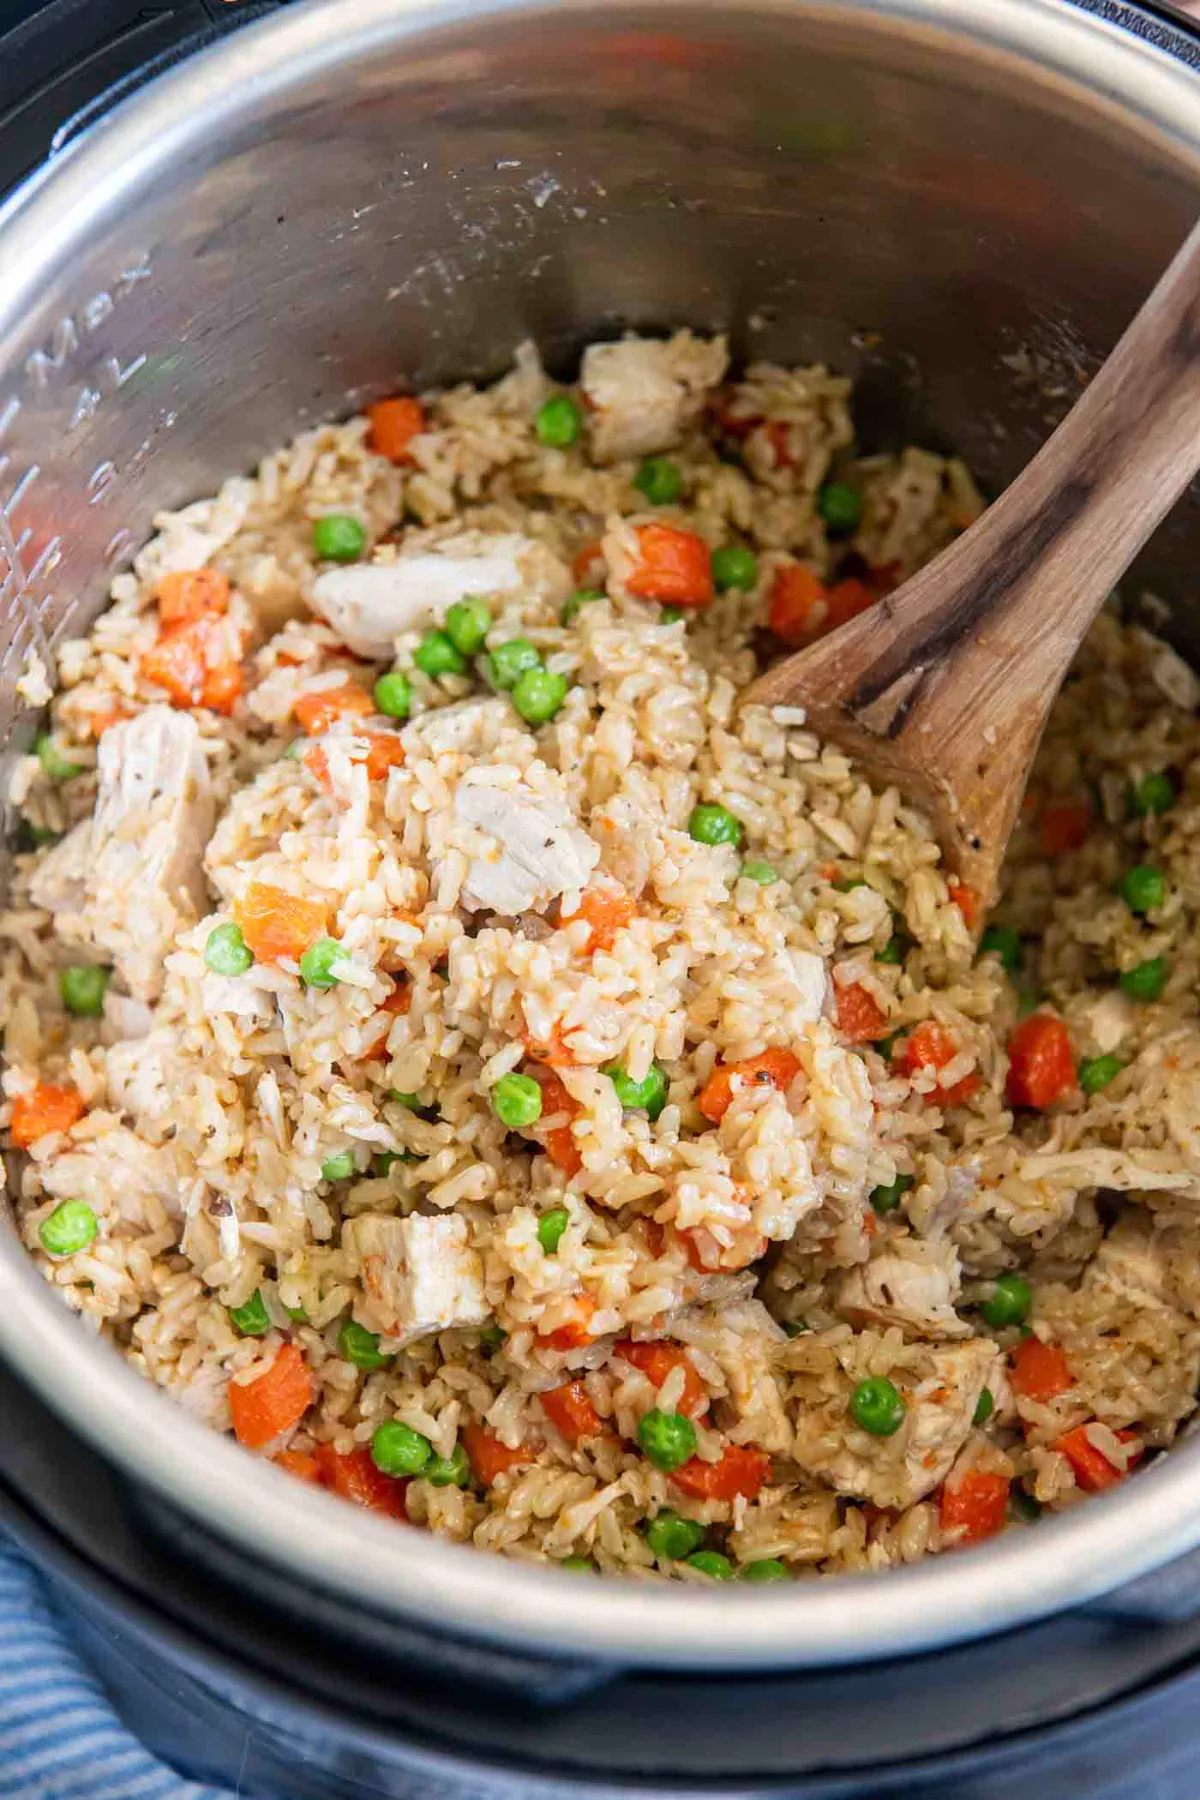
If you've been hunting for an instant pot duo rice recipe that actually works, the problem isn't you. It's the ratio, the timing, and the way you release pressure. Aggregate reviews report that most failed pressure-cooker rice comes down to two things: too much water and a rushed steam release.
The good news is that once you understand those two variables, you can get fluffy rice every time.
Manufacturer specifications indicate that the Duo's rice preset defaults to a 12-minute low-pressure cycle. That can turn white rice mushy. As of 2026, the Duo still ships with that same preset, which is why many people think the pot is broken.
It's not a defect. It's just the wrong setting for most grains.
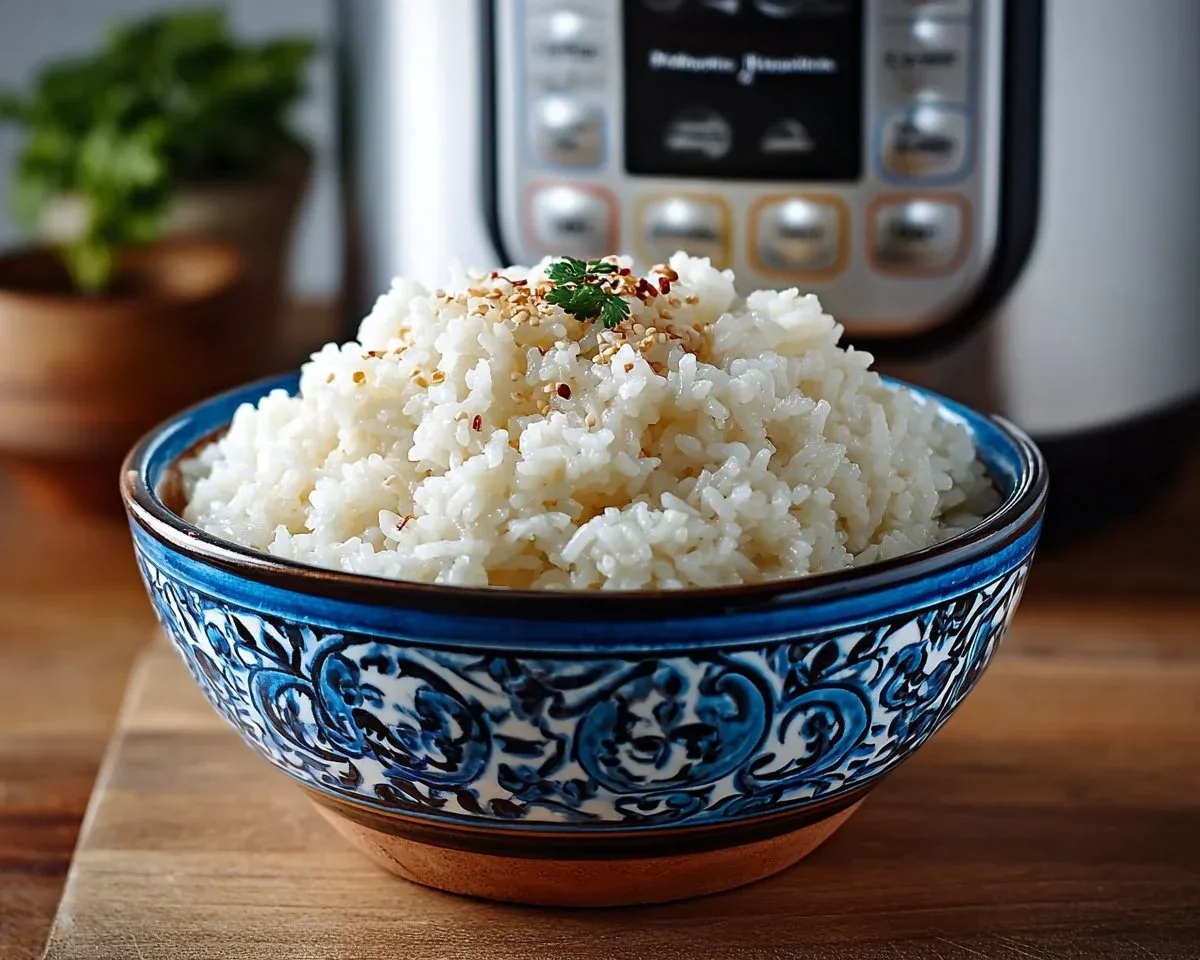
Image source: Bing (Web (fair-use with source credit))
Quick Answer
The best instant pot duo rice recipe is simple. Use a 1:1 water-to-rice ratio. Cook white rice on High Pressure for 3 minutes.
Let it sit for 10 minutes. Then release the remaining steam. Fluff and serve.
Why Your Instant Pot Rice Might Be Off
Almost every batch of bad rice comes from a mismatch between the preset and the grain. The Rice button on the Duo was programmed for speed, not texture. It runs a low-pressure cycle that's too long for most white rice.
By the time the pot beeps, the outside is gluey and the center is overcooked.
The second culprit is the release method. New users often flip the valve to Venting the second the countdown hits zero. That sudden steam release yanks moisture out of the grains, pushing them into sticky clumps.
Natural release lets the pressure drop slowly, so the extra liquid soaks back into the rice instead of boiling off.
Other common offenders include:
- Overflowing water. Too much liquid makes a porridge-like texture.
- No rinse. Starch on the grain creates a gummy coating.
- Random timing. Each rice type needs a different cook time.
The Core Concept: Rice-to-Water Ratio and Pressure Release
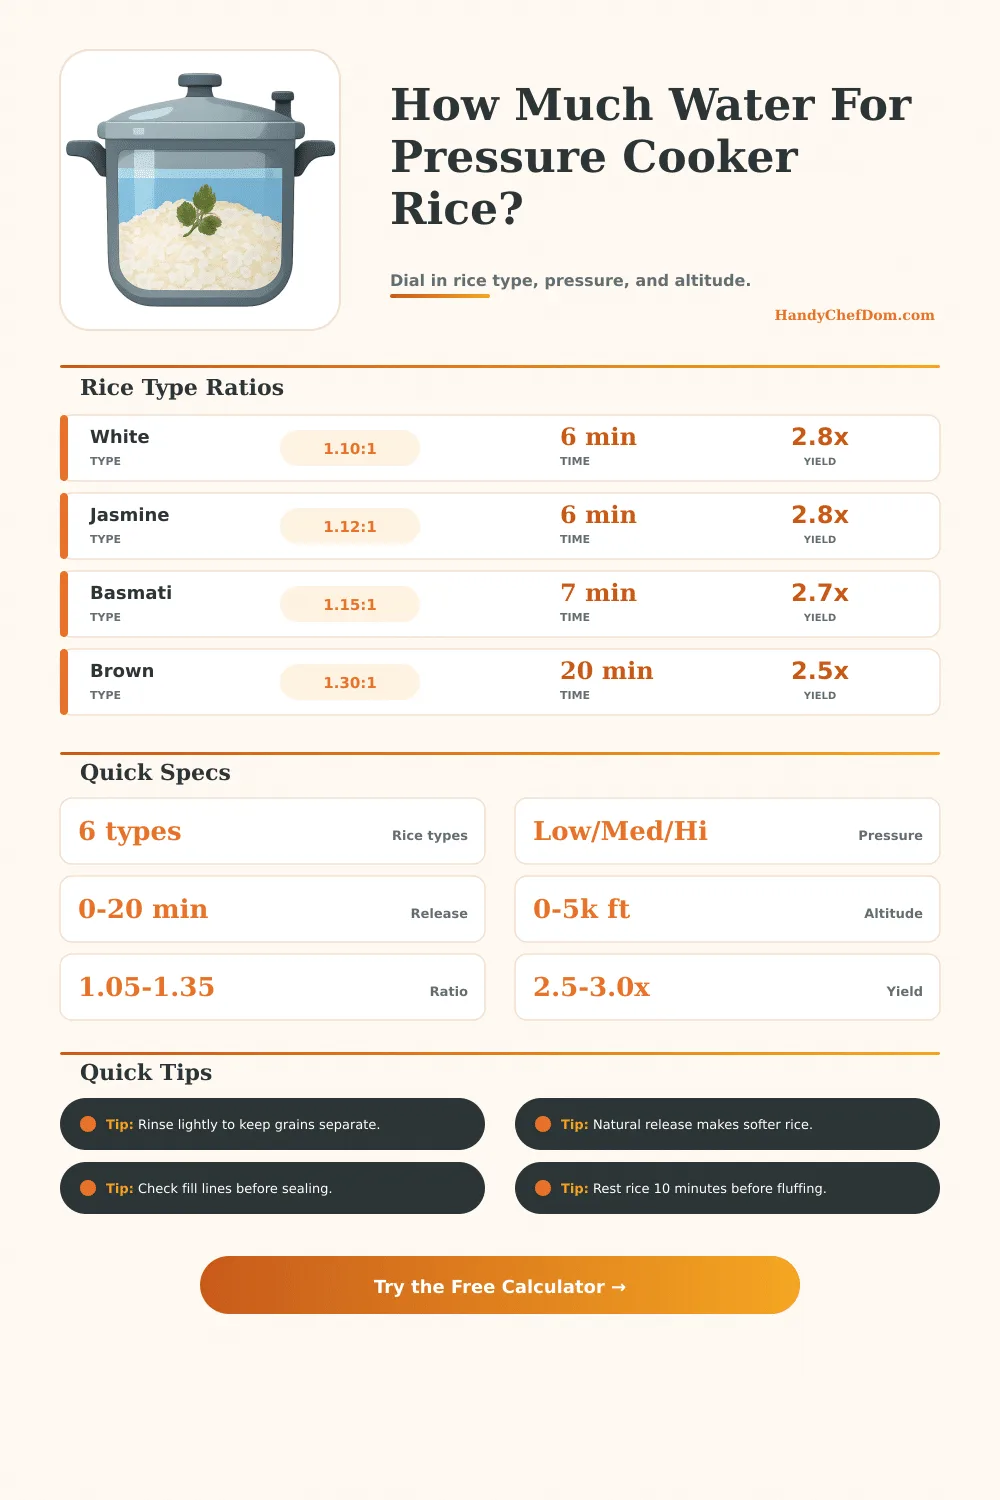
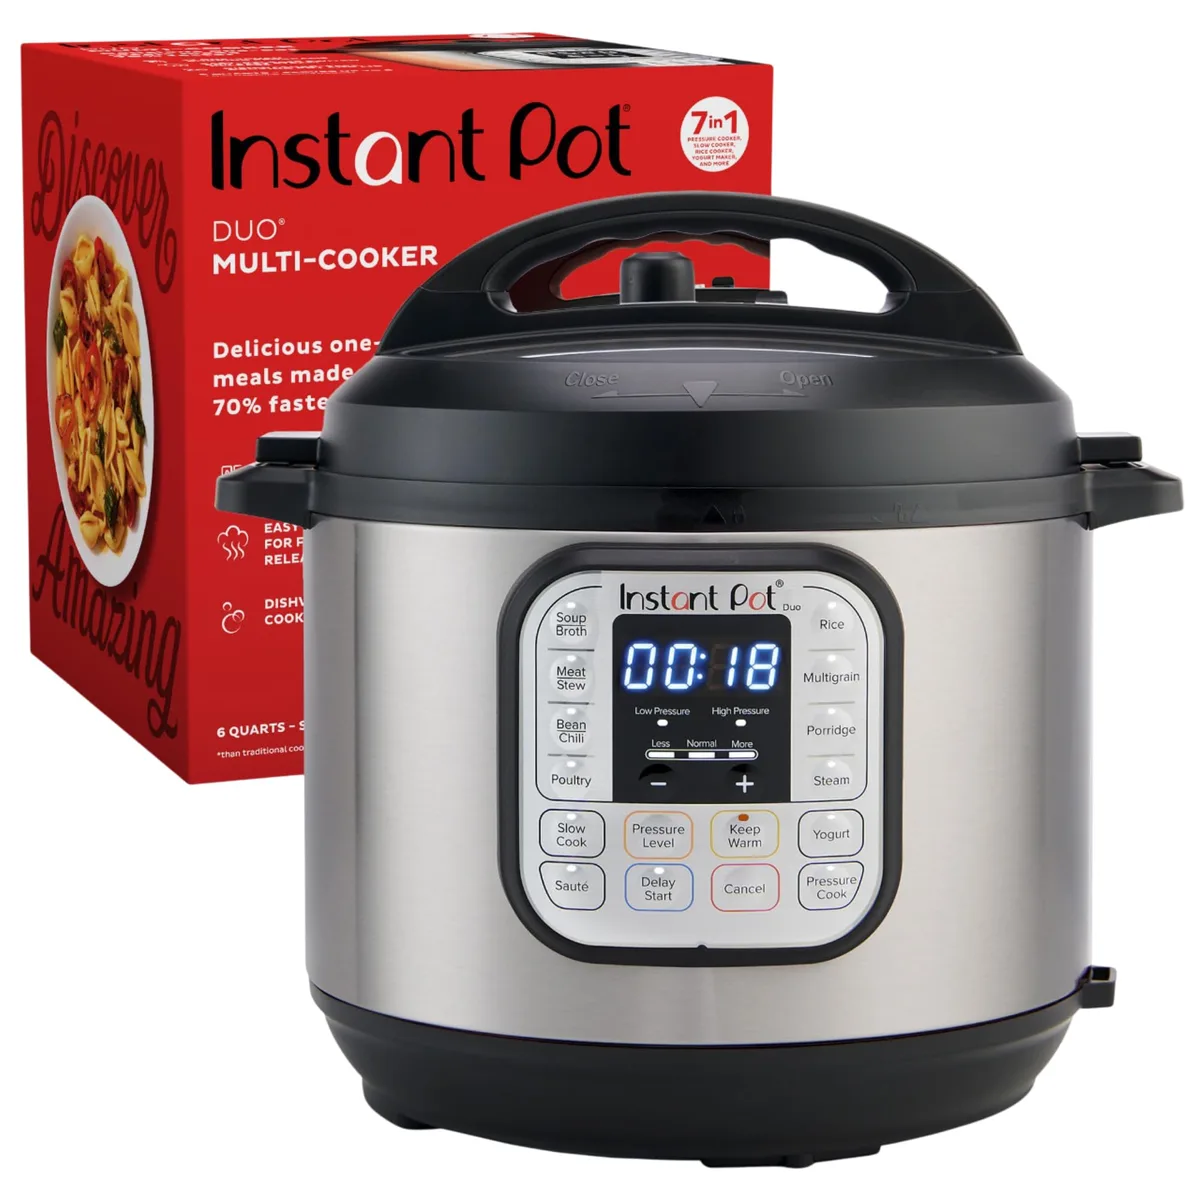
Image source: Bing (Web (fair-use with source credit))
Rice is the one grain where volume matters more than weight in this pot. Measure rice and water with the same cup, and the math stays clean. The Instant Pot's included cup holds about 180 ml, not the 240 ml of a standard US measuring cup.
That 60 ml difference can shift your entire batch from fluffy to soupy.
A good starting ratio for long-grain white rice is 1:1. Jasmine and basmati often benefit from an extra 1/4 cup of water per cup of rice. Brown rice keeps its bran, so it needs a longer cook time, usually 22 to 24 minutes at high pressure.
The table below reflects the most commonly verified starting points.
| Rice Type | Rice (IP Cup) | Water | Mode | Minutes |
|---|---|---|---|---|
| Long-grain white | 1 | 1 cup | High Pressure | 3 |
| Jasmine or basmati | 1 | 1.25 cups | High Pressure | 4 |
| Short-grain or sushi | 1 | 1.25 cups | High Pressure | 4 |
| Brown rice | 1 | 1 to 1.25 cups | High Pressure | 22 to 24 |
Release method matters as much as ratio. Natural Pressure Release, or NPR, means leaving the valve on Sealing after cooking ends. Quick Release means turning it to Venting right away.
For rice, always use NPR for at least 10 minutes. That's not a resting break. It's the final cooking stage.
Your Rice Cooking Decision Tree: Find Your Rice, Find Your Settings
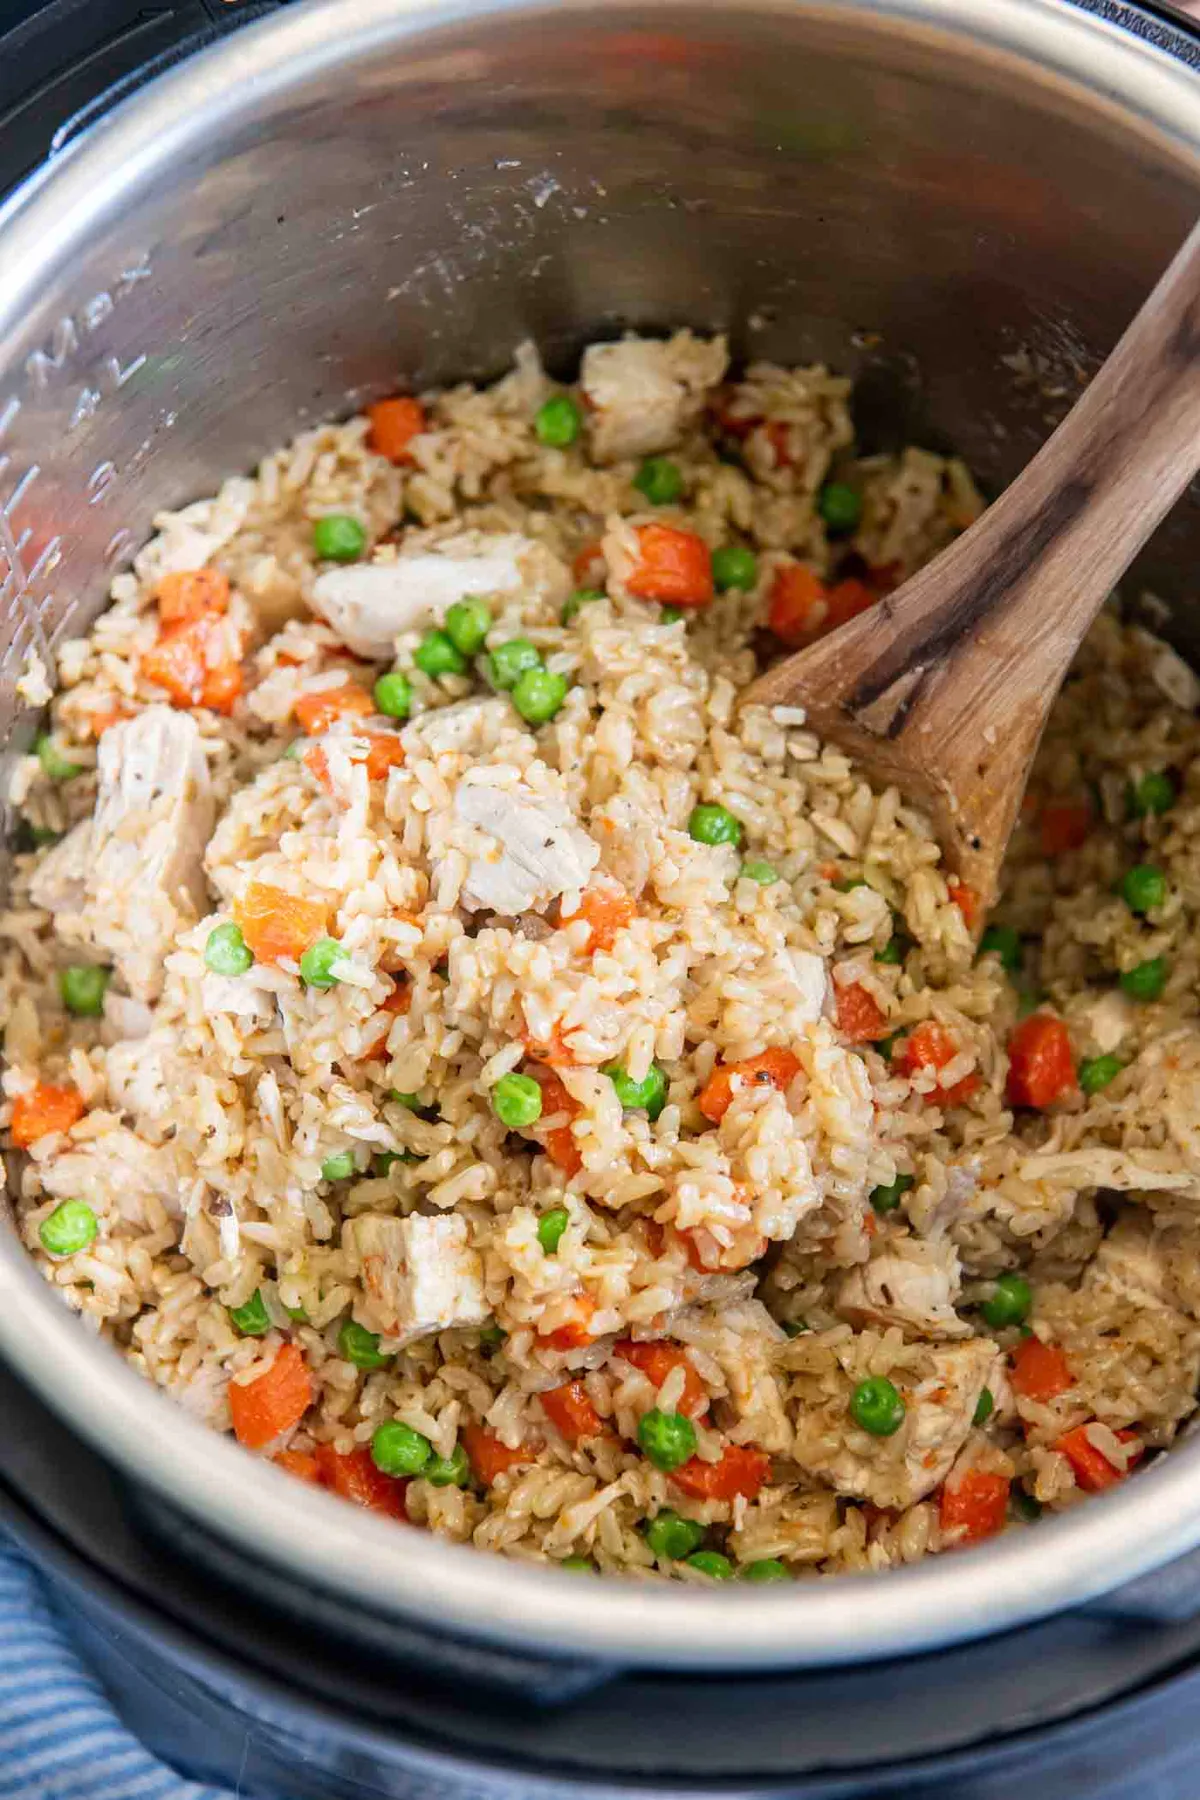
Image source: Bing (Web (fair-use with source credit))
Here's the decision tree to follow whenever you're staring at a bag of rice. Start with the grain, then match the branch.
- White long-grain rice. Use high pressure for 3 to 4 minutes. Use 1 to 1.25 cups of water per cup of rice. Natural release for 10 minutes.
- Short-grain or sushi rice. Use 1.25 cups of water per cup of rice. Cook on high pressure for 4 minutes. It'll be stickier, which is what you want.
- Brown rice. Use about 1 cup of water per cup of rice. Cook for 22 to 24 minutes at high pressure. If it's still chewy, try 25 to 26 minutes next time.
- Wild rice. Treat it like brown rice, not white. It needs 25 to 30 minutes and a slightly higher water ratio, around 1.25 cups.
- Mixed or unknown grain. Use the longest cooking grain in the blend as your guide. Check at the 20-minute mark if possible.
If you see the Burn code, you either used too little liquid or didn't rinse off the starch. Rice that lands on the bottom of the stainless pot can scorch during the pressure build-up. Add at least 1 cup of liquid, and scrape the bottom before locking the lid.
Step-by-Step: How to Cook Any Rice in the Instant Pot Duo
The workflow below works for the Duo and the Duo Plus. Once you lock in the ratio and time, you can scale it up.
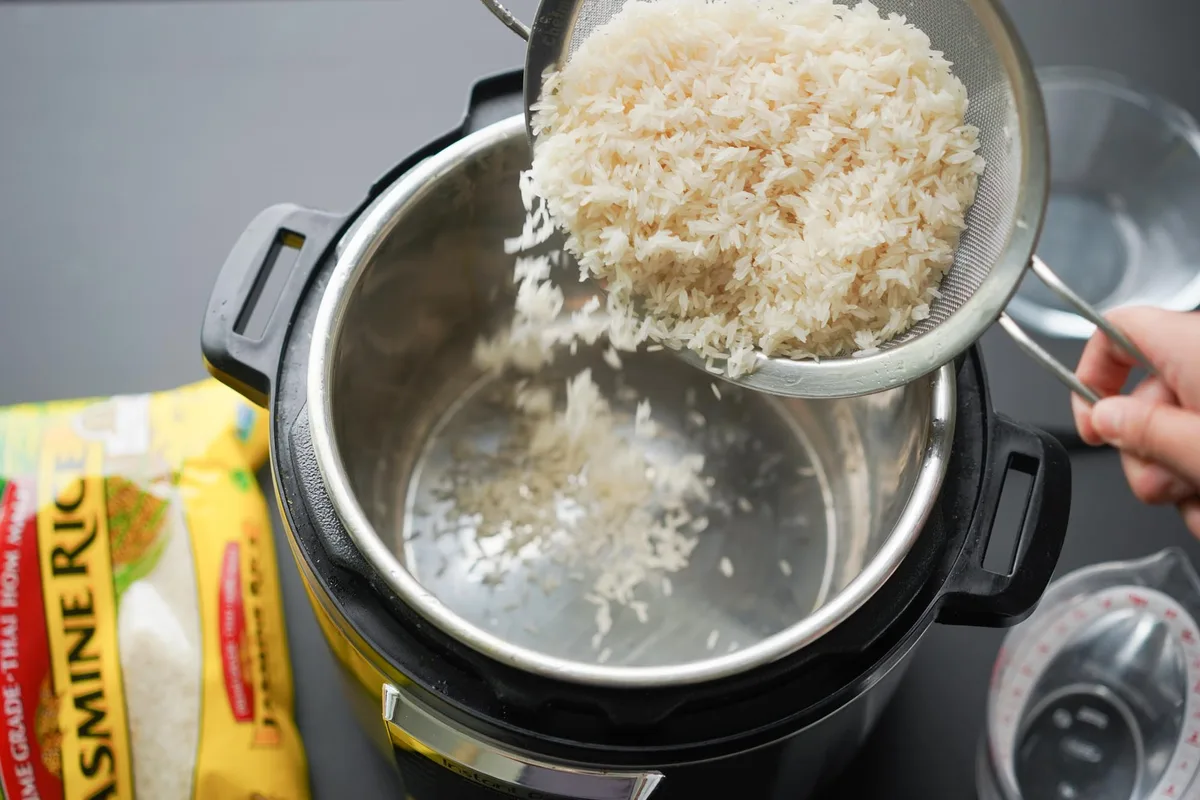
- Rinse the rice in a fine mesh strainer until the water runs clear. This step is critical. It washes away the surface starch that causes the Burn code and gummy texture.
- Drain the rice well. Extra water changes the ratio.
- Place the rice in the inner pot. Add the correct amount of water. Use the Instant Pot measuring cup, not a larger kitchen cup.
- Lock the lid in place. Turn the steam release valve to Sealing.
- Press Manual or Pressure Cook. Set it to High Pressure.
- Adjust the time with the +/- keys. Use the table from the previous section.
- When the countdown ends, let the pot sit untouched for 10 minutes.
- Turn the valve to Venting to release the remaining steam.
- Open the lid away from your face. Fluff the rice with a fork or the included paddle.
- Let it rest for a few minutes with the lid cracked before serving.
Per the Instant Pot Duo support site, you should always use at least 1 cup of liquid in the inner pot. That's the minimum needed for pressure to build correctly. If you double the recipe, don't fill the pot past the halfway mark.
Common Mistakes That Ruin Instant Pot Rice (And How to Fix Them)
- Skipping the rinse. Starch from dry rice turns into a glue-like film under pressure. Rinse until the water is clear.
- Using the wrong cup. The Duo's measuring cup is not a full US cup. Use it for both rice and water, or use a standard cup for both.
- Quick-releasing immediately. That blasts water out of the grains. Let the pot sit on NPR for at least 10 minutes.
- Cooking long-grain white rice for 10 or 12 minutes. The Rice button defaults to that. Use Manual mode for 3 minutes on high.
- Stirring the rice before cooking. This pushes starch to the bottom and can trigger the Burn code. Leave the rice settled and level.
- Overfilling the pot. Rice expands to roughly double, sometimes more. Never fill past halfway.
- Ignoring the natural release. A quick release also sputters hot starchy water onto the lid and counter. That's messy, and it ruins texture.
When to Use the Rice Button vs. Manual Mode
The Rice button isn't a shortcut to bad rice. It's a preset with a specific target, and most grains miss it. That preset runs low pressure for 12 minutes.
Long-grain white rice turns to mush in that window. Brown rice, which needs 22 to 24 minutes at high pressure, comes out chewy and hard.
Manual mode fixes the problem. Press Manual or Pressure Cook. Set it to High Pressure.
Then use the +/- keys to set your own time. It takes about 10 seconds, and the texture improves dramatically.
The Rice button still has a place. It works well for boxed rice mixes with seasoning packets. It's also fine for pilafs with barley or farro where you're not chasing perfect grains.
Those recipes already include liquid and aromatics, so exact timing matters less.
Aggregate reviews from cooking communities indicate that Manual mode produces better rice in about 90% of home scenarios. The table below shows the difference at a glance.
| Method | Best Use | Pressure Level | Time |
|---|---|---|---|
| Rice Button | One-pot blends, forgiving grains | Low | 12 min fixed |
| Manual Mode | Plain rice, exact texture | High | 3 to 24 min adjustable |
| Rice Type | Water per Cup | Pressure | Time (min) | Release |
|---|---|---|---|---|
| Long-grain white | 1 cup | High | 3 | NPR 10 |
| Jasmine | 1.25 cups | High | 4 | NPR 10 |
| Basmati | 1.25 cups | High | 4 | NPR 10 |
| Short-grain (sushi) | 1.25 cups | High | 4 | NPR 10 |
| Brown rice | 1 to 1.25 cups | High | 22 to 24 | NPR 10 |
| Wild rice | 1.25 cups | High | 25 to 28 | NPR 10 |
| Mixed grain blend | 1.25 cups | High | 20 | Check |
NPR means natural pressure release. Let it sit for 10 minutes after cooking, then turn the valve to Venting for the rest.
Quick Reference Sheet: Cooking Times and Ratios
Use this as your go-to table. Sticky-note it to the inside of a cabinet if you need to. All ratios use the Instant Pot measuring cup, which holds about 180 ml, not a full US cup.
The table above covers standard rice. For larger batches, keep the same ratio. The cook time doesn't double when you double the rice.
The pot only takes longer to reach pressure, and that's automatic.
Pot-in-pot is a handy alternative. Fill a stainless steel bowl with rice and the same water ratio. Add 1 cup of water to the main pot.
Set the bowl on the trivet, lock the lid, and use the same cook times. This works great for side dishes while the main pot cooks something else.
For one-pot meals, reduce the rice liquid by 1/4 cup at a time. Vegetables, chicken, and canned beans all release moisture during pressure cooking. If you keep the full ratio, you'll end up with soup.
Start lean, then add a splash at the end if needed.
A few final checks before you press start. Rinse the rice. Scrape the bottom of the pot if anything clings to it.
Confirm the valve is set to Sealing. After that, walk away and let the pot do its job.

Similar Posts