Perfect Fluffy Jasmine Rice Recipe (Instant Pot)
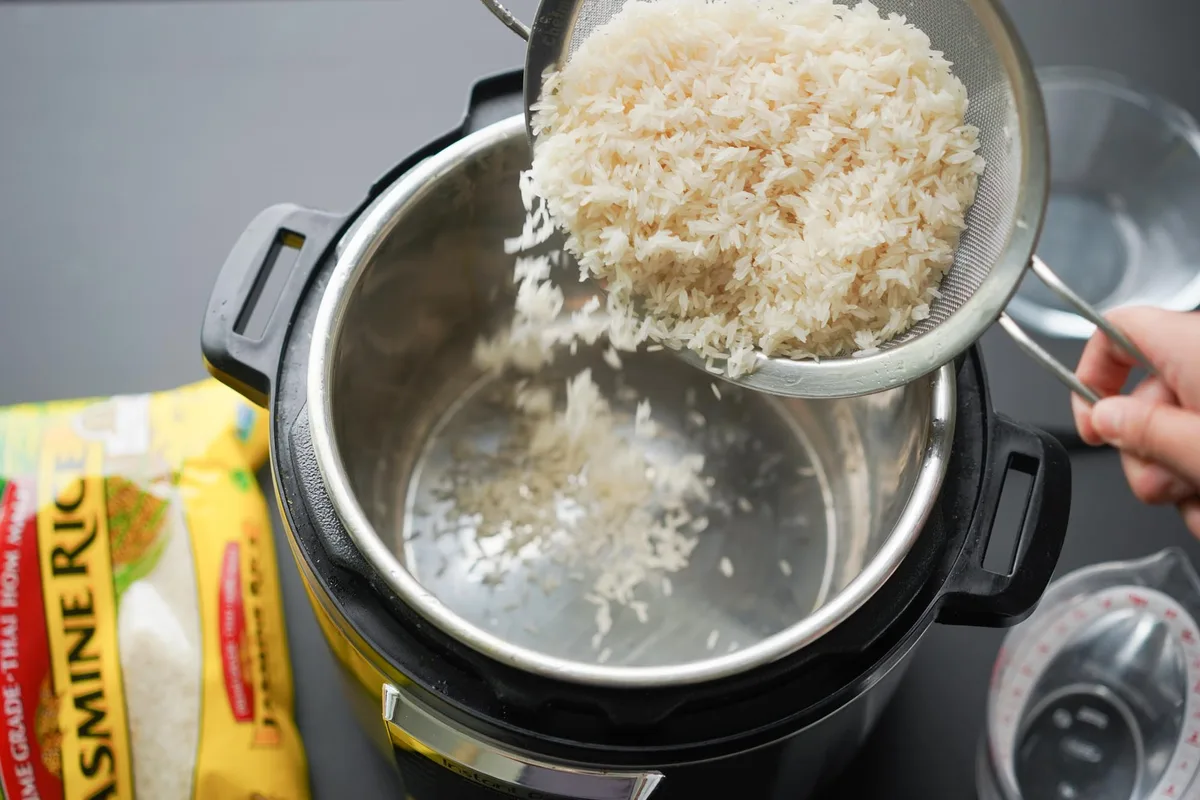
If your instant pot jasmine rice recipe keeps coming out gummy, crunchy, or triggering the dreaded Burn notice, the problem is almost never the pot. It's the method. Most generic recipes treat jasmine rice like any other white rice, and that's exactly where things go sideways.
Jasmine rice is a long-grain variety with a delicate starch structure that reacts differently to pressure than basmati, sushi rice, or plain medium-grain. As of 2026, the consensus across manufacturer documentation and aggregate home-cook testing is clear: a 1:1 water-to-rice ratio, a 3-minute pressure cook time, and a full 10-minute natural release. Skip any of those and you're fighting the physics of pressure cooking.
Here's how to nail it every single time.
Image source: Bing (Web (fair-use with source credit))
Why Your Instant Pot Jasmine Rice Goes Wrong (And How to Fix It)
The quick answer: rinse your rice, use a 1:1 ratio by volume, cook on high pressure for 3 minutes, then let the pressure release naturally for 10 minutes. That's it. One cup of jasmine rice.
One cup of water. Three minutes at high pressure. Ten minutes of natural release.
If you've ever had a bowl of sticky, clumped-together mush, you probably used too much water or opened the lid too fast. Quick release causes a rapid drop in pressure, which makes the rice grains burst and turn gluey. A Burn notice usually means the rice wasn't rinsed enough, leaving surface starch to scorch on the bottom of the inner pot.
If your rice comes out dry and crunchy, the opposite happened. You likely used too little water, skipped the natural release, or your rice is old and has lower moisture content. Older rice absorbs more water than freshly harvested bags, so you may need to nudge the ratio to 1:1.25 when your bag has been open for months.
The fix is a simple workflow. Rinse, drain, measure, cook, wait. Every step feeds into the next, so treat this like a sequence rather than a list of standalone tips.
The Real Science: Why Ratio Matters More Than Time
Most people obsess over cooking time. That's backwards. In a pressure cooker, the ratio of water to rice is the single biggest variable, and time is almost secondary at these short durations.
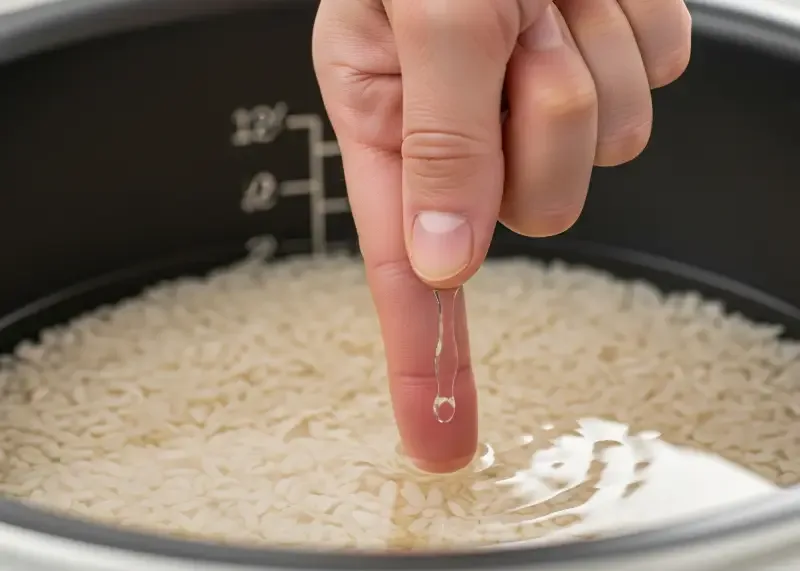
Image source: Bing (Web (fair-use with source credit))
Jasmine rice is about 12% to 15% moisture by weight when stored normally. When you add water and cook under pressure, the starch gelatinizes somewhere between 185°F and 205°F. The pressurized environment reaches about 240°F, which is hot enough to fully hydrate the grain's core, but only if there's enough water to absorb.
Here's what the math looks like in practice. Jasmine rice absorbs roughly 1.5 times its volume in water during cooking. The extra 0.5 cup per cup of rice stays as steam or gets absorbed into the grain structure.
Use a 1:1 ratio and you're giving the rice exactly what it needs, no more, no less.
Too much water, like the 1:1.5 ratio used for some brown rices, oversaturates the grains. They swell until the outer layers split, releasing starch into the pot. That's your gummy texture.
Too little water, like 0.75:1, leaves the grain cores hard and chalky.
Time matters, but only within a narrow window. Three minutes at high pressure is enough to gelatinize the starch in white jasmine rice because the grains are thin and hydrate quickly. Five minutes works.
Ten minutes overcooks. The 10-minute natural release matters equally, since the residual heat finishes the job while pressure gradually drops.
The Step-by-Step Workflow for Fluffy Jasmine Rice Every Time
This is the exact sequence that produces consistent results across Instant Pot Duo, Duo Nova, Ultra, Pro, and Lux models. The buttons differ slightly, but the core workflow doesn't change.
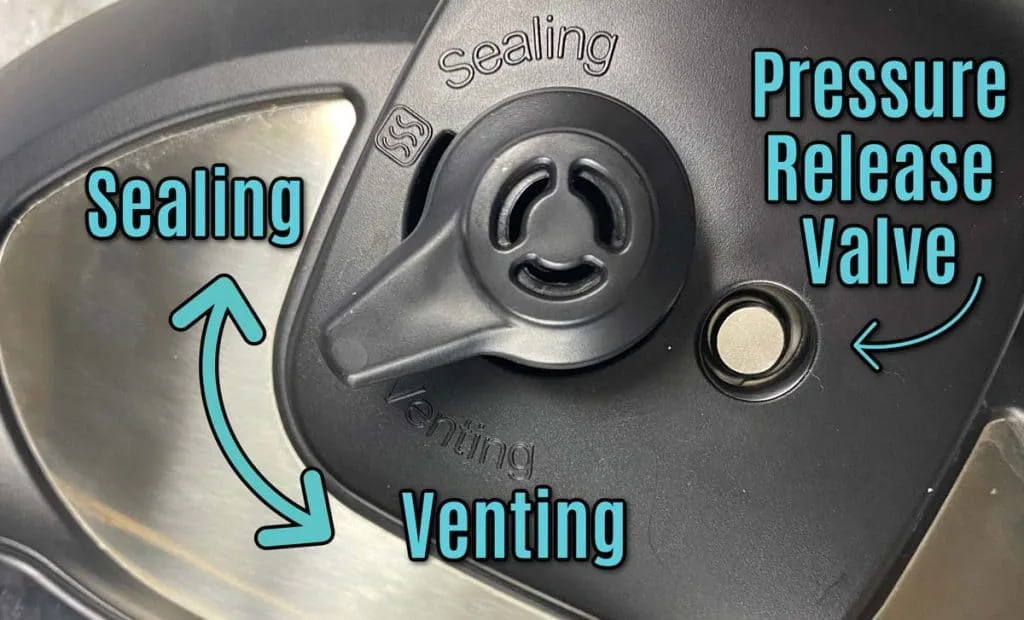
Image source: Bing (Web (fair-use with source credit))
Step 1: Rinse the rice. Place the rice in a fine-mesh strainer. Run cold water over it while swirling with your hand. Keep going until the water runs clear, usually 3 to 4 rinses.
This washes away surface starch that causes sticking and Burn notices.
Step 2: Drain thoroughly. Shake the strainer well. Extra water clinging to the rice adds to your ratio and skews the cook. Aim for rice that looks damp, not wet.
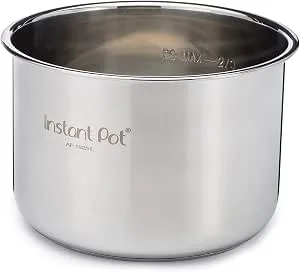
Step 3: Add to the inner pot. Use the stainless steel liner that comes with your Instant Pot. Add the drained rice, then add the same volume of fresh water. One cup of rice gets one cup of water.
Two cups gets two cups. Easy.
Step 4: Optional flavor boost. A pinch of salt, a teaspoon of butter, or a few drops of oil can be added here. None of these change the water ratio significantly, so safe to experiment. They'll give a silkier texture, but plain water works perfectly.
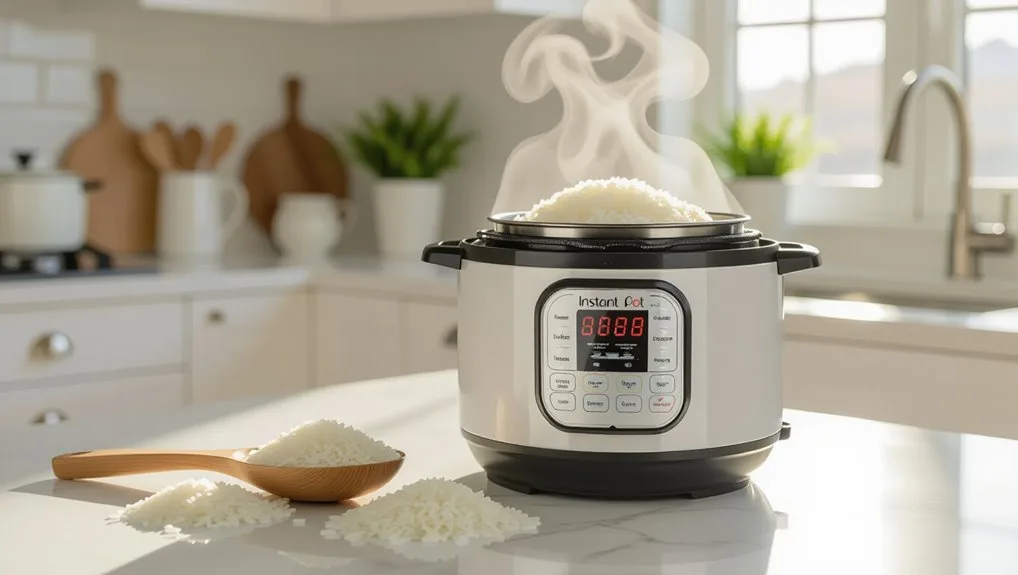
Step 5: Pressure cook. Secure the lid, turn the steam release valve to Sealing, and press Manual or Pressure Cook. Set it to High Pressure for 3 minutes. The pot takes about 10 minutes to come to pressure, then the 3-minute timer starts.
Step 6: Natural release. When the cycle finishes, ignore the pot for exactly 10 minutes. Let it sit. After 10 minutes, carefully turn the valve to Venting to release any remaining steam.
Open the lid away from your face.
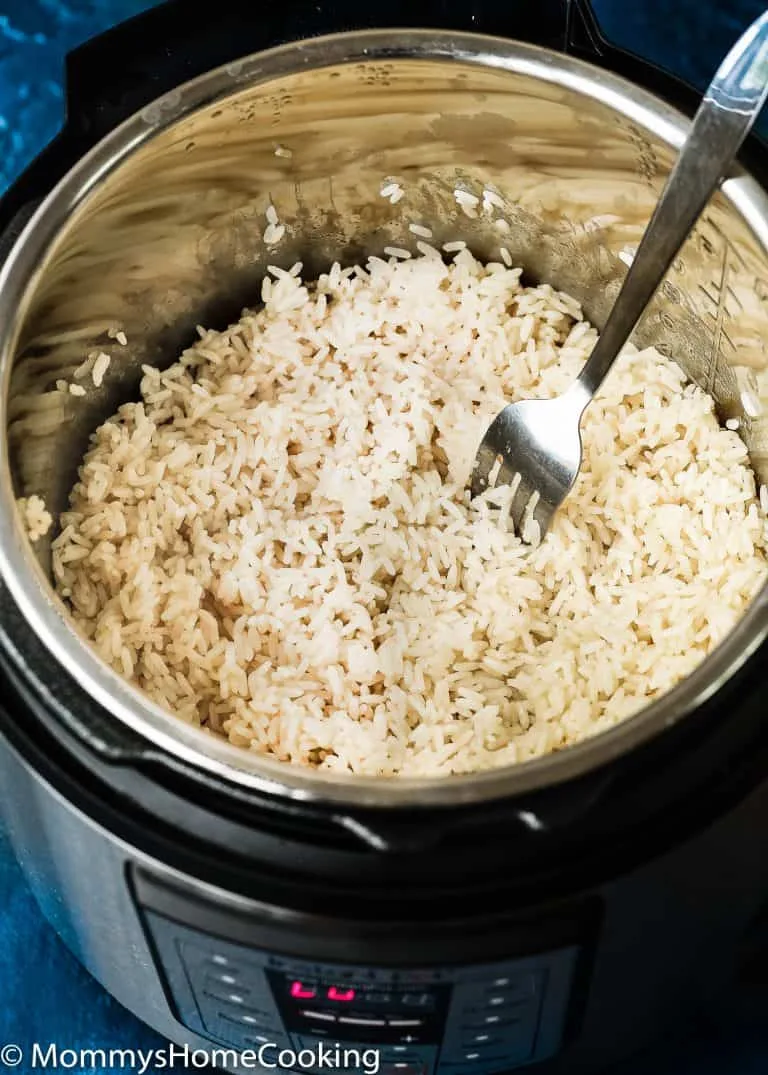
Step 7: Fluff and serve. Use a fork to gently fluff the rice. This separates the grains without mashing them. Let it rest uncovered for 2 minutes before serving to let excess moisture escape.
The 3-Minute Method for Separate Grains
This is your baseline for rice bowls, stir-fries, and anything where you want distinct, fluffy grains. The 3-minute high-pressure cook with 10-minute natural release gives the most separated texture. If you're cooking 3 or 4 cups at once, add a tiny bit more water, about 1.1 cups of water per cup of rice, since the larger batch traps more steam.
The Sticky Method for Asian-Style Meals
Prefer rice that clumps slightly and holds together with chopsticks? Adjust the ratio slightly. Use 1 cup of rice to 1.25 cups of water and cook on low pressure for 12 minutes, then natural release for 10.
This gives you softer, stickier grains closer to what you'd get at a Thai restaurant. Low pressure cooks gentler, preventing the grains from staying too firm.
Pot-in-Pot for Saucy Mains
Cooking rice directly in the pot while you cook a stew or curry below is smart, but you need the right setup. Add the main dish and its liquid to the inner pot. Place a trivet or steamer rack on top.
Put your rice and water in a heat-safe bowl that fits inside. Lower it onto the rack, cover, and cook on high pressure for 10 minutes. The rice absorbs flavor from the steam rising below, and you get two dishes with one cook cycle.
The 5 Mistakes That Ruin Jasmine Rice (And How to Avoid Them)
Aggregate reviews across thousands of home cooks show the same five issues. If you've struggled with Instant Pot jasmine rice, one of these is your culprit.
Mistake 1: Skipping the rinse. This is the number one cause of gummy rice and burn errors. The dusty starch coating on unrinsed jasmine rice settles at the bottom of the pot and scorches. It also makes the cooked rice gluey.
Rinsing until the water is clear solves both problems.
Mistake 2: Using the quick release. Holding the valve open right after cooking drops the pressure instantly. The rice is still at 240°F and full of steam. That rapid expansion cracks the grains and ruins the texture.
Always wait 10 minutes. If you're in a hurry, wait at least 5, but 10 is the sweet spot.
Mistake 3: Cooked too long. The Instant Pot's preset Rice button is notoriously calibrated for a mix of rice types. On many models, it runs between 10 and 12 minutes. That's 7 to 9 minutes too long for white jasmine.
Ignore the presets. Set manual high pressure for 3 minutes.
Mistake 4: Adding too much water. A 1:1 ratio is non-negotiable for white jasmine rice in a pressure cooker. The stovetop rule of 1:1.5 or 1:2 doesn't apply here. The sealed environment traps all the steam, so far less water escapes as vapor.
Mistake 5: Not draining after rinsing. If you rinse and then measure the water on top without draining well, you're accidentally adding 1/4 cup or more of extra water. That extra pushes your ratio past the sweet spot. Drain the strainer for 30 seconds before transferring the rice.
Who This Workflow Works For (And When a Rice Cooker is Better)
This method fits most home cooks, but it's not the best tool for every situation. If you already own an Instant Pot, these steps give you perfectly fluffy jasmine rice without buying another appliance. That's the biggest win.
One pot handles rice, stews, yogurt, and everything else.
If rice is a daily staple and you cook it constantly, a dedicated rice cooker is usually easier. Rice cookers use a fuzzy logic algorithm that automatically adjusts time and temperature for different grains. They also keep rice warm for hours without drying it out.
An Instant Pot's Warm mode works, but it isn't quite as gentle over extended periods.
Batch size matters too. The Instant Pot handles 1 to 4 cups of dry jasmine rice beautifully. Push it past 4 cups and you'll get uneven cooking.
For meal prepping five days of rice in one go, a large rice cooker with a bigger capacity is the smarter play.
If you deliberately want very sticky fermented-style sticky rice for Thai desserts, a bamboo steamer is the traditional tool. A pressure cooker can't replicate that exact texture. For everyday steamed jasmine rice, though, this workflow matches and often beats stovetop results.
Meanwhile, students, couples, and small families will love that 1 cup of rice cooks in under 20 minutes total, and cleanup is a single pot. No watching, no stirring, no burnt-bottom panic. Set the time, walk away, and come back to perfect rice.
One safety note before you finish: cooked rice should not sit at room temperature for more than two hours. Per USDA food safety guidelines, refrigerate leftovers promptly at or below 40°F and reheat to 165°F. Rice can harbor Bacillus cereus, which multiplies in the danger zone, so handle leftovers with the same care you'd give any protein.
Your Biggest Questions, Answered
Can I use the Instant Pot rice button for jasmine rice?
Technically yes, but we don't recommend it. The preset Rice button on most models cooks for 10 to 12 minutes, which is far too long for white jasmine rice. That extended time breaks down the starch and leaves you with a mushy pot.
Set Manual or Pressure Cook for 3 minutes on high instead.
Why does my Instant Pot say Burn when I cook jasmine rice?
The Burn notice appears when the bottom of the inner pot gets too hot. Unrinsed jasmine rice leaves a starchy residue that scorches and triggers the sensor. Fix it by rinsing the rice until the water runs clear and draining it well.
Also check that you used at least a 1:1 water-to-rice ratio.
Can I double the recipe in a 6-quart Instant Pot?
Yes, but keep the ratio the same. Two cups of rice still get two cups of water, and the cooking time stays at 3 minutes. For 3 or 4 cups, add a splash extra water, about 1.1 cups per cup of rice, since larger batches trap more steam.
Never fill the inner pot past the Max line.
How long should the natural pressure release last?
Wait at least 10 minutes after the cooking cycle ends. Set a timer and walk away. If you're short on time, 5 minutes is the minimum, but your rice will be slightly firmer.
Opening the valve sooner causes a rapid pressure drop that cracks the grains and makes them gummy.
How do I store leftover jasmine rice?
Cool the rice to room temperature within an hour. Transfer it to an airtight container and refrigerate at or below 40°F. Per USDA guidance, cooked rice keeps for 3 to 4 days.
Reheat it with a splash of water in the microwave or a covered pan until it reaches 165°F.

Similar Posts