Instant Pot Ground Beef Rice Recipes You’ll Love
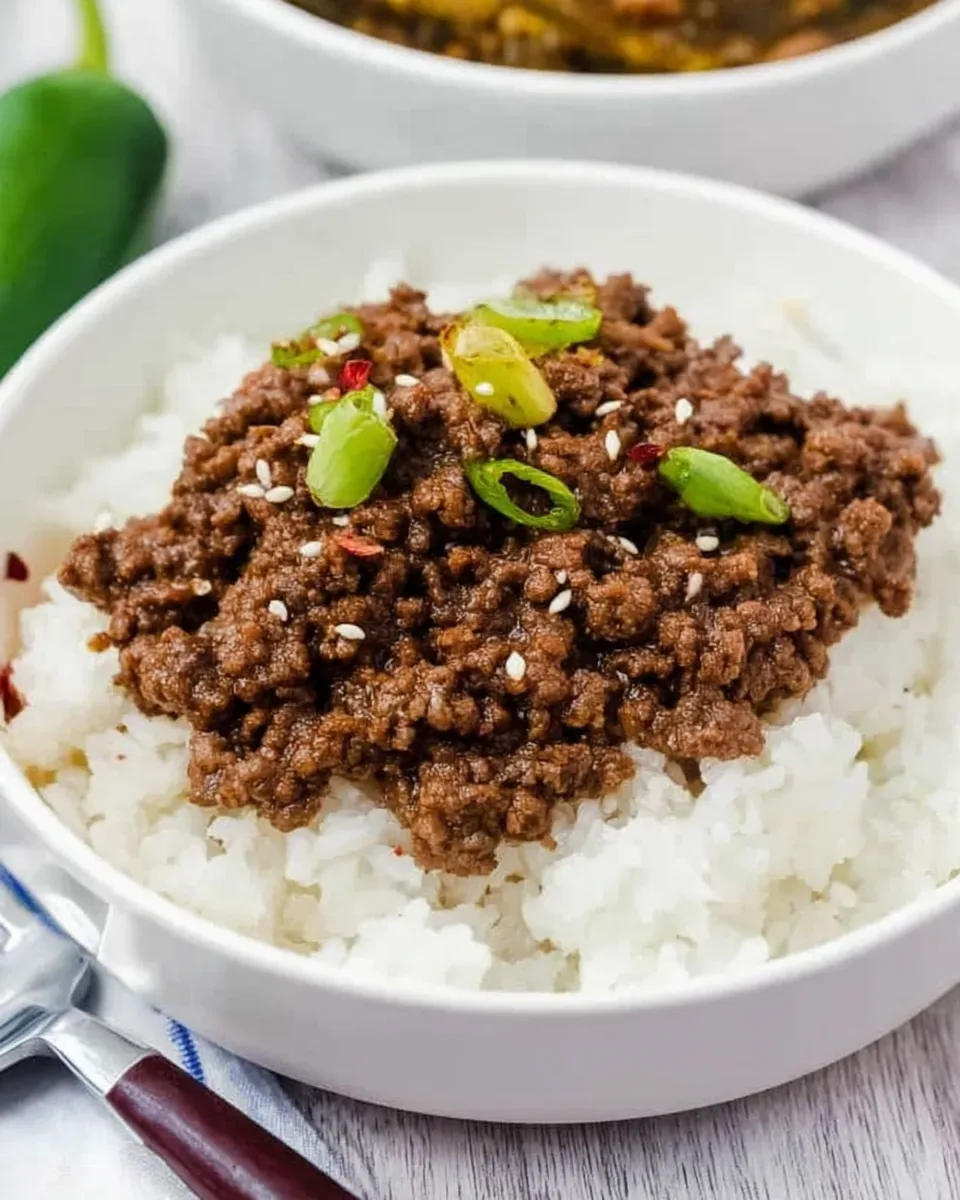
Not all instant pot ground beef rice recipes turn out the same way. You follow the instructions closely, hit start, and ten minutes later you get a Burn Notice or a pot of mushy rice that tastes more like damp cardboard than dinner.
That is not your fault. It's because these recipes look simple on paper but hide traps most cookbooks skip. As of 2026, aggregate user reviews across cooking forums show the biggest pain point is texture.
Specifically, getting the rice right while keeping the beef from turning the whole thing into greasy porridge. USDA guidelines recommend cooking ground beef to an internal temperature of 160°F, and your Instant Pot hits that easily. The real trick is managing liquid, fat, and release method so everything finishes at the same time.
Let's break down what actually works.
Quick Answer
The best instant pot ground beef rice recipes use a 1:1 rice-to-liquid ratio. White rice needs 4 minutes at high pressure. Brown rice needs 15 to 18 minutes.
Always deglaze the pot after browning the beef. And let the pressure release naturally for at least 5 minutes.
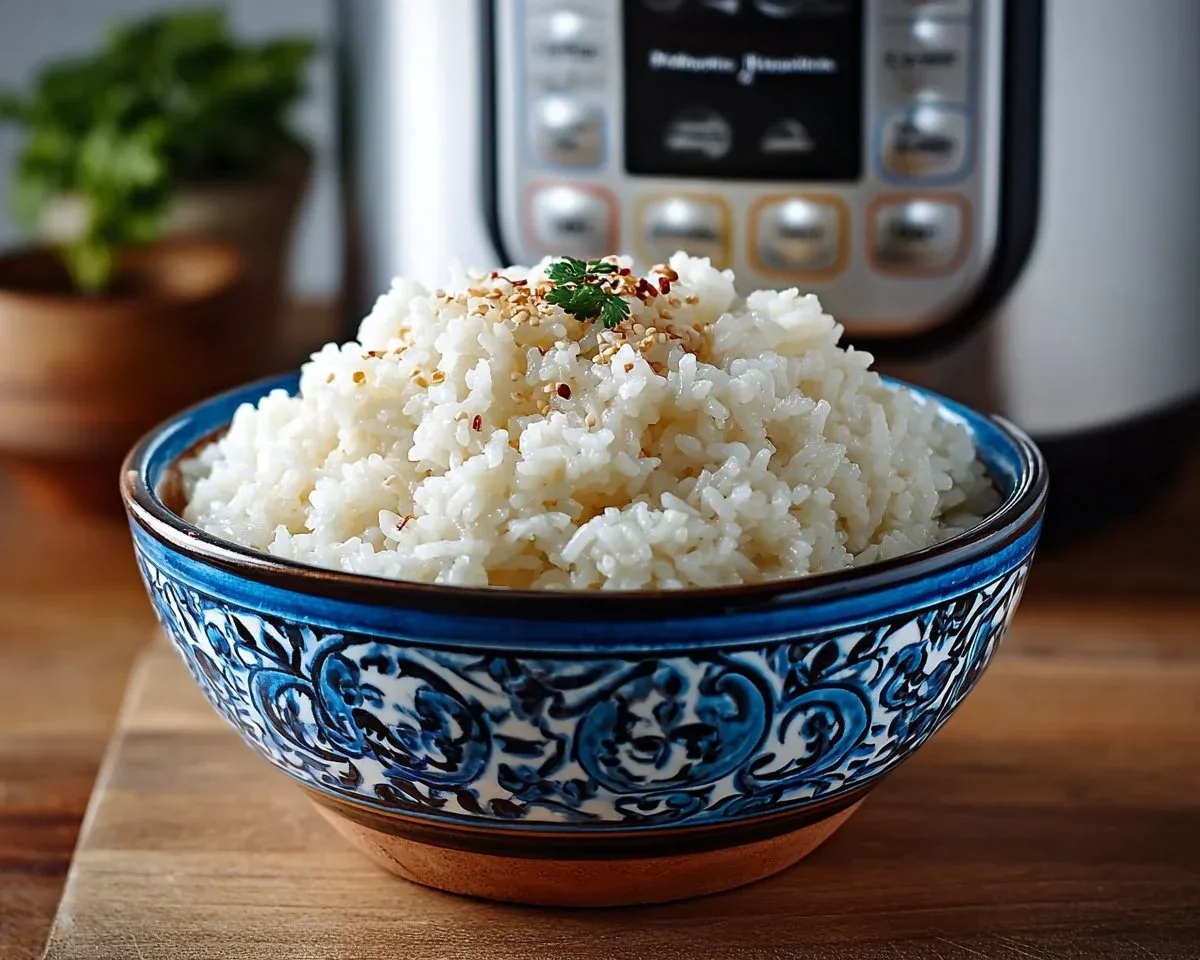
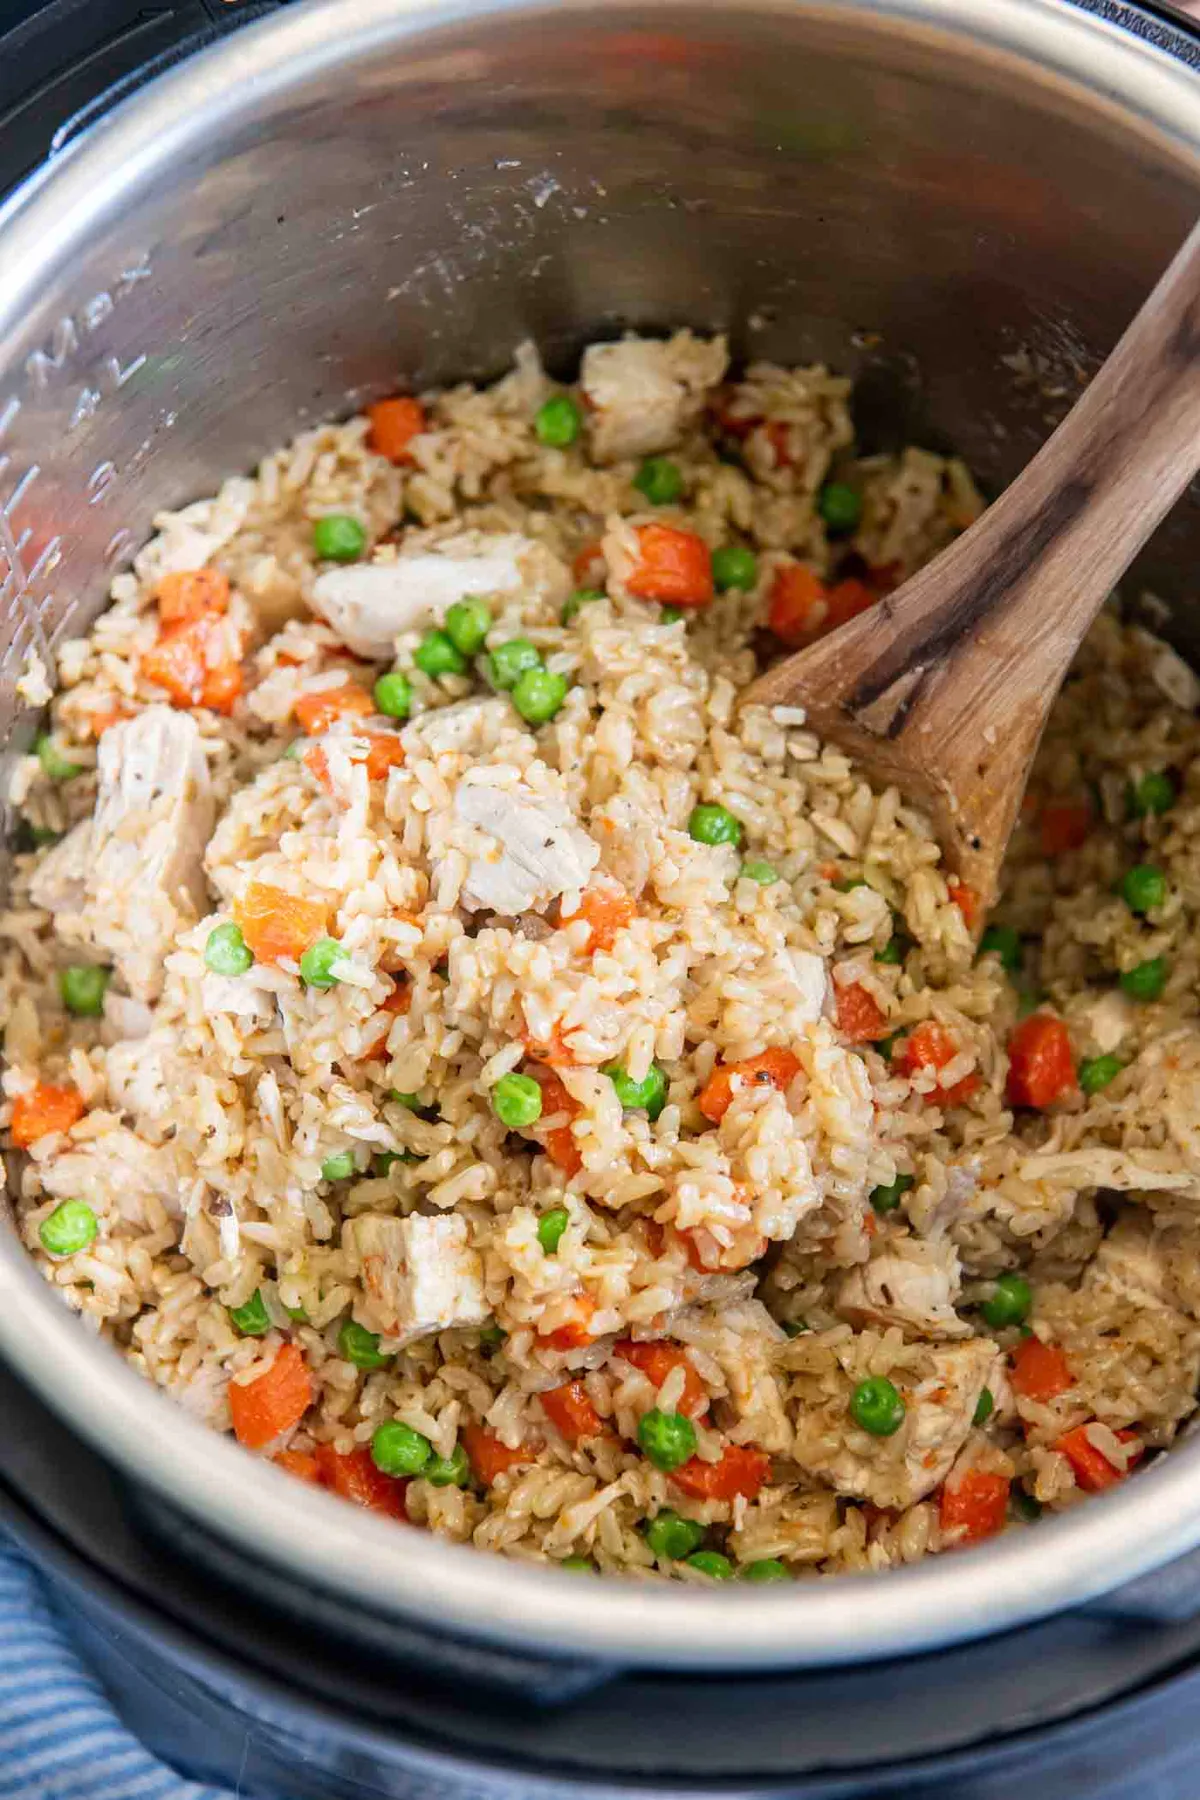
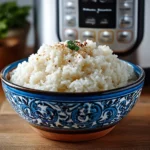
Image source: Bing (Web (fair-use with source credit))
Which Ground Beef and Rice Method Actually Tastes Best
You have three real options when cooking ground beef and rice in an Instant Pot. Each delivers a different result. The method you pick changes the texture, the cleanup, and how the flavors layer together.
Method one: everything in the pot at once. You brown the beef, add rice and liquid, then pressure cook. This is the fastest route. The rice absorbs the beef fat and any seasonings you add, so you get a unified, savory dish.
The downside is that the beef can overcook and turn crumbly or dry if you run the pressure cycle too long. This method works best with white rice because the cook time is short.
Method two: pot-in-pot. You cook the ground beef in the main pot and the rice sits in a separate heat-safe bowl on a trivet above it. This keeps the rice fluffy and separate from the meat. The beef gets pressure cooked in its own liquid, which tenderizes it nicely.
The trade-off is you have two containers to clean. It also takes slightly longer to come to pressure because of the extra mass inside.
Method three: pre-cooked rice stirred in after pressure cooking. You brown the beef, pressure cook it alone or with vegetables, then stir in leftover or instant rice at the end using the Keep Warm setting. This gives you total control over rice texture. It also avoids any risk of the rice absorbing too much liquid and turning mushy.
The downside is you need leftover rice on hand, which means planning ahead.
In our research, most experienced Instant Pot users prefer the one-pot method for weeknight speed and the pot-in-pot method when they want distinct textures. Pre-cooked rice is a smart backup if you meal prep on Sundays.
The Big Choice: Everything Mixed in One Pot vs Pot-in-Pot
This decision comes down to how you want the final plate to look and feel. Let's walk through the trade-offs side by side.
| Factor | One-Pot Method | Pot-in-Pot Method |
|---|---|---|
| Cleanup | One pot, one lid | Two containers, trivet |
| Rice texture | Absorbs beef flavor, softer | Fluffy, separate grains |
| Beef texture | Can get dry if overdone | Stays moist in its own juices |
| Total time | 25 to 30 minutes | 30 to 40 minutes |
| Best for | Quick weeknight meals | Company or meal prep |
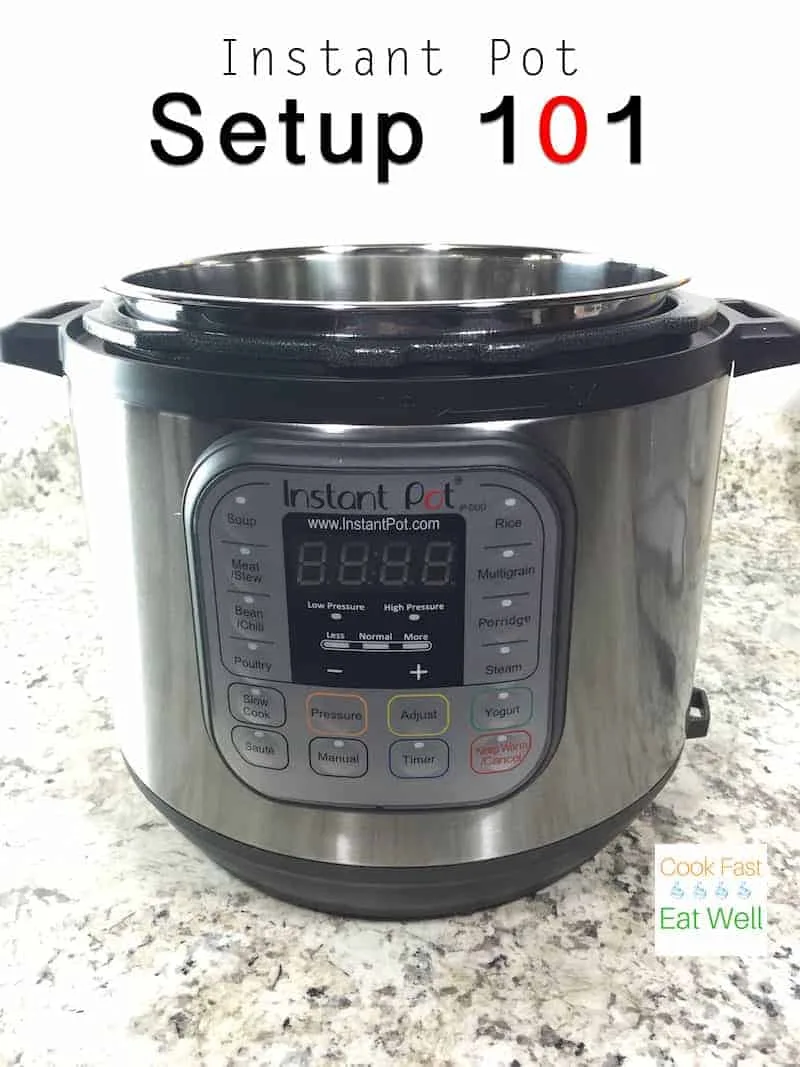
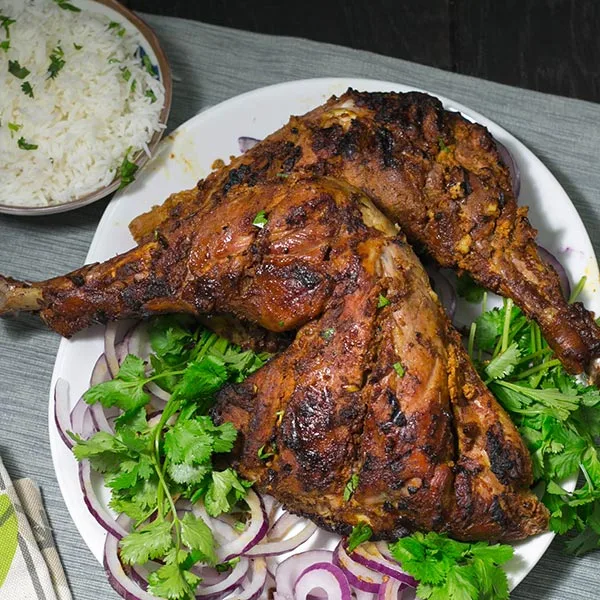
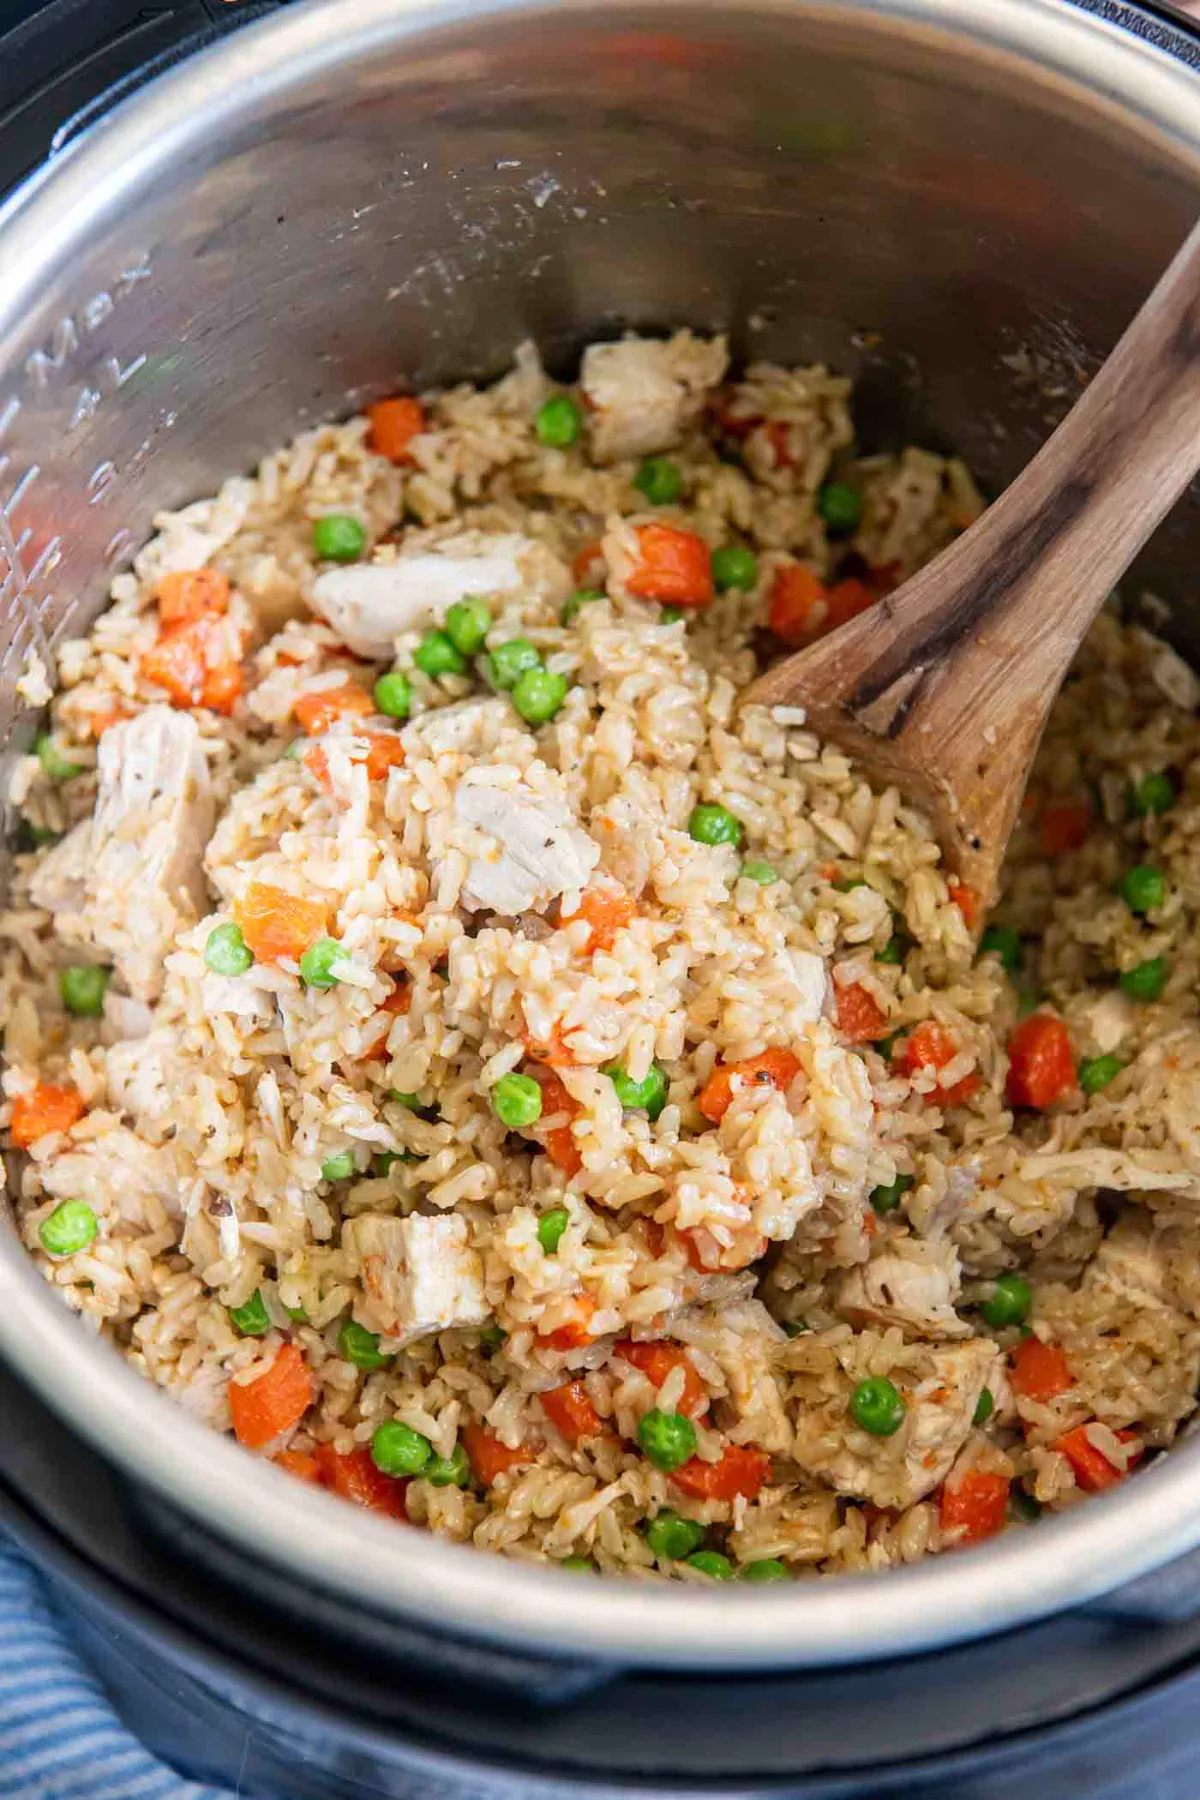
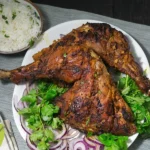
Image source: Bing (Web (fair-use with source credit))
The one-pot method wins on convenience. You brown the ground beef right in the Instant Pot using the Sauté function. Then you deglaze the pot with broth or water to lift the browned bits off the bottom.
This step matters because those bits will trigger a Burn Notice if you skip it. After that, you stir in the rice and remaining liquid, lock the lid, and pressure cook. The rice soaks up the seasoned liquid and the beef fat, creating a cohesive, pilaf-style dish.
The pot-in-pot method gives you more control. You brown the beef in the main pot, add a small amount of liquid, and set a trivet on top. In a separate bowl that fits inside the pot, you combine rice and water.
Both cook under pressure at the same time. The rice stays separate from the beef, so you can season them differently if you want. For example, you might add soy sauce and ginger to the beef while keeping the rice plain for a milder base.
If your goal is speed and fewer dishes, go one-pot. If you want a bowl with visible layers and distinct textures, pot-in-pot is worth the extra rinse.
Rice Type Face-off: White, Brown, Instant, and Wild
Rice is the variable that makes or breaks these recipes. Each type has a different cook time, liquid ratio, and release tolerance. Get these wrong and you are eating soup or concrete.
White rice (long-grain, jasmine, basmati). This is the easiest and fastest option. Use a 1:1 ratio of rice to liquid. Cook at high pressure for 4 minutes.
Let the pressure release naturally for at least 5 minutes, then quick release the rest. White rice tolerates a slight variation in liquid better than other types. It is the safest choice for beginners.
Brown rice. Brown rice needs more liquid and more time. Use a 1:1.25 ratio of rice to liquid. Cook at high pressure for 15 to 18 minutes.
Natural release for 10 minutes is mandatory. If you quick release brown rice too early, the grains stay crunchy in the center. Brown rice also absorbs more liquid overall, so the final dish is slightly drier than with white rice.
That is normal.
Instant or minute rice. This is a wildcard. Instant rice is already pre-cooked and dehydrated. It does not need pressure cooking at all.
If you add it before the pressure cycle, it turns into paste. Instead, cook the beef first, then stir in the instant rice after releasing pressure. Let it sit covered on Keep Warm for 5 minutes.
The rice rehydrates without overcooking.
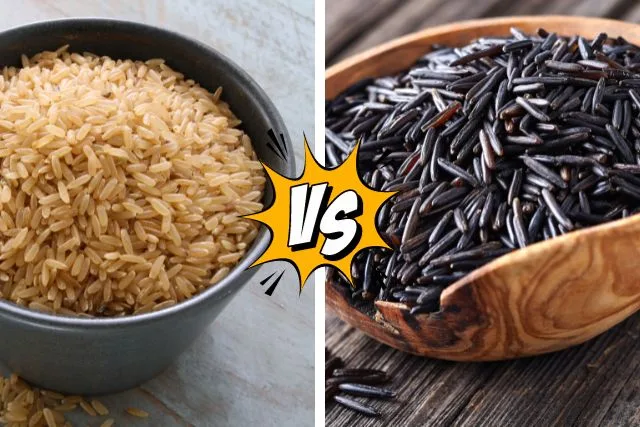
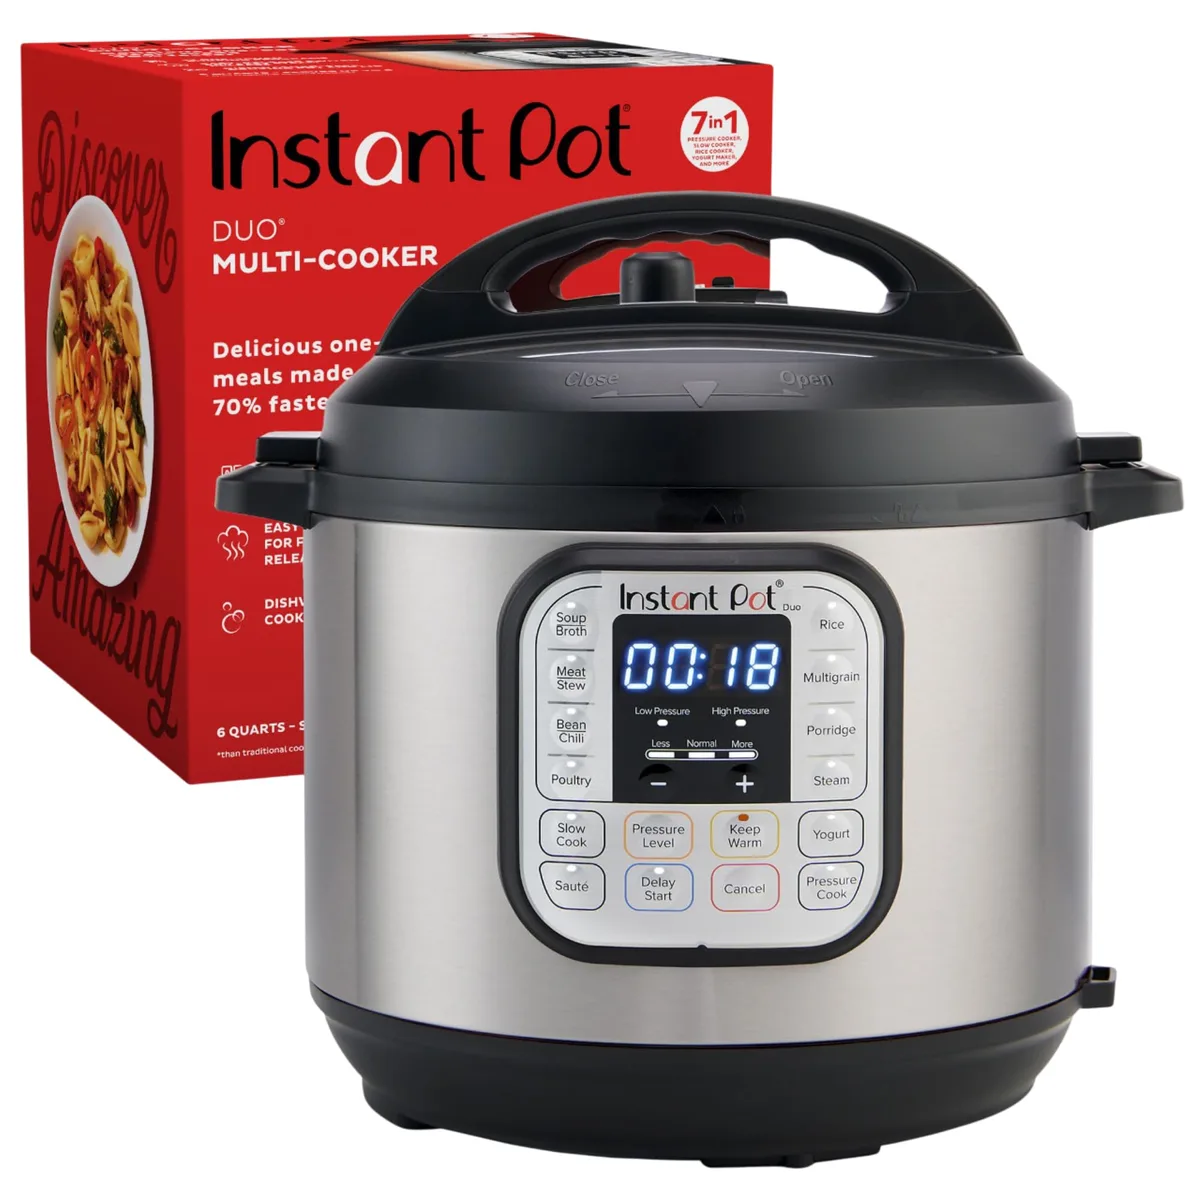
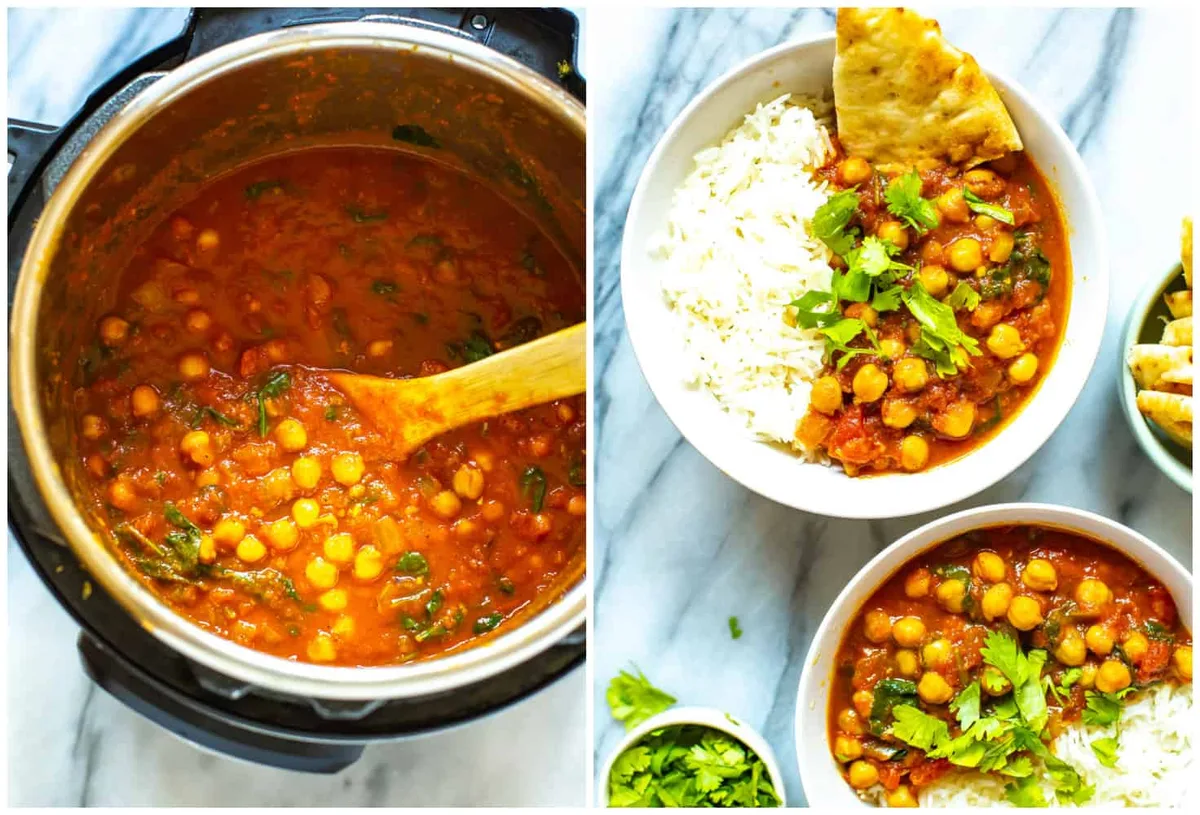
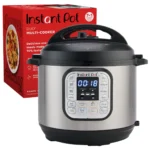
Image source: Bing (Web (fair-use with source credit))
Wild rice. Wild rice is not actually rice. It is a grass seed. It cooks more like brown rice but takes even longer.
Use a 1:1.75 ratio of rice to liquid. Cook at high pressure for 20 to 22 minutes. Natural release for 10 minutes.
Wild rice holds its shape well and adds a chewy texture. It pairs nicely with beef in a heartier, colder-weather dish.
Here is a quick cheat sheet for reference.
| Rice Type | Liquid Ratio | High Pressure Time | Natural Release |
|---|---|---|---|
| White (long-grain / jasmine / basmati) | 1:1 | 4 minutes | 5 minutes minimum |
| Brown | 1:1.25 | 15 to 18 minutes | 10 minutes |
| Instant / Minute | No pressure cooking | N/A | N/A |
| Wild | 1:1.75 | 20 to 22 minutes | 10 minutes |
Stick to white rice for your first few attempts. Once you have the method down, experiment with brown or wild rice for more texture.
Picking Your Ground Beef: Fat Content and Flavor Trade-Offs
Ground beef comes in different fat ratios, and your choice changes how the rice turns out. The two most common options are 80/20 and 90/10. The first number is lean meat, the second is fat.
80/20 ground beef has more fat. When you brown it, the fat renders out into the pot. In a one-pot recipe, that fat gets absorbed by the rice.
The result is a richer, more flavorful dish. The rice feels almost creamy. The downside is you end up with a visible layer of grease sitting on top after pressure cooking.
You can spoon some of it off before serving, but you will lose a bit of flavor along with it.
90/10 ground beef is leaner. It produces less rendered fat, so the rice stays lighter and less greasy. The flavor is milder, which means you need to be more aggressive with your seasonings.
Salt, garlic, and cumin become essential rather than optional. Lean beef also tends to dry out faster under pressure, so you want to keep the cook time as short as possible. Stick with white rice recipes that run 4 minutes to avoid tough, crumbly meat.
73/27 ground beef exists too, but it is rarely a good fit here. That much fat leaves the rice swimming in grease. Even after skimming, the texture feels heavy.
Save that ratio for burgers or chili.
Our recommendation for most instant pot ground beef rice recipes is 80/20. The extra fat protects the meat from drying out under pressure, and the flavor boost is noticeable. If you are watching your fat intake, go with 90/10 and double the spices.
One practical note: always brown the beef in batches if you are cooking more than a pound. Overcrowding the pot steams the meat instead of browning it. Steamed ground beef releases less flavor and leaves pale, unappetizing clumps.
Take the extra three minutes to brown in two batches. It makes a real difference.
Recipe Styles Compared: Mexican, Asian, and Classic Comfort Bowls
Once you have the method and rice sorted, the next question is flavor direction. Three styles dominate the search results for good reason. Each one works well in the Instant Pot, but the ingredient tweaks matter.
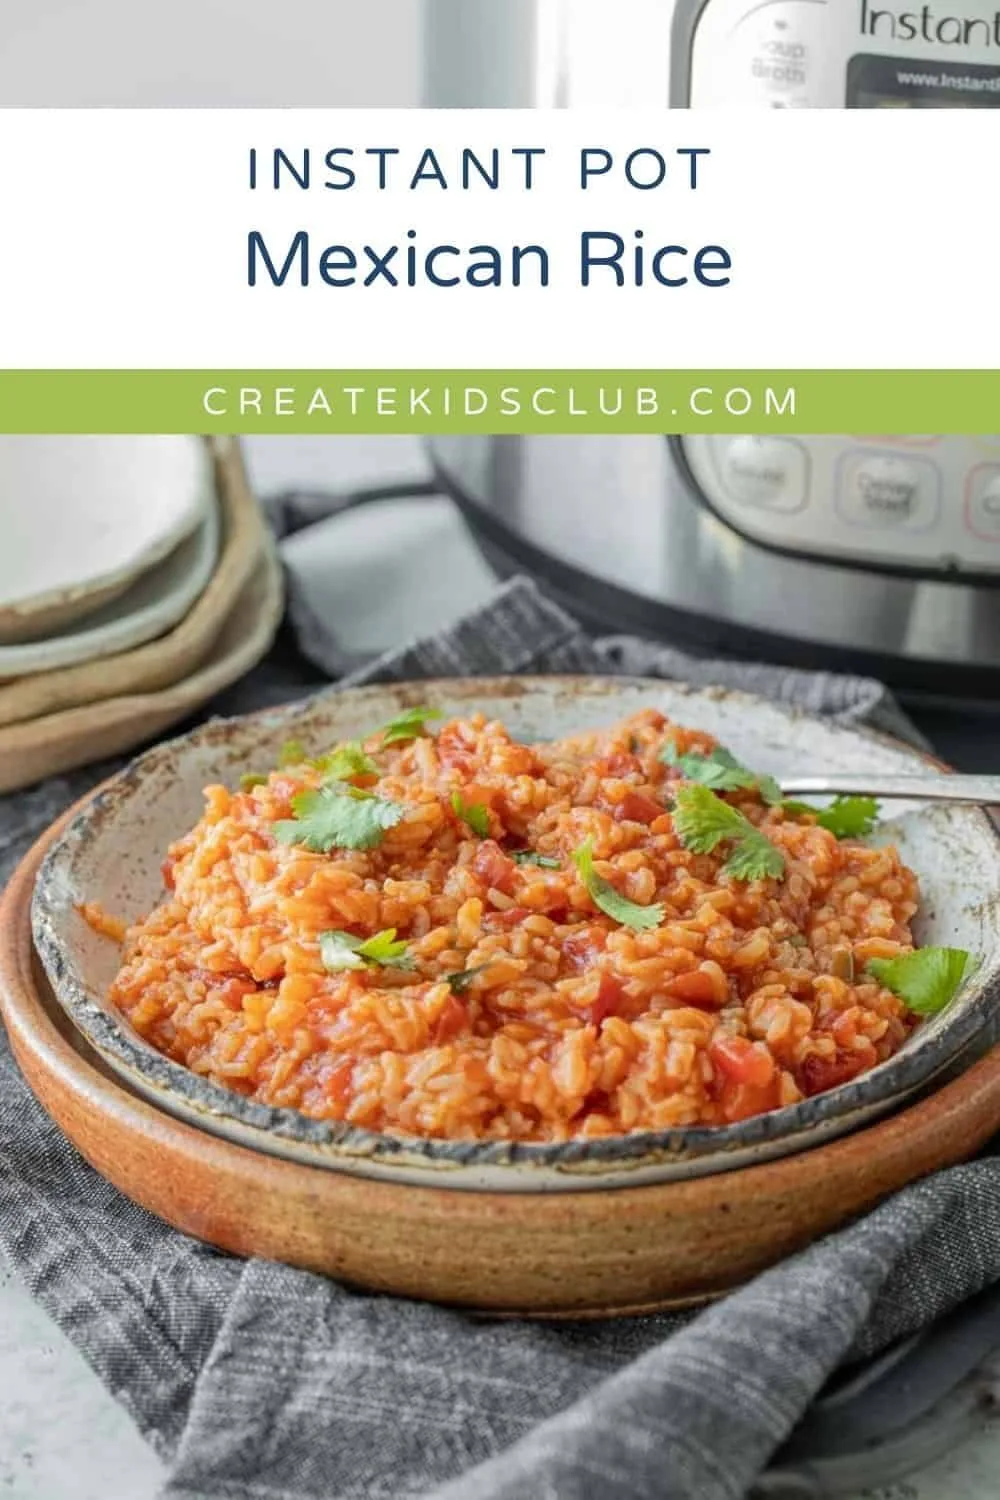
Mexican-style ground beef and rice. This version uses salsa or diced tomatoes as part of the liquid, plus cumin, chili powder, and garlic. The acid from the tomatoes helps deglaze the pot naturally after browning the beef. Use a 1:1 liquid ratio, but replace half the water or broth with salsa.
Cook white rice for 4 minutes, natural release for 5. Stir in shredded cheese and cilantro after opening the lid. This style is forgiving because the tomato acid prevents the Burn Notice and adds moisture.
Asian-style ground beef rice bowl. Here you build the flavor with soy sauce, ginger, garlic, and a touch of sesame oil. Use beef broth as the liquid base. Add a tablespoon of soy sauce per cup of rice.
Because soy sauce adds salt, reduce or skip additional salt in the broth. Cook white rice for 4 minutes, natural release for 5. After opening, stir in frozen peas or edamame and let them warm through on Keep Warm.
Top with sliced green onions and a drizzle of sriracha if you want heat.
Classic comfort bowl (hamburger rice casserole). This is the simplest style. Brown the beef with diced onion and garlic. Add beef broth and a can of cream of mushroom soup as part of the liquid.
Stir in white rice. Cook for 4 minutes, natural release for 5. When you open the lid, stir in a handful of shredded cheddar and some frozen peas.
This version is rich, filling, and appeals to picky eaters. It is also the most forgiving of liquid ratio mistakes because the soup thickens things up regardless.
Each style takes about the same total time. The difference is in the pantry ingredients. Keep a bag of frozen veggies on hand and a few basic spice blends, and you can rotate between these three without getting bored.
Instant Pot Mistakes That Trigger the Burn Notice and Ruin the Rice
The Burn Notice is the most common frustration in these recipes. It happens when the pot's bottom sensor detects excessive heat without enough liquid. The display flashes "Burn" and the pressure cycle stops.
Skipping the deglaze step. After browning ground beef, browned bits stick to the pot bottom. If you add rice and liquid without scraping those bits loose, they burn during pressurization. Always add a splash of broth or water after browning.
Stir and scrape with a wooden spoon until the bottom looks clean. This takes about 30 seconds.
Using too little liquid. Rice expands and absorbs moisture. If your total liquid is under 1 cup, the pot may not pressurize at all. Manufacturer specs indicate the Instant Pot needs at least 1 cup of liquid to build pressure.
For rice recipes, you need even more because the rice drinks it up. Stick to the ratios in the table earlier.
Overfilling the pot. Rice expands three to four times its dry volume. Fill the inner pot no more than halfway for rice dishes. A full pot blocks the steam valve and leads to overflow or a failed seal.
If your recipe calls for 2 cups of dry rice, use a 6-quart pot minimum.
Quick releasing white rice too fast. White rice is delicate. If you flip the steam valve immediately after the cycle ends, the pressure drop forces starches out of the grains. You get sticky, gummy clumps.
Let the pressure release naturally for 5 minutes first. Then quick release the rest.
Using instant rice in the pressure cycle. Instant rice is pre-cooked. Putting it through a pressure cycle turns it into wallpaper paste. Add instant rice only after releasing pressure.
Let it sit covered on Keep Warm for 5 minutes.
Frequently Asked Questions
What is the best rice-to-liquid ratio for Instant Pot ground beef recipes?
Use 1 cup of liquid for every 1 cup of white rice. For brown rice, use 1.25 cups of liquid per cup of rice. The liquid includes broth, canned tomatoes, or salsa.
Do not count the moisture released by the beef.
Can I use frozen ground beef in these recipes?
Yes, but brown it first. Add frozen ground beef directly to the pot and use the Sauté function. Break it up as it thaws.
The total browning time is about 8 to 10 minutes. Do not pressure cook raw frozen beef with rice. The timing is unreliable.
How do I store leftover ground beef and rice?
Cool the leftovers within 2 hours. Transfer to an airtight container. Refrigerate for up to 4 days.
To reheat, add a tablespoon of water per cup and microwave for 2 minutes. You can also reheat in the Instant Pot on Sauté mode with a splash of broth.
Can I freeze Instant Pot ground beef rice dishes?
Yes. Portion into freezer-safe containers. Leave 1 inch of headspace for expansion.
Freeze for up to 3 months. Thaw overnight in the refrigerator. Reheat in the microwave or on the stovetop with a little water.
Why does my rice turn out mushy every time?
Two likely causes. You are using too much liquid, or you are quick releasing too early. Check your rice-to-liquid ratio.
And always let the pressure release naturally for 5 minutes before venting. For pot-in-pot cooking, use the exact same ratio but reduce the total time by 1 minute.
The Final Verdict: What to Make for Dinner Tonight
If you are cooking on a busy weeknight, go with the one-pot Mexican-style recipe. Use 80/20 ground beef, white long-grain rice, and a 1:1 liquid ratio with half salsa. Brown the beef, deglaze with broth, add rice and salsa, cook for 4 minutes, natural release for 5.
Stir in cheese and cilantro. Total time is about 25 minutes.
If you meal prep on Sundays, use the pot-in-pot method with brown rice and 90/10 beef. The rice stays separate and reheats better throughout the week. Cook the beef with onions, garlic, and cumin.
The brown rice takes 15 to 18 minutes, so the beef gets tender without drying out.
For picky eaters, the classic comfort bowl is the safest bet. The cream of mushroom soup masks any texture issues. Use white rice, cheddar cheese, and frozen peas.
It tastes familiar and satisfying.
The best advice we can offer is simple. Deglaze every time. Measure your liquid carefully.
And never rush the natural release. Follow those three rules and you will get consistent results from any instant pot ground beef rice recipe you try.

Similar Posts