How to Sharpen a Potato Peeler Fast and Easy
Alright, let's get into this.
It’s a problem we all know. You reach for your potato peeler, ready to prep dinner, and it just… tears. Instead of a thin, clean ribbon of skin, you get a ragged strip or, worse, the blade skips entirely.
You need to know how to sharpen potato peeler, and the good news is you probably can. Manufacturer specifications indicate the factory edge angle on most stainless steel peeler blades falls between 15 and 20 degrees. Getting that angle right is the difference between a tool that fights you and one that glides.
Let's turn that struggle into a smooth, easy peel. We’ll walk through exactly what to look for and what to do.
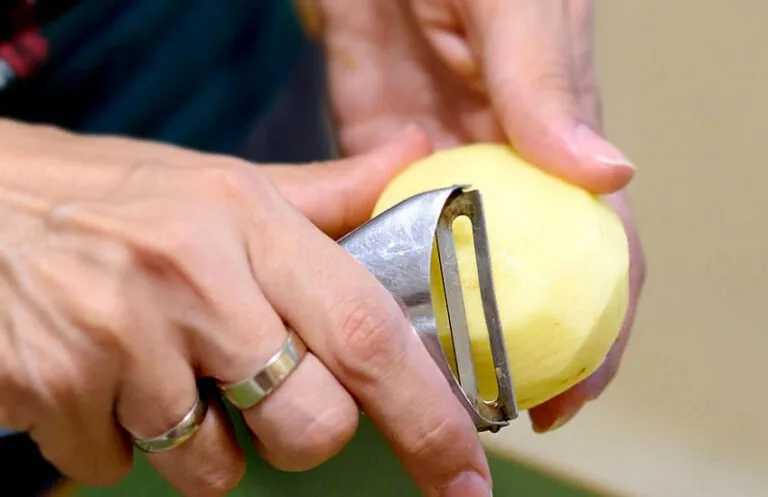
Image source: Bing (Web (fair-use with source credit))
Quick Answer
Sharpen a potato peeler by identifying its single bevel. Draw the blade’s beveled side across a fine whetstone (1000-grit) at that factory angle. Stroke in one direction only, as if slicing a thin layer off the stone.
Finish with one light pass on the flat side to remove the burr. Test on a potato.
What Kind of Peeler Do You Have? (Y-Peeler vs. Swivel vs. Self-Sharpening)
Before you grab any sharpening tool, you have to know what you’re working with. Not all peelers are created equal, and using the wrong method can ruin a good blade. The three main types are the Y-peeler, the swivel peeler, and the self-sharpening peeler.
Each demands a different approach.
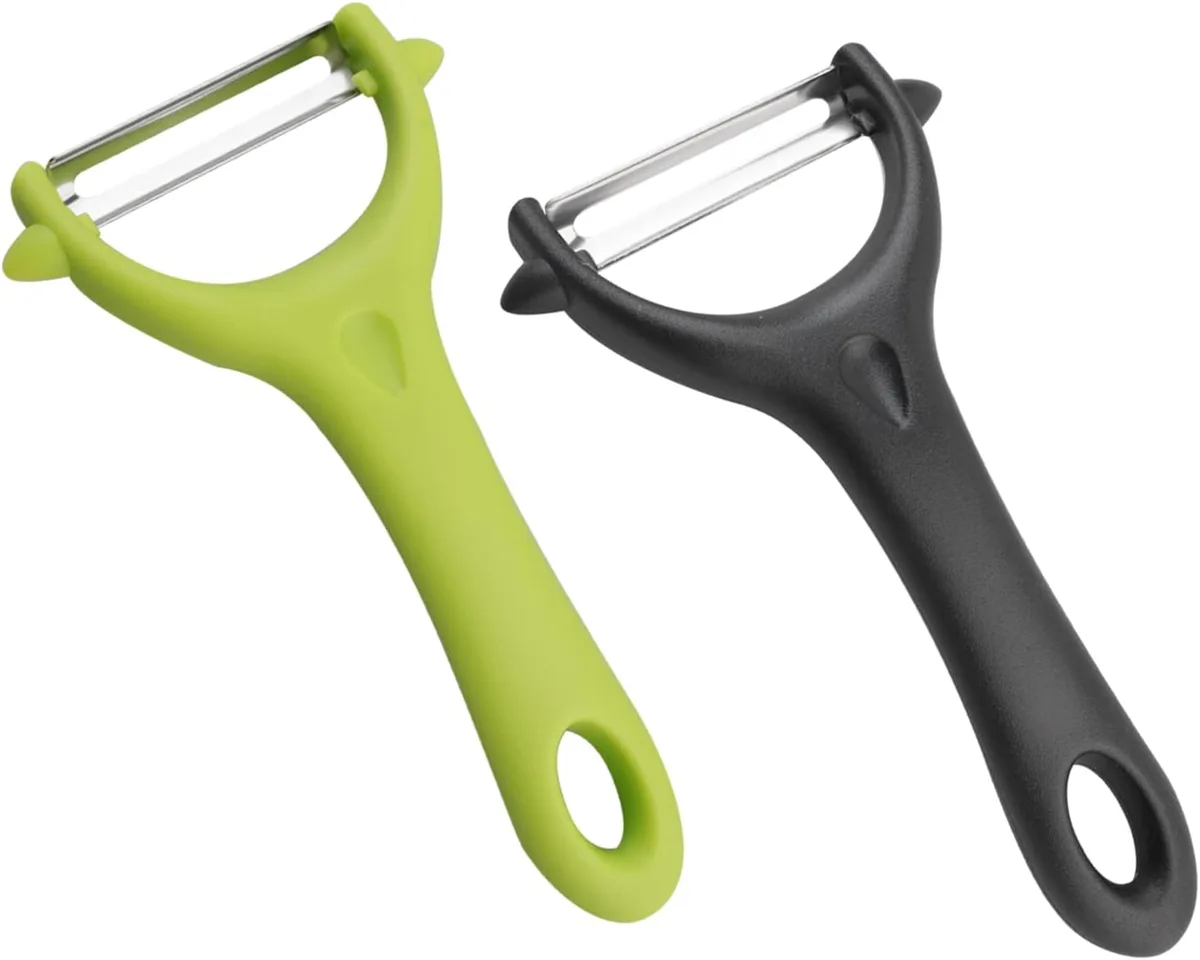
Y-peelers have a blade that sits perpendicular to the handle, forming a Y shape. The blade is usually fixed in place with a central post or a small rivet. This design is the most straightforward to sharpen because the bevel is easy to see and access.
Most home cooks use this style, and it responds well to a whetstone or a ceramic rod.
Swivel peelers have a blade that pivots, or swivels, on a central axis. This allows the blade to follow the contour of the potato. The swivel action is great for odd-shaped vegetables, but it makes sharpening a bit trickier.
The blade is often thinner and more flexible. You need to be extra careful not to bend it during the process. In many cases, replacement blades are a better option for swivel peelers.
Self-sharpening peelers have a small sharpening slot built into the guard or the handle. Every time you peel, the blade passes over a tiny abrasive surface inside that slot. For these, your job is easy: do nothing.
If the peeler gets dull, run the blade through the built-in sharpener a few times. Trying to manually sharpen a self-sharpening peeler can damage the mechanism.
So, which do you have? Look at the blade. Is it fixed in a Y shape?
Does it pivot? Or is there a small slot on the top? Knowing this is your first and most important step.
Before You Start: Cleaning, Inspecting, and Finding the Factory Bevel
Sharpening a dirty blade is a waste of time. Food residue, oils, and stubborn bits of potato skin will clog your sharpening stone and prevent a clean edge. Start by washing the peeler in warm, soapy water.
Scrub the blade carefully with a sponge. Dry it completely.
Next, inspect the edge under a bright light. Look for a thin, reflective line right at the cutting edge. That’s the burr, a tiny lip of metal that forms after use.
If you see it, your blade is dull. If you don’t see it, the blade might still be sharp, or the burr might be very small. A burr indicates it’s time to sharpen.
Now for the crucial step: finding the bevel. Most peeler blades have a single bevel. That means only one side of the blade is ground down to create the edge.
The other side is flat. Hold the peeler up to the light. Tilt it slowly until you see one side reflect more light.
That’s the beveled side. The other side is flat. You only sharpen the beveled side.
To be extra sure, use a permanent marker. Color the entire cutting edge of the blade. Then, gently touch that colored edge to the stone for one short stroke.
Where the marker wears away shows you the angle the blade contacts the stone. That’s the angle you need to maintain. This simple trick prevents you from changing the factory geometry, which is optimized for peeling.
Step-by-Step Sharpening: Whetstone, Diamond Rod, and Ceramic Rod Methods
Now we get to the actual work. You have three reliable tools: a whetstone, a diamond rod, or a ceramic honing rod. Each works slightly differently.
Choose based on what you have and how dull the blade is.
Whetstone (1000-grit): This is the most effective method for a very dull blade. Soak the stone in water for 5 minutes. Place it on a damp paper towel so it doesn’t slide.
Hold the peeler in your dominant hand. Rest the beveled side of the blade flat on the stone, matching the factory angle you found earlier. Pull the blade toward you in a smooth, single motion, as if you’re trying to shave a thin slice off the stone.
Do this 5 to 10 times. Then, flip the peeler over. Lay the flat side of the blade against the stone and give it one very light pass.
This removes the burr. Rinse the blade.
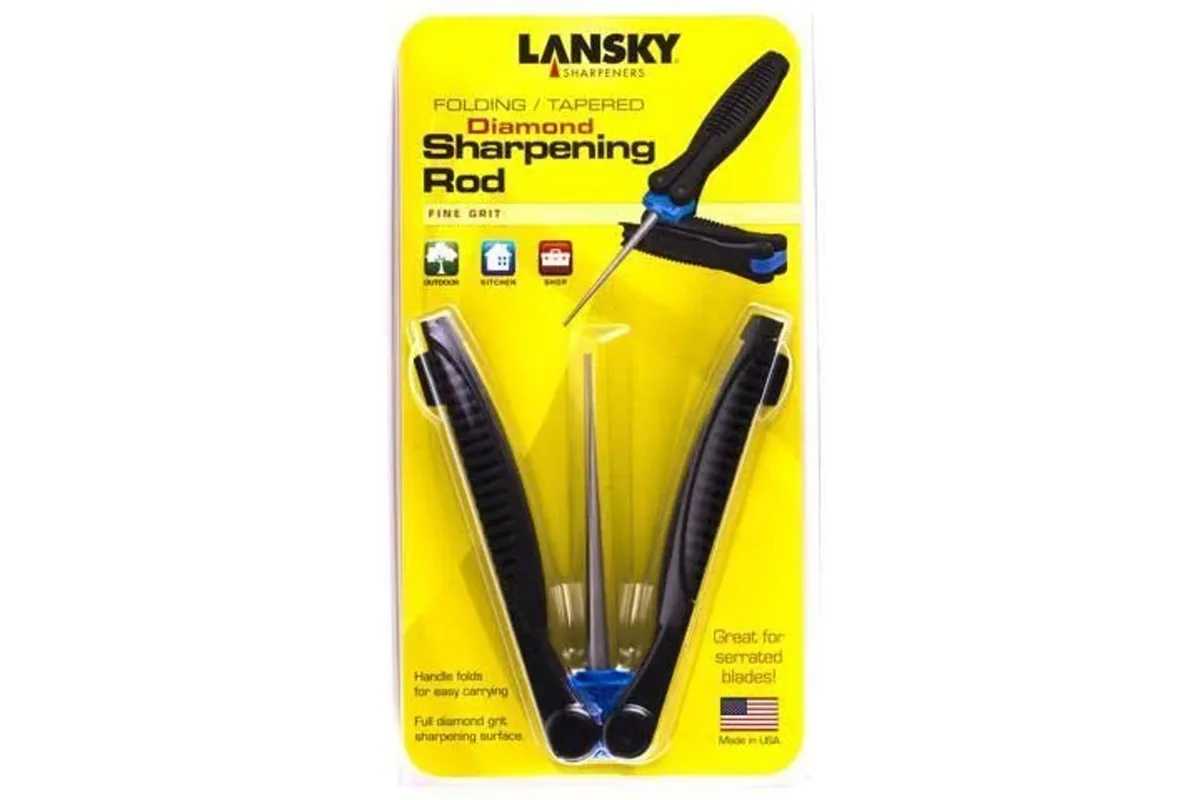
Diamond rod: A diamond rod is more aggressive than a stone. It’s great for quick touch-ups. Hold the rod vertically in your non-dominant hand.
Rest the tip of the rod on a solid surface. Hold the peeler as before. Place the beveled side of the blade against the rod at the factory angle.
Draw the blade down the rod, again as if slicing. Repeat 5 to 7 times. Finish with one light pass on the flat side.
Ceramic honing rod: This is for maintenance, not for restoring a very dull blade. It realigns the edge rather than removing metal. Use the same motion as the diamond rod.
Do 3 to 5 passes. Ceramic rods are excellent for keeping your peeler sharp between deeper sharpenings.
Visual Cues and Common Mistakes: What to Look For and What to Avoid
A properly sharpened peeler shows a clean, bright edge. When you run your finger (gently, perpendicular to the blade) along the beveled side, it should feel slightly rough. That’s the burr you removed.
The flat side should feel smooth. A sharp blade will cut a hanging piece of paper with a clean line.
Now, the mistakes that ruin a peeler.
Sharpening the wrong side. This is the number one error. People instinctively sharpen the flat side. That will make the blade duller because you are actually rolling the edge.
Always sharpen the beveled side only.
Using too much pressure. You aren’t trying to reshape the blade. You’re just refining the edge. Light pressure is all you need.
Pushing hard creates a large burr and removes too much metal.
Using a coarse stone. A 400-grit stone is for fixing chipped knives. It’s too aggressive for a thin peeler blade. Stick to 1000-grit or higher.
A fine stone gives a clean, lasting edge.
Forgetting to deburr. That burr you created? If you don’t remove it, your “sharpened” blade will still tear the potato skin. Those one or two light passes on the flat side are not optional.
They are the whole point.
Trying to sharpen a serrated peeler. Some peeler blades are micro-serrated. You cannot sharpen these effectively at home. The serrations need a special tool.
Your best bet is to buy a replacement blade.
Not testing on a potato. The ultimate test is not a piece of paper. It’s a real potato. A sharp peeler should produce a translucent, thin strip of skin without any effort.
If it still tears or skips, repeat the process. You might need one or two more passes.

Similar Posts