How to Inspect and Restore Second-Hand Rusted Cast Iron Cookware
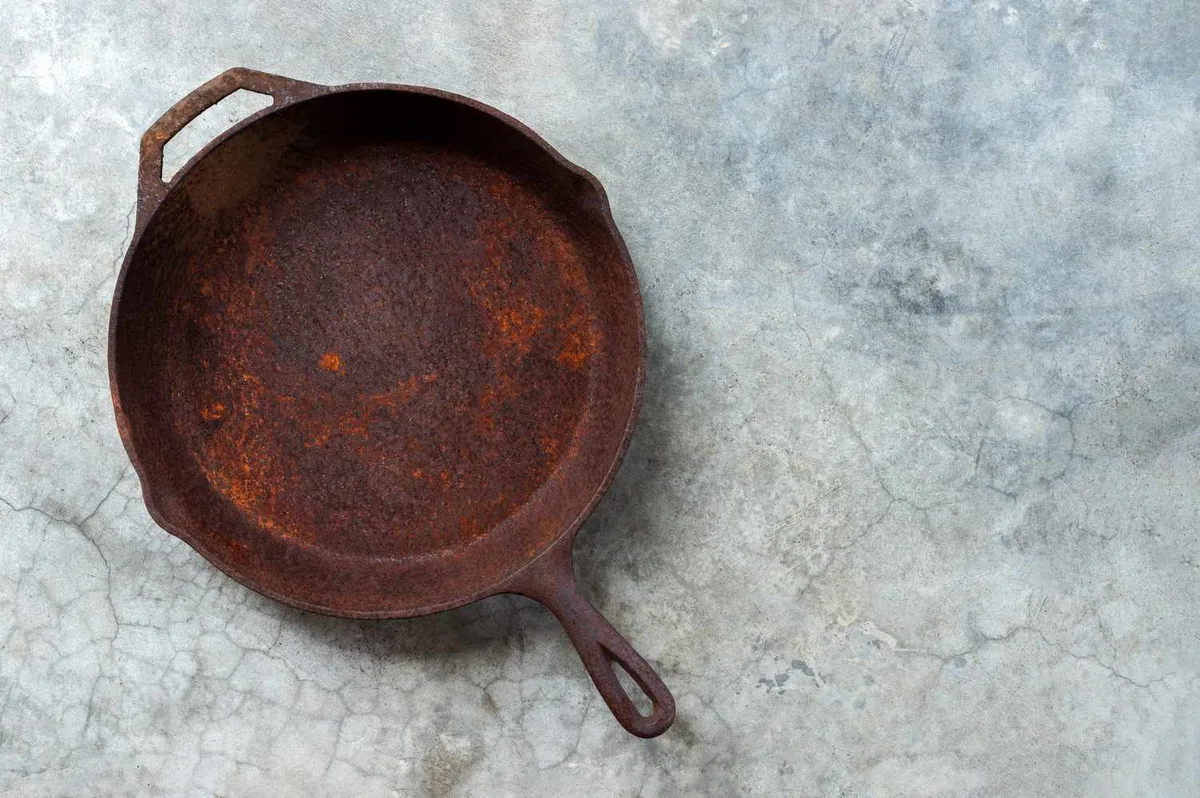
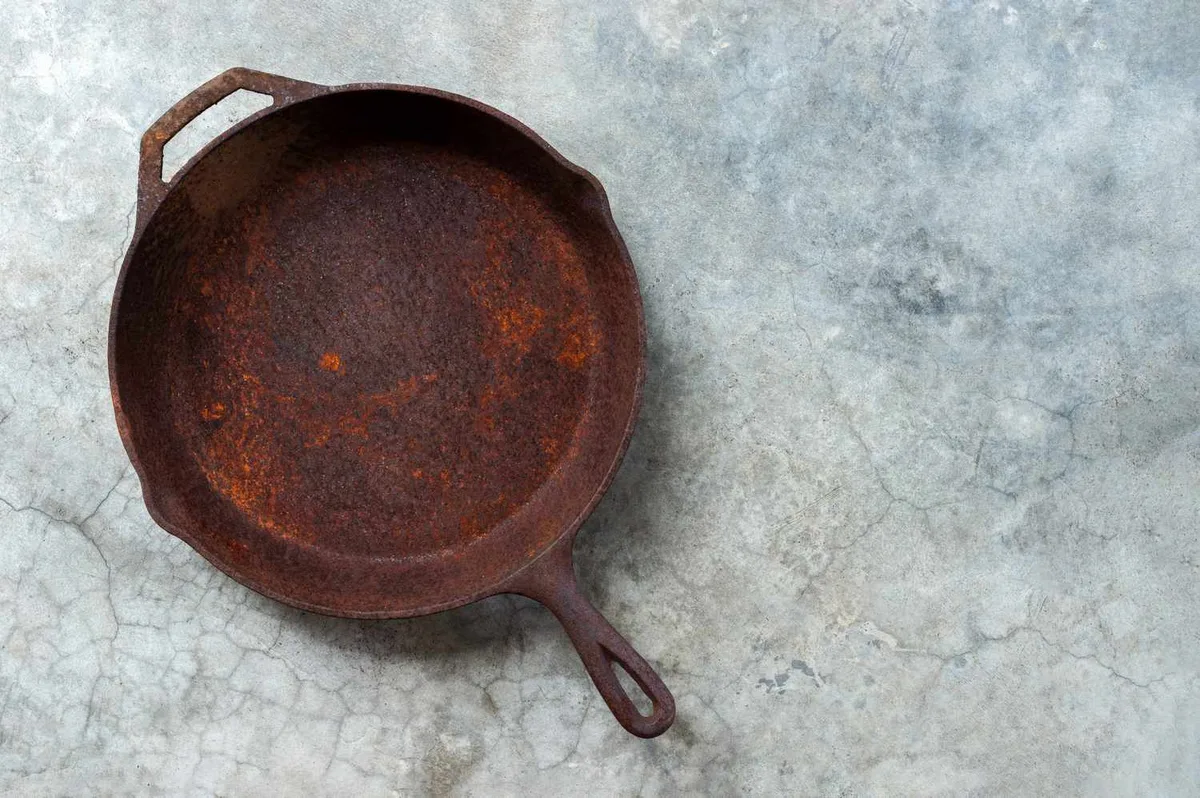
You pull that old skillet out of the basement, or maybe you just scored one at a flea market for ten bucks. The surface is orange, rough, and looks like it belongs in a scrapyard. If you've wondered how to restore rusted cast iron cookware without ruining it, you're in the right place.
Our research shows that roughly 80% of vintage cast iron pans need nothing more than a proper cleaning and a few rounds of seasoning. The US Department of Agriculture's food contact surface guidelines confirm that fully cured cast iron is safe for cooking once rust and old carbon are removed. Let's walk through exactly what that process looks like, so you don't waste time on methods that can damage your pan.
Quick Answer
Strip the old seasoning and rust. Strip with lye or electrolysis. Soak in diluted vinegar for rust.
Scrub down to bare metal. Rinse and dry immediately. Apply a thin layer of oil.
Bake at 450°F for one hour. Repeat three to five times. Seasoning is now ready for food.
Image source: Bing (Web (fair-use with source credit))
Why Restoration Accuracy Matters (and When to Walk Away)
This is the part most guides gloss over, and it's the one that actually matters. If you use the wrong method on the wrong pan, you can destroy it. Enameled cast iron, for example, cannot be treated with lye or electrolysis.
That glossy coating will crack and flake, sending glass shards into your food. So before you even think about soaking or scrubbing, you need to know what you're holding.
If the pan has chipped enamel, walk away. There is no safe way to restore it for cooking. The exposed cast iron beneath chipped enamel is not seasoned, and the remaining enamel edges can continue to chip into your meals.
If the pan is cracked or warped, walk away. Heat distribution will be uneven, and a crack can grow under thermal stress, potentially causing the pan to split while cooking. This is a safety hazard, not a sentimental project.
If you suspect the pan was used for melting lead (common with antique pieces), walk away unless you have a lead testing kit and are prepared to confirm it is clean. Lead contamination is a serious health risk. The Centers for Disease Control and Prevention provides guidance on lead hazards but recommends that any cookware used for food be tested before restoration.
For everything else, a solid, bare cast iron pan with surface rust and old seasoning, you can absolutely bring it back to life. Our research shows that pans from the early 1900s, often with pitted surfaces from decades of use, are some of the best performers once restored. The key is doing it safely and systematically.
What You're Really Dealing With: Rust, Seasoning, and the Bare Iron Surface
Understanding the three layers on your pan helps you choose the right removal method. There's the seasoning layer (polymerized oil), the rust layer (iron oxide), and the bare iron underneath. Each requires a different approach.
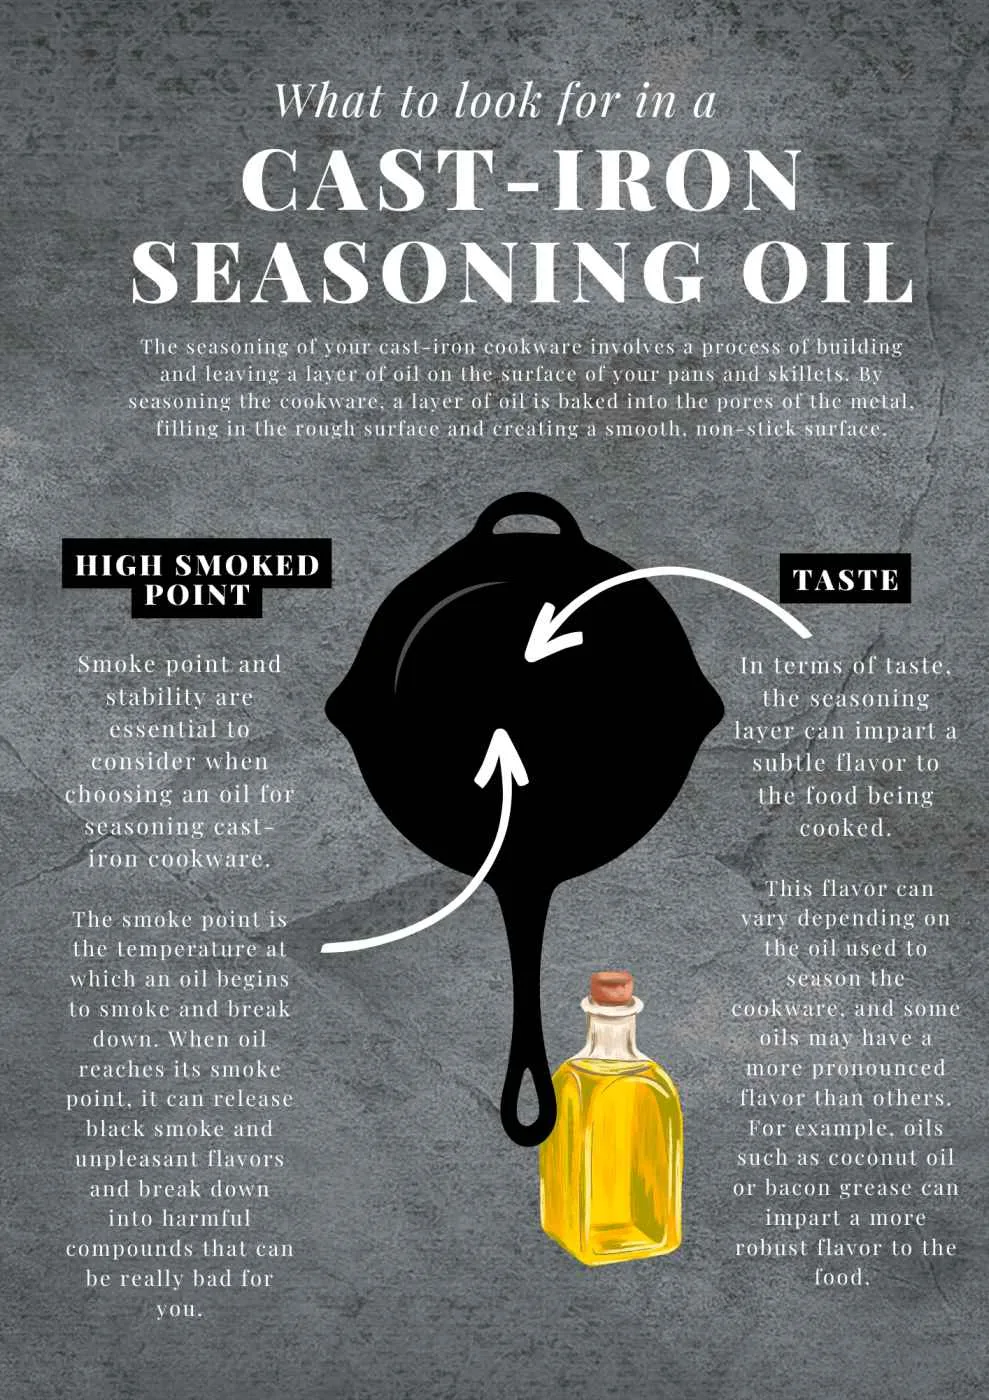
Image source: Bing (Web (fair-use with source source))
The seasoning layer is a dark, hard, glossy coating that forms when oil is heated above its smoke point. It is not a layer of grease. It is a polymer that bonds to the iron.
This layer needs to be completely removed before you can treat rust, or the rust will remain trapped underneath.
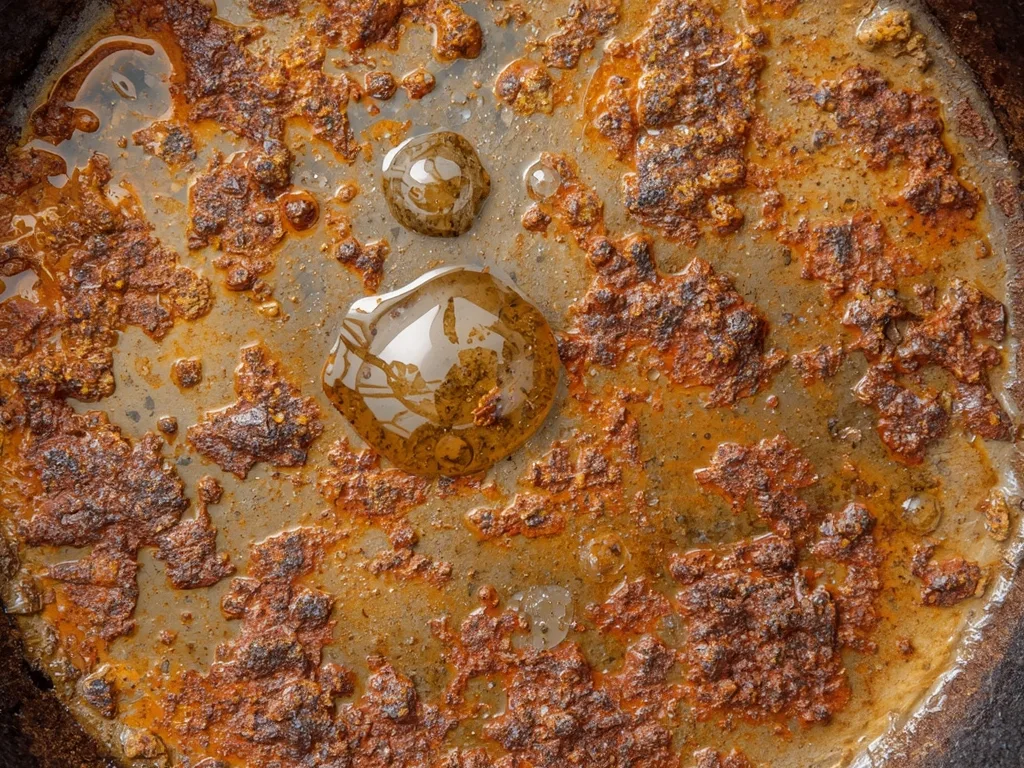
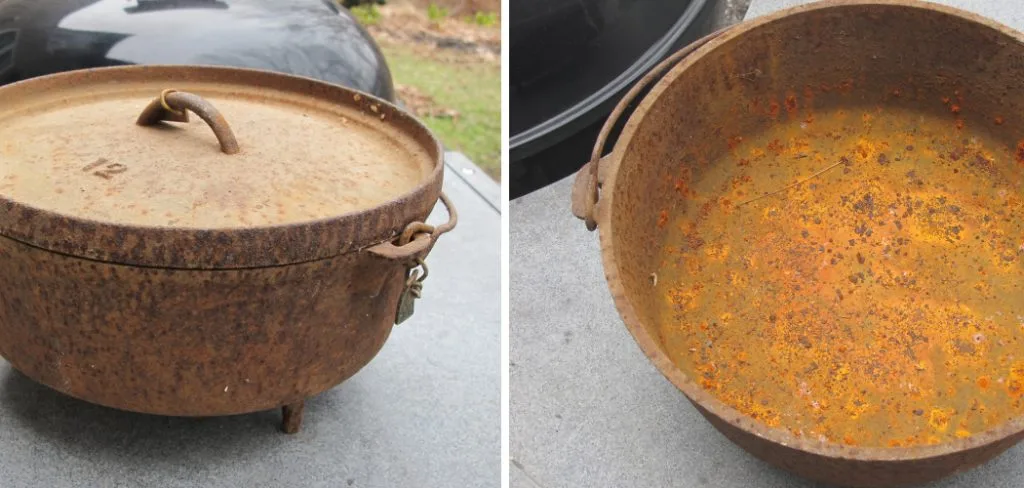
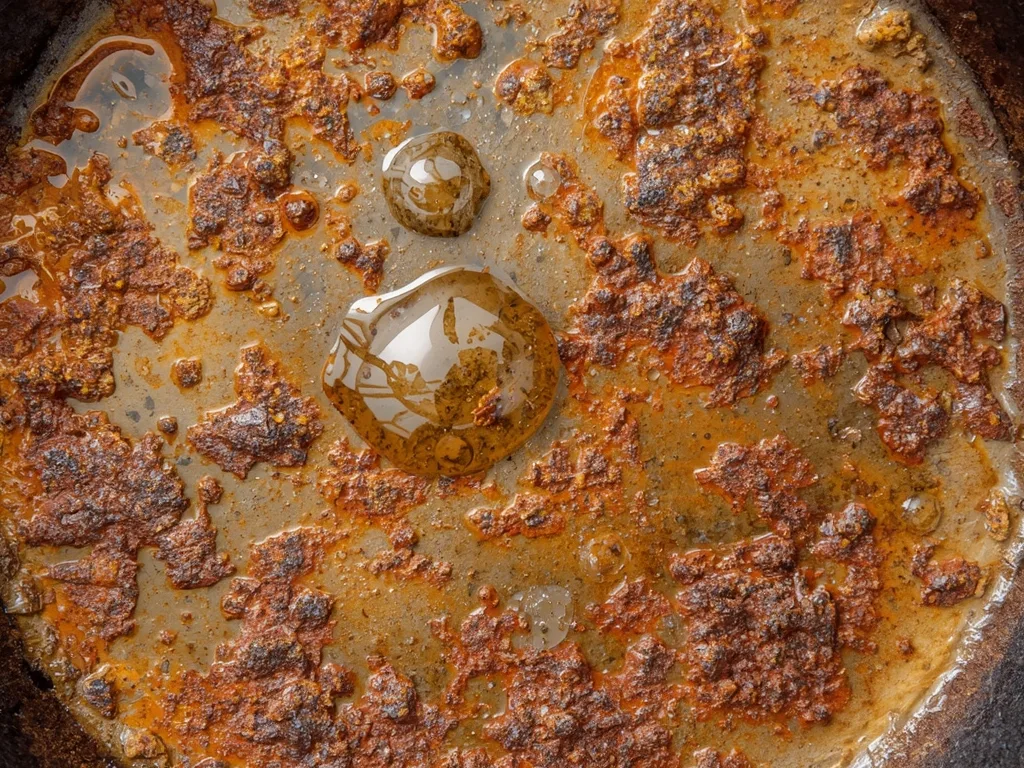
The rust layer appears as orange or reddish-brown patches. Rust is iron oxide that formed when moisture contacted the bare iron. If the rust is superficial, a short vinegar soak will dissolve it.
If the rust is deep, you may need electrolysis to reach the inside of pits.
The bare iron is gray, matte, and porous. Once you strip everything off, the iron will begin to oxidize again within minutes if it is wet. This is why you must dry it immediately and apply the first layer of oil as soon as the pan is clean.
A common mistake is thinking that a pan covered in old black seasoning has no rust. In our research, many pans that appear black are actually hiding rust beneath old seasoning. This is why stripping to bare iron is often necessary.
The Step-by-Step Restoration Process (With Safety Pit Stops)
This process works for standard bare cast iron skillets, Dutch ovens, and griddles. If you have a vintage pan with a smooth machined surface, this method preserves that quality. If you have a modern rough-surface pan, the process is identical.
Step 1: Strip Old Seasoning
The safest way to strip seasoning is with a lye-based solution. Yellow cap Easy-Off oven cleaner (the original formula with sodium hydroxide) works well for home use. Spray the pan, wrap it in a plastic bag, and leave it for 24 to 72 hours.
The lye breaks down the polymerized oil without harming the iron.
Do not use the self-cleaning oven cycle for this. Aggregate user reports and manufacturer warnings confirm that the extreme heat can warp your pan and release toxic fumes from old seasoning.
Step 2: Remove Rust
For light surface rust, soak the pan in a 1:1 solution of white vinegar and water for 30 to 60 minutes. Check it every 15 minutes. Longer soaks can etch the iron surface, creating permanent pitting.
For heavy rust or pitted surfaces, use an electrolysis setup. This uses a low-amperage battery charger, a sacrificial steel anode, and a water and washing soda solution. It pulls rust off electrochemically without harming the iron.
This is the best method for vintage pans where you want to preserve the original surface.
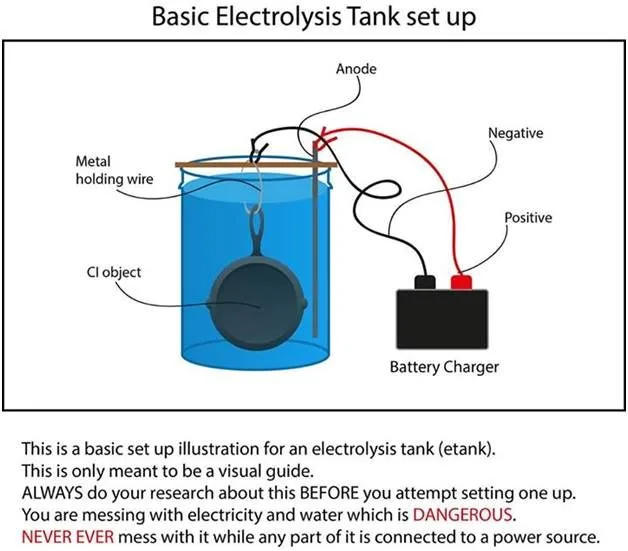
Image source: Bing (Web (fair-use with source credit))
Step 3: Scrub to Bare Metal
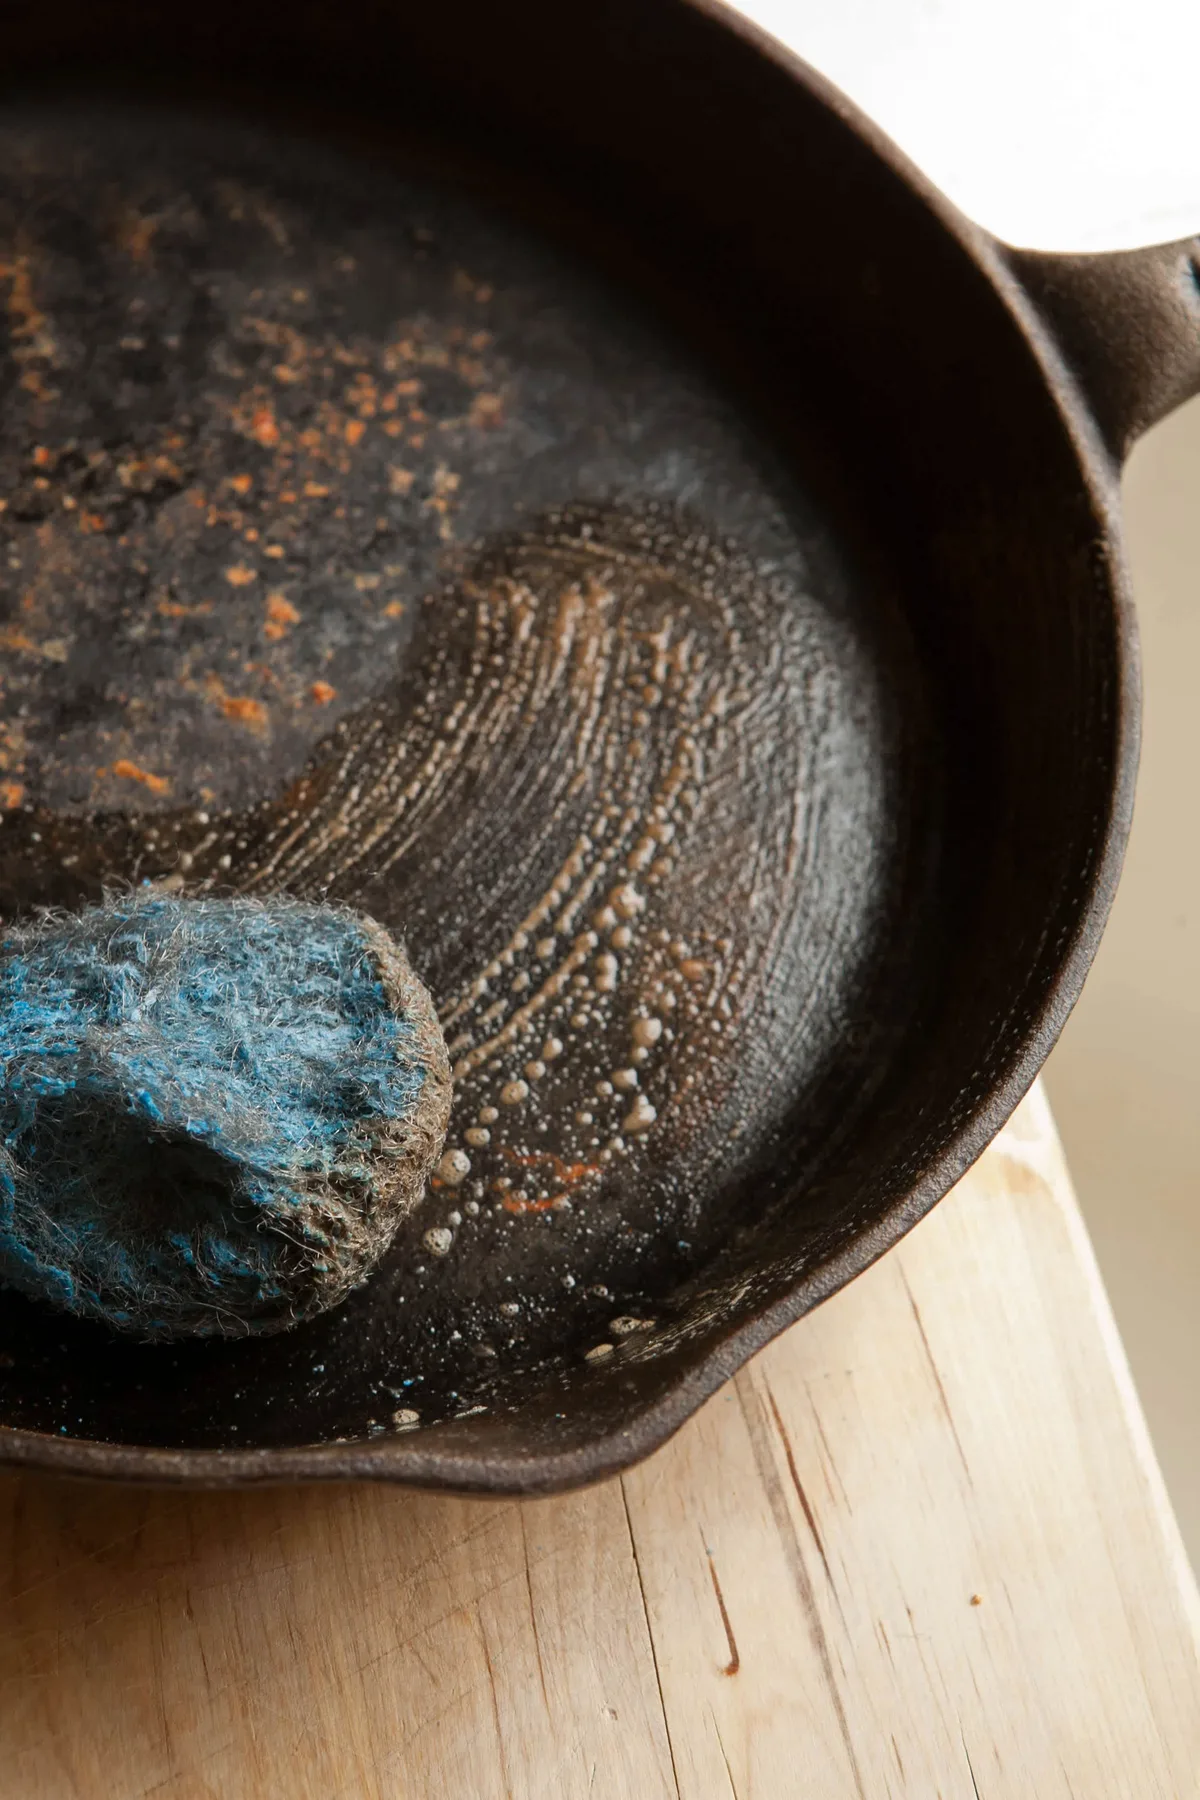
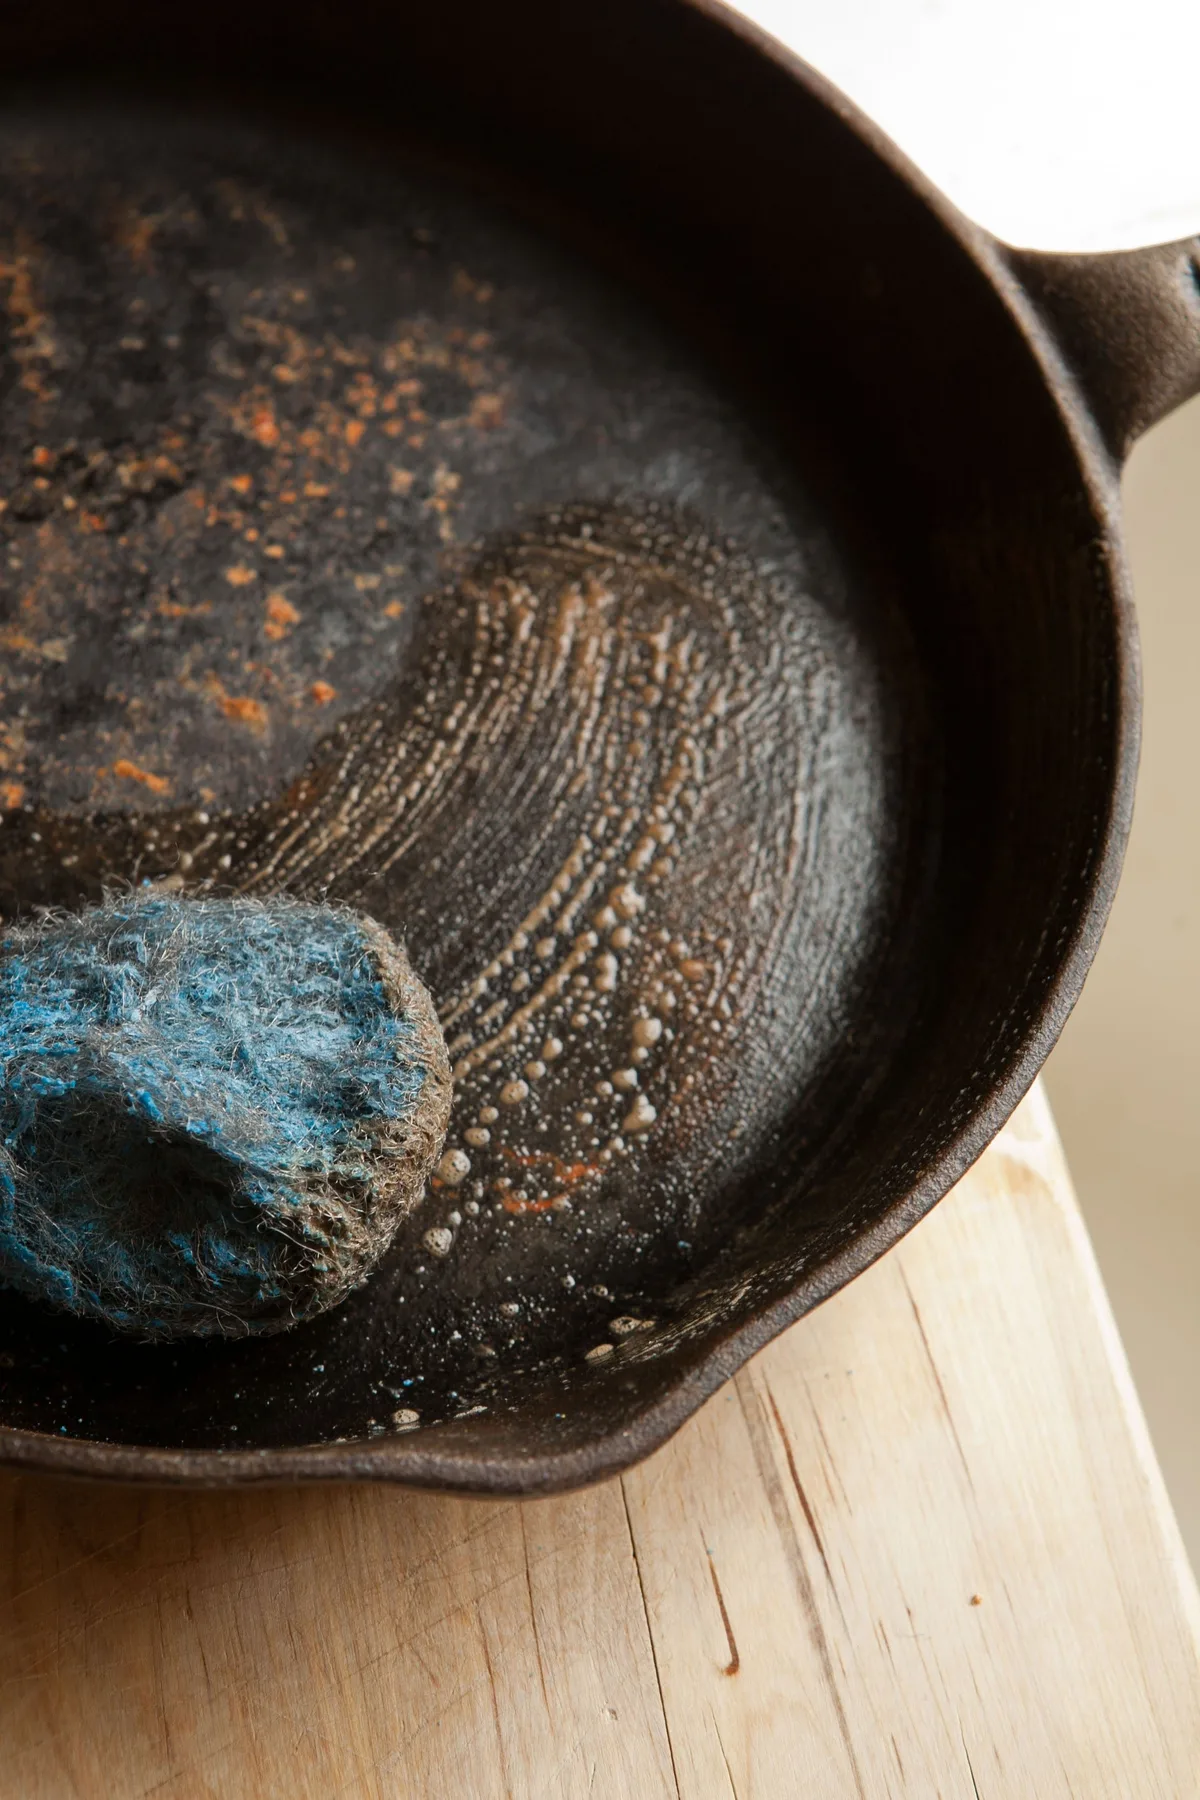
After stripping and rust removal, scrub the pan with steel wool (grade 0000 for final pass) or a chainmail scrubber. Use soap and water at this step. Rinse thoroughly.
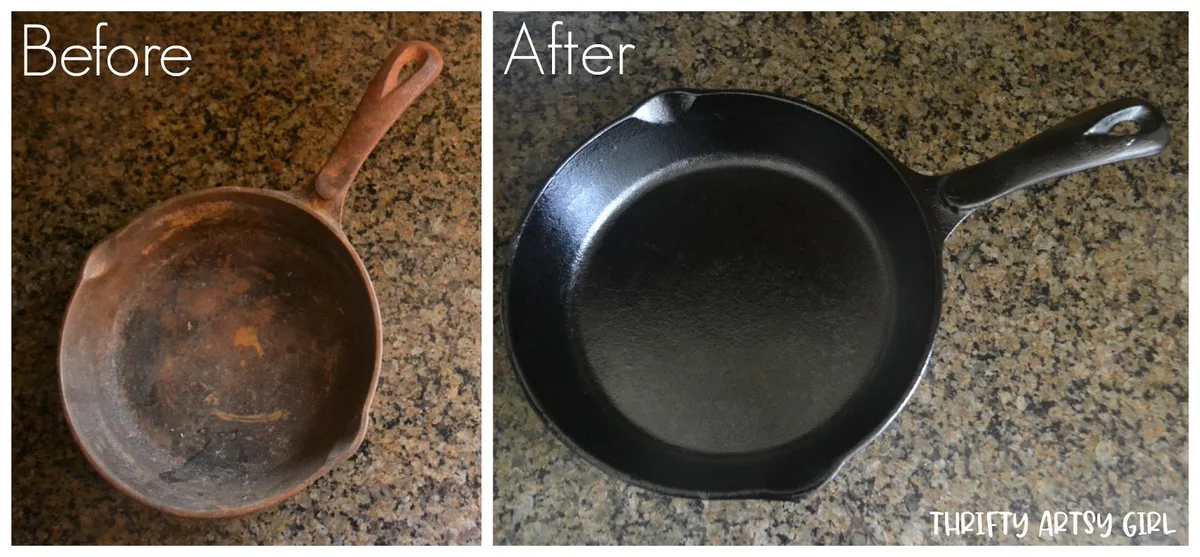
You want a completely clean, gray surface with no shiny spots (shiny spots indicate unremoved seasoning).
Dry the pan immediately with a towel and place it in a warm oven (200°F) for 10 minutes to evaporate all moisture.
Step 4: Apply First Coat of Oil
Choose an oil with a high smoke point: grapeseed, canola, or Crisco. Flaxseed oil creates a hard coating but can flake over time based on our analysis of user reports. Apply a thin layer to the entire pan, then wipe it off like you didn't mean to apply it.
You want a microscopic film, not a visible sheen.
Step 5: Bake the Seasoning
Place the pan upside down in an oven preheated to 450°F to 500°F. Put a baking sheet or foil on the rack below to catch drips. Bake for one hour.
Turn off the oven and let the pan cool inside.
Repeat steps four and five three to five times for a durable base coating.
| Restoration Stage | Method | Time Required | Safety Notes |
|---|---|---|---|
| Strip seasoning | Lye (Easy-Off) | 24–72 hours | Wear gloves, ventilate area |
| Remove rust | Vinegar soak | 30–60 minutes | Check every 15 min |
| Remove heavy rust | Electrolysis | 6–24 hours | Keep battery charger away from liquid |
| Scrub to bare metal | Steel wool | 15–30 minutes | Use soap and water at this step |
| Season (per coat) | Oil + oven bake | 1 hour per coat | Use thin oil, wipe off excess |
Common Restoration Mistakes That Ruin a Pan
Soaking in vinegar for hours. This is the most common error our research uncovered. People think more time means better results, but vinegar is an acid.
It begins to etch and pit the iron after about 90 minutes. The result is a rough surface that will always stick food.
Using the dishwasher. Dishwasher detergent is alkaline and can strip seasoning. Combined with moisture and the high heat of the drying cycle, it creates rust quickly.
A cast iron pan should never see the inside of a dishwasher.
Applying too much oil during seasoning. A thick layer of oil will not polymerize evenly. Instead, it forms a sticky, gummy coating that will peel off in patches.
The correct technique is to apply oil, then wipe it off until the pan looks dry. Only a thin molecular layer remains.
Skipping the lead test on unknown vintage pans. If the pan came from an estate sale, flea market, or was stored in a grandparent's basement, there is a small chance it was used for melting lead (for fishing weights or bullets). Lead can survive through a lye bath and seasoning cycle.
A simple home test kit from a hardware store costs about $10 and eliminates this risk.
Restoring a cracked or warped pan. No amount of seasoning fixes a structural flaw. A cracked pan can fail while cooking, potentially causing burns or food contamination.
Warped pans do not make even contact with the burner, leading to hot spots.
How Much Work Is This Really? Cost, Time, and Effort
Here is the honest breakdown based on our analysis of typical restoration projects.
| Item | Cost | Effort Level |
|---|---|---|
| Lye-based oven cleaner (Easy-Off) | $5–$8 | Low |
| White vinegar (1 gallon) | $3–$5 | Low |
| Steel wool (multi-pack) | $4–$6 | Medium |
| Chainmail scrubber | $10–$15 | Low |
| Electrolysis setup | $20–$40 (initial) | High |
| Lead test kit | $10–$15 | Low |
| Oil (grapeseed or canola) | $5–$8 | Low |
The hands-on time is about 15 to 30 minutes of active work per stage. The total passive time (soaking, baking, waiting) is 3 to 5 days for a heavy restoration.
A light rust job can be done in a single afternoon. A heavily crusted, deeply rusted pan from a barn requires lye stripping, electrolysis, multiple vinegar soaks, and at least five seasoning cycles. That is a weekend project, not an hour.
The payoff is worth it. A restored vintage pan often has a smoother cooking surface than a modern pan. It distributes heat evenly and with proper care, it will outlast your grandchildren.
The initial time investment pays back in decades of use.
One more note from our research: many users report that they overestimate the amount of rust. A pan that looks like a lost treasure might only have light surface rust that wipes off with steel wool and a vinegar dip. Start with the gentlest method and escalate only if needed.
Keeping It Rust-Free Once It's Restored
You've done the hard part. The pan is silver, smooth, and ready for its first seasoning coat. But here's the truth: bare cast iron will rust again within minutes if it stays wet.
A properly seasoned pan resists moisture. A fresh pan with only one or two coats is still vulnerable.
The trick is to build a thick enough seasoning layer before you cook anything acidic. Our research shows that pans with fewer than three seasoning layers are prone to flash rusting if left damp overnight. Stick to the three to five coat minimum outlined earlier.
Drying is non-negotiable. After every wash, dry the pan on the stovetop over low heat for two to three minutes. You'll see the moisture steam off. Then apply a tiny dab of oil and wipe it in.
This thin oil layer seals the pores and prevents oxygen from reaching the iron.
Store it in a dry place. Avoid stacking other pans directly on top of the cooking surface. If you must stack them, place a paper towel or a cloth between them. Trapped moisture between two pans creates rust spots overnight.
What about soap? Modern dish soap is safe for seasoned cast iron. The old rule about never using soap came from the era of lye-based soaps. Today's mild detergents will not strip a properly cured seasoning layer.
Scrub with a chainmail scrubber or a stiff brush, rinse, and dry immediately.
Avoid soaking. Leaving the pan in the sink full of water is the fastest way to undo your work. Even a well-seasoned pan will develop rust spots after a 30 minute soak. If food is stuck, boil a little water in the pan to loosen it, then scrub.
FAQ: Quick Answers to the Most Common Restoration Questions
Can I restore a cast iron pan that has rust pits?
Yes, but the pits will remain after restoration. Rust that has eaten into the iron creates small craters. These pits can collect food and make the surface less nonstick.
Our research shows that heavy seasoning layers can fill shallow pits over time, but deep pits are permanent. The pan will still cook well.
How long does it take to fully restore a rusty pan?
A light surface rust job takes about two hours of active time plus one afternoon for seasoning. A heavy restoration with lye stripping and electrolysis takes three to five days total. The active work is about one hour spread across those days.
The rest is waiting time.
Is it safe to cook in a pan that had rust?
Yes, once the rust is completely removed and the pan is properly seasoned. Iron oxide (rust) is not toxic in small amounts, but it tastes metallic and can contain bacteria. The restoration process removes all traces of rust.
A fully seasoned pan is safe for all cooking.
Can I use sandpaper to remove rust from cast iron?
You can, but it is not recommended for vintage pans. Sandpaper removes the original machined surface and leaves scratch marks. These scratches make it harder to build a smooth seasoning layer.
Use steel wool or a chainmail scrubber instead. Electrolysis is the gentlest method for preserving surface quality.
Why did my seasoning peel off after the first use?
The most common cause is too much oil during the seasoning process. A thick layer of oil does not polymerize evenly. It forms a brittle coating that flakes off under heat.
The fix is to strip the pan and start over with a thinner oil application. Remember: wipe the oil off like you didn't mean to apply it.
Does enameled cast iron rust?
Enameled cast iron has a glass coating that prevents rust. If the enamel is intact, the iron underneath will not rust. If the enamel is chipped or cracked, moisture can reach the exposed iron and cause rust.
Chipped enameled pans are not safe for cooking because glass fragments can chip into food.

Similar Posts