Remove Rust from Kitchen Knives Without Damaging Blades
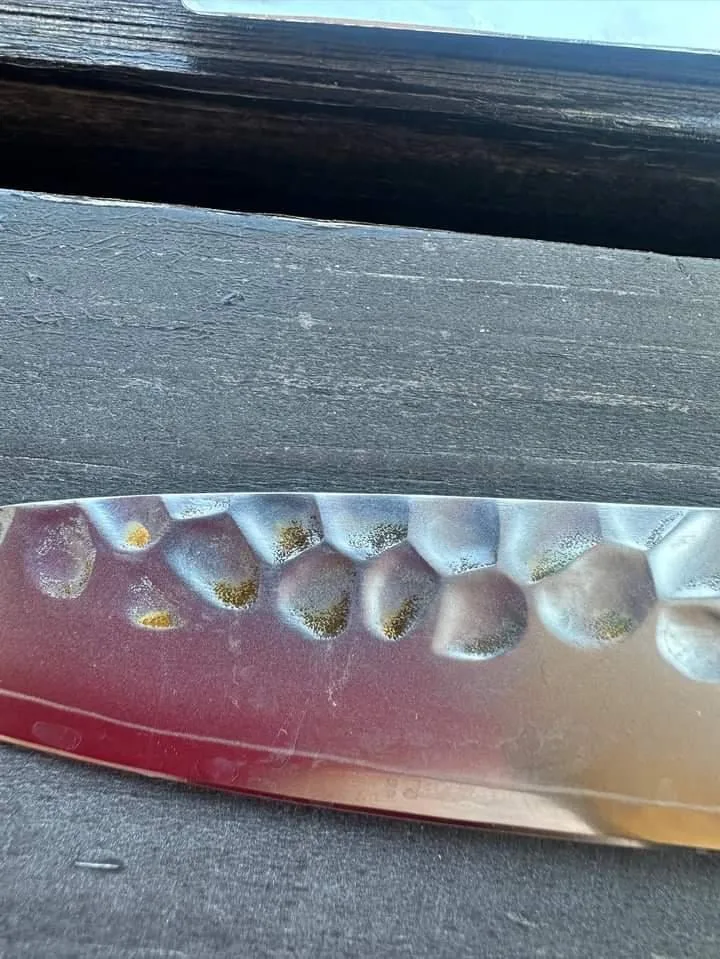
You open the knife drawer and spot a few rust-colored spots on a favorite blade. It happens to all of us, usually after a quick rinse-and-forget or a week in a damp rack. Learning how to remove rust from kitchen knives is a straightforward process once you understand the two variables: blade type and rust depth.
Most rust-removal advice skips the most important step. Identifying your blade steel prevents permanent damage. The 10.5% chromium threshold defines stainless steel, and it determines which removal methods are safe.
So before you grab steel wool, let's assess what you're dealing with.
Image source: Bing (Web (fair-use with source credit))
What You're Actually Dealing With
Rust is iron oxide. It forms when moisture sits on unprotected steel long enough for oxygen to bond with the metal. Kitchen knives are prime candidates.
They meet water, acidic food, and humid air on a daily basis.
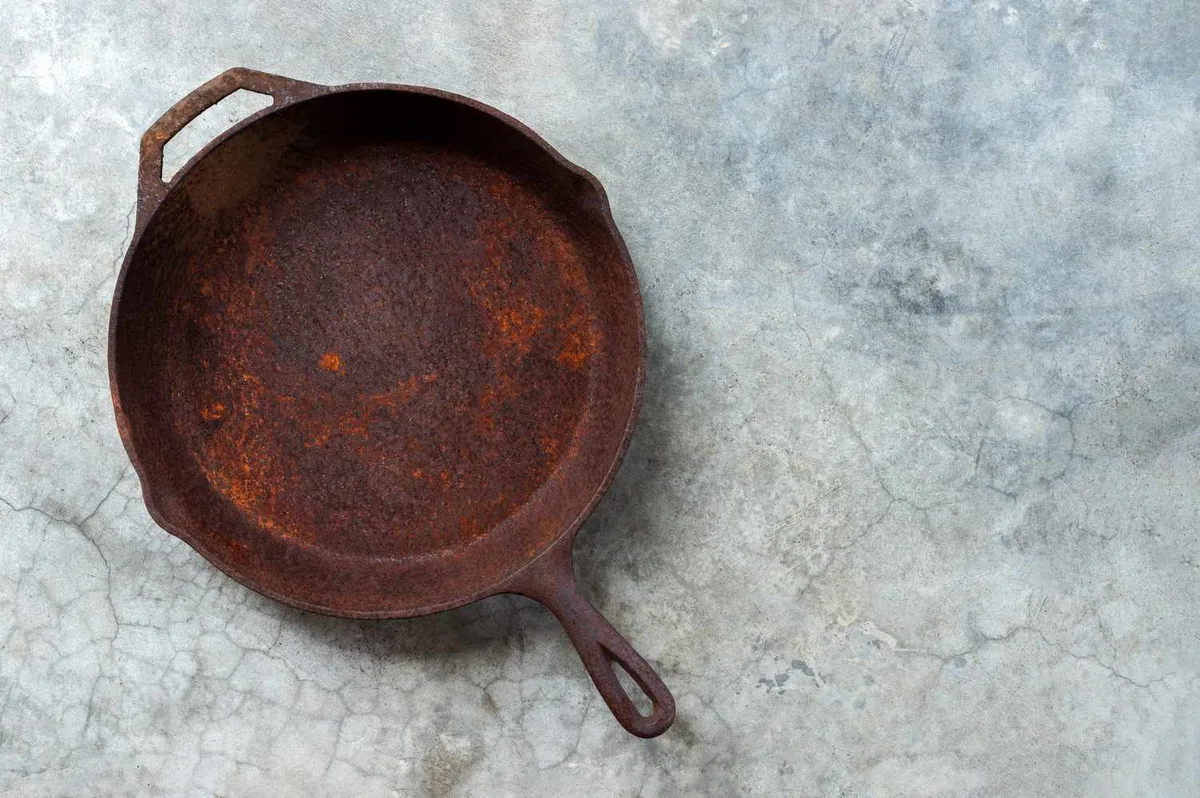
Not all rust is the same. Light surface rust looks like orange dust and might wipe off on a paper towel. Moderate rust feels rough and has bonded into the steel.
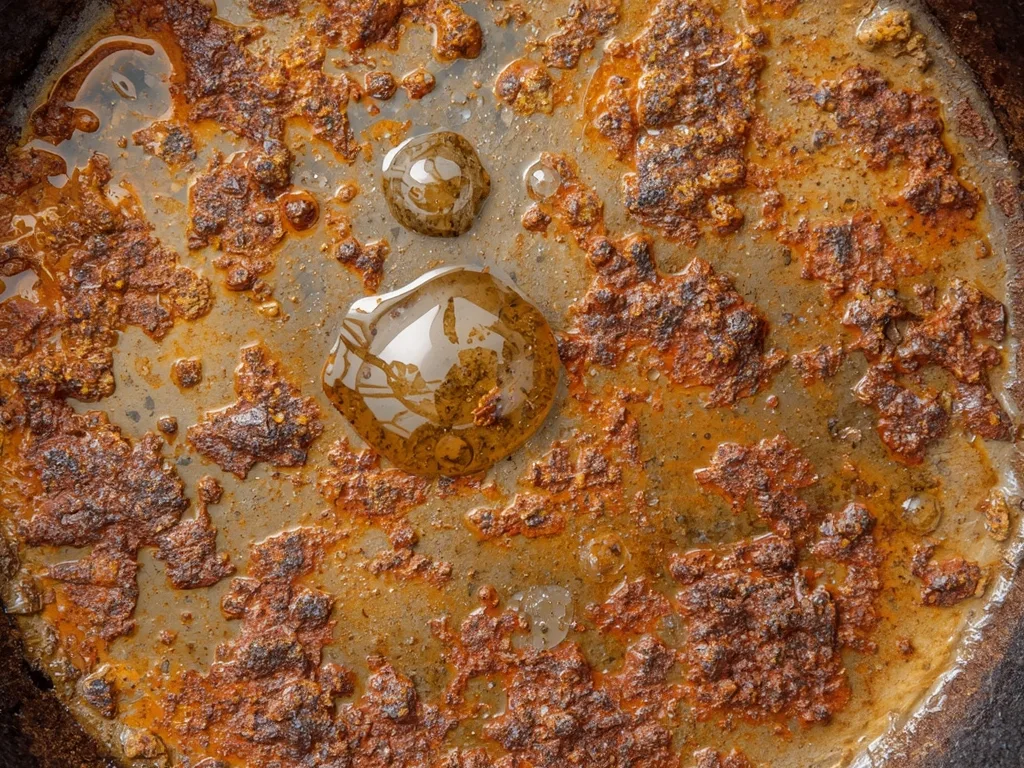
Deep rust, which metallurgists call pitting, appears as dark-brown or black spots with tiny craters underneath.
| Rust type | What it looks like | Texture |
|---|---|---|
| Light surface rust | Orange dust, no pits | Smooth, wipes off on a cloth |
| Moderate rust | Visible rough spots | Grainy, catches lightly |
| Deep rust / pitting | Dark brown or black spots | Cratered, uneven |
The removal method should match the rust depth. Attack light rust with a heavy acid or coarse abrasive and you'll remove good metal along with the stain. That's how a five-minute fix becomes a scratched, thinned-out blade.
There's also a hygiene factor. Corrosion creates microscopic pits where food debris and bacteria can hide. That's a real concern on a tool you use to cut raw ingredients.
The decision tree starts here. Identify the rust depth and the blade material. If you know those two things, you can skip straight to the method that won't damage your knife.
First Decision: What Kind of Knife Is This?
Everything about rust removal changes once you know the steel. Stainless steel, which needs a minimum 10.5% chromium content, forms a protective chromium oxide layer. It resists rust far better than carbon steel.
Carbon steel is highly reactive and can flash-rust within an hour in a humid kitchen.
Here's how to test: put one drop of white vinegar on an unseen spot. The tang at the base of the handle works well. Wait 30 seconds.
If the metal darkens or develops a tiny fizz line, it's carbon steel. Stainless stays unchanged in that short window.
Skip the magnet test. Most knife stainless steels are magnetic regardless of their corrosion resistance.
If you still aren't sure, treat the blade as carbon steel. That pushes you toward the gentler methods ahead. Those are safe for both steel types.
Aggressive acid baths are the only genuinely risky move for carbon steel.
Per the American Knife and Tool Institute, identifying your blade material before any maintenance is the difference between a quick fix and a costly mistake.
Branch 1: Removing Light Surface Rust
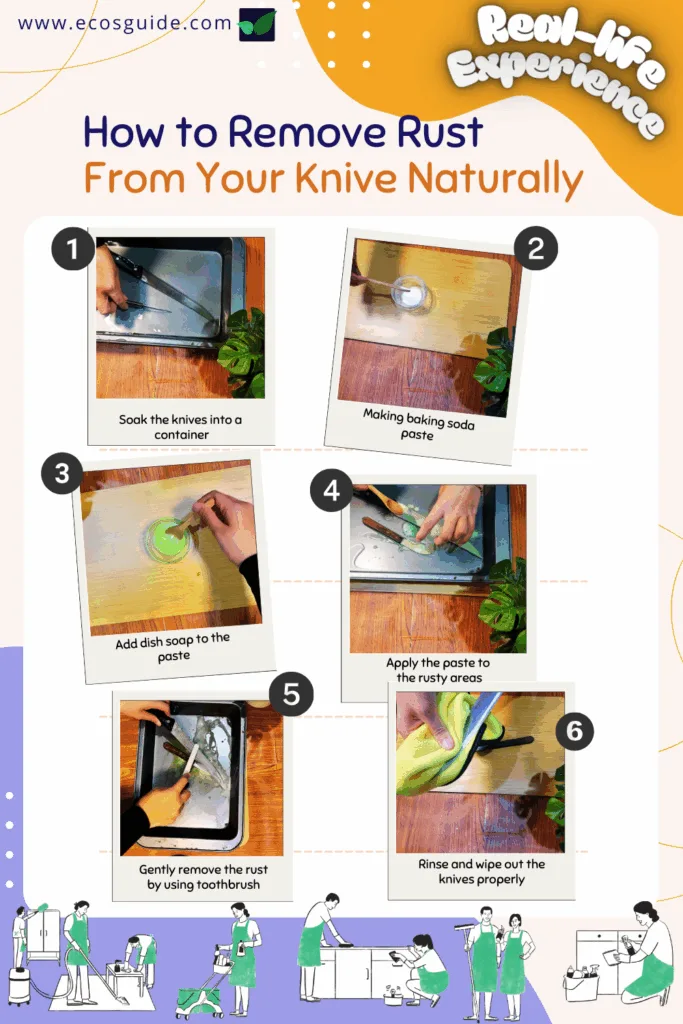
Image source: Bing (Web (fair-use with source credit))
If the rust is just an orange dusting with no pits and no rough texture, skip the acid baths. The baking soda slurry is the gentlest method that works.
You'll need:
- Baking soda
- Water
- A soft cloth or nylon scrubbing pad
- Food-safe mineral oil for the final step
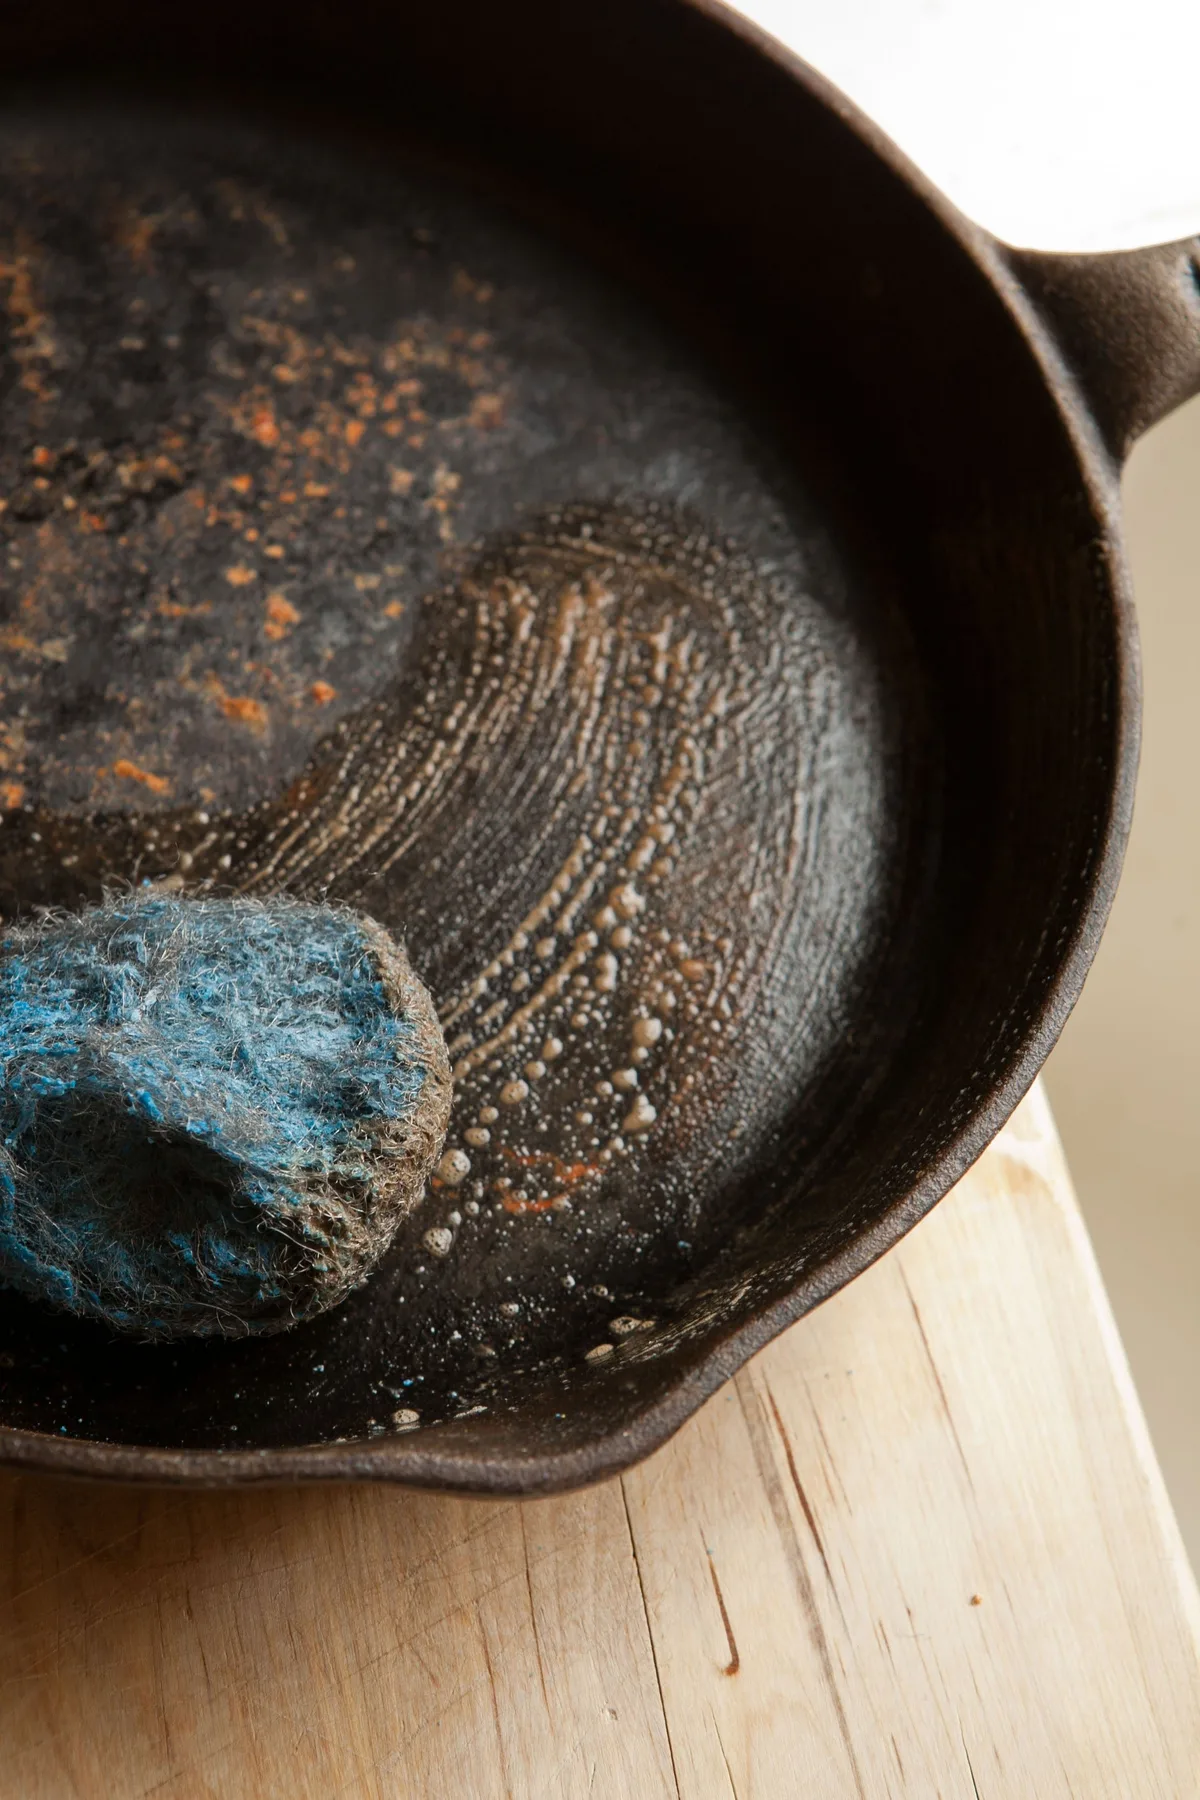
Mix three parts baking soda to one part water. That gives you a thick paste. Apply it to the rusted areas and rub gently with the grain of the blade finish.
The paste acts as a mild abrasive and lifts oxidation without grinding into the steel.
Check progress every minute. Light rust should clear in under five minutes. Aggregate reviews of home knife maintenance confirm that a five-minute ceiling is normal.
Once the orange is gone, wash the blade with warm soapy water. Dry it immediately with a clean towel. Then apply a thin coat of food-safe mineral oil.
That oil layer is what stops rust from forming again within a week.
Branch 2: Removing Moderate Rust
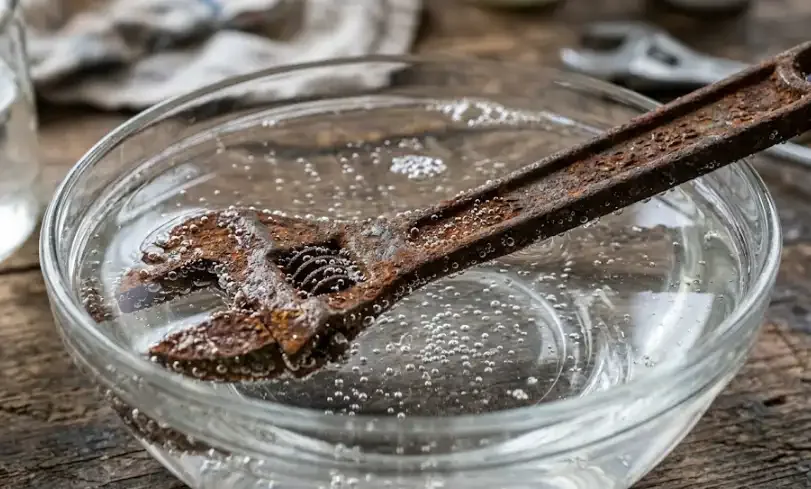
Image source: Bing (Web (fair-use with source credit))
If the rust has bonded and feels rough under your thumbnail, the baking soda route won't cut it. White vinegar is the next step. Its acetic acid, around 5% in standard cooking vinegar, dissolves iron oxide quickly and cheaply.
This method is safe for stainless steel. For carbon steel, don't soak the blade. Apply vinegar with a cotton swab to the rusted spots only, wait a few minutes, then rinse.
A full soak can etch a carbon steel blade and leave permanent grey damage.
For stainless knives:
- Pour a shallow layer of white vinegar into a dish.
- Lay the blade in the vinegar, handle out of the liquid.
- Soak for 5 minutes. Check progress. Repeat up to three times, but never exceed 15 minutes total.
Once the rust softens, scrub with a nylon pad and warm soapy water. It should lift without much force. Neutralize any residual acid with a baking soda and water paste.
Rub it over the blade, rinse, dry completely, and oil.
One hard rule: never soak a knife with a wooden or hollow handle. Vinegar wicks into the seams, swells the wood, and can loosen the handle over time.
Branch 3: Treating Deep Rust or Pitting
When rust moves past orange spots into dark pits, you're no longer cleaning the steel. You're removing corrupted metal. That's a different job with real tradeoffs.
Oxalic acid is the most effective chemical for this level. Barkeepers Friend, which lists oxalic acid as a main ingredient, can lift deep oxidation without the aggressive metal loss of sanding.
To use it:
- Wear gloves and work in a ventilated area.
- Mix the powder with water into a paste.
- Apply to the pitted areas and let it sit for 1 to 5 minutes.
- Scrub with a soft toothbrush or nylon pad. Reapply as needed.
The honest catch: if the pits are deeper than a fingernail's thickness, about 0.4 mm, you'll remove so much metal that the blade becomes thin and fragile. For a $20 knife, that's not worth it. For a $200 chef's knife, that's a job for a professional sharpener with a belt grinder, not a home experiment.
Aggregate reviews of knife restorations as of 2026 show that safety is the deciding factor. A blade that flexes too easily or has a severely pitted edge isn't a challenge. It's a liability.
If rust has eaten into the cutting edge itself, replace the knife. A compromised edge carries a real risk of snapping during use.
Mistakes That Make Everything Worse
You can undo hours of careful rust removal in about thirty seconds. Here are the common ones that keep showing up in user reports.
Scrubbing in circles is the biggest. The original blade finish has a grain direction, usually running lengthwise from bolster to tip. Scrub across it and you leave visible scratch lines that trap moisture.
Always scrub in one direction with the grain.
Using vinegar on carbon steel without timing it is number two. A full soak eats into the metal and leaves a dull etched surface. Control it to a 30 second wipe and immediate rinse.
That's safe.
Soaking a knife with a wooden handle is a permanent mistake. The water seeps into the handle material. It swells the wood, loosens the rivets, and creates a dark ring around the metal tang.
That ring is trapped moisture and it will cause future rust from the inside out.
Skipping the drying step is the predictable one. Rinse your blade, wipe it dry, then let it sit open on the counter for ten minutes. Even a single droplet left in a pivot or bolster notch can start a new rust spot overnight.
Chasing deep pitting past the point of reason is the last one. If the blade edge is visibly thinned or the pits reach halfway through the steel thickness, stop. The knife is compromised.
You are weakening a tool that you trust to hold an edge against your fingers.
How to Keep Rust From Coming Back
Rust prevention takes less time than rust removal. The habit is simple. Dry your knife completely after every wash.
Not one pass with a towel and done. Dry the blade, flip it, dry the other side, then wipe the handle and the edge.
Food-safe mineral oil is your main preventive. It creates a thin barrier that moisture can't penetrate. Apply it after every few uses or whenever the blade starts looking dry.
One drop on a cloth, rubbed in, is enough.
Camellia oil is the traditional option from Japanese knife culture. It's lighter than mineral oil and leaves less residue. Either works.
Avoid vegetable oils, olive oil, or coconut oil. They go rancid on the blade and leave a sticky film.
Storage matters as much as cleaning. A magnetic strip keeps the blade exposed to airflow. A dry knife block with vertical slots works too.
Avoid the in-drawer plastic organizers that trap moisture against the metal. Those are the fastest way to wake up to a rusted blade.
For carbon steel owners, forcing a patina is worth considering. A patina is a controlled layer of oxidation that seals the steel against deeper rust. You can encourage it by wiping the blade with warm vinegar and letting it dry.
The result is a blue-grey finish that acts as natural armor.
When the Knife Is Beyond Saving
Some rust damage is cosmetic repair. Some is a lost cause. The line is clearer than most people think.
A blade with deep pitting across the cutting edge is unsafe to use. The pits create weak points where the steel can chip or crack during normal cutting. Once the edge integrity is gone, sharpening only makes the blade thinner and more fragile.
That's a training ground for a bandage.
The same goes for rust that has compromised a full-tang knife at the handle junction. If the metal is flaking at the point where the tang meets the blade, the structural core is corroded. A hard chop can snap it.
No home restoration fix that.
Replace the knife when the repair cost or risk outweighs the value. A professional restoration for a heavily pitted blade costs between $25 and $75. If the knife's original price is under $50, replacement is cheaper and safer.
Aggregate feedback from home cooks and professional kitchens as of 2026 shows a clear pattern. The knives that last decades are the ones caught at the light rust stage. The ones left too long in a damp drawer become a recycling bin contribution.
Learn the drying habit and you will never need most of this article again.
Frequently Asked Questions
Can I use Coke or ketchup to remove rust?
Yes, both work in a pinch. Their phosphoric and citric acids dissolve light surface rust. Apply, wait 10 minutes, scrub, and rinse thoroughly.
Vinegar is still the better choice because its 5% acetic acid concentration is consistent. Ketchup works, but it's messier and slower.
Will rust on a knife make me sick?
Rust itself is not toxic in the small amounts found on kitchen knives. The real risk is bacteria hiding in the pits that rust creates. Clean the blade thoroughly and remove the rust to eliminate that risk.
A restored knife is perfectly food-safe after washing.
Does stainless steel never rust?
No, stainless steel just rusts much slower. Chromium content of at least 10.5% creates a protective oxide layer. But salt, acid, and prolonged moisture still break through that layer.
Blade steels like VG-10 and X50CrMoV15 are resistant, not immune.
How often should I oil my knife?
Once a month for stainless steel, weekly for carbon steel. One drop of food-safe mineral oil or camellia oil wiped over the blade is enough. In humid climates, oil more often.
The goal is a thin barrier, not a greasy coating.
Can I use sandpaper on an expensive knife?
Yes, with the right grit and technique. Start at 600 grit for light rust. Never go coarser than 400 unless you accept visible scratches.
Always sand in the direction of the blade finish. Check manufacturer specs first, since some premium knives void warranty coverage on abrasive maintenance.

Similar Posts