How to Remove Yellow Stains from a Microwave
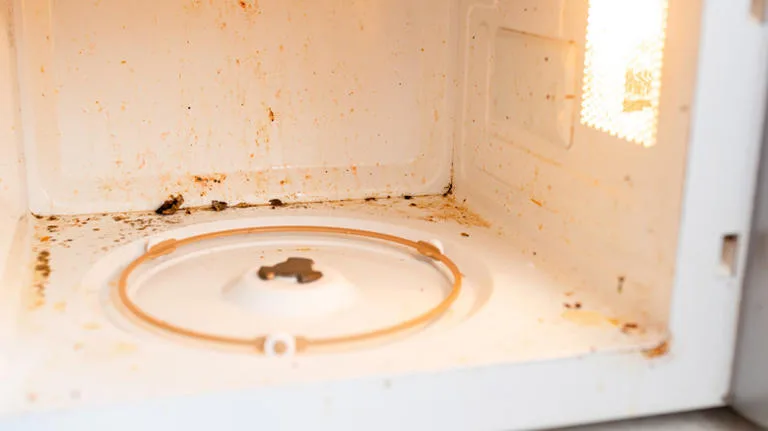
You open the microwave door and that yellow stain stares back at you. It’s been there for days, maybe weeks, and a quick wipe with a damp cloth does nothing. Learning how to get yellow stain out of microwave doesn’t require a chemistry degree, you just need to match the method to the mess.
According to manufacturer guidelines, most microwave interiors are coated with either painted steel, stainless steel, or enamel, and each reacts differently to cleaning agents. Get the diagnosis right, and you’ll have it clean in under 10 minutes. Get it wrong, and you could scratch the surface or set the stain deeper.
Quick Answer
The yellow stain is either grease, burnt food, or melted plastic. Steam a bowl of water with vinegar or lemon for 3 to 5 minutes. Let it sit 5 minutes.
Wipe with a soft cloth. For stubborn spots, use a baking soda paste. Never use abrasive scrubbers.
Image source: Bing (Web (fair-use with source credit))
Step 1 – Diagnose the Stain: Grease Film, Burnt-On Food, or Melted Plastic
Before you grab a spray bottle, figure out what you’re dealing with. Each stain type demands a different approach, and the wrong one wastes time or damages the interior.
How to check the feel, smell, and age of the stain
Run your finger over the yellow area (after it’s cool). A greasy, slick film that smells like old cooking oil points to grease oxidation. That’s the most common culprit, heat and time have turned the oil yellow.
If the stain feels crusty and has a burnt, acrid odor, it’s burnt-on food residue, usually from a popcorn bag that ran too long or a soup spill that baked in. If the stain is hard, smooth, and almost plastic-like, with a faint chemical smell, you’ve got melted plastic, maybe a container touched the heating element or a wrapper got left in.
What each type tells you about the right cleaner
If it’s grease, steam alone often works. If it’s burnt-on food, you need steam plus a longer soak and possibly a paste. If it’s melted plastic, you need careful scraping before any wet clean-up, steam can soften plastic but also spread it if you’re not careful.
Here’s a quick decision table:
| Stain type | Feel / smell | First method | Backup method |
|---|---|---|---|
| Grease film | Slick, oily, faint food smell | Steam (vinegar/lemon) | Baking soda paste |
| Burnt-on food | Crusty, black or yellow, acrid smell | Steam + 5-min soak | Paste + gentle scrub |
| Melted plastic | Hard, smooth, chemical smell | Scrape with plastic tool | Steam + scrape residue |
Step 2 – Choose Your Cleaning Path Based on Your Microwave’s Interior
Your microwave’s interior coating decides what’s safe. Manufacturer specifications show that painted steel, stainless steel, and enamel each have different cleaning limits. Painted steel is the most common in budget microwaves, it’s soft and scratches easily.
Stainless steel is more durable but can discolor if you use acidic cleaners for too long. Enamel is tough but can chip if you scrape aggressively. Here’s the key rule: if you’re unsure, check your user manual’s “Cleaning and Care” section.
It will list approved cleaners and prohibited methods.
Stainless steel vs enamel vs painted metal – what’s safe
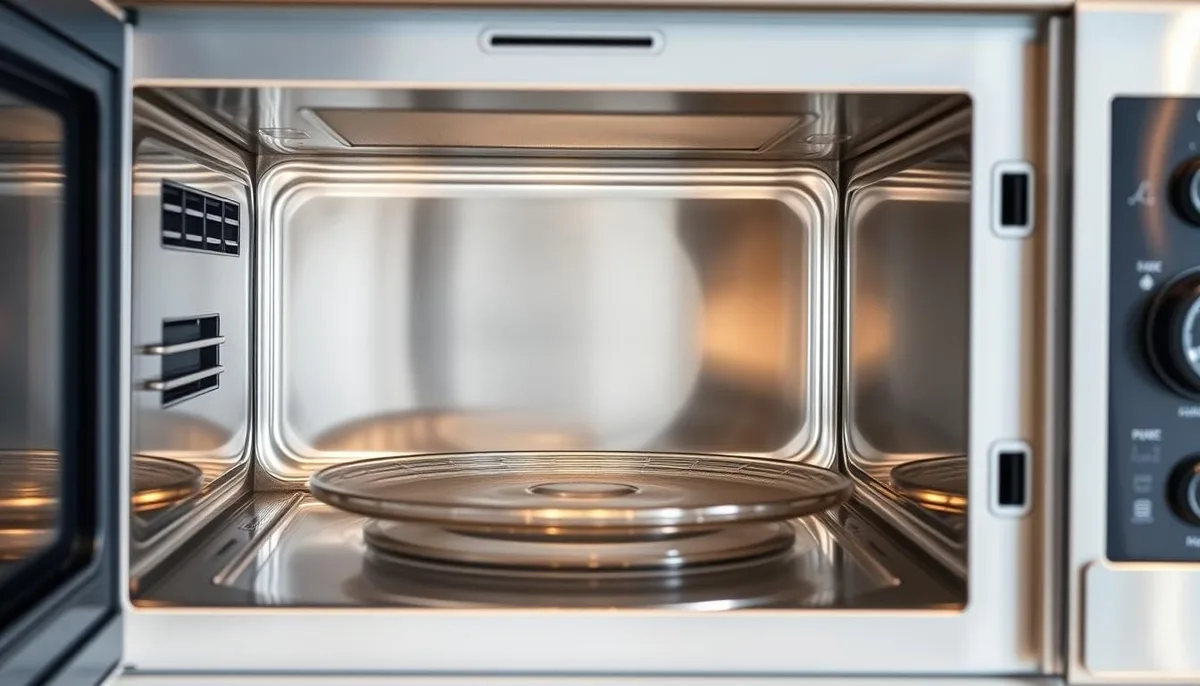
Image source: Bing (Web (fair-use with source credit))
- Painted steel: Gentle only. No vinegar or lemon for more than 5 minutes, the acid can strip paint. Use baking soda paste instead.
- Stainless steel: Fine with vinegar or lemon, but rinse immediately after wiping. Avoid chlorine bleach.
- Enamel: Very forgiving. Vinegar, lemon, baking soda, all safe. Don’t use metal scrapers.
The vinegar-or-lemon steam method (for grease and light burn marks)
Fill a microwave-safe bowl with 1 cup (240 ml) of water. Add 2 tablespoons of white vinegar or the juice of half a lemon. Microwave on high for 3 to 5 minutes (longer for lower wattages).
Leave the door closed for 5 minutes so the steam condenses on the walls. Open, remove the bowl, and wipe with a microfiber cloth. The acid breaks down grease and lifts light burns.
This works for grease film and light burnt-on food.
The baking soda paste spot treatment (for stubborn baked-on stains)
Mix 3 parts baking soda with 1 part water to make a thick paste. Apply it directly to the yellow stain. Let it sit for 10 minutes.
Scrub gently with a soft sponge (non-abrasive side). Wipe with a damp cloth. This method is safe for all interior coatings and works when steam alone fails.
The plastic-melt emergency fix (scrape, steam, then replace if needed)
If plastic has melted onto the interior, start by scraping off the bulk with a plastic utensil (never metal). Then steam as above to soften the remaining residue. Wipe immediately.
If the melted plastic has fused into a surface seam or vent, you may need to replace the turntable or, in severe cases, the entire microwave, especially if smoke or odor remains. The USDA recommends discarding any microwave where melted plastic has compromised the food contact surface.
Step 3 – Step-by-Step Workflow for Each Stain Type
Now that you’ve identified the stain and know your interior, here’s the exact sequence for each case.
Grease film – steam + wipe
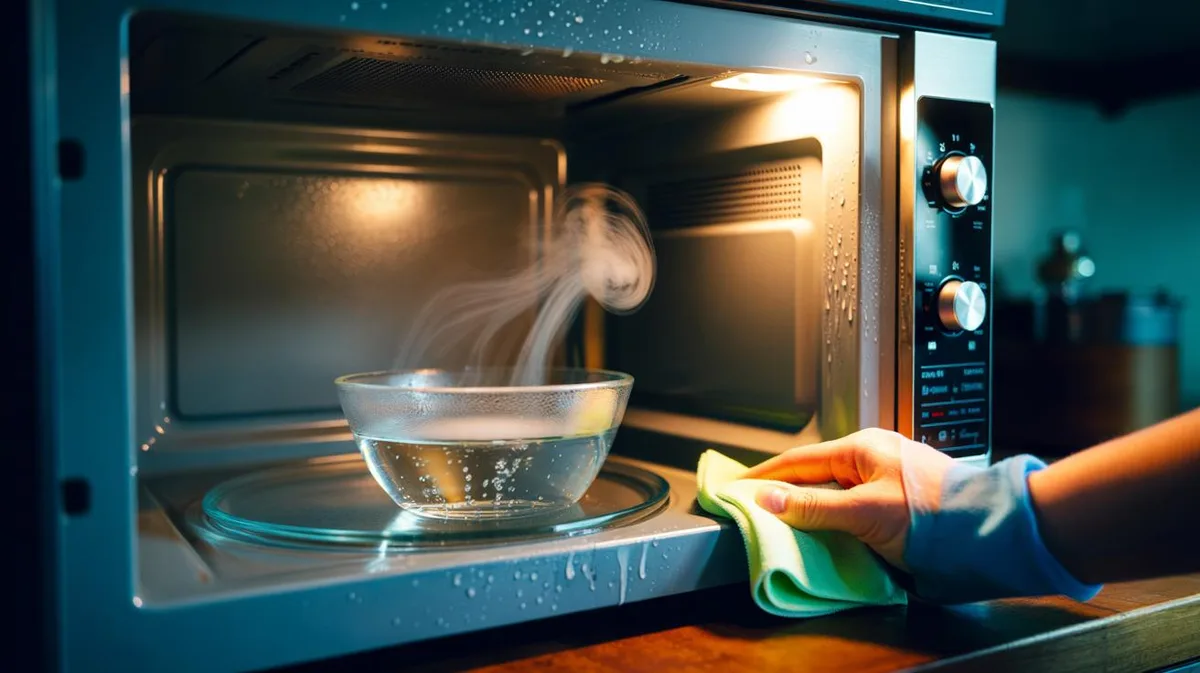
Image source: Bing (Web (fair-use with source credit))
- Remove the turntable and wash it separately with dish soap.
- Fill a bowl with 1 cup water + 2 tbsp vinegar.
- Microwave on high 3 to 5 minutes.
- Let sit 5 minutes with door closed.
- Open, carefully remove bowl, and wipe the interior with a microfiber cloth.
- Dry with a clean cloth. Done.
Burnt-on food – steam + soak + paste
- Remove turntable.
- Steam as above, but microwave for 5 minutes and let sit 5 minutes.
- Wipe away loose residue.
- For remaining spots, apply baking soda paste directly. Let sit 10 minutes.
- Scrub gently with a soft sponge.
- Wipe clean and dry.
Melted plastic – careful scraping + steam + check for damage
- Let the microwave cool completely.
- Use a plastic spatula or old credit card to scrape off as much plastic as possible.
- Steam as above for 5 minutes.
- Wipe away softened plastic.
- Inspect for any melted plastic that got inside vents or around the door seal. If present, stop cleaning and consider replacing the microwave, that plastic can release fumes when reheated.
Step 4 – Common Mistakes That Worsen the Stain or Damage the Microwave
Even with the right plan, a few missteps can turn a 10-minute job into a headache. Here are the pitfalls to avoid.
Using abrasive scrubbers on coated interiors
Steel wool, scouring pads, and harsh abrasive powders scratch painted steel and even stainless steel. Those scratches trap food particles and make future stains worse. Always use a microfiber cloth, soft sponge, or non-abrasive scrub pad.
If you must scrub, use the “gentle” side of a sponge.
Leaving the turntable in during treatment
The turntable is glass or plastic, glass is fine, but plastic can warp if you steam it unnecessarily. Worse, the turntable blocks steam from reaching the floor of the microwave. Remove it every time.
Wash it separately, it’s easier to clean a flat plate than a rotating circle.
Overheating an empty microwave
Steaming requires water in the bowl. If you run the microwave empty, even for a few seconds, you can damage the magnetron (the part that generates microwaves). Always have at least 1 cup of water in the bowl.
If you’re concerned about safety, unplug the microwave before deep scrubbing near the vents, the manual of most microwaves advises this for thorough cleaning.
Step 5 – When to Give Up: Stains That Won’t Budge and What to Do Instead
Not every yellow stain is fixable. Some are baked into the material itself, not sitting on top of it. Knowing when to stop scrubbing saves you time and prevents damage.
Yellow discoloration from age or heat damage
If the yellowing is uniform across the interior and doesn’t lift with steam or a paste, you’re likely dealing with heat aging. The plastic or paint has oxidized from years of microwave use. No cleaner will restore that original white.
In this case, your options are limited. You can live with it, it’s cosmetic, not a safety risk. Or you can replace the microwave, especially if you’re a renter trying to get a deposit back and the unit is small and old.
Stains inside a sealed vent or door gasket
If yellow has crept into the vent slots or the rubber door seal, do not spray cleaner directly into those areas. Liquids can seep into the electronics. Instead, wipe the surface with a slightly damp cloth.
If the stain remains inside the vent, it’s unreachable without disassembly, and that’s a job for a professional or a reason to replace the unit. The same goes for mold-like yellow spots on the gasket itself: replace the gasket if possible, or replace the microwave.
Replacing the turntable vs replacing the whole unit
If the yellow stain lives only on the glass turntable, replace just that. A replacement turntable costs between $15 and $30. Measure your current one’s diameter, check the hub shape, and order a compatible model.
If the stain is on the interior walls and won’t come off, and the microwave is more than 8 to 10 years old, replacement is often cheaper than the hassle. Entry-level microwaves start around $60. Compare that to the effort of repeated failed cleaning attempts.
Frequently Asked Questions
Can I use bleach or commercial cleaners?
Bleach is not recommended. It can damage the interior coating and leave harmful fumes. Commercial microwave cleaners are safe if they match your interior type.
Check the label. Most are just diluted vinegar or baking soda formulas anyway.
How do I prevent yellow stains from forming?
Use a microwave cover on every dish. Splatter guards cost a few dollars. Wipe the interior with a damp cloth after each use, even if it looks clean.
A weekly steam clean keeps grease from oxidizing.
Will lemon or vinegar leave a lingering smell?
Not if you rinse with a clean damp cloth after wiping. Lemon leaves a mild fresh scent for about an hour. Vinegar smell dissipates completely within 10 minutes once the surface dries.
Is it safe to microwave the cleaning solution?
Yes. Always use a microwave-safe bowl. Do not use metal bowls or trim.
Keep at least 1 cup of water in the bowl to prevent overheating. Never run the microwave empty.
What if the yellow stain returns quickly after cleaning?
That suggests the stain is actually grease seeping from a small leak or from a crack in the interior. Inspect the ceiling and walls for hairline cracks. If you find one, the microwave may be unsafe to use, moisture and food particles can get into the electronics.
When should I replace the microwave instead of cleaning it?
Replace it if you see smoke, sparks, or smell burning plastic after cleaning. Replace it if the stain is inside a vent and you can’t remove it. Replace it if the door seal is yellowed or cracked.
And replace it if the microwave is over 10 years old, energy efficiency declines, and repairs cost more than a new unit.

Similar Posts