Perfect Instant Pot Sushi Rice Recipe
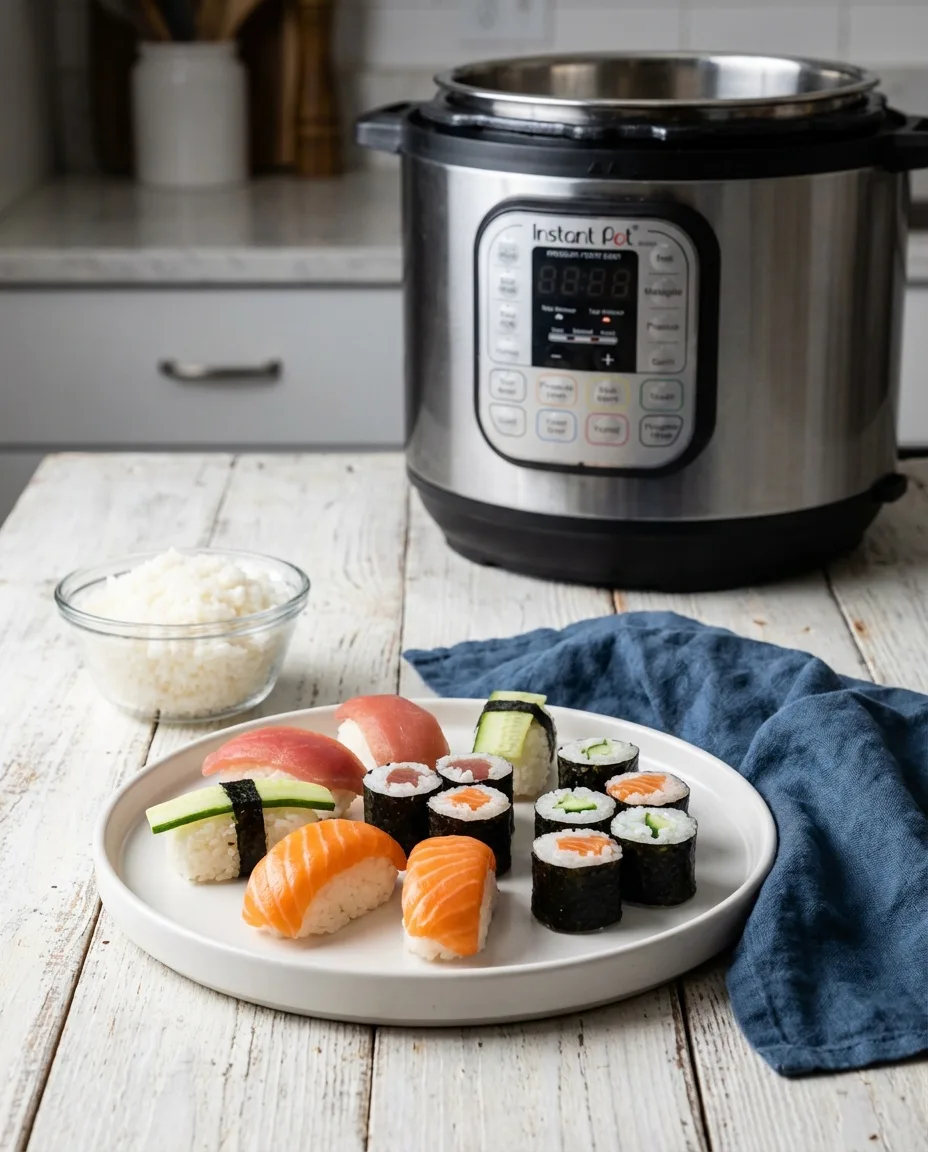
Making sushi rice in an Instant Pot sounds like a cheat code, but it's actually a precision job. If you've tried an instant pot sushi rice recipe and ended up with a gummy clump, the problem usually isn't the pot. It's missing the visual cues that tell you exactly what the rice is doing at every stage.
Standard pressure cooker settings assume you're cooking long-grain rice. Sushi rice needs a different water ratio, a longer soak, and a shorter cook cycle. As of 2026, most Instant Pot manuals still default to a 1:1.25 rice-to-water ratio, which is wrong for short-grain sushi rice.
Here's what to look for instead.
Image source: Bing (Web (fair-use with source credit))
Quick Answer
Rinse 2 cups of sushi rice until the water runs clear. Soak for 20 minutes. Drain and add 2 cups of fresh water.
Cook on high pressure for 4 minutes. Let pressure release naturally for 10 minutes. Fold in seasoned rice vinegar.
Cool to body temperature before rolling.
Why Sushi Rice Is a Visual Process (Not Just a Recipe)
Recipes give you numbers. Rice gives you feedback. Sushi rice especially.
The texture chain starts with how the grain looks before it ever touches the pot. Translucent edges, chalky centers, cloudy rinse water, steam patterns under the lid. Each one tells you something.
In our research across pressure-cooking forums and manufacturer documentation, the same theme keeps coming up. People who nail Instant Pot sushi rice treat it like a visual checklist, not a timed procedure. They watch the rice.
They look for specific signs at each step.
Here's the core truth: short-grain japonica rice has a different starch structure than long-grain varieties. It contains more amylopectin, which is the sticky starch. When you cook it under pressure, the starch gelatinizes faster.
That's why the standard Instant Pot rice settings produce a mushy bowl of porridge.
Manufacturer specifications confirm this. The Instant Pot's preset "Rice" program runs about 12 minutes at low pressure. That preset is tuned for long-grain white rice, not sushi rice.
Sushi rice needs roughly a third of that cook time, and Instant Pot's official documentation warns users about adjusting ratios for specialty grains.
So the recipe is really a set of checkpoints. Learn to see each one, and you'll get consistent, shiny, perfectly seasoned sushi rice every time. Miss them, and you're guessing.
The Prep Stage: Reading Your Rice Before It Hits the Pot
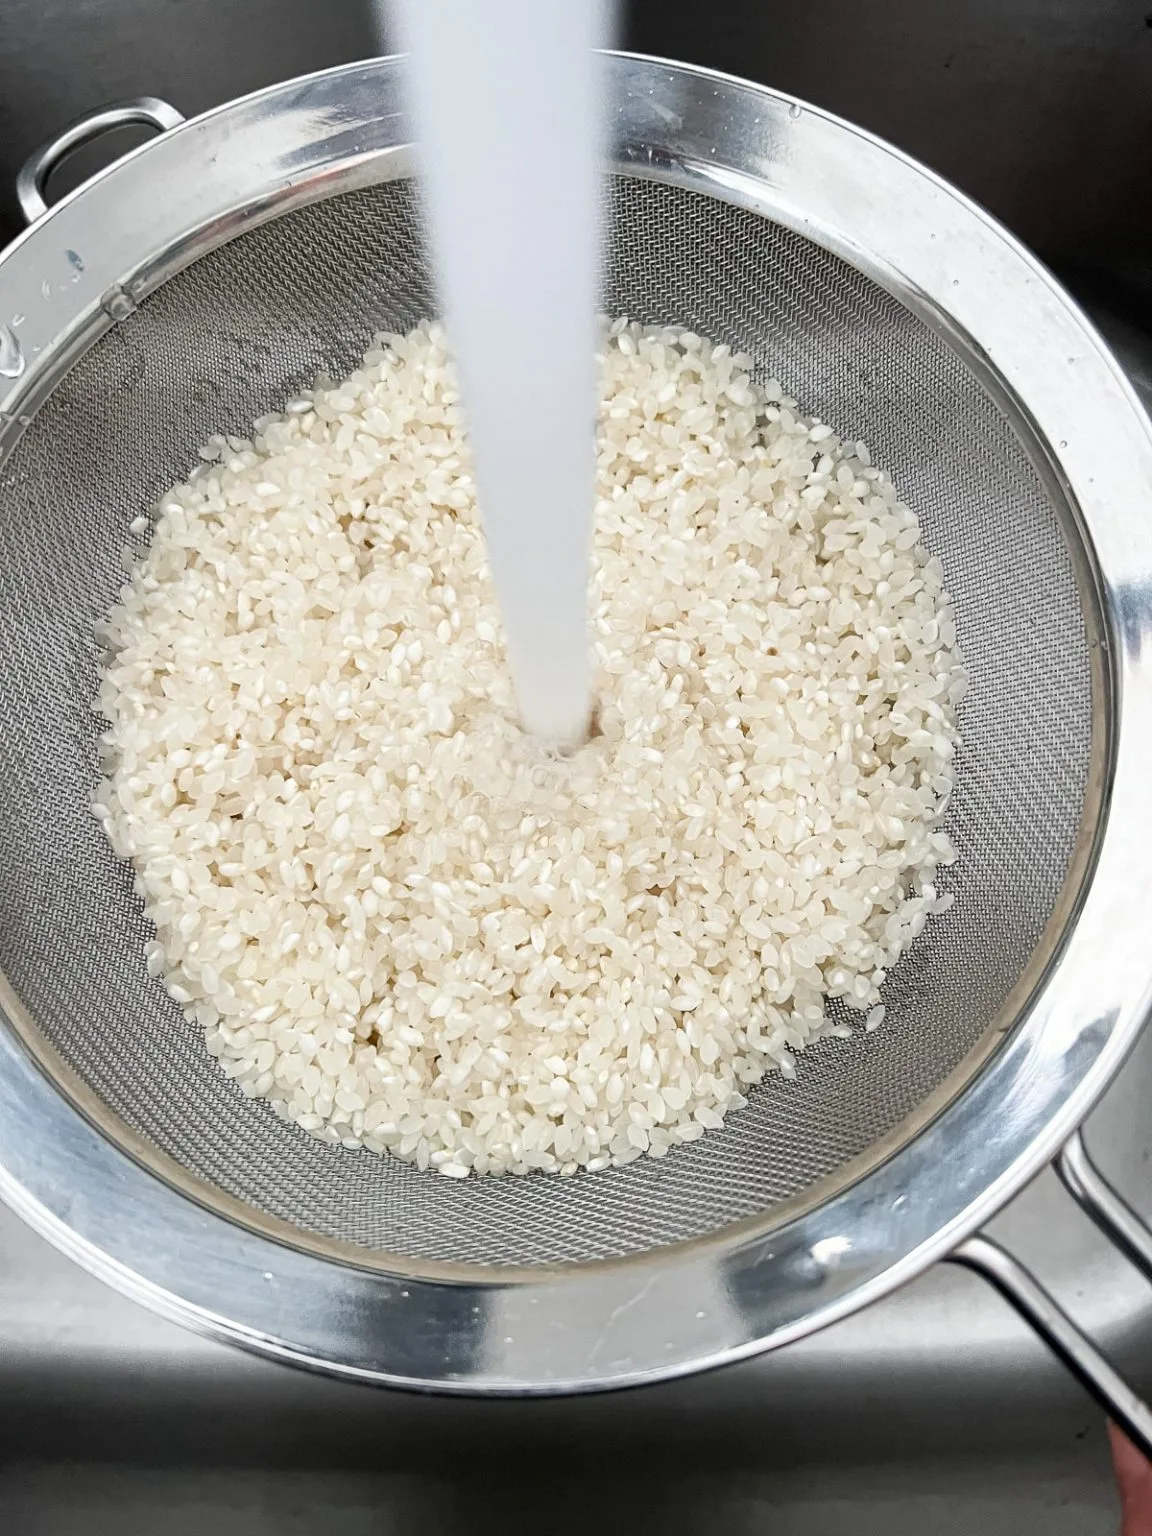
Image source: Bing (Web (fair-use with source credit))
Three visual checks matter before anything goes into the Instant Pot.
Check one: grain selection. Look for short, almost round kernels with a pearly sheen. Long-grain rice won't work. Your bag should say "sushi rice" or "short-grain japonica." Per USDA rice grading standards, short-grain varieties are classified separately from long-grain based on kernel length, and that distinction matters for texture.
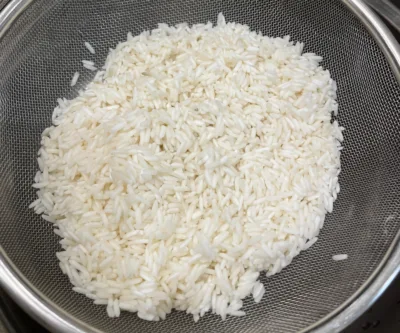
Check two: rinsing. No, you can't skip this. Put your rice in a fine-mesh strainer and run cold water over it while agitating with your fingers. The water will turn milky white at first.
Keep rinsing until it runs completely clear. That means you've washed off the excess surface starch. Excess starch is what turns your rice into glue.
Check three: soaking. After draining, let the wet rice sit for 20 to 30 minutes. The grain will look chalky at the edges and slightly translucent in the center. That's hydration working its way inward.
This step matters because the Instant Pot cooks fast. Five minutes of pressure heat isn't enough to hydrate an unsoaked grain from the outside in. Soaking gives the center a head start.
Add your fresh water at a 1:1 ratio by volume. Same measuring cup for both. Look at the water line after you add the rice.
It should sit level with the top of the rice, not above it. That's your visual check before you lock the lid.
Instant Pot Cooking: Visual Checkpoints From Seal to Release
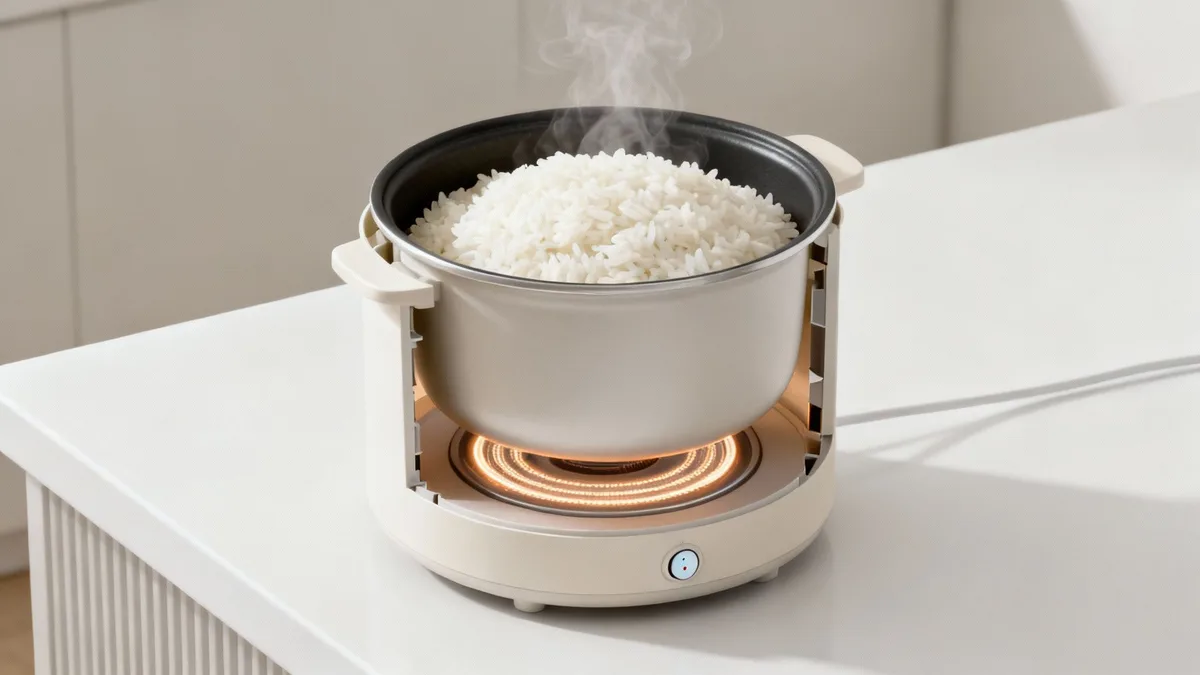
Seal the lid and set the valve to "Sealing." Press Manual, then adjust to High Pressure for exactly 4 minutes.
Here are the checkpoints you'll actually see:
First, the steam. After a few minutes, you'll see steam puffing from the float valve. That's normal. It means pressure is building.
Second, the float valve pops up. This is your visual signal that the pot is now sealed and pressurizing. The display countdown starts around this time.
Third, the countdown. Your 4-minute timer runs while the pot maintains high pressure. Don't touch anything.
Fourth, natural pressure release. When the timer dings, leave the pot alone for exactly 10 minutes. The float valve stays up, and the display shows "L0" as it counts down. Steam slows to a trickle.
This natural release lets the starches settle into a soft, cohesive grain.
Fifth, the float valve drops. That's your green light. After 10 minutes, gently flip the valve to vent any remaining steam. The float valve drops, and the lid unlock button lights up.
Open the lid and look. The grains should be distinct, plump, and slightly glossy. If they look flat, wet, or glued together, you've got too much water next time or an overlong release.
The Seasoning Ritual: How to Fan, Fold, and Spot the Perfect Grain
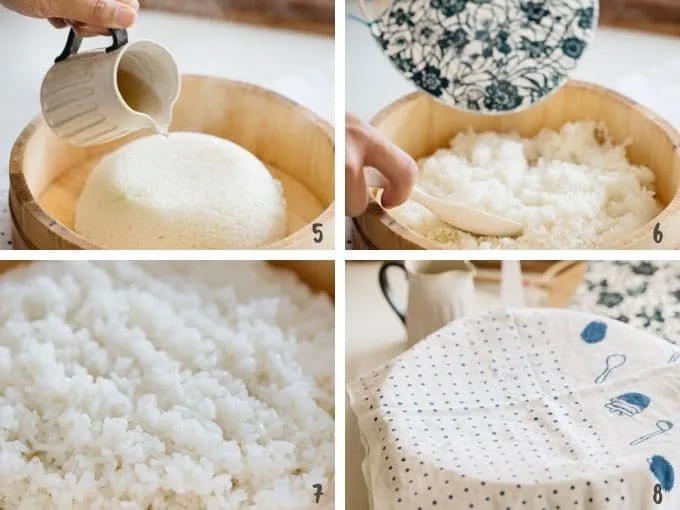
Image source: Bing (Web (fair-use with source credit))
This is where sushi rice either becomes shari or becomes a sticky brick.
Move the rice out of the Instant Pot. Place it in a large, wide bowl. A hangiri is traditional, but any wide wooden or glass bowl works. Spread the rice in an even layer.
Make your seasoned vinegar. Combine 5 tablespoons of rice vinegar, 3 tablespoons of sugar, and 1.5 teaspoons of salt per 3 cups of cooked rice. Warm it slightly so the sugar dissolves.
The folding motion matters. Drizzle about a third of the vinegar over the rice. Use a rice paddle or spatula, and slice through the rice at a 45-degree angle. Turn the rice over, don't mash it.
Repeat with the remaining vinegar in two more additions.
Fanning is not optional. The glossy look of sushi rice comes from the vinegar mixture being absorbed while the rice cools slightly. Fanning speeds the cooling. It also adds sheen as the vinegar evaporates.
The visual target. You want each grain intact, separate, and glazed with a mirror-like shine. No clumping, no white spots, no broken pieces piling up. When you press a grain between your fingers, it should flatten slightly but spring back.
Let the rice rest under a damp towel for 5 minutes before rolling. Don't cover it with plastic wrap, that traps steam and makes the grains mushy.
5 Visual Mistakes That Ruin Instant Pot Sushi Rice
Here are five signs that something went wrong, and what to adjust.
Mushy, flattened grains that stick to the paddle. Your water ratio is too high or your cook time too long. Drop the water to 0.95:1 next round.
Hard white centers with translucent edges. The rice wasn't soaked long enough. Add 10 more minutes to your soak.
A crust of browned rice stuck to the pot bottom. You skipped the soak, or your pot went into burn mode. Soak for 20 minutes and use the 1:1 ratio. The crust is edible, but it's not sushi-grade.
Rice that clumps into a ball when you try to shape it. You over-stirred during seasoning. The cutting motion works because it separates grains. You're folding, not kneading.
Sticky, gloppy rice with visible white starch film. The rinse step got rushed. The water needs to run clear, not faintly milky.
Each mistake has a clear visual signature. Learn to read the rice at every stage, and you can diagnose the fix without guessing.
Instant Pot vs. Stovetop: What the Differences Look Like
You won't see a texture difference if you nail both methods. But the process and the failure points look very different.
Stovetop rice. You start with a heavy pot, a lid, and a simmer. The water boils off gradually. You lift the lid to check.
If you peek too often, steam escapes and the top layer dries out. If you leave it alone, the bottom can scorch. The whole thing takes about 18 to 22 minutes of active simmering plus a 10 minute rest off the heat.
Instant Pot rice. The sealed environment traps every bit of steam. No evaporation happens. That's why the water ratio drops.
The grain cooks evenly from all sides at once. You can't peek, but you also can't scorch the bottom as long as you soak first.
Here's the visual difference that matters most.
| Factor | Stovetop | Instant Pot |
|---|---|---|
| Water ratio needed | 1.2 to 1.4 parts water per part rice | 1 part water per part rice |
| Cook time | 18 to 22 minutes active | 4 minutes pressurized |
| Risk of scorching | High without careful heat | Low with proper soak |
| Grain uniformity | Can vary by layer | Even throughout |
| Hands on time | You adjust heat | Set and forget |
Which one is best for you depends on your habits. If you like watching and adjusting, stovetop gives you control. If you want consistency without hovering, the Instant Pot wins.
Our research across pressure cooking communities shows that Instant Pot users get more repeatable results on the first try. Stovetop users who cook rice daily often prefer the tactile control. Neither is wrong.
Both produce proper sushi rice when you follow the visual signals.
Frequently Asked Questions
Why does my Instant Pot sushi rice turn out mushy?
You're using too much water. Drop the ratio to 1 part rice to 0.95 parts water. Also check your soak time.
Over soaked rice (more than 30 minutes) can turn soft before it even hits the heat.
Can I use the Rice preset button on my Instant Pot?
No. The Rice preset runs at low pressure for about 12 minutes. That's too long for short grain sushi rice.
Use Manual high pressure for exactly 4 minutes instead.
Do I really need to rinse sushi rice until the water runs clear?
Yes. The cloudy water is excess starch. If you skip this step, that starch gelatinizes under pressure and turns your rice into a gluey mass.
Rinse until the water is transparent.
How long should I let the pressure release naturally?
10 minutes exactly. Too short and the grains feel hard. Too long and they overcook into a paste.
Set a timer the moment the cooking cycle ends.
What type of rice works for sushi in an Instant Pot?
Short grain japonica rice labeled "sushi rice." Calrose rice works too. Long grain jasmine or basmati will not give you the sticky, cohesive texture sushi needs.
Can I double this recipe in a larger Instant Pot?
Yes, up to 4 cups dry rice in an 8 quart pot. Keep the 1:1 water ratio and the 4 minute cook time. The soak and rinse steps stay the same.

Similar Posts