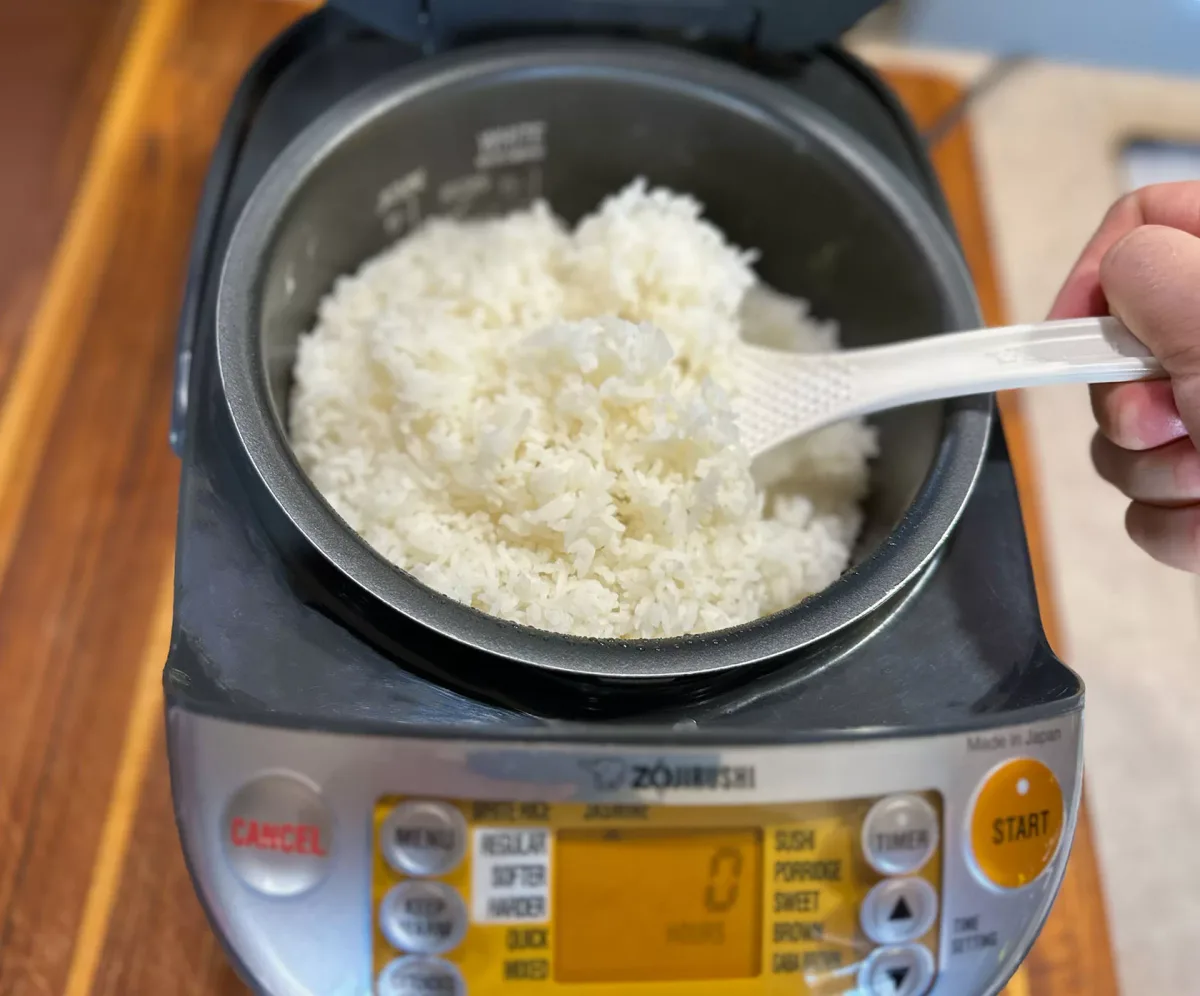
Perfect Instant Pot White Rice Every Time
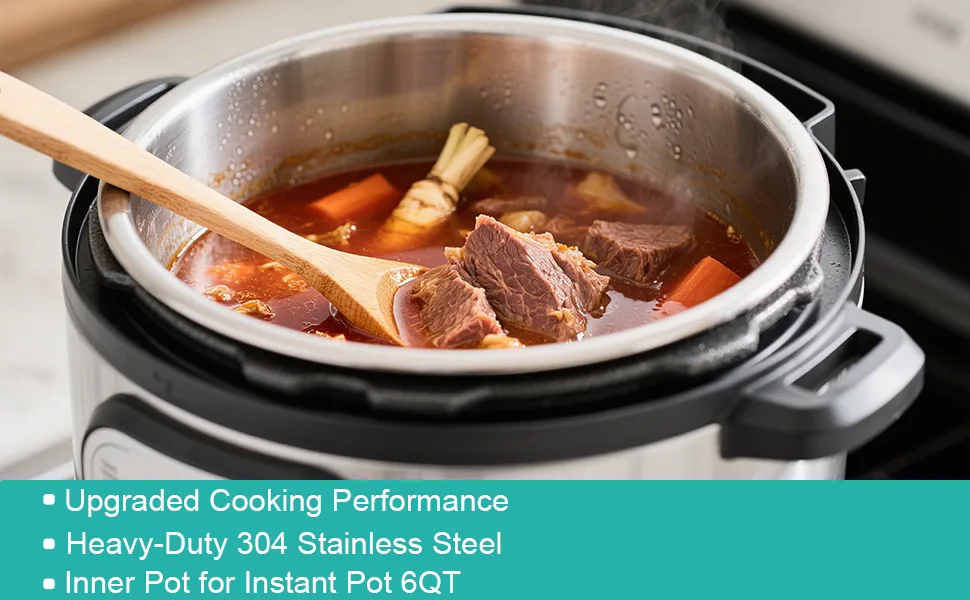
Your instant pot white rice recipe shouldn't be a gamble. But if you've tried it once and ended up with sticky, gummy clumps, or the opposite, a pot of crunchy pebbles, you already know the frustration. The problem is rarely the pot.
It's the ratio, the timer, and the release method that make or break the batch.
Most generic recipes tell you to toss in some rice, hit the Rice button, and walk away. That's a fast track to disappointment. The winning formula comes down to a few specific numbers: a 1:1 water-to-rice ratio for standard long-grain, a 4-minute cook time on high pressure, and a 10-minute natural release.
Keep those in mind as we walk through the full process, from bag to bowl.
Image source: Bing (Web (fair-use with source credit))
Quick Answer
For perfect Instant Pot white rice, use a 1:1 ratio of rice to water. Cook on high pressure for 4 minutes. Let the pot sit for 10 minutes after it finishes.
Release the remaining steam, and fluff with a fork. That's it.
Why Your Instant Pot White Rice Comes Out Gummy or Crunchy
If your rice comes out gummy, one of three things is usually behind it. You used too much water, you skipped the rinse, or you quick-released before the grains settled. Gummy rice is starchy rice.
The pressure cooker traps steam, and leftover surface starch plus water turns into a pasty film.
Crunchy rice is the opposite problem. It happens when there's too little water, when the pot doesn't reach full pressure before the timer starts, or when you release the steam after only a couple of minutes. The pressure drop happens too fast.
The outside of the grain cooks, but the inside stays hard.
As of 2026, the model of your Instant Pot matters less than you'd think. A 3-quart, 6-quart, and 8-quart all pressurize the same way. What changes is the batch size.
Fill the inner pot more than halfway with rice and water, and the bottom layer scorches before the top cooks. The burn message you see is the pot telling you it can't circulate steam properly.
Aggregate feedback from pressure cooker communities points to one more culprit: the Rice button. That preset is tuned generically. On many models, it runs closer to 8 to 12 minutes, which is fine for brown rice but overkill for white.
Use Manual mode instead and set 4 minutes yourself.
So if you're staring at a pot of crunchy rice, check your ratio. If you're looking at glue, check your rinse and release. The timer is rarely the fix.
The two steps around it are.
The Cheat Sheet: Rice-to-Water Ratios and Pressure Times That Actually Work
Here's the fastest way to get consistent white rice every time. Print this table or write it on a sticky note. It applies to every standard Instant Pot model.
| Rice Type | Rice | Water | High-Pressure Time | Release |
|---|---|---|---|---|
| Standard long-grain | 1 cup | 1 cup | 4 minutes | NPR 10 min |
| Jasmine | 1 cup | 1.25 cups | 4 minutes | NPR 10 min |
| Basmati | 1 cup | 1.5 cups | 4 minutes | NPR 10 min |
| Sushi / short-grain | 1 cup | 1 cup | 4 minutes | NPR 10 min |
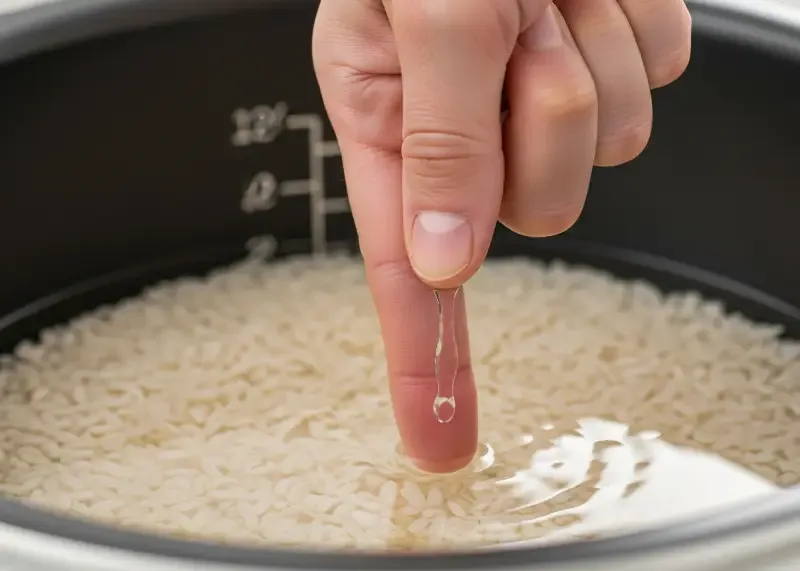
Image source: Bing (Web (fair-use with source credit))
NPR stands for Natural Pressure Release. The timer hits zero, the pot beeps, and you do nothing for 10 minutes. No touching the valve.
That pause lets the rice finish absorbing steam without the violent boil that a quick release causes.
One more thing about measurements. The Instant Pot includes a rice-cooker-style cup that holds 180 milliliters, not the standard 240 ml US cup. If you grab any cup out of the cabinet, the ratio shifts.
Use the same cup for both rice and water, and you'll stay consistent. That table works at any batch size, as long as you keep the ratios identical.
Find Your Branch: Match Your Rice Type and Texture to the Right Method
If You're Cooking Standard Long-Grain Rice
This covers most regular bags of white rice in American grocery stores. The 1:1 ratio with a 4-minute cook and a 10-minute natural release gives you reliable, fluffy grains. It's the safest starting point if you're new to pressure cooker rice.
If You're Cooking Jasmine Rice
Jasmine is a soft, slightly floral long-grain rice from Thailand. It needs a touch more water because the grain is more delicate. Use 1.25 cups of water per cup of rice.
You'll get fragrant, gently clinging grains that pair perfectly with stir-fries, curries, and Thai dishes.
If You're Cooking Basmati Rice
Basmati is long, dry, and aromatic, and it needs even more hydration. Use 1.5 cups of water per cup of rice. The result is separate, firm grains that hold up well next to saucy dishes like butter chicken or dal.
This branch also benefits from an optional rinse, which keeps the grains from clumping.
If You're Cooking Sushi or Short-Grain Rice
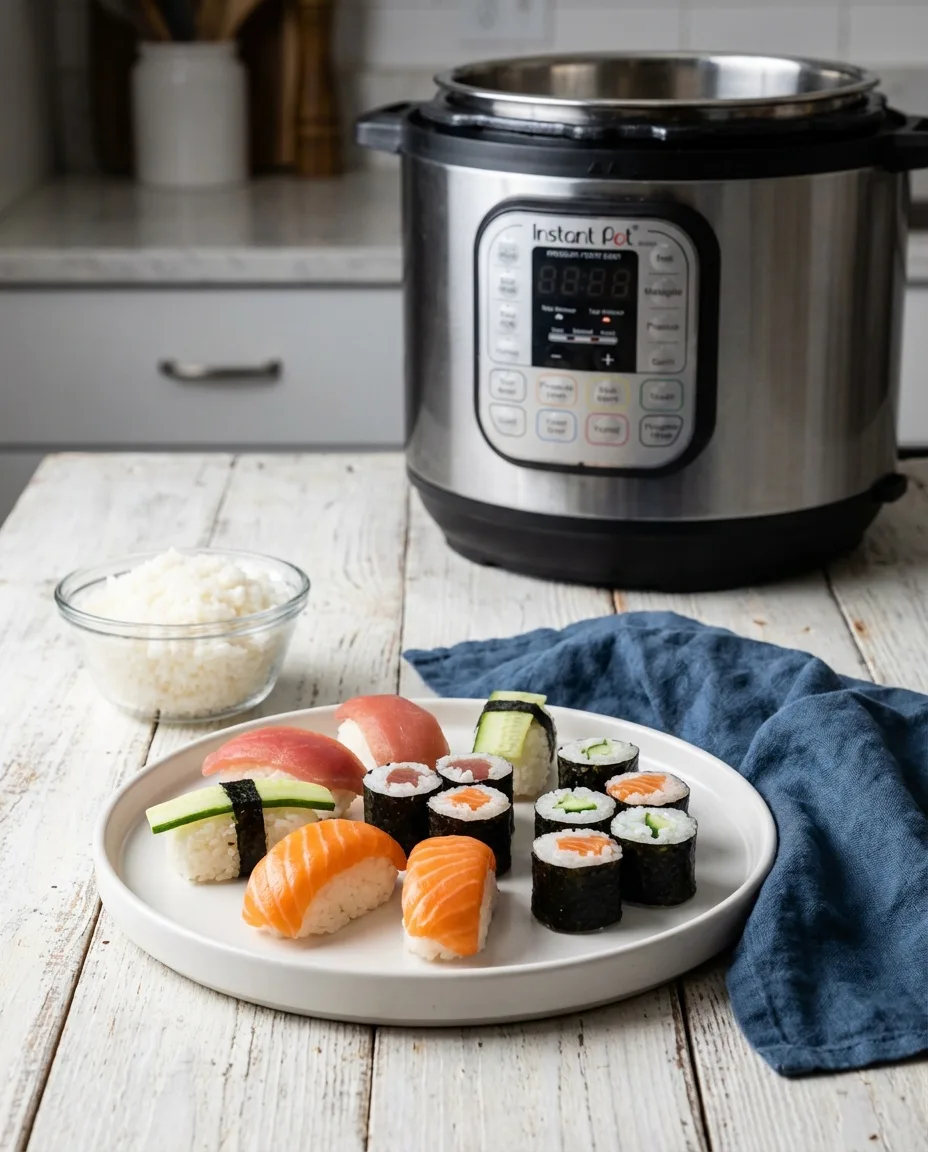
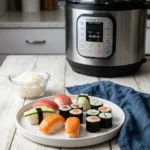
Short-grain rice is naturally stickier, which is exactly what you want for rolls and poke bowls. Stick with the 1:1 ratio, but let the pressure release fully on its own for 15 minutes instead of 10. The extra resting time helps the grains firm up so they hold their shape.
If You Prefer Firmer or Softer Rice
The ratios above are the middle ground. If you want firmer grains, reduce the water by 2 tablespoons per cup. If you want softer grains, add 2 tablespoons per cup, or extend the natural release to 15 minutes.
Leave the cook time at 4 minutes. Adjusting water is almost always safer than adjusting the timer.
The Foolproof Step-by-Step Method: From Rinse to Fluff
Step 1: Rinse the Rice
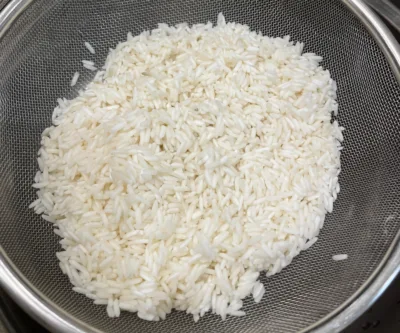
Place the rice in a fine-mesh strainer and run cold water over it until the water runs clear. This takes 30 to 60 seconds. It washes away the surface starch, which is the main cause of gummy results.
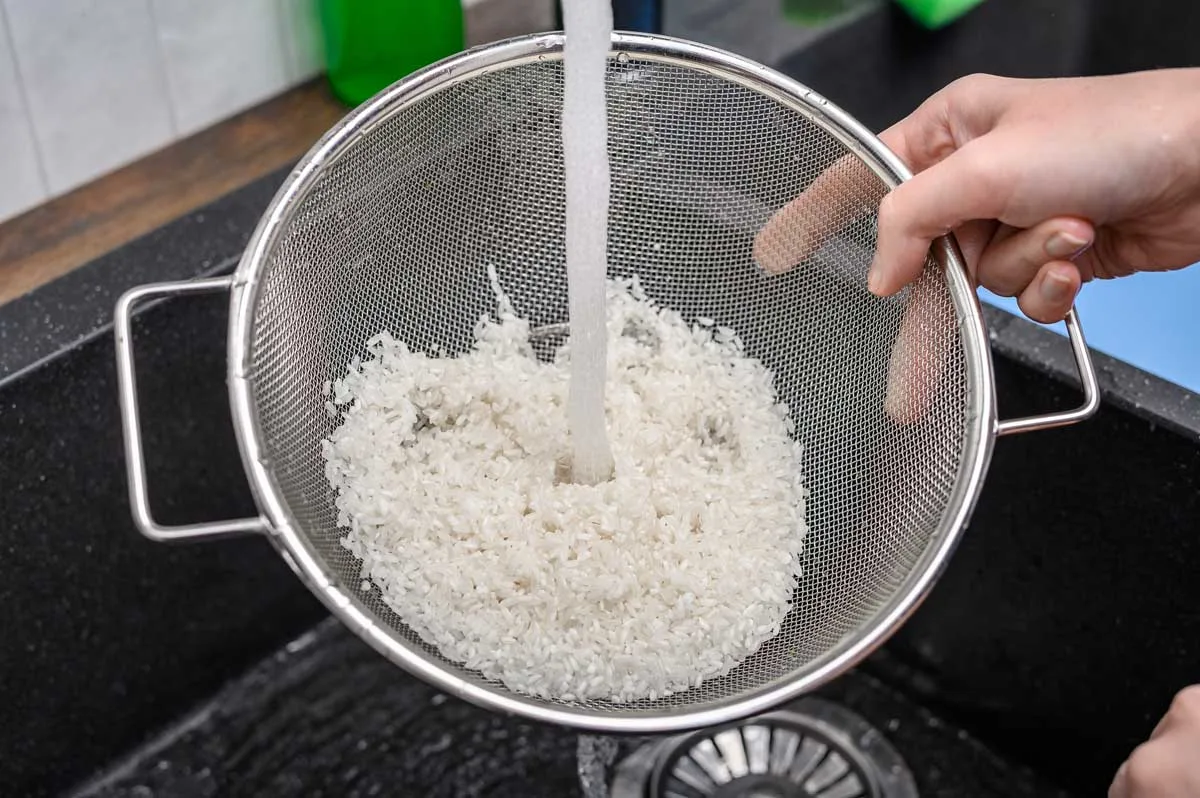
Image source: Bing (Web (fair-use with source credit))
Step 2: Drain and Add
Shake the strainer well and let the rice drain for a minute or two. Transfer it to the Instant Pot inner pot. Add the correct amount of water based on your rice type from the table above.
Step 3: Seal and Set
Put the lid on. Make sure the steam release valve is set to Sealing. Press Manual or Pressure Cook, set it to High, and adjust the time to 4 minutes.
If you're unsure about the valve position or button labels on your specific model, the manufacturer's official manual is worth a quick look.
Step 4: Wait for the Pressurize Phase
The display will show "On" as the pot builds pressure. This takes 8 to 15 minutes depending on batch size. That time doesn't count toward the 4-minute timer, so don't panic if the countdown doesn't start immediately.
Step 5: Let It Rest Naturally
When the timer finishes, leave the pot alone for 10 minutes. Then, and only then, carefully turn the valve to Venting to release the remaining steam. Keep your hand and face away from the escaping steam.
Step 6: Fluff and Rest
Open the lid, tilting it away from your face. Fluff the rice gently with a fork or rice paddle. Let it sit uncovered for 2 to 3 minutes before serving.
That brief rest lets excess steam escape, so the rice doesn't steam itself into mush.
7 Mistakes That Ruin Instant Pot White Rice (and How to Fix Them)
1. Skipping the Rinse
Unrinsed rice carries a heavy layer of surface starch. It clings to the grains, mixes with the water, and creates a gummy texture. Rinsing is not optional for pressure cooking.
If the water isn't clear, you're shortchanging the batch.
2. Trusting the Rice Button
That preset button runs too long for white rice on most models. It's tuned for a mix of rice types, so it lands somewhere between 8 and 12 minutes. That's overkill for white rice.
Use Manual mode with 4 minutes instead.
3. Quick-Releasing Right Away
A quick release immediately after the timer finishes vaporizes water inside the pot. The rice collapses into itself. If you love a quick release for other foods, break the habit for rice.
Even a 5-minute natural release makes a visible difference.
4. Mixing Measuring Cups
The standard US cup is 240 milliliters. The Instant Pot cup is 180 milliliters. Grab the wrong one, and your ratio is off by a third.
Decide on one cup and use it for both rice and water. Consistency beats improvisation here.
5. Overfilling the Inner Pot
The max fill line exists for a reason. Fill the pot past the halfway mark with rice and water, and the bottom layer scorches before the top cooks. The burn message isn't a mystery.
It's a warning. Size up your pot or cook in batches.
6. Stirring While It Cooks
Resist every urge to open the lid and check on the rice. Opening the lid releases steam and drops the internal pressure. The timer resets, and you lose the cooking environment.
Trust the numbers and walk away.
7. Stirring Aggressively After Cooking
Once the rice is done, gentle is the word. Stirring, mashing, or pressing the rice breaks the grains and releases more starch. Fluff with a fork or rice paddle in one light pass, then let it rest.
Instant Pot White Rice: Frequently Asked Questions
Can I use the Instant Pot as a rice cooker?
Yes. The pressure cooker handles white rice well, but it isn't a dedicated rice cooker. You'll get consistent fluffy grains if you use the correct ratio and release.
A dedicated rice cooker may offer a simpler keep-warm feature, but the Instant Pot frees up counter space.
How long should natural release last for white rice?
Ten minutes is the minimum. For sushi or short-grain rice, extend it to 15 minutes. If you wait longer, the pot just switches to keep-warm.
The grains firm up as they rest, so don't rush this step.
Why does my Instant Pot show the Burn warning?
A Burn warning usually means the pot can't build pressure. That happens when you overfill, use too little water, or when rice piles up and blocks the heat sensor. Check your ratio and batch size.
Scraping the bottom before sealing helps too.
Can I double or triple this recipe?
Yes, as long as you don't fill past the halfway mark. Double the rice and water, keeping the ratio the same. The cook time stays at 4 minutes.
Larger batches take longer to pressurize, so the total time runs closer to 30 minutes.
Do I really need to rinse the rice?
Yes. Rinsing removes surface starch, which causes gummy rice. Skip it, and you'll likely see a pasty finish.
Run cold water over the grains until it runs completely clear.
Final Verdict: When the Instant Pot Wins (and When It Doesn't)
The Instant Pot is a fantastic tool for white rice, but it's not the only option. If you already own one, the 1:1 ratio, 4-minute cook time, and 10-minute natural release deliver consistent results. It's hands-off and frees up a burner.
If you cook rice daily and want a dedicated appliance, a rice cooker is simpler. It's set-and-forget, with no pressure to manage. The Instant Pot shines when you need one pot for everything: rice and curry, meat and vegetables, or a full meal using the pot-in-pot method.
For most home cooks, the Instant Pot wins if you already own it. Learn the ratios, respect the release, and the grain comes out right. Once the method clicks, you won't miss the stovetop.

Similar Posts