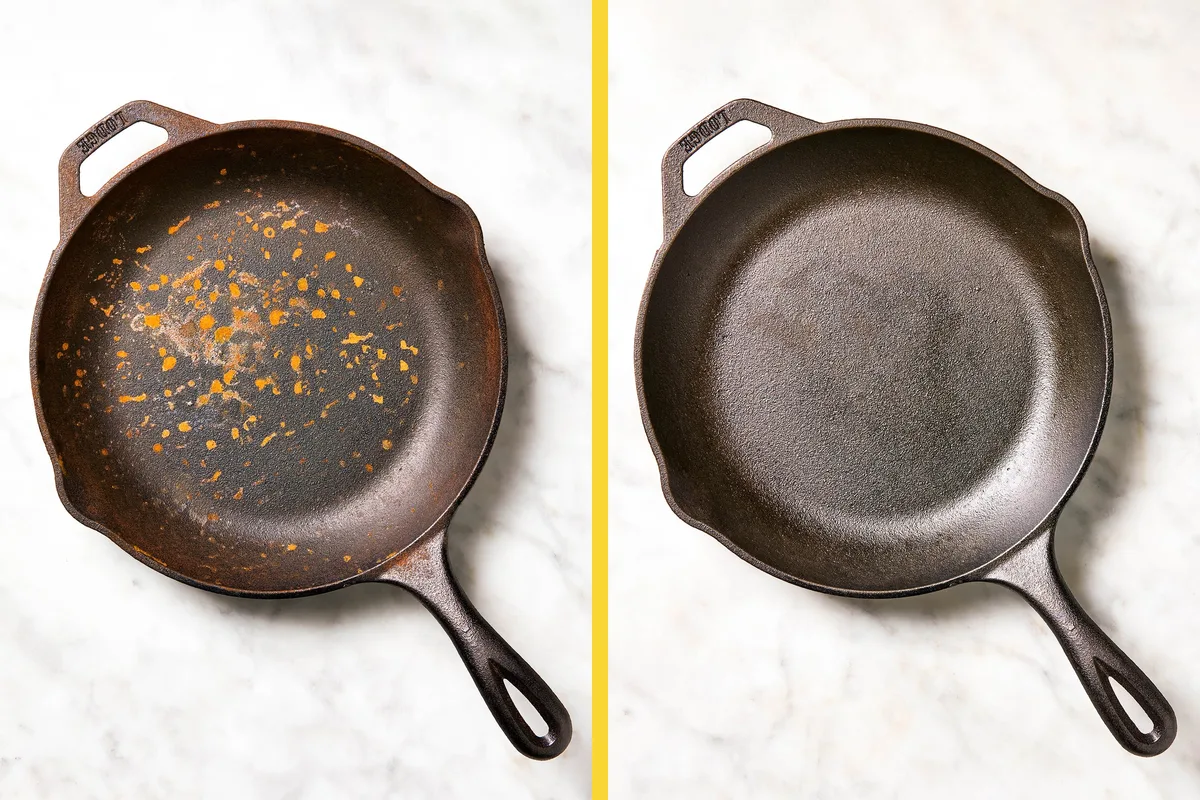
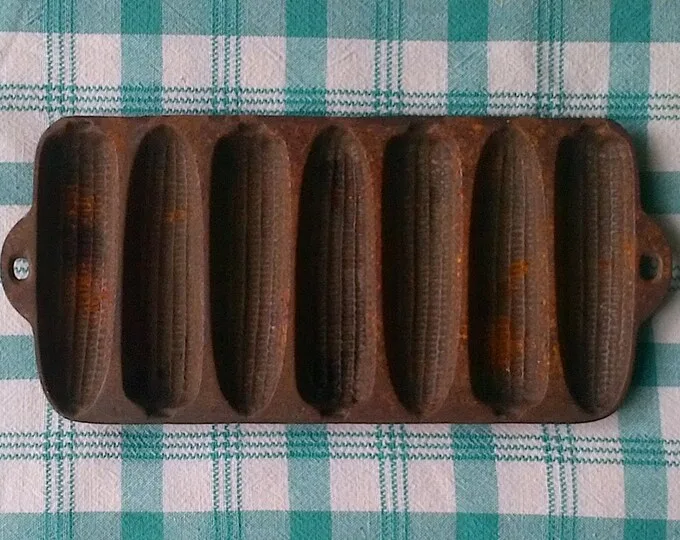
5 Practical Steps to Eliminate Orange Surface Rust on Bare Cast Iron
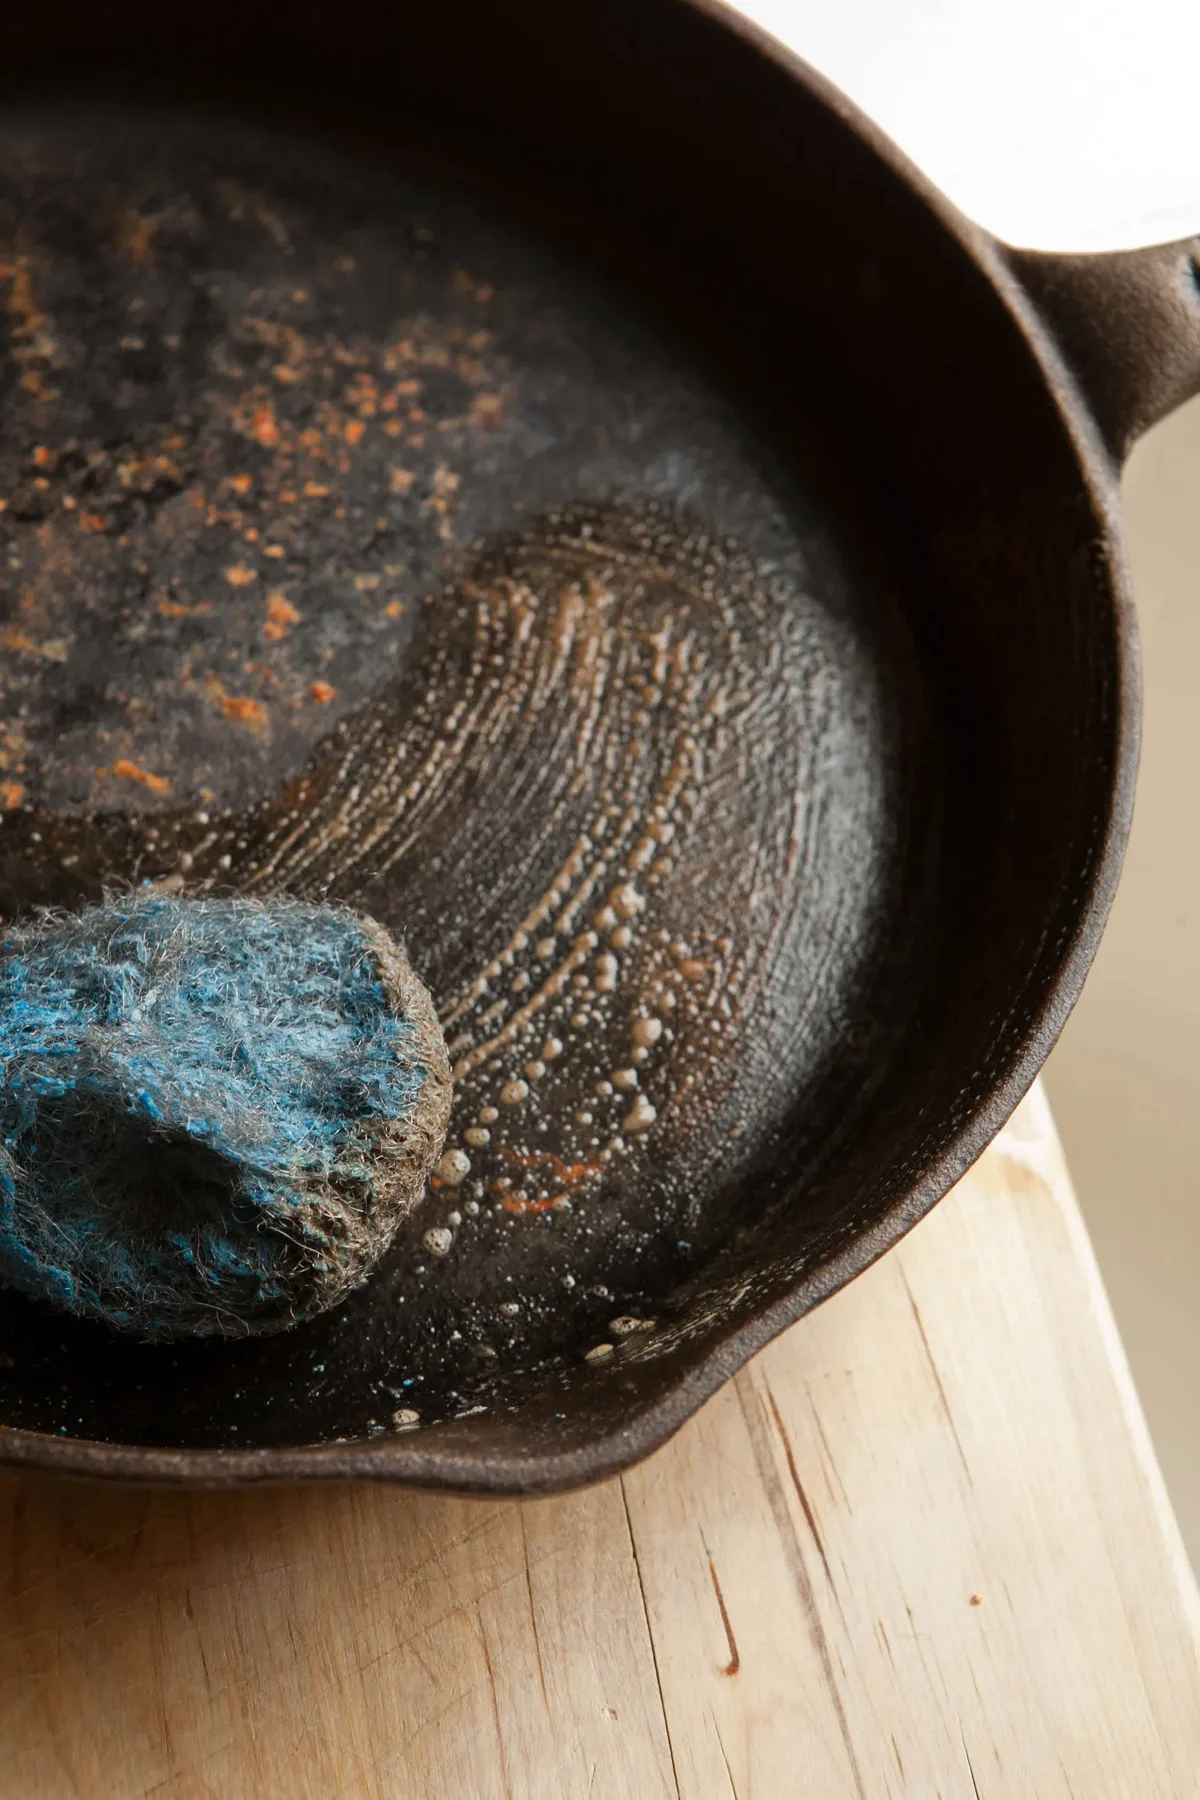
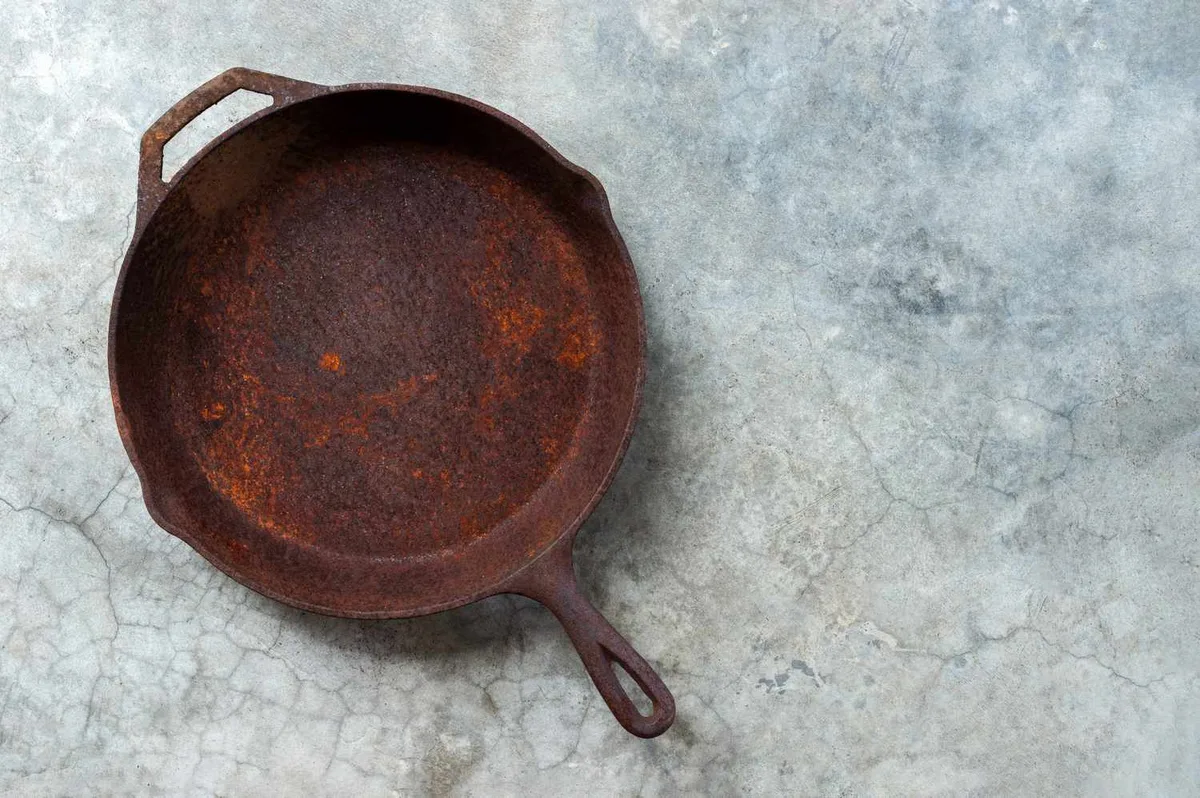
So you just pulled out your cast iron skillet and spotted some rust. That orange dust on the cooking surface feels like a punch to the gut, especially if that pan was a gift or a family hand-me-down. But here's the good news: learning how to clean surface rust off cast iron is one of the simplest kitchen skills you can pick up, and it rarely requires any special tools.
Our research across manufacturer care guides and cooking communities confirms that surface rust is almost always fixable with supplies you likely already own. The real trick is matching your method to your specific situation, because what works perfectly on a bare cast iron skillet will ruin an enameled Dutch oven. Let's walk through that decision now, step by step.
Quick Answer
Clean surface rust off cast iron with a vinegar soak. Use equal parts white vinegar and water. Soak the pan for one hour for light rust.
Scrub with steel wool. Rinse well. Dry on the stovetop.
Apply a thin oil layer. Bake at 450°F to reseason.
Image source: Bing (Web (fair-use with source credit))
Wait, Is That Rust? Don't Toss That Pan Yet
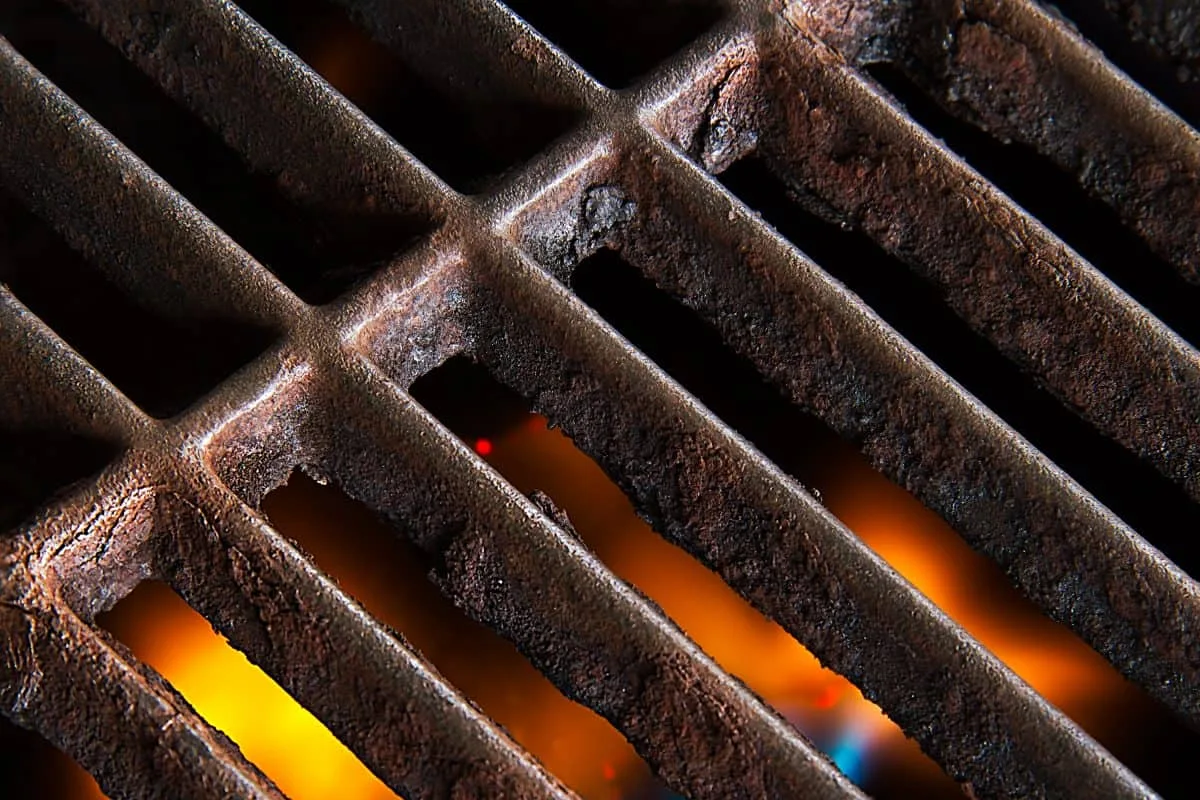
Let's be honest. That orange or reddish-brown discoloration on your cast iron might not even be rust. Sometimes it's just a stain from acidic food or a patch where the seasoning wore thin.
Here's a quick test: run a paper towel with a drop of oil over the spot. If the color mostly disappears, it's seasoning loss, not rust. If the paper towel picks up orange dust, you're dealing with real oxidation.
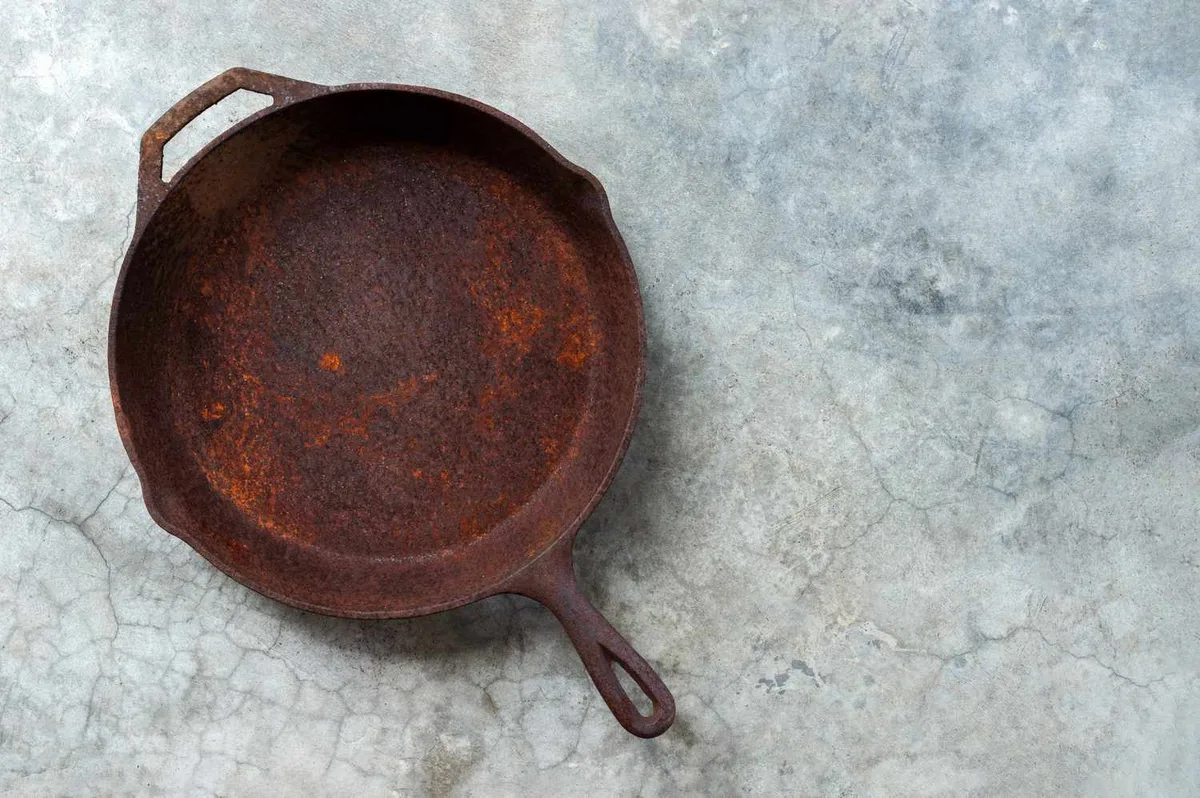
Surface rust sits on top of the metal and hasn't eaten into the structure yet. That kind we can fix easily. Deep rust, the kind that feels rough or flaky and leaves pits in the metal, needs more aggressive work.
But even then, rare is the cast iron pan that's truly beyond saving. The Lodge Cast Iron care guide confirms that most rust damage is cosmetic and treatable.
The mistake people make here is panic-scrubbing. They grab a wire brush or power sander and grind down the cooking surface. That strips away more metal than necessary and can ruin a vintage pan's smooth finish.
Slow down. Diagnose first.
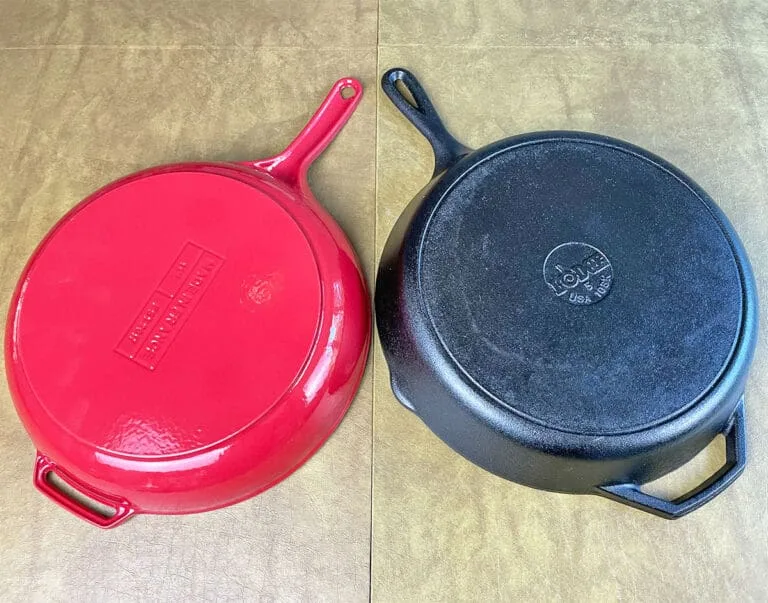
Image source: Bing (Web (fair-use with source credit))
The First Big Decision: Bare Cast Iron vs. Enameled
This single distinction determines every tool and method you'll use. Bare cast iron has a rough or slightly pebbled black surface. That's raw iron with a layer of baked-on oil (seasoning).
Enameled cast iron has a smooth, glossy, often colored coating on the inside and outside. That coating is glass, essentially.
Here's the rule of thumb. If your pan has a smooth white or cream interior, it's enameled. If the interior is black or dark gray and feels slightly textured, it's bare cast iron.
Brands like Le Creuset and Staub make enameled cookware. Lodge makes mostly bare cast iron, though they do have some enameled lines.
| Pan Type | Interior Appearance | Safe for Vinegar Soak? | Safe for Steel Wool? |
|---|---|---|---|
| Bare cast iron | Dark, textured or smooth matte | Yes | Yes, fine to medium grade |
| Enameled cast iron | Glossy white, cream, or dark enamel | No | No |
If you have enameled cast iron and you soaked it in vinegar or scrubbed it with steel wool, stop immediately. That acid and abrasion can crack or dull the enamel coating. For enameled pans with rust on the rim (the exposed iron edge) or on the exterior enamel, use a paste of baking soda and water with a soft sponge.
That's it. For rust inside an enameled pan, the enamel is likely chipped, and the pan may need replacing.
If you have bare cast iron, you're good to go. Read on.
How Bad Is It? Find Your Rust Level
Surface rust is not a single condition. It runs from barely visible specks to a rough, flaking orange crust. The method you choose changes with severity.
Here's how to place your pan on the scale.
Level 1: Light spotting. You see small orange dots, mostly on the cooking surface. The pan still feels mostly smooth. This happens when a pan is dried but not oiled, or after cooking acidic foods like tomatoes.
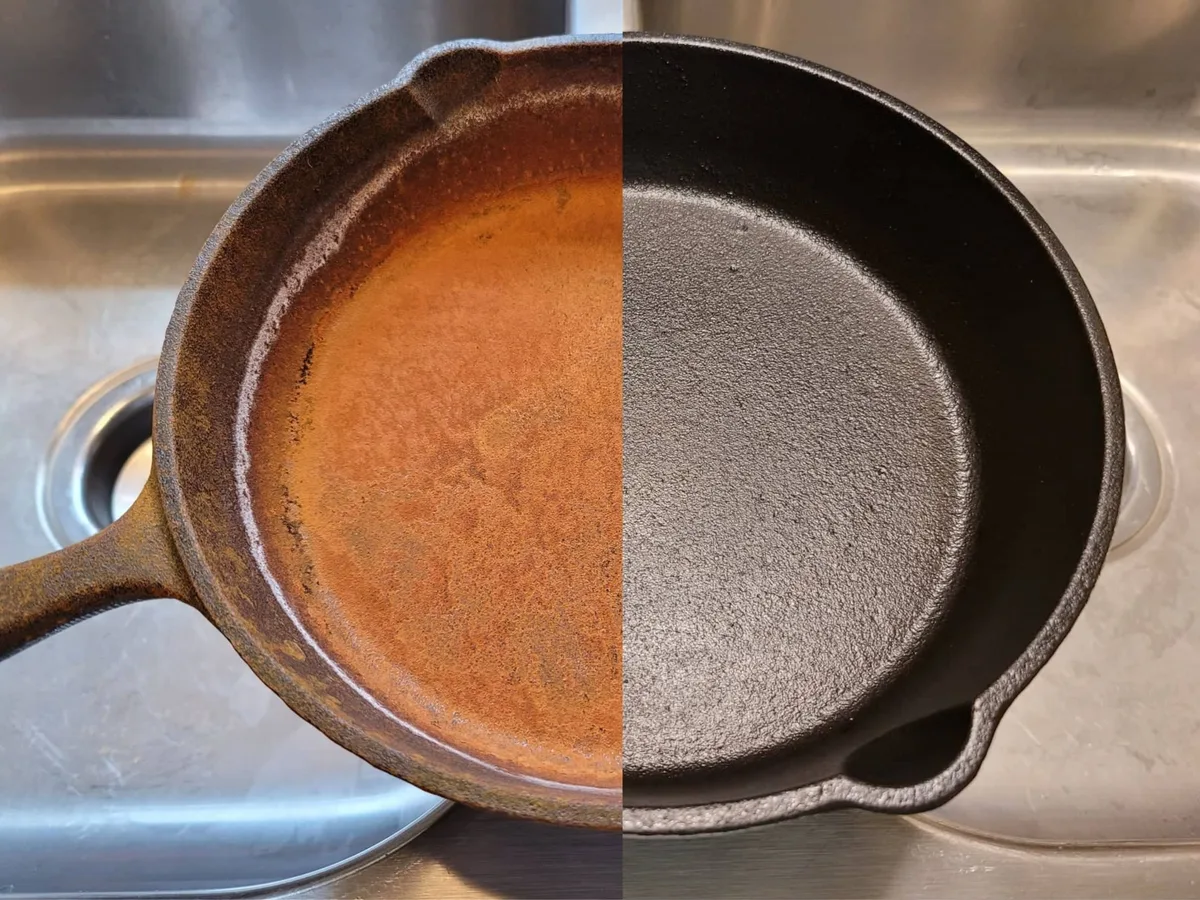
Level 2: Even surface rust. The entire cooking surface has a thin, even orange layer. It feels slightly rough to the touch, like fine sandpaper. This is what happens when a pan sits in a damp sink overnight or goes through the dishwasher.
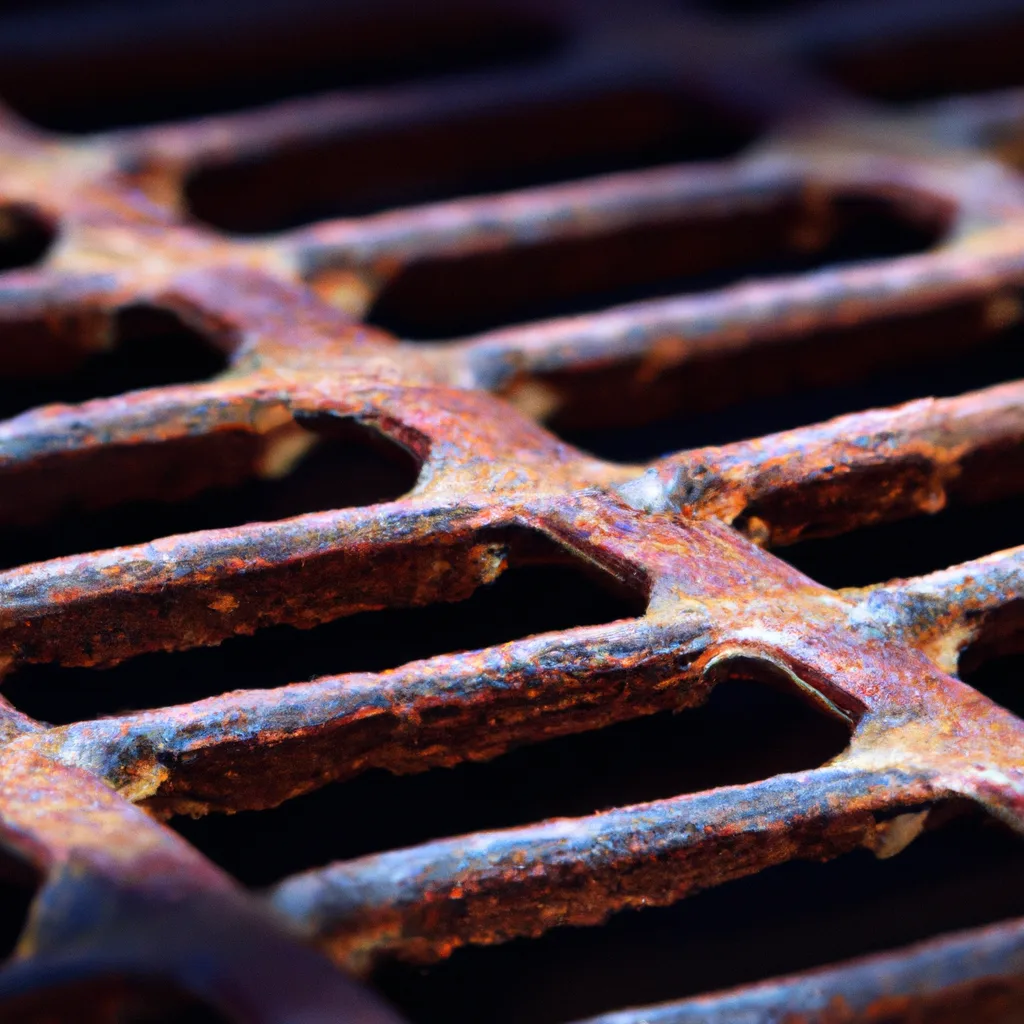
Level 3: Heavy rust or scaling. The rust appears thick, flaky, or powdery. You may see small pits in the metal. This is common on pans found at garage sales or stored in a damp basement for months.
Level 4: Pitting with active flaking. The metal surface has visible divots. Rust flakes come off when you rub it. This requires the most intensive restoration, often electrolysis.
For as of 2026, most home methods handle Levels 1 through 3 easily. Level 4 is where you consider professional restoration or replacement, especially if the pits are deep.
Your Cleaning Playbook by Rust Level
Now we match action to condition. Here's the condensed reference, then we'll walk each one.
| Rust Level | Method | Time Required | Key Tools |
|---|---|---|---|
| 1 (Light spots) | Paste scrub | 10 minutes | Baking soda, oil, soft scrub pad |
| 2 (Even surface) | Vinegar soak | 30–60 minutes | White vinegar, steel wool, water |
| 3 (Heavy scaling) | Extended soak + scrub | 1–3 hours | Vinegar soak, steel wool, scouring pad |
| 4 (Pitting) | Electrolysis or sanding | Several hours | Washing soda, battery charger, anode |
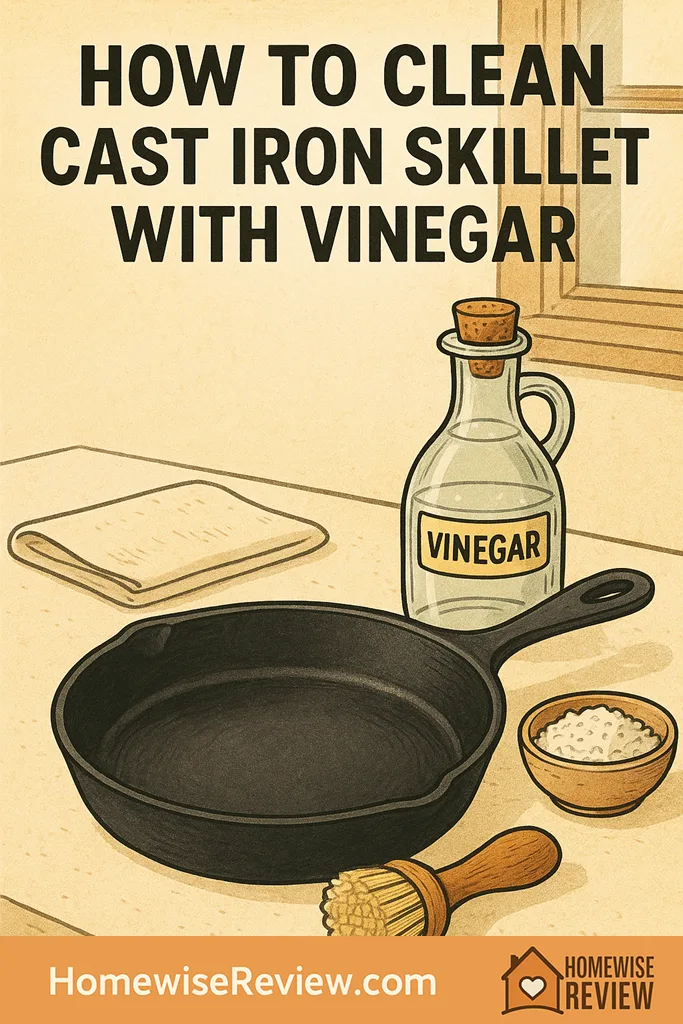
Image source: Bing (Web (fair-use with source credit))
For Level 1, make a paste of baking soda and a few drops of water or oil. Rub it onto the rust spots with a soft scrub pad or a crumpled piece of aluminum foil. Rinse, dry on the stovetop, and apply a thin layer of oil.
That's it.
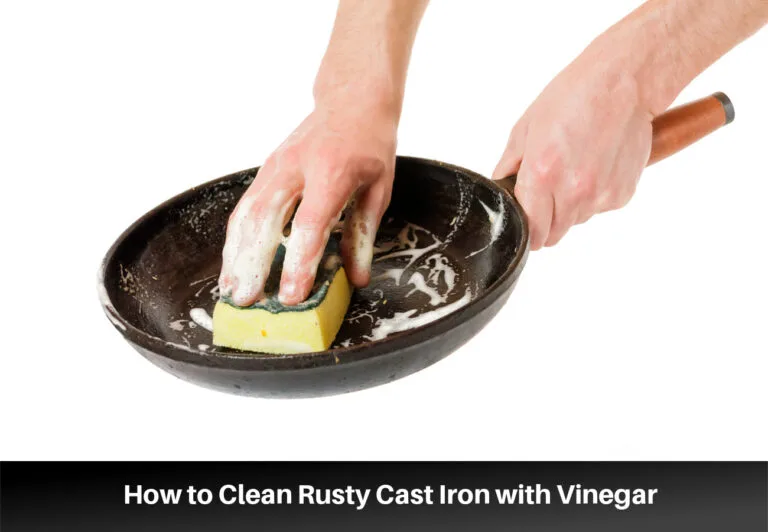
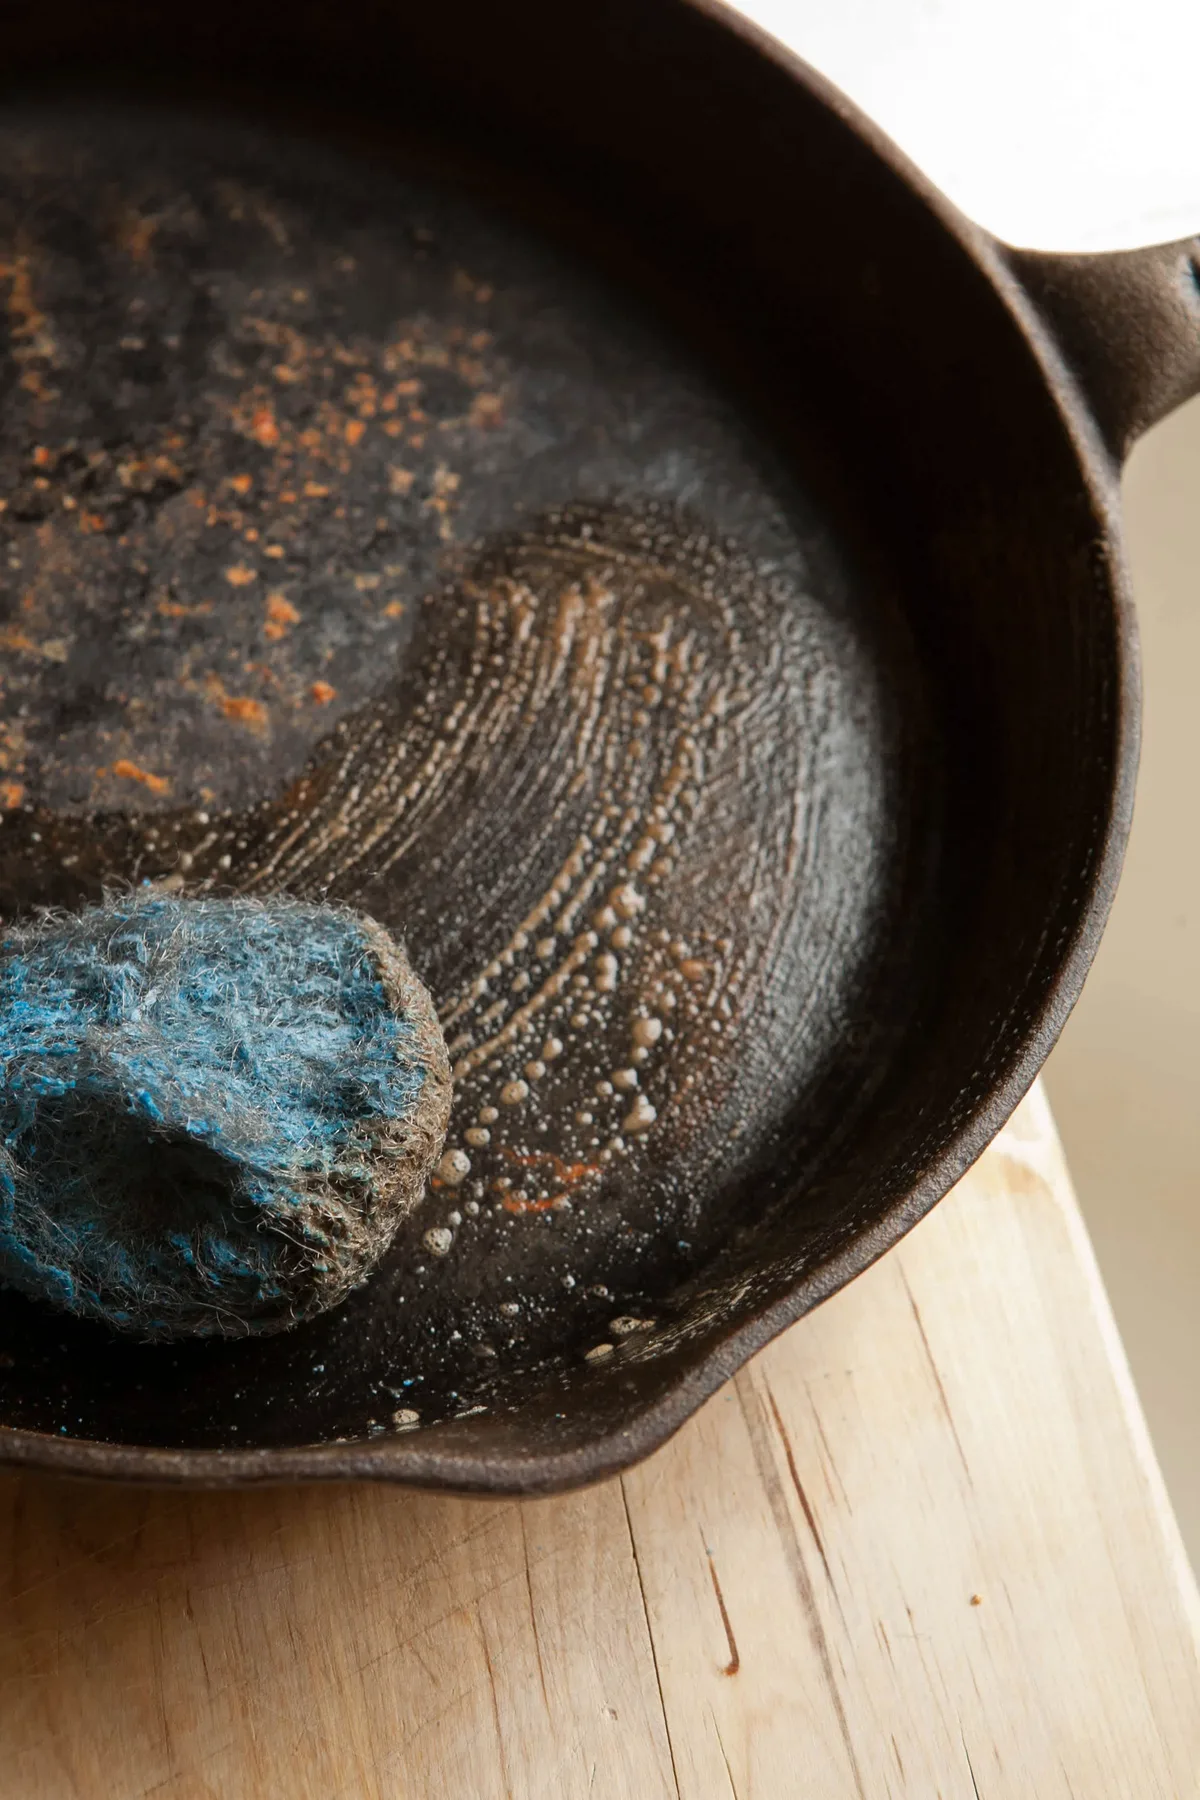
For Level 2, mix equal parts white vinegar and water in a container large enough to submerge the pan. Soak for 30 minutes. Pull it out and scrub with fine steel wool.
Rinse with water. If rust remains, repeat in 15-minute intervals. Never exceed one hour total soak for standard 5% vinegar.
Longer soaks can etch the iron.
For Level 3, use the same vinegar method but expect multiple soak rounds. You may need a coarser scrub pad or a chainmail scrubber for the first pass. After each round, rinse thoroughly and dry.
Be patient. It took months for that rust to form. It won't vanish in a single scrub.
For Level 4, consider electrolysis. This requires a plastic tub, washing soda, a sacrificial steel anode, and a low-voltage battery charger. It's the gentlest method for vintage pans because it removes only the rust without eating the base metal.
If that sounds like too much setup, a dry scrub with 80-grit sandpaper works, but it will remove some original surface.
The Make-Or-Break Step: Dry It Right, Then Season It
Here's where most restorations go sideways. You've scrubbed the rust off, and the pan looks like fresh gray metal. Beautiful.
Then you rinse it, wipe it with a towel, and walk away for ten minutes. When you come back, the pan has turned orange again. That's flash rust.
Flash rust happens because bare iron oxidizes almost instantly in contact with air and water. The solution is simple: dry the pan completely and immediately. Set it on a stove burner over medium heat.
Let it sit until all moisture evaporates. You'll see the color shift from gray to warm dark gray as it dries. That's the signal.
As soon as the pan is dry and warm, apply a very thin layer of cooking oil. Use a high-smoke-point oil like grapeseed, canola, or vegetable shortening. Flaxseed oil creates a hard seasoning but can flake over time.
Rub the oil over the entire surface, then try to wipe it off with a clean paper towel. You want the thinnest film possible, not a puddle.
Place the pan upside down in a 450°F oven. Put a baking sheet or foil on the rack below to catch drips. Bake for one hour.
Turn the oven off and let the pan cool inside. Repeat that oil-and-bake cycle two to three times for a strong new seasoning layer.
That layer won't be perfect on the first try. It may look blotchy or feel slightly tacky. That's normal.
The seasoning will mature and even out as you cook with the pan over the next few weeks.
Common Rust Removal Mistakes That Cost You the Pan
Let's walk through the errors that turn a fixable pan into a wall hanger. Avoid these and you'll save yourself time, money, and frustration.
Using vinegar on enameled cast iron. This is the most common mistake by far. Vinegar is acidic enough to dull or etch the glass-like enamel coating. If your pan has a smooth white or cream interior, keep vinegar away from it.
Use a baking soda paste instead.
Soaking bare cast iron too long. Vinegar works by dissolving rust, but it also attacks the base metal. Our research across manufacturer guidelines shows that a soak longer than one hour in 5% vinegar can leave the surface pitted and rough. Set a timer.
Check every 15 minutes.
Skipping the immediate dry step. You scrub off the rust. You rinse. You wipe it with a towel.
Then you walk away. Fifteen minutes later the pan is orange again. Flash rust forms that fast on bare iron.
Dry the pan on a stovetop burner immediately after rinsing.
Applying too much oil before seasoning. Thick oil pools and cures into a sticky, uneven coating. That tacky layer never fully hardens and will peel off during cooking. The rule is simple: apply oil, then wipe it off like you never wanted it there in the first place.
Using the self-cleaning oven cycle to strip rust. The extreme heat can warp thin vintage pans and damage the oven itself. Stick to chemical or electrolytic stripping methods for heavy rust removal. Your oven will thank you.
Frequently Asked Questions
Can I use a power drill with a wire brush on cast iron?
Yes, but only on heavy rust and only on bare cast iron. Use a cup brush attachment at low speed. Keep it moving to avoid gouging the metal.
Never use a power brush on enameled cookware.
How do I know if the rust is gone before seasoning?
Wipe the dry pan with a clean paper towel. If the towel comes away clean with no orange dust, the rust is gone. If you see orange residue, scrub more or do another short vinegar soak.
Seasoning over rust traps moisture and the rust will return.
Will cooking acidic food in my cast iron remove rust?
No. Tomato sauce or vinegar-based dishes can actually worsen rust by stripping thin seasoning layers. Always remove rust first, then build up a fresh seasoning layer, before cooking acidic foods.
Can I save a cast iron pan with pitting from rust?
Usually yes. Surface pitting is cosmetic and does not affect cooking performance. Fill deep pits by building up multiple thin seasoning layers over time.
The pan may never look smooth again, but it will cook just fine. Only replace the pan if the pits are deep enough to collect food debris or if the metal has cracked.
How long should I bake the seasoning after rust removal?
Bake at 450°F for one hour per coat. Apply two to three coats for a durable base layer. Let the pan cool in the oven with the door closed after each cycle.
Rapid temperature changes can cause warping.
What oil is best for reseasoning after rust removal?
Grapeseed oil and vegetable shortening perform well in our research. They have high smoke points around 420 to 450°F and create a hard, durable layer. Avoid flaxseed oil.
It creates a beautiful hard finish at first but tends to flake off within months of regular use.
The Final Decision Guide: Pick Your Path
You now have everything you need to make the call. Here is the decision tree in its simplest form.
If you have enameled cast iron: Use baking soda paste and a soft sponge. Never soak in vinegar. Never use steel wool.
If rust is inside the cooking surface and the enamel is chipped, replace the pan.
If you have bare cast iron with light spotting: Use a baking soda scrub with a soft pad. Rinse, dry, apply oil. Done.
If you have bare cast iron with even surface rust: Use a 30 minute vinegar soak. Scrub with fine steel wool. Rinse, dry, reseason.
If you have bare cast iron with thick scaling: Use multiple vinegar soak rounds. Scrub with a chainmail pad or coarse steel wool. Dry, reseason with two to three coats.
If you have a vintage or collectible pan with deep rust: Use electrolysis for the gentlest restoration. Sanding is a backup option but removes original surface metal.
If the pan is warped, cracked, or heavily pitted through the metal: Replace it. Some damage is beyond repair, and a cracked pan can fail catastrophically on the stove.
That covers every scenario you are likely to face. Surface rust looks alarming, but it is almost always fixable with patience and the right method. Pick your path, follow the steps, and your cast iron will be back in service for decades to come.

Similar Posts