Clean Rust Off Cast Iron Grill Like a Pro
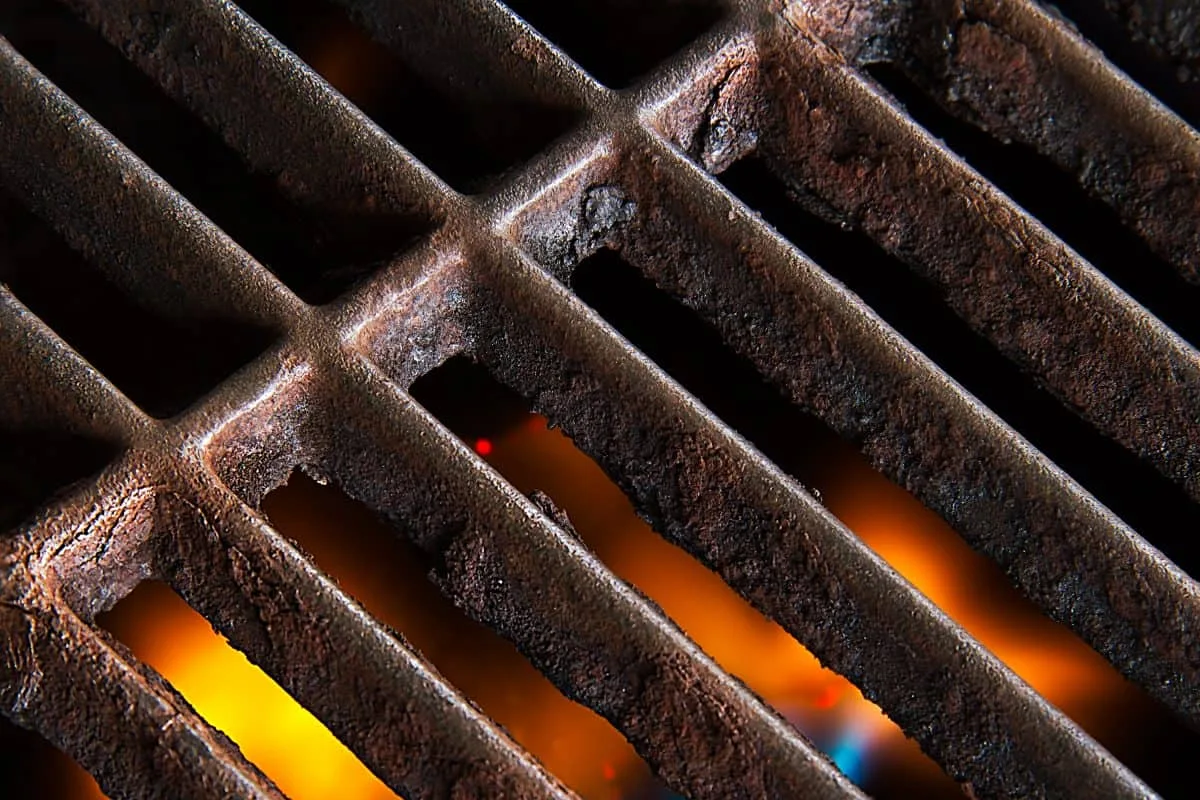
If you’ve opened your grill to find orange flakes where your grates should be, you’re not alone. Rust is the most common enemy of cast iron, and knowing how to clean rust off cast iron grill grates is the difference between tossing them and cooking on them for years. The good news: you almost certainly already own what you need to fix it.
Manufacturer specs indicate that most cast iron grates come pre-seasoned, meaning the rust is attacking that protective layer, not the metal itself yet. Don’t grab the steel wool just yet. The right method depends on two things: what kind of cast iron you’re holding and how deep the rust actually goes.
Quick Answer
To clean rust off a cast iron grill, start by checking the coating. If it’s enameled, use baking soda paste only. If it’s bare cast iron, scrub with steel wool or a vinegar soak.
Then dry it fully. Finally, re-season with a thin oil layer. Do not skip the seasoning step.
Step 1: Diagnose Your Grate — Bare Cast Iron vs. Enameled
This is the single most important question you’ll answer in this entire process. Cleaning the wrong type of grate with the wrong method can ruin it permanently. So let’s settle it now.
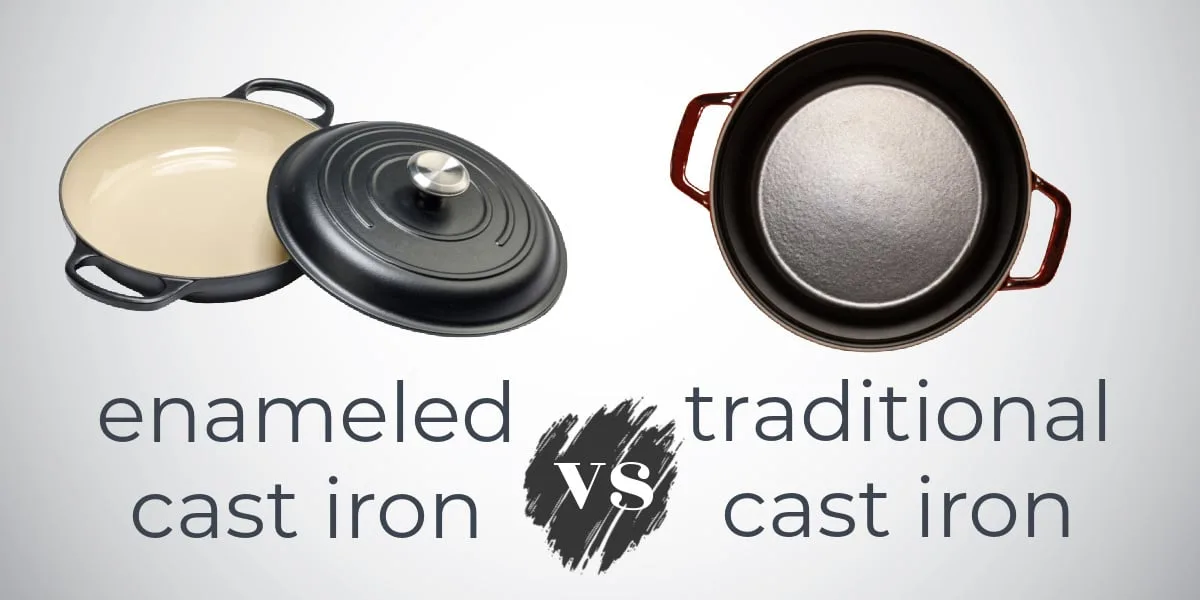
Bare cast iron is porous, dull gray-black, and rough to the touch. It feels like raw metal. You’ll often see a slight texture from the casting process.
Most gas grill grates and flat-top griddles are bare cast iron. This type can handle abrasive scrubbing, vinegar soaks, and high heat without damage.
Enameled cast iron has a smooth, glossy, glass-like coating. It’s usually black or cream-colored on the outside and typically comes on high-end grills or Dutch ovens. The surface feels slick like a ceramic pan.
This coating is tough, but it can chip or dull if you use harsh methods.
Here’s the pitfall: if you soak an enameled grate in vinegar, the acid will etch the glass coating permanently. It won’t look terrible, but it will hold onto food and rust much faster afterward.
How to tell them apart:
Look closely at the surface. If you see tiny casting marks or a matte finish, it’s bare cast iron. If it’s smooth, shiny, and feels like glass, it’s enameled.
You can also do a quick magnet test, both types hold a magnet, but enameled grates often have a visible seam or color band where the coating ends.
Which cleaning methods are safe for each?
| Method | Bare Cast Iron | Enameled Cast Iron |
|---|---|---|
| Steel wool | Yes (fine grade) | No (scratches coating) |
| Vinegar soak | Yes (limit 30 min) | No (etches glass) |
| Baking soda paste | Yes | Yes |
| Potato and salt scrub | Yes | Yes (gentle pressure) |
| Power tools | Yes (carefully) | No (destroys coating) |
If you’re still unsure, treat it like enameled until you confirm. That’s the safer bet.
Step 2: Rate the Rust — Light, Moderate, or Heavy (And What That Means)
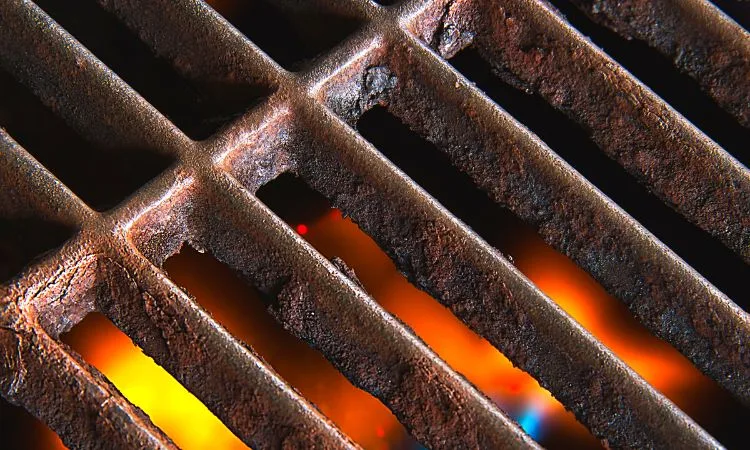
Once you know your grate type, you need to figure out how deep the rust is. This decides whether you can fix it in ten minutes or if you need a full restoration day.
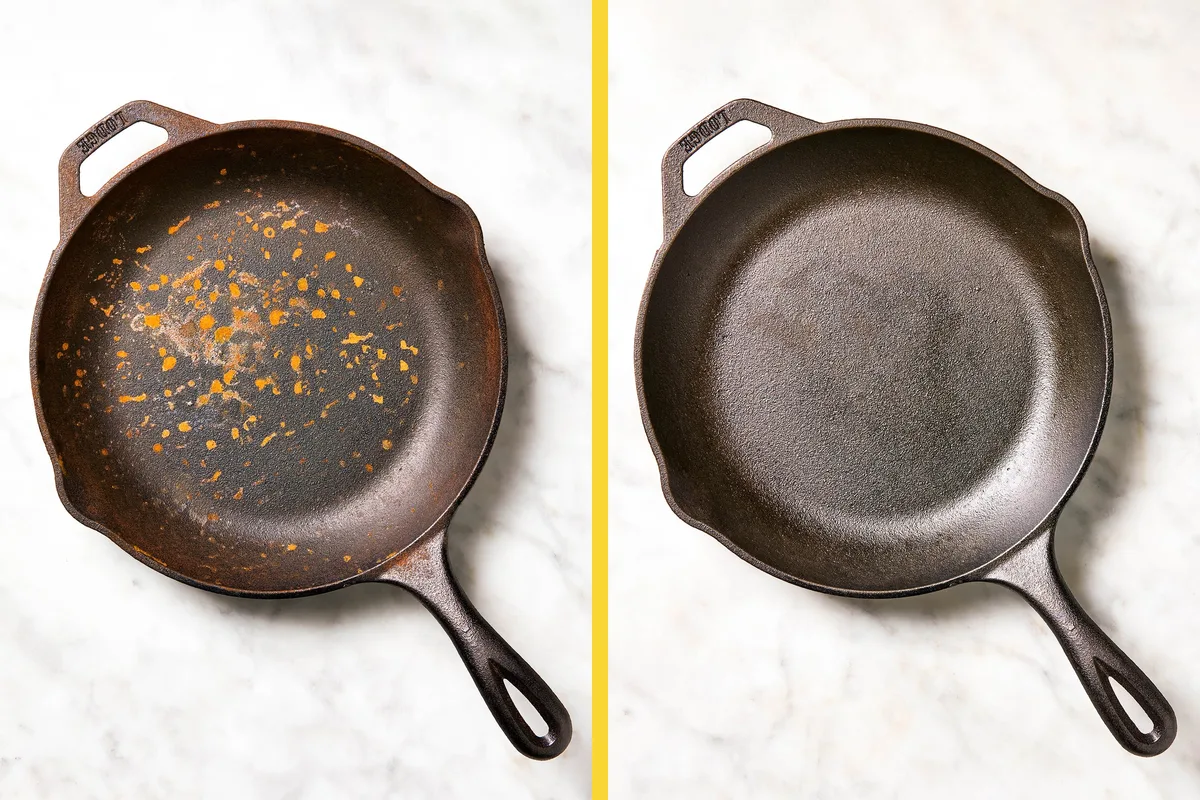
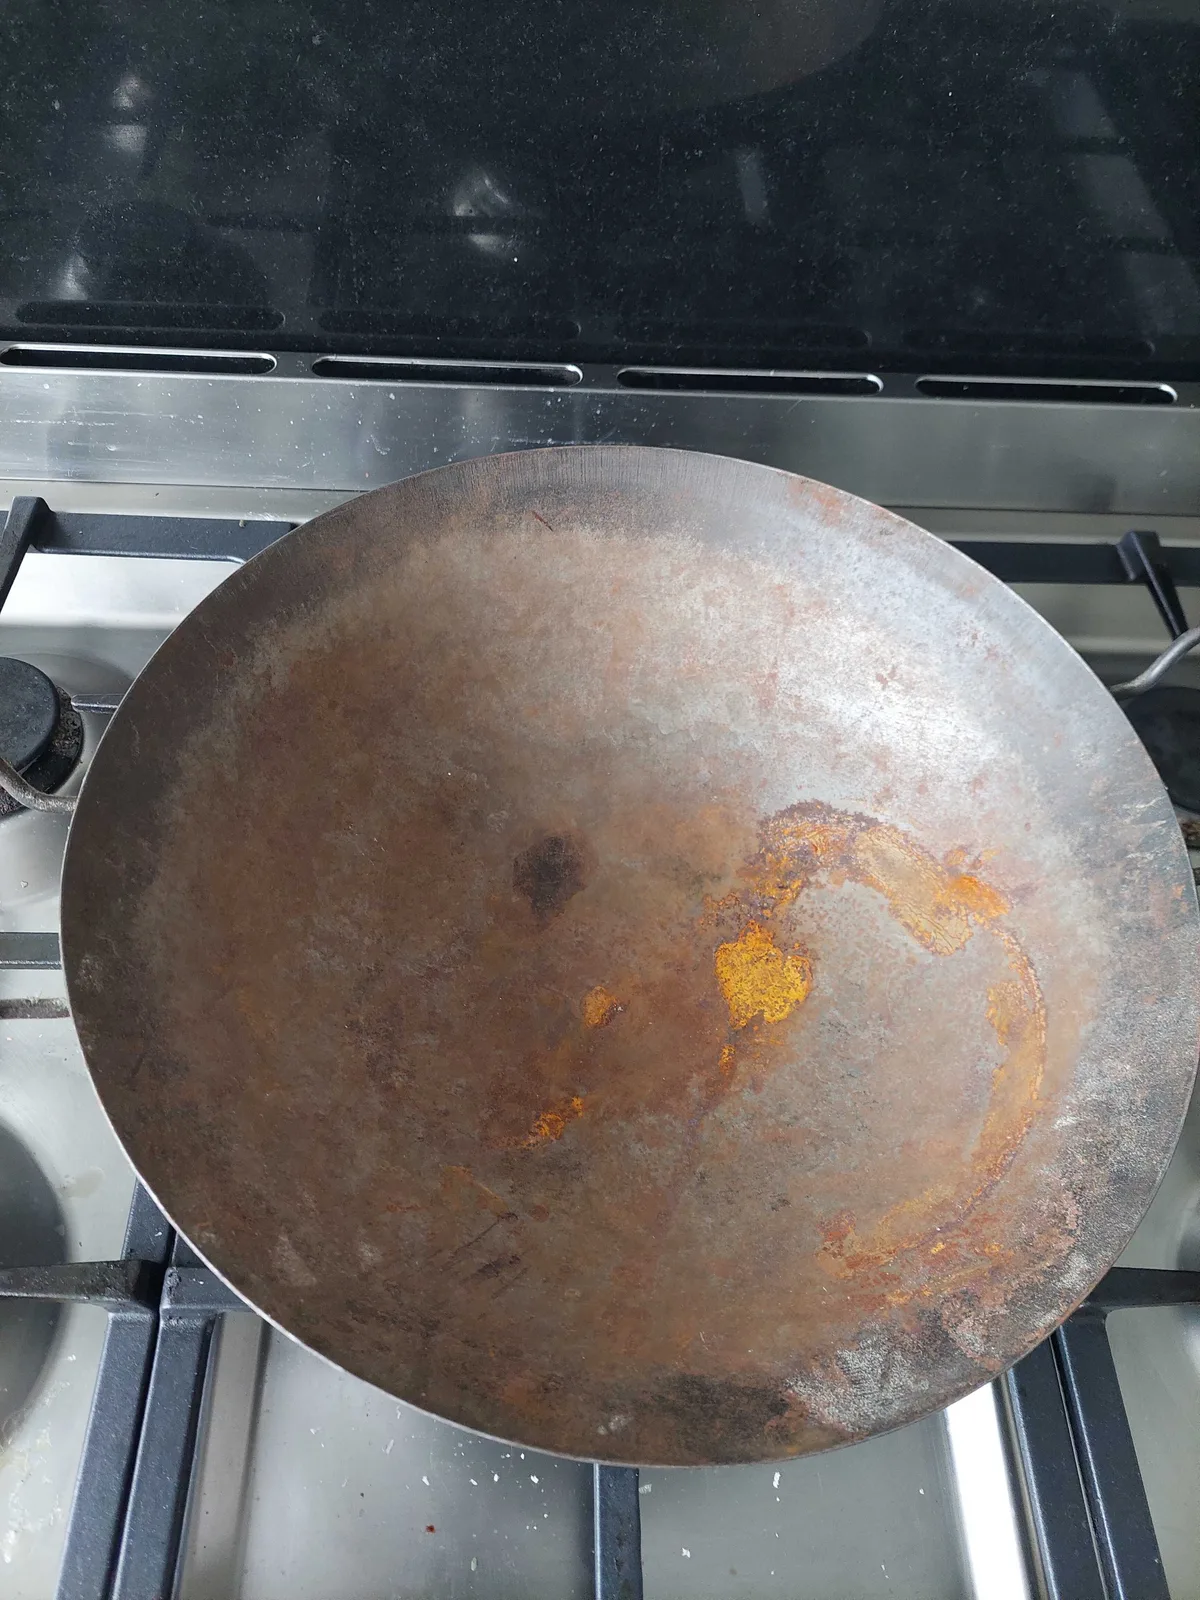
Light rust looks like a thin orange dust or tiny specks. It might appear after a rainy weekend when you left the grill uncovered. You can feel a slight roughness with your finger, but no flaking.
This is the easiest to handle.
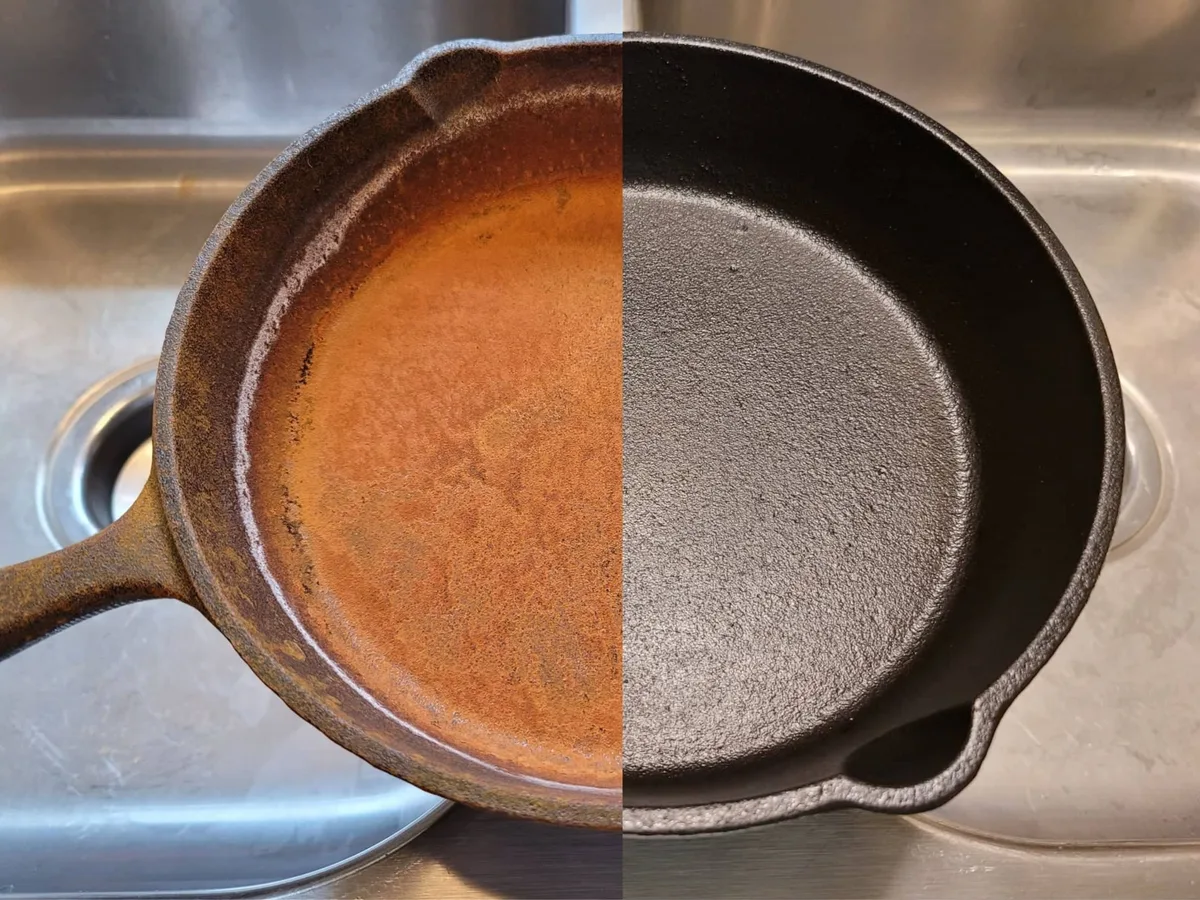
Moderate rust shows as raised patches or small flakes. The orange color is darker, almost brown in spots. When you run a paper towel over it, you’ll see orange streaks.
The surface still feels mostly solid underneath, but the rust has broken through the seasoning layer.
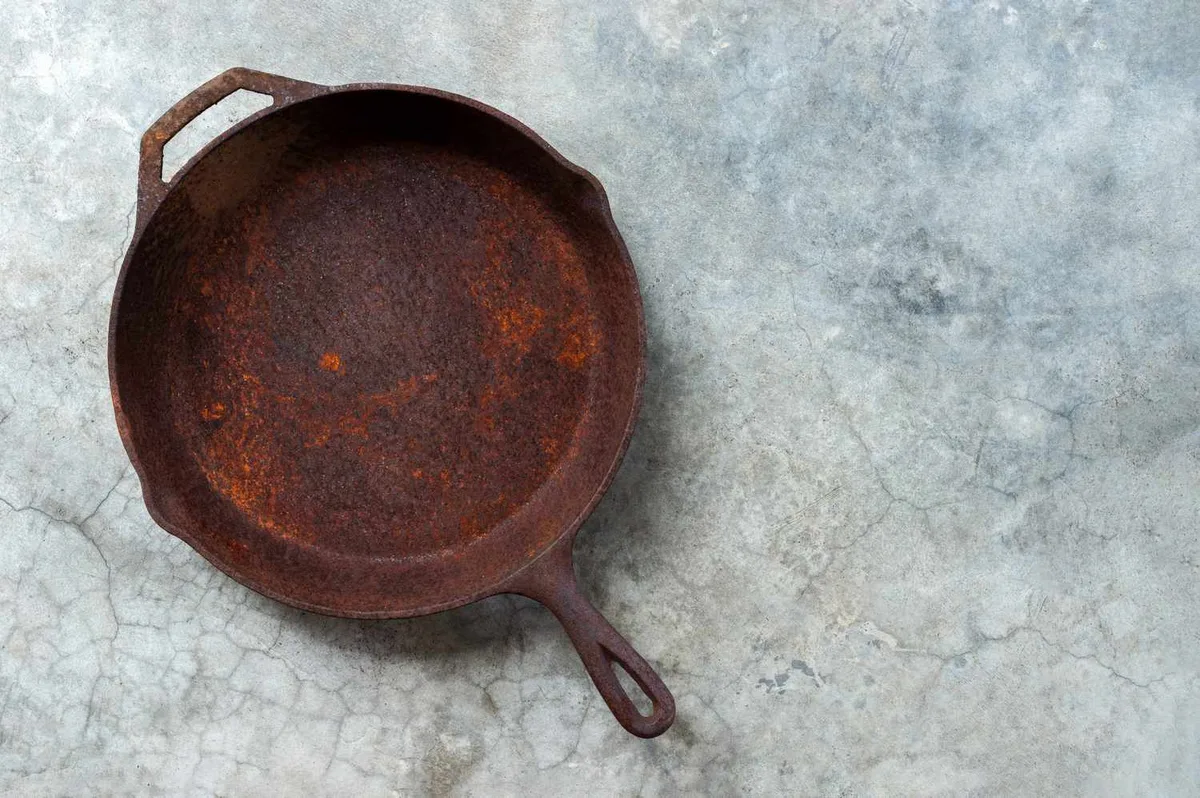
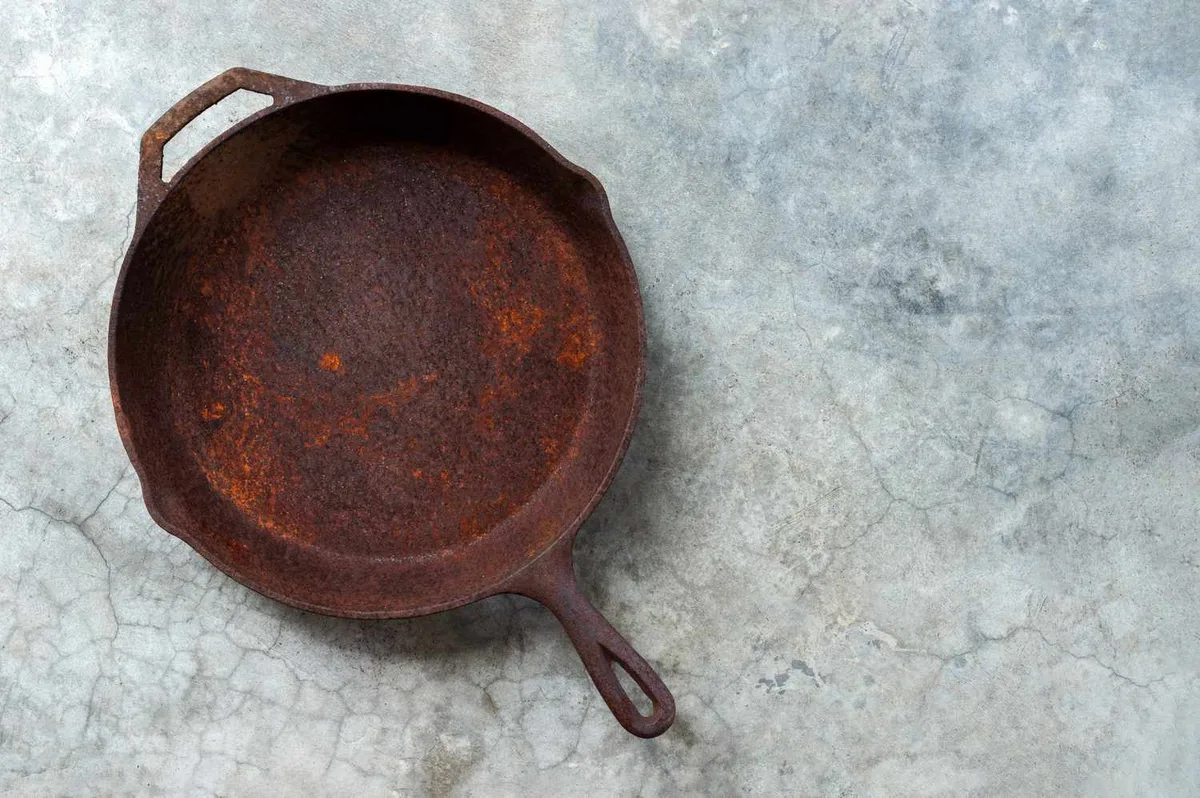
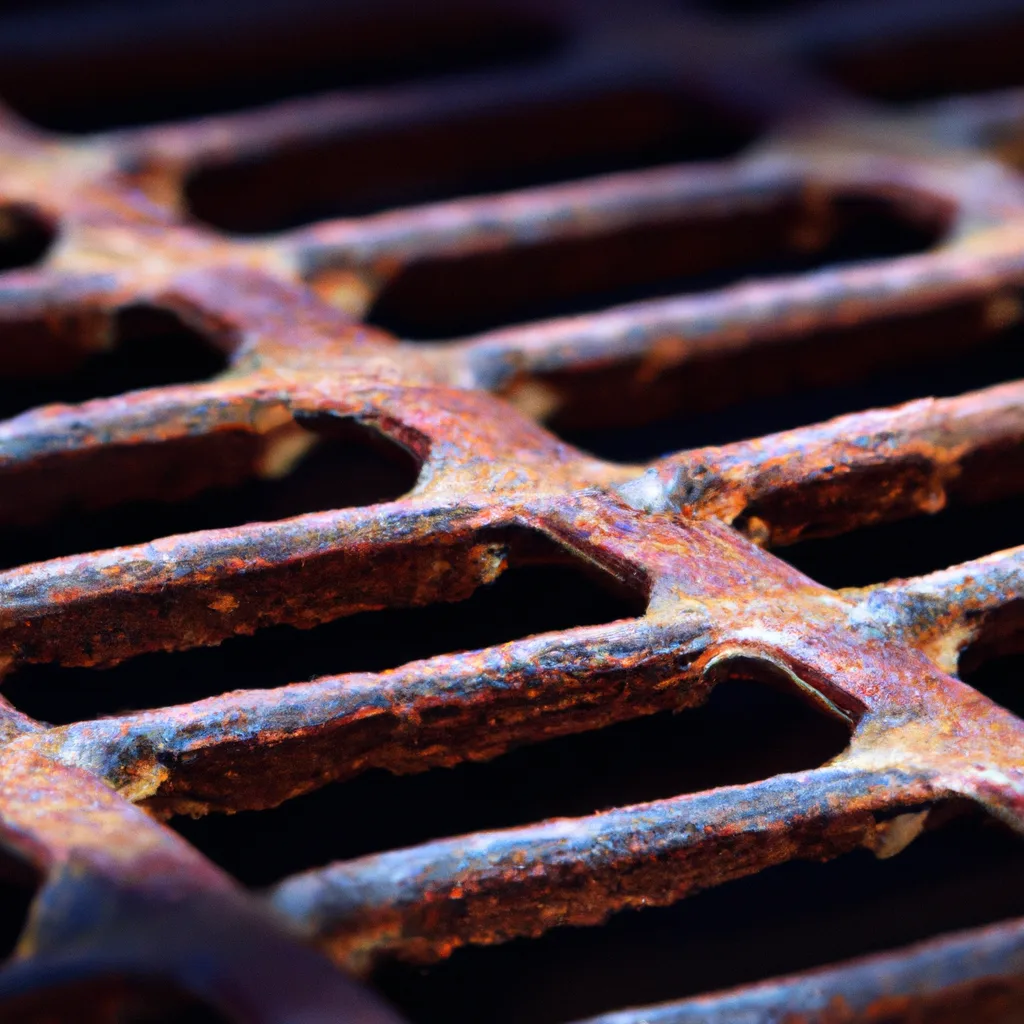
Heavy rust is crusty, bumpy, and flakes off in chunks. You can scrape some off with a fingernail. In the worst cases, you’ll see small pits or divots in the metal.
This means the rust has started eating into the cast iron itself. That’s still fixable, but the process is more involved.
What each severity actually means for your workflow:
| Rust Level | Looks Like | Feels Like | Action Needed |
|---|---|---|---|
| Light | Orange dust | Slightly rough | Gentle scrub + re-season |
| Moderate | Raised patches | Flaky when wiped | Soak or paste + full re-season |
| Heavy | Crusty chunks | Pitted surface | Power tools or replacement |
A quick way to assess: scratch a small area with the edge of a butter knife. If the rust comes off easily and you see bare gray metal underneath, you’re in the light-to-moderate zone. If you scratch and the metal looks rough or dark, that’s heavy.
Step 3: Pick Your Branch — Vinegar Soak, Baking Soda Paste, or Power Tools
Now you know your grate type and your rust level. This is where the decision tree splits into three clear pathways.
Branch A: Vinegar soak for moderate rust on bare cast iron
This is the most effective chemical method. Mix a 1:1 ratio of white vinegar and water in a tub large enough to submerge the grate fully. Submerge it for 30 minutes to 4 hours.
Check every 30 minutes.
The vinegar dissolves iron oxide without damaging the metal. But here’s the catch: don’t leave it overnight. Extended soaking can etch the metal and cause flash rust, a new layer of orange that appears instantly when you rinse it off.
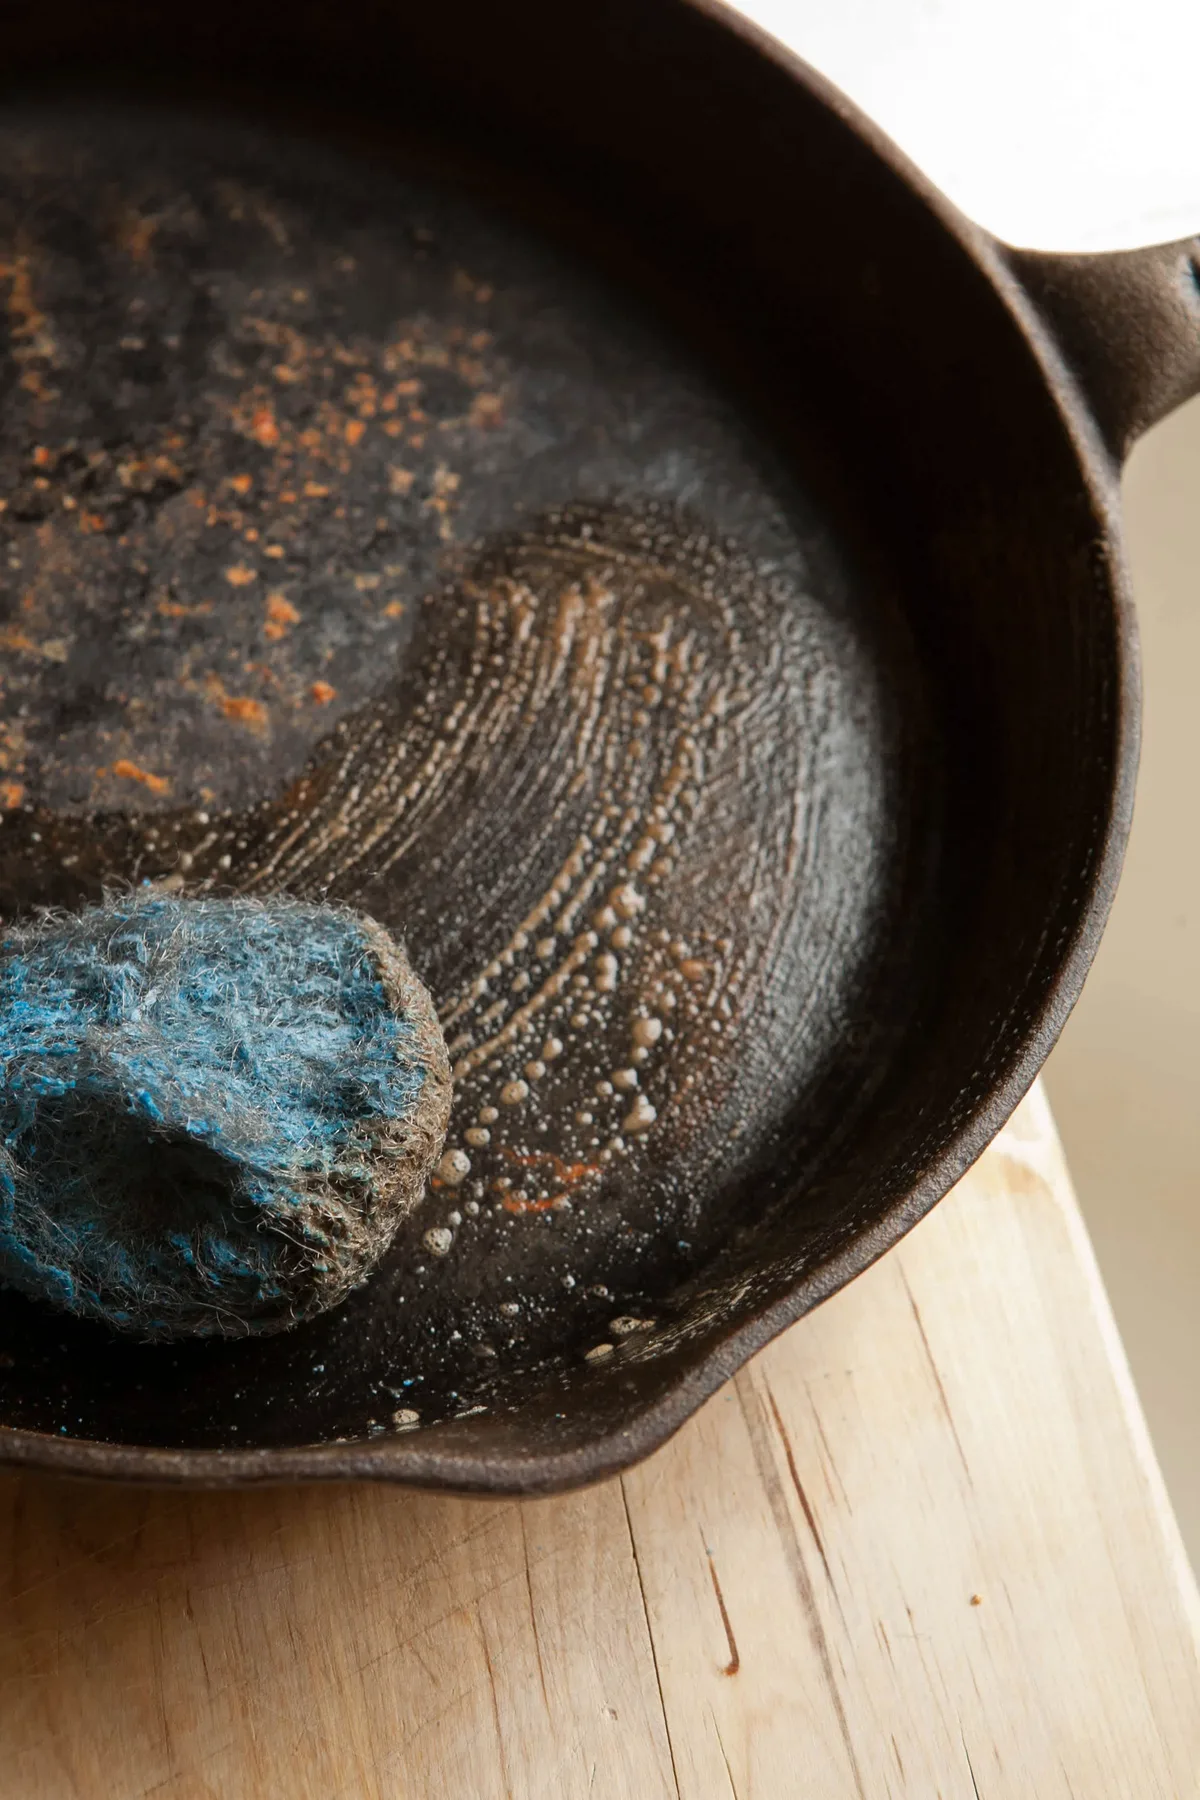
When the rust looks loose and soft, remove the grate, rinse with hot water, and scrub with a nylon brush or fine steel wool. Dry it immediately with a towel, then put it in a warm oven for ten minutes.
Branch B: Baking soda paste for light rust on any grate type
This is your safest option for both bare and enameled cast iron. Mix three parts baking soda with one part water to make a thick paste. Apply it over the rusty areas and let it sit for 15 to 30 minutes.
Then scrub with a non-scratch pad or a nylon brush.
The paste is mildly abrasive enough to lift rust without damaging the coating. Rinse well and dry immediately. For enameled grates, this is the only chemical method you should use.
Branch C: Power tools for heavy rust on bare cast iron only
When rust has pitted the metal, scrubbing won’t cut it. You need an angle grinder with a flap disc or a wire wheel attachment. Wear safety glasses and a dust mask.
Work in a well-ventilated area.
Run the tool over the rusted surface with light pressure. Let the disc do the work. You’ll see bare metal appear quickly.
Once all rust is gone, wipe the grate with a damp cloth to remove dust, then dry and move to seasoning immediately. Bare metal rusts within minutes in humid air.
For heavy rust on enameled cast iron: do not use power tools. The coating will shatter. You need to replace the grate.
That’s the honest answer. If you try to sand down an enameled grate, you’ll expose the raw iron underneath, and it will rust faster than a bare grate would.
Step 4: Re-Season After Rust Removal (This Is Half the Job)
Once the rust is gone, your grate is vulnerable. Bare cast iron needs a protective layer to prevent instant re-rusting. This is where most people stop, and that’s why their grates look worse a week later.
Seasoning is a polymerized oil layer that bonds to the metal. It’s not just greasing the grate. It’s a chemical transformation that happens at high heat.
Here’s the process:
- Clean the grate thoroughly. Remove all dust, vinegar residue, or baking soda paste.
- Dry it completely. Use a towel, then place it in a 200°F oven for ten minutes. Every drop of water will cause flash rust.
- Apply a very thin layer of oil. Use canola, grapeseed, or flaxseed oil. Pour a small amount on a cloth and rub it over every surface. Then wipe it off. You want the thinnest possible coat.
- Place the grate in a grill or oven at 400°F to 450°F. Bake it for one hour.
- Let it cool naturally inside the grill or oven with the door closed.
- Repeat steps 3 through 5 two or three times. Each coat builds durability.
Common seasoning mistakes:
- Using too much oil. It will pool and create sticky spots that never cure.
- Seasoning at too low a temperature. The oil needs to reach its smoke point to polymerize. Canola’s smoke point is around 400°F.
- Rushing the cool-down. If you remove the grate while it’s still hot, the oil layer can crack.
You can also season on a gas grill by running it on high for 45 minutes after oiling. Just watch for excess smoke and keep the lid open for the first few minutes.
Step 5: Mistakes That Ruin Cast Iron Grates (And How to Avoid Them)
Over years of research and aggregate user feedback, a few patterns stand out. These mistakes destroy grates faster than rust itself.
Mistake 1: Soaking bare cast iron in vinegar overnight.
People think longer equals better. It doesn’t. After four hours, vinegar starts etching the metal surface.
You’ll see a dull, rough texture that holds food worse than before. Stick to 30 minutes for light rust, four hours max for moderate.
Mistake 2: Using soap on a freshly stripped grate.
Many people wash their grate after scrubbing off rust. That’s fine. But if you use dish soap on bare metal before seasoning, the soap residue prevents the oil from bonding.
Rinse with hot water only. If you must use soap, rinse very thoroughly and dry immediately.
Mistake 3: Using a wire grill brush on cast iron.
The bristles can break off and stick to the grate. You might not see them. Then they end up in your food.
That’s a documented safety issue that the U.S. Consumer Product Safety Commission has warned about. Use a nylon brush or a chainmail scrubber instead.
Mistake 4: Putting a rusty cast iron grate in the self-cleaning oven cycle.
The temperatures (800°F to 1000°F) can warp thin grates and crack enamel coatings. If you’re trying to burn off old seasoning, use the grill itself on high heat for 30 minutes instead.
Mistake 5: Skipping the drying step.
This is the most common one. You scrub off the rust, rinse it, and set it on the counter to air dry. Twenty minutes later, it’s orange again.
That’s flash rust. It happens because bare iron reacts with oxygen and water instantly. Dry it with a towel, then put it in a warm oven for ten minutes.
Do not let it sit wet.
When to Wipe the Rust Clean vs. Replace the Grate for Good
Not every rusty grate is worth saving. Knowing when to stop can save you time, frustration, and money. Here is the honest breakdown.
Replace the grate immediately if you see deep pitting. Run your fingernail over the rusted area. If you feel a visible hole or divot deeper than the width of a credit card, the structural integrity is compromised. That pit will trap food and bacteria.
The metal underneath is weakened and will rust through faster than you can season it.
Replace enameled grates with any visible chipping. As of 2026, manufacturer guidance from major cast iron producers is consistent. If the glass coating has a chip, flake, or crack, moisture will seep under it. The rust will spread silently beneath the coating.
You cannot fix this. Scrubbing or sanding will only make it worse.
Consider replacement if the grate is more than eight years old. Aggregate user feedback across thousands of reviews shows that cast iron grates from budget grills start warping or cracking around the six year mark. If yours is older and heavily rusted, a new set of grates often costs less than $40. Your time is worth something too.
Keep and restore the grate if the rust is surface level only. If you scratch the rust and see clean gray metal underneath, you are in the safe zone. Even moderate rust with small flakes is restorable. The seasoning layer is gone, but the iron is still sound.
Follow the vinegar soak or baking soda paste method from Step 3 and you will have a grate that lasts years longer.
One more scenario where replacement makes sense. Your grate is rusted, and you have been meaning to upgrade to a heavier gauge or a different design anyway. This is your excuse. Heavy duty grates, those measuring 1/4 inch or thicker, hold heat better and resist warping.
If you are already doing the work, consider whether a better grate is worth the extra $20 to $30.
The cost check. A bottle of white vinegar costs about $3. A new set of mid range grates runs $40 to $70. If you have heavy rust on a cheap grill, replacement is often the smarter move.
If you have a quality brand like a high end gas grill or a kamado, restoration is worth the elbow grease.
Frequently Asked Questions
Can I use sandpaper to remove rust from a cast iron grill grate?
Yes, but only on bare cast iron. Use 80 to 120 grit sandpaper for heavy rust spots. Work evenly across the surface.
Wipe away all dust before seasoning. Do not use sandpaper on enameled grates. It will destroy the coating.
How long does a vinegar soak take for cast iron grill rust?
Light rust needs 30 minutes. Moderate rust needs one to four hours. Check every 30 minutes.
Do not soak longer than four hours for bare cast iron. Extended soaking causes flash rust and surface pitting. Rinse and dry immediately after the soak ends.
Can I use WD-40 to remove rust from cast iron grates?
WD-40 can help loosen surface rust, but it is not a cleaning method on its own. Spray it on, let it sit for 10 minutes, then scrub with steel wool. After that, you must wash the grate thoroughly with hot water and dish soap to remove all residue.
Then dry and re-season immediately.
Why does my cast iron grate rust again after cleaning it?
You likely skipped the drying step or the seasoning step. Bare metal rusts within minutes in humid air. After cleaning, dry the grate with a towel, then heat it in a 200°F oven for 10 minutes.
Then apply a thin layer of oil and bake at 400°F for one hour. Rushing this causes repeat rust.
Is it safe to cook on a cast iron grate with light rust?
No. Rust is iron oxide, and while small amounts are not toxic, they can flake into your food. The texture is unpleasant, and the rust indicates the protective seasoning has failed.
Scrub the rust off and re-season before cooking again. It takes less than two hours.
How often should I season my cast iron grill grates?
Season after every deep cleaning. For regular maintenance, apply a thin layer of oil to the grates after each cook while they are still warm. This prevents moisture from contacting the metal.
A full oven seasoning is needed two to four times per year, depending on how often you grill.

Similar Posts