Sharpen Your Kitchen Knives Like a Pro
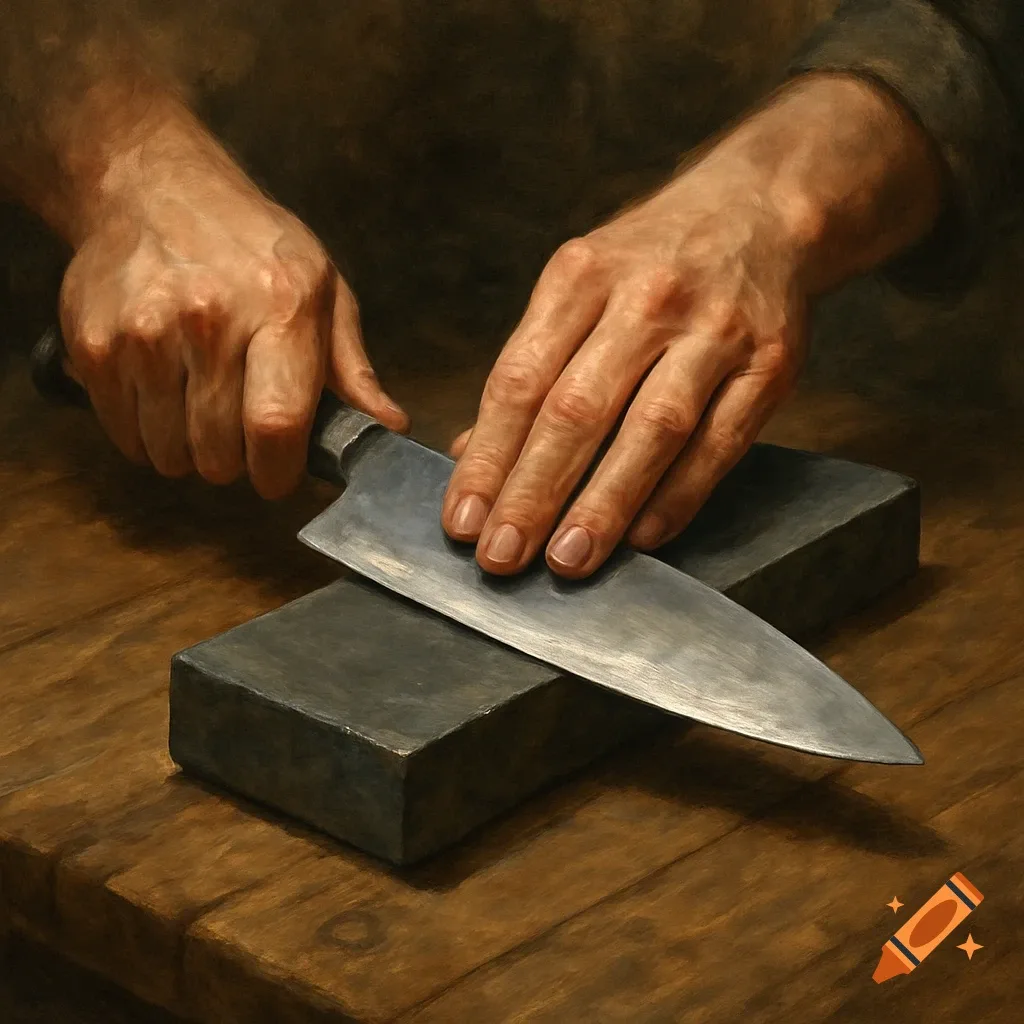
You've asked yourself "how do i sharpen kitchen knives?" It's a common problem. A dull blade is more dangerous than a sharp one because it slips and needs extra force. The right method depends on your knife and your skill level.
According to manufacturer specifications, most Western knives use a 20-degree edge, while Japanese knives often sit at 15 degrees. That angle difference determines whether you should reach for a whetstone or an electric sharpener. Let's break it down so you can get back to slicing without the guesswork.
Image source: Bing (Web (fair-use with source credit))
Quick Answer: The One Decision That Changes Everything
You sharpen kitchen knives by grinding a thin layer of metal into a fresh edge. The key decision: choose a whetstone, a pull-through, an electric sharpener, or a professional service. Pick based on your blade steel, skill level, and time.
That decision matters because each method removes different amounts of steel and produces a different edge geometry. A whetstone gives you fine control. Pull-throughs are forgiving for beginners.
Electric sharpeners are fast, but they take off more metal. Professional services are a great occasional fix, though they cost more.
Here's what we recommend the first time you sharpen:
- Whetstone: best for quality and control
- Pull-through: easiest for a rookie
- Electric: fastest, but use sparingly
- Pro service: ideal for damaged edges
If you own a Japanese knife with a 15-degree bevel, avoid electric sharpeners. They tend to set a more forgiving edge that might not suit your blade. For your first session, start with a 1000-grit whetstone and follow the workflow below.
How Sharpening Actually Works (The 10-Second Science)
Sharpening is grinding, not polishing. The goal is to create two flat bevels that meet at one sharp point. As you grind, a thin wirelike ridge called a burr forms on the opposite side.
That burr tells you the edge is ready to clean up.
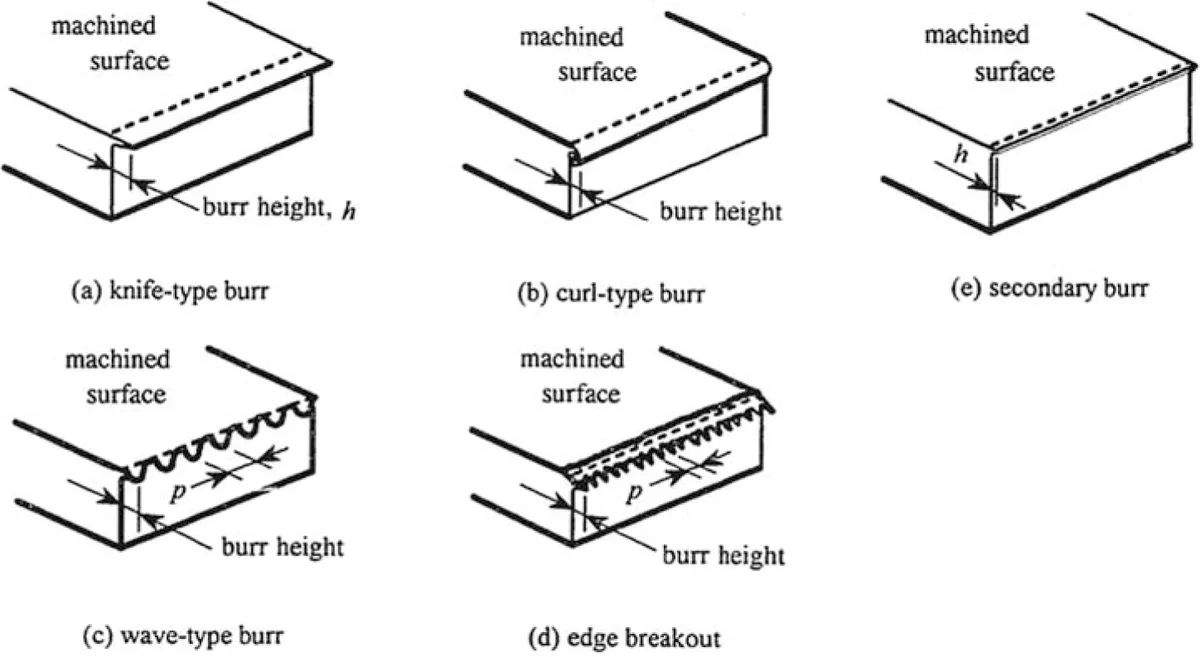
Image source: Bing (Web (fair-use with source credit))
You remove that burr by flipping the blade and taking light passes on the same stone. This is why grit progression matters. Coarse grits remove metal fast.
Fine grits polish the edge and erase scratches.
Here's a typical grit progression:
| Grit | Purpose |
|---|---|
| 400 | Repair chips and nicked edges |
| 1000 | Set a new bevel for dull knives |
| 3000 | Hone the edge and remove scratches |
| 6000 | Polish to a razor finish |
Keep the blade angle consistent. A 20-degree angle on a Western knife gives a sturdy edge. A 15-degree angle on a Japanese knife gives a sharper but more delicate cut.
If you rock the angle, you'll end up with a rounded edge instead of a clean one.
Step-by-Step: The Full Sharpen Workflow (Whetstone Focus)
Soak the stone (if using a water stone). Let it soak for 5 to 10 minutes so it holds water and creates a slurry. Splash-and-go stones only need a light mist.
Set the stone on a damp towel. This keeps it from sliding. Make sure the surface is flat and stable.
Position the blade at the right angle. For a Western knife, hold it at 20 degrees from the stone. For a Japanese knife, aim for 15 degrees.
Start with the coarse side. Drag the blade edge forward, from heel to tip, as if slicing a thin layer off the stone. Repeat for each side until you feel a burr running along the full edge.
Move to a finer grit. Repeat the same passes to refine the edge and remove the larger scratches. Work through 1000, then 3000, and optionally 6000.
Deburr and polish. Take a few very light passes on the fine stone, then strop on leather or your jeans.
Test sharpness. Gently slice paper. A sharp blade cuts without tearing.
The first time, expect to spend 15 to 25 minutes per knife. Once you get used to the motion, it drops to under 10 minutes. Always push the blade away from your fingers.
Keep the stone stable. And never slide your finger along the edge to test it.
Which Method for You? Comparing Whetstone, Pull-Through, Electric, and Pro Service
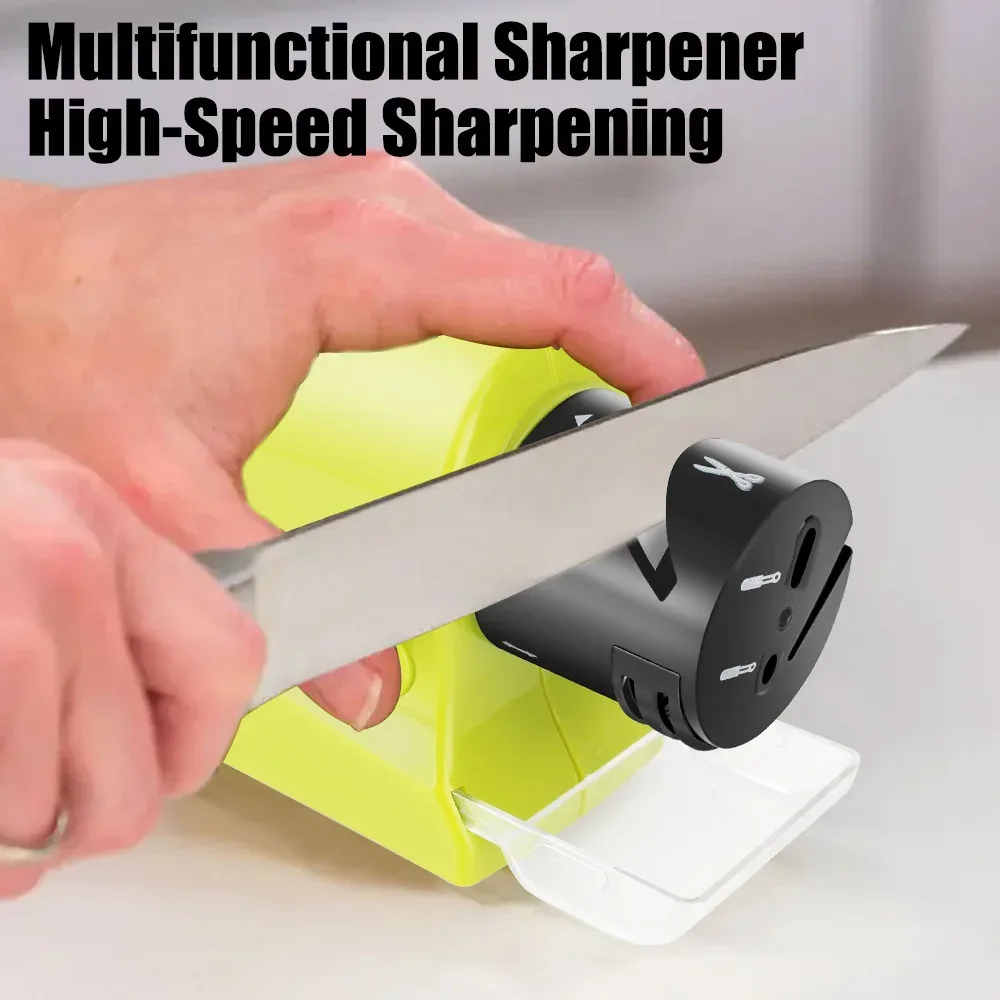
Image source: Bing (Web (fair-use with source credit))
Here is the breakdown:
| Method | Cost | Skill Level | Edge Quality | Metal Removed | Best For |
|---|---|---|---|---|---|
| Whetstone | $30-$80 | Medium | Excellent | Low | Knife enthusiasts, daily cooks |
| Pull-through | $10-$30 | Low | Good | Medium | Beginners, quick fixes |
| Electric | $20-$200 | Low | Good to Very Good | High | Busy households, softer steels |
| Pro service | $5-$15 per knife | None | Excellent | Depends | Damaged blades, once a year |
- Whetstone: You control everything. Perfect for preserving a Japanese edge or fixing a chipped blade.
- Pull-through: Pull the blade through a set of crossed wheels. It gives a decent edge, but it can be harsh on very hard steel.
- Electric: The wheels spin as you draw the blade through. Fast, but it grinds away more metal than necessary.
- Pro service: A sharpener re-bevels the edge for you. Great for expensive knives you don't want to risk.
As of 2026, the whetstone remains the most popular choice among serious cooks. If you only sharpen once a month and want an effortless system, a pull-through is fine. For most people, though, a whetstone is the best long-term investment.
It takes practice, but the edge quality is worth it.
Common Mistakes That Ruin Your Edge (And How to Avoid Them)
Here are the biggest errors we've seen in community forums and verified buyer reviews:
- Using too steep an angle. Sharpening at 30 degrees takes off too much metal. Stick to the manufacturer's recommended angle.
- Sawing back and forth. That rounds the edge instead of forming a clean bevel. Always sharpen edge-forward.
- Skipping grit levels. Jumping from coarse to fine leaves deep scratches. Work up gradually.
- Forgetting the burr. If you never check for a burr, you're only doing half the job. You need to feel it to know you've ground enough.
- Applying heavy pressure. Let the stone do the work. Press hard on coarse grit, but barely touch fine grit.
- Ignoring a flat stone. Your stone will dish out over time. Use a flattening stone to keep it true.
- Overheating the blade. Electric sharpeners can burn the temper if you're slow. If the edge turns blue, you've ruined it.
Also, avoid testing sharpness with your finger. Use paper or a tomato instead. And keep your fingers clear of the edge path when honing.
According to food safety guidelines from the Food Safety and Inspection Service, cutting with a dull knife increases the risk of slips and injury. That makes regular sharpening a safety habit, not just a performance upgrade.
FAQs
How often should I sharpen my kitchen knives?
For home cooks, every 2 to 3 months is enough. If you cook daily, sharpen every 4 to 6 weeks. Use a honing rod weekly in between to keep the edge aligned.
A knife that struggles through a tomato needs sharpening.
Can I sharpen serrated knives?
Yes, but you need a ceramic rod sized to fit each serration. Run the rod through each gully at the same angle as the factory bevel. Serrated blades rarely need full sharpening.
Once or twice a year is typical.
What is the difference between honing and sharpening?
Honing realigns the edge without removing metal. Sharpening removes metal to create a new edge. Think of honing as straightening a bent wire.
Sharpening is grinding a new point into that wire.
Is an electric sharpener bad for my knives?
Not always, but it depends on the steel hardness. Japanese knives with HRC 60 or higher can chip under aggressive wheels. For softer Western blades, electric sharpeners work fine.
Use them sparingly to avoid removing too much metal.
How do I know my knife is sharp enough?
Slice a piece of printer paper. A sharp knife cuts cleanly without catching or tearing. Try a ripe tomato.
If the skin breaks with light pressure, your edge is ready. Never test sharpness with your finger.
Do I need to sharpen both sides of the knife?
Yes, unless you own a single-bevel knife used for sushi or traditional Japanese cuts. Most kitchen knives have a symmetrical edge. You grind the same number of passes on each side.
Single-bevel knives only need one side ground.
Your Decision Guide: Pick Your Path Based on Your Knife and Skill
Let's simplify all of this into one clear breakdown.
If you own a Japanese knife with a 15-degree bevel: Use a whetstone. Avoid electric sharpeners and aggressive pull-throughs. Start at 1000 grit.
Move to 3000 or 6000. Never skip the burr step. This preserves the delicate edge and prevents chipping.
If you own a Western knife with a 20-degree bevel: You have more options. A pull-through works for quick maintenance. An electric sharpener is fine for softer steel with an HRC of 55 to 58.
A whetstone still gives the best edge, but you can take shortcuts more safely.
If you are a beginner: Start with a pull-through sharpener. It teaches you the motion without the risk of ruining a blade. Once you feel comfortable, graduate to a whetstone for better control.
If you have damaged knives with chips or rolled edges: Use a professional sharpening service. They have industrial-grade stones and can re-bevel chipped edges. Budget $5 to $15 per knife.
This is safer than trying to grind out deep nicks yourself.
If you cook professionally: Master the whetstone. Practice until you can sharpen a chef's knife in under 10 minutes. Keep a 1000-grit stone at work.
Use a honing rod every shift.
Here is your quick decision table for reference:
| Your Situation | Best Method | Why |
|---|---|---|
| Japanese blade | Whetstone | Preserves edge geometry |
| Western blade | Whetstone or pull-through | Flexible and forgiving |
| Beginner cook | Pull-through | Low risk, easy to learn |
| Heavily damaged blade | Professional service | Safe repair, no risk |
| Professional chef | Whetstone | Precision and speed |
Stick with the method that matches your knife and your comfort level. The best sharpener is the one you actually use regularly. A sharp knife is a safe knife.
Keep your edge clean, and your cooking will thank you.

Similar Posts