The No-Fail Way Chefs Sharpen Knives

A knife that won't cut through a tomato anymore doesn't always mean you need to spend an hour on a whetstone. In fact, most professional kitchens don't stop service to sharpen knives every time something feels dull. So, how do chefs sharpen their knives, and how do they keep edges razor-ready without wrecking them?
The answer depends entirely on the knife's condition, the blade's steel, and how much time the chef has on the line.
Chefs use a three-tier approach: honing for quick realignment, whetstones for true sharpening, and professional services for rescue jobs. The process isn't random, and it isn't magic. It's a methodical decision tree, and once you understand it, your knife will feel sharper after 60 seconds of honest work than after an hour of aggressive grinding.
Let's walk through each route.
A Chef's Knife Isn't Always Dull — It Might Just Be Misaligned
Here's the most common misunderstanding in home kitchens: you think your knife is dull, but it's actually sharp. The edge is just folded over. Think of it like a perfectly sharp razor blade that someone pushed sideways.
The cutting edge isn't gone, it's bent.
When you use a knife on a cutting board, the microscopic apex of the edge rolls to one side. That tiny fold acts like a soft lip. It catches on food instead of slicing through it.
The knife feels dull, but the steel is perfectly fine underneath. Fixing this takes about 30 seconds with a honing rod.
A honing rod realigns that folded edge back to center. It doesn't remove steel. It doesn't grind.
It just pushes the edge back into alignment. Chefs use a rod daily, sometimes hourly, because it keeps the knife performing at 100 percent without wearing down the blade.
The distinction matters for one big reason: if you sharpen a misaligned knife, you're removing steel you didn't need to remove. Over time, that kills the knife's profile. You end up with a thick, stubby blade that struggles to slice anything.
In our research, most professional knife manufacturers, including brands like Wüsthof and Shun, explicitly recommend honing before sharpening. They know the majority of "dull" knives just need alignment, not grinding. So before you even think about stones, test this at home.
Take your knife and slice a ripe tomato. If it drags, grab a rod and make a few passes. Then try again.
The difference will surprise you.
Image source: Web (Bing) / cnn.com (Web image (fair-use with source credit))
The Three Sharpening Routes: Which Path Fits Your Knife Right Now?
Once you've ruled out misalignment, you need to decide which sharpening route matches your situation. There are three main paths, and each one fits a different knife condition, user skill level, and time budget.
Route One: Honing. This is for edges that are aligned but slightly tired. You use it between full sharpenings. It takes seconds, requires a rod, and removes zero metal.
It's the daily maintenance route for working chefs.
Route Two: Whetstone Sharpening. This is for edges that are actually dull, chipped, or rolled in a way honing can't fix. It involves grinding the blade on a water stone to create a fresh edge. It takes 10 to 30 minutes, requires practice, and removes a small amount of steel.
This is the route chefs use weekly or monthly depending on workload.
Route Three: Professional Sharpening Service. This is for badly damaged edges, very hard Japanese steels that you're not confident sharpening, or knives you simply don't have time to fix. You send it out or drop it off. It costs money and takes days, but the result is typically a factory-level edge.
If, then logic applies here. If your knife slices through paper but pulls on tomatoes, use honing. If it pushes through a pepper and squashes it, use a whetstone.
If it has visible chips or feels rough when you run your finger lightly along the edge, send it out.
One more variable matters: your knife's steel. Western knives with softer stainless steel, think German brands, respond beautifully to honing. Japanese knives with hard powder steel, think 60 to 65 HRC, are more brittle.
They hold edges longer, but when they roll, they chip instead of bending. That's not a honing situation. That's a sharpening or professional service situation.
The Whetstone Workflow: What the Pros Actually Do (Step by Step)
Full sharpening on a whetstone is the core skill in any professional kitchen. It's not hard, but it requires patience and a consistent hand. Here's the exact workflow chefs use.
Soaking and Flattening the Stone
Traditional Japanese water stones need to be submerged in water for 5 to 15 minutes before use. This ensures the stone is saturated, so it releases an abrasive slurry that speeds up sharpening. Splash-and-go stones, like the Shapton Pro series, skip the soak entirely.
You just splash water on top and start.
Once the stone is ready, check its surface. A fresh stone is flat. A used one is likely dished, meaning it curves inward from repeated use.
A dished stone rounds your knife edge. Fix it with a flattening plate or a coarse diamond plate. You should flatten stones after every few uses.
Finding Your Angle Without a Guide
The angle is the sharpest variable in knife sharpening. Standard Western knives get a 20-degree edge per side. Japanese knives get 15 degrees.
To find 20 degrees without a guide, place a coin under the spine of the knife, near the edge. That simple trick gives you the correct angle almost every time.
Grinding Until You Feel the Burr
Start with the coarse grit, usually 400 or 1000 depending on how damaged the edge is. Place the knife on the stone, edge first, and push it forward heel to tip. Then flip and pull it back.
Keep a consistent angle. After about 10 to 15 passes per side, you'll feel a small wire edge, called a burr, on the opposite side of the blade. Run your finger lightly and carefully from the spine toward the edge.
If it catches, you've formed a burr.
Refining the Edge Through the Grits
Now you work up through the grits. Move from coarse to medium, 1000 or 2000, and repeat the same process until a new, finer burr forms. Then move to a finishing stone, 3000 to 6000.
Each grit removes the scratches from the previous one and polishes the edge. The final result should be an edge that reflects light cleanly and slices paper effortlessly.
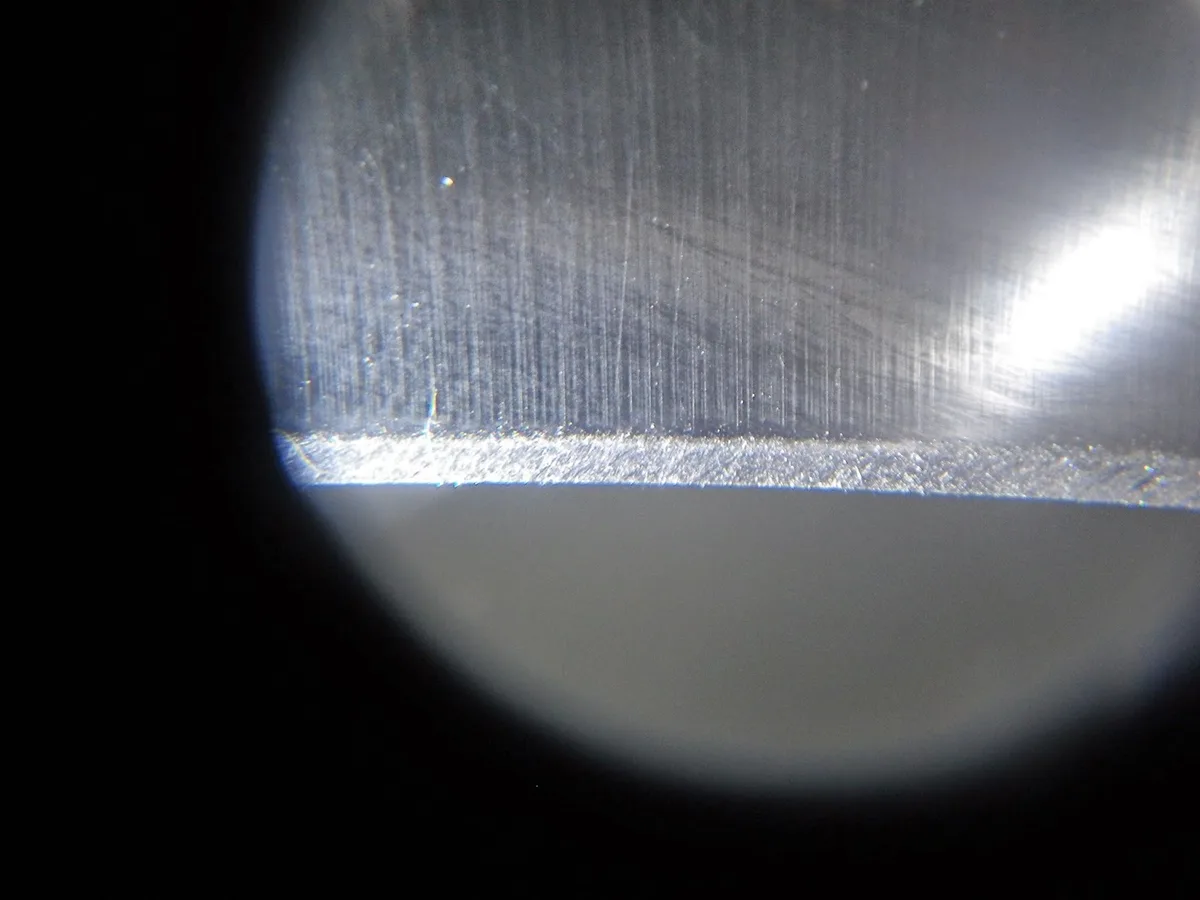
Image source: Bing (Web (fair-use with source credit))
Burr Removal and Stropping
The last step is critical and most beginners skip it. After the finest grit, you need to remove the burr entirely. If you leave it, the knife will feel sharp for one cut, then fail.
To remove the burr, do light trailing strokes, as if you're slicing a thin layer of air, alternating sides. Then finish on a leather strop with polishing compound. Ten laps per side will align the edge and remove any remaining micro-burr.
When to Hone vs. Sharpen vs. Send Out (The Decision Guide)
This is the decision matrix that separates a chef from a home cook. The rule of thumb: hone every one to two uses, sharpen every one to three months, and send out only when you've done significant damage.
| Method | Time Needed | Skill Required | Best For | When to Do It |
|---|---|---|---|---|
| Honing | 30 seconds | Very low | Daily edge maintenance | After every few uses |
| Whetstone | 15–30 minutes | Moderate | Restoring a truly dull edge | Every 1–3 months |
| Pro service | 2–7 days turnaround | None | Chipped, cracked, or very hard steel | When the edge is beyond your skill |
Why the gap between hone and sharpen? Because honing can't fix a dull edge forever. Aluminum oxide steel, heat treatment, and daily grinding all eventually wear the edge down.
When honing stops making a difference, it's time to sharpen. Try this test: after honing, see if the knife still struggles on a tomato. If it does, the edge has gone fully dull.
When should you send it out? If your knife costs more than 200 dollars, especially a Japanese single-bevel blade, a pro sharpening service is usually the smarter move. One mistake on a hard powder steel edge can chip it, creating hours of repair work.
Professional sharpeners use water-cooled wheels and precision angle guides. They also fix the geometry of the knife, so it performs like new, not just sharpened.
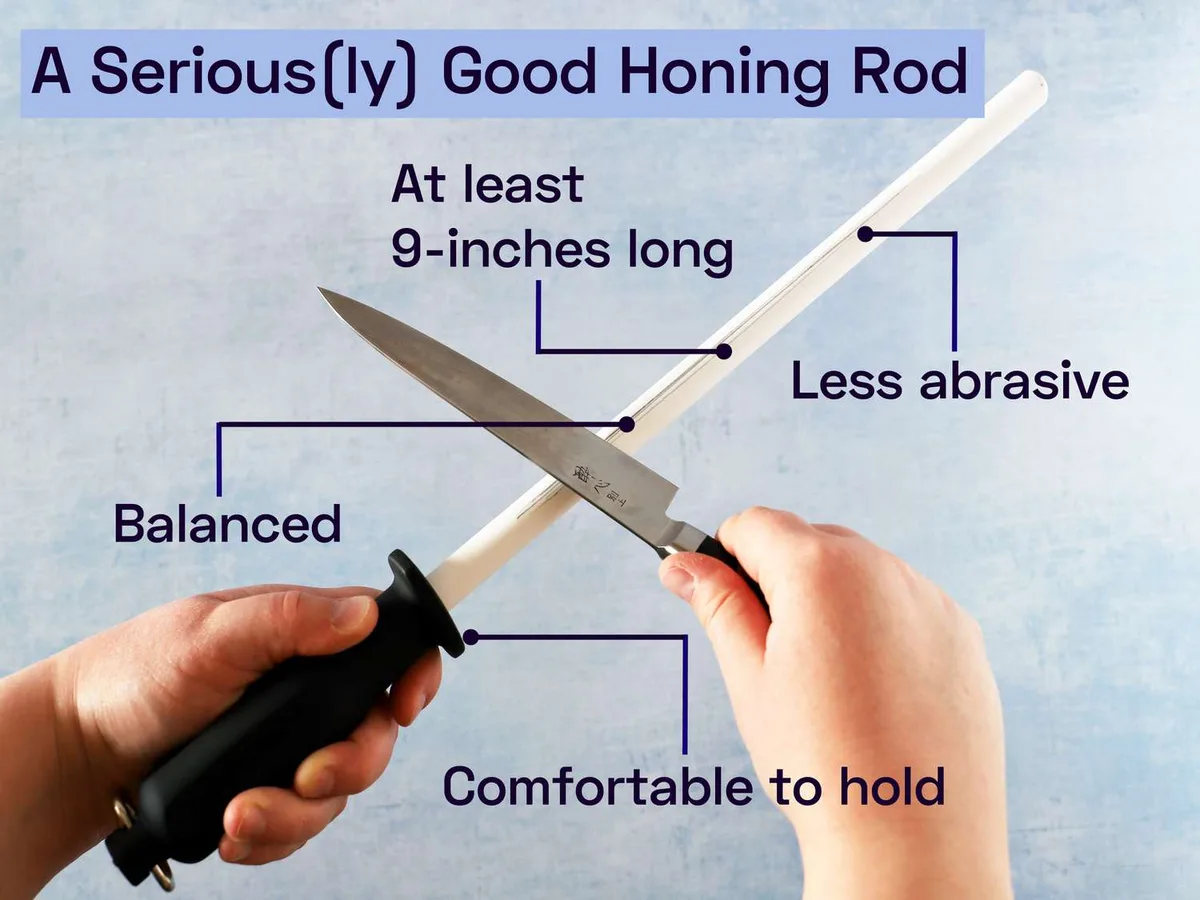
Image source: Bing (Web (fair-use with source credit))
Five Mistakes That Keep Your Knife From Getting Truly Sharp
Plenty of people try sharpening, put in the effort, and end up with a knife that's marginally better. That's not bad luck. It's usually one of these five mistakes.
1. Inconsistent angle. The most common problem by far. If you change the angle mid-stroke, you don't get a clean V-edge.
You get a messy, rounded edge that won't hold. Use the coin trick, or buy a fixed-angle guide. Consistency beats speed every time.
2. Skipping grits. Jumping from a 1000-grit stone straight to an 8000-grit polishing stone is useless. The coarse scratches are too deep for the fine stone to remove.
You end up with a polished edge hiding a disturbed structure underneath. It'll be sharp for one prep shift, then fail. Always step through grits in order.
3. Not forming a full burr. If you switch sides before the burr appears, you're just polishing the existing edge, not creating a new one. Each side needs a full burr before you move to the next grit.
That burr is the proof that every part of the edge met the stone.
4. Rushing burr removal. Leaving the burr on the blade is like leaving sand in your shoes. The edge wants to work, but the burr folds over the second you cut.
Take your time with light, alternating strokes on your finest stone. Then strop.
5. Hitting a hard knife with a rough stone. If your knife wears a 65 HRC rating, don't start with a coarse 220-grit stone. It will micro-chip the edge.
Start with 1000 grit and let the stone do the work. Hard steel takes longer, but it gives you a finer result.
As of 2026, more home cooks than ever are adopting chef-style workflows because the technique isn't proprietary. It's publicly documented in culinary textbooks and knife manufacturer care guides, including Wüsthof's official knife care instructions. You can learn it too.
You just have to avoid these traps.

Similar Posts