How to Sharpen Kitchen Knives Like a Pro
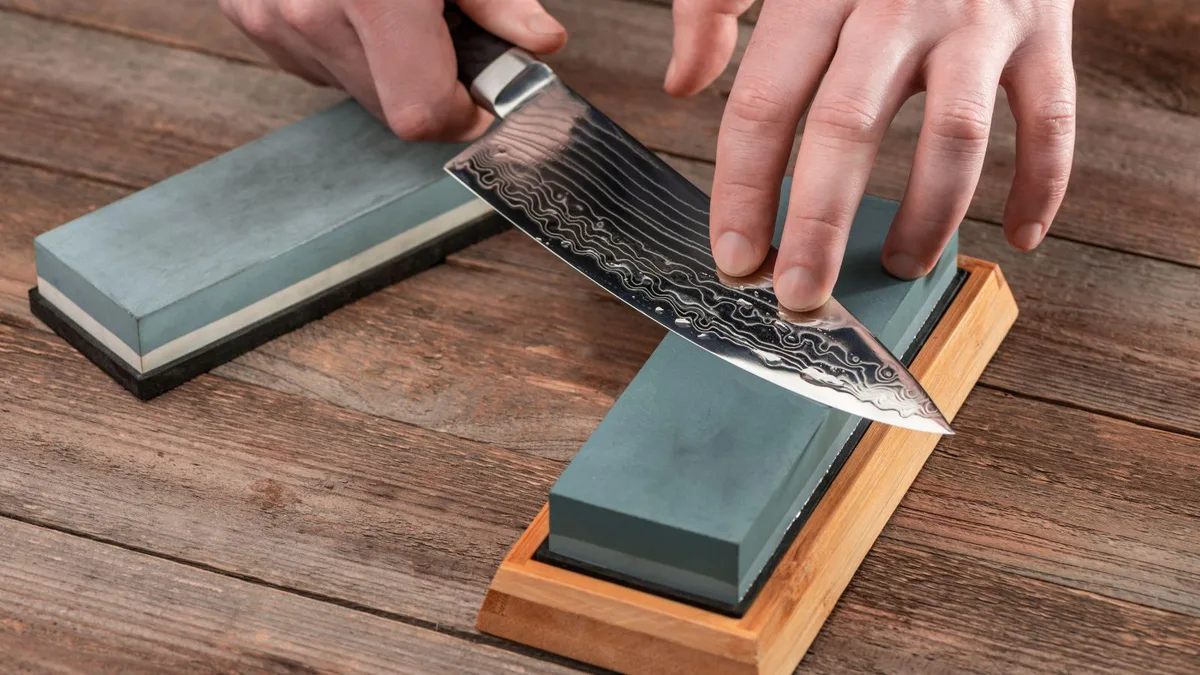
You probably landed here because a dull knife just squashed a tomato instead of slicing it. Asking how can i sharpen my kitchen knives is the right first step, but the answer isn't one-size-fits-all. As of 2026, professional sharpening services charge $8 to $15 per knife in most US cities, so learning to do it yourself pays off fast.
The trick is matching the method to the knife and your comfort level, and that's exactly what we'll walk through now.
Our research shows that most home cooks fall into one of two camps: they either buy a cheap pull-through sharpener and never quite trust the results, or they buy a whetstone and give up after frustration. Both approaches miss the point. The best sharpening method is the one you'll actually use consistently, and the right choice depends on three things: your blade steel, your skill level, and how damaged the edge really is.
Image source: Bing (Web (fair-use with source credit))
Quick Answer: Match the Method to Your Knife and Skill
The best method depends on your knife's steel and your patience. Use a whetstone for premium Japanese or German knives. Use a pull-through sharpener for basic stainless steel and quick touch-ups.
Hone with a steel rod weekly between sharpening sessions.
If your edge is chipped, start with a coarse stone. If you just want a fast refresh, a pull-through works fine.
The Two Big Questions That Pick Your Path
We can cut through all the competing advice with two honest questions. Your answers will point you straight to the right tool, no guesswork required.
Question 1: What's your blade steel?
- If your knife is rated HRC 58 or higher (most quality Japanese knives like Shun or Global), use a whetstone. Hard steel chips easily against the aggressive carbide edges in pull-through sharpeners.
- If your blade is HRC 52 to 56 (common in budget stainless steel knives), a pull-through or electric sharpener is totally safe.
- If you're unsure what steel you have, check the manufacturer's stamp on the blade or their website. The hardness rating tells you everything.
Question 2: How much time do you want to spend?
- If you can spare 20 to 30 minutes and want the sharpest possible edge, the whetstone wins every time.
- If you want a serviceable edge in two minutes before dinner, go with a pull-through sharpener or a good electric model.
- If your knife is badly chipped or bent at the edge, skip the pull-through entirely. You need a coarse whetstone or a professional service to repair the geometry first.
One more condition matters. If you own a serrated bread knife, neither whetstones nor pull-throughs will work well. You'll need a tapered diamond rod that fits into each scalloped tooth.
The Whetstone Route: Best for Enthusiasts and Premium Steel
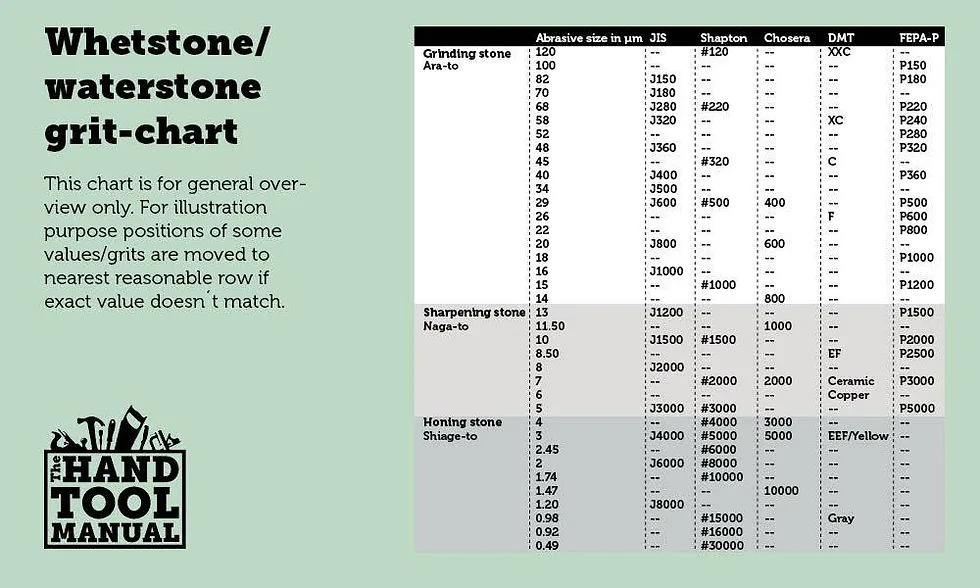
Image source: Bing (Web (fair-use with source credit))
A whetstone is a flat abrasive block, usually soaked in water before use. You slide the blade across it at a fixed angle, and the stone's grit removes tiny amounts of steel. It's the oldest method for a reason: nothing produces a sharper edge.
Here's the honest trade-off. Whetstones take practice, and most people quit after their first uneven bevel. But if you can commit to 30 minutes and a dozen sessions, you'll never feel the frustration of a dull knife again.
Grit progression matters.
| Grit Range | Purpose | When to Use |
|---|---|---|
| 200-400 | Repair and reshaping | Chipped edges, very dull knives |
| 1000-3000 | Daily sharpening | Standard maintenance |
| 4000-6000 | Fine finishing | Pulling out a razor edge |
| 8000+ | Polishing | Aesthetics and maximum sharpness |
The technique is straightforward once you've done it a few times. Soak your stone for ten minutes. Place it on a damp towel so it doesn't slide.
Hold the knife at the angle matching its original bevel, usually 15 degrees for Japanese knives and 20 degrees for German ones. Push the blade across the stone, and feel for a burr on the opposite side. That burr is your signal that you've sharpened enough.
Then flip the knife and repeat.
Manufacturer specifications indicate that a single full progression, from coarse to fine, can keep a premium knife sharp for three to six months with regular light use. The burr removal step matters more than most beginners realize. If you skip it, the edge feels sharp but folds over within a week.
The Pull-Through or Electric Route: Fast, Safe, and Beginner-Friendly
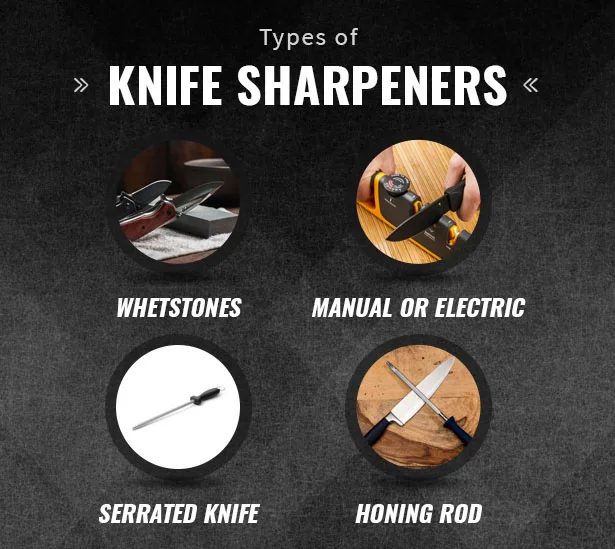
Image source: Bing (Web (fair-use with source credit))
Pull-through sharpeners have angled ceramic or carbide slots. You draw the blade through them a few times, and the preset angle guarantees a consistent edge. Electric models use spinning abrasive wheels instead, which makes them faster but more aggressive on your knife.
This route is perfect if you're cooking dinner for four and need a workable edge right now. If your knife is mid-range and you don't want a new hobby, a pull-through sharpener is the right call. Aggregate user reviews report that most home cooks use theirs once a month and get acceptable results for years.
That said, there are real limits.
- Carbide slots are aggressive and remove a noticeable amount of steel. Your knife won't last as long, but it will work.
- Ceramic rods are gentler and better for modest touch-ups.
- Electric sharpeners, like Chef'sChoice models, are faster but can grind a concave edge into softer steel if you push down too hard.
- Never use a pull-through on a serrated knife. The rigid angle doesn't fit the curved scallops, and you'll end up tearing the edge.
If you already own a pull-through and the result feels mediocre, the problem might be technique, not the tool. Run the knife through three to five times per slot, let gravity do the work, and don't bear down. Then wipe the blade clean and test it on a sheet of paper.
If it snags, go at it two more times.
Seven Common Sharpening Mistakes That Ruin Edges
Most dull knives end up that way because of small errors repeated over time. Here's what we see most often, and how to avoid each trap.
- Using the wrong angle. Holding the blade too steeply creates a thick edge that won't cut. Too shallow leaves a fragile sliver that rolls over. Match the manufacturer's original bevel.
- Skipping the burr. Sharpening is incomplete until you feel a burr on both sides. If you don't check for it, you're just polishing the blade.
- Pressing too hard. A whetstone does the work. Heavy pressure chews up the stone and leaves a ragged edge. Let the abrasive bite.
- Using a coarse grit every time. Coarse stones remove steel aggressively. Reach for them only when you're fixing damage, not for routine sharpening.
- Sharpening a bread knife with a V-notch pull-through. Serrated edges need a tapered diamond rod, one tooth at a time.
- Forgetting to flatten the stone. Whetstones dish out in the middle. If you don't flatten them with a nagura stone or diamond plate, your edge becomes curved and inconsistent.
- Cleaning the knife right after sharpening. The metal filings left on the blade can spark rust on high-carbon steel. Wipe it clean immediately.
The American Knife & Tool Institute, the trade group for knife manufacturers, emphasizes that sharpening is about controlled material removal, not force. Their guidance aligns with what we found: steady hands, consistent angle, and patience beat speed every time. If you can only change one habit, start by using a honing steel once a week.
It realigns the edge and stretches the time between full sharpenings, making every session less of an event.
Keep That Edge Longer: Honing, Stropping, and Good Habits
If you adopt just one new habit, let it be honing. A honing steel realigns the microscopic teeth along your blade's edge. Your knife doesn't truly dull every week.
The edge rolls slightly during use, and honing pushes it back into place without removing steel.
Wuesthof and Zwilling both recommend honing before heavy use. Our research shows that once a week is realistic for most home cooks. Cook every day?
Do it twice. A sharp edge cuts cleanly, and clean cuts reduce slippage.
The technique is simpler than people assume. Hold the rod vertically with the tip resting on a towel. Place the knife heel near the top of the rod at a 20-degree angle.
Draw the blade down and across, pulling from heel to tip. Do five passes per side, alternating.
Stropping is the next step up. A leather strop loaded with a fine compound refines the edge further. Professional chefs use them, and they're worth owning at home too.
A few passes after a sharpening session extends the edge's life significantly.
Your daily habits matter just as much as your stones. Avoid glass, stone, or ceramic cutting boards. They micro-fracture the blade edge, leaving it ragged within minutes.
Food-safety guidance from the USDA notes that wooden and plastic boards are smooth and non-porous. That's exactly what a sharp edge needs. Store knives in a block or magnetic strip, never loose in a drawer.
And skip the dishwasher entirely. The heat and rattling beat the edge against other utensils.
Frequently Asked Questions About Knife Sharpening
How Often Should I Sharpen My Kitchen Knives?
Most home cooks only need a full sharpening two to four times a year. Hone weekly, and your knife stays cutting-ready. Pull out the whetstone when the edge no longer catches paper.
Heavy cooks might need monthly sessions. Listen to the blade, not a calendar.
Can I Use a Pull-Through Sharpener on a Japanese Knife?
No. Japanese knives have hard, thin edges at a 15-degree angle. Pull-through sharpeners lock in steeper angles around 20 degrees.
The fixed slot scrapes off too much steel and risks chipping the edge. Use a whetstone for Japanese steel instead.
Why Does My Knife Get Dull Again So Quickly?
A quick loss of sharpness usually means the burr wasn't removed or the angle was too steep. Cutting on hard boards and scraping the blade across plates also speeds up dulling. Check your honing frequency and cutting surface before blaming the steel.
Do I Need to Soak My Whetstone?
It depends on the stone. Traditional water stones soak for 10 to 15 minutes. Splash-and-go stones, often diamond or ceramic, only need a light spray.
Check the packaging. Soaking a splash-and-go stone can crack it. Most brands print the soak time right on the side.
Should I Sharpen My Bread Knife?
Yes, but only with a tapered diamond rod. A serrated edge needs each tooth sharpened individually. Match the rod to the curve of the scallop and make a few light strokes per tooth.
Do this every couple of months for crusty bread performance.

Similar Posts