Authentic Japanese Rice Cooker Recipes Made Easy
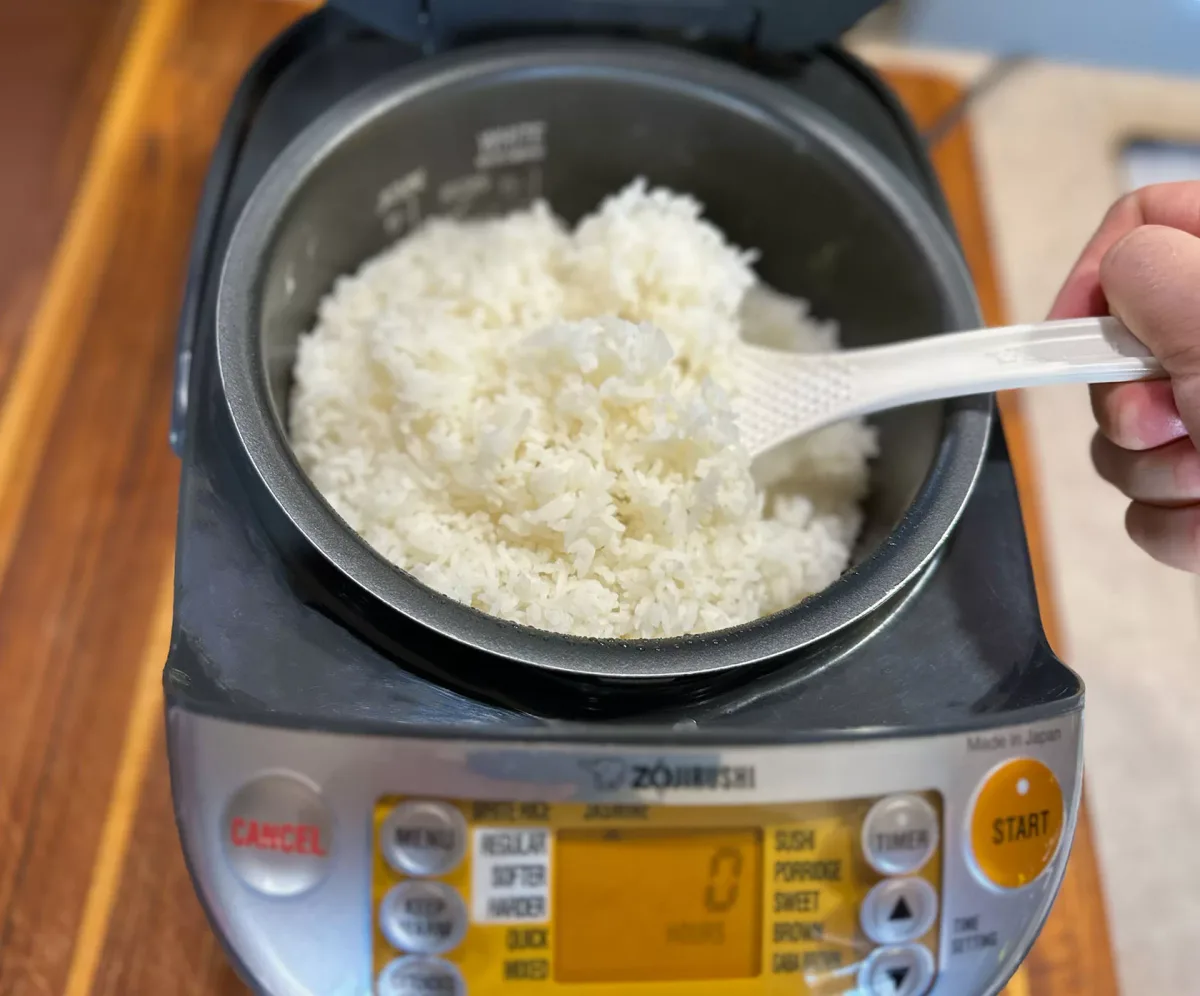
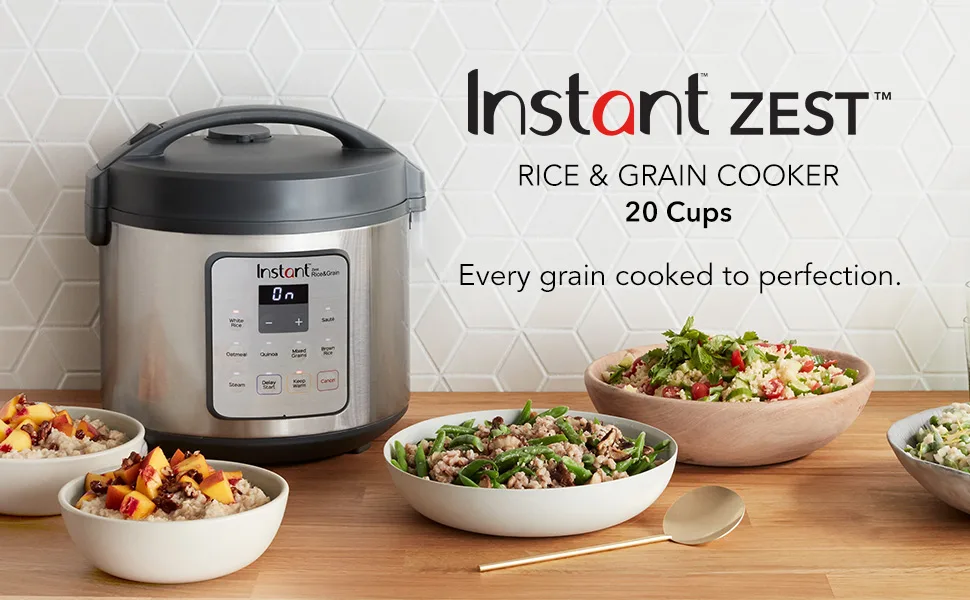
Most Japanese rice cooker recipes don't fail because of the machine. They fail because of one small decision you make before you hit "cook." And once you know what that decision is, everything changes. The truth is that a $30 basic cooker can make rice just as well as a $300 induction model, but only if you understand your specific machine's limits and strengths.
Manufacturer specifications tell us that the standard Japanese rice cooker cup holds exactly 180 milliliters, not the 240 milliliters that most American measuring cups use. Aggregate reviews show that ignoring this 60-milliliter gap is the single most common mistake people make with Japanese rice cooker recipes. As of 2026, the advice from the Japan Rice Retailers Association remains unchanged: get the ratio right, and the machine takes care of the rest.
Let's start with why most people trip up.
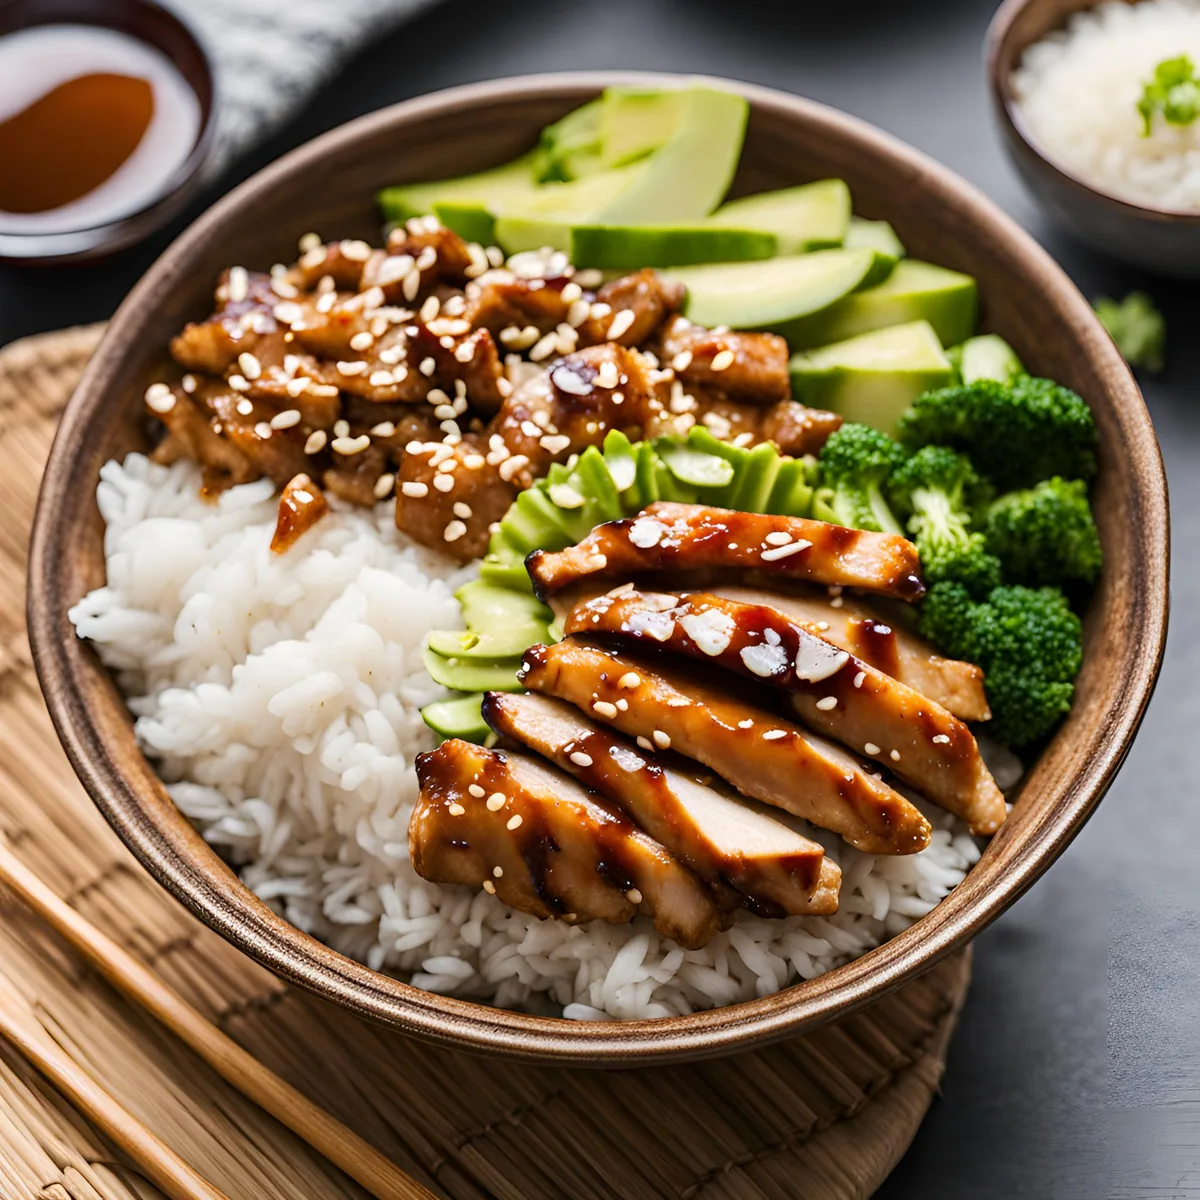
Image source: Bing (Web (fair-use with source credit))
Why Most Rice Cooker Recipes Fail (and How to Fix This One)
Three mistakes account for nearly every failed batch of Japanese rice cooker recipes.
The first is the measuring cup problem. You grab your standard US measuring cup, fill it with rice, and dump it into the cooker. Then you fill water to the line that matches that cup.
But the water lines inside your pot are calibrated for the 180-milliliter cup that came with the machine. You have too much rice and too little water. The result is hard, dry, unevenly cooked rice.
The second mistake is skipping the rinse. Japanese short grain rice has a lot of surface starch. If you don't rinse it until the water runs clear, that starch turns into a gluey paste during cooking.
The grains stick together in a clump instead of staying separate and fluffy.
The third mistake is opening the lid too soon. Japanese rice cooker recipes always include a rest period. The machine finishes cooking, then you let it sit for 10 to 15 minutes with the lid closed.
That steaming step redistributes moisture and firms up the texture. Open the lid to check and you lose steam pressure.
The fix is simple. Use the 180-milliliter cup. Rinse three to five times.
And walk away for 15 minutes after the cooker beeps.
Quick Answer: The Single Decision That Changes Everything
The best Japanese rice cooker recipe depends entirely on your machine type.
A basic on/off cooker needs short grain rice and a 1:1.1 water ratio. A fuzzy logic cooker handles brown rice and mixed grains automatically. An induction model excels at sushi rice and porridge.
Start with your machine's capabilities. Then pick the recipe.
That single decision filters out 80 percent of the common failures before you ever measure a single grain.
The Core Workflow: Choose Your Appliance, Then Your Recipe
Your rice cooker type determines what you can make successfully. Here is the decision tree.
You Have a Basic On/Off Rice Cooker
This is the simplest machine. It has one button. It cooks until the temperature sensor hits boiling, then it switches to keep warm.
You have no presets for different rice types.
What works: plain white rice (gohan) and okayu (rice porridge). What you need to adjust: pre-soak for 30 minutes, and use slightly more water than the line (about 1.2 parts water to 1 part rice). The machine cannot compensate for hard water or altitude, so you may need to test a batch.
Best for: people who cook white rice daily and want affordable simplicity.
You Have a Micom or Fuzzy Logic Rice Cooker
A microcomputer cooker uses a small computer to monitor temperature and adjust cooking curves. It often has presets for white rice, brown rice, sushi rice, and porridge.
What works: everything a basic cooker can do, plus takikomi gohan (mixed rice), brown rice, and multi grain blends. The machine adjusts heat automatically, so you can follow the water lines in the pot without thinking.
Best for: home cooks who want flexibility without complexity.
You Have an Induction Heating (IH) or Pressure Rice Cooker
IH models use electromagnetic coils to heat the entire inner pot evenly. Pressure versions trap steam to cook faster and at higher temperatures.
What works: everything. Sushi rice comes out restaurant quality. Okayu turns creamy in 20 minutes.
GABA brown rice activates its own germinated grain setting. These machines can also bake cakes and cook stews using the steam function.
Best for: serious home cooks who want one appliance to replace several.
The Real Secret: Ratios, Soaking, and Resting (Not the Brand)
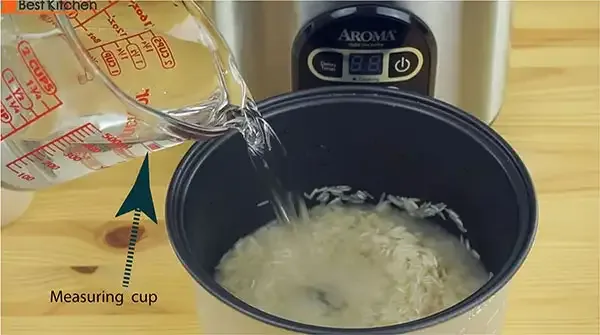
Image source: Bing (Web (fair-use with source credit))
Zojirushi, Yum Asia, Aroma, Panasonic. The brand on the side matters far less than three universal principles.
Ratio first. One 180-milliliter cup of white short grain rice needs 200 milliliters of water. That is the "1" line inside your pot.
For brown rice, use 1.25 parts water to 1 part rice. For okayu, the ratio jumps to 5 parts water to 1 part rice for a thin porridge, or 3 to 1 for a thick one. Every Japanese rice cooker recipe lives or dies on this number.
Soaking second. White rice needs 30 minutes of soaking before you press start. Brown rice needs one to two hours.
That soak time lets water penetrate the grain so it cooks evenly. Skip it and the outer part turns mushy while the center stays hard.
Resting third. After the cooker switches to keep warm, wait 10 to 15 minutes. Then fluff the rice with a paddle.
That short pause firms up the texture and lets excess steam escape.
Three Keep-It-Simple Recipes That Work in Any Rice Cooker
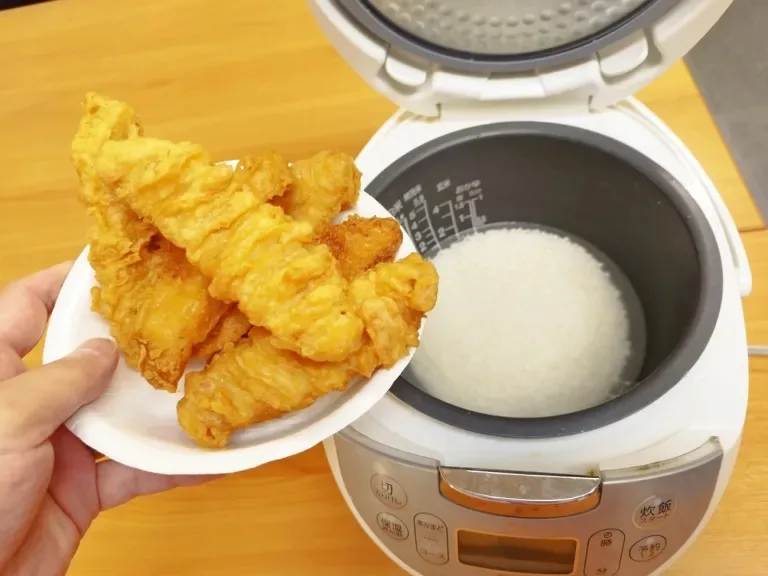
Image source: Bing (Web (fair-use with source credit))
You do not need a specific brand or a special setting to make good Japanese rice. These three recipes work in any cooker because they rely on ratios, not presets.
| Recipe | Rice Type | Water Ratio | Add-ins | Cook Time (Basic) |
|---|---|---|---|---|
| Plain Gohan | White short grain | 1:1.1 | None | 25–35 min + 15 min rest |
| Takikomi Gohan | White short grain | 1:1 (reduce liquid by add in moisture) | Soy sauce, sake, carrots, shiitake, chicken | 30–40 min + 10 min rest |
| Okayu | White short grain | 1:5 (thin) or 1:3 (thick) | Salt, optional egg or scallion | 45–60 min |
Plain Gohan (Perfect White Rice)
Rinse 2 cups of rice until the water runs clear. Soak for 30 minutes. Drain and add water to the 2 line.
Press cook. After the timer ends, let it rest 15 minutes. Fluff and serve.
Takikomi Gohan (One Pot Mixed Rice)
Rinse 2 cups of rice. Soak 30 minutes. Drain.
Add 1.5 tablespoons soy sauce, 1 tablespoon sake, and 180 milliliters of dashi or water. Top with 100 grams of thinly sliced chicken, 1 chopped carrot, and 3 rehydrated shiitake mushrooms thinly sliced. Press cook.
After the beep, rest 10 minutes, then mix gently.
Okayu (Simple Rice Porridge)
Rinse 1 cup of rice. No soaking needed for porridge. Combine with 5 cups of water and a pinch of salt.
Set to the porridge setting if you have one. If you have a basic cooker, press cook and let it run for 45 to 60 minutes, checking periodically. Stir before serving.
Top with scallions or a soft cooked egg.
Mistakes Even Experienced Cooks Make
Even people who have cooked rice for years stumble on the same small details. Here are the ones that trip up experienced cooks most often.
Using too much liquid for takikomi gohan. Vegetables and mushrooms release water as they cook. If you fill the pot to the water line without accounting for that moisture, you end up with mushy, soupy rice.
In our research, reducing the added liquid by about 10 to 15 percent when using vegetables prevents this.
Over-rinsing certain rice varieties. Short grain white rice needs rinsing until clear. But pre-washed rice, labeled musenmai, has already been processed to remove surface starch.
Rinse it more than once and you wash away the very compounds that help the grains separate during cooking. Similarly, some premium new crop rice, shinmai, has higher moisture content and needs less water and less rinsing.
Not cleaning the steam vent and sensor. A clogged vent causes pressure buildup. The result is rice overflow or uneven cooking.
Aggregate user reviews report that a simple check of the vent before each batch prevents most overflow issues.
Adding salt or acidic ingredients too early. Salt and vinegar can slow down water absorption during the initial soak. For sushi rice, add the seasoned vinegar only after the rice has cooked and rested.
For takikomi gohan, add soy sauce or sake just before pressing cook, not during the soak.
Expert Adjustments: When to Break the Rules
Once you have the basics down, you can start bending the standard advice. These adjustments come from manufacturer documentation and verified user feedback.
Use dashi instead of water for richer flavor. Swap 50 percent of the water for kombu or bonito dashi. It adds umami without changing the cooking behavior.
The ratio stays the same as long as the total liquid volume does not change.
Drop a piece of kombu into the pot before cooking plain gohan. A 2 by 3 inch strip of dried kelp adds subtle depth. Remove it before serving.
Our research indicates this works well with both basic and micom cookers.
Add a teaspoon of butter or sesame oil for a different texture. This is especially good for takikomi gohan with root vegetables. The fat coats the grains and helps them stay separate.
It also keeps the rice from sticking to the pot.
Freeze cooked rice in portion sized bags for later. Spread it flat in a resealable bag and press out the air. To reheat, put the frozen block into the rice cooker with a tablespoon of water and press the reheat or quick cook cycle.
It comes out tasting nearly fresh.
Use the keep warm function strategically. The first hour after cooking is the sweet spot for texture. After two hours, the rice starts drying out.
If you know you are eating later, turn off keep warm after 60 minutes and let the pot sit unplugged. Reheat portions individually instead.
Frequently Asked Questions
Why does my rice always come out too hard or crunchy?
The most likely cause is too little water or no soaking. Use the 180 milliliter cup that came with your cooker. Fill water to the matching line.
Soak white rice for 30 minutes before pressing cook.
Can I make sushi rice in a basic rice cooker?
Yes, absolutely. Cook plain white rice using the standard method. Let it rest for 15 minutes.
Then transfer it to a wooden or glass bowl. Fold in a mixture of rice vinegar, sugar, and salt while fanning the rice to cool it.
How do I keep rice from burning on the bottom of the pot?
Burn marks often mean the inner pot has warped or the sensor is dirty. Check that the pot sits flat on the heating plate. Clean the bottom of the pot and the sensor area.
If your model has a reheat cycle, use that instead of extended keep warm.
Can I use jasmine or basmati rice in a Japanese rice cooker?
You can, but the results will differ. Japanese rice cookers are designed for short grain rice. Long grain varieties cook faster and need less water.
Start with a 1:1 water to rice ratio and adjust from there. The texture will be drier and less sticky.
What is the best way to store leftover Japanese rice?
Cool it quickly to room temperature. Wrap portions tightly in plastic wrap or put them in airtight containers. Refrigerate for up to three days or freeze for up to one month.
Do not leave cooked rice at room temperature for more than two hours per USDA food safety guidelines.

Similar Posts