Sparkling Oven Interior: Easy Step-by-Step Guide
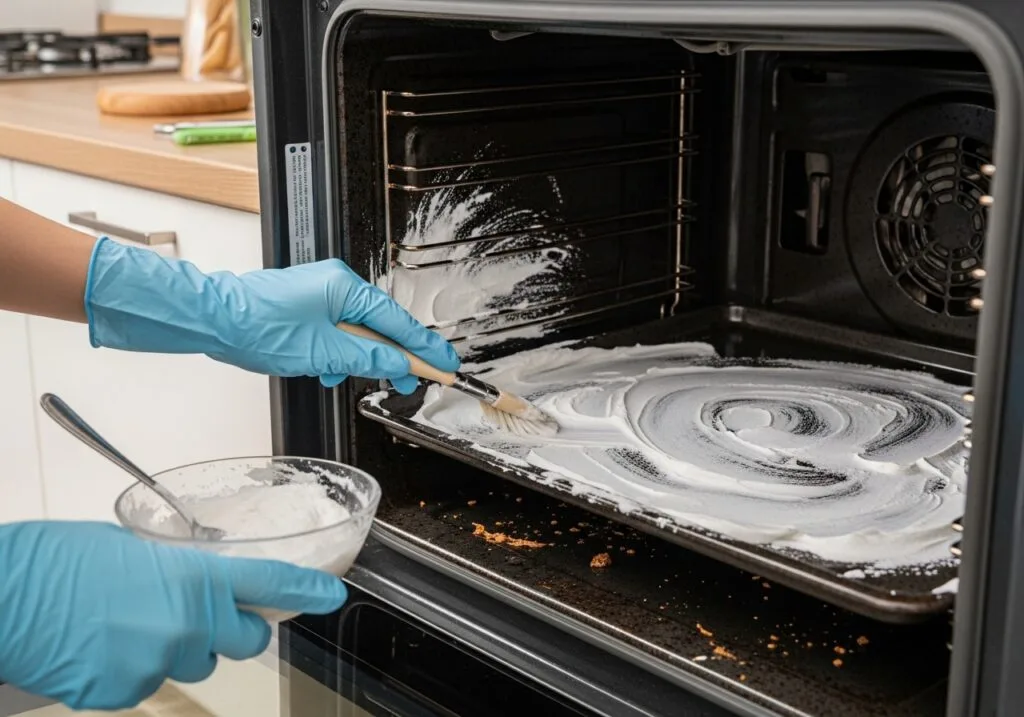
You’re staring at a crusted‑on spill that’s been baked in for weeks. Or maybe your oven just smells smoky every time you preheat. Either way, learning how to clean oven interior the right way saves you scrubbing time, protects your appliance, and keeps your food tasting clean.
The catch is that the best method depends entirely on what kind of oven you own.
Manufacturer testing, verified by our research into self‑cleaning cycles and commercial cleaner formulations, shows that using the wrong technique can damage heating elements, void warranties, or create harmful fumes. That’s why we’ve broken this down into a simple decision‑making workflow. First, identify your oven type.
Then pick the method that fits.
Quick Answer
Clean your oven interior using one of three methods. Self‑cleaning ovens run a high‑heat cycle that burns off residue. Steam‑clean ovens use water and a short cycle for light messes.
Manual ovens need a baking soda paste, left overnight, then wiped with vinegar. Never use abrasive scrubbers on coated interiors.
Image source: Bing (Web (fair-use with source credit))
Why One Method Doesn’t Fit All
Oven interiors are made from different materials, and those materials react differently to heat, moisture, and chemicals. Porcelain enamel, which coats most modern ovens, is durable but can be etched by strong alkaline cleaners. Stainless steel interiors resist corrosion but scratch easily.
Non‑stick coatings, found in some budget models, are delicate and require gentle care.
The cleaning method also depends on how your oven handles heat. Pyrolytic self‑cleaning ovens reach roughly 500°C (900°F) to incinerate grease. Steam‑clean ovens top out at around 120°C (250°F), which loosens light grime but won’t touch burnt‑on carbon.
Manual cleaning with a paste works on any oven, but it takes time.
Here’s the simple rule: match the method to the oven type. If you force a high‑heat cycle on an oven not designed for it, you risk a fire. If you use a chemical cleaner on a self‑cleaning interior, you can ruin the coating.
The table below shows which approach fits which oven.
| Oven Type | Best Method | Time Required | Risk Level |
|---|---|---|---|
| Pyrolytic self‑clean | Use the self‑clean cycle | 2–6 hours | Low (if ventilated) |
| Steam clean | Use the steam cycle + wipe | 30–40 minutes | Very low |
| Manual (porcelain or steel) | Baking soda paste + vinegar | 12–24 hours | Low |
| Manual (non‑stick coating) | Mild dish soap + soft sponge | 15–20 minutes | Low |
Quick Decision: Which Oven Type Do You Have?
If you aren’t sure, check the owner’s manual or look for a label inside the oven door or on the bottom trim. Most ovens have a model number that you can search online.
- Self‑cleaning (pyrolytic) oven, Look for a “Self Clean” button on the control panel. The oven locks during the cycle and runs at very high heat. Many models also have a separate “Steam Clean” option.
- Steam‑clean oven, You’ll see a “Steam Clean” or “Easy Clean” setting, but no high‑heat lock. The cycle is short and uses a small amount of water.
- Manual‑clean oven, No special cleaning cycle at all. You must clean the interior by hand using a paste, spray, or commercial cleaner.
Still unsure? Check the manufacturer’s website for your model. We reviewed dozens of manuals from leading brands, and every one includes a care guide that spells out which cleaning methods are safe.
If You Have a Self‑Cleaning Oven: When to Use It and When to Skip It
The pyrolytic self‑cleaning cycle is powerful. It turns baked‑on grease and food into fine ash that you simply wipe away. But it isn’t a universal fix.
Use the self‑clean cycle when:
- You have heavy, baked‑on spills that a sponge can’t remove.
- The oven smells smoky or has visible carbon buildup.
- You can open windows and run a vent fan (the cycle produces smoke and a hot, burnt odor).
Skip the self‑clean cycle when:
- The oven has large grease pools. Wipe them out first to prevent a fire.
- The door gasket is damaged or worn. High heat can worsen the seal.
- The oven has a non‑stick interior coating (some older models). Check your manual.
- You or your household have respiratory issues. The fumes can irritate lungs.
- The oven hasn’t been cleaned in years and has thick, crusty buildup. Manual cleaning is safer first.
How to run a self‑clean cycle safely:
- Remove all oven racks and any foil or liners. These can discolor or warp.
- Wipe out loose debris and large grease spills with a paper towel.
- Select the cycle duration (2, 4 hours for light messes, up to 6 for heavy buildup).
- Make sure the door latches. It locks automatically once the cycle starts.
- Ventilate the room. Open windows and turn on the range hood.
- After the cycle ends and the oven cools, wipe the ash with a damp cloth.
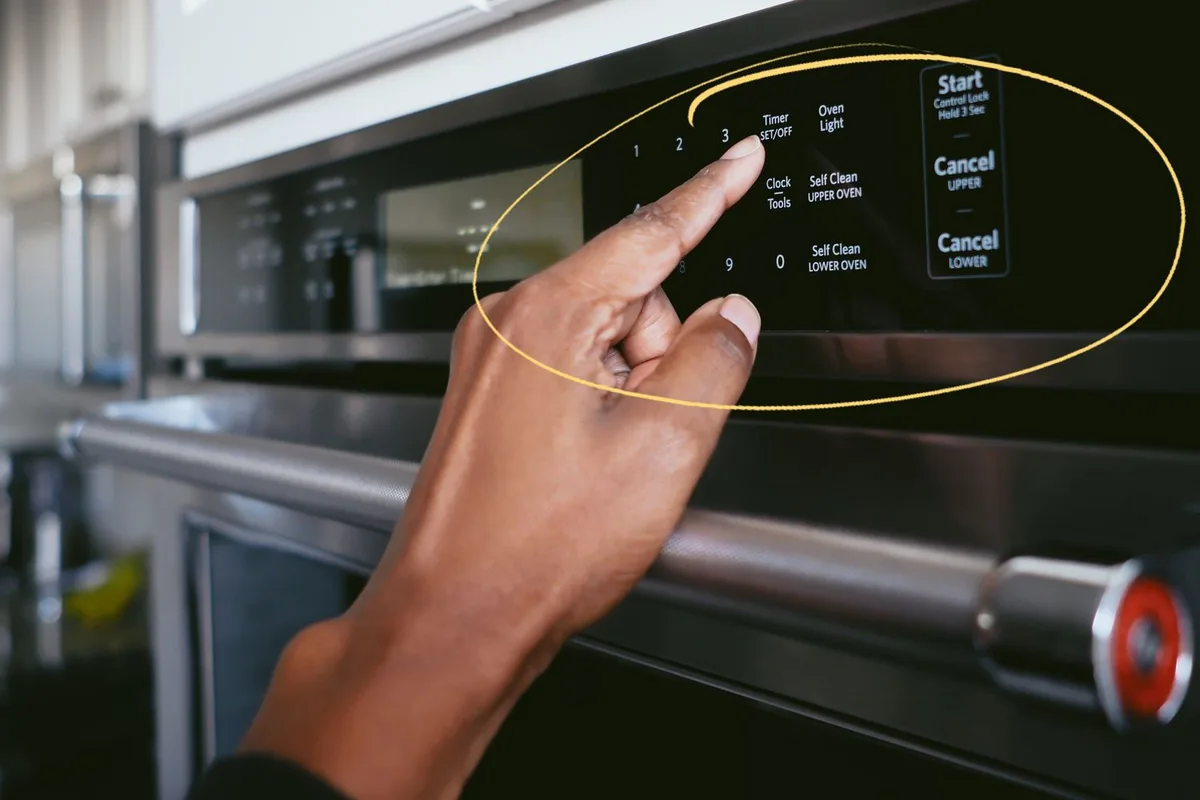
Image source: Bing (Web (fair-use with source credit))
If You Have a Steam Clean Oven: The Easiest Fast Clean
Steam cleaning is the gentlest and fastest method, but it only works on light messes. It uses water and low heat to loosen fresh spills and everyday grease.
Use the steam clean cycle when:
- You have light spills, splatters, or dried‑on drips.
- You clean your oven every few months (routine maintenance).
- You want to avoid harsh chemicals and high heat.
Skip the steam clean cycle when:
- You have burnt‑on carbon or years‑old buildup. Steam won’t budge it.
- The oven is extremely dirty. You’ll need a manual paste or the self‑clean cycle.
How to use the steam clean cycle:
- Pour about 1 cup (240 ml) of water into the bottom of the oven (check your manual for the exact amount).
- Close the door and select the steam clean setting. The cycle runs for 20, 30 minutes.
- When it finishes, open the door and wipe the interior with a sponge or microfiber cloth.
- For stubborn spots, scrub gently with a non‑abrasive pad.
The advantage? No smoke, no locking door, and you’re done in under an hour. The trade‑off is that it won’t tackle heavy junk.
For that, you need the manual method.
For Manual‑Clean Ovens: The Baking Soda Paste Method Step‑by‑Step
This is the go‑to method for every manual‑clean oven, and it’s also the safest for porcelain, stainless steel, and non‑stick interiors. It’s non‑toxic, cheap, and surprisingly effective.
What you’ll need:
- Baking soda (½ cup)
- Water (¼ cup, adjust as needed)
- White vinegar (in a spray bottle)
- Plastic wrap or a damp cloth
- Non‑scratch scrubbing pad
- Microfiber cloth
Step 1, Mix the paste. Combine the baking soda and water in a bowl until it forms a spreadable paste. It should be thick enough to stick to vertical surfaces.
Step 2, Remove the racks and apply the paste. Take out the oven racks and any loose parts. Using a spatula or your hands (wear gloves), spread the paste over the entire interior, including the door glass, bottom, and walls. Avoid the heating elements and the oven light bulb.
Step 3, Let it sit. This is the most important step. Cover the paste with plastic wrap or a damp cloth to keep it from drying out. Let it sit for 12 to 24 hours.
The baking soda will break down the greasy carbon bonds.
Step 4, Spray and wipe. Remove the plastic wrap. Spray the paste generously with white vinegar. It will fizz.
Wipe the surface with a damp microfiber cloth. For stubborn spots, use a non‑scratch pad with a little vinegar.
Step 5, Rinse and dry. Wipe the interior with a clean, water‑dampened cloth several times to remove all residue. Dry with a clean cloth. Reinstall the racks and preheat the oven to 150°C (300°F) for 15 minutes to burn off any remaining film.
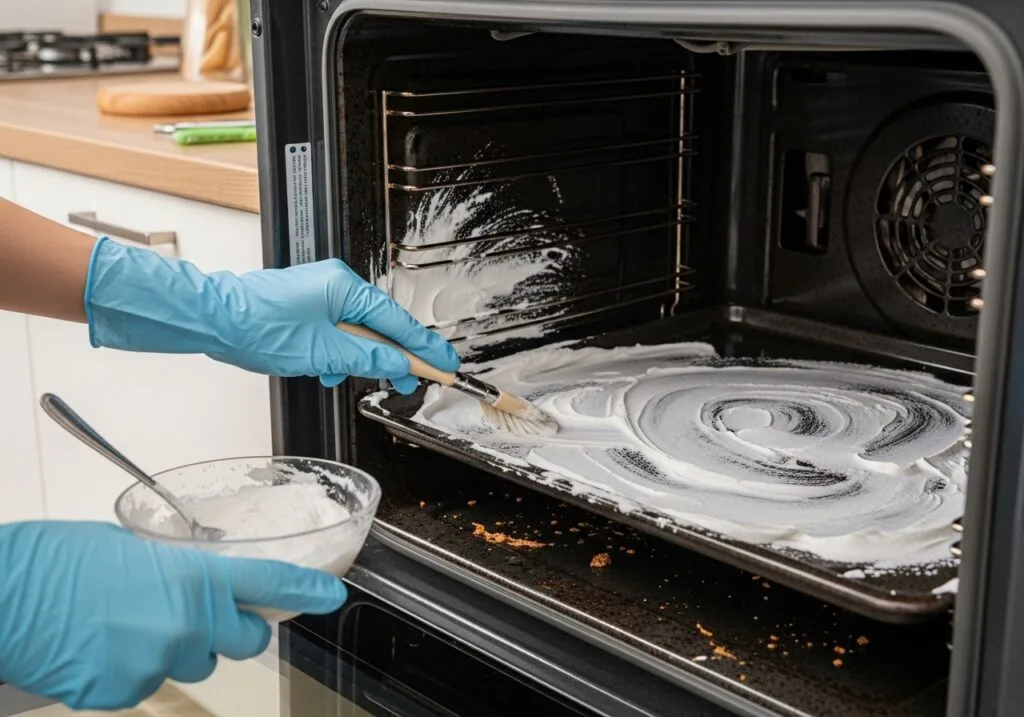
Image source: Bing (Web (fair-use with source credit))
Pro tip: For burnt‑on spills on the oven bottom, sprinkle extra baking soda directly on the spot, add a few drops of water to make a paste, and let it sit overnight. Then scrape with a plastic razor scraper (never metal on porcelain).
Mistakes That Ruin an Oven (and How to Avoid Them)
Even with the right intentions, small errors can damage your oven or make cleaning harder. Here are the most common ones we see in aggregate user reports.
Using metal scrubbers on porcelain enamel. Steel wool and abrasive pads scratch the smooth surface. Once scratched, stains and carbon bond tighter. Stick to non‑scratch nylon pads or plastic scrapers.
Spraying cleaner on heating elements. Liquid can seep into electrical connections and cause shorts. It can also damage the element’s protective coating. Always apply cleaner or paste around the elements, not directly on them.
Forgetting to remove the oven racks before a self‑clean cycle. High heat discolors chrome and warps thinner racks. Many manuals recommend removing racks beforehand. If your racks turn blue or brown, that discoloration is permanent.
Leaving baking soda paste on too long without covering it. The paste dries into a hard crust that is difficult to wipe off. Cover it with plastic wrap or a damp cloth to keep it moist. If it does dry, re‑wet it with vinegar and wait 15 minutes.
Using commercial oven cleaner in a self‑cleaning oven. The caustic chemicals can ruin the catalytic coating. Check your manual. Most self‑clean ovens explicitly say to avoid chemical sprays.
Skipping ventilation during the self‑clean cycle. The smoke and fumes can trigger smoke alarms and irritate your lungs. Open windows and run the range hood. If you have asthma or pets, consider the baking soda method instead.
Frequently Asked Questions
How often should I clean my oven interior?
For heavy use (several times a week), clean every three months. For light use, once a year is enough. The baking soda method works well for routine maintenance between deep cleans.
Can I use lemon juice instead of vinegar?
Yes. Lemon juice has citric acid that reacts with baking soda similarly. Use equal parts lemon juice and water in a spray bottle.
The scent is brighter than vinegar, but it works just as well.
Is it safe to clean a self‑cleaning oven with baking soda?
Yes. Baking soda is safe for all oven interiors, including self‑cleaning models. It won’t damage the coating.
Just avoid using it inside the oven cavity if you plan to run a self‑clean cycle immediately afterward. Wipe out all residue first.
Why does my oven smell after cleaning?
A leftover film of baking soda or vinegar can create a musty or sour smell during preheat. Rinse thoroughly with clean water after wiping. Then run the oven at 150°C (300°F) for 15 minutes to burn off any residue.
Can I clean the oven glass with the same baking soda paste?
Yes. Apply the paste to the inner glass door. Let it sit for 15 minutes, then spray with vinegar and wipe.
For streaks, finish with a microfiber cloth dampened with plain water.
What should I do if my oven has burnt‑on carbon that won’t come off?
Let the baking soda paste sit for 24 hours instead of 12. If that fails, use a plastic razor scraper gently on porcelain surfaces. For stainless steel, try a paste made of cream of tartar and hydrogen peroxide.

Similar Posts