The Ultimate KitchenAid Oven Cleaning Guide
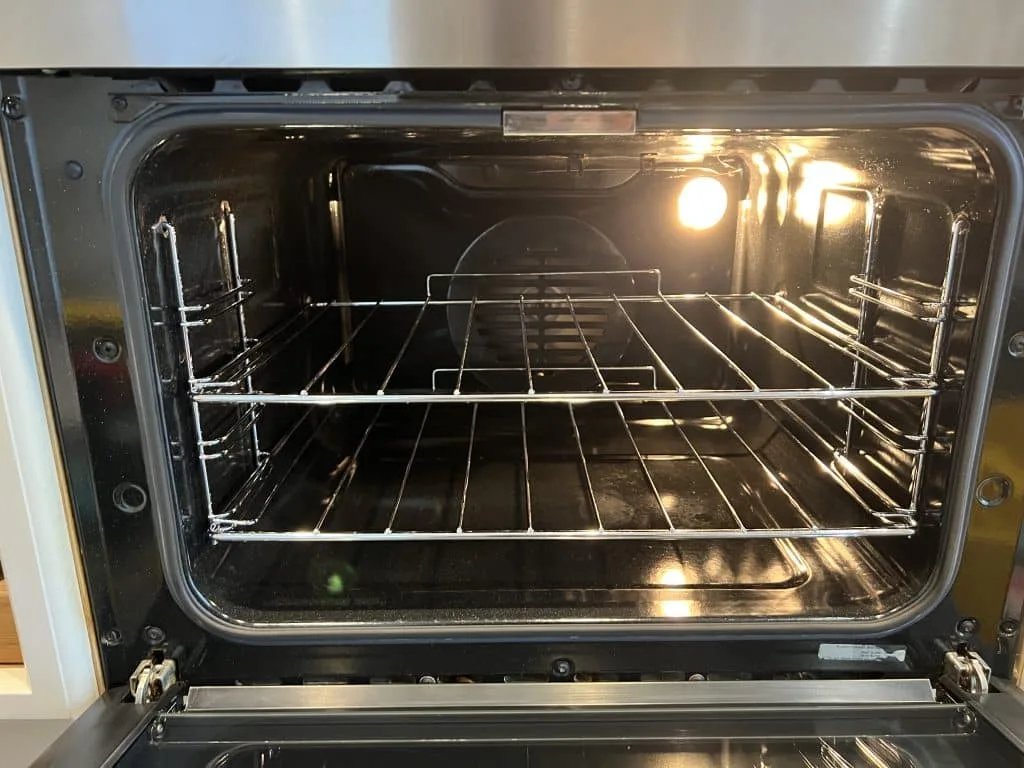
If you've been searching for how to clean kitchen aid oven without damaging it, you already know the internet is full of conflicting advice. Use the wrong method and you could void your warranty, ruin the interior finish, or create a safety hazard. You are not alone in wanting to get this right.
As of 2026, KitchenAid primarily uses two self-cleaning systems: the standard high-heat pyrolytic clean and the lower-temperature AquaLift steam technology. Manufacturer specs are strict about which method is safe for your specific model. Here is the exact approach you need.
Image source: Bing (Web (fair-use with source credit))
Quick Answer
Remove all racks and accessories. For self-clean models, run the 3 to 4 hour high heat cycle and wipe up the ash after cooling. For AquaLift models, pour 2 cups of water into the oven floor and run the 1 hour steam cycle.
Wipe away residue. Never use oven cleaner on the gasket or the self-cleaning liner.
Why Cleaning Your KitchenAid Oven the Wrong Way Can Cost You
Your KitchenAid oven is built to last, but it is not indestructible. The interior is coated with a porcelain enamel liner designed to withstand high heat. However, it is surprisingly vulnerable to abrasive pads, harsh chemicals, and thermal shock.
One of the biggest mistakes is using a standard commercial oven cleaner on a self-cleaning liner. This can cause permanent etching, discoloration, and a rough surface that bakes residue onto itself faster. You will never get it smooth again.
Aggregate reviews from service technicians report this as a top reason for interior replacement.
The door gasket is another weak point. If you scrub it or soak it in cleaner, it becomes brittle and loses its seal. A broken seal means heat escapes, uneven baking, and higher energy bills.
According to KitchenAid's official care guides, the gasket should only be wiped with a damp cloth.
Then there is the warranty. Using an unauthorized cleaner or forcing the oven door open during a self-clean cycle can void your warranty coverage. It is simply not worth the risk when the correct methods take only a little more time.
Know Your Oven Type: Self-Clean, AquaLift, or Manual?
Before you start, you need to know which cleaning system your oven uses. The wrong cycle or method can cause damage or simply be a waste of time. Here is a quick breakdown to help you identify your model.
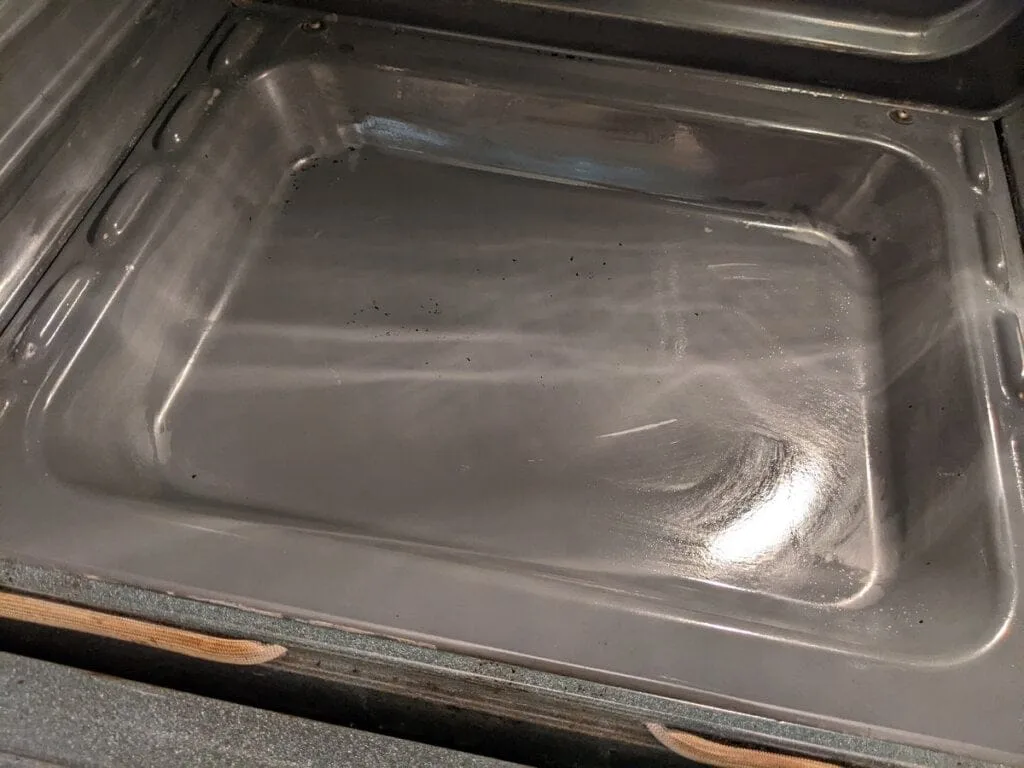
Image source: Bing (Web (fair-use with source credit))
| Oven Type | How It Works | Best For | Watch Out For |
|---|---|---|---|
| Self-Clean (Pyrolytic) | Heats the oven to over 800°F to incinerate food residue into ash. | Heavy baked-on grease and sugar spills. | High heat can create smoke or odor. Remove all racks first. |
| AquaLift | Uses a low temperature (250°F) and water to steam loosen residue. | Light to moderate buildup. Routine maintenance. | Does not work well on burned-on sugar or polymerized grease. |
| Manual Clean | Using a baking soda paste or a specifically approved cleaner with elbow grease. | AquaLift models for tough spots, or older models without self-clean. | Requires more physical effort and time. |
How do you tell which one you have? Look at the oven floor. If there is a flat, smooth ceramic surface, it is likely an AquaLift model.
If it has a textured, matte finish, it is a standard self-clean. When in doubt, check your model number on the KitchenAid website.
The Safe Step-by-Step: How to Clean Each Oven Type
Once you know your oven type, follow these steps exactly. Skipping prep work is where most people get into trouble.
For Self-Clean Ovens:
- Remove everything: racks, thermometers, and any aluminum foil. Racks left inside will discolor and warp.
- Wipe out loose debris. If there is a pool of grease, soak it up with a paper towel. A large grease fire inside a self-clean cycle is a real safety concern per CPSC guidelines.
- Run the cycle. Set it for 3 to 4 hours for heavy soil. Make sure your kitchen is ventilated.
- After the oven cools, wipe up the ash with a damp microfiber cloth.
For AquaLift Ovens:
- Remove all racks and accessories.
- Pour 2 cups of water into the oven bottom. Do not use any cleaner.
- Close the door and run the AquaLift cycle (about 1 hour).
- After the cycle ends and the oven cools, the residue will be loose. Wipe it away with a sponge.
For Manual Cleaning:
- Make a paste of baking soda and water.
- Apply it to the soiled areas and let it sit for 12 hours overnight.
- Spray the paste with white vinegar to create a foaming reaction.
- Wipe clean with a damp cloth.
Common Mistakes That Damage Your Oven (and How to Avoid Them)
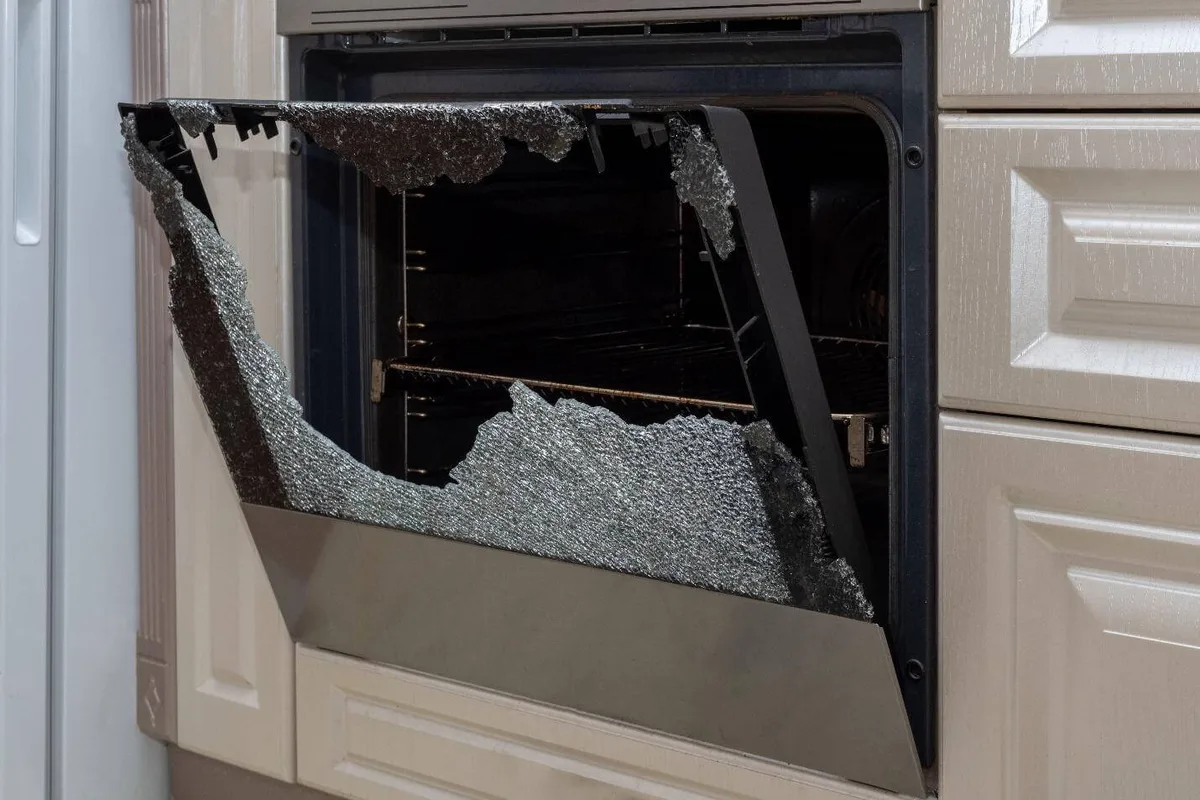
Image source: Bing (Web (fair-use with source credit))
Even with good intentions, certain habits can ruin your oven. Here are the most common errors we see in service reports.
- Using oven cleaner on the gasket. This dries out the rubber and destroys the seal. The gasket should only be wiped gently with soapy water.
- Leaving racks in during self-clean. The high heat discolors the chrome finish and can damage the rollers on glide racks. You end up with squeaky, sticky racks.
- Applying oven cleaner to the door glass. The chemical reaction can weaken the glass over time, making it vulnerable to cracking.
- Using the self-clean cycle too often. It puts extreme thermal stress on the oven's electronics, door lock, and thermostat. Use it only when truly needed.
- Forgetting to remove the oven thermometer. Most are not rated for 800°F+. They will shatter or explode inside the oven.
When to Call a Pro or Replace Parts
Some oven problems are strictly DIY. Others are a job for a professional. Knowing the difference saves you money and prevents injury.
If your self-clean door won't unlock (error codes F9 or F90), do not force it. You can snap the door latch or damage the control board. This is a common repair for authorized service technicians.
A torn or brittle door gasket needs replacing. You can order the part, but installing it incorrectly will ruin the seal. KitchenAid specifies that improper gasket installation can lead to heat loss.
If the oven stopped heating after a clean cycle, the thermal fuse might be blown. Replacing it requires removing the back panel and testing voltage. Unless you are comfortable with electrical work, this is a call a pro situation.
For gas oven issues, gas connections, or main control board failures, always call an authorized KitchenAid service provider. It protects your warranty and your safety.
Frequently Asked Questions
Can I use oven cleaner on a KitchenAid self-cleaning oven?
Do not use commercial oven cleaner on the self-cleaning liner. The chemicals react poorly with the porcelain enamel. This can cause permanent etching and surface damage.
Stick to the self-clean cycle or the manufacturer approved cleaning method for your model.
How often should I clean my KitchenAid oven?
For most households, every 3 to 6 months is sufficient. If you roast or bake heavily, you may need to clean sooner. The AquaLift cycle makes light maintenance easy between deeper cleanings.
Watch for smoke or odor during preheating. That is a sign of buildup.
Why is my KitchenAid oven smoking during self-clean?
Smoke is normal if there is grease or food residue inside. The high heat burns off organic material. However, heavy smoke or flames indicate too much grease.
Wipe out large debris before running the cycle. Open windows and turn on the vent hood.
How do I clean the glass on my KitchenAid oven door?
Use a non-abrasive glass cleaner or a vinegar and water solution. Spray it on a microfiber cloth, not directly on the glass. For buildup between the glass panes, you need to remove the door.
Check your manual for door removal instructions and model specific guidance.
The self-clean door won't unlock. What should I do?
Wait at least 90 minutes after the cycle ends. The door lock stays engaged until the oven cools down. If it remains locked after 2 hours, do not force it.
Unplug the oven for 5 minutes to reset the control board. If that fails, call a technician.
The Bottom Line: Keep Your Oven Clean and Safe
Cleaning your KitchenAid oven the right way is straightforward. Know your model type first. Use the correct cycle and avoid harsh chemicals.
Protect the gasket, the racks, and the door glass. A little care now prevents expensive repairs later.
Aggregate feedback from service technicians confirms that most damage comes from well meaning owners using the wrong methods. Stick to the manufacturer guidance. Run the self-clean cycle sparingly.
Use AquaLift for routine upkeep.
Your oven will bake evenly, run efficiently, and last longer. That is the whole point. Follow these steps and you will never have to worry about a ruined interior or a broken lock.
A clean oven is a safe oven.

Similar Posts